• Please visit and share your knowledge at our sister communities:
  • If you have not, please join our official Homebrewing Facebook Group!

    Homebrewing Facebook Group

One Barrel Brewery

Homebrew Talk

Help Support Homebrew Talk:

This site may earn a commission from merchant affiliate links, including eBay, Amazon, and others.
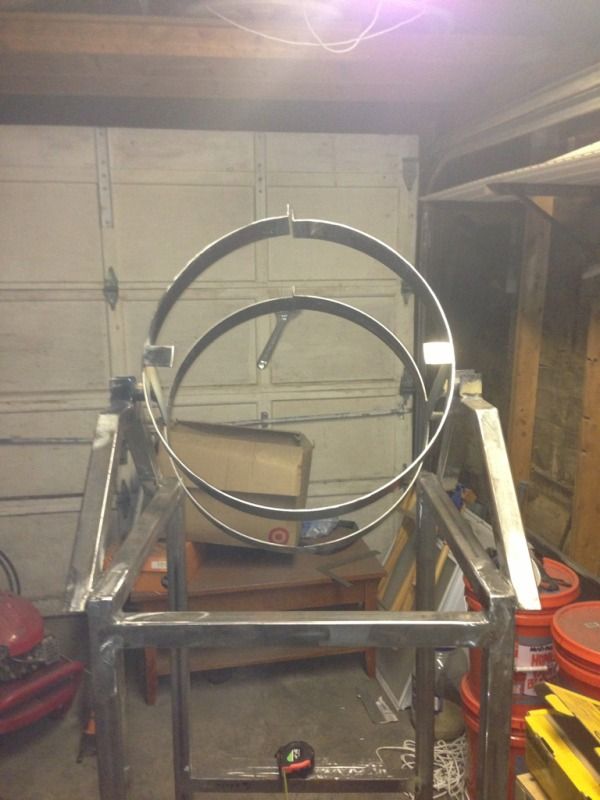
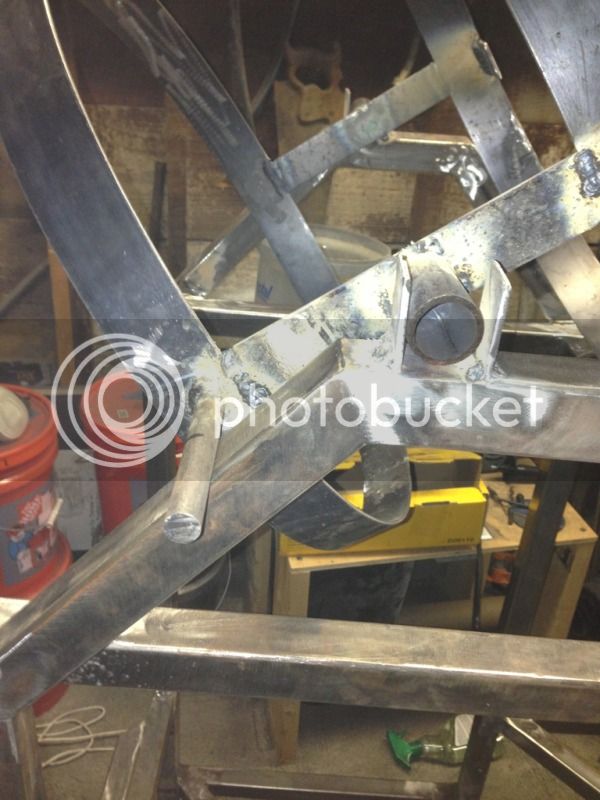
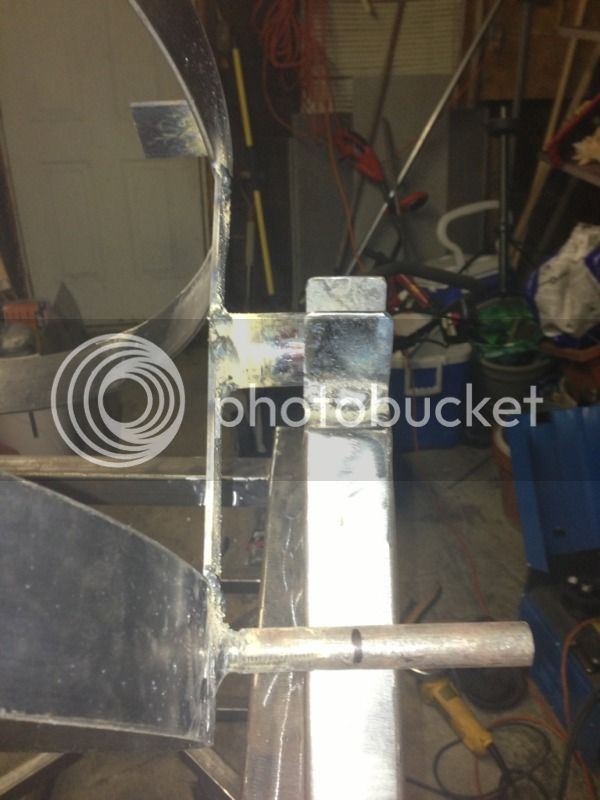
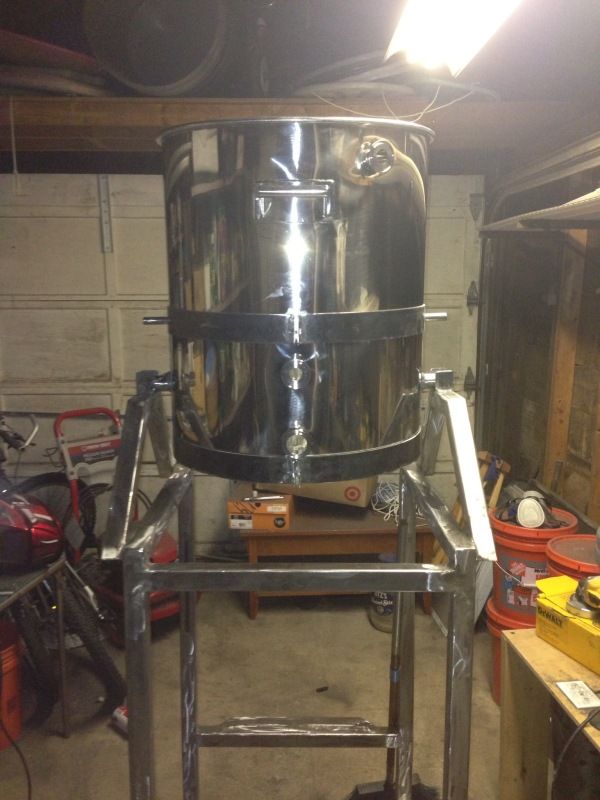
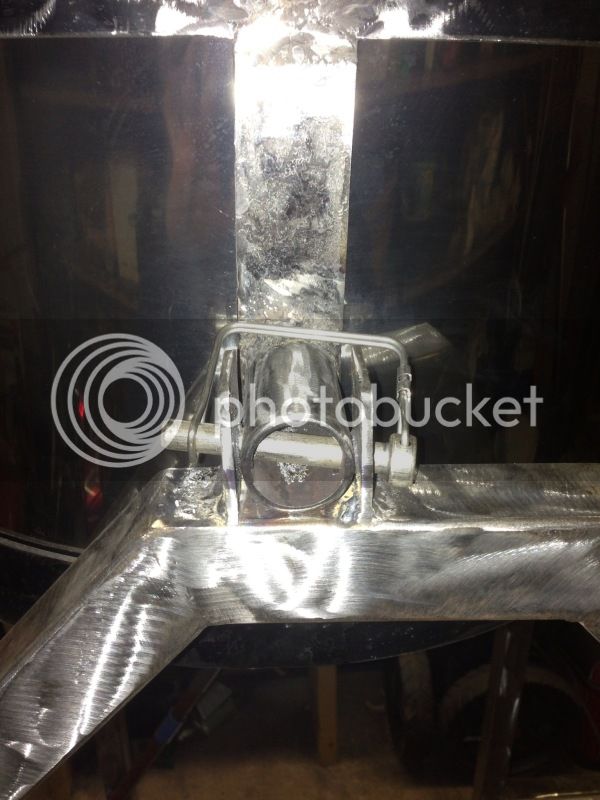
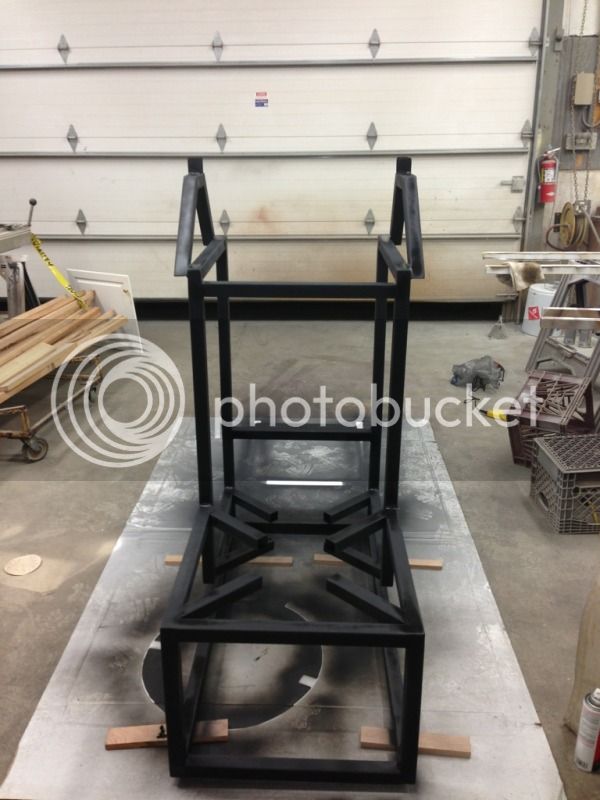
Yea the plan was to put a pillow block on both sides to aid in tipping the MT.

Well, then you shouldn't have a problem so long as it's on a solid axle. You might have to buy a precision ground shaft to use if you can't find one that is a thousandth under sized or if you have a machinist buddy, have them make one for you.
 
It won't be solid, it will be modeled after the morebeer design where there is a shaft welded to each side of the ring the supports the kettle.
 
Who's idea was it to make a tippy dump on this thing?!?!?! ME!! I'm going to kick my own @ss soon for being an idiot. This part is taking me longer than it did to weld the whole stand!! What a PITA!

I'll be out of town all weekend. I'lll have more updates on Monday evening.
 
CoalCracker said:
Who's idea was it to make a tippy dump on this thing?!?!?! ME!! I'm going to kick my own @ss soon for being an idiot. This part is taking me longer than it did to weld the whole stand!! What a PITA!

I'll be out of town all weekend. I'lll have more updates on Monday evening.

Yeah, bet it is a headache, but once it is done and you are several batches in I imagine you will be glad you did it. I know I would not enjoy manually scooping out 1 barrels worth of spent grains from one of those kettles.

Keep us posted, this is a pretty cool build and I would like to see how it all goes.

Good luck!
John
 
I am in the same boat: trying to design a tippy for a 42 gal barrel mash, so I will be following with interest
 
Not a whole lot to report. However my Brother in law mentioned he thinks the panel is too small to fit everything in. So... I am running the idea off him of running a sub panel to put the contactors in. If that doesn't work, I need to redo the control panel... ;-(
 
haha it would be. However I'm trying to stop the bleedout of money on this project! Going to see if I can do a subpanel with the contactors in.
 
I CONQUERED THE TIPPY DUMP!! b!TCHES!!

While sitting at work bored out of my mind, it hit me like a ton of bricks. I needed to mount the pivot point differently than how I was doing it. I got welding and came up with this.

BE60567A-C9A3-4127-9ACA-7AFF18934870-8006-00000A46472AB4AE.jpg

63564AA8-856D-4217-9E87-7AC915A2E5AA-8006-00000A4636D3E952.jpg

D2B31B27-0075-4D94-8BDF-D656D51DF724-8006-00000A462DE1B325.jpg

F6FBFF44-E362-4333-B411-27D266107980-8006-00000A462406839E.jpg


I used the original pivot as a stop for the dump. It will only go to a certain point. Now I just have to rig up a way to keep it locked in place. That shall be Thursday night's challenge. I also went through my 3rd spool of welding wire. Seems like i'm blasting through this stuff!!
 
Thanks! I'm happy I finally got it working the way I want it. Just some clean up to do and I should be able to prime and paint this weekend. Then the next item on the list is to get the fittings into the BK.
 
Figured out how I'm going to lock it in place. I'm going to drill a 3/8in hole straight through the bracket and pipe and then put a locking pin through. This should keep it from tipping. See any reason why that wouldn't work?
 
yea. That should cut down on vibrations as well as protect the MT. I should have more updates this weekend. I'll be getting it painted.
 
Got the stand cleaned up, the lock pin has been installed. Albeit crooked... It's hard to line up 4 planes up with a hole. It sits level but the hole is cock eyed. Tomorrow is prime and painting. I got an update from my brother in law. He ran into more problems with the panel. I may just end up scrapping it and starting over. :-(

More Pictures!!

photo.jpg

photo4.jpg

photo3.jpg

photo2.jpg


Edit: Talked some more to my BIL. He said that one of the switches hits the receptacle.. Going to order a new enclosure. I want to do this right.
 
Got the stand primed and painted this weekend. Came out great!! I also found a new enclosure on ebay that will fit my needs perfectly. Shame I had to spend more money to re do it. Hoping I can recoup some costs on the old one. I'll see what I can do. I'll get working on that this week. Should have more updates on that come Thursday or so. The next few day's probably won't have any updates. Doing this while saving for a wedding is tough haha.

3376AAE1-B59E-4A35-B4C3-5E780EAEF3ED-12877-00000D2781552CB2.jpg

BBD0E121-DD54-4129-A9FF-FD096AFA4C1F-12877-00000D2789D6FC50.jpg

3D5101A4-2B3A-4705-A66A-DA6FB5F3CF3E-12877-00000D2792053B3C.jpg
 
What are your thoughts of doing this without HERMS? Do you think that a 20g - 1bbl batch has enough thermal mass to keep temperatures? I liked having a HERMS before and it worked great. But if I don't need another piece then that's a plus.
 
I've tried doing single infusion mashes in a 20 gallon kettle with closed cell foam insulation covered with aluminum foil tape. The insulation covered 100% of the kettle (lid, bottom, and sides). Basically a large stainless cooler. I probably lost 5--8 degrees over the course of an hour of an undisturbed mash. It works, but after several batches and lower efficiencies versus a cooler, I reworked the stand to make it a direct fired RIMS. Temps within 0.5 degrees and efficiencies back where they should be.

I think to make a kettle work without temperature control, you need to go with some serious insulation.
 
Bought a new enclosure and got all the holes punched. Going to prime and paint tonight and get it back to my brother in law. Hopefully now he can get it wired up.

Once payday comes on Friday, I'll be working on buying some tri clamp fittings. Never realized how much these things would add up. I think a 1/4 of my project cost is going to be wrapped up in tri clamp fittings. I love the way it looks and will make a professional looking product. Looking forward to getting this thing done and brew. Will probably have a few more updates tonight. Depending on the amount I get done.
 
Thanks! Got the enclosure painted last night. We are having company over for dinner tonight so I don't think I'll get anything done tonight on it. Tomorrow I'll mount the heat sink and get it over to my BIL to wire it.

I also want to continue to get the BK holes punched and flared so I can get the Tri Clamps soldered in. I have a keg I want to turn into a keggle and sell for some money towards the project.
 
3D824552-3C69-4841-9B2F-1B4C9DE7335B-2939-000001CB11317437.jpg


Got the panel put together. Off to the BIL today to get it wired up. One mistake I did make is that I forgot about the labels and didn't leave enough room for them in some spots. So I placed them off to the side. I'm not thrilled with how it looks but it will do.

Going to work on getting more holes in the BK tonight. Debating on whether or not I want to do bottom drain or keep it on the side. Would make clean up soo easy.
 
Worked on the BK last night. I'm finding punching holes and dimpling is taking forever. I worked three hours on one hole last night. After reading. I think I need a larger coupling on the other side. I'm a fairly strong guy and with out standing on the wrench, it's not moving and neither is the dimpling tool. Going to give it another go tonight. Hopefully I don't waste the night and get nothing done again. I'd like to have that done and the pump and water filter mounted and pump shield made. The fiance won't be around too much this weekend so I should have plenty of time to get stuff done.
 

Latest posts

Back
Top