Homebrew Talk - Beer, Wine, Mead, & Cider Brewing Discussion Forum

Help Support Homebrew Talk - Beer, Wine, Mead, & Cider Brewing Discussion Forum:

This site may earn a commission from merchant affiliate links, including eBay, Amazon, and others.

BeerBaron1985

The Beer Baron
Joined
Sep 13, 2016
Messages
206
Reaction score
123
Location
Oakville
Hello all! New Keezer build here and fairly new to the forum!

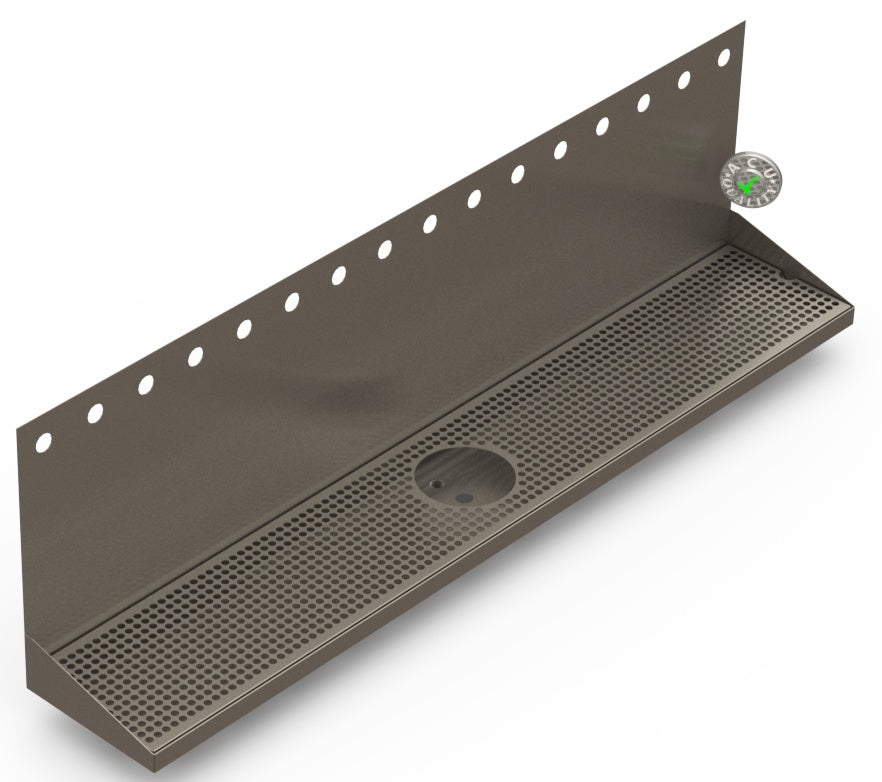
Scored the 22.3cu/ft chest freezer for $200 bucks, and purchased a Johnson A421 controller to run it. Plan is to build a nice sturdy wheel dolly to roll it around on 3" caster wheels as needed in the basement, the bilge blower mod, and use a 2x10" collar with 1" pink insulation. According to the keezer page, this much cu/ft I should be able to fit 20 ball lock corny kegs. I dont have an operation that big, but the price was right and I have the room. To insure my wife did not get completely mad at me, I told her the keezer would hold all the non essential fridged items like soda and whatnot downstairs while freeing up our 2nd fridge. She agreed and I think I'm in the clear!

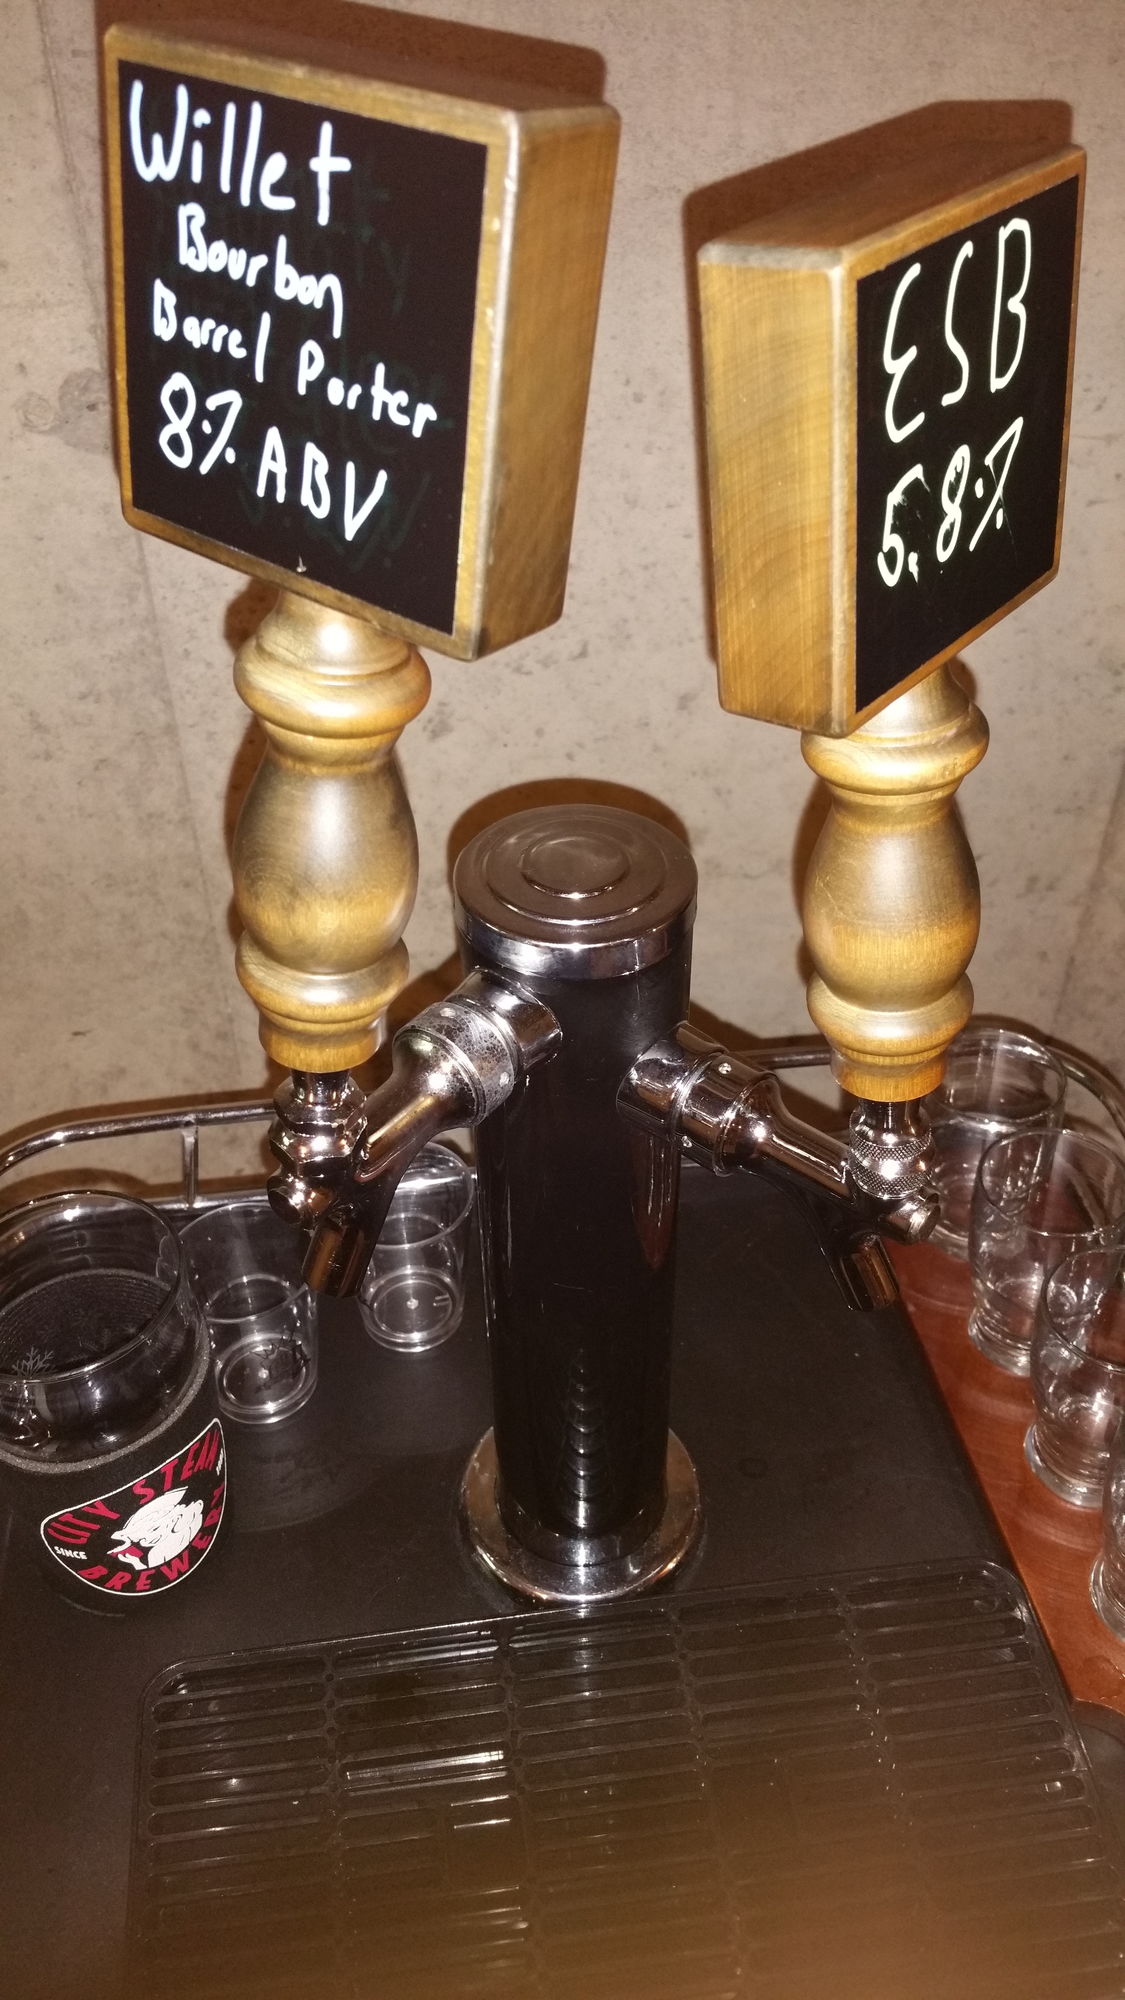
I've been brewing for 9 years now, and up to a 30 gallon brew kettle, 35 gal of primary and secondary fermenters, and 7 corny kegs. Fairly sizable operation with a 12ft custom made bar with pinball machines for entertainment and dual tap kegerator for serving.

I can use some advise on setting up the controller, can anyone tell me their settings for their A419 or A421 controllers? I also need advice on temp probe placement for best results.

Final note for now, I was toying with a name idea for the keezer calling it the BMFK, Big Mother Effing Keezer, for obvious reasons. I know someone who can edge a wooden name plate with his 3D printer. For fun, I'm open to other names.

Will have pictures and other things up soon!

80-20161120_102434_5c8faf0c3c4fb65f0424a0f7f9c9f39088484ada.jpg

80-20161007_123428_c29094326f1d4fbdcd5203f99d772f4760b4da20.jpg
 
Last edited:
WOW!
Can I move in next door?:p

With a keezer that big and wanting it for a dual purpose, you might want to build your own lid. I would split it into two sections so that only part would be open for the soda/whatnots on one side and the REAL important stuff:D on the other.

Please KEEP this thread updated!


Certainly will! Splitting the lid in two halfs I'm not a fan of doing, then it means adding more supports, hinges, etc. I do like the idea of using the 1" Owens Corning insulation as a way to create two compartments. The idea can be further made useful when I do the fan mod install as a way to direct cold air to where I need it to go.

I got the keezer last night, clean for the most part, and it works just fine. Some surface rust as it was outside underneath the back deck of the house, A little sanding and repaint is in order.


Question: temp probe...zip tied to the side of a keg, and some insulation over the top of it so it only measures the liquid temp which is what I want (or anyone for that matter) What have others done on this front?
 
Last edited:
Just ordered some parts. Sometime next week I'll make a trip to THD to grab the lumber for the 2" x 10" collar, some accent 1"x4" to go around the front corners where the chalk paper board will be, and some 2" PVC pipping for the fan mod.

3" Bilge Fan - https://www.amazon.com/gp/product/B001O0DE9E/?tag=skimlinks_replacement-20

Motor Speed Controller - https://www.amazon.com/gp/product/B00F839VNQ/?tag=skimlinks_replacement-20

12VDC PSU - https://www.amazon.com/dp/SUPERNIGHT/?tag=skimlinks_replacement-20

With the fan, the plan is to have it with two speeds. A slow speed when the compressor is not running keeping it quiet and temp even, high speed when the compressor is running, and off when the lid is opened. I still need to plan out the circuits, but this can be accomplished I'm sure with an Normally Open micro switch, DPDT, SPDT, & SPST type relays. It essentially makes the fan automatic. More on this piece soon.
 
Last edited by a moderator:
Did some testing today with the bilge fan and motor speed controller. I can adjust the fan to draw about 0.35A to 0.50A at a slow speed to keep the inside air moving. At full power the fan draws 2.0A, and its pushing so much air its crawling on the ground. Plenty of power, also plenty noisy.

With the use of a single pole double throw relay, commonly referred to as a change over relay, I can have the two speeds of the fan, slow with the compressor off, and full power fan with the compressor on. To have the fan shut off with the lid open, I cant use the existing lid light switch since it is a normally closed switch. I need to rig up a normally open switch to get the desired functionality. More to follow

20180326_131257.jpg


20180326_130838.jpg
 
Last edited:
Bought the 2"x10" lumber for the collar, silicone caulk, and 10' ft of 2" pvc pipe today. Got some fab to do!

Rethinking the fan operation. To connect up the relay for 12VDC components requires a specialized 120VAC relay to trigger the 12 volt one for the fan when the compressor kicks on. While feasible, wondering if having two speeds really adds any functional gain for air circulation. Instead going for a more simplified setup.

Using magnetic switchs and a SPST, I can shut off the fan when the lid opens using the Normally Open side of the switch. Using the speed controller's adjustable potentiometer, dial in a slow enough speed to get the air circulating properly. FYI, the fan will draw cold air upward. ***Same concept for ceiling fans you draw cold air up towards the ceiling during the summer to cool a room, or force the warmer air down to the floor during the winter.

The 2nd magnetic switch with SPST relay, use the Normally Closed side of the magnetic swotch to run some 5050 cool white LED lights under the lid. When the lid closes the lights turn off. Run it off the same PSU running the lights, and still got plenty of power for other 12 volt stuff. Hmm, wonder what else I can do!

Magnetic Switches - 2Sets Magnetic Reed Switch Normally Open Closed NC NO Door Alarm Window Security https://www.amazon.com/dp/B0735BP1K4/?tag=skimlinks_replacement-20
 
Last edited by a moderator:
I can’t be the only one! How much extra juice do you have?! [emoji16]

I got a 360 watt PSU at 12VDC, so 30A. I was definitely planning on putting some LEDs under the lid for light! Dude you have a stereo in there?! Thats nuts! I do like the cup holder though!

Made some progress today. Added 2" casters with brakes on them. The unit already had studs for a caster kit, but rather than paying $75 for the kit off amazon, I paid $25 for everything at HD.

The fan, I made a tee setup and drilled 5/16 holes on the bottom pipes. At first I used rubber plugs at the end of the bottom pipes, but even at low speeds of the fan you can hear this awful flute sound from the air going by and the fan was not circulating enough air to my liking. I got 12 holes per pipe. So I got rid of the rubber plugs on the bottom and now it flows very nicely. The holes still are a good thing to do though.

The collar wood is Douglas Fir. It has small knots all over, but I found a clean piece for the front. Perfect for staining. I may just poly it and be done with it. It's not a true 2x10" piece, actual dims are 1.5" x 9.5" inches. It more than clears the two kegs on the compressor hump. Collar is heavy though!

With the addition of the collar, the wire behind the unit going to the lid light inside and LED power indicator in the front of the lid needs to be lengthened somehow. Need to figure that out.

Bout all I got so far, should have the rest of the electronic parts Friday. Cost wise I wont be able to outfit all 16 taps at once. For sure 4 taps to start and gradually fill in after that.

What size hole saw is best for your standard shank? 7/8" or 1"?

20180329_101910.jpg
20180329_113244.jpg
20180329_113255.jpg

20180329_114310.jpg

20180329_114352.jpg
 
I got a 360 watt PSU at 12VDC, so 30A. I was definitely planning on putting some LEDs under the lid for light! Dude you have a stereo in there?! Thats nuts! I do like the cup holder though!


What size hole saw is best for your standard shank? 7/8" or 1"?

Lol, absolutely! When was the last time you drank a beer that listening to music was a bad idea? [emoji16]. I actually designed mine to take camping, tailgates, etc., hence the cup holder as well. I know the beer elitists among us will be screaming as they read this, but having the dispenser was the best decision I made on my build and wouldn’t hesitate to do it again even on a built in.

As for hole size, I use 7/8”. That makes for a fairly tight fit so if you wanted to poly the exposed wood inside the hole you might think about stepping up to 15/16”. I’m sure 1” would work, but seems to big to me....
 
Lol, absolutely! When was the last time you drank a beer that listening to music was a bad idea? [emoji16]. I actually designed mine to take camping, tailgates, etc., hence the cup holder as well....

As for hole size, I use 7/8”. That makes for a fairly tight fit so if you wanted to poly the exposed wood inside the hole you might think about stepping up to 15/16”. I’m sure 1” would work, but seems to big to me....

I have bluetooth speakers on each end of my bar, and not to mention that I have a 3000 watt PA system. Two 1x18 subs, two 1x15H, and three 1x15H floor monitors. I used to be in a band, tried selling the stuff but no one wanted to pay a fair price. Rather than get hosed I kept the system.

Thanks for the info on the hole saw. Will def pick one up.

I think this is the next upgrade for next month, I do need a drip tray. I cannot screw into the front wall for risk of hitting the coils, so this is perfect. It has the rinser plate and drain. I can box in the PVC plumbing for the drains so it looks nice. They will both be offset to the right since I dont want the shanks interfering with the kegs on the hump.

https://www.micromatic.com/24-inch-...lass-rinser-drain-tray-8-faucet-dp-322eld-8gr
24-inch-stainless-steel-wall-mount-glass-rinser-drain-tray-8-faucet-dp-322eld-8gr


The second bank of 8 taps I can grab another one of these but without the rinser at a later time

https://www.micromatic.com/24-inch-...el-wall-mount-drain-tray-8-faucet-dp-322eld-8

24-inch-stainless-steel-wall-mount-drain-tray-8-faucet-dp-322eld-8
 
Test fitted the collar today, and cut the top pipe to length. Will need to add a thin layer of rubber at the lid seal and collar seem. Few places it is not quiet as level to make a good seal. Easy fix. Added aluminum tape to the top edge for sealing purposes. Leaving the collar wood natural color, just polyurethane and good to go!

20180406_170322.jpg
20180406_170328.jpg
 
Last edited:
Installed the collar permanently today. About 1.5 tubes of clear silicone caulk. Used aluminum tape on the top lip to have a clean mating surface with the lid seal. Added some 3/4" by 5/16 foam tape around the top lip to get a very good seal since it was not exactly perfectly flat. I confirmed all is sealed by looking at the lid from underneath before installing. The idea was to look for daylight peaking through.

Added some weight with the logs and bottles of wine to hold in place while the caulk sets up.

Will need to add a piece of wood to trigger the lid light switch. I added 1 foot of wire to extend the lid wire. Cant even tell it was done unless you look close. I soldered all the ends in.

$48.38 is the cost per year based on my electric rate without the collar. Thats pretty cheap to run. Its been running for 18 days based on the Kill-A-Watt meter. Will take the measurement again and see what the cost is. It will tell me if the efficiency is worse or the same. I have some R3 insulation to add to the collar if need be to help increase temp efficiency. Time will tell.

Will poly the wood soon. Going to wait 2-3 days for the collar to set, then the real fun begins adding the gadgets and custom mods!!

BeerBaron

20180408_173937.jpg
20180408_173947.jpg
20180408_174008.jpg

20180408_173629.jpg
 
Last edited:
Keezer is back online! Added some more mods below. Ill post a video soon on the progress.

1. One magnetic switch using the Normally Open side, controlling a SPDT changeover relay. With the lid open, the LED light strip is on, fan is off. With the lid closed, LED is off, fan is on. Ill put some white tape to "clean" up the look. Very happy how this turned out!!

2. Mounted all these components to the back.

3. Ordered some chalkboard paper for the lid and front. I'll dress it up a bit with some 1x4" trim pieces.

4. Working on a wood bracket shelf for a 5lb CO2 tank and a 20 cu/ft beergas nitro tank.

20180412_165651.jpg

20180412_165700.jpg

Screenshot_2018-04-12-22-27-00.png
 
A quick update. Added the chalkboard paper to the entire keezer. Ordered a 16 tap wall mount stainless tray with rinser. After test fitting all the 5 gallon ball lock kegs i can only fit 14. However I beleive it will be possible to have two small 2.5 or 3 gallon kegs with carbonated water and maybe gatorade to complete the tap line!

The rinser i have two options. Tap into the ice maker line which is directly above in the ceiling where the keezer is, or rig up some sort of pump, deionized water bucket, and drain bucket. Still debating. Will update soon!

20180430_193140.jpeg
 
Looks great! I think I'm going to vinyl wrap mine black instead of painting. I was able to find some great deals on ebay for the vinyl. Where did you find the chalk board paper? Nice seeing another CT brewer! Cheers!
 
Looks great! I think I'm going to vinyl wrap mine black instead of painting. I was able to find some great deals on ebay for the vinyl. Where did you find the chalk board paper? Nice seeing another CT brewer! Cheers!


Hello northeastern corner of the state! Yes def, still need to explore the home brew scene! Found the paper on Amazon, pretty cheap, even came with multi color chalk sticks. bought three of them with a bit left over. Didn't do the back side, just the lid, sides, and front.

https://www.amazon.com/gp/product/B01NCHZ3MU/?tag=skimlinks_replacement-20


Been pretty busy with work, but started to add foam insulation board EPS to the collar. Its half inch board with R-3.3, 5 panels for like $18 bucks at HD. I'm double them up around the collar to get about R-6.5 I think. Its better than none.

Still waiting on my custom wall mount drip tray. Should be a few more weeks!

drip-trays-wall-mount-drip-tray-with-drain-and-rinser-hole-8-x-48-x-14-x-1-s-s-4-16-faucet-holes-1_882x.jpg


More updates, pics and videos soon.
 
Last edited by a moderator:
Here is a video update. Ill have pics up later today. Got the email that my drip tray is in transit to me! Hell yea!

 
Keezer is online with 8 taps! Custom drip tray came in last week and slowly been assembling the keezer after work. At this point I only have10 kegs total. 8 kegs in the keezer, 2 in the kegerator. It works out since half the keezer has 6 milk crates of bottles, cans, growlers etc :) So plan is to buy more kegs when there is a deal available! Its all ready to go for the Renaissance themed BBQ we are having next weekend. Plenty of open taps for guest brews!

Faucets: Could only afford 8 at this time, chrome plated brass. Got the Intertap ones with the interchangeable nozzles. Got a stout spout, growler filler, and ball lock attachment when using my Last Straw beer bottling wand.

Gas setup: two separate CO2 regulators. Two 4 way manifolds for a total of 8 on one regulator at 12 PSI, a future 8 way to be purchased to run off the 2nd regulator at a separate pressure, likley 18psi. Nitro 'Beergas' is a single line for a single stout for now, but a manifold can easy expand it.

Glass Rinser: Bought a 35PSI diaphragm pump off ebay for $17 bucks delivered. The glass rinser max's at 15PSI, so I wired in an adjustable pressure switch that came preset to 15PSI. The pump turns on only when you press the rinser down when it senses the drop in line pressure. I put a switch on it when not in use and to switch out the tanks. One tank holds 5 gallons of tap water and the other 7 gallons for the drain. Had them lying around. 5/16" ID PVC for the supply with 3/8" hose barbs and 1/4" NPT for the plumbing parts. The pressure switch was 1/8" NPT. Drain is 1/2" fittings and pvc. I tied up the hoses under the tray and wrapped around the side of the keezer. Its not very conspicuous.

20180601_172925.jpeg
20180601_172324.jpeg
20180601_172213.jpeg
20180601_172147.jpeg
20180601_172159.jpeg
 
Last edited:
Scored one hell of a deal on the remaining eight shanks. Of course when I ordered the lot of them, the vendor corrected the price. Way higher than my local homebrew store at $14.59 each. I like the $5.83 way better!
20180830_185431.jpeg
Screenshot_2018-08-27-12-35-46.jpeg
Screenshot_2018-08-27-12-36-16.jpeg
 
You contacted him directly and negotiated down to $5.53? Because as I’m seeing $19.90 on Amazon too.
Nope, it was an error. Listed as an 'add-on.' Bought 8 of them at the lower price, YOINK! They fixed it after myself and a friend ordered 14 between us!
 
Keezer is online with 8 taps! Custom drip tray came in last week and slowly been assembling the keezer after work. At this point I only have10 kegs total. 8 kegs in the keezer, 2 in the kegerator. It works out since half the keezer has 6 milk crates of bottles, cans, growlers etc :) So plan is to buy more kegs when there is a deal available! Its all ready to go for the Renaissance themed BBQ we are having next weekend. Plenty of open taps for guest brews!

Faucets: Could only afford 8 at this time, chrome plated brass. Got the Intertap ones with the interchangeable nozzles. Got a stout spout, growler filler, and ball lock attachment when using my Last Straw beer bottling wand.

Gas setup: two separate CO2 regulators. Two 4 way manifolds for a total of 8 on one regulator at 12 PSI, a future 8 way to be purchased to run off the 2nd regulator at a separate pressure, likley 18psi. Nitro 'Beergas' is a single line for a single stout for now, but a manifold can easy expand it.

Glass Rinser: Bought a 35PSI diaphragm pump off ebay for $17 bucks delivered. The glass rinser max's at 15PSI, so I wired in an adjustable pressure switch that came preset to 15PSI. The pump turns on only when you press the rinser down when it senses the drop in line pressure. I put a switch on it when not in use and to switch out the tanks. One tank holds 5 gallons of tap water and the other 7 gallons for the drain. Had them lying around. 5/16" ID PVC for the supply with 3/8" hose barbs and 1/4" NPT for the plumbing parts. The pressure switch was 1/8" NPT. Drain is 1/2" fittings and pvc. I tied up the hoses under the tray and wrapped around the side of the keezer. Its not very conspicuous.

View attachment 573154View attachment 573155View attachment 573156View attachment 573157View attachment 573158
Hello BeerBaro1985,
I know is beer a while since this treat. Do you have a link for the adjustable pressure switch?
 
Hello all,

I've made a few updates since completing my build. I put LED lights that change color when you use the glass rinser. Originally I did this on my jockey box build and liked it so much that I did it to the keezer as well.


20190215_175054.jpeg
 
Back
Top