• Please visit and share your knowledge at our sister communities:
  • If you have not, please join our official Homebrewing Facebook Group!

    Homebrewing Facebook Group

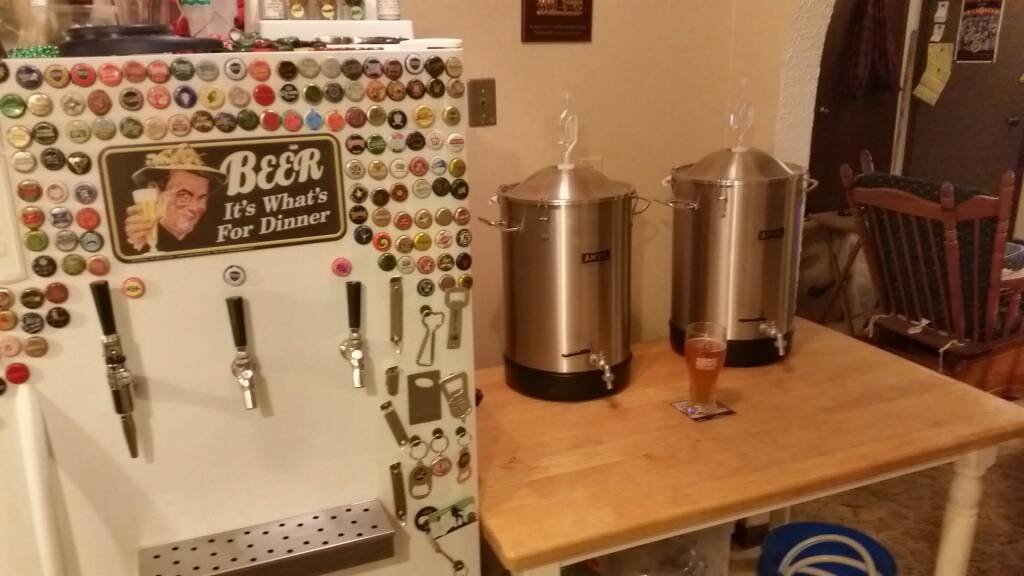
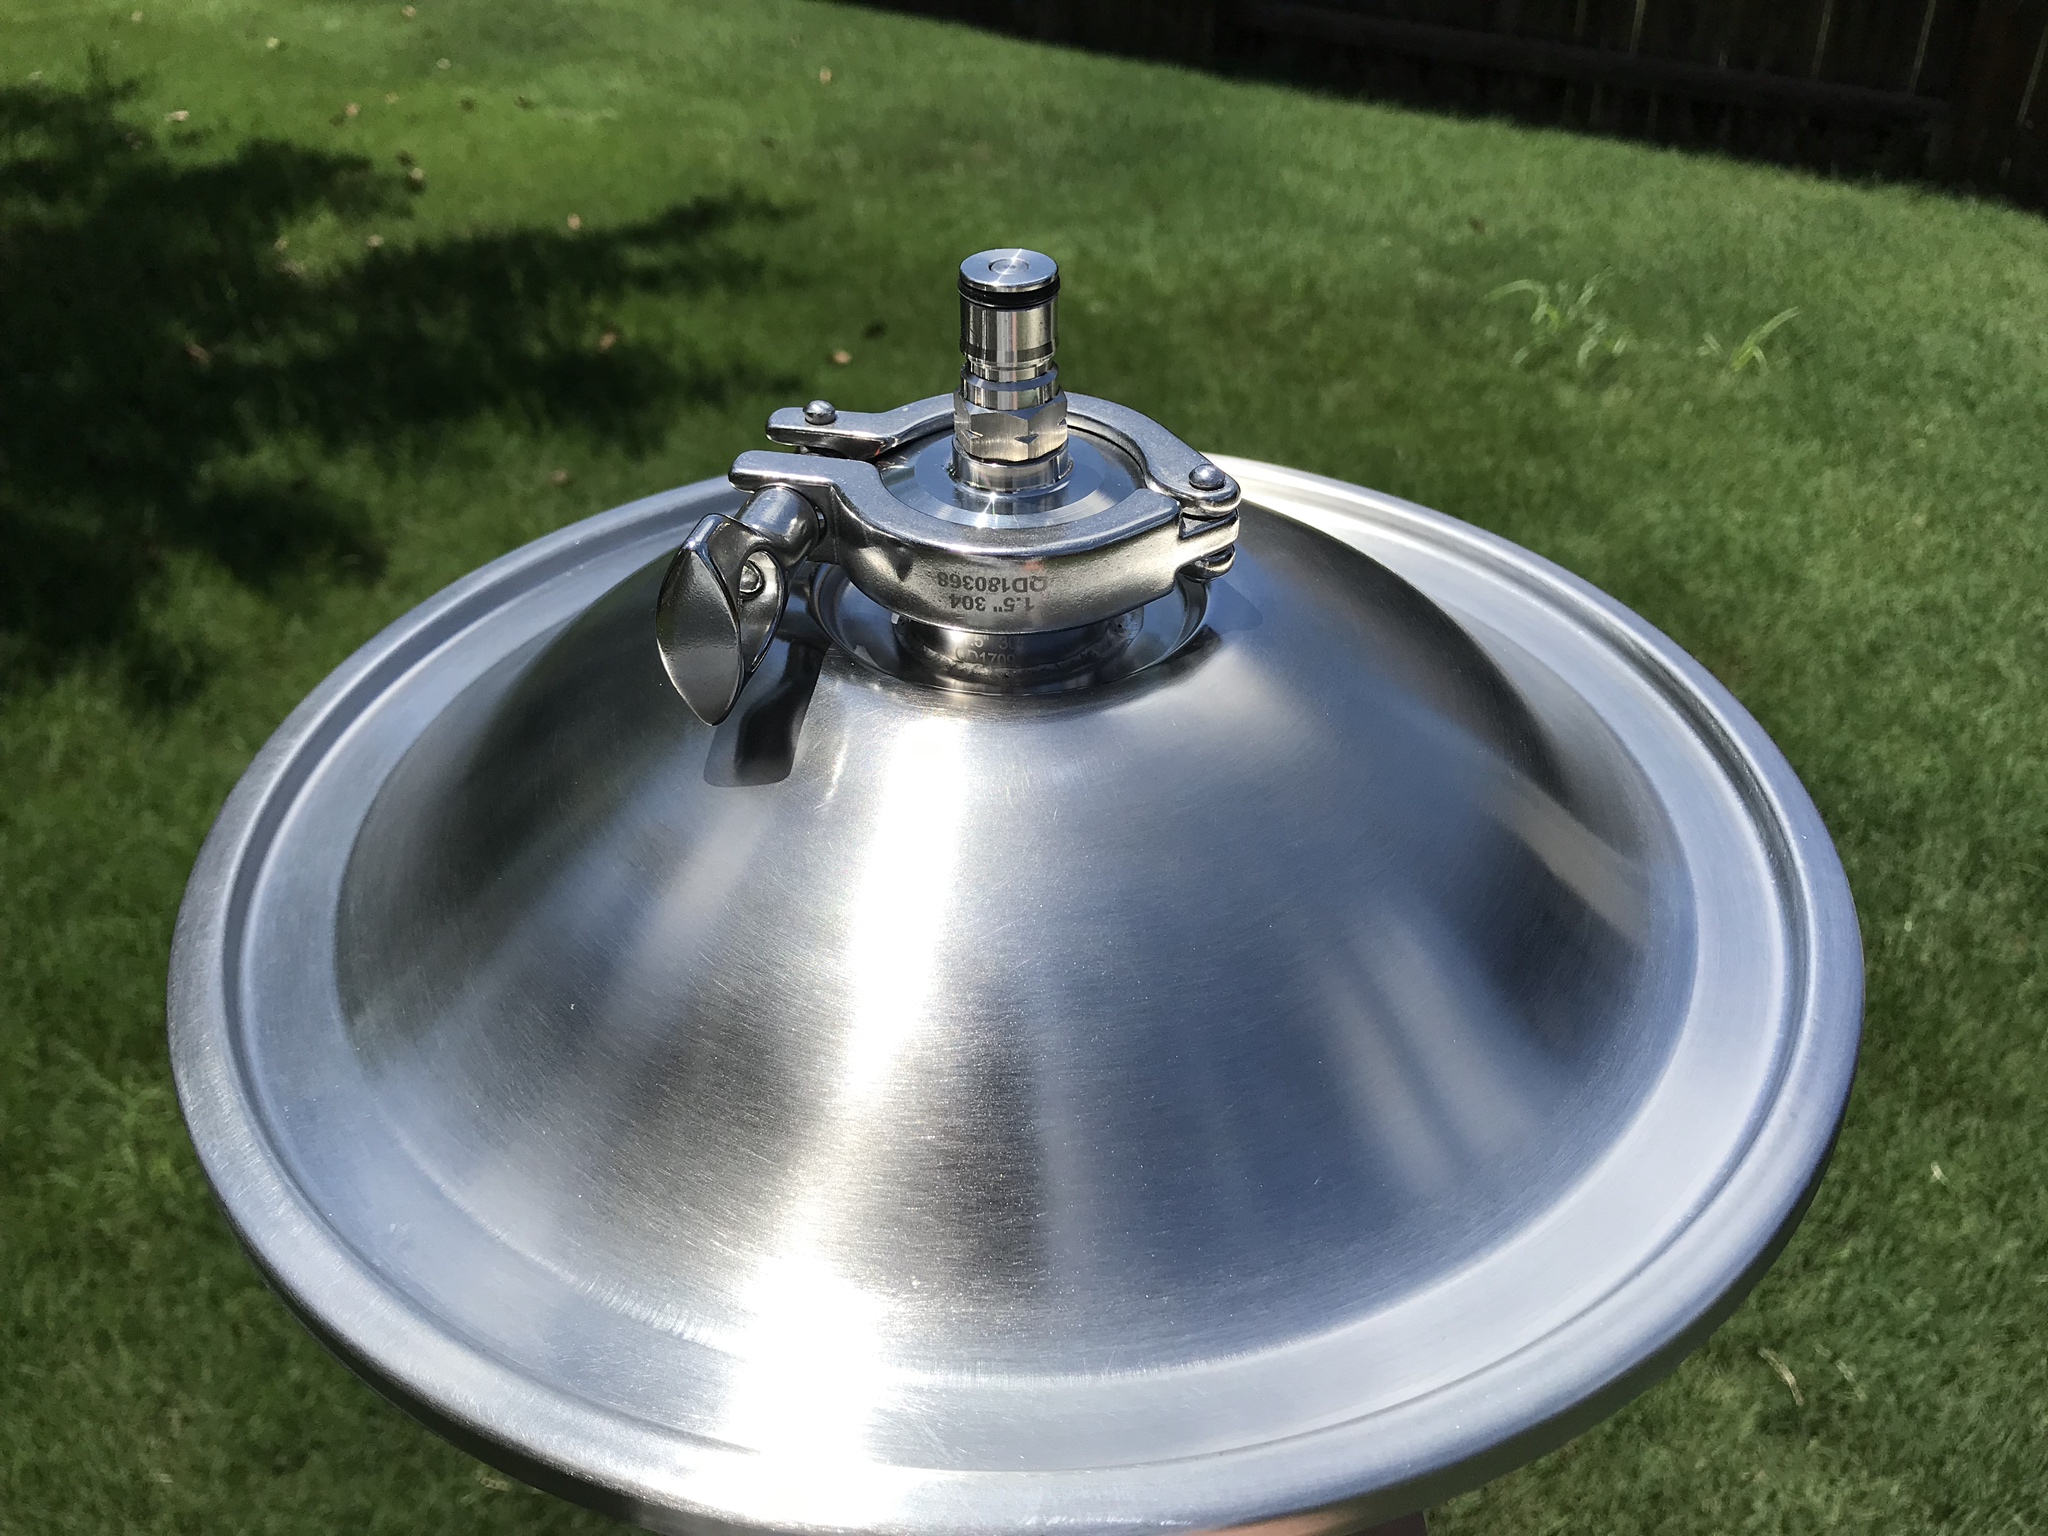
New Anvil Bucket Fermentors

Homebrew Talk

Help Support Homebrew Talk:

This site may earn a commission from merchant affiliate links, including eBay, Amazon, and others.
I fill the keg with starsan and push it all out through a picnic tap to completely flush out all the oxygen. Then I connect the fermenter spigot to the outpost on the keg and fill it from the bottom up. I leave the pressure relief valve turned to vent during the transfer.

It has made a huge improvement to my hoppy beers.

That's great! Just got my anvil bucket and will certainly try it this way. Thanks!
 
I love my 7.5gal fermenter. I really feel it has helped me brew better hoppy beers, especially NEIPAs, by being able to close transfer to a keg with no oxygen pickup.

Below is a pic of how I avoid oxygen pickup through my airlock when transferring to my keg. The output hose on my C02 tank fits perfectly into the top of my airlock so I set my regulator as low as it will go and let it run for the entire transfer. The c02 isn't pushing the beer to the keg (it is gravity fed) it is just getting sucked in by the displaced beer. Works like a charm!View attachment 570013

Try connecting the airlock to the gas post on the keg. Assuming you've purged that keg, it'll do the same thing but save you some co2 and the hassle of dealing with the co2 tank and regulator. Shouldn't have to open the vent to keep it going, either.
 
This is great... this thread combined two things I’ve been thinking about.... the Anvil Fermenter and closed system transfers... excellent!!

Cheers,
Dave
 
I love my 7.5gal fermenter. I really feel it has helped me brew better hoppy beers, especially NEIPAs, by being able to close transfer to a keg with no oxygen pickup.

Below is a pic of how I avoid oxygen pickup through my airlock when transferring to my keg. The output hose on my C02 tank fits perfectly into the top of my airlock so I set my regulator as low as it will go and let it run for the entire transfer. The c02 isn't pushing the beer to the keg (it is gravity fed) it is just getting sucked in by the displaced beer. Works like a charm!View attachment 570013

Solid! definitely going to rip you off here.

I'll be sure to cite you in my brewing notes.

Try connecting the airlock to the gas post on the keg. Assuming you've purged that keg, it'll do the same thing but save you some co2 and the hassle of dealing with the co2 tank and regulator. Shouldn't have to open the vent to keep it going, either.

This seems like a good idea too but let me make sure I'm following. Instead of pushing gas through the fermenter, you put an airlock with sanitizer/vodka in it into the gas post so as the beer fills the keg, the airlock works as an outlet vent but does not let oxygen back into the keg?

Edit: afterthought, the airlock in gas post setup would still allow oxygen to contact the beer as it displaces the space in the fermenter. the co2 cushion provided in the original setup would prevent that I guess.
 
Solid! definitely going to rip you off here.

This seems like a good idea too but let me make sure I'm following. Instead of pushing gas through the fermenter, you put an airlock with sanitizer/vodka in it into the gas post so as the beer fills the keg, the airlock works as an outlet vent but does not let oxygen back into the keg?

Edit: afterthought, the airlock in gas post setup would still allow oxygen to contact the beer as it displaces the space in the fermenter. the co2 cushion provided in the original setup would prevent that I guess.

No, the gas post is connected to a tube that is connected to the airlock attached to the fermenter. I actually don't use an airlock but instead a carbcap that's jammed into a stopper, but its all the same.

If you're transferring from a fermenter with a spigot, you can attach a hose from the spigot to the liquid out post. That presents two problems. First, assuming you've purged the serving keg with co2, you've got positive pressure in there and the beer won't flow. Second, as the beer leaves the fermenter, air fills the headspace, potentially oxidizing the beer. If you look at Kingmatt's picture, he solves #1 by venting the keg, and #2 by sending CO2 from the tank into the fermenter headspace.

What I propose is that you take Kingmatt's setup, but remove the CO2 tank and instead connect that gas line to the gas post on the keg. Now when you open the valve on the fermenter, the beer will flow into the keg via gravity, and the gas in the keg will flow into the fermenter headspace.

The benefits I've found are that I (1) save some co2; (2) don't have to monitor the pressure in the fermenter that's not rated for pressure; (3) simplicity--one less piece to deal with (the co2 tank).


Got it, that's a great idea too! Thanks!
 
Had to go grab ingredients for a brew this weekend and decided I'd look to see if they had any bulkhead/post setups that I could use and they did not. I could have pieced something together but I was already spending enough on what I needed so at around $10 a part I decided I'd wait. Then I got home and figured, we don't just home-brew beer, we can home-brew anything. So I took out all my spare parts from over the years and started playing.

What eventually worked was an old valve from a co2 distributer I had. The thread fit wasn't perfect but the post grabbed enough of the bottom of the threads to hold tight. It leaked a good bit so I put about 10 layers of tape on and it's sealed like a dream for how much pressure it will ever see. The barbed fitting fits perfectly into the bung that came with with anvil so I can stick it right in.

I'll be trying it out this weekend but I don't see why I'll have any issues.

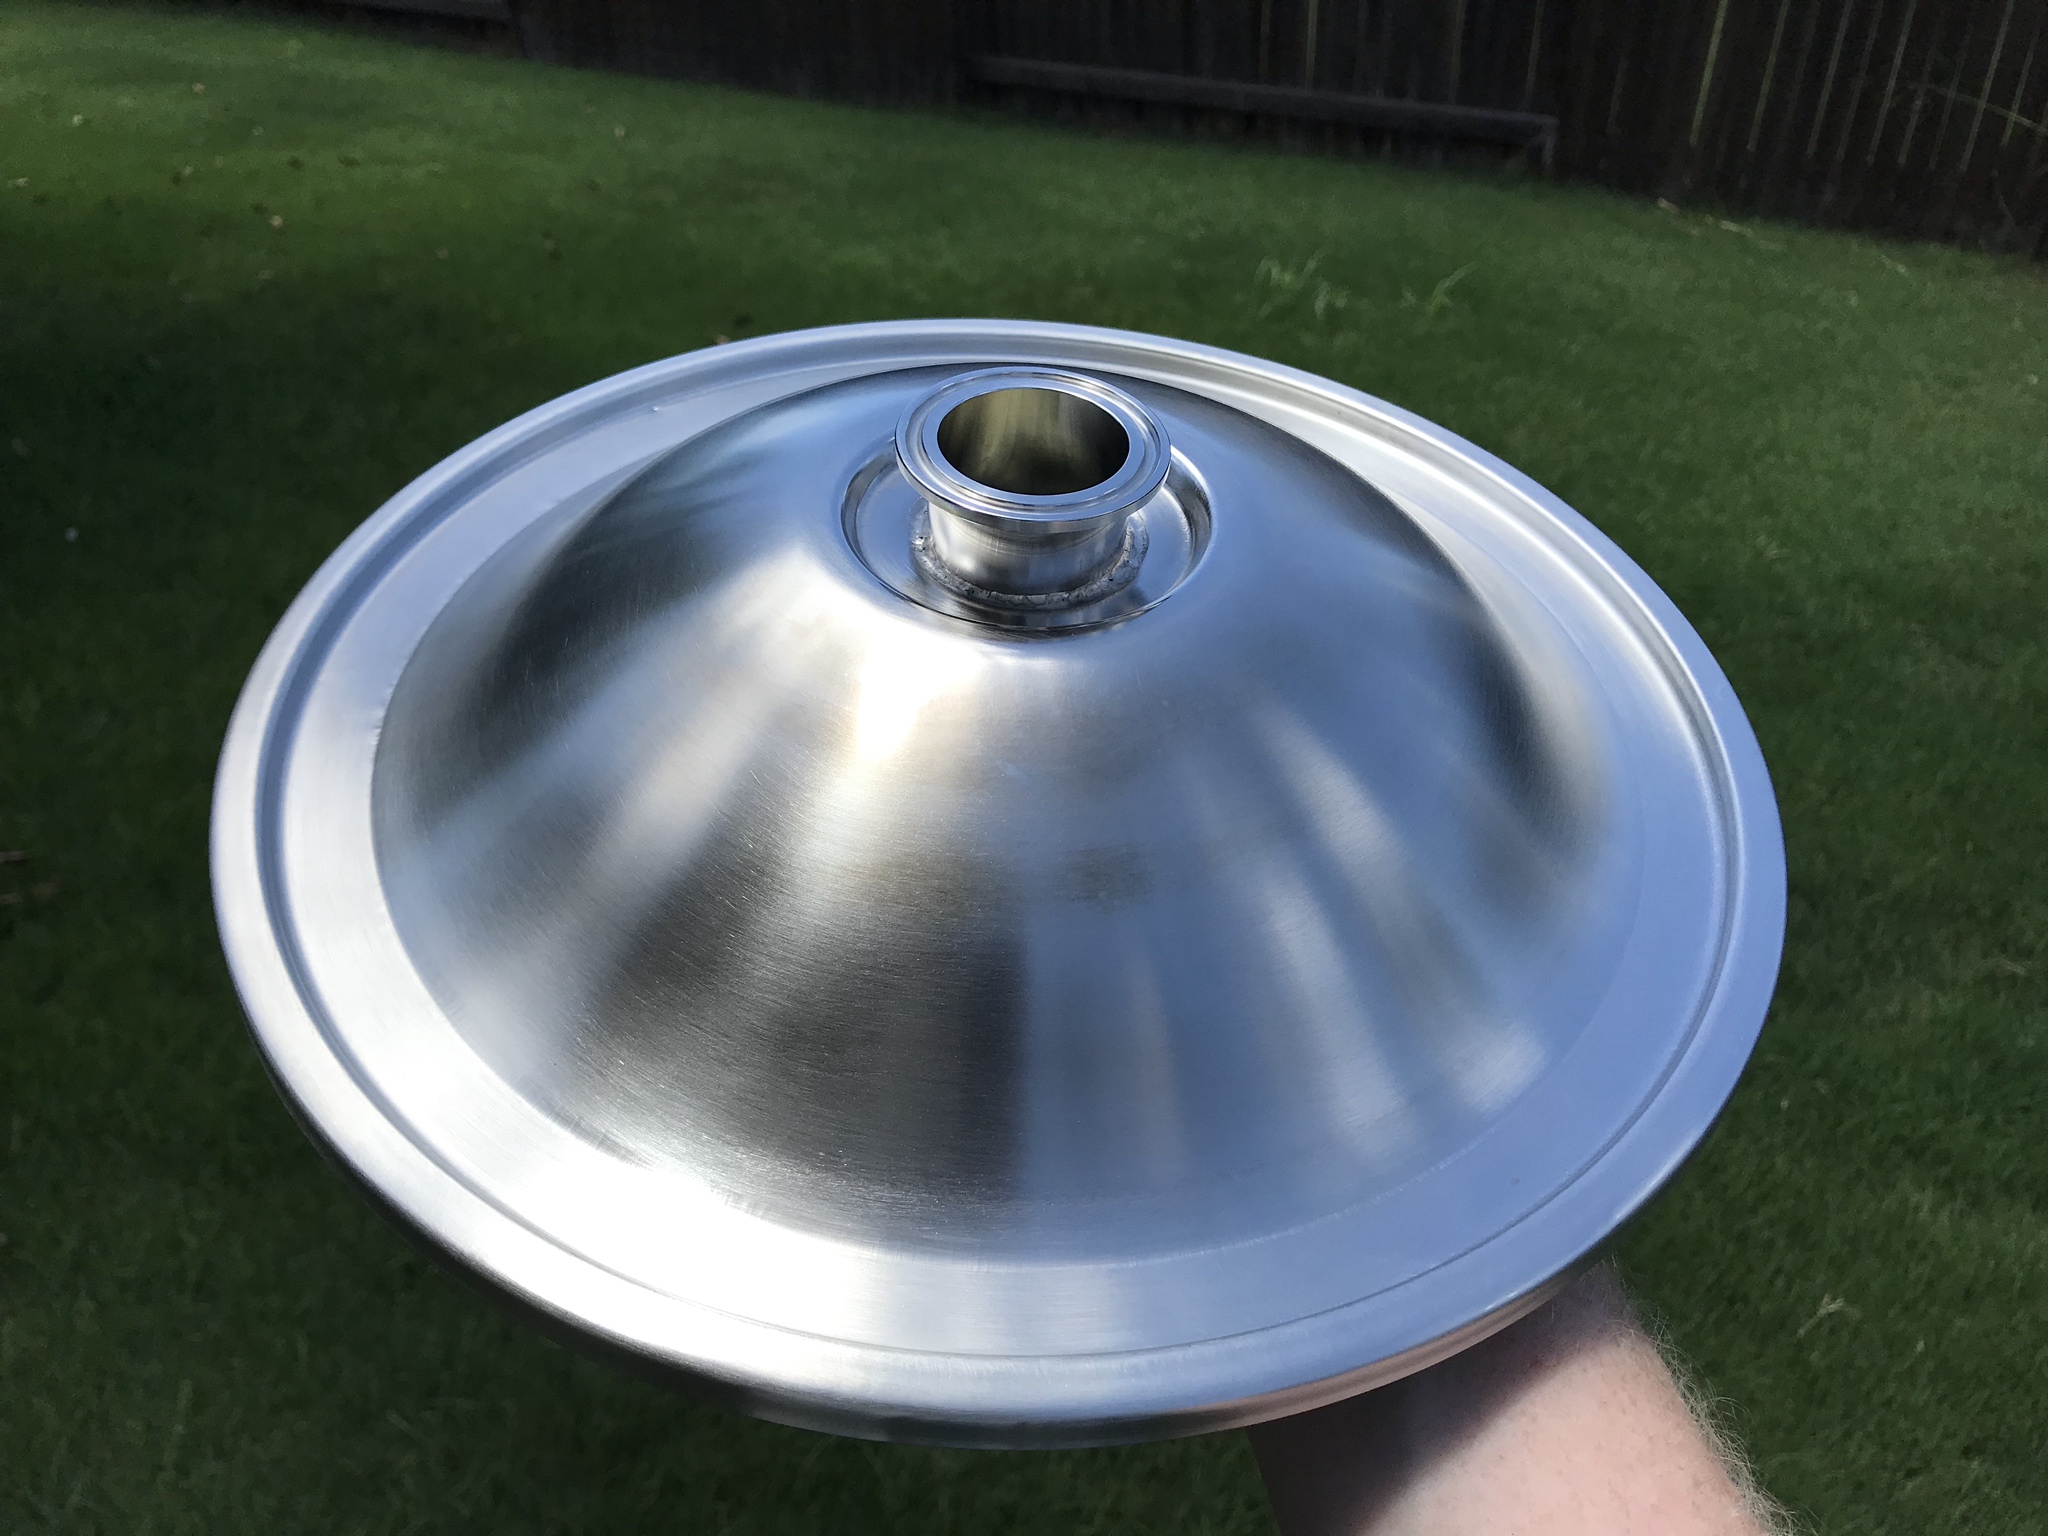
Side note: while testing how much pressure this piece could handle, I found that my anvil fermenter lid could not handle much at all without relief. The seal on the lid was failing with about as little pressure as I could give it. Won't be an issue with transferring but, in the future, fermenting under pressure would probably require some mods. Maybe even just some extra weight on the lid or some shims under each clasp.

IMG_0747.JPG
IMG_0746.JPG
IMG_0745.JPG
 
Brewed my first batch with the Anvil Bucket. Great experience. I was able to complete a closed transfer effortlessly. For the Gas in, I used a #7 stopper with a MFL to Barb Adapter. This allows me to hook my CO2 tank directly to the top of the fermenter.

For the output. I connected a 1/2" tubing and clamp to the barb outlet. On the other end, I connect to a Barb to FFL adapter and then to MFL Ball Lock Connector (much like the Brulosophy post above). In order to vent the keg, I used a Gas Ball Lock and vent to air.

I was able to keep a seal with about 1-2 PSI, drain by gravity. Worked beautifully with a Weizenbock that is now sitting on bourbon soaked oak spirals.

Stoked with my experience.
 

Attachments

  • 20180531_135341.jpg
    20180531_135341.jpg
    1.2 MB
  • 20180531_135353.jpg
    20180531_135353.jpg
    1.2 MB
I just received mine, and straight from the factory there is a 1 inch wide band of really rough machining marks in the inside wall running along above the bottom rim. When I stuck my head in as best I could to get a closer look, I found pitting everywhere in the scratches, and dark discoloration inside the pits that cannot be seen from the top looking in. The "QC Pass" sticker on the bottom is clearly there for looks (or a cruel joke). I wish I could get a picture good enough to show, but I already packed it back up for a refund.

A follow-up on this:

I never got an acceptable resolution from either the merchant I bought it from or from Anvil (i.e., Blichmann).

The customer service of the merchant is not the subject of this thread (and I won't elaborate further), but I believe the complete lack of response from Anvil/Blichmann is relevant to the experience of using this product if someone encounters a problem.

I had to file a chargeback. I hope others' experiences are much better than mine in the future. I really wanted to use the heck out of this thing.
I had problems and they fixed it immediately, less than 24 hours I hand a new ball valve.

Who did you speak to there?

Are you done, disgusted or still willing to resolve this or have you requested a refund?

I'd ask for another fermenter.

I also sent them photos to show them the problem.

Did you do anything like that?
 
Just finished my first batch with my Anvil Fermentor. Like anything else, I learned a few lessons:
  1. THE BARB NEEDS A HOSE CLAMP! I've been using 1/2" silicone for years now and didn't have any clear 1/2" hose. I was forced to use silicone so I couldn't really keep an eye on the clarity of the liquid I was transferring. Also... I guess I needed a hose barb? I was not prepared for that. I started my transfer by cracking my ball valve 1/2 way. Anything more than that would suck in air since I didn't have a clamp on the hose/barb.
  2. Use a hop bag when dry hopping. I always just dumped my dry hops into my carboys and used a nylon bag over my siphon. I took a chance and clocked my dip tube at the 3 oclock position before filling my fermentor (to avoid hops collecting in the tube), tossed in my dry hops when the time was right. Cold crashed for 48 hours. When I was transferring to my keg, the flow stopped about 2/3 through. I can't tell if it clogged or what, because when I was cleaning with PBW and hot water, it seemed to flow fine even though it refused to flow earlier. *shrug*
  3. CIP time. I had dry hop scum all the way up the side of fermentor wall and the lid. I'm so used to my automatic carboy washer doing all of the hard work that I forgot what it was like to actually have to scrub that stuff. I have a spare pump and CIP ball. I'm absolutely rigging that up next time to recirculate some cleaner and spare me some scrubbing.
  4. Should I be taking the whole ball valve and dip tube off to clean every time? I can't decide.... I cycled cleaner through it, but...what's your take?
Side note: I've heard hop sludge can turn blackish on stainless steel. I was introduced to that on my first batch. Gave me a quick scare until I remembered that's probably normal.

All in all, I like the product. I have some adjustments I need to make, but it shows promise.

Would love to see pics of your CIP setup when you have it up and working. However I found it much easier to clean than my old carboys.

I do take off the ball valve/dip tube. My thought is that's where a lot of trub/yeast/hop material sits, so I'd rather give that a good clean.
 
Would love to see pics of your CIP setup when you have it up and working. However I found it much easier to clean than my old carboys.

I do take off the ball valve/dip tube. My thought is that's where a lot of trub/yeast/hop material sits, so I'd rather give that a good clean.

I have a spare CIP ball with a camlock fitting. It barely fits through the opening in the fermenter lid. It's not a perfect seal, but still should work ok. I was thinking of filling a bucket of PBW and placing it on the ground. Drop in my pond pump with a 1/2" barb that runs the cleaner up to the CIP ball...then drain the ball valve back into the bucket.

Run that for about 15 minutes.... rinse... and then disassemble ball valve / dip tube for individual soaking.
 
No, the gas post is connected to a tube that is connected to the airlock attached to the fermenter. I actually don't use an airlock but instead a carbcap that's jammed into a stopper, but its all the same.

If you're transferring from a fermenter with a spigot, you can attach a hose from the spigot to the liquid out post. That presents two problems. First, assuming you've purged the serving keg with co2, you've got positive pressure in there and the beer won't flow. Second, as the beer leaves the fermenter, air fills the headspace, potentially oxidizing the beer. If you look at Kingmatt's picture, he solves #1 by venting the keg, and #2 by sending CO2 from the tank into the fermenter headspace.

What I propose is that you take Kingmatt's setup, but remove the CO2 tank and instead connect that gas line to the gas post on the keg. Now when you open the valve on the fermenter, the beer will flow into the keg via gravity, and the gas in the keg will flow into the fermenter headspace.

The benefits I've found are that I (1) save some co2; (2) don't have to monitor the pressure in the fermenter that's not rated for pressure; (3) simplicity--one less piece to deal with (the co2 tank).
Question about this method:
In order to do this, you would need to make sure the positive pressure in the keg isn't much more than 1-2 psi, otherwise you could push more pressure to the fermentor than it can handle, right?

I really like this idea though.
 
Question about this method:
In order to do this, you would need to make sure the positive pressure in the keg isn't much more than 1-2 psi, otherwise you could push more pressure to the fermentor than it can handle, right?

I really like this idea though.

I don't think so. If you hook the fermenter spigot up first, any positive pressure may cause co2 to leave the keg through the QD and go into the fermenter via the spigot, but that would just bubble up into the airspace and maybe out the airlock.
 
I don't think so. If you hook the fermenter spigot up first, any positive pressure may cause co2 to leave the keg through the QD and go into the fermenter via the spigot, but that would just bubble up into the airspace and maybe out the airlock.
Yep. So you're saying hook up the keg gas post to the fermenter gas post to let the co2 pressure in the keg equalize with the fermenter headspace. Then crack the spigot and let it flow...
 
Yep. So you're saying hook up the keg gas post to the fermenter gas post to let the co2 pressure in the keg equalize with the fermenter headspace. Then crack the spigot and let it flow...
Yep. Don't even need a gas post on the fermenter. Just a bung to stick the tube through, or attach it to an airlock. I had a carb cap so I use that jammed in a bung.

I saw it on another post somewhere. I've only done it once but it worked like a charm. A but simplier than using the co2 tank.
 
This is a great solution to a non-problem. It looks like a great way to separate the brewers from their money with little improvement but plenty of "shiny". Plastic buckets work just fine, cost way less, and can be replaced regularly without costing as much as one of these. If you have the money to waste on "shiny" go right ahead. I prefer to spend money on what is important in brewing, the ingredients. My 10 year old bucket still makes great beer.
Awesome reply !!!!
 
Awesome reply !!!!
Not really. I mean, sure, they're not essential, but that doesn't mean they're a waste of money. There are plenty of functional reasons to prefer this over a bucket. To come on a thread and just say everyone is wasting their money doesn't add much to the discussion, IMO. :Cheers:
 
Not really. I mean, sure, they're not essential, but that doesn't mean they're a waste of money. There are plenty of functional reasons to prefer this over a bucket. To come on a thread and just say everyone is wasting their money doesn't add much to the discussion, IMO. :Cheers:

Yeah, yeah, he's just a bucket snob. LOL. [emoji12]
 
Not really. I mean, sure, they're not essential, but that doesn't mean they're a waste of money. There are plenty of functional reasons to prefer this over a bucket. To come on a thread and just say everyone is wasting their money doesn't add much to the discussion, IMO. :Cheers:
Stainless is easier to clean and doesn't get stained over time. Hence the name. My two 8.5 gal brew buckets are stained yellow. They're both 12 years old. They also have scratches that need to be scrubbed with a tooth brush. Mine just needed to be replaced.

I got these since I always wanted stainless and I like how they look. I also brew frequently, so why not. They make for nice decor for my brewery.

I also like not having to use my auto siphon. Drain right to the keg.

20180430_232658.jpeg
 
Hmm only 1-2 psi in the fermenter not too good. Is that all it needs going out the bottom? I gas transfer from my glass carboys and it takes about 3.5-4 psi to go out the top. Mostly holds.
Was also wondering if you can turn the pickup tube down to harvest yeast? Or is it too high or too small?
 
Hmm only 1-2 psi in the fermenter not too good. Is that all it needs going out the bottom? I gas transfer from my glass carboys and it takes about 3.5-4 psi to go out the top. Mostly holds.
Was also wondering if you can turn the pickup tube down to harvest yeast? Or is it too high or too small?
What do you mean about 1-2 psi is no good? It doesn't need any to drain via gravity. The 1-2 psi is just enough to keep a blanket of O2.

I don't subscribe to that oxygen barrier fears. Been brewing long enough to not consider it an issue. I drain to a keg three weeks after pitching, the co2 comes out of solution and leaves a blanket of on top of your beer anyhow. Then hit it with gas. It's no problem. The beer is gone in another three weeks. I'm never really concerned about about oxidation, using this over an auto siphon is a big improvement.

As for collecting yeast. It's too small in my opinion, I wouldn't want it getting clogged. Then have to resort to using your autosyphon. You can get yeast out just like you would in bucket fermenter. Dump to a large jar with distilled water and wash.

I use dry yeast nearly all the time since liquid yeast isn't at my LHBS. I'm not even thinking of it for that.

If you make starters, you can culture yeast quiet easily so that it's not much of a concern. Every time you open a smack pack at add an eye dropper of it to test tube. You can build up a big collection. Then all you need is a small starter and a inoculation loop one dip from the test tube to your starter and your in business, let it rip in your small starter on a stir plate and step it up once and week later your good to go. Test tubes of yeast can last years, especially if you use one drop at a time.
 
I got used to pushing the beer out of glass carboys with gas, was a great way to leave all the trub behind and was fun. I guess its not really needed with this bottom drain. someone mentioned above that it would only hold 1-2psi before it started leaking out of the lid, I thought it would hold more. maybe its handy if you want to push beer up or didn't want to pick it up. I'll just wash yeast like from the old bucket. no big deal
 
Has anyone had any luck doing pressure transfers with a large dry hop bill? 8oz+?

With my first batch, I had 2oz of dry hops. I cold crashed for 48 hours to 36 degrees, and the valve clogged after about half of the batch was transferred. It was an open transfer and I only had the valve open half way. I assumed the barb was standard 1/2" and would fit a 1/2" hose with no need for a clamp, but I was wrong. I needed to dial back the valve to avoid sucking in air. I fixed this for my second batch and was able to open the valve 100% during transfer.

So again... if I want to brew a NEIPA with an 8oz dry hop bill... what should I do to avoid problems during transfer?
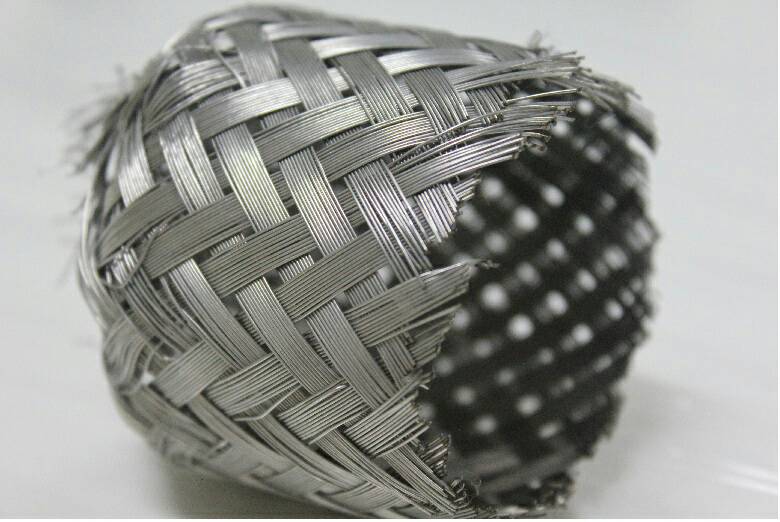
If you can find a stainless steel strainer that might be the ticket.

I use this on my one mash tuns. You can pull it off a new toilet tank fill line. Just cut the ends off, pull out the liner, and then hose clamp it on the pick up and plug the other end with stainless threaded plug and another clamp.

SINGLE%20BRAID.jpeg


.
 
Last edited:
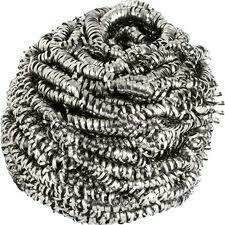
Or turn the pick-up down into this stainless scrubber.... You'd need to do this before adding your wort.

I use one on my keggle pick-up when I whole hop.

I also shove these into outboard prop exhaust to keep the mice out of the motor when I winterize the boat. Meeces don't like chewing on stainless steel.
[emoji4]
stainless-steel-scrubber-250x250.jpeg
 
Back
Top