New Anvil Bucket Fermentors

Homebrew Talk - Beer, Wine, Mead, & Cider Brewing Discussion Forum

Help Support Homebrew Talk - Beer, Wine, Mead, & Cider Brewing Discussion Forum:

This site may earn a commission from merchant affiliate links, including eBay, Amazon, and others.
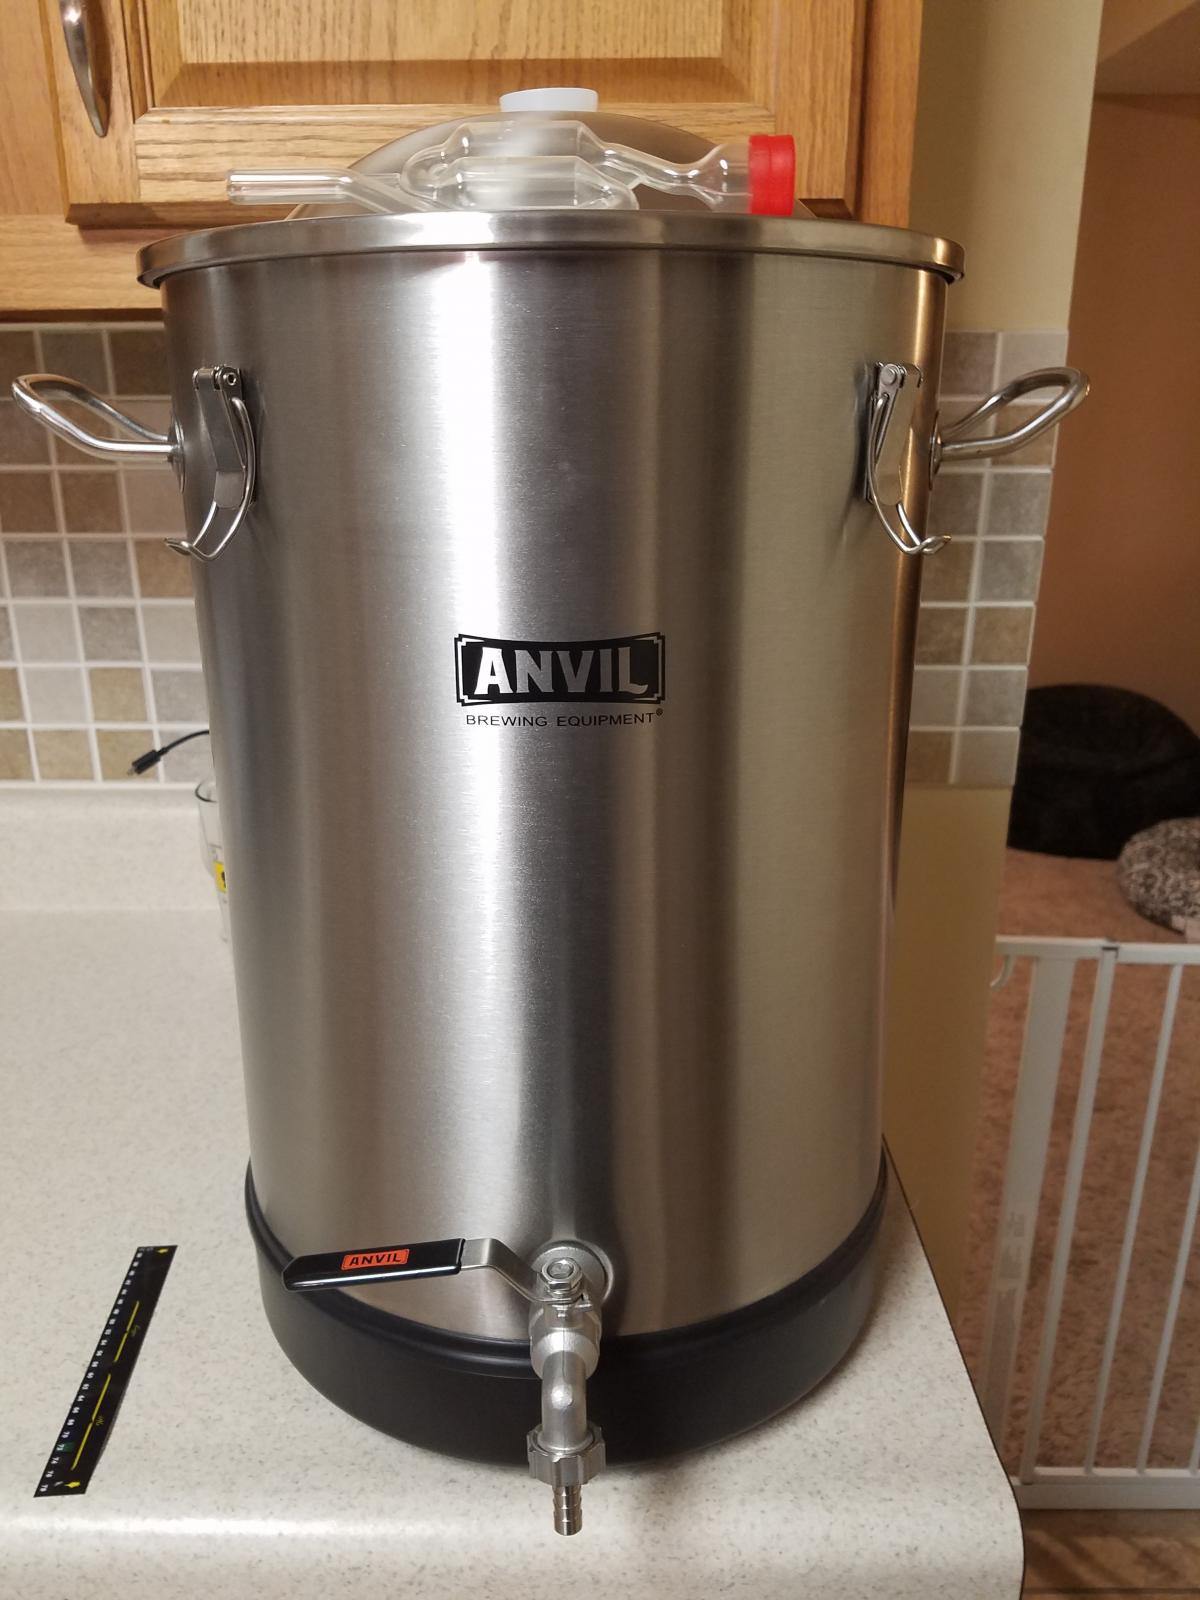
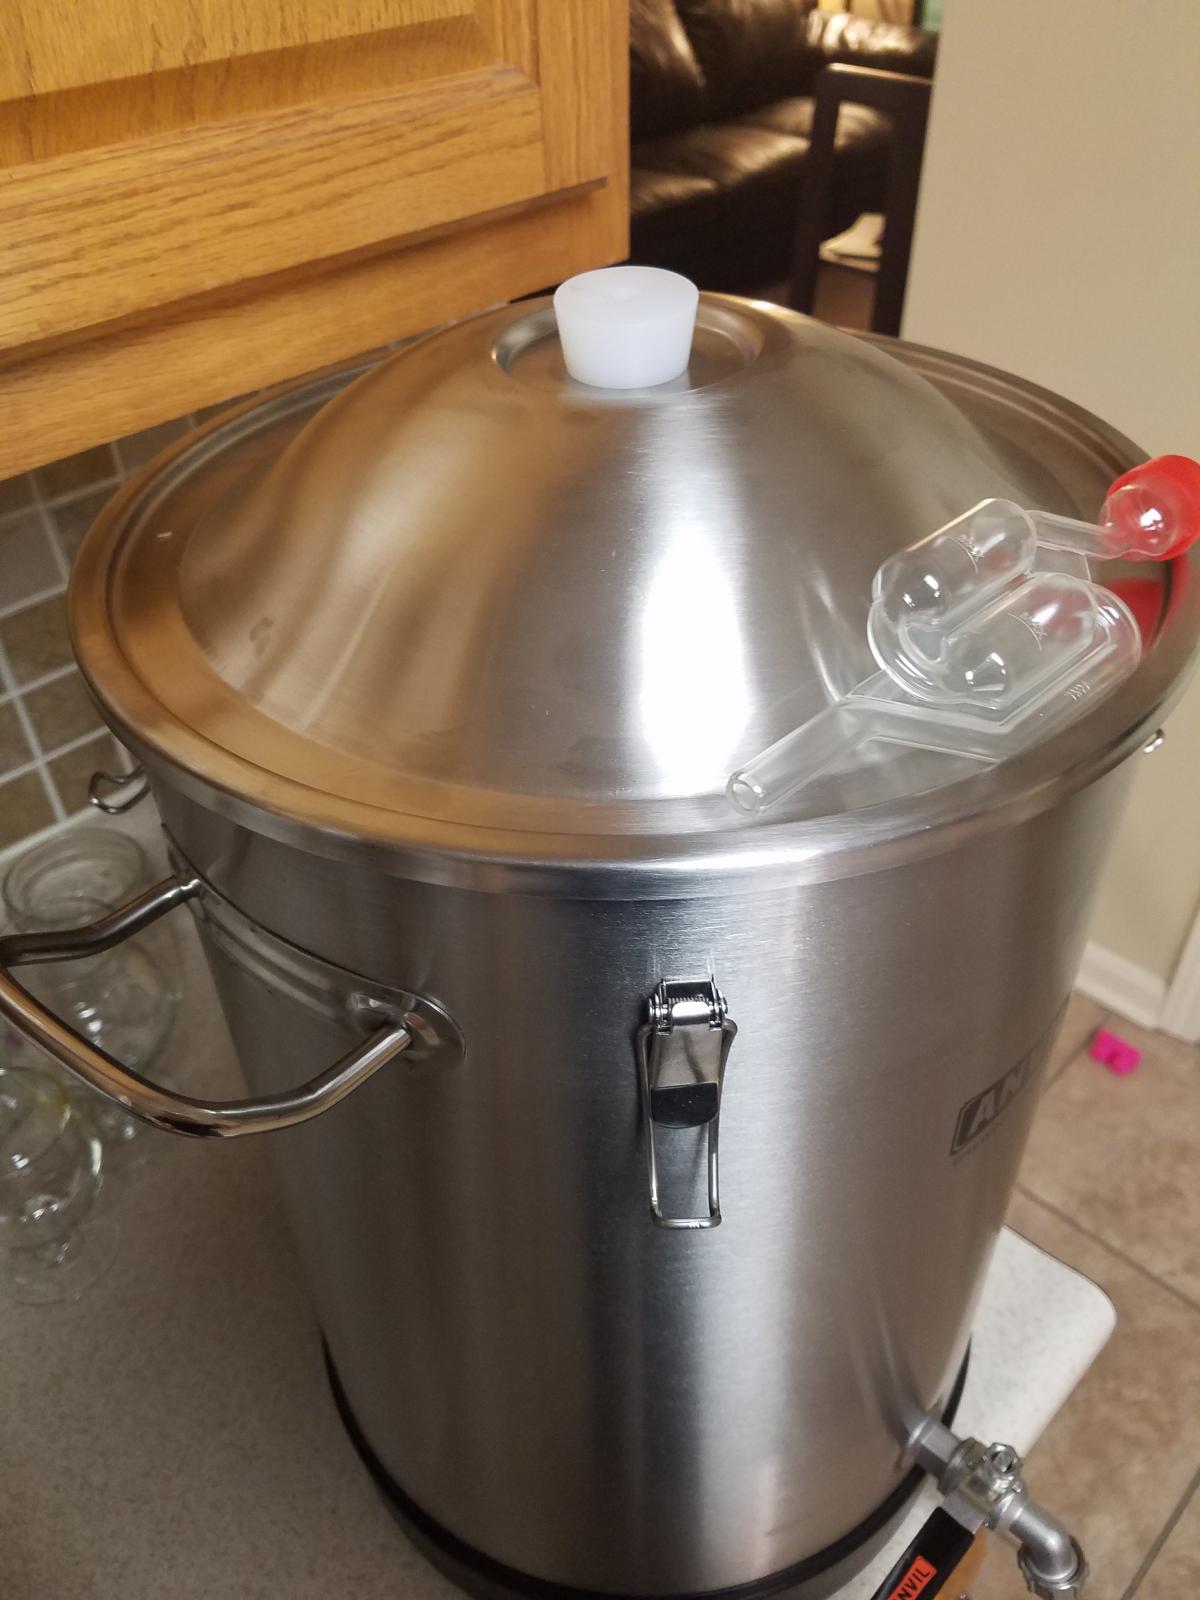
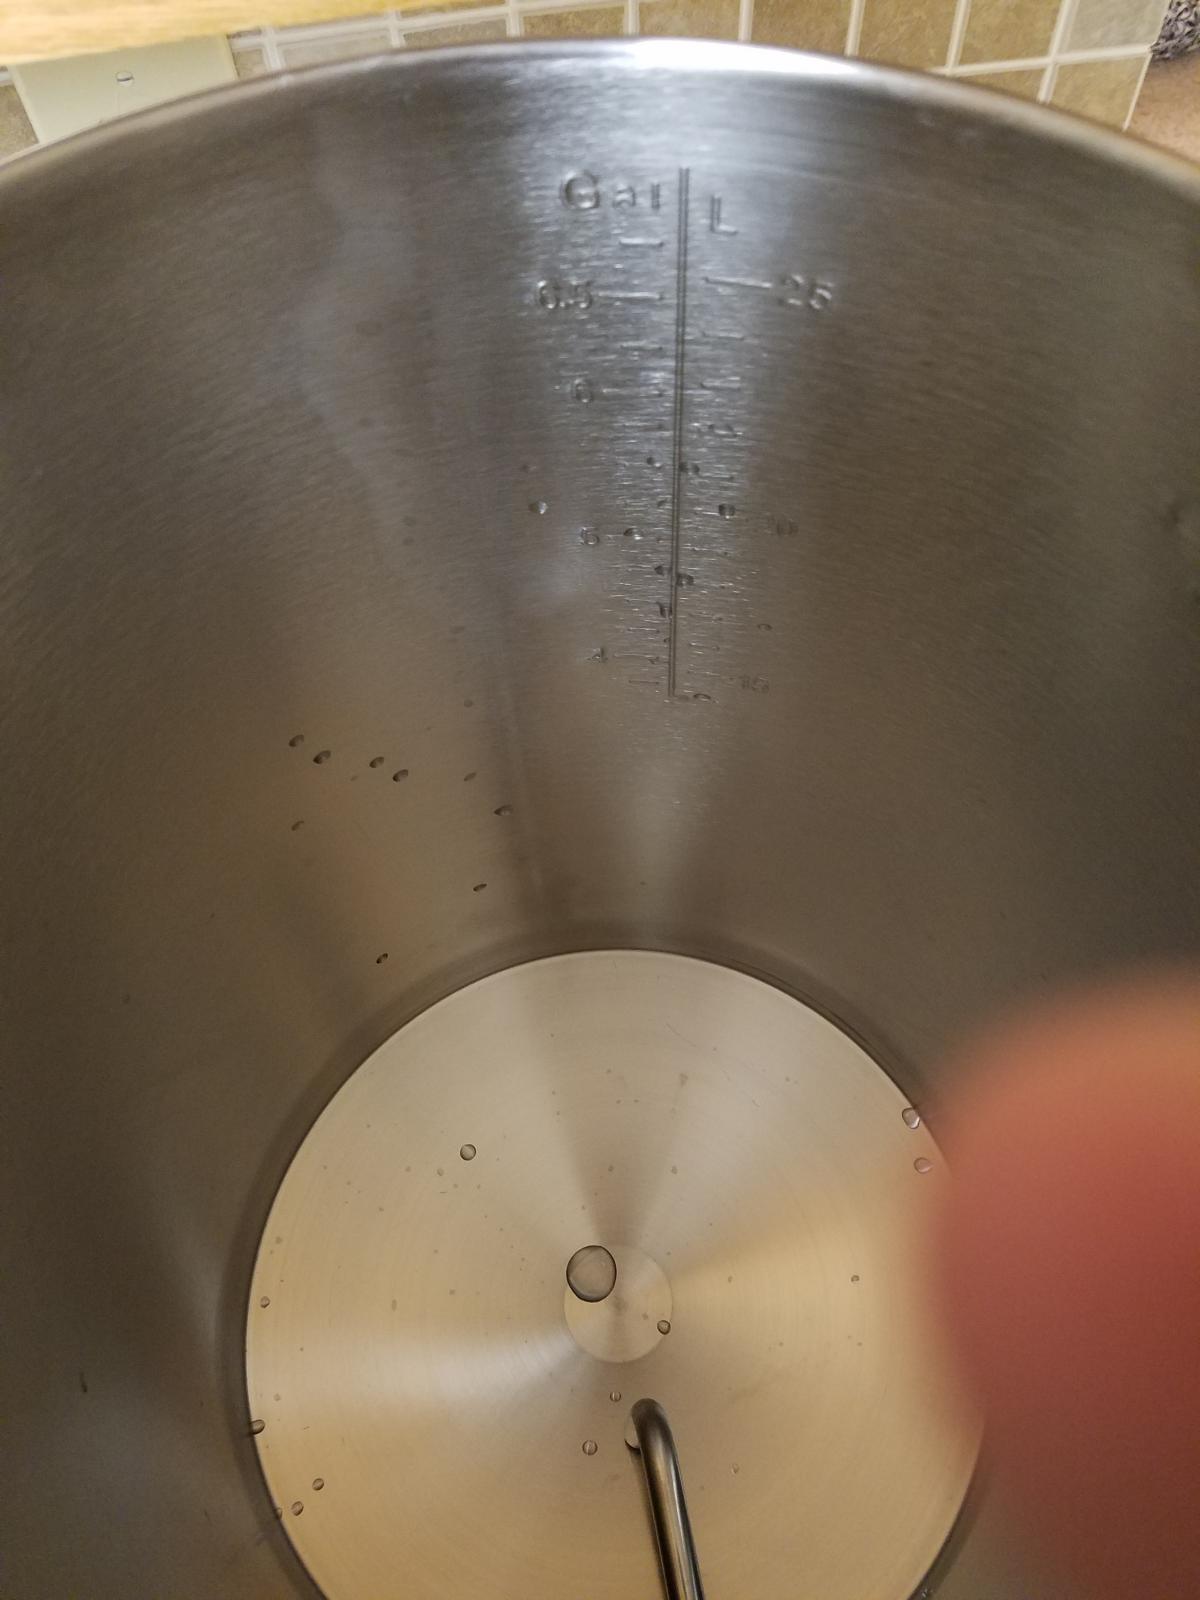
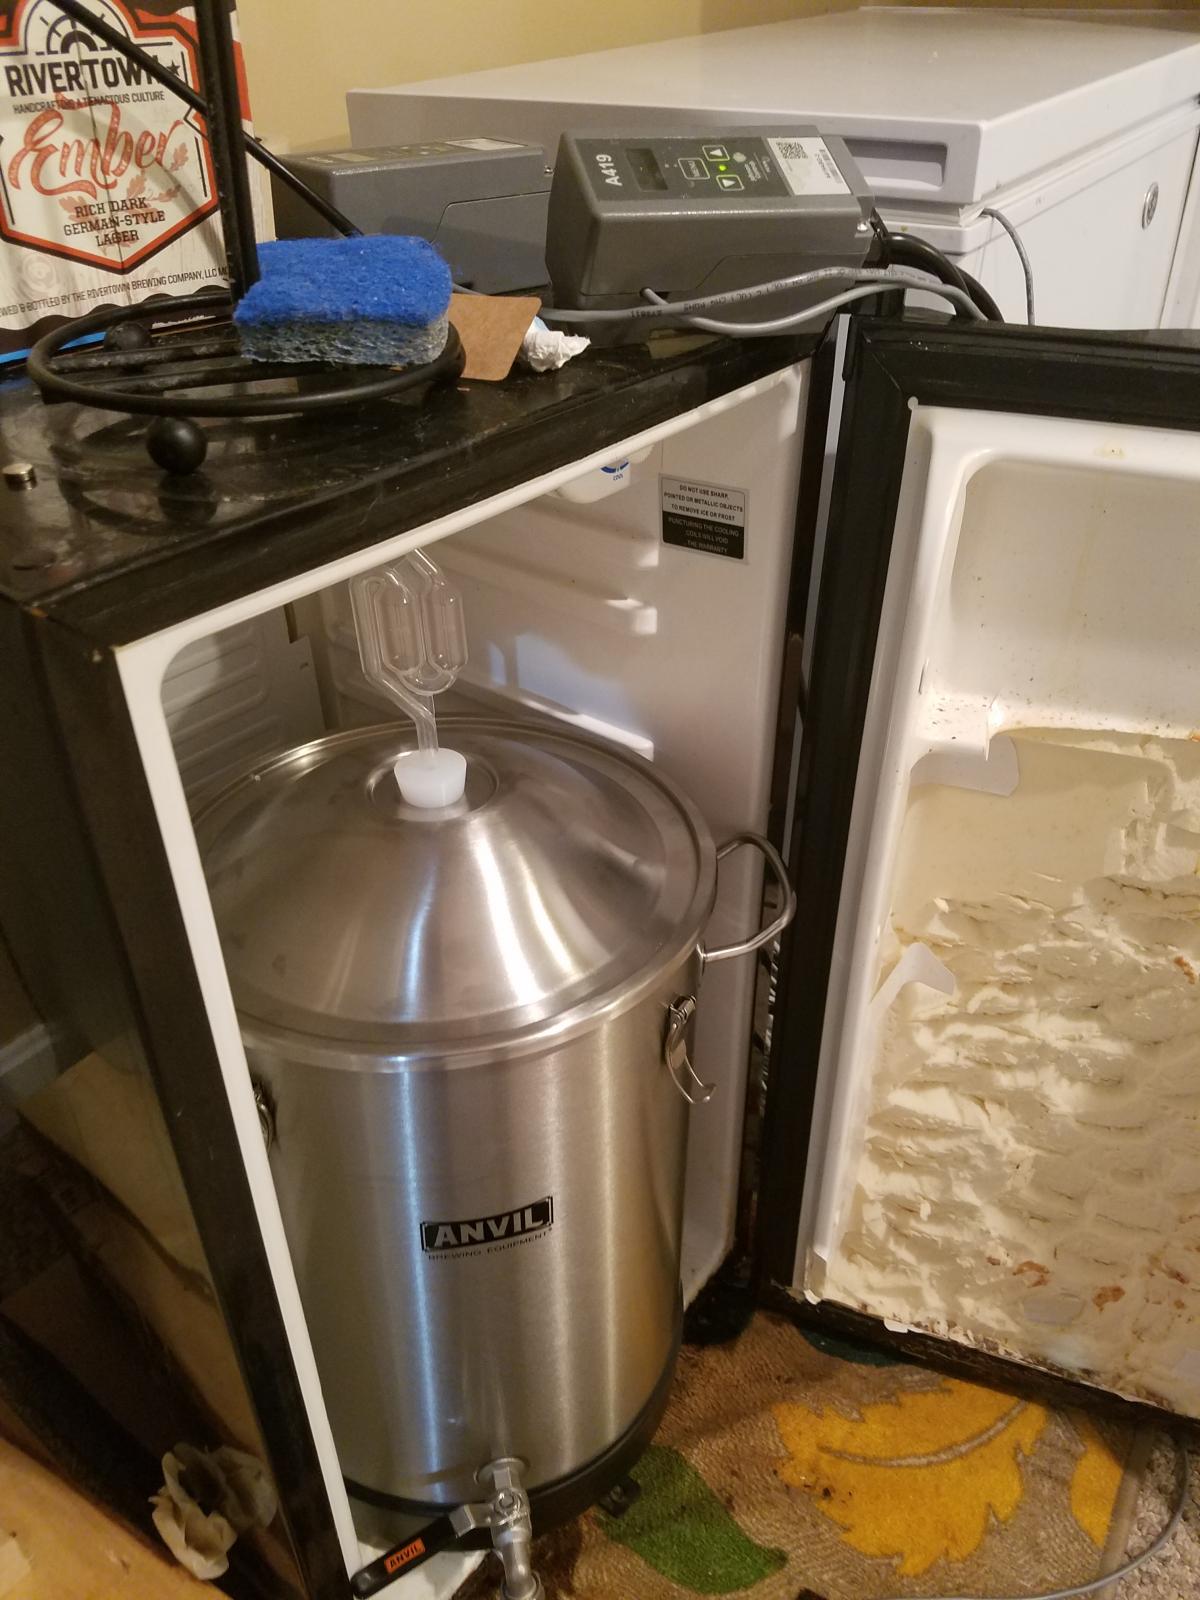
Here are some pictures.

20171025_190436.jpg


20171025_190442.jpg


20171025_190447.jpg


20171025_190501.jpg


20171025_203714.jpg


20171025_203741.jpg
 
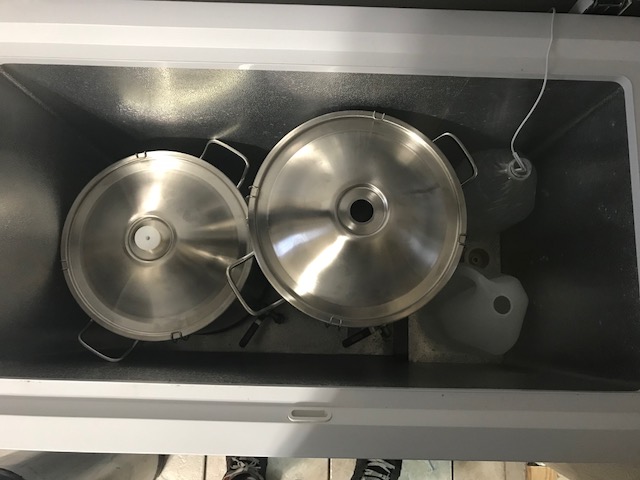
So it definitely won't fit in my mini fridge, but it fits easily in my chest freezer I also ferment in. 2 could fit in there easily. But unless you have some huge mini fridge, these will be too big.
 
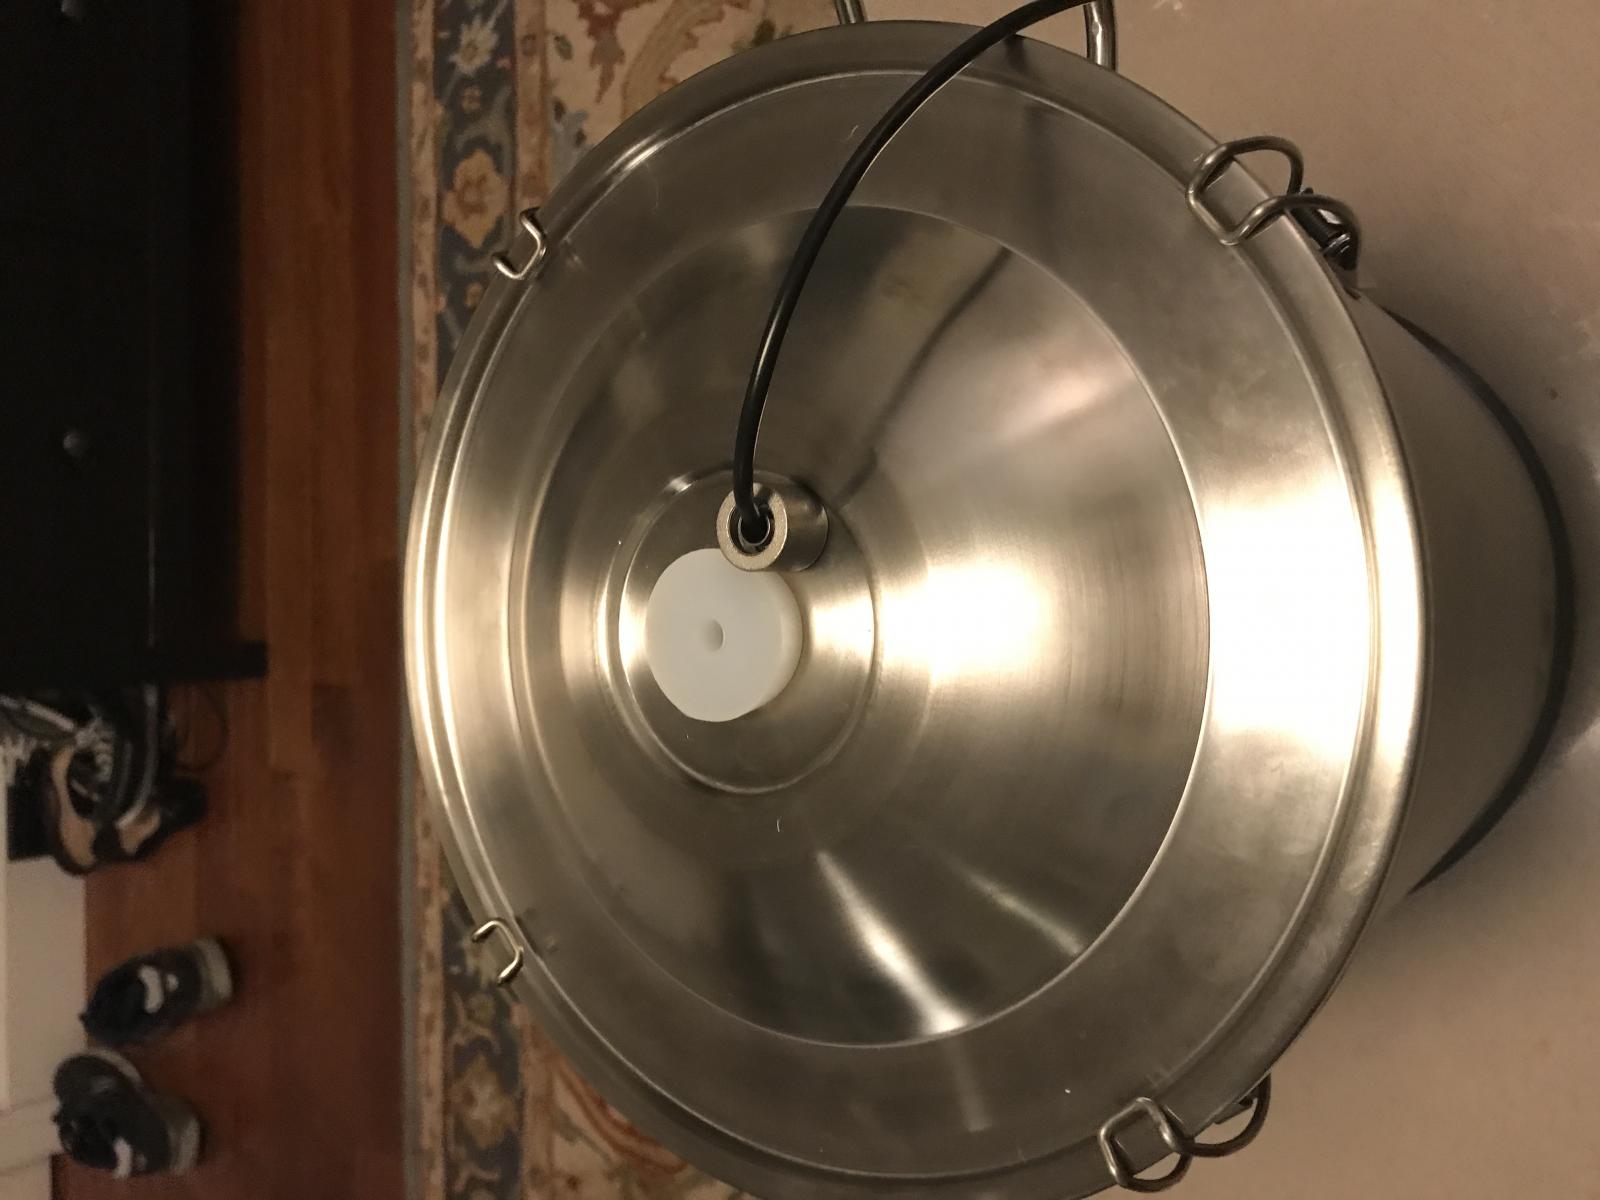
What's you initial impressions? How about the gasket in the lid, got a pic of that? I'm about to pull the trigger on one of these, or another SS Brewbucket, just waiting to hear how they are.
 
Thanks for pics.
I see you have a fermometer. The ones that I have on my glass carboys are usually fairly accurate. I’m wondering how accurate they’ll be on stainless.
 
Thanks for pics.
I see you have a fermometer. The ones that I have on my glass carboys are usually fairly accurate. I’m wondering how accurate they’ll be on stainless.

Yep, it came with the bucket. I'll probably toss it on there just to see how accurate my fermentation temp controllers are, but I don't normally use them.
 
What's you initial impressions? How about the gasket in the lid, got a pic of that? I'm about to pull the trigger on one of these, or another SS Brewbucket, just waiting to hear how they are.

The stainless is a bit thin, and it's very light. However I still find it to be sturdy enough and a nice piece for this price point. I plan on buying 3-4 more to round out my equipment and finally be rid of plastic.

I'll check the gasket in a little bit for ya.
 
Alright fellas time for some real life size comparison pictures.

Next to a 7 gallon fermonster. Its a couple inches shorter and about an inch wider body, not counting the added width of the handles or spigot.

The silicone seal seems to give it an air tight seal (have not used it yet) but everything seem good!

4.jpg


3.jpg
 
I have a 5 cu. ft. chest freezer as my fermentation chamber and I have to squeeze to get the two in there. If you have a bigger chest freezer then I think you would have no problem fitting two or more depending on your size. I have about 6 -7 inches of cleared height so no problem there. The only part that hits the hump is the plastic bottom on the fermenter so I may try to take that off later to see if that clears it. If these were literally .5 inch skinnier they would fit like a glove in there.

2.jpg


1.jpg
 
The only way I'm paying for stainless is if I can ferment under pressure and then I'd also want built in temp control. Otherwise my BMB, inkbird and chest freezer work just fine.

The bottom line is that I really like being able to see what's going on. I'd give it up for pressure and temp control, but not just to go stainless. It clearly fills a need though, so carry on.
 
I don't know, exactly, why they make them this way, but if the handles were fore-and-aft, instead of port-and-starboard, it would be easy to fit it in that ferm chamber.

I think it's to make walking easier when holding it by the handles. If you're holding it fore-and-aft you'd kick your shin into the spigot.
 
The only way I'm paying for stainless is if I can ferment under pressure and then I'd also want built in temp control. Otherwise my BMB, inkbird and chest freezer work just fine.

The bottom line is that I really like being able to see what's going on. I'd give it up for pressure and temp control, but not just to go stainless. It clearly fills a need though, so carry on.

Nice feature but that would skyrocket the cost. These are only $130 and will last a lifetime. My fermonsters cost $35 but I already had to replace the screw on tops (they cracked) and silicone ring on both. I've made enough beer to realize that me being able to see the beer fermenting doesn't help the fermentation process at all.
 
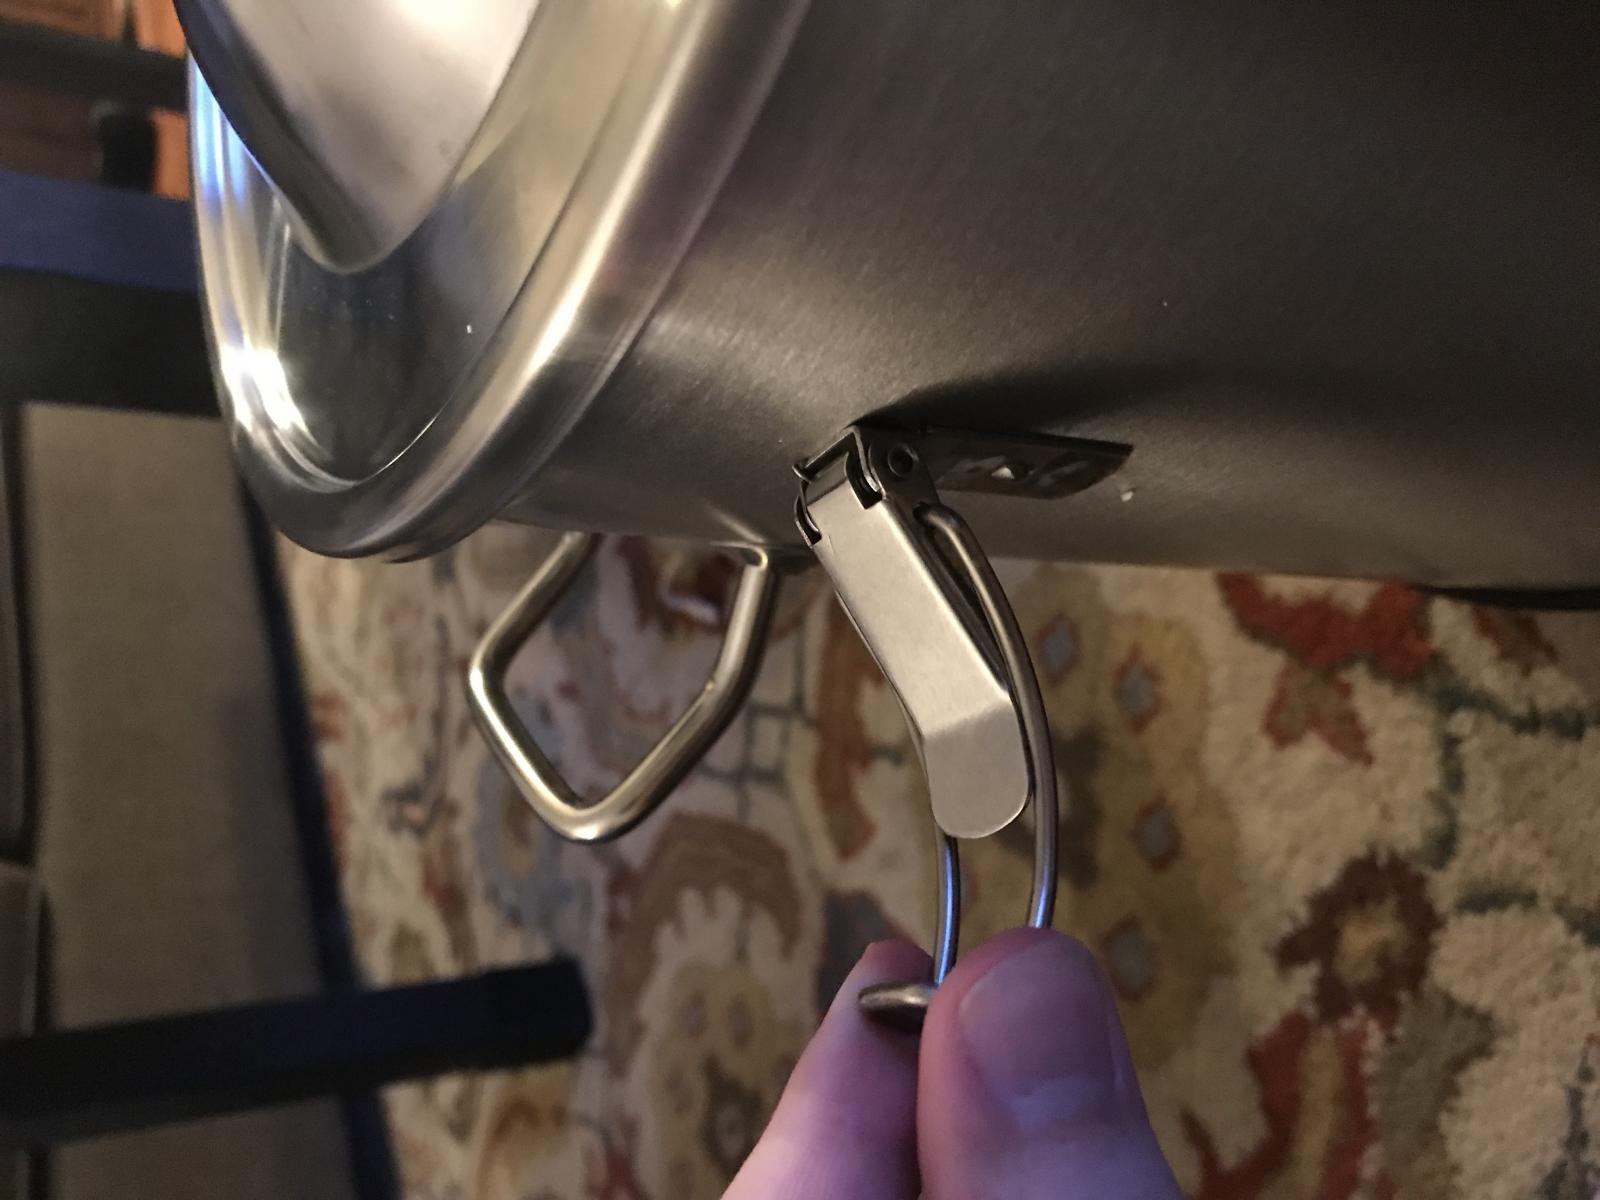
So I got my 4 gallon Anvil fermenter in today, BUT! ...they soldered the hinges on backwards. I can't actually close/seal the lid of the fermenter.

Oops. I'll give Anvil a call tomorrow & report back.

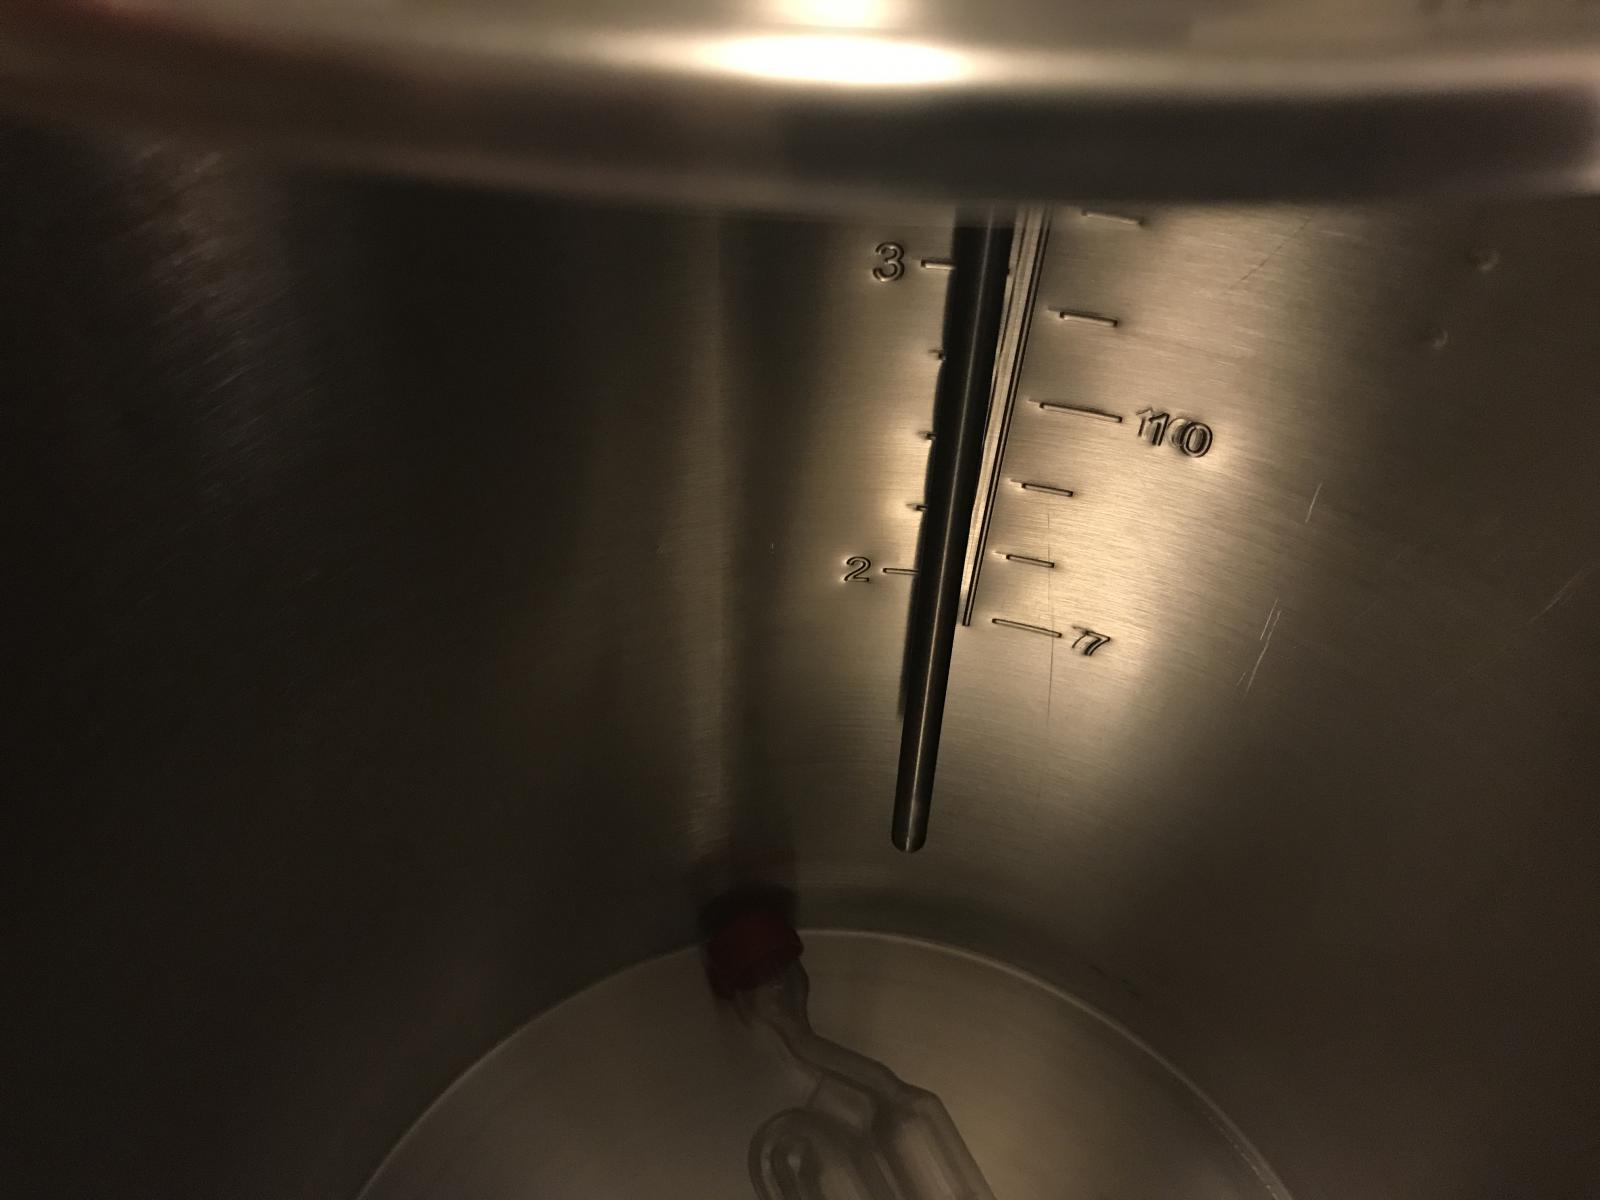
That said, I want to give a massive shout out to @Bobby_M who installed a thermowell which goes through the lid and dips down to about the 1.5 gallon line. Once I get the issue with the hinges resolved, I'll post pictures. Very excited!
 
Can someone verify the width not including the spigot or handles for the 7.5 gallon. An earlier post indicates 12". Want to see if one will fit in my Vissani chamber, which is 12" on the bottom at the hump. All though it may not work with the handles and valve being 90 degrees. If the handles were only fold down!

Thanks
 
Questions regarding the base of the unit:

- Is it hard plastic, hard rubber or some other material?
- Is it removable?
 
My 7 gallon came with the latches backwards too. It’s as if the clasp part was underneath the buckle then soldered on. It took a few minutes the get pliers and spread the clasp so I could pull the buckle through. I took pics just in case I broke something in the process.
Other than that everything looks great. I won’t have a chance to brew for a while but will give a proper update/review soon.
 
Questions regarding the base of the unit:

- Is it hard plastic, hard rubber or some other material?
- Is it removable?


It’s hard plastic. It looks like it’s glued on, looks easy to remove. I might need to do that to one of mine to be able to fit both in my freezer.
 
Can someone verify the width not including the spigot or handles for the 7.5 gallon. An earlier post indicates 12". Want to see if one will fit in my Vissani chamber, which is 12" on the bottom at the hump. All though it may not work with the handles and valve being 90 degrees. If the handles were only fold down!

Thanks


It’s about a half inch to an inch wider than 12. The body looks like it’s 12 but the top lip and plastic bottom makes it what goes over 12.
 
My 7 gallon came with the latches backwards too. It’s as if the clasp part was underneath the buckle then soldered on. It took a few minutes the get pliers and spread the clasp so I could pull the buckle through. I took pics just in case I broke something in the process.
Other than that everything looks great. I won’t have a chance to brew for a while but will give a proper update/review soon.

Yep, exactly. I reached out to Anvil support and the guy mentioned having seen a similar issue on one of the fermenters they inboxed - I'm guessing one of the people on the assembly line didn't think the installation all the way through. Anvil sent back explaining how to fix it.


Sure enough I was able to pop all the tabs behind the wire bales without much effort. As far as "potential issues" go, this is about as harmless as they get. I'm looking forward to using my fermenter this weekend!

IMG_6491.jpg
 
Last edited by a moderator:
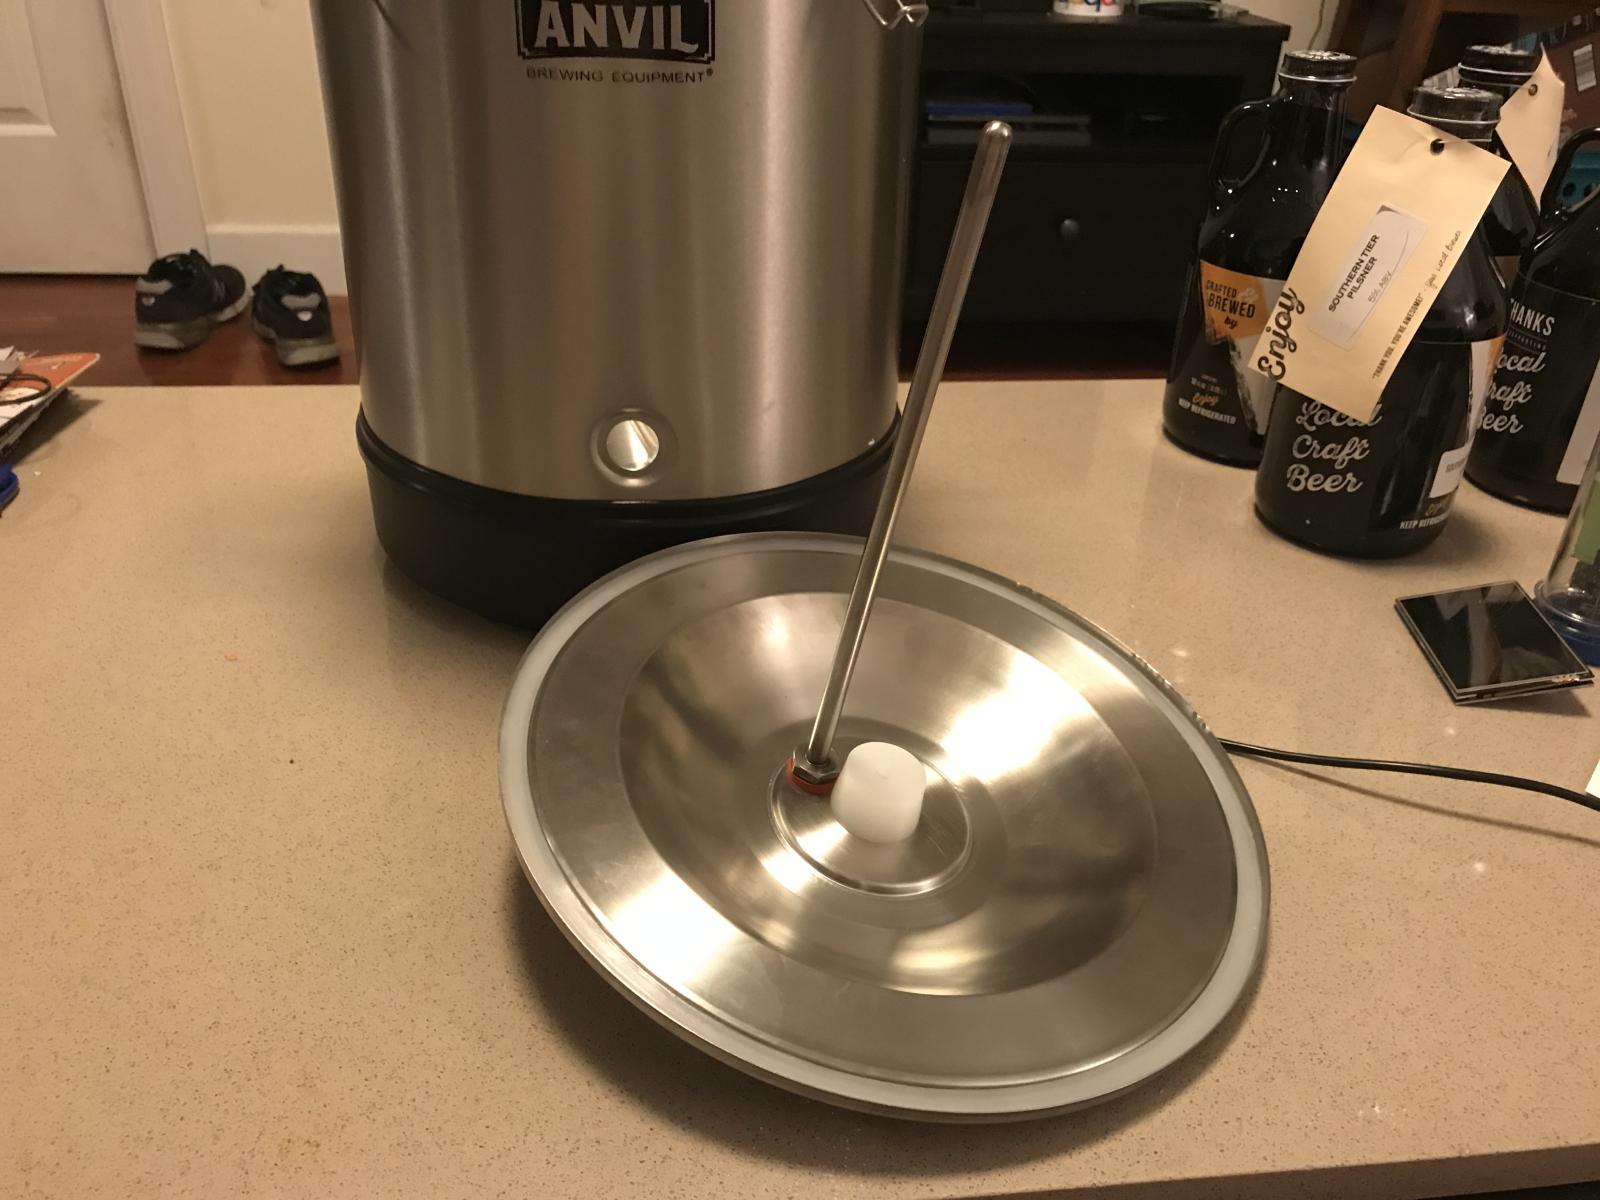
One of the main reasons I wanted a stainless fermenter was to be able to install a thermowell that I could use with BrewPi. I reached out to Bobby at BrewHardware, and the solution he came up with was to put a thermowell in the lid which would reach down to the liquid line. Sure enough - it works! Definitely looking forward to trying this out soon!

IMG_6499.jpg


IMG_6500.jpg


IMG_6501.jpg


IMG_6502.jpg
 
That's exactly what I want to do with mine! What did that thermowell cost you, if you dont mind me asking?
 
That's exactly what I want to do with mine! What did that thermowell cost you, if you dont mind me asking?

I think it's this one from BrewHardware ($14) + their "Make Weldless" kit ($4) -- but I'm not sure, tbqh. I actually called BrewHardware directly and just had them figure out what was needed.

Originally, the plan was to have the install the thermowell through the side, right above the valve port. They ended up recommending that we go through the lid instead. I'm glad they did.
 
Cool, thanks for the links. Did you make the hole in the lid yourself or did you have to find a local shop to do that?
 
Looking at the front, it looks like their is an indention where the ball valve goes. What's the diameter of that? I'd love to put some TC fittings on this, and in my eyes that's a plus over the brew bucket. I don't see how you could put a TC fitting on the cone of the brew bucket.

I'm surprised SSbrewtech or Anvil haven't added a tri-clamp model to their bucket lineups. In my eyes next to going stainless using TC is the most sanitary upgrade for fermenting. I'd love to put a 1.5" TC fitting on the lid and front. That would also open options for thermowells, pressurized transfer, etc.

Anyone asked Anvil if these are pressure rated at all? I'm assuming it would take 1 to 2 psi like the brew bucket for pressurized transfers?
 
For a first stainless fermenter, would you folks say this is better or worse than the SS Brew Bucket?
 
For a first stainless fermenter, would you folks say this is better or worse than the SS Brew Bucket?

For the smaller size, I'd say the Anvil ones are better for the sole reason that the base is permanently attached. The whole "rubber donut" thing that SS Brewtech has going on is annoying, because you can't lift the full fermenter, move it, and set it down without having two of them.

For the bigger model, I can't say.
 
What are the chances that Bobby's 1.5" TC weldless bulkhead flange would fit the port in the lid? Looks like a 1 5/8" hole is needed.

If that would work, you could have a plumbed blowoff assembly (possibly to include a thermowell if you sourced the proper fittings) and/or a barbed TC to purge with co2 during transfer to mitigate O2 exposure.

Thoughts?

https://www.brewhardware.com/product_p/tc15wlf.htm

One of the main reasons I wanted a stainless fermenter was to be able to install a thermowell that I could use with BrewPi. I reached out to Bobby at BrewHardware, and the solution he came up with was to put a thermowell in the lid which would reach down to the liquid line. Sure enough - it works! Definitely looking forward to trying this out soon!
 
The non-foldable handles mean the Anvil just won't fit in the wine fridge that I use for a fermentation chamber. If they revise the design I would certainly consider one.

This is not my photo, but it is exactly the same kind of fridge. It is 18" deep, but only 12" deep at floor level due to the compressor hump.

attachment.php
 
I have a few brew buckets and love them but was considering a smaller fermenter. I like the lower price point on these but when it came down to it I couldn't find a benefit over using a corny keg with a shortened dip tube.

Only thing I could come up with is cleaning would be a bit easier with the wide mouth of a bucket but thats it.

New 5 gallon ball lock is only $75 and it is already designed to do a closed system pressure transfer.

Am I missing something in regards to the smaller version?
 
For the smaller size, I'd say the Anvil ones are better for the sole reason that the base is permanently attached. The whole "rubber donut" thing that SS Brewtech has going on is annoying, because you can't lift the full fermenter, move it, and set it down without having two of them.

For the bigger model, I can't say.

Smaller size, as in the 4 gallon or so size? That just seems like sacrilege to ferment so little!
 
What are the chances that Bobby's 1.5" TC weldless bulkhead flange would fit the port in the lid? Looks like a 1 5/8" hole is needed.

If that would work, you could have a plumbed blowoff assembly (possibly to include a thermowell if you sourced the proper fittings) and/or a barbed TC to purge with co2 during transfer to mitigate O2 exposure.

Thoughts?

https://www.brewhardware.com/product_p/tc15wlf.htm

Interesting. I’ll take a measurement of the hole tonight!
 
My guess is you could use a green lee hole punch and expand the hole. Catch is the punch costs as much as a fermenter...

I have considered doing that on my brew buckets and then getting a pressure transfer cap but the cost gets a bit silly to me.
 
Couple of points I thought I would bring up.

1.) Using a greenlee punch to expand that hole wouldn't be ideal. Those punches work best with the initial hole in the vessel is the size of the threaded bolt that the punch attaches too. As someone who has used these punches, it would be a little challenging to get the greenlee to stay centered and not slip into the already large hole. It's definitely feasible, but I wouldn't say that it's necessary. I would recommend a step bit since you only need to increase the whole by 3/8". However, I haven't located a cheap step bit going to 1 5/8" or larger.

2.) The weldless version of a tri-clamp would offer you the options of adding pressurized transfers, thermowells, etc. However, you aren't getting any of the sanitary benefits of tri-clamps because it still has internal threads. I realize that a tri-clamp on the lid isn't touching the liquid, but it's still worth mentioning. In my opinion if you aren't going to weld or solder the ferrule I'd just get a couple of rubber bungs and punch holes in those for thermowells, or inlets to add co2, etc.

3.) Bobby's welded ferrule and solder ferrule only require a 1 3/8" hole (amazon has step bits to that size for $8.99), and you would get the benefits of a sanitary tri-clamp attachment. I also just realized that the handles don't fold, so this won't work in my ferm fridge either. However, if it did I would just do a solder ferrule or have someone weld the ferrule on the lid and call it good. If you have a friend that welds stainless you would be in the ferrule for ~$4, the step bit for ~$9, what they charge to weld the fitting, and then your tri-clamp fittings. The solder ferrules are $20 plus the materials to solder if you don't already have them.

Just my thoughts on this since I had been considering until I realized the issue with the handles.

I have used the the punch several time to expand holes. While you are right that ideally the pilot hole matching the punch is best it's not difficult to line up and hand tighten the "teeth" of the bit in place. A cheap or dull punch may be another story i suppose.

here is a photo of a kettle I expanded an 1 1/4" box element hole to a 1 5/8" TC element.

img_3659-67220.jpg
 

Latest posts

Back
Top