I'm still angry at this kit. This was my first batch ever and it was so bad I immediately went to all-grain and the entire realm of extract beer was given a bad name in my mind. I hope yours comes out well. Here are the instructions. You can find all the True Brew instructions over at
http://www.winemakersdepot.com/True-Brew-Beer-Kit-Instructions-C143.aspx
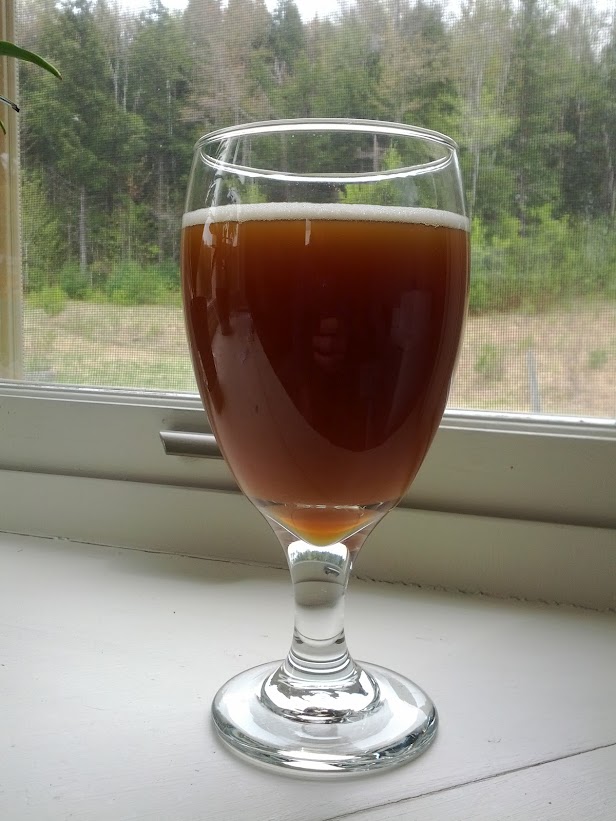
Beer Ingredient Kit - True Brew IPA Beer Kit
All ingredients necessary for a full 5-gallon (2-case) batch of beer
Thanks for purchasing a True Brewtm ingredient kit. We warrant that the contents of this beer kit are fresh, and the highest quality ingredients available.
Brew Stats:
Beginning Gravity: 1.050 - 1.052
Final Gravity: 1.012 - 1.014
Hop Bittering Units: 17.5
Step-by-Step Instructions:
1) Preparation:
Gather all materials together, and prepare for brewing.
This beer kit should contain:
Unhopped Amber Malt Extract – 2 cans
Crystal Grain – 1 lb
Grain Steeping Bag
Chinook Hop Pellets – 1 oz
Cascades Hop Pellets – 1 oz
Heavy Toast Oak Chips – ½ oz
Ale Yeast – 1 pack
Priming Sugar – 5 oz
Bottle Caps
Other Equipment you’ll need:
Brewpot: a large (6+ quarts) stainless or un-chipped ceramic pot
Fermenter with lid
Airlock
Hydrometer
Thermometer
Siphon Set
Bottling Bucket or other Secondary Container
Bottle Filler
Bottle Brush
Equipment Cleanser
Saucepan
Strainer
Long Handled Plastic or Stainless Spoon
Bottle Capper
50 12-Ounce Beer Bottles (non-screw-top long necks)
Cleanliness is essential to the brewing process, and must be a routine part of your technique. Thoroughly wash all equipment and utensils to be used with a solution of B-Brite, C-Brite or other Cleanser. If necessary, finish with a rinse of cool water.
2) Brewing:
· Remove the labels from the cans of malt extract, wash the cans, and place them in a pot of hot water to soften the syrup.
· Place 1-1 ½ gallons water in the brewpot, and bring to a boil.
· Turn the heat off. Place the grains in the steeping bag, and steep in the hot water for 20-30 minutes. Then remove and discard the spent grains, and heat the water again to near boiling.
· Turn the heat off (on an electric stove, temporarily remove from burner). While stirring the water with a long-handled spoon, slowly pour both cans of extract into the pot. Continue stirring while adding the Chinook Hop Pellets. Stir until materials dissolve, then return to heat and bring to a boil. Note: When it first boils, the mixture will foam. Reduce heat, or remove from burner and foam will subside. Turn heat back on, and repeat process until foaming stops. Then boil for 45 minutes, adding the Cascade Hop Pellets for the final 1-2 minutes of the boil.
· Place 3 gallons of cold water in your fermenting vessel, and slowly pour the hot mixture into the vessel. Fill with additional cold water up to 5 gallons.
· Steam sanitize the oak chips in a separate pot, as you would steam vegetables. Then add the chips to the fermenter.
3) Fermentation:
· Allow the warm mixture (it’s now unfermented beer, called wort) to cool if necessary, until it’s under 90 degrees F.
· If you wish to take a hydrometer reading for beginning specific gravity, do so now before introducing yeast. Gravity ranges for this beer kit are listed on the front of these instructions.
· Sprinkle the yeast over the top of the mixture. Wait 10 minutes and stir the yeast gently into the wort with 1 or 2 strokes of the spoon.
· Taking the airlock in one hand, and the lid of the fermenter in the other, gently twist the airlock tip into the hole of the lid. Place the lid on the fermenter, and push down hard until the lid is tight. Finally, fill the airlock half full of water and place its cap on top.
· Over the next 24 hours fermentation should begin, and you’ll see bubbling through the airlock. Fermentation should continue for 48-72 hours, and then cease as settling begins.
· Allow the beer to settle for 3-4 days after fermentation ceases (no more bubbles in the airlock). Generally, you’ll be ready to bottle a week after beginning fermentation.
4) Bottling
The best bottles for homebrew are dark brown longnecks. They can’t be screw-tops. ‘Grolsch’ type bottles are excellent as long as the gaskets are checked for cracks and replaced if necessary. Use a bottle brush on any bottles with accumulated sediment, then sanitize all bottles, carefully following the directions for whichever sanitizer you pick. Rinse as necessary.
· Clean and sanitize your bottling bucket with spigot attached, filler,
· all hosing, bottle caps, and any other equipment to be used.
· In a small saucepan, heat 1 cup water and the priming sugar. Mix until dissolved and bring to boil, then remove from heat.
· Place the full fermenter on a counter with the bottling bucket on the floor or a chair at a lower level.
· If you choose, take a hydrometer reading for final gravity now.
· Fill the siphon with water, and place the rigid end with the racking tip midway between top and bottom of the beer. Lower the flexible end and beer should begin to flow.
· When beer begins flowing into the bottling bucket, gently pour the warm sugar mixture from the saucepan into the bottling bucket. Movement of the beer into the bucket should mix the sugar thoroughly.
· Stop the siphon before it begins picking up sediment from the bottom of the fermenter.
· Raise the bottling bucket to chair or counter level.
· Remove the rigid racking cane with tip from the flexible tubing and replace with the bottle filler. Attach the other end of the flexible tubing to the spigot of the bottling bucket.
· Place the filler in one bottle after another. Each bottle should fill when the filler tip is touching the bottom, and stop when the filler is removed. Lift the filler just as beer reaches the top of each bottle. Removal of the filler tube will then leave sufficient air space.
· Cap bottles, and rinse off outside as necessary.
· Clean all equipment prior to storage.
· Place beer in a cool, dark area for a week to condition. It can then be moved to a refrigerator for further aging, or left in the same cool dark area. Aging should continue for another 3 weeks.
You’ve now made beer the TRUE BREW way. Enjoy!

 and I didn't know any better at the time. Being a hop-head, I thought it was lacking in hop flavor and aroma (no dry hopping).