Native ESP8266 BrewPi Firmware - WiFi BrewPi, no Arduino needed!

Homebrew Talk - Beer, Wine, Mead, & Cider Brewing Discussion Forum

Help Support Homebrew Talk - Beer, Wine, Mead, & Cider Brewing Discussion Forum:

This site may earn a commission from merchant affiliate links, including eBay, Amazon, and others.
Thanks @phreaky , that helps. If I were designing a control system completely from scratch, I'd directly leverage the proportional part of the loop (replace the solenoid with a valve.) I'd also use a loop in a loop (with a separate recirc pump) for the fermenters. I doubt however that most people would want the expense of such a system.

Thinking about how the existing loops (both digital and cooling) could be leveraged, let me throw this out there. We can add filters and controls to the system or the circuit. I'd suggest (greatly) restricting the flow of the pseudo-loop to the fermenter. That would reduce the impact of the glycol influx since we have such a large thermal mass I think that's appropriate. Then using the beer mode would be more viable.

Having just dug a little bit into the control code, it's apparent that we would want to keep the timers and fail-safes. This is an extremely mature system, and creating a new control system to do the same thing would be risky. The less anyone has to mess with it, the less chance of an unforeseen issue. Glycol users will never have the numbers that regular fridge users have, so as a corollary there's going to be less testing and a higher potential for failure.

(I've been typing this for an hour so there's a fair change there's 15 replies since I started)

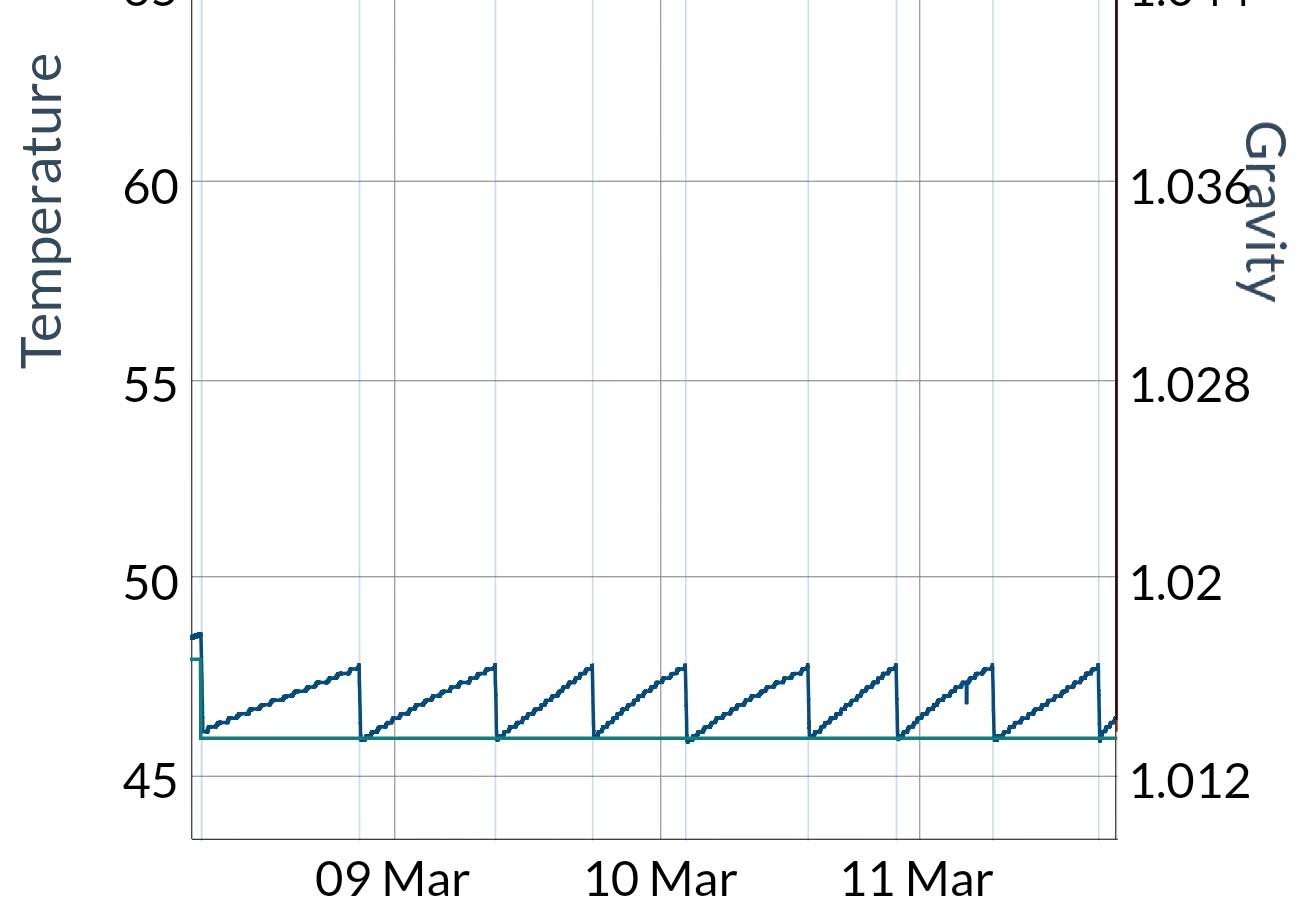
Honestly, I think the control logic works fine. It never really overshoots, and if it does, it's by less than a degree. My only issue with it is that it waits so long to turn on. Being that it is a glycol loop and the compressor has it's own run controller, I'm not worried about short cycling, so if there was a place to tell it to not rise so far before opening the solenoid I would be great. As you can see, it only runs a couple times a day during active fermentation (more during cold crashing obviously). When it does run, it's only for about 10 minutes. If I could get a way to use only the beer probe, or use profiles for fridge mode, then I would be in business.
SmartSelect_20190320-111326_Chrome.jpg
SmartSelect_20190320-111016_Chrome.jpg
 
OT ALERT!

For those who picked up any of those esp32-cam boards from banggood (<== love that name ;)) I received mine yesterday and got them working this afternoon. For once I was able to follow someone else's work :D and it went pretty smoothly. I used the Arduino IDE rather than get into installing the Espressif kit right now so that part was a breeze.

I used my trusty FT232RL which has saved my butt numerous times with my best usb cable to end up with 4.90 volts at the esp32. A not-so-good cable dropped almost 500 millivolts by comparison - no bueno, this module pulls quite a bit of power and won't tolerate that voltage drop (the serial monitor blared "Brownout!")

Once I had the sketch loaded up and the module connected to one of my wifi APs I was able to play with the camera controls and come up with some decent imaging. One thing I haven't figured out is how to get the hella bright LED with work with the software. I need to dig into the voluminous code to see if that feature is even supported.

Otherwise, the only thing worth mentioning is the controller can run pretty toasty while streaming video so I slapped as big a sink as I could fit on the SOC shield and hope they used some thermal conductor underneath it...

View attachment 618076

View attachment 618077

View attachment 618078

Cheers!
How do you mount the heat sink on the esp w/o mounts? Some kind of special goo?
 
I used a very thin self-sticking thermal pad specifically meant for attaching heat sinks.

More challenging was figuring out to mount the esp32 to...anything...given there's not a single hole anywhere.
I ended up super-gluing a pair of tall headers with the solder tails clipped off and stuck the esp into them.
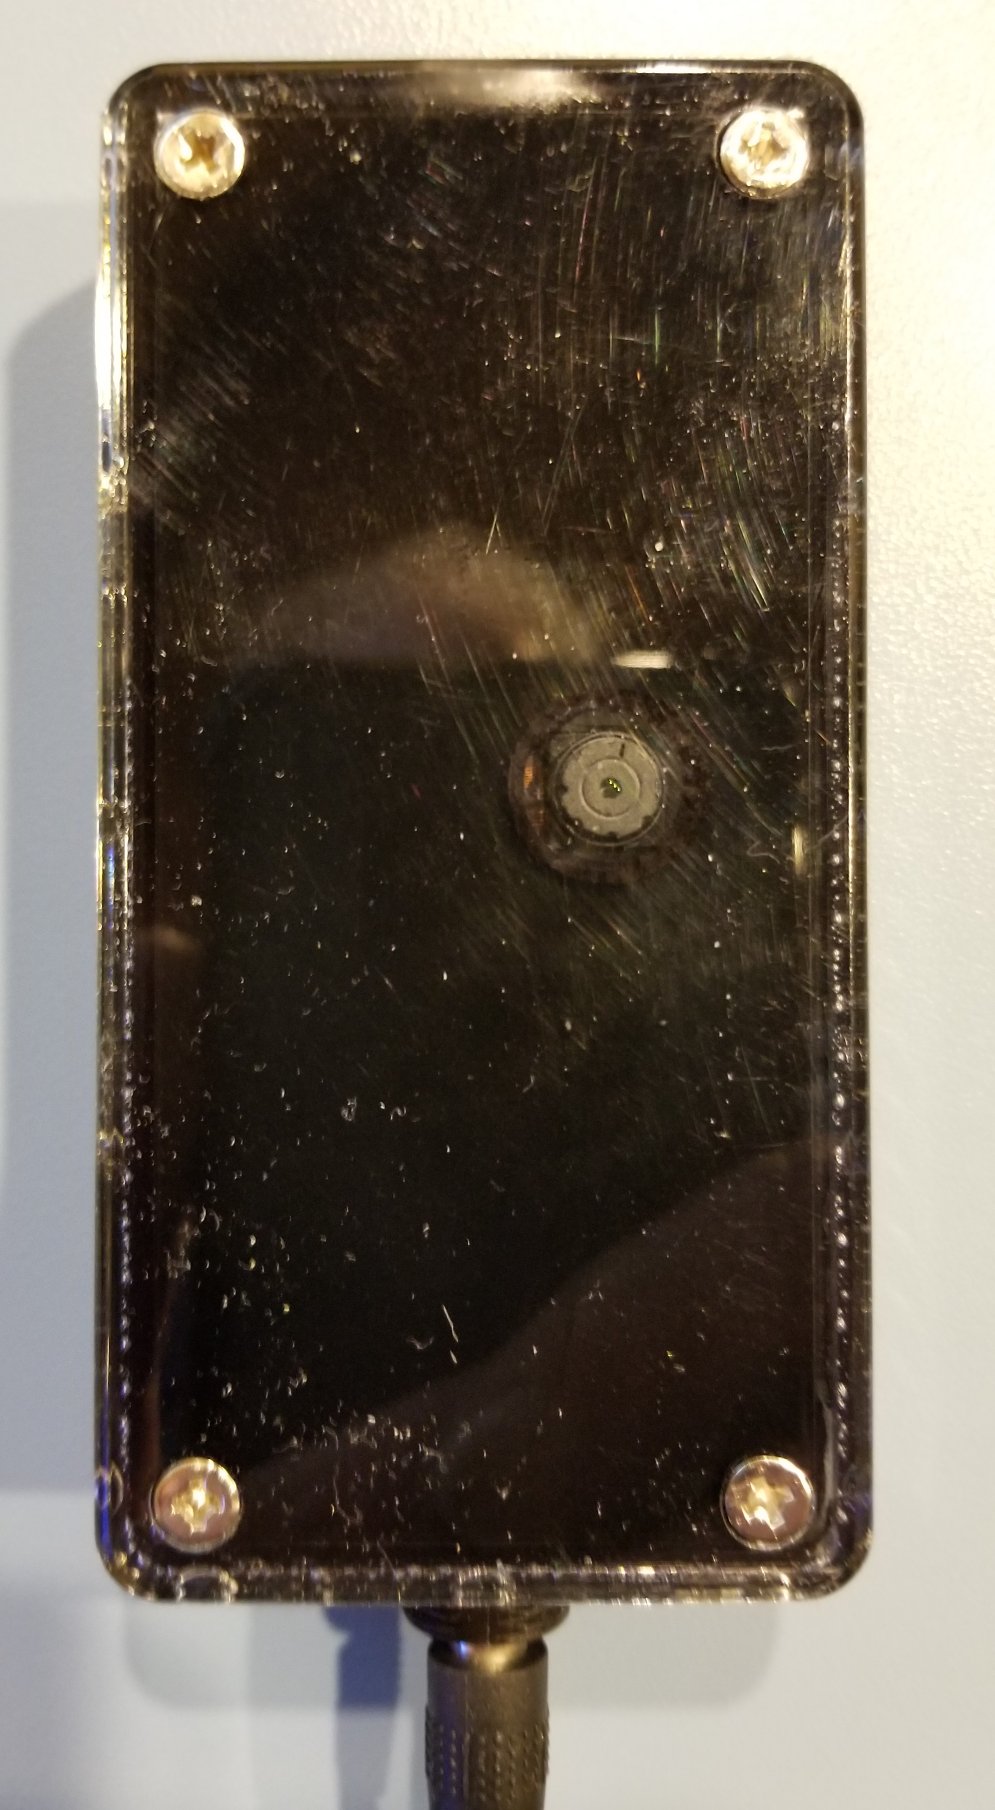
So here's Rev A of my "NestCam". It's the smallest clear box I could find locally that fit the module. I masked off the spot for the lens then spray painted the interior....poorly...with black paint.

NestCam_01_sm.jpg


It looks like a hole but it isn't...

NestCam_02_sm.jpg


I ran the camera overnight in XGA mode and it survived, so that's a start. However the plastic is sub-optimal, it definitely de-sharpens the image enough to notice side-by-side against its sibling sitting in the open. So I'm going to drill out the hole and cover it with a microscope slide lid and hope it'll sharpen things up...

Cheers!
 
Honestly, I think the control logic works fine. It never really overshoots, and if it does, it's by less than a degree. My only issue with it is that it waits so long to turn on. Being that it is a glycol loop and the compressor has it's own run controller, I'm not worried about short cycling, so if there was a place to tell it to not rise so far before opening the solenoid I would be great. As you can see, it only runs a couple times a day during active fermentation (more during cold crashing obviously). When it does run, it's only for about 10 minutes. If I could get a way to use only the beer probe, or use profiles for fridge mode, then I would be in business.
Bear in mind it sounds like you are using the ESP8266 firmware and I'm just a user not a developer of that line so ... YMMV.

Opening the solenoid earlier could probably be done by increasing the P value (PID: Kp) and/or possibly the PID: maximum which should be available to you. When you say overshooting by a degree, you mean your beer temp is? If so that's pretty severe compared to a fridge control loop. If you are in fridge mode, there's a Temperature idle range top/bottom which might also help.

If running too long is a concern (and if I'm following your application the loop control is independent so not an issue) then one could reduce the cycle time restrictions in the firmware.

Just noticed you are in KC, what part? I live in the Liberty area and work out near Legends.
 
Bear in mind it sounds like you are using the ESP8266 firmware and I'm just a user not a developer of that line so ... YMMV.

Opening the solenoid earlier could probably be done by increasing the P value (PID: Kp) and/or possibly the PID: maximum which should be available to you. When you say overshooting by a degree, you mean your beer temp is? If so that's pretty severe compared to a fridge control loop. If you are in fridge mode, there's a Temperature idle range top/bottom which might also help.

If running too long is a concern (and if I'm following your application the loop control is independent so not an issue) then one could reduce the cycle time restrictions in the firmware.

Just noticed you are in KC, what part? I live in the Liberty area and work out near Legends.


Yeah, I'm running Fermentrack with the ESP firmware. To my knowledge, I'm not able to change the PID settings or the cycle time restrictions using this firmware. As to the overshooting, like I said, it really doesn't over shoot. Once it hits target temp, it closes the valve or turns off the heater, and there really isn't enough thermal mass left to make it keep moving. There just seems to be a 2 degree deadband, where if you're cooling, it doesn't call for cooling until it is 2 degrees higher than target temp, and vice versa for heating. And I'm just south of you in Independence.
 
Drill a hole in the plastic case then thread the lens in, secure with hot glue or silicone

Ok, that could work, but alignment would be tricky as the lens would attach to the lid while the camera is attached to the case.

Anyway, I want to see what happens with the glass slide cover in place - when I get one. I thought I had a bunch but I guess I gave them to my grandkids along with my old microscope. If that works then the total cost of this including the wall wart and case will be under $15.

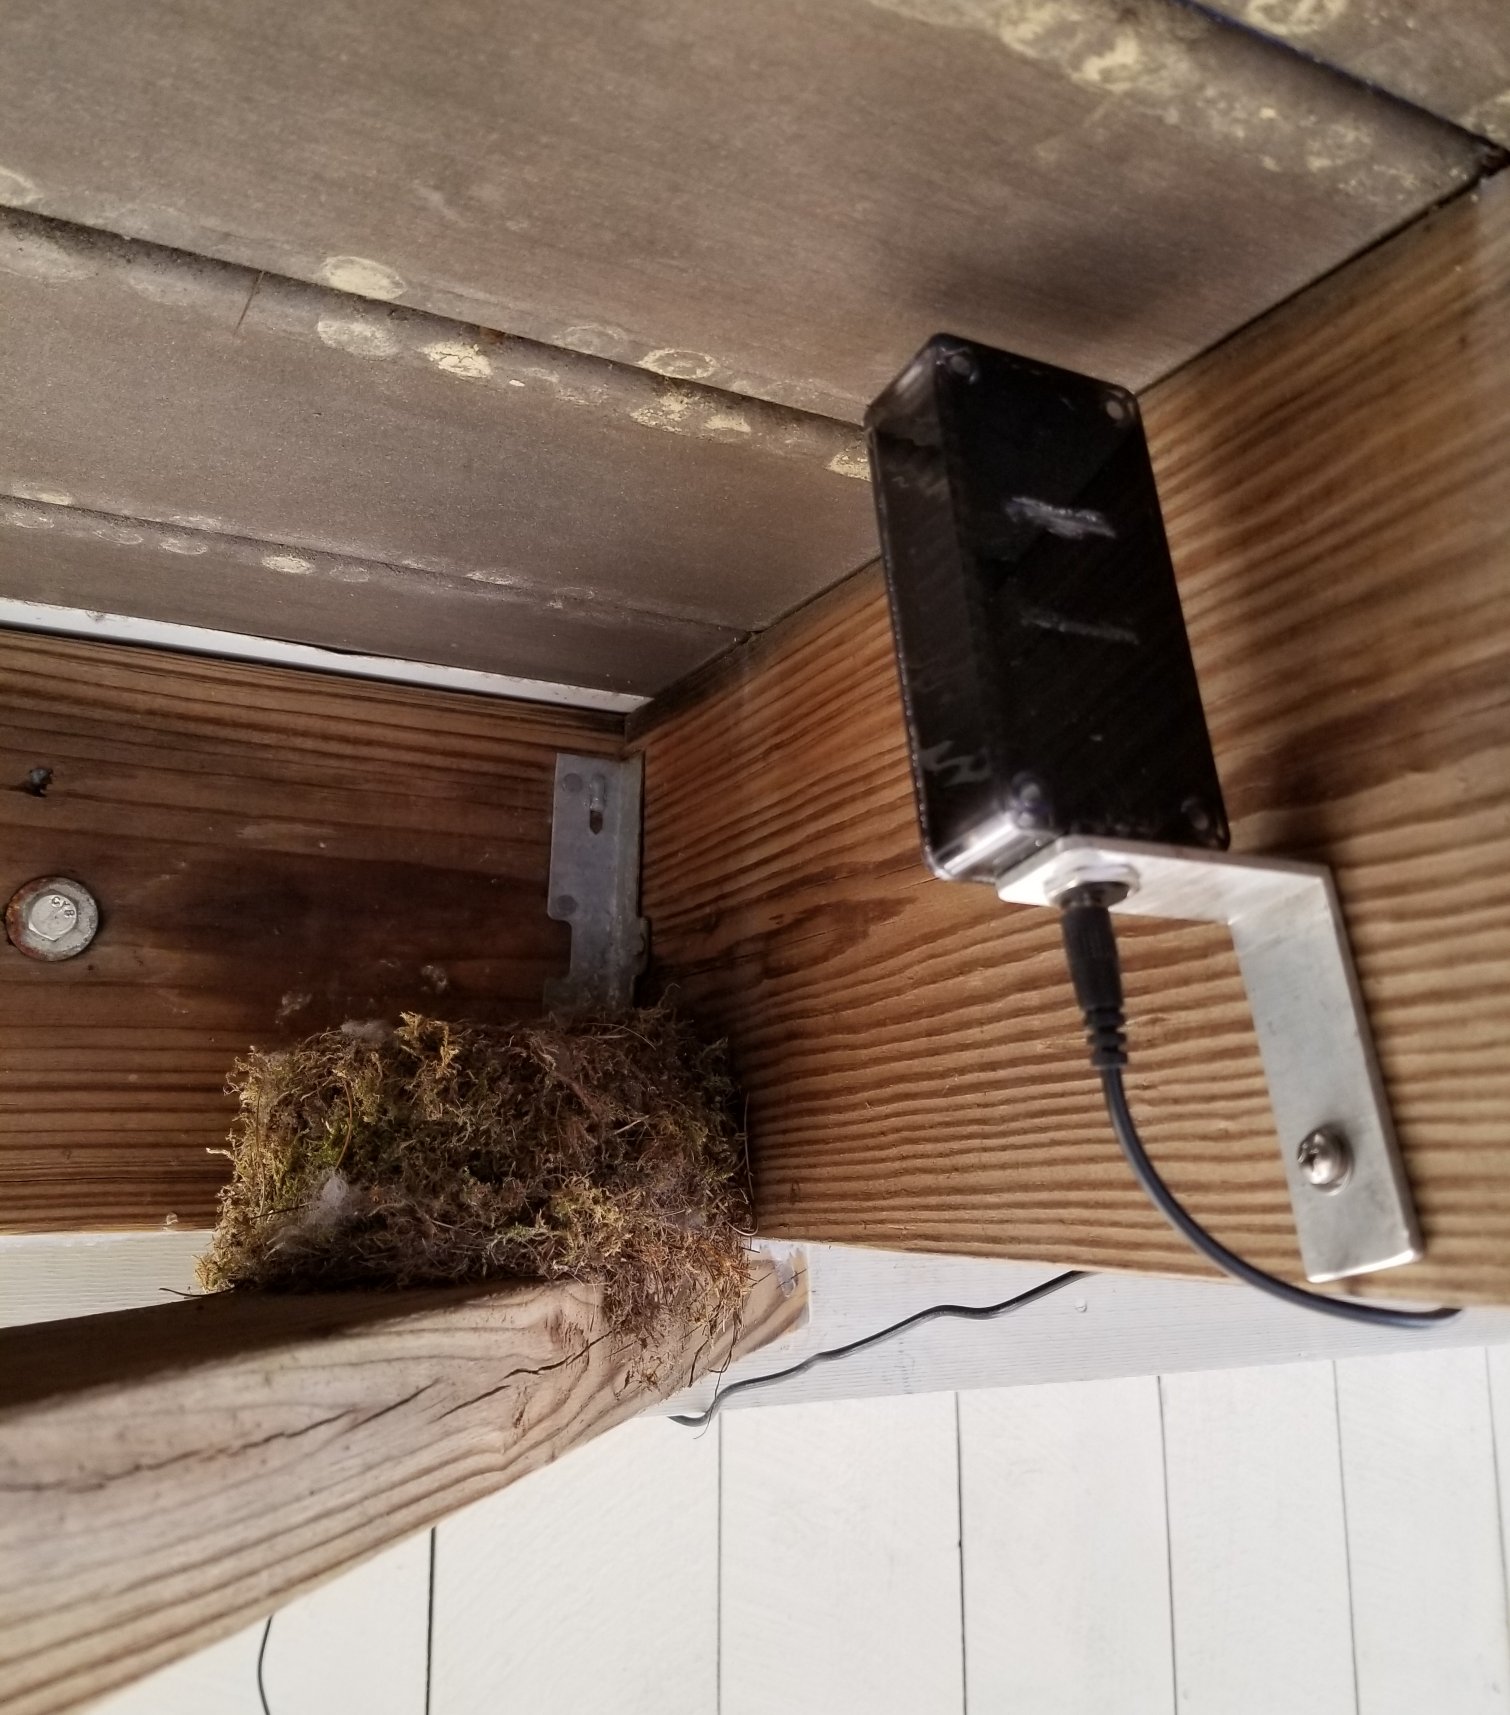
Found a scrap of aluminum angle, no idea what project it came from but it worked great for a simple bracket. I used the power socket to hold it.

NestCam_03_sm.jpg


$7 banggood camera not quite up to the level of my GS8+ ;)

NestCam_04.jpg


That glare isn't helping either. Next chance I get I'll see what I can put in that area to suck that light up...

Cheers!

[edit] I meant to post this earlier: both of the esp32-cam boards arrived with the antenna input connected to the little SMA connector instead of the on-board etched antenna. There is a zero ohm 0402 SMD resistor that steers the connection between the two options. I had to remove that resistor and solder a wire in the correct location - highlighted with the red rectangle below.

esp32_cam_antenna.jpg


Be very careful unsoldering that resistor as if you don't get a good reflow you may remove one of the pads with the resistor...

Cheers!
 
Last edited:
Could the glycol issue be solved with a CascadePID? I'm thinking of it like a HERMS coil in an HLT, but cooling instead of heating (it's just a heat exchanger, either way). YoudYhave an inner and outer loops to tune.
 
Could the glycol issue be solved with a CascadePID? I'm thinking of it like a HERMS coil in an HLT, but cooling instead of heating (it's just a heat exchanger, either way). YoudYhave an inner and outer loops to tune.
You could, but I think that would be over studying for the test. Yes, something needs to control the "outer" loop, but the way I understand these systems they already have their own control system (correct me if I am wrong). That being the case I think we can safely treat them as "the power" which we tap into (like the compressor on and off) with the valve feeding the inner loop. If it ends up being too much and we assume anything in the firmware is inviolate (it is not but let's assume for a minute) then the way to address that increased potential is to simply restrict the flow until our PID loop can get a handle on it. One would need to get the flow down to where the loop could be on for the same value as the min run time without over-cooling.

Another way of doing it without adding a second PID loop to a controller, is to simply use a second controller. Yes it's overkill, but cost-wise it's really not bad. I mean you're gonna add sensors no matter what. An additional ESP8266 is only a few bucks. Then you treat it as a different chamber. No need to have feedback between the two.

Again, this is Thorrak's gig, but if it were me I'd be leery of doing too much work on the actual PID algorithm. It's tested and mature. Adding functionality outside of that PID loop would be the way I would approach it. I really think it could be done without a speck of firmware change.

Also remember that the ESP's firmware is independent of Fermentrack. If Fermentrack does not support changing PID and other values, I'd be amazed if his BrewPi fork did not. If all else fails, you could spin up BrewPi Remix temporarily to get access to those values for tuning. The functionality is in the controller (pretty sure anyway), you just need to access it.
 
There just seems to be a 2 degree deadband, where if you're cooling, it doesn't call for cooling until it is 2 degrees higher than target temp, and vice versa for heating.
Yeah that seems to be indicated in the firmware setup as well:
Capture.PNG

And in TempControl.cpp:
Code:
           if(fridgeFast > (cs.fridgeSetting+cc.idleRangeHigh) ){  // fridge temperature is too high          
               tempControl.updateWaitTime(MIN_SWITCH_TIME, sinceHeating);
               if(cs.mode==MODE_FRIDGE_CONSTANT){
                   tempControl.updateWaitTime(MIN_COOL_OFF_TIME_FRIDGE_CONSTANT, sinceCooling);
               }
               else{
                   if(beerFast < (cs.beerSetting + 16) ){ // If beer is already under target, stay/go to idle. 1/2 sensor bit idle zone
                       state = IDLE; // beer is already colder than setting, stay in or go to idle
                       break;
                   }
                   tempControl.updateWaitTime(MIN_COOL_OFF_TIME, sinceCooling);
               }
               if(tempControl.cooler != &defaultActuator){
                   if(getWaitTime() > 0){
                       state = WAITING_TO_COOL;
                   }
                   else{
                       state = COOLING;
                   }
               }
           }
           else if(fridgeFast < (cs.fridgeSetting+cc.idleRangeLow)){  // fridge temperature is too low
               tempControl.updateWaitTime(MIN_SWITCH_TIME, sinceCooling);
               tempControl.updateWaitTime(MIN_HEAT_OFF_TIME, sinceHeating);
               if(cs.mode!=MODE_FRIDGE_CONSTANT){
                   if(beerFast > (cs.beerSetting - 16)){ // If beer is already over target, stay/go to idle. 1/2 sensor bit idle zone
                       state = IDLE;  // beer is already warmer than setting, stay in or go to idle
                       break;
                   }
               }
               if(tempControl.heater != &defaultActuator || (cc.lightAsHeater && (tempControl.light != &defaultActuator))){
                   if(getWaitTime() > 0){
                       state = WAITING_TO_HEAT;
                   }
                   else{
                       state = HEATING;
                   }
               }
           }
           else{
               state = IDLE; // within IDLE range, always go to IDLE
               break;
           }
(Basically, it skips temp control if it's in the idle range.)
 
I don't know why I was thinking that the ESP/Fermentrack had to control the temperature of the glycol reservoir, too.
 
Again, this is Thorrak's gig, but if it were me I'd be leery of doing too much work on the actual PID algorithm. It's tested and mature. Adding functionality outside of that PID loop would be the way I would approach it. I really think it could be done without a speck of firmware change.

That's just it - no changes to the firmware are really required at all, I don't think. The control algorithm should be fine, it's just a matter of implementing a "fridge profile" mode. Ironically, I need that right now as my serving keezer - which has no beer sensor - is currently serving double duty by controlling fermentation temps for the IPA I whipped up two weeks ago. It's annoying to cold crash when you have to keep manually bumping the temperature down every couple of hours.
 
I don't know why I was thinking that the ESP/Fermentrack had to control the temperature of the glycol reservoir, too.
If you were designing a system from scratch, that would be a reasonable way to to it. That’s how you would do a building control for instance. So long as you can get to where you can send a small enough amount of glycol through the inner loop to cool but not crash, you’re likely fine. A bit less energy efficient but that’s not the core goal here.
 
If you were designing a system from scratch, that would be a reasonable way to to it. That’s how you would do a building control for instance. So long as you can get to where you can send a small enough amount of glycol through the inner loop to cool but not crash, you’re likely fine. A bit less energy efficient but that’s not the core goal here.

So, really, what needs to happen is a throttling of cold glycol flow almost like setting the heating element in a kettle to 30% power to maintain a temperature rather than having it cycle at 100% and have spikes. Unfortunately, I don’t know the practicalities, but a valve with a controllable opening should do the trick.
 
I wonder if a solenoid valve could be made to work by having it open and close in pulses that would increase in frequency, effectively shooting a small charge of cold glycol through the coil once a minute, twice a minute, 4 times a minute, 8 times a minute, etc.

Edit: OR, what if you just put a simple manual ball valve in line with the electric solenoid valve and adjusted it until you found a flow rate that gave acceptable results? It might take a little testing and tuning, but it would be a heck of a lot easier than swapping out different diameters of tubing.
 
Last edited:
Pulse modulation wouldn’t be a real good solution for a liquid line solenoid. If you really wanted that kind of control, a valve would be the proper solution. Yes, a manual valve to provide restriction in line with the solenoid would work as well.
 
Taking into account the inertia of a 50L vessel PWM with a 50 o 100sec period is doable.
I'm not concerned so much about the cycle time as I am the flow. A liquid system rather depends on the liquid moving. If it's not moving you get quite a bit of isolated temperature change. PWM (provided the capabilities of the solenoid are accounted for) would be okay if there were a recirc pump on the inner loop as well.

Think of it like your home heating or cooling system. If it's oversized, you get dead spots in the house because air recirculation is hampered. Bigger is not always better. Air in that case behaves just like water (or glycol).

(Dark history: I started life after the military as an engineer, moved to control systems, then just stayed in IT where I belong.)
 
Has anybody tried using the logic as it is now with Glycol?
I have a friend who do Glycol cooling, he has a Thermowell in his fermentor, the "chamber" one - rests on the outside of the kettle (a pocket in contact with the fermentor wall)

All he do is open the pump for glycol sirculation, as if fridge compressor where initiated. His beer is within 0,x variation, like it where when he used a fridge.

Based on his expirience it seems like there is some "overthinking" going on regarding this topic. His Glycol is held at a constant temp. Not even controlled by fermentrack.

That is effectively the way that 0.4.x BrewPi uses for Glycol control. If the fridge sensor is not found(assigned), the controller will get reading from the beer sensor. That is, both the beer temperature and fridge temperature readings are practically the beer temperature.
To support Glycol better, the minimum cooling/heating time should be configurable, which seems to be available after 0.2.12.
To get smaller temperature variation, idleRangeHigh/coolTargetLow can be set to smaller values.

PWM is used in 0.4.x, which seems to work better. However, I got decent result by applying the modifications above.
I never understood PWM for cooling. Heating sure, but cooling made no sense.
 
I never understood PWM for cooling. Heating sure, but cooling made no sense.
Man I thought I was going crazy ... :)

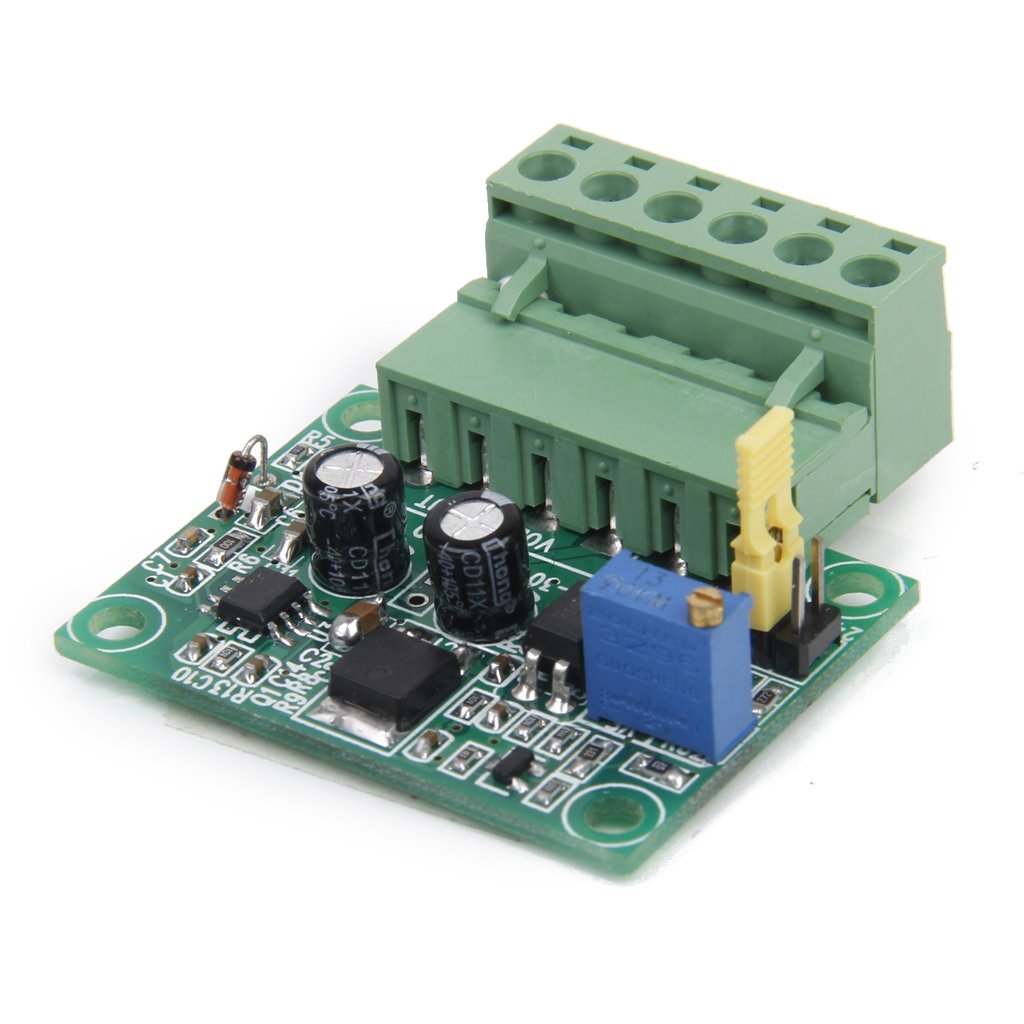
PWM is a hack for cooling, but it does allow the same algorithm to be used for both. I'm not sure how much a 0-10VDC PCV costs, but that would be ideal. The challenge comes in making an Arduino control the 0-10VDC (or 4-20 mA) control. I'm sure someone makes a translation circuit for that.

ETA: Yep, here's one:
61JR-yM8wpL._SL1024_.jpg


Simpler though is just tuning .... but that's not quite as user friendly.
 
Last edited:
I never understood PWM for cooling. Heating sure, but cooling made no sense.

It is not the PWM you might have thought. It is something similar, though. The duty cycle is way longer, like 2 minutes.
It’ trivial that the pump will be on during the whole 2 minutes cycle when “100%” cooling power is required, and 1 minutes when 50%.
I guess it works better in Glycol application.
 
Really new to this whole thing, but I'm trying. I've gotten as far as flashing the ESP8266, but it's not showing up on mDNS when I try to set it up. When I scan WiFi networks on my phone I can see ESP_1530761, and I assume that's it.

Did I miss something?
 
Yeah, you did: when the ESP boots up after flashing it comes up in AP mode - it acts as a Wifi Access Point instead of a client device. You need to use a device (like, your phone) to log into the AP and change the settings to do what you want it to do...

Cheers!
 
Uber thin glass slide cover in place, camera aimed a tad higher. Incrementally better imaging than shooting through the plastic case.
I've had the camera running for almost a week without a reboot so this might actually work :)

31mar2019_1150.jpg


The esp32-cam wifi antenna ain't great, I had to tweak the closest access point's antenna orientation to keep the thing hooked up reliably...

Cheers!
 
Yeah, you did: when the ESP boots up after flashing it comes up in AP mode - it acts as a Wifi Access Point instead of a client device. You need to use a device (like, your phone) to log into the AP and change the settings to do what you want it to do...

Cheers!

It seems like this is part of the work-flow, but maybe I've missed it. What do you use to connect to it via phone? Is there a guide to configuring it?

Is there a guide to making it available to fermentrack?
 
Last edited:
When you first start up the ESP, it is in a special mode like @day-trippr mentioned. It is made to act like a wifi network. Power it up and then grab your phone and use the wifi feature to connect to the ESP like you're access a wifi network in a coffee shop or something. Then open a webpage, any webpage, and instead of going to the webpage, the ESP will show a configuration screen. You'll enter your home network access info. Then, when you restart the ESP, it will act differently and you'll be able to set it up from Fermentrack.
 
Uber thin glass slide cover in place, camera aimed a tad higher. Incrementally better imaging than shooting through the plastic case.
I've had the camera running for almost a week without a reboot so this might actually work :)

View attachment 619987

The esp32-cam wifi antenna ain't great, I had to tweak the closest access point's antenna orientation to keep the thing hooked up reliably...

Cheers!
These things are getting popular-I watched a YT video where a guy hacked the flash led so he could turn it on or off on his command.
 
Hah! And thanks for the heads up. I've been waiting for someone to get to that. Wouldn't you know I deployed the second nestcam before the rains got here so I'll have to wait 'til tomorrow to try this out...

Cheers!
 
Google is going to issue you a cease and desist order if you continue to call the camera aimed at the nest a nestcam. [emoji16]
 
lol! Forgot about that. And eff 'em, I bet that term was public domain before they started using it :D

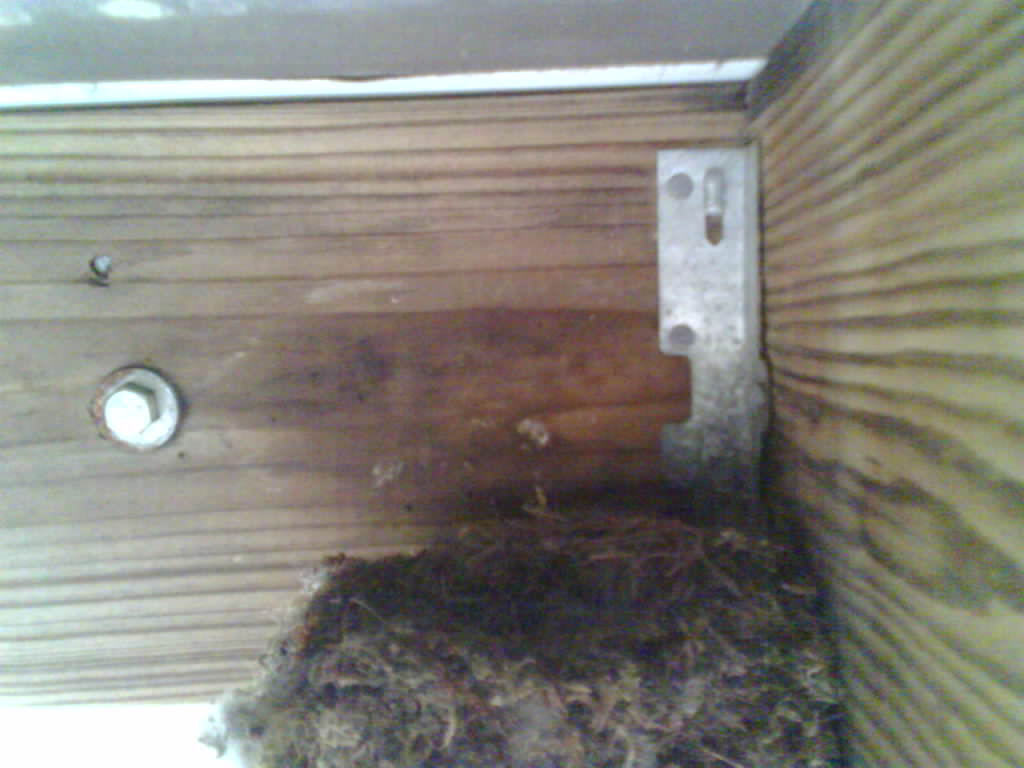
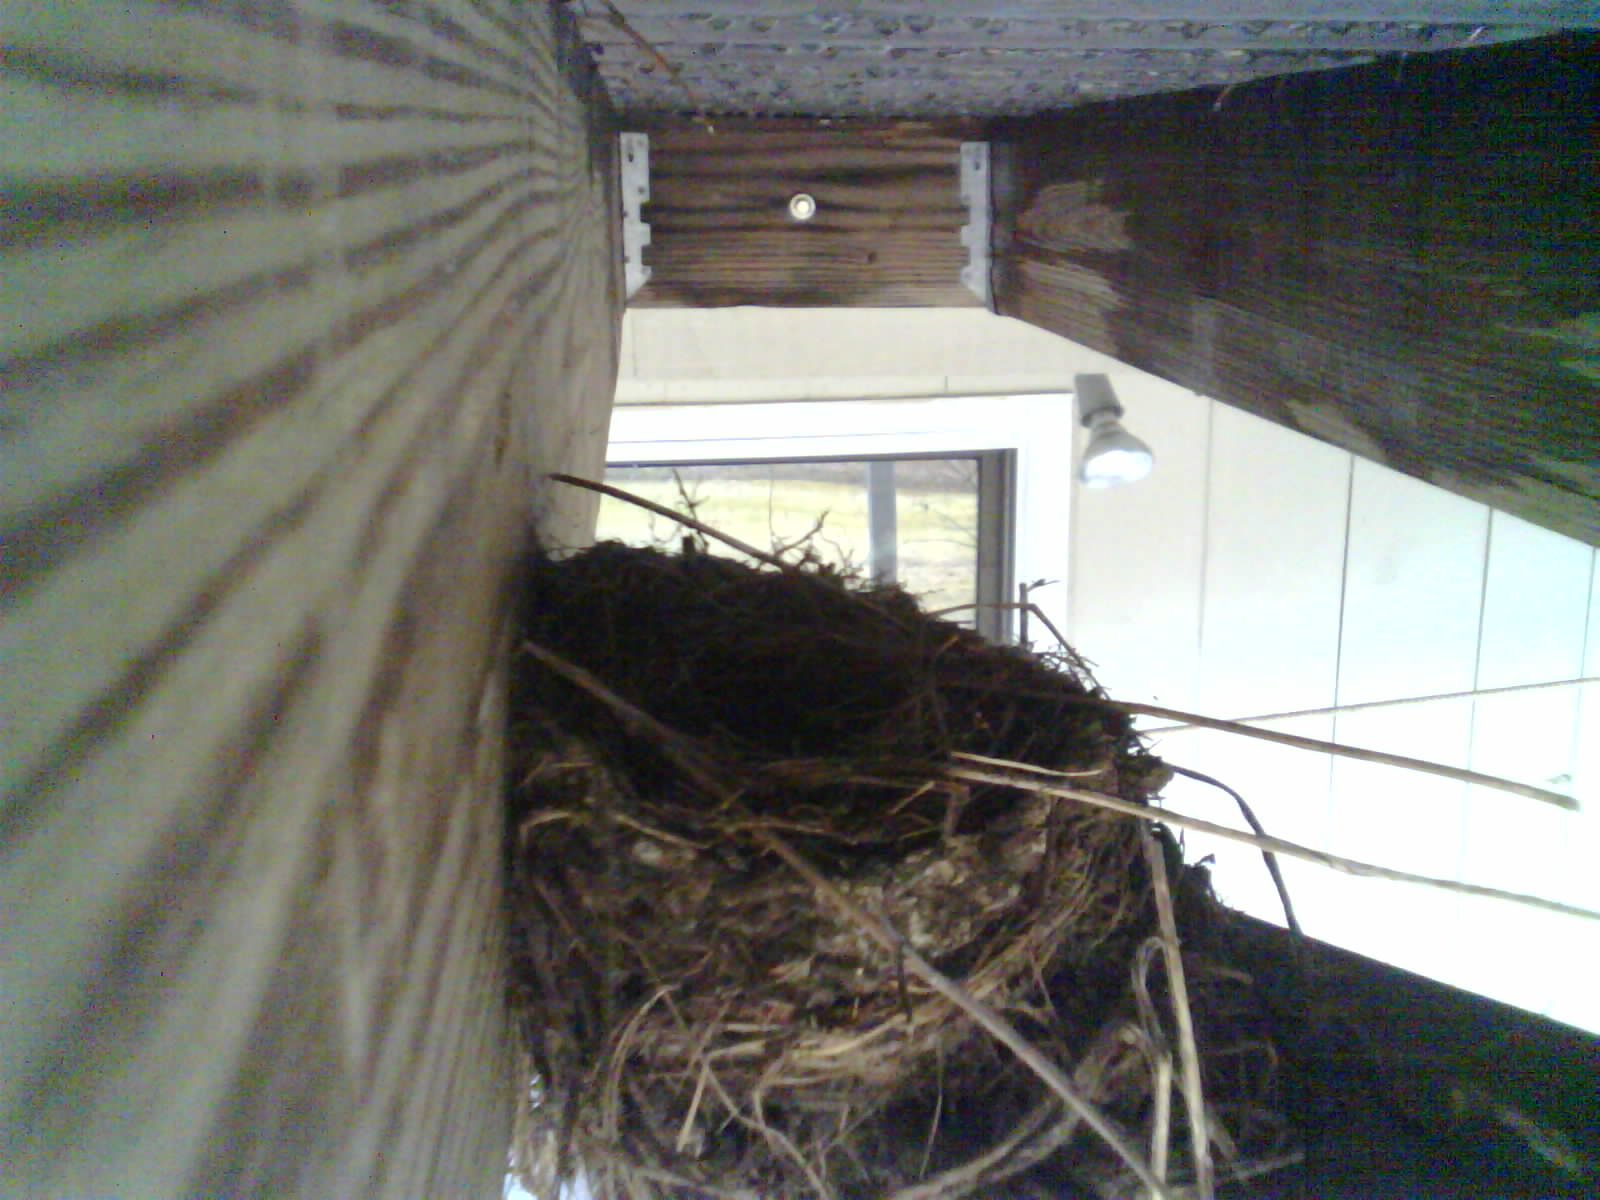
NestCam2_31mar2019.jpg


A pair of house finches has been renovating a robin's nest from last year. They seem to be crappy builders, though :D
 
Unfortunatelly i have to ask additional question. I have everything soldered, connected, BUT... when I do have only one temp sensor (DS18B20) - it is working (checked all one by one), but when i have two or more connected parallelly, none is visible. I have checked all connections, I have checked all - one by one, and I have checked all only by adding/removing/changing data line (to eliminate voltage/power source issue) - as long, as only one is on data line - it works, when there is another one, it stops. How to troubleshoot it?
 
Back
Top