• Please visit and share your knowledge at our sister communities:
  • If you have not, please join our official Homebrewing Facebook Group!

    Homebrewing Facebook Group

my small footprint 110volt-1500watt system

Homebrew Talk

Help Support Homebrew Talk:

This site may earn a commission from merchant affiliate links, including eBay, Amazon, and others.

MrVix

Well-Known Member
Joined
Jun 20, 2012
Messages
96
Reaction score
26
Location
Streator
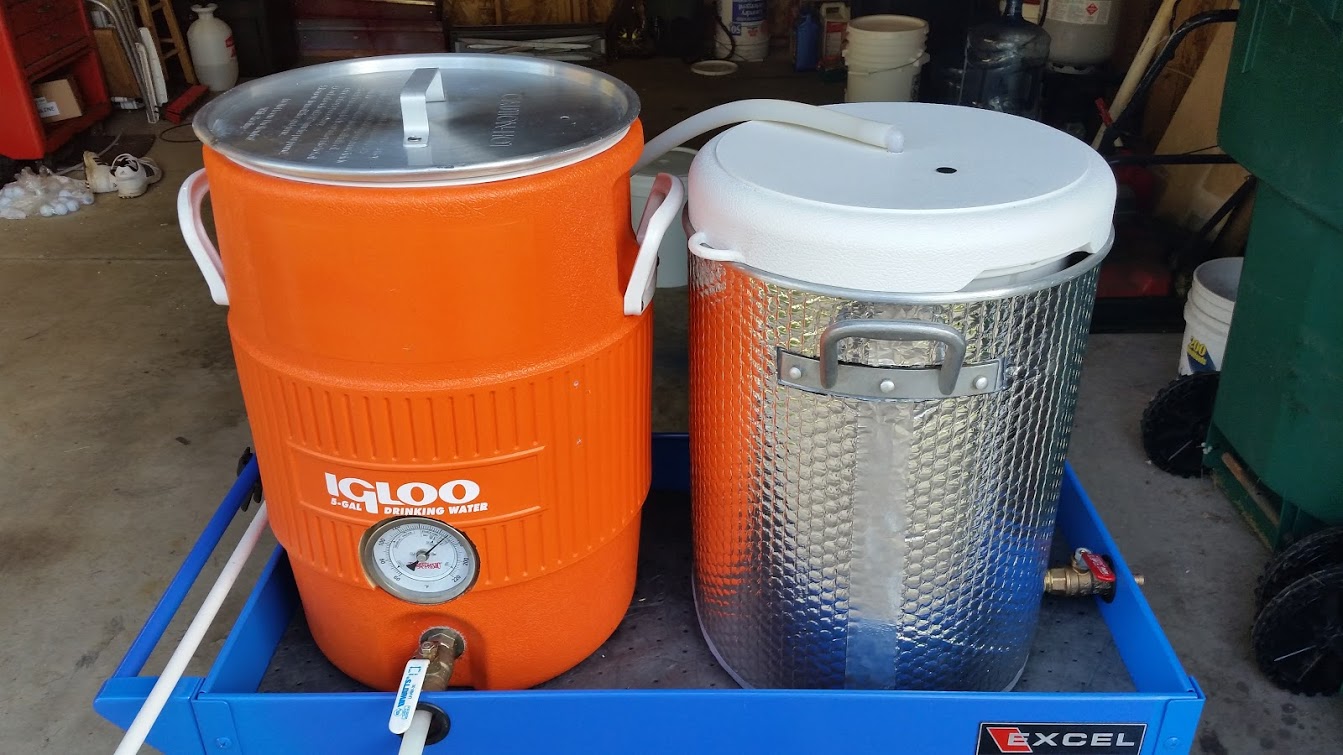
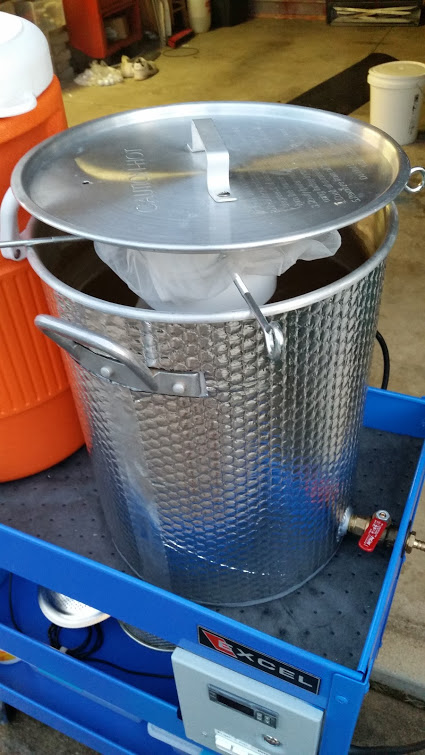
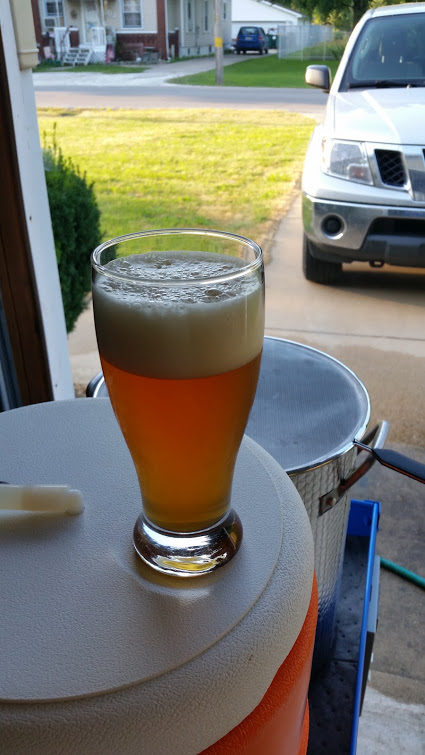
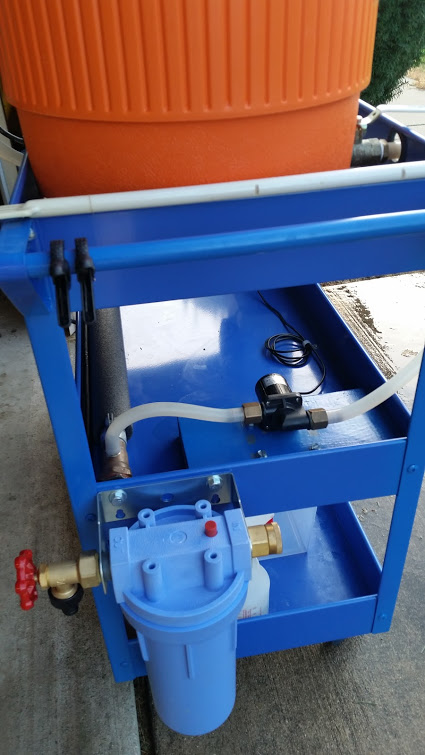
I had planned to post some pics of this little guy but just never got around to it. I wanted a small footprint, very mobile, system that would function with any common 110v kitchen outlet. The RIMS tube and the kettle have Brewhardware ALL stainless steel 110 volt 1500 watt elements. The pump is a small 12v food grade magnetic from China. The lower shelf storage totes are very convenient.

front view.jpg


side view.jpg


RIMS tuble.jpg


kettle element.jpg


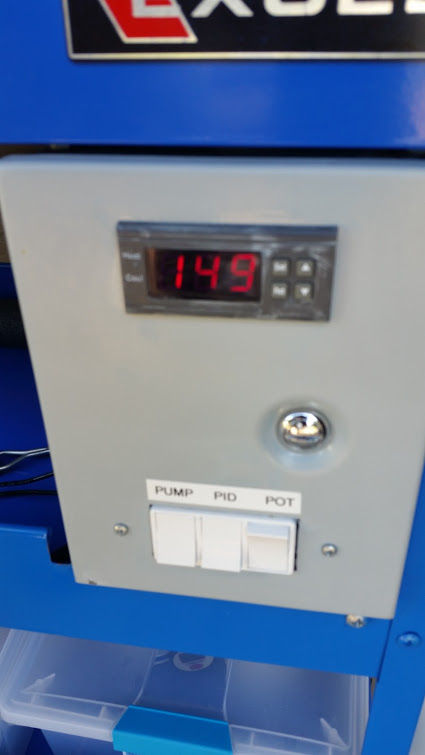
mashing- controller.jpg


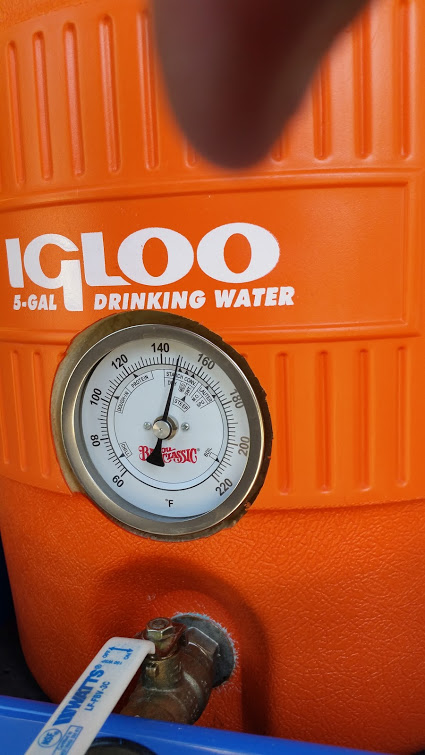
mashing.jpg


recirculating mash.jpg


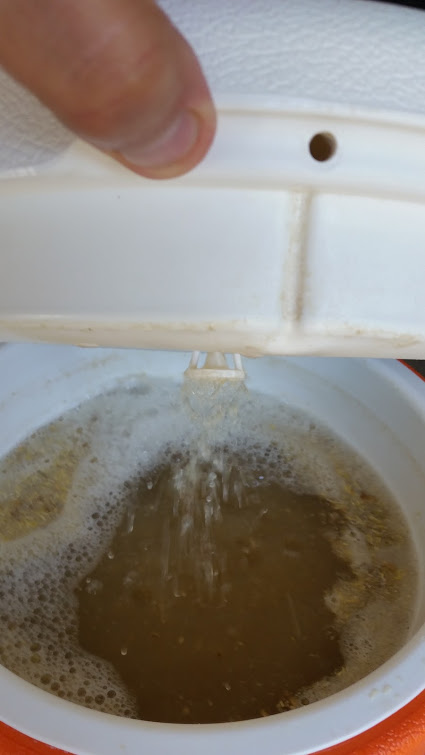
transfering to boil kettle.jpg


the boil.jpg


the reward.jpg
 
Well deserved to say the least.

Tons of great ideas to borrow/steal from your stream-lined build.

Thanks for sharing it here.
 
It took me a while to figure out how it works but I think I get it. The RIMS tube is a neat idea. And that cart is awesome. Are you able to sparge at all or does it all go from mash directly to boil?
 
Great job man. Really clean and obviously you paid a lot of attention to detail. I for one would love some more detail on your process/workflow. What is pre-boil volume and how is that 1500W element handling it?

Again - really nice work on this. Enjoy it.

Cheers.
 
Awesome design and craftsmanship!

I'm curious as well, how does the 1500W element handle a 5-6 gallon boil? Could you give us the approximate time it takes you to get from sparge to boil?

Thanks for sharing the build!
 
I'm also interested in the 1500w element details. I'm just starting to plan my build and wanted to try and stick to 120v if possible. Also, what pump are you using?

SWMBO is requiring my build to look "presentable". This is a very nice and clean looking build. Great job!
 
Great job man! Along the same lines as a small 2.5-3gal/120V system I'm trying to put together. I set some design requirements for myself so I'm still sourcing stuff. Check it out https://docs.google.com/presentation/d/1HxIkoLTnHJ9X-yZwAEboJhyoR8WD5muwNdDqAGAyQvo/edit?usp=sharing

If anyone can offer advice for shaping or installing bare elements, it would be appreciated. Instead of going with a conventional straight or fold-over element, I'd like to try and get something like the BoilCoil without actually buying the BoilCoil.
 
The 1500 watt element will bring 6 gallons to a vigorous boil with the kettle insulated.
 
1. I bring 4 gallons of sparge water to a boil a put it in a 5 gallon bucket with a lid on and set it aside for later.
2. I add my strike water volume to the Mash Tun, set the controller to Doe-in temp and start recirculating thru the RIMS.
3. In about 20 minutes the strike water is ready and I add my grains.
4. I let the grains set for about 10 minutes to settle the grain bed. Then set the controller to Mash temp and start recirculating thru the RIMS.
5. After the Mash is complete, I put the Mash Tun lid on the Boil Kettle and run the pump to transfer the wort to the Boil Kettle.(see picture 8)
6. I add the sparge water that I set aside to the Mash Tun, set the controller to 170* put the lid on and start recirculating thru the RIMS for 15 minutes.
7. I put the Mash Tun lid on the Boil Kettle and start the pump to transfer the 2nd runnings into the Boil Kettle.
8. I turn on the Boil Kettle element and in about 20 minutes its boiling.
 
Gotta hand it to you, that is simple and you've kept the volumes in check to work with your wattage. Very nice.
 
1. I bring 4 gallons of sparge water to a boil a put it in a 5 gallon bucket with a lid on and set it aside for later.
2. I add my strike water volume to the Mash Tun, set the controller to Doe-in temp and start recirculating thru the RIMS.
3. In about 20 minutes the strike water is ready and I add my grains.
4. I let the grains set for about 10 minutes to settle the grain bed. Then set the controller to Mash temp and start recirculating thru the RIMS.
5. After the Mash is complete, I put the Mash Tun lid on the Boil Kettle and run the pump to transfer the wort to the Boil Kettle.(see picture 8)
6. I add the sparge water that I set aside to the Mash Tun, set the controller to 170* put the lid on and start recirculating thru the RIMS for 15 minutes.
7. I put the Mash Tun lid on the Boil Kettle and start the pump to transfer the 2nd runnings into the Boil Kettle.
8. I turn on the Boil Kettle element and in about 20 minutes its boiling.

Very clear and well thought out approach and build. Thanks for detailing the process.

Any idea how much the element could boil. You think it could do 7.5 gallons?
 
Just curious, why 1500w and not 2000w?

20 amp gfi circuits are pretty common these days and I have found the additional 500w makes a big difference.
 
Great job man! Along the same lines as a small 2.5-3gal/120V system I'm trying to put together. I set some design requirements for myself so I'm still sourcing stuff. Check it out https://docs.google.com/presentation/d/1HxIkoLTnHJ9X-yZwAEboJhyoR8WD5muwNdDqAGAyQvo/edit?usp=sharing

If anyone can offer advice for shaping or installing bare elements, it would be appreciated. Instead of going with a conventional straight or fold-over element, I'd like to try and get something like the BoilCoil without actually buying the BoilCoil.

the boil coil is basically a more powerful electric smoker element (at like 20 times the cost) if you search electric smoker elements you may find something...
 
1. I bring 4 gallons of sparge water to a boil a put it in a 5 gallon bucket with a lid on and set it aside for later.
2. I add my strike water volume to the Mash Tun, set the controller to Doe-in temp and start recirculating thru the RIMS.
3. In about 20 minutes the strike water is ready and I add my grains.
4. I let the grains set for about 10 minutes to settle the grain bed. Then set the controller to Mash temp and start recirculating thru the RIMS.
5. After the Mash is complete, I put the Mash Tun lid on the Boil Kettle and run the pump to transfer the wort to the Boil Kettle.(see picture 8)
6. I add the sparge water that I set aside to the Mash Tun, set the controller to 170* put the lid on and start recirculating thru the RIMS for 15 minutes.
7. I put the Mash Tun lid on the Boil Kettle and start the pump to transfer the 2nd runnings into the Boil Kettle.
8. I turn on the Boil Kettle element and in about 20 minutes its boiling.

Thanks for posting man. I love the setup and the straight-forward process. Have fun brewing on that rig.

CHeers.
 
Here I was all morning thinking about hacking in to my stainless HTL to dual purpose it for an eBIAB brewing in the winter an I see this! I have most of the same equipment sitting around already. Even the same pot with a 120 volt element installed.

May I ask, what size is the tool cart? Doing something similar would solve my winter brewing woes.

Bravo!
 
1. I bring 4 gallons of sparge water to a boil a put it in a 5 gallon bucket with a lid on and set it aside for later.
2. I add my strike water volume to the Mash Tun, set the controller to Doe-in temp and start recirculating thru the RIMS.
3. In about 20 minutes the strike water is ready and I add my grains.
4. I let the grains set for about 10 minutes to settle the grain bed. Then set the controller to Mash temp and start recirculating thru the RIMS.
5. After the Mash is complete, I put the Mash Tun lid on the Boil Kettle and run the pump to transfer the wort to the Boil Kettle.(see picture 8)
6. I add the sparge water that I set aside to the Mash Tun, set the controller to 170* put the lid on and start recirculating thru the RIMS for 15 minutes.
7. I put the Mash Tun lid on the Boil Kettle and start the pump to transfer the 2nd runnings into the Boil Kettle.
8. I turn on the Boil Kettle element and in about 20 minutes its boiling.
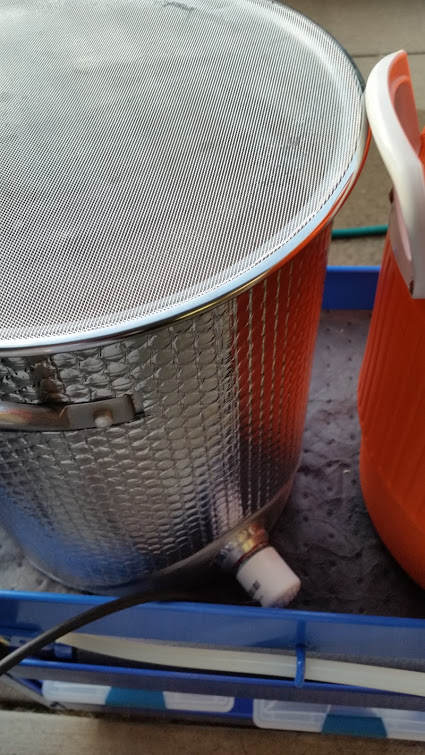
I am not quite clear. After step #8, can you remove the lid from the kettle and still maintain a good boil for releasing DMS?
 
Nice setup and process!

Just a random observation. I've used that type of cart in my shop. For a lot of applications it's better for me to mount the shelf up-side-down and use the bottom as my work surface. That way I don't have the high lip around the edge getting in the way.
 
the boil coil is basically a more powerful electric smoker element (at like 20 times the cost) if you search electric smoker elements you may find something...
Thanks augie,

Would the smoker element still be immersible in water?
 
Back
Top