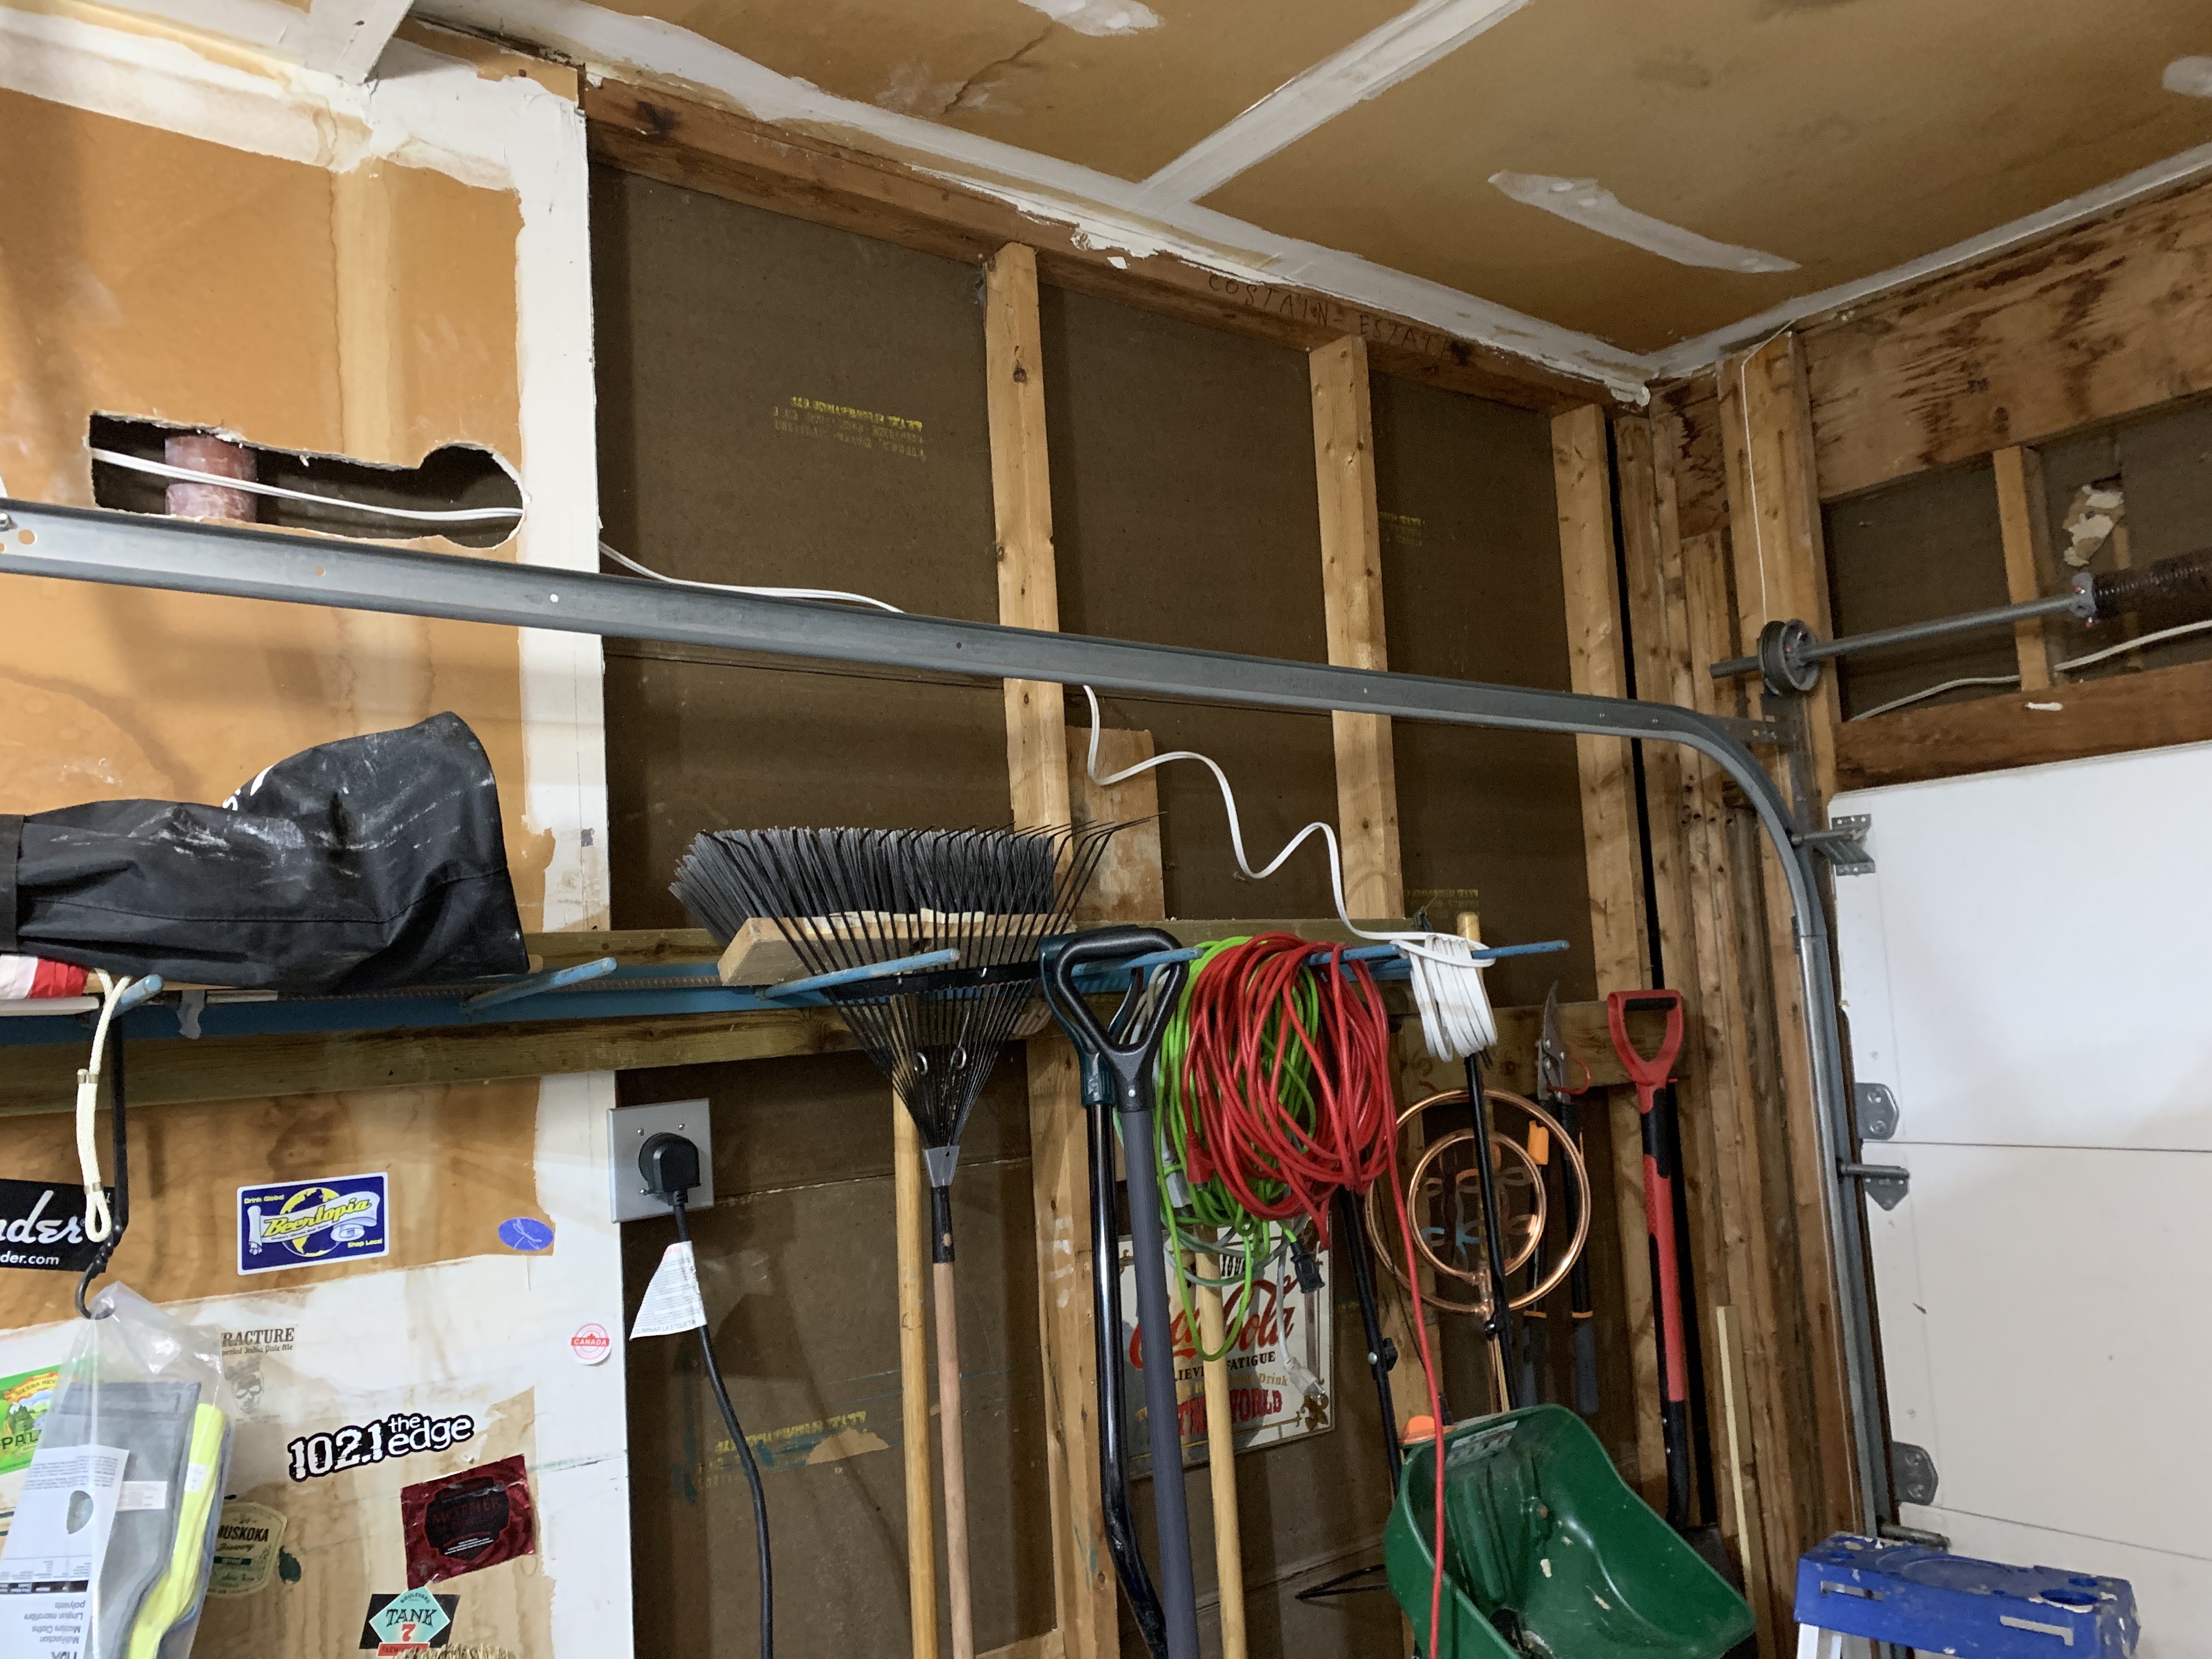
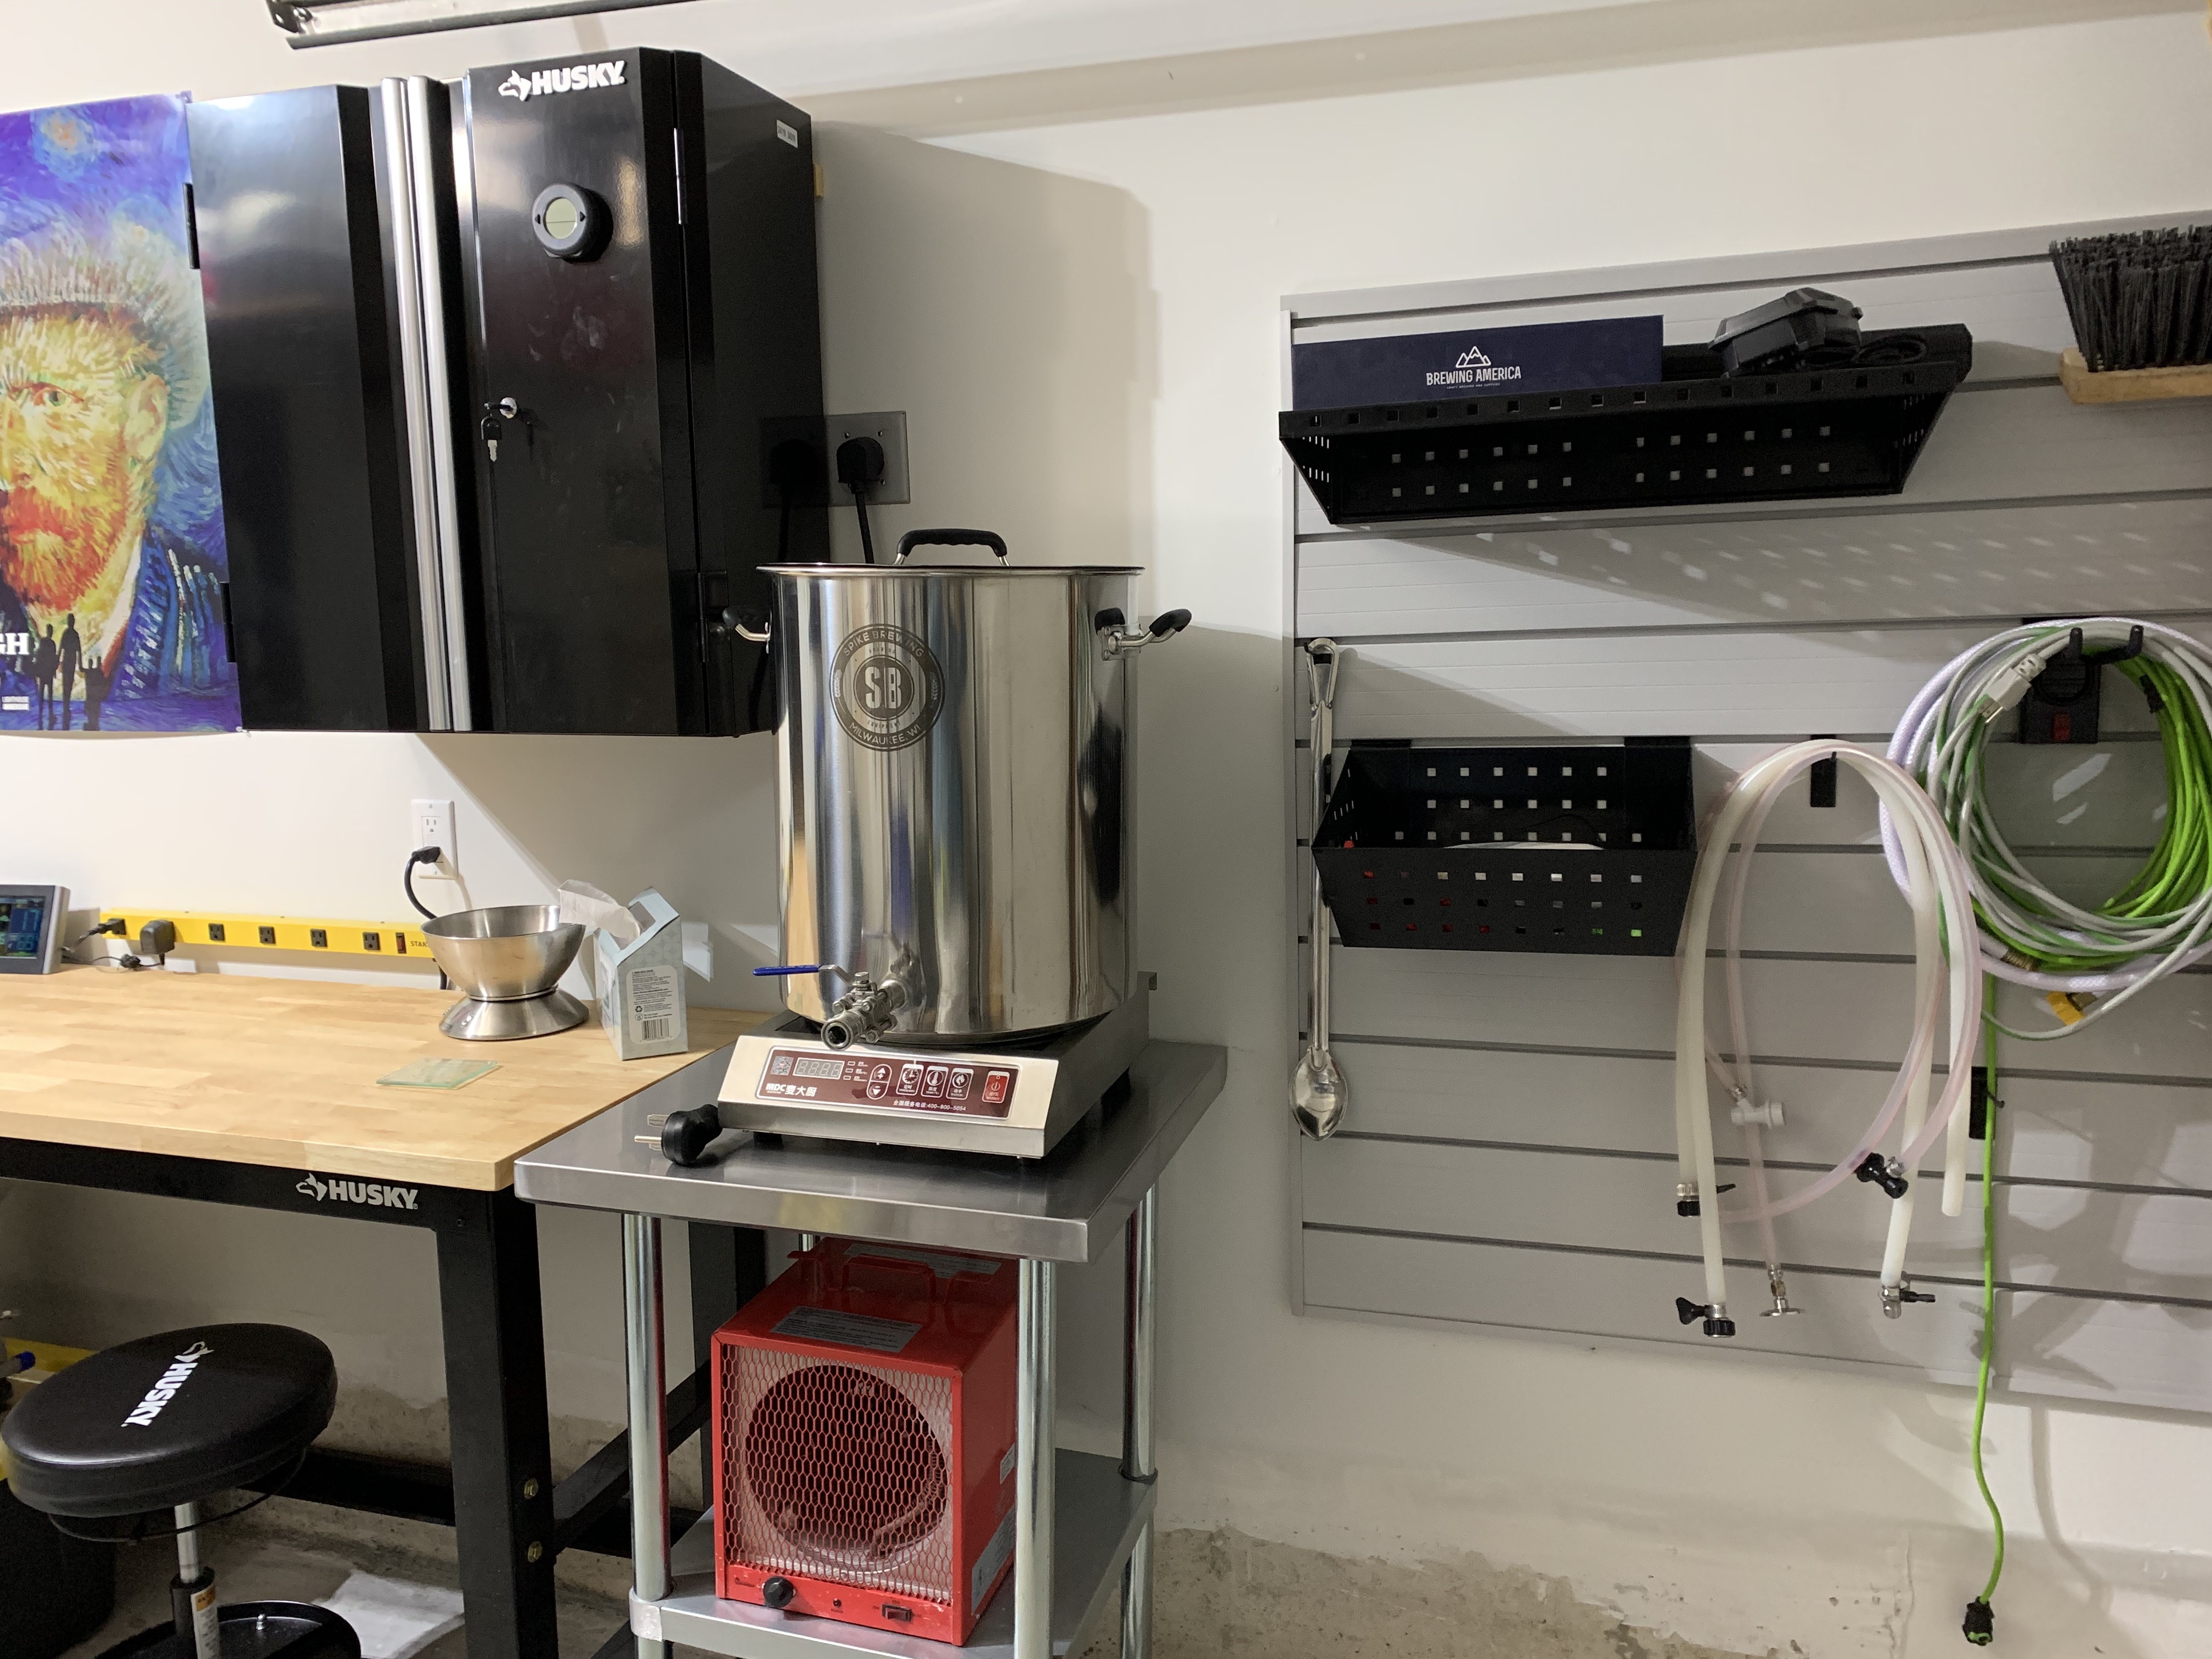
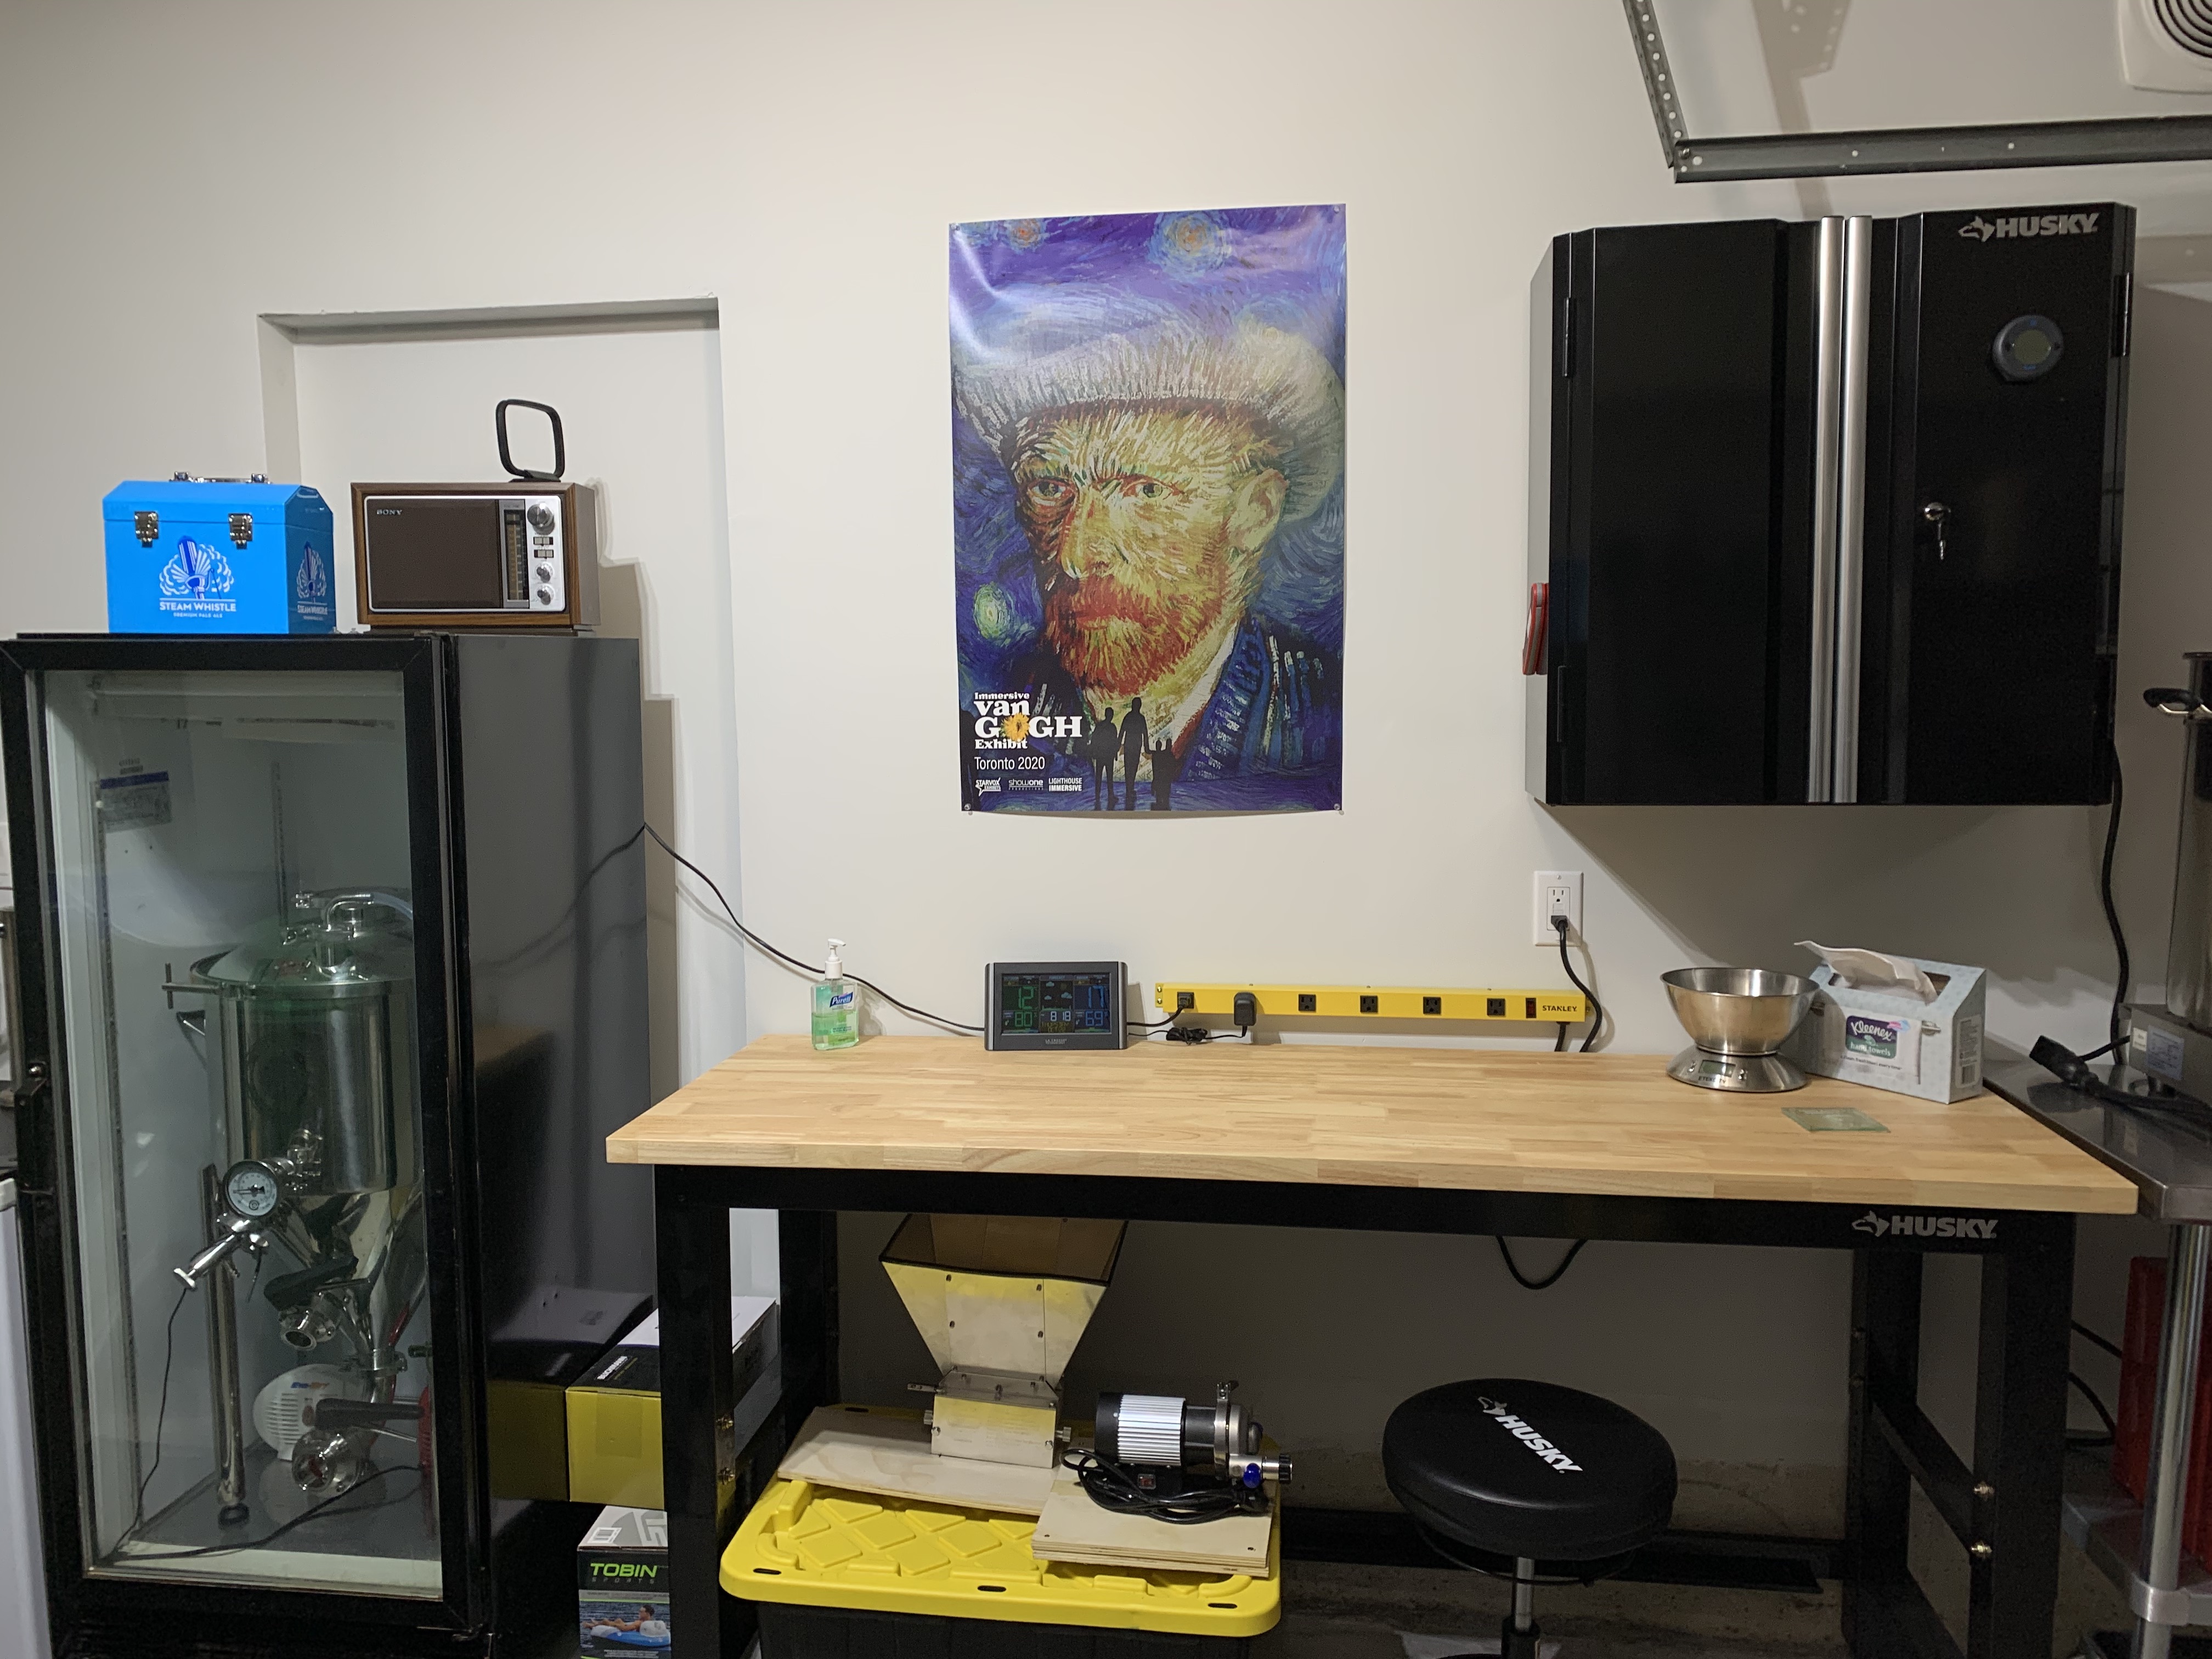
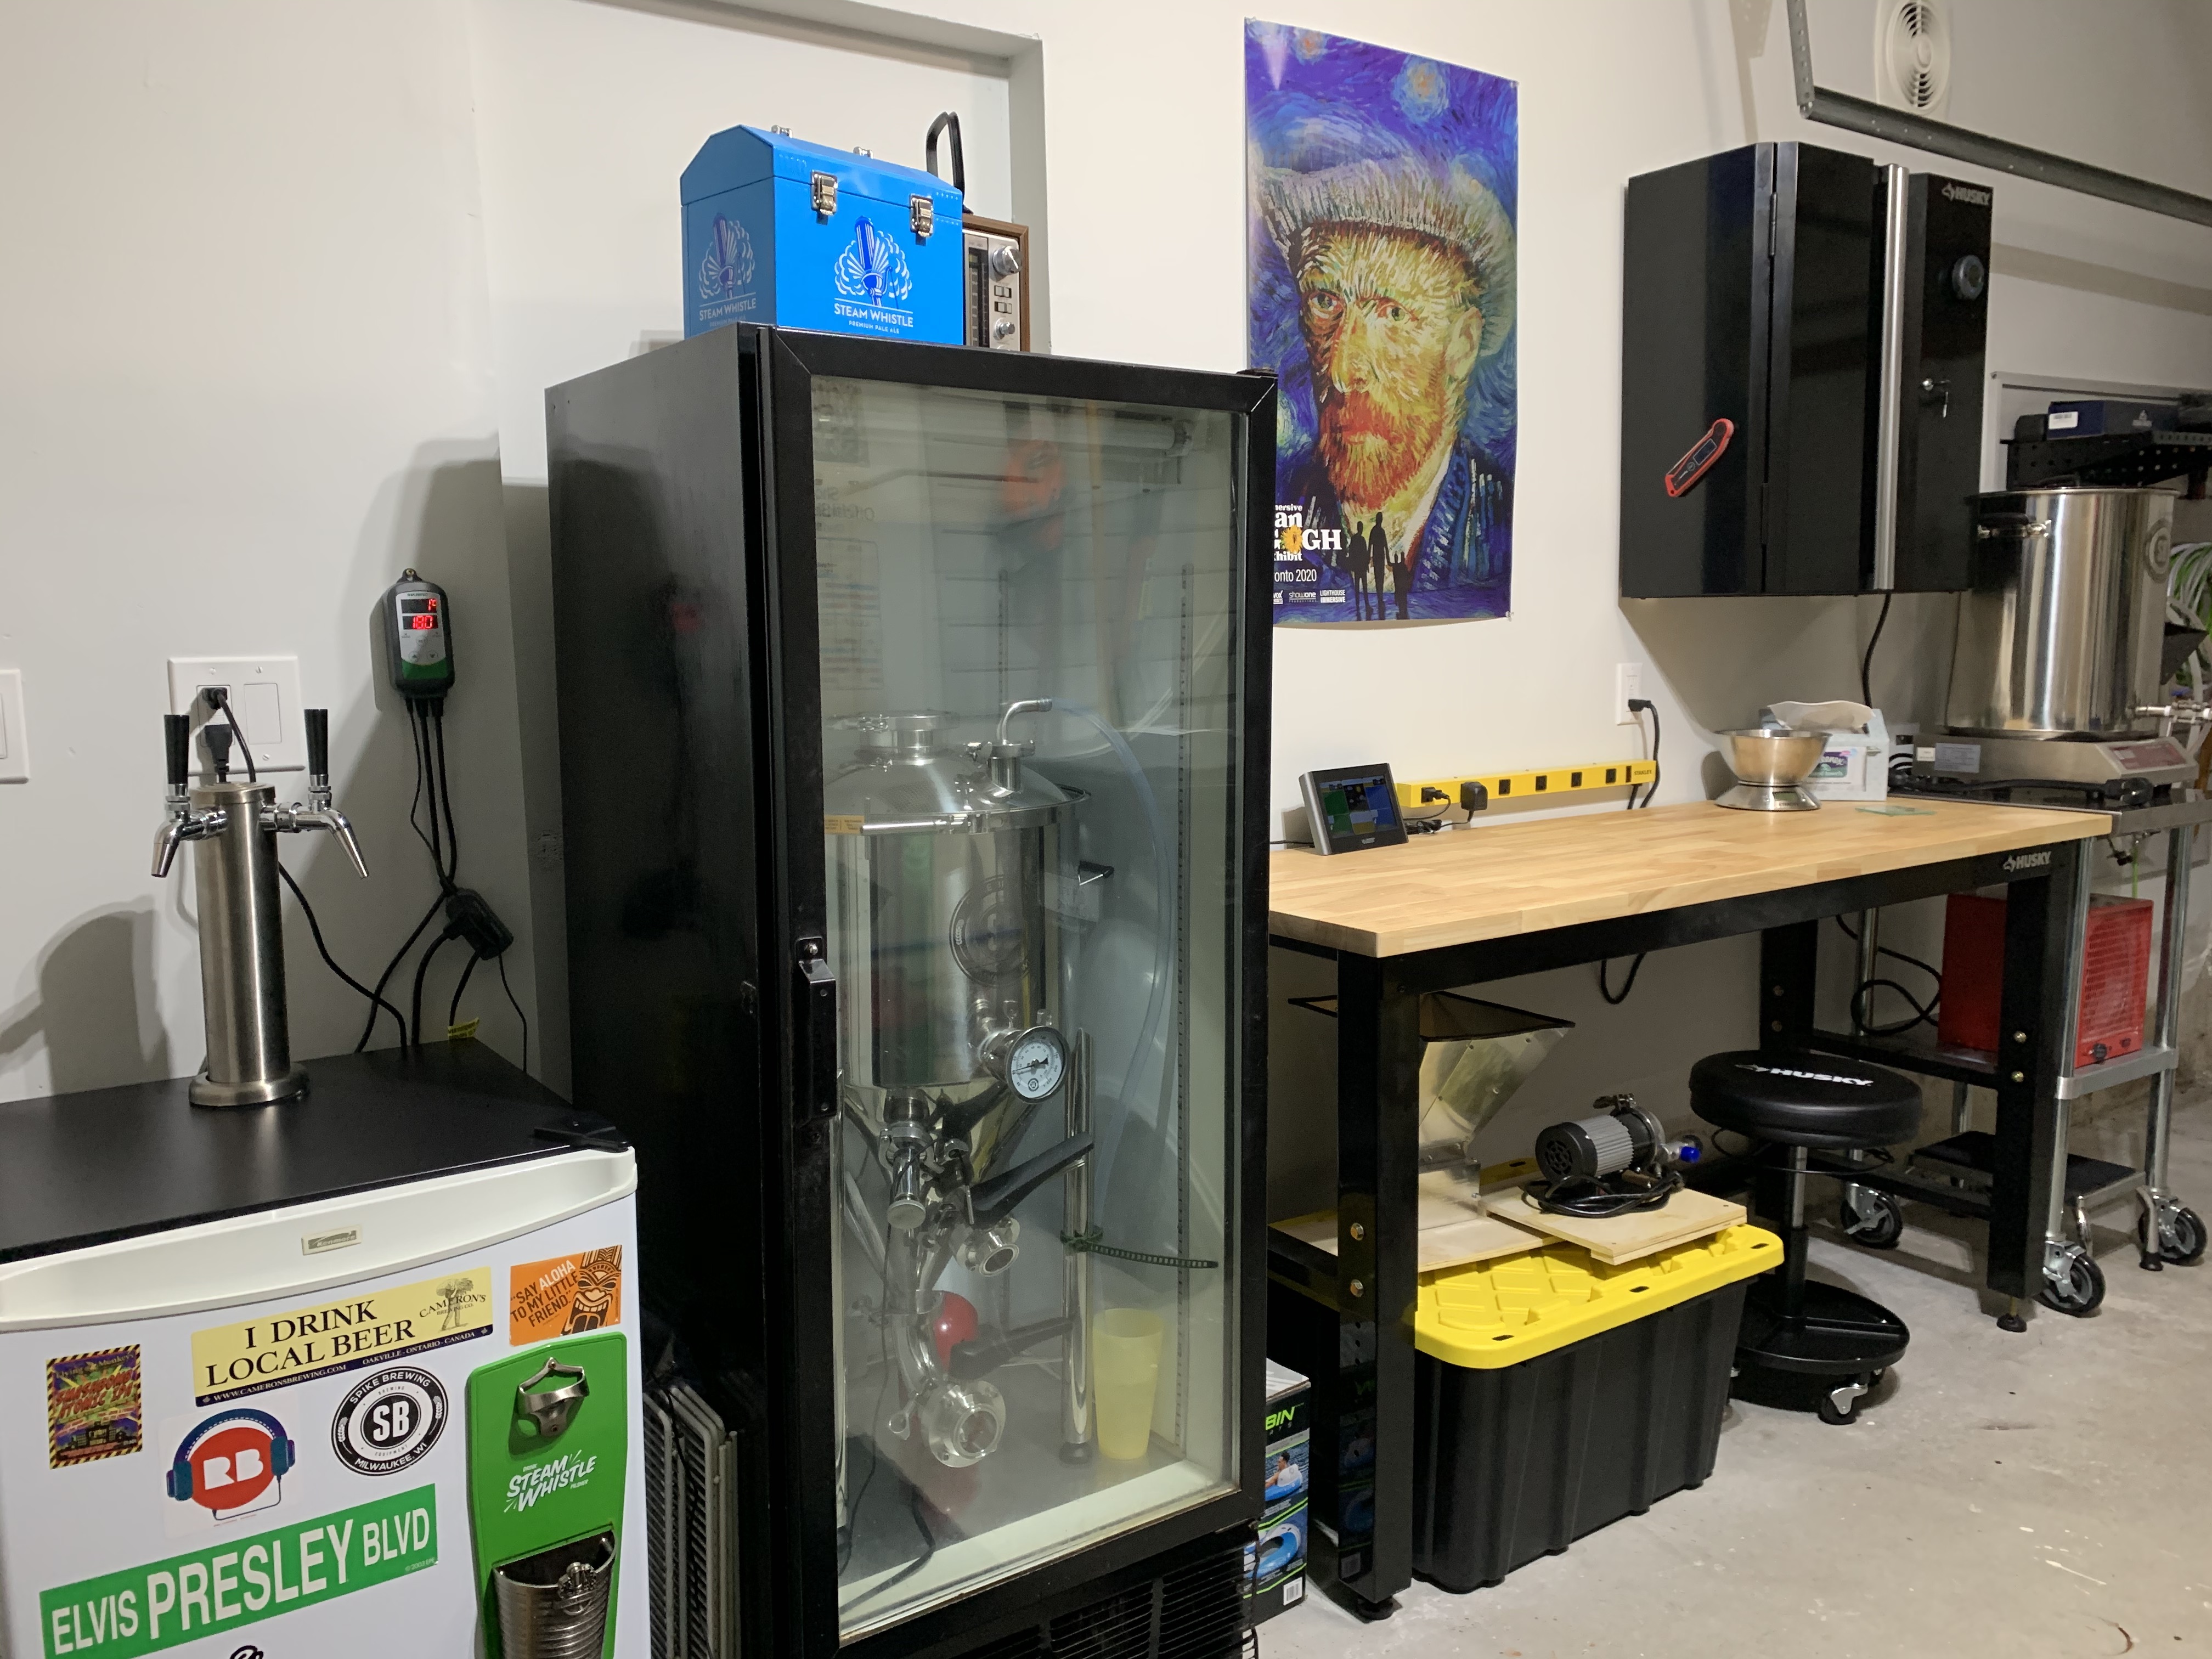
So I’m to post in hopes we get some more pictures. We just moved and I need some more ideas for my brewery in the garage.
I'll put up a few pics of newer iterations of what's in the original post:
There are a couple of major improvements over what's in the first post in this thread. One is the use of a single pump attached to the wooden bench. I'd seen someone else's stainless table setup and they had the pumps mounted below the kettles...which means, since the pumps need to be primed with liquid, that facilitated priming. So my Riptide is mounted low.
But....I originally used the electric panel to control the pump--there are push-button switches on it. But that was not quickly accessible, given how the panel is on the wall and high. So I added a couple of regular switches. The power comes from one of the GFCI-protected outlets (just above the CO2 tank), and there are two outlets underneath the bench top, into which the pumps are plugged.
"Left" switch controls the Riptide. "Right" switch controls a Mark IV pump I use exclusively to recirculate cleaning fluid in my conical (you can see that on the bottom shelf, just below the Riptide). They are as easily accessible to quick control as I can make them--and that matters, as it turns out.

I have two CO2 lines coming out of my regulator to feed CO2 into...whatever. One line has a standard gas QD on it, I use that one to carb a fermenter, or add pressure during pressure transfer, or to push sanitizer out of kegs as part of purging them. Once you have a line like that, you'll be surprised what you can use it for.
The other CO2 line has a male Camlock connection on it. I can connect that to my hose lines and use CO2 to push water out of the counterflow chiller, or push worth through the CF chiller when it's going into the fermenter. A good blast of CO2 will push that through, but I want to be able to easily turn the pump on and off.
*******
This first pic below shows me transferring strike water from the BK to the Mash Tun. I'm underletting the grain, filling it from the bottom up at a slow rate (about a gallon per minute). You'll note the line from the RIMS tube on the left up to the top of the Mash Tun--I have it clamped off with a Hemostat so when the kettle fills high enough it doesn't start leaking down and through the RIMS tube onto the floor.
Sometimes, depending on whether I'm doing strict LODO techniques or not, I'll be preboiling the strike water and cooling it back down to strike temp through the counterflow chiller you see below the boil kettle. If so, the connections are slightly different but the same idea; this is one instance where I'll use CO2 to blow out the water and into the mash tun. I don't like losses!

Here's where it gets interesting; I simply move hoses over from the BK to the mash tun; the hose feeding into the Mash Tun is connected now to the bottom of the RIMS tube; the hose from the BK to the top of the pump is connected to the ball valve and sight glass on the bottom of the Mash Tun.
Same hoses, no fiddling with new hoses. I use Hemostats to clamp off the hoses as necessary. I disconnect the Hemostat preventing flow from the top of the Mash Tun back into the Rims Tube, and start the pump (after priming again). And the RIMS works, using the same hoses, same pump. No fiddling around.
Also note the small cottage-cheese container hanging from the RIMS tube. As I disconnect the hose from the bottom of the RIMS tube to run it back into the BK, there's always...drainage. I suspend that container under the camlock connector to catch that and add it back to the BK. I hate losses!

Here's a closeup of the RIMS setup; no cottage cheese container in this one.

Third iteration. This shows the setup where I'm routing water/wort through the counterflow chiller under the BK; it's a little hard to see the hoses as one is in front of the other, but look closely and you'll see the hose coming out of the CF chiller and feeding the whirlpool port, and the hose coming out of the pump and going into the top of the CF chiller.

Note in the above photo that you can see a switch on the bottom right just above the dial thermometer. It's labeled "Reservoir Pump." I store my RO water in a 7-gallon aquatainer. While I can lift that up to a table and use it to dispense into pitchers poured into the BK, I figure since I've had two back surgeries lifting 56+ pounds of water every brew day is not a smart move. So I bought a self-priming transfer pump to move water from my aquatainer to the BK, or to refill gallon jugs I also use for water storage.
Here's that pump:

It runs off a DC transformer, but it was child's play to rig up a switch for it. The connectors and tubing was bought at Menards. Here's the pump on Amazon: https://www.amazon.com/gp/product/B07FT87XJY/ref=ppx_yo_dt_b_search_asin_title?ie=UTF8&psc=1 here's the power supply: https://www.amazon.com/gp/product/B073QTNF9F/ref=ppx_yo_dt_b_search_asin_title?ie=UTF8&psc=1
Finally, here's the setup using that second Mark IV pump and the other pump switch.


Last edited:






![Craft A Brew - Safale BE-256 Yeast - Fermentis - Belgian Ale Dry Yeast - For Belgian & Strong Ales - Ingredients for Home Brewing - Beer Making Supplies - [3 Pack]](https://m.media-amazon.com/images/I/51bcKEwQmWL._SL500_.jpg)


