• Please visit and share your knowledge at our sister communities:
  • If you have not, please join our official Homebrewing Facebook Group!

    Homebrewing Facebook Group

My Recirculating eBIAB Bottom Drain Keggle Build

Homebrew Talk

Help Support Homebrew Talk:

This site may earn a commission from merchant affiliate links, including eBay, Amazon, and others.

Totally

Well-Known Member
Joined
Feb 11, 2016
Messages
249
Reaction score
86
Location
Vancouver
I have been using a two vessel system for the last year and it has been great. 15 gallon SS Brewtech kettle doubling as both HLT and Boil Kettle, and 13 gallon coleman extreme cooler for the mash.

My last brew this past winter was below 0° Celsius (32°F) outside and I decided I would build an electric BIAB system that I could use both inside my garage and outdoors weather permitting. It is not only the cold, it rains a heck of a lot here and indoors will help with that as well I would like the shorter brew day that I believe an eBIAB system will bring.

I will re-use my chugger pump from my old system, but I will probably leave the rest of it intact because it is likely better suited to brewing 10 gallon batches when I am in the mood for one.

I will start off with my keggle build and move into adding the hardware, element and building the panel afterwards. No idea how long this build will take but I am sure I will learn a lot.
 
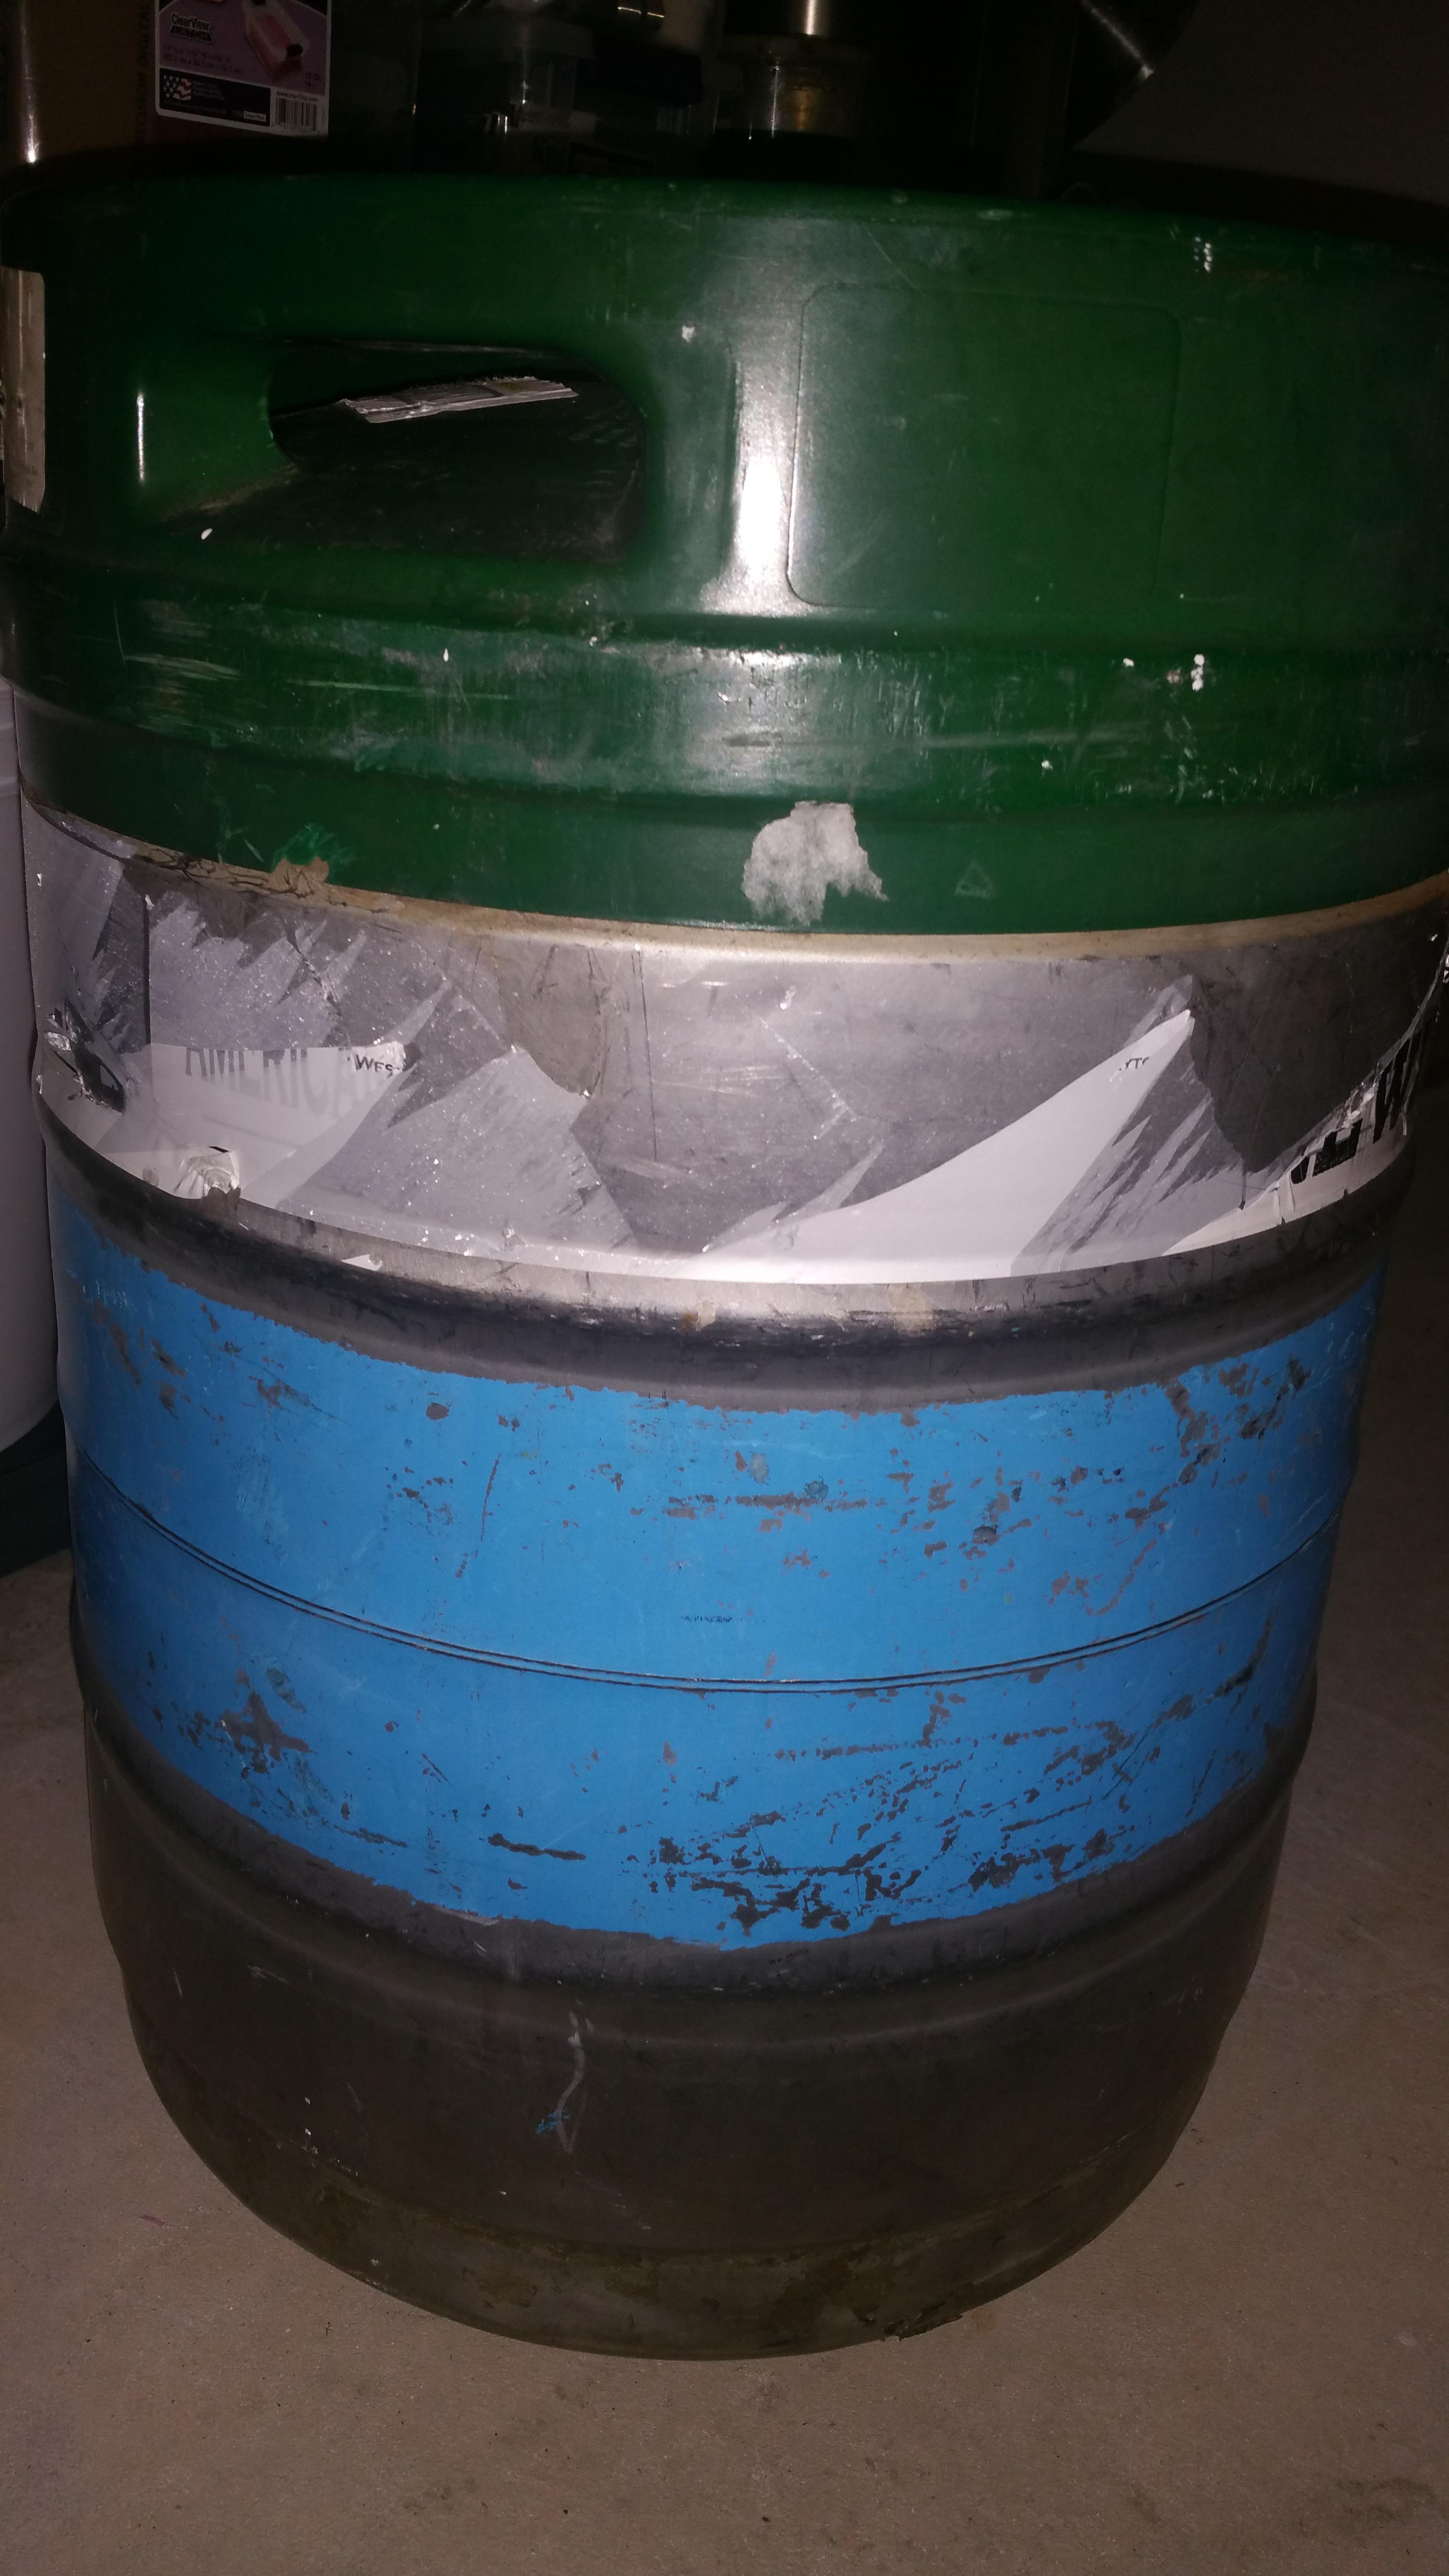
I found a damaged 58 litre keg for sale which I hoped would be perfect (it was cheap)

It is a partially rubber covered keg, only at the top and at one point around the bottom skirt as well. The damage is that the bottom rubber was removed or broken off at some point and underneath there is no stainless skirt, just a mostly rounded bottom. The keg does not stand up well at all.

After some reading here I saw that this might be perfect for a bottom drain system since I would cut most of the keg bottom off anyways and it stands well upside down.

Xsdlic8.jpg
 
Bought myself an angle grinder, some cutting wheels and safety gear.

Took the keg out back and cut the bottom off.

It went quite well, i was planning to cut so the wall is straight but i drew in a line with a sharpie anyways. It was pretty easy to follow the curve where the bottom started to round off.

I would not say its a perfectly level cut but I will clean it up a bit with a grinder wheel and sitting my old pot lid on top to find and mark high spots. Then I will hit it with the flap wheel to smooth it out.

I will probably wrap the rim with some of this Poly Edging:
https://www.brewhardware.com/product_p/edgingft.htm

My old SS Brewtech lid is an inch or so wider than the keg so it should sit fairly well on there with the edging on there, might look for a better fitting lid but i'm not sure I need a tight fit for a recirc ebiab system.

I will polish it up later once I get some hardware on there, I want to make sure I don't mess it up drilling the element and recirc holes before I put the polishing time in.

z0mlL67.jpg


hV5jFn5.jpg
 
Well I am on hold ordering hardware for a couple weeks so I started finalizing my electrical plans and playing with some polishing.

Here I have removed the stickers with a steel wire wheel on a drill. Then I hit it with a 40 grit flap disc on my angle grinder to clear out some crud and scratches. At this stage I am just about finished with the 80 grit grinding disc and will then move on to the 120.

I still have to clean up the edge a little and wash out the inside!

HrJPvkr.jpg
 
After looking through many great panel wiring diagrams around here I believe the one that closest matches what I was planning is this one from @doug293cz

I will be using the DSPR120 (diagram shows the DSPR110)

I am thinking to include the simpler version of the "safe start interlock" that just runs the main contactor power through NC blocks on both the pump and element switches then latching itself open. I have seen it in a few other diagrams from@doug293cz and it looks like a great solution to both prevent starting up with the element on and keeping things off if there is a power outage.

eiYnt0O.jpg
 
I continue to be torn on that issue, I realize that there may be cases where I could hit the e-stop maybe a second or so quicker than hitting the power off button but I am not quite sold on the fact yet.

I plan on using the Auber SW11 for the main power, element power and pump switches.

Can you see scenarios where hitting an e-stop that is only a few inches away from a button like this would actually be useful?

I am totally open to using one, it's easy to wire in and relatively inexpensive but so far it feels redundant.

From this thread:
https://www.homebrewtalk.com/showthread.php?t=584539

"You really only need one switch that controls main power, and it doesn't need to be an emergency off switch. EPO's are needed when you have moving parts that represent a potential injury hazard, in order to make everything stop instantly. There aren't (usually) any moving equipment hazards in a home brewery that warrant an EPO."


http://www.auberins.com/index.php?main_page=product_info&cPath=32&products_id=303

LRd0XCX.jpg
 
Last edited:
I continue to be torn on that issue, I realize that there may be cases where I could hit the e-stop maybe a second or so quicker than hitting the power off button but I am not quite sold on the fact yet.

I plan on using the Auber SW11 for the main power, element power and pump switches.

Can you see scenarios where hitting an e-stop that is only a few inches away from a button like this would actually be useful?

I am totally open to using one, it's easy to wire in and relatively inexpensive but so far it feels redundant.

http://www.auberins.com/index.php?main_page=product_info&cPath=32&products_id=303

I agree with you on the E-stop, which is why I leave them out of most of my designs. I'm not adverse to putting them in if someone wants one. In my view, E-stops are most useful on large pieces of equipment, where you might need to shut them off in a hurry, but are too far away to reach the control panel. This is especially true for equipment with moving parts that could catch clothing or appendages.

Brew on :mug:
 
Last edited:
After looking through many great panel wiring diagrams around here I believe the one that closest matches what I was planning is this one from @doug293cz

I will be using the DSPR120 (diagram shows the DSPR110)

I am thinking to include the simpler version of the "safe start interlock" that just runs the main contactor power through NC blocks on both the pump and element switches then latching itself open. I have seen it in a few other diagrams from@doug293cz and it looks like a great solution to both prevent starting up with the element on and keeping things off if there is a power outage.

eiYnt0O.jpg

Here's a similar design that has some of the additional features you are looking at. The pin out of the DSPR120 is the same as the DPSR300, except that terminals 1, 2, 13 & 14 are no-connects on the DSPR120. It also has an extra pump switch and outlet that can easily be left out.

DSPR300 2-Pump 240V dual contactors safe-start rev-2.jpg

Brew on :mug:
 
Here's a similar design that has some of the additional features you are looking at.

Excellent, that is exactly the safe start interlock I was referring to.

Like @P-J before you, you are a legend in the world of electric brewing circuit designs.

Thanks!
 
Any more on your build? I'm in the process of doing the exact same thing actually and stumbled across your build. Moving from 2 vessel infusion mash in a cooler to e-herms using a bottom drain keggle for hlt and a dspr120 for mash (and someday boil) capability.
 
The thing that I noticed with the fire light across both legs is that it seemed to be on all the time and not when the element was actually firing. I put a 12v light across wires 9 and 10 that go to the SSR and now see the light turn on and off when the element is firing.
 
The thing that I noticed with the fire light across both legs is that it seemed to be on all the time and not when the element was actually firing. I put a 12v light across wires 9 and 10 that go to the SSR and now see the light turn on and off when the element is firing.
The element firing light will be on all the time, if the element is not plugged in. This is because SSR's have enough leakage current to light the LED lamp (which requires very little current.) With the element plugged in, the lamp should flash in unison with the LED on the SSR and the controller.

One purpose of this "element firing lamp" is to let you know if your SSR has latched up or failed in the on mode. A lamp across the SSR control inputs will not do this.

Brew on :mug:
 
Any more on your build? I'm in the process of doing the exact same thing actually and stumbled across your build. Moving from 2 vessel infusion mash in a cooler to e-herms using a bottom drain keggle for hlt and a dspr120 for mash (and someday boil) capability.

I guess I should have posted here as well, I changed direction on this build and decided to use my old boil kettle and drill it out for an element instead of the keggle for now. Maybe come back to this build at a later date.

My new build was documented here if you are interested at all:
https://www.homebrewtalk.com/forum/threads/totally-building-an-electric-biab-system.635682/
 
Back
Top