• Please visit and share your knowledge at our sister communities:
  • If you have not, please join our official Homebrewing Facebook Group!

    Homebrewing Facebook Group

My homebrew stirplate

Homebrew Talk

Help Support Homebrew Talk:

This site may earn a commission from merchant affiliate links, including eBay, Amazon, and others.
I finally found my box of old computer equipment and one of the single hard disk drive boxes has a plastic case, so I thought I'd try this project. Since the power supply has both 5 &12 v and the fan is 12 v, I think I'll start out with a toggle switch for high/low. Had to order the magnets ($3) and a stir bar ($4), but everything else came out of the junk box.

Being a Sun box, I had the usual fun prying it apart & figuring out where the screws were hidden!
 
Update: Jameco just shipped the last of the backordered parts...completed stir plates are only a UPS delivery and a few hours of work away!

Good luck, dantodd and david_42 - this is a pretty fun project!
 
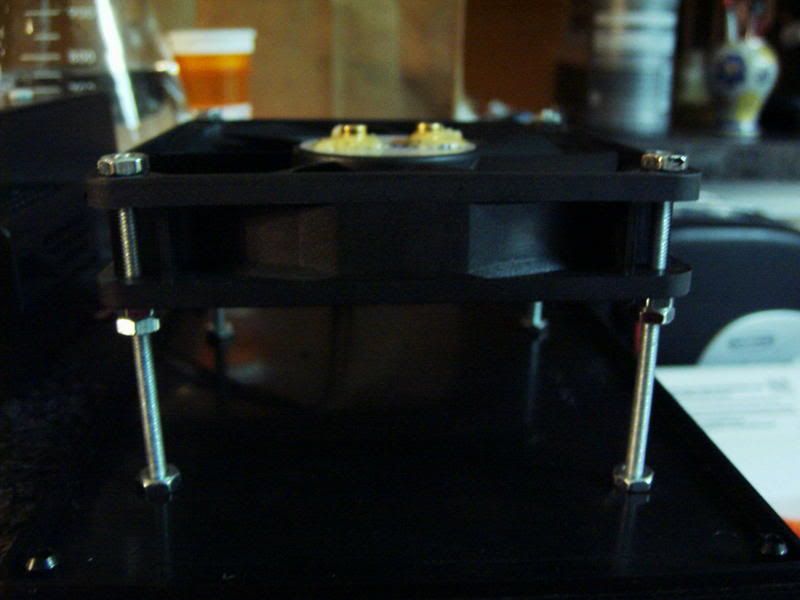
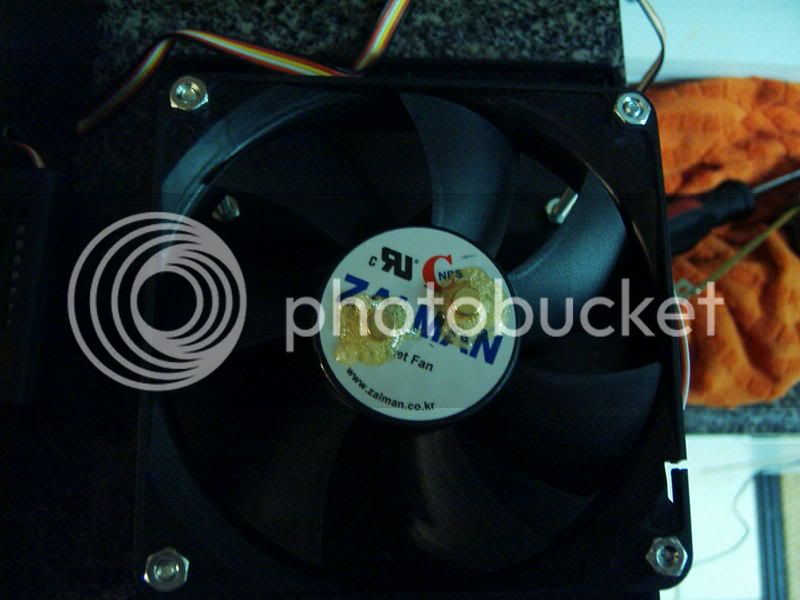
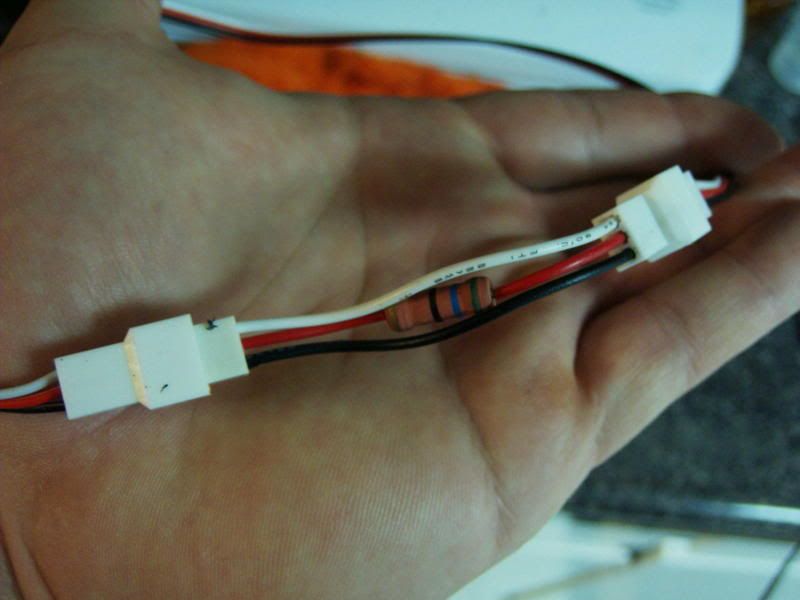
Looks like the two magnets I purchased aren't strong enough. The stir rod sits and vibrates on both speeds. Some times it flops around a bit, but no spin. I can't move the fan any closer to the cover, it's almost touching them already. I may try them closer together before buying more/stronger ones. Good thing I used glue & and not epoxy!

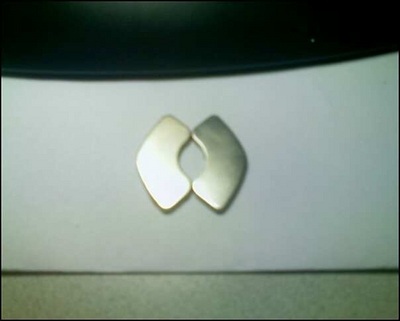
Maybe the rpms are too high? I tore open an old 4GB drive for the magnets. They are fairly heavy, but much stronger than the ones I purchased. In fact, set face to face, I can't separate them with my bare hands. Made the mistake of getting a pinky in between them, ouch!

Edit

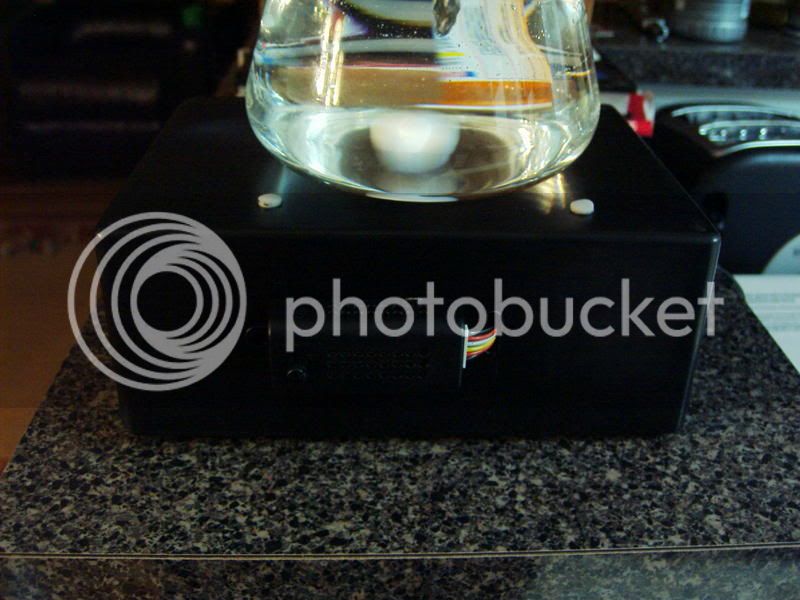
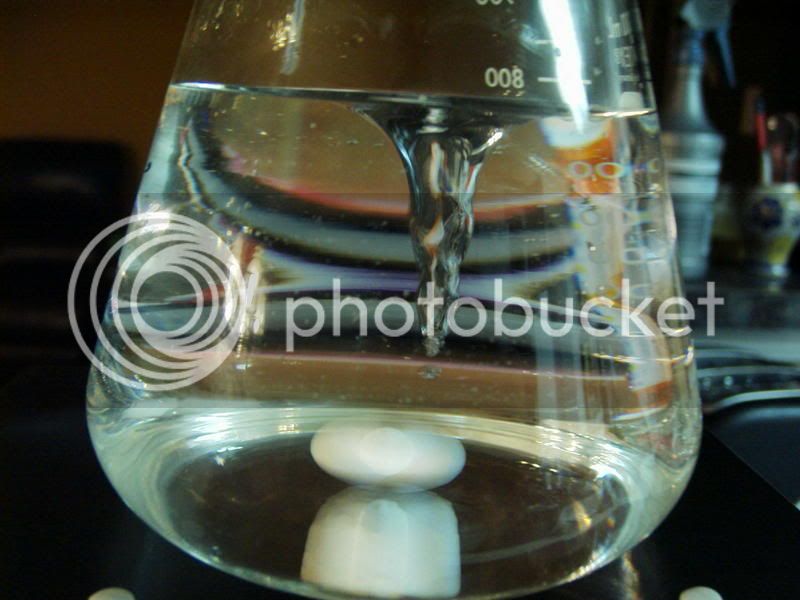
Well, as Murphy Rules, the new magnets are enough thinner that I'll have to get longer screws for the fan. There's about a 1/8" gap between the magnets and the cover. It was 1/4" and by running the nuts out to the very end, I'm getting a little action, but not enough. If I take the cover off and hold the flask just a hair above the magnets, it works! Off to the store.

Tonight is the Heart of the Valley meeting, I'll just go a little early and hit a hardware store. Since the meeting is at the good LHBS, I'll get a London ale yeast for the Schwartz bier - Porter experiment.
 
Hard drive magnets are definitely the way to go. Worked great for mine. Out of curiosity, before you installed the new magnets did you try flipping one side of the original magnets? By your description of what the stirbar did, it would almost seem that you did not have them installed on opposite poles.
 
Yuri,

Where did you get the stronger magnets. Mine works fine with 1L flasks, but has a problem with 2L flasks. Perhaps I can upgrade mine with the stronger magnets.
 
EdWort said:
Yuri,

Where did you get the stronger magnets. Mine works fine with 1L flasks, but has a problem with 2L flasks. Perhaps I can upgrade mine with the stronger magnets.
Apologies for not having seen this until now. I got stronger magnets from eBay - do a search for neodymium and rare earth magnet.

The magnets in your stir plate are 1/2" diameter. The ones in the newer stir plates are 5/8." You could probably get away with using even larger ones. I successfully spun a 2" stir bar in a 1L flask on your stir plate, but I didn't test it with a larger container.
 
Bigfoot99 said:
Hard drive magnets are definitely the way to go. Worked great for mine. Out of curiosity, before you installed the new magnets did you try flipping one side of the original magnets? By your description of what the stirbar did, it would almost seem that you did not have them installed on opposite poles.
Yes, I install the magnets so that they have opposite poles facing up.
 
I have four more stir plates ready to ship! They are $60 (domestic priority shipping included). Anyone interested, send me a private message, and I'll give you payment details. PayPal is preferred but not required.

Thanks to everyone who already has one, and congrats again to Orpheus, the Christmas giveaway winner!

This will be the last batch of stir plates I make until this summer (I'll be out of town for a while).

Happy brewing!
 
Ok I figured that I would want one of these if I was planning on making a super healthy starter. I had a speed controller laying around from my zalman computer fan. ( I could care less about it , as my computer is already quite . (good fan BTW)

Got me a project box from the shack, and a fan off ebay, that came with a resistor. All of this has plugs on it for easy plug and play.


misc002.jpg


I just went to the hardware and got some 3 inch long bolts, and 16 nuts to mount this.

misc005.jpg

Here is the fan that I bought off ebay. (I got the neo magnets at Frys electronics.)
Used some gorilla glue to hold them in place.


misc003.jpg

Here is a shot at the resistor that came with the fan.

misc007.jpg

Just glued the controller to the front of the box. Who needs pretty right?
 
misc009.jpg

Here is my little cyclone with the resistor in place. If i had a bigger stirbar I would take the resistor out.

Old ac adapter for a cell phone laying around is wired right into the speed controller. (the side that would normally go into your motherboard.) There is 3 wires on the controller one is for fan speed info and that is not used in our app.

Thanks for all that inspired this project to come alive. :mug: Cant wait to use all of this equipment I am accumulating.
 
Resurrecting this thread cuz of a question: Do you stirplate users have any tricks for pitching the yeast fom the flask to your wort without dumping in the stirbar too? I have been wondering about this every time I pitch. I pretty much just rub hand sanitizer all over my hands then pour the yeast real slow until the stirbar is at the mouth of the flask and then pull it out with my fingers, then pour in the rest of the yeast. If anyone's got a better way I'm all ears. Thanks!
 
Bernie Brewer said:
Resurrecting this thread cuz of a question: Do you stirplate users have any tricks for pitching the yeast fom the flask to your wort without dumping in the stirbar too? I have been wondering about this every time I pitch. I pretty much just rub hand sanitizer all over my hands then pour the yeast real slow until the stirbar is at the mouth of the flask and then pull it out with my fingers, then pour in the rest of the yeast. If anyone's got a better way I'm all ears. Thanks!
Try to find a magnet and place it at the outside end of the flask. It will grab it and hold it so it doesn't go in the fermentor.
 
Blender said:
Try to find a magnet and place it at the outside end of the flask. It will grab it and hold it so it doesn't go in the fermentor.


Duuhhh! the same principle that makes it spin in the first place! Thanks!
 
kbesch said:
Yuri - Looks fun to build. Is it easier than it looks. I like the way yours looks, thinking of building one of my own. Thanks for sharing! Kevin
It's a lot of fun, and it was pretty easy. All of the part numbers are available in a previous post. Let me know if you run into any snags!
 
It struck me as I was reading this thread that I have a computer tower that doesn't work. I was just going to throw it in the trash, but luckily I read this first, and I will be salvaging a bunch of crap out of it first.
 
Just got my stir plate built and I want to thank MrSaLTy and Yuri_Rage for all the info they've posted. It works great, and my starter is happily stirring away!
 
Here is a novice question: I just got a Antec 80mm Tricool Fan with 3 speed switch. My issue is with the three wires, red, black, and white. What do I wire to the +, and wich to the -. I am building my stirplate. Any and all help will be appreciated! Thanks!
 
My guess is that the red and white wires correspond to different voltages, with black being the ground. The switch lets you change between voltages, or use both at once, thus giving you three speeds. Try it with some batteries. I promise you nothing however, as I am not well versed in the dark arts of electricity.
 
Three wires on a fan means the third wire sends a signal back to you motherboard, to tell what RPM it's running at. Not much use in this case, to my advice is to plug it into your computer and measure the voltage with a DMM or use a 3-pin to 2-pin converter.

Looking at a fan I have, the black wire is ground, red is +, and yellow is feedback.

Hope that helps!
 
ut-oh, looky what I just harvested:

8829-earthmagnets.jpeg


guess this project is underway....I want to make something by tonight...but then I realized no stir bar. Any ideas for a homegrown stir bar?
 
I'm very interested in trying my hand at this but I have some questions. Bear in mind that I have no real knowledge of electronic circuits and their wiring. From what I can tell from the schematic at the beginning of the thread, the positive wire from the power supply is connected to the "IN" post of the LM317 and the negative wire is connected to the fans negative and to the case as a ground. Also there is a connection between the negative and positive wires from the power supply prior to the LM317and on this connection is a capacitor. after this capacitor, there is a connection leading from this wire to the #1 post of a potentiometer. There is a connection from the ADJ post of the LM317 to the #3 post of the potentiometer. A connection is made from the OUT post of the LM317 to the fans positive connection. There is a connection between the wire coming from the OUT post and the wire coming from the ADJ post and on this connection is a resistor. On the wire extending from ADJ to POT post #3, there is a resistor after the bridge from "OUT" to "ADJ" between the bridge connection and the POT. Finally, there is a connection between the wire extending from "OUT" to "FAN+" and the wire connecting the power supply to FAN- and there is a capacitor on this wire.

Does this sound about right? Any thoughts?
 

Latest posts

Back
Top