My first keezer - Cost and build steps.

Homebrew Talk - Beer, Wine, Mead, & Cider Brewing Discussion Forum

Help Support Homebrew Talk - Beer, Wine, Mead, & Cider Brewing Discussion Forum:

This site may earn a commission from merchant affiliate links, including eBay, Amazon, and others.

Ragman

Well-Known Member
Joined
May 22, 2020
Messages
318
Reaction score
138
Location
Hamlin
I just wanted to list the steps and cost breakdown of my keezer build for anyone else looking to build one.

Step 1 - buy a chest freezer. Found a used one on craigslist for $89. Was a good deal during pandemic cause they were a little hard to find.

20201104_172443_resized.jpg


Step 2: - Bought AIH Used 2-5al corny keg setup - 5 Gallon Ball Lock Keg System w/ Picnic Faucets, 2 USED Kegs - $122
Bought 5# Co2 tank from local shop (Air Affair) - $70
Check to make sure they fit and if a collar is necessary.

20201111_191838_resized_1.jpg


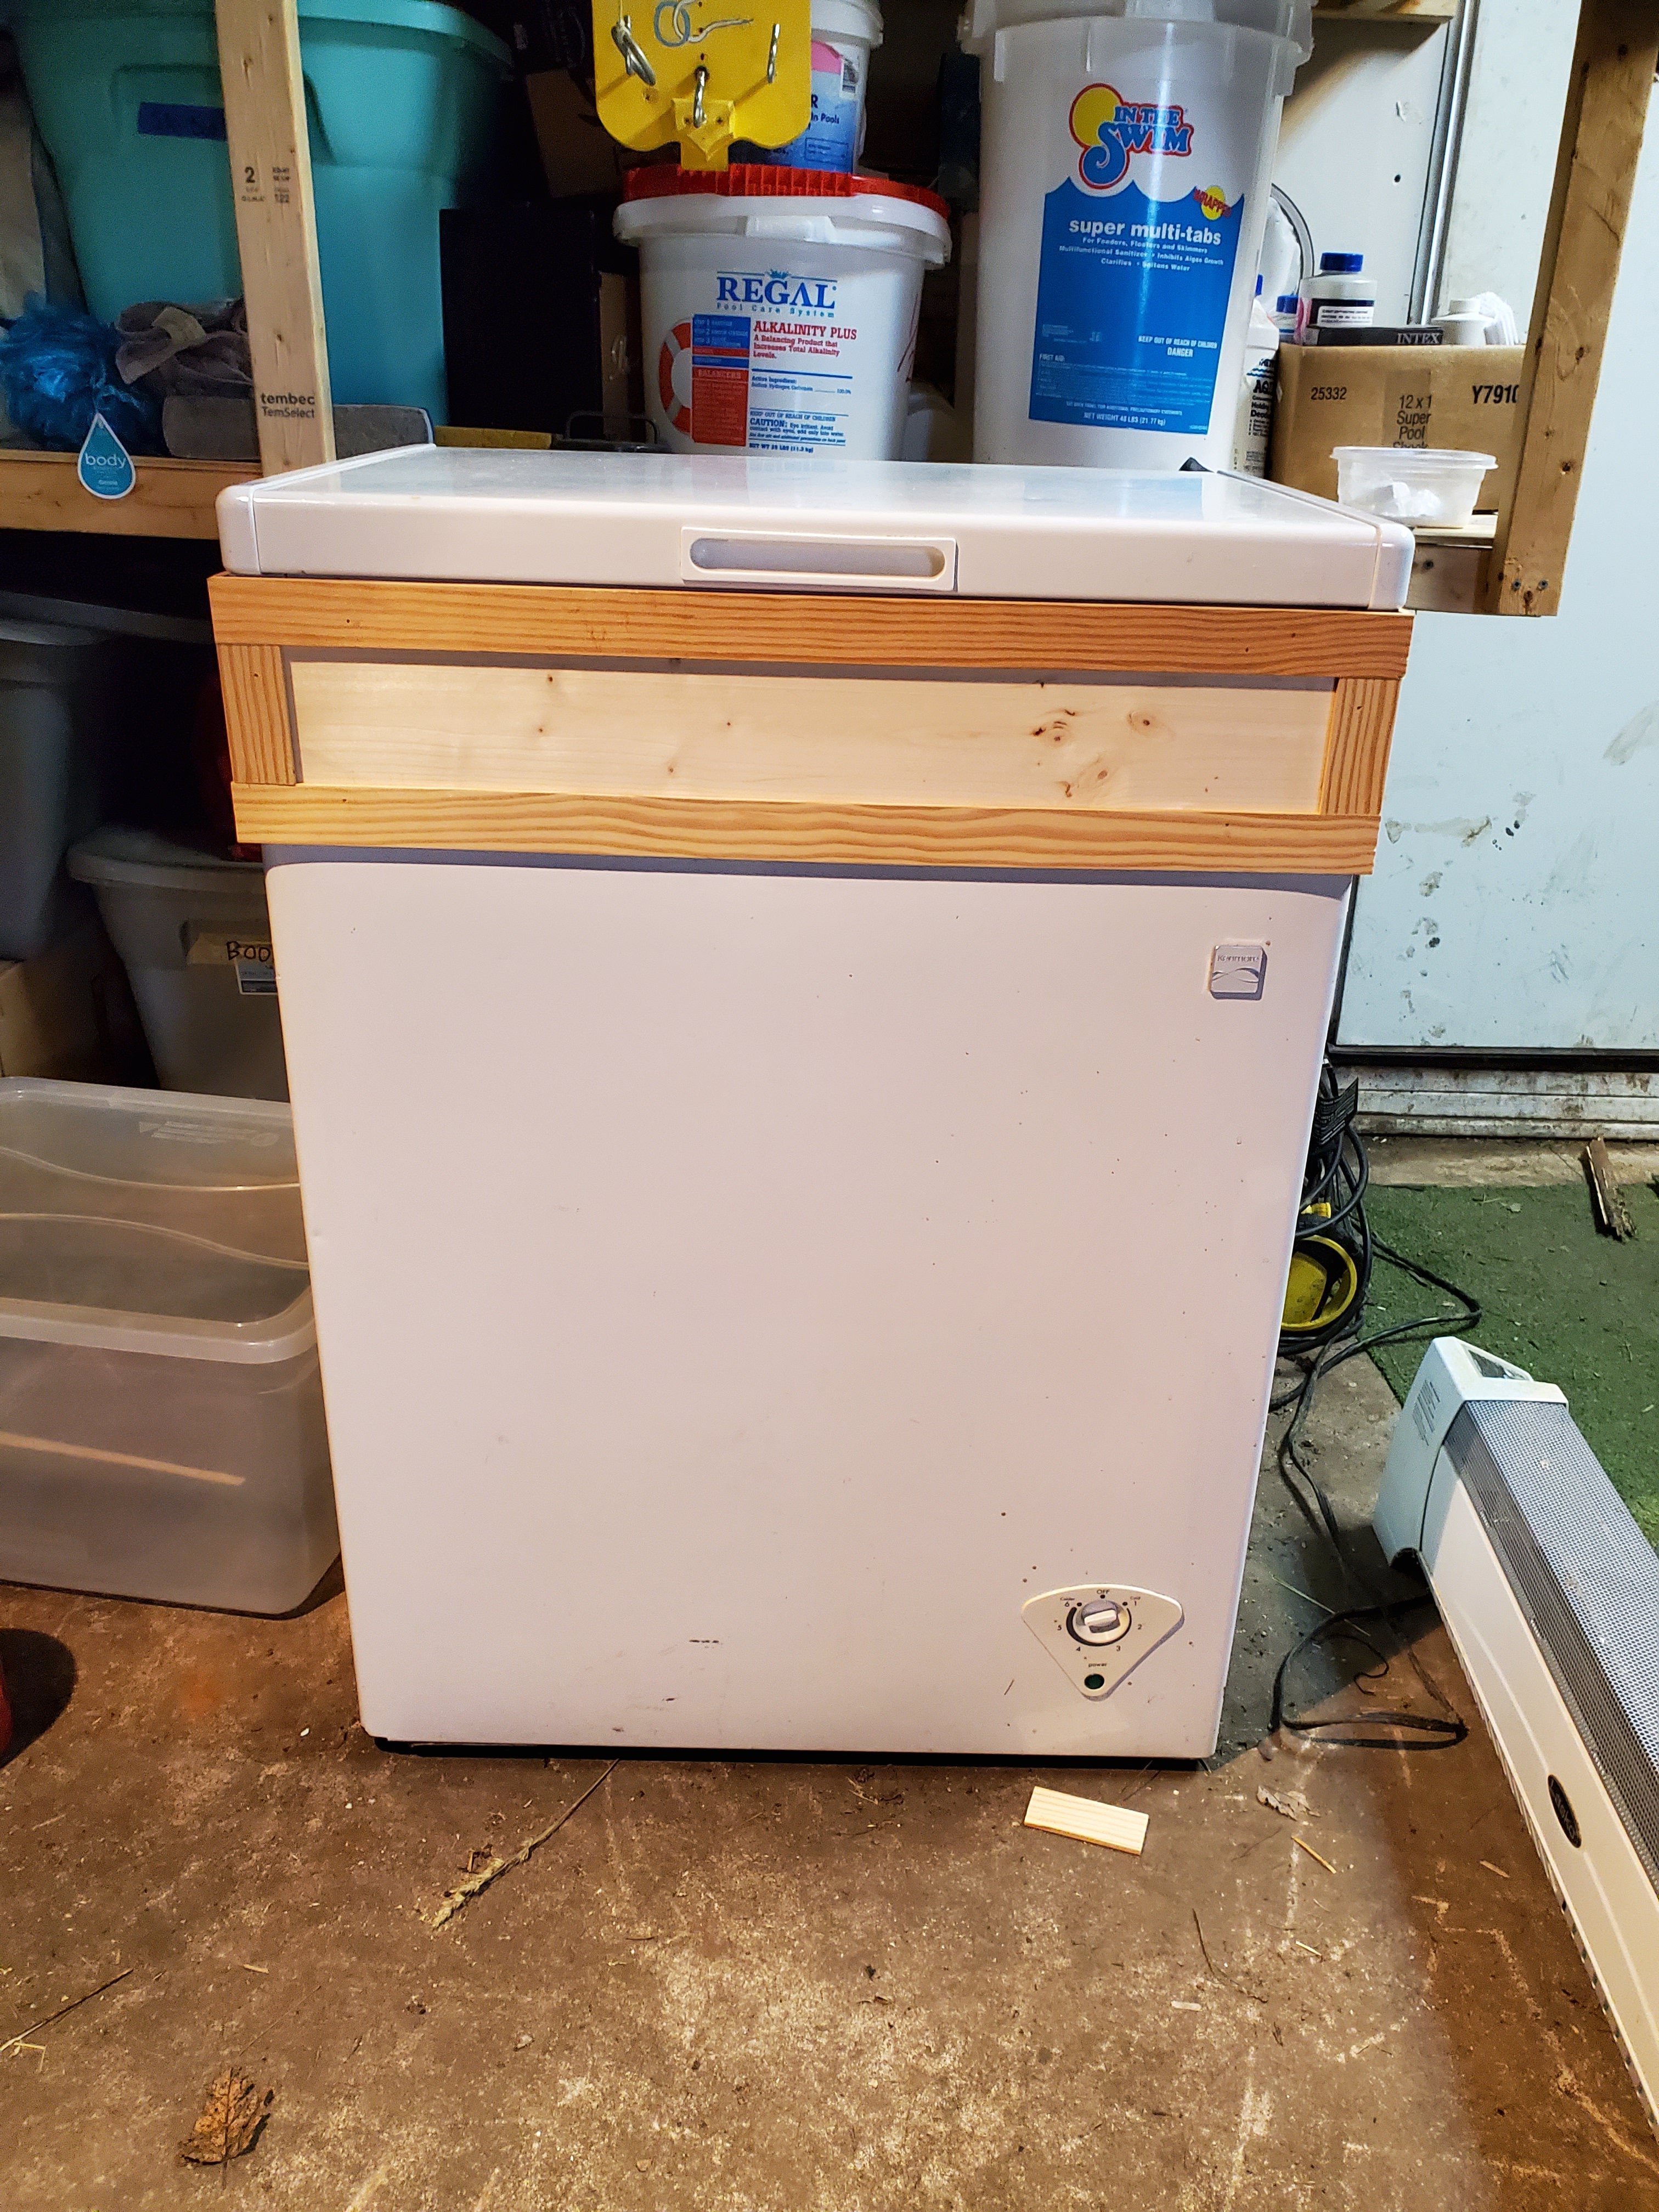
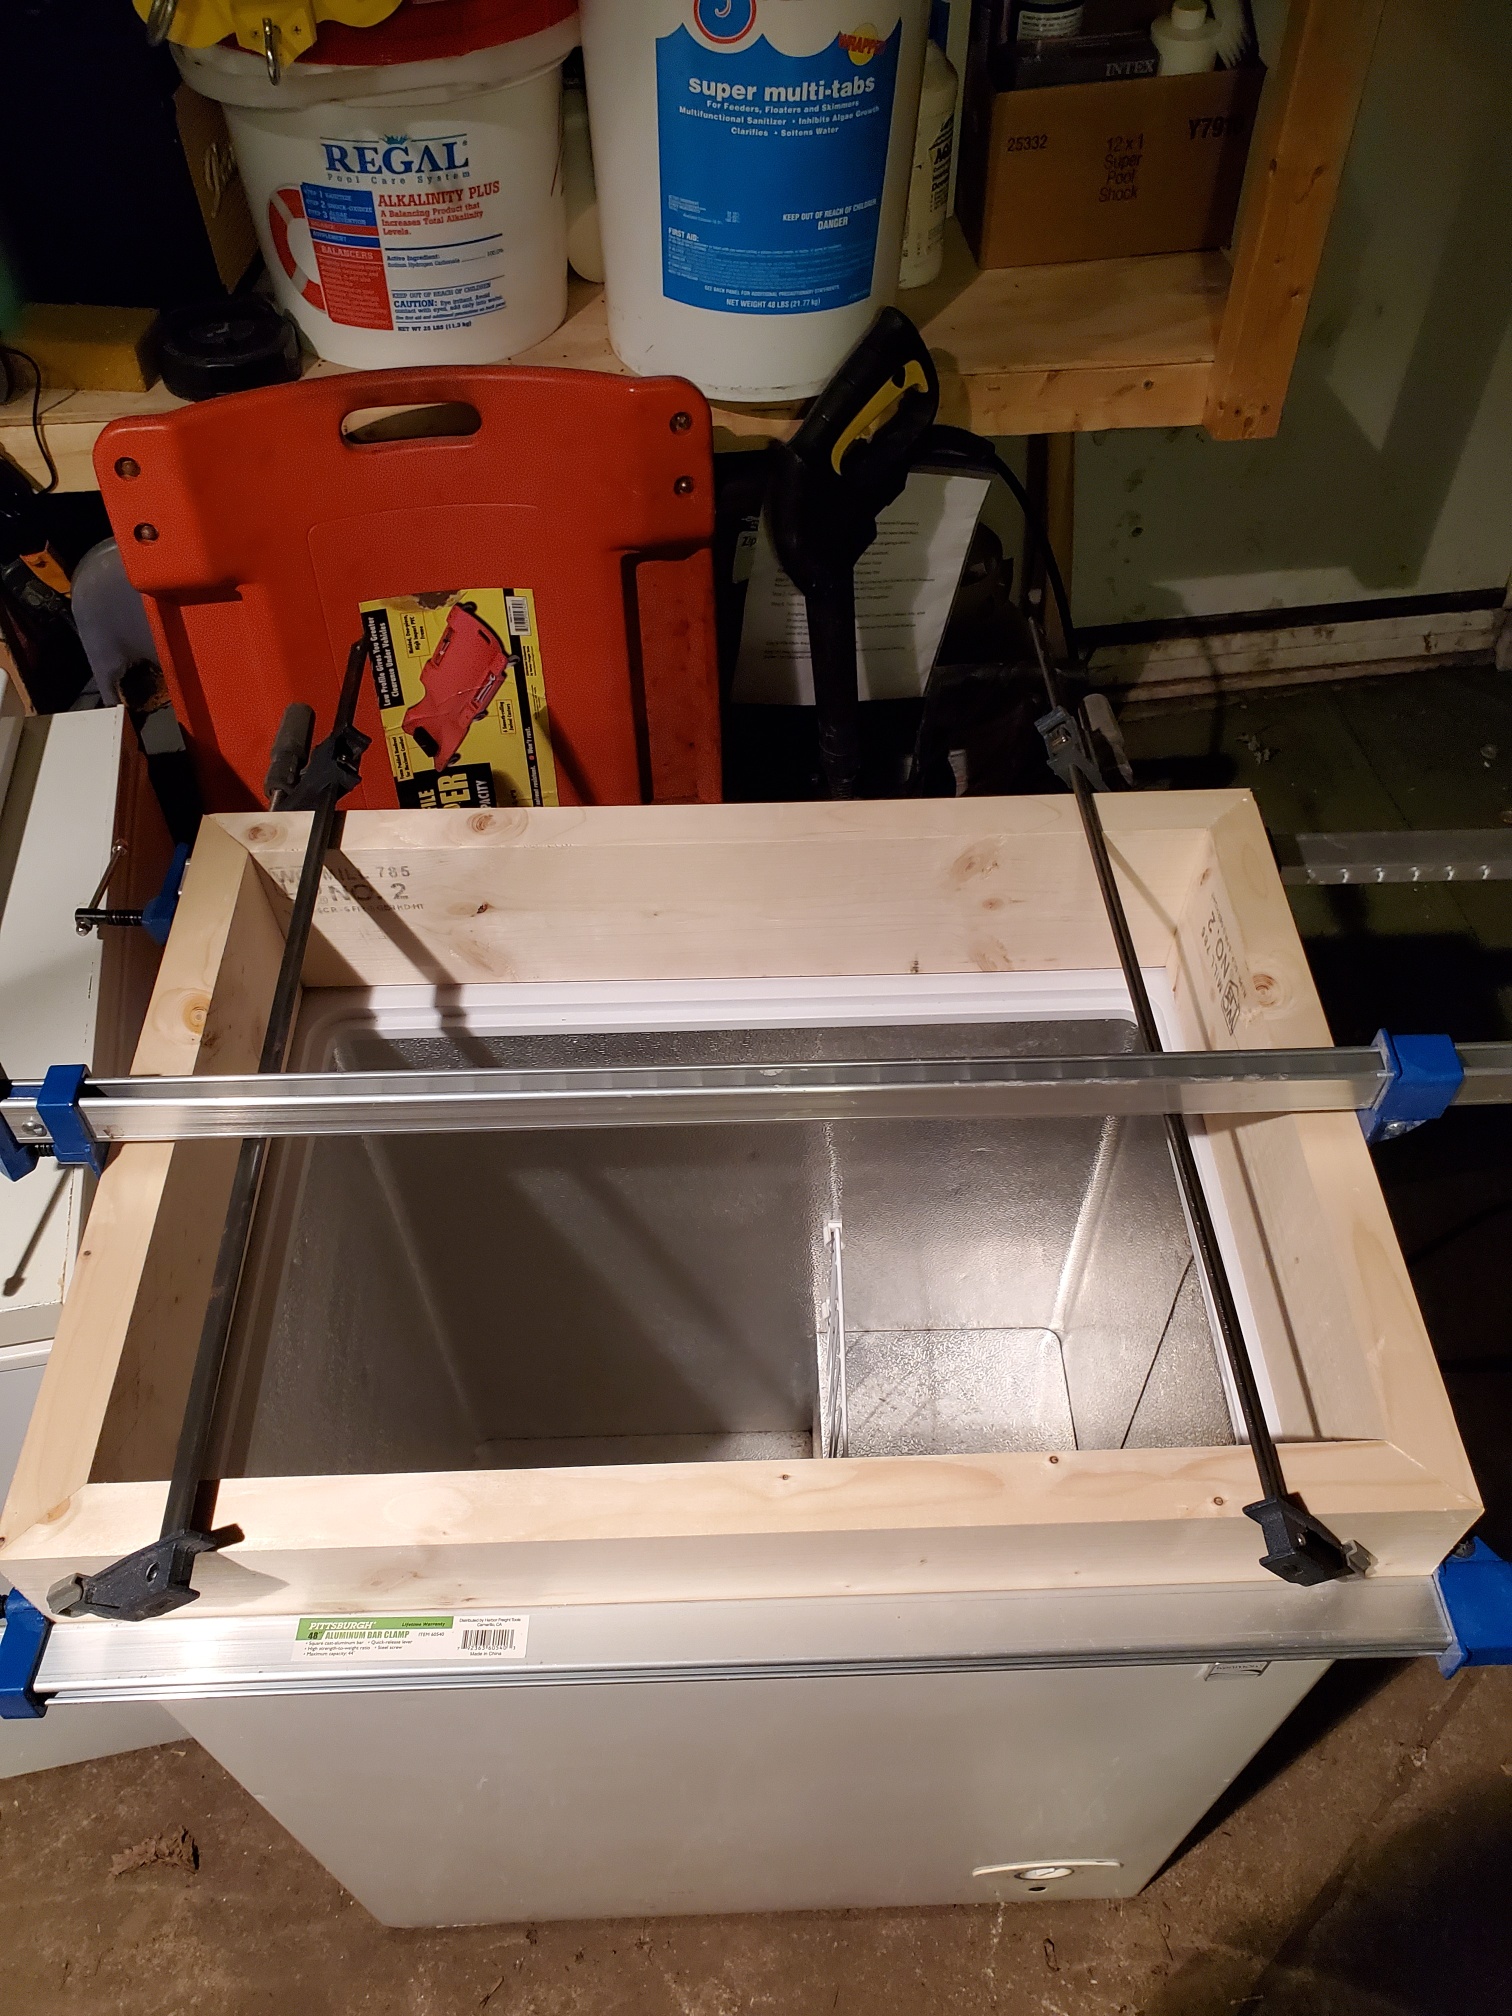
Step 3: - They do fit without collar but I would rather not have to lift the lid each time I want to get a beer and I dont want a tower tap on the lid so I will build a collar. So first I removed the freezer lid but removing the hinges. Then I bought a piece of lumber. 1 - 2X8X8 Pine board - $12 - Lowes - Cut board to size and glued ( I had the wood glue) together - I used Silicone $5 to attach to freezer.
collar.jpg
 
Step 4: Attach Lid to Collar and purchase Inkbird temp controller from Amazon. $35 https://www.amazon.com/Inkbird-Max-...jbGlja1JlZGlyZWN0JmRvTm90TG9nQ2xpY2s9dHJ1ZQ==

20201119_193945_resized.jpg


Step 5: - This was my issue - the rubber gasket on the lid had a smell stuck in it that I couldnt get rid of so I just pulled the gasket out and placed camper seal tape on the lid and on the top of the collar. Camper seal tape (Amazon) $6 https://www.amazon.com/gp/product/B000052031/ref=ppx_yo_dt_b_asin_title_o06_s00?ie=UTF8&psc=1
Purchased foam board for insulation around the inside of the collar. from Lowes $6 https://www.lowes.com/pd/Kingspan-I...-Polystyrene-Foam-Board-Insulation/1000236635

20201128_184307_resized.jpg


Step 6: - Foil tape from Lowes $13 - https://www.lowes.com/pd/3M-1-88-in-W-x-360-ft-L-HVAC-Tape/3961817
- 3 way gas distributor from amazon - $20 - https://www.amazon.com/gp/product/B075XKXBYS/ref=ppx_yo_dt_b_asin_title_o00_s00?ie=UTF8&psc=1
- 10 Ft Gas line $15 - https://www.amazon.com/gp/product/B01BKWWMB6/ref=ppx_yo_dt_b_asin_title_o00_s00?ie=UTF8&psc=1
- Package of hose clamps $8 - https://www.amazon.com/gp/product/B07XSHNPBR/ref=ppx_yo_dt_b_asin_title_o00_s00?ie=UTF8&psc=1
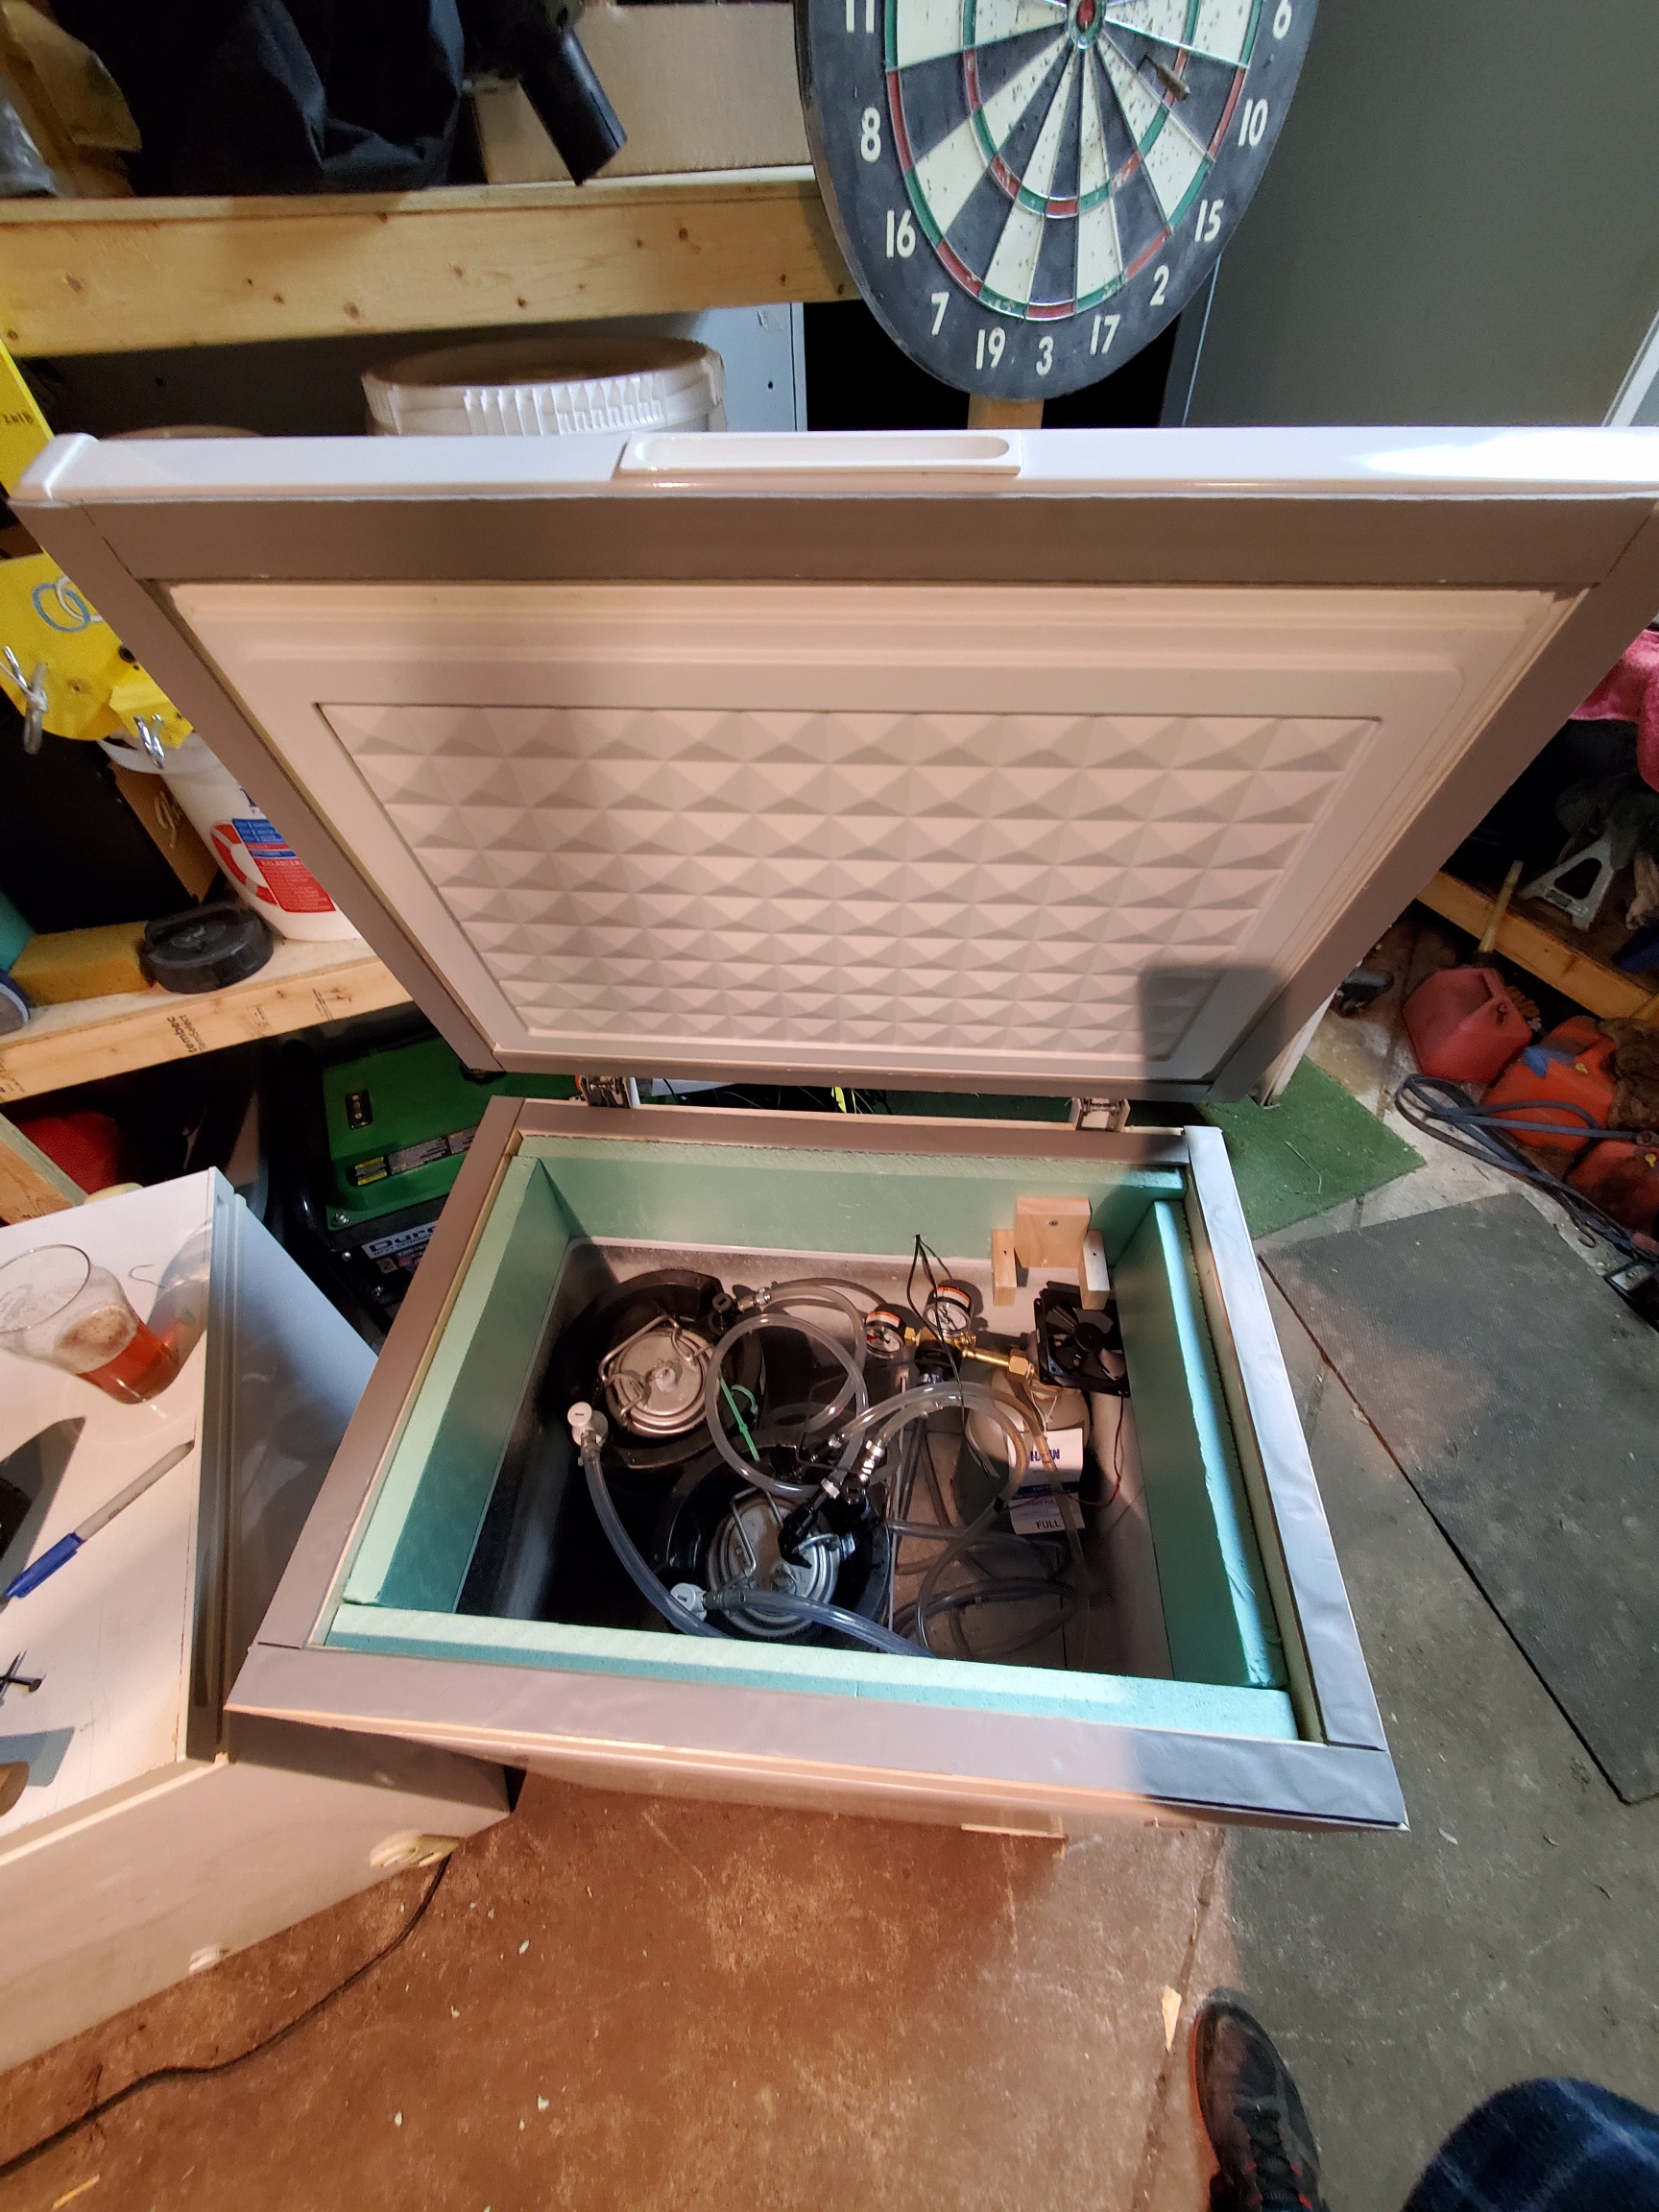
Installed gas distributor, new lines clamps, PC fan (free from old PC) and foil tape.


gaslinbes.jpg
 
Step 7: Had some pieces of scrap trim laying around so I build a little framework for the collar. $0 used finish nail gun to attach.

20210117_132140.jpg


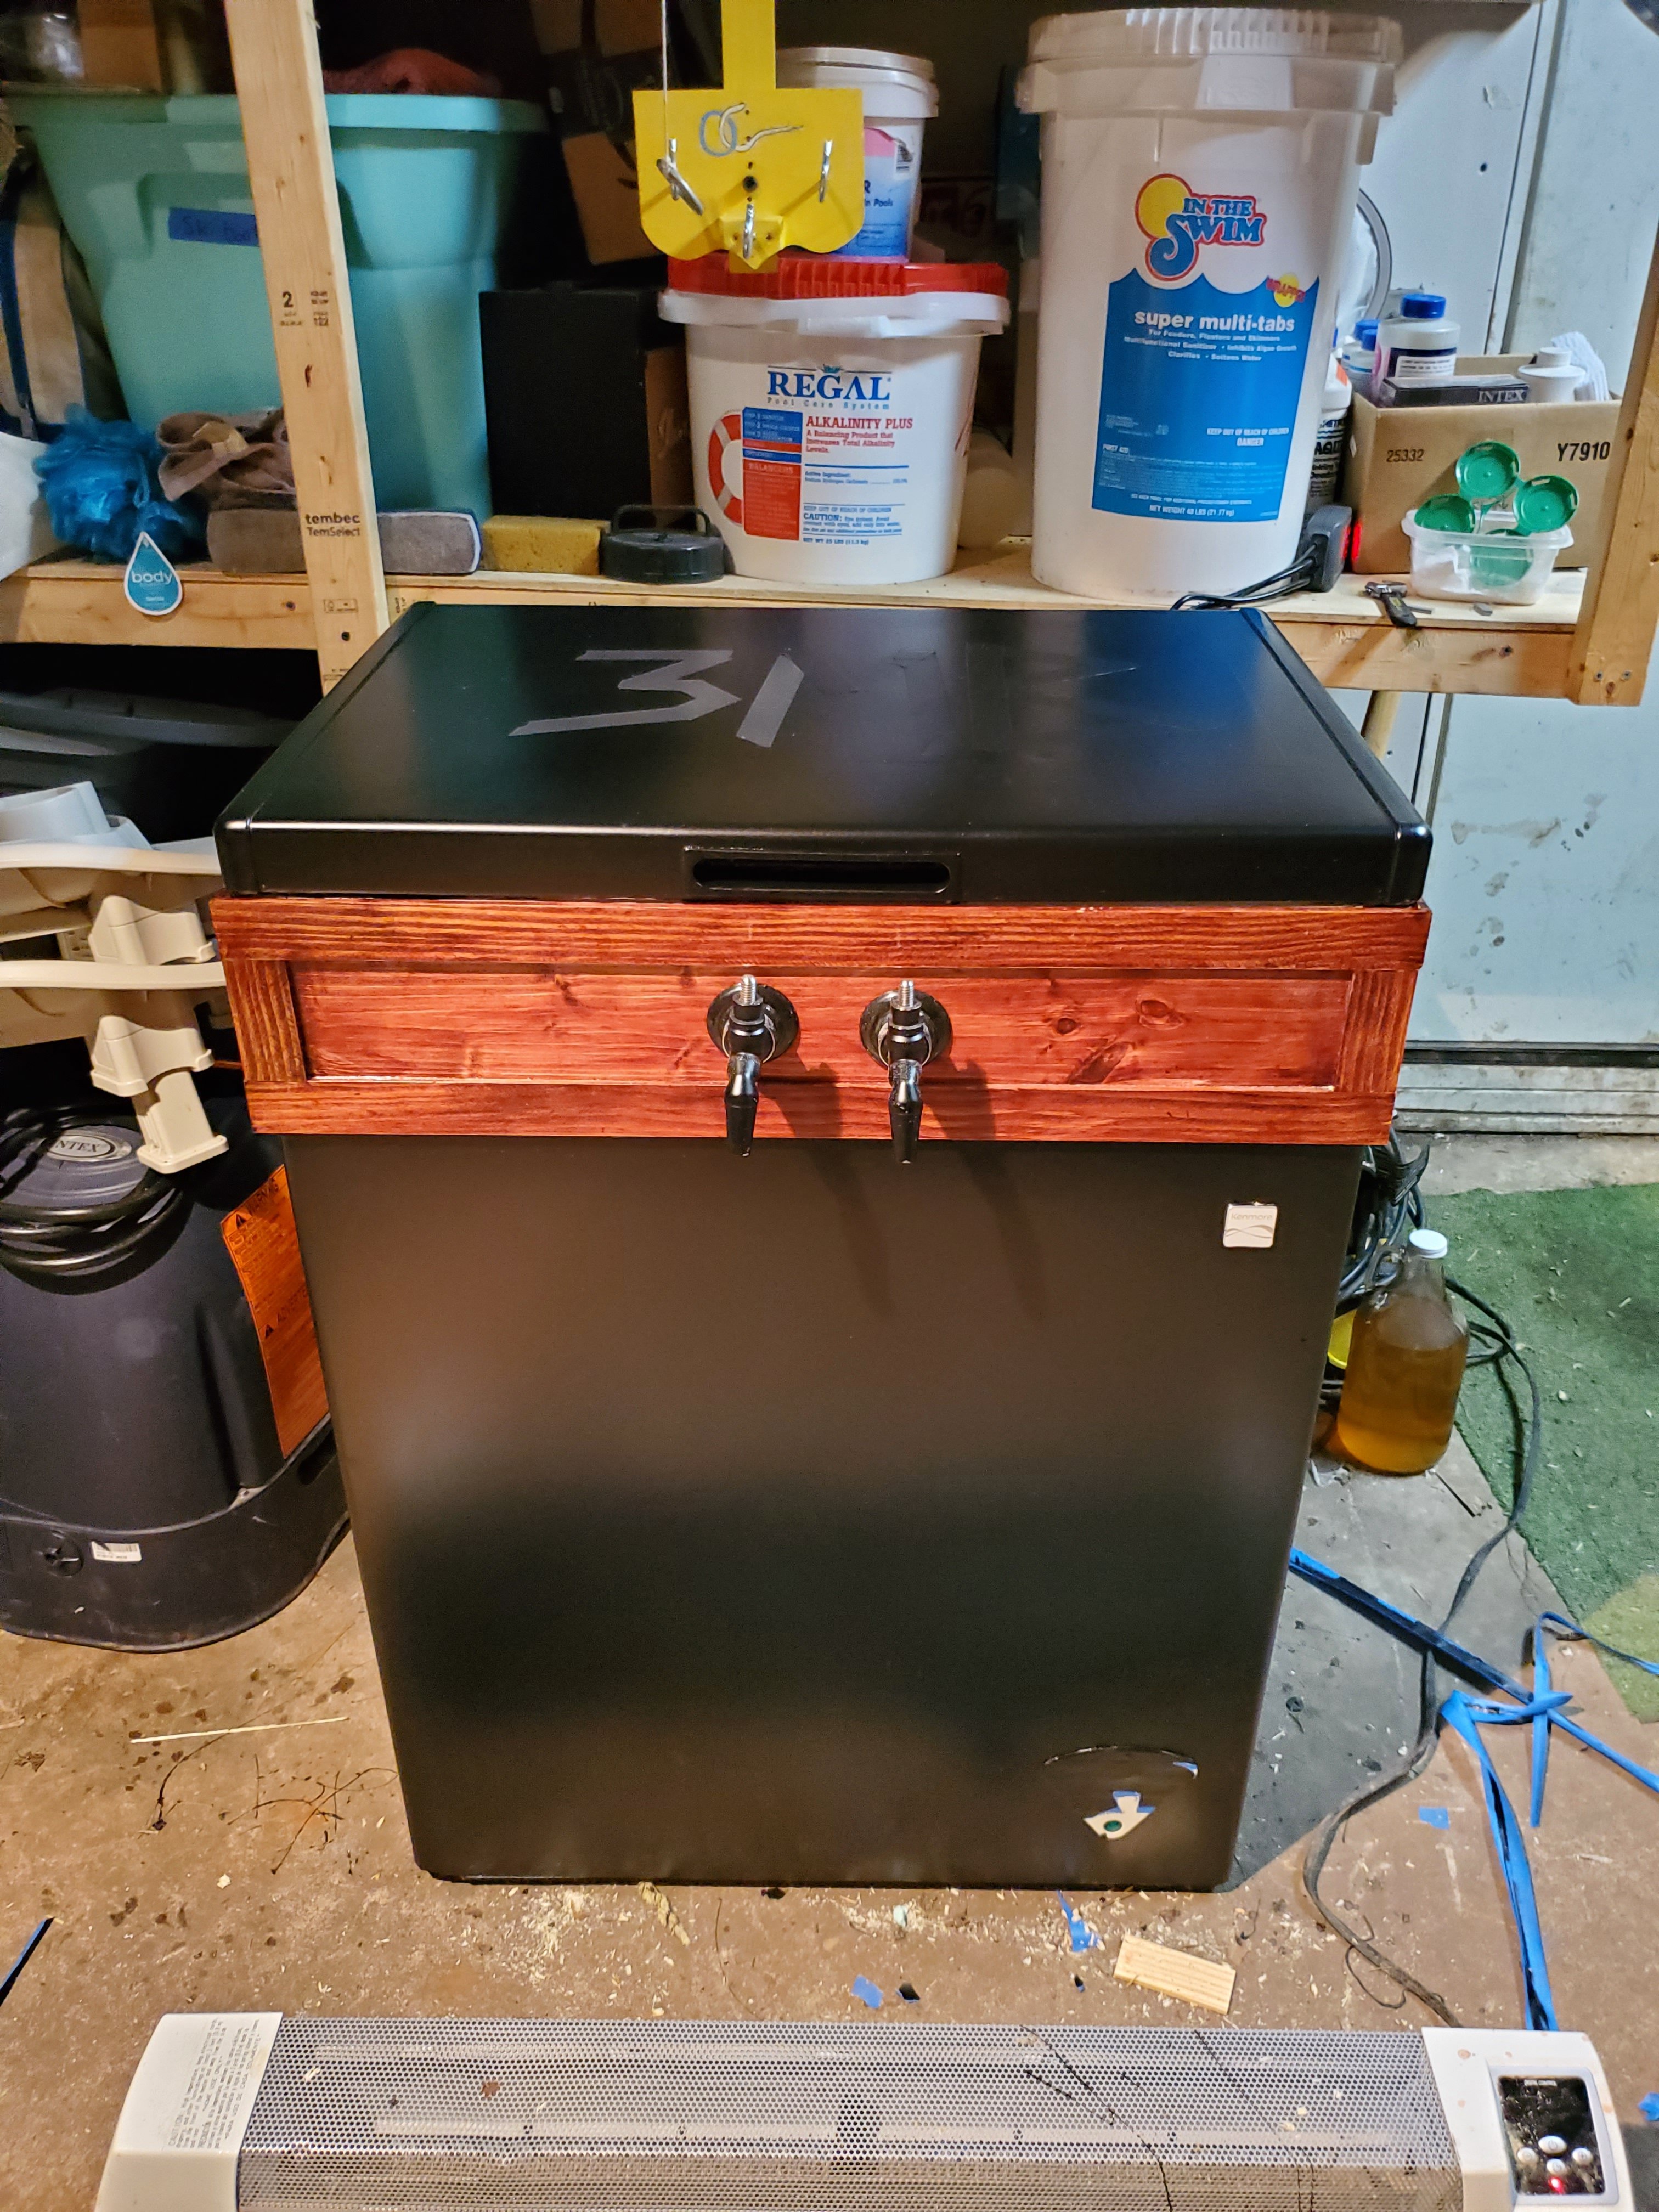
Step 8: - picked up some stain from lowes for
$13 - shouldve went with smaller can for $5 but oh well. After staining I added some Polyurethane I had laying around and applied a few coats. Picked up a magnetic tool tray from Amazon to use as a drip tray. $22 https://www.amazon.com/gp/product/B01MZ54HLM/ref=ppx_od_dt_b_asin_title_s00?ie=UTF8&psc=1


20210123_095311.jpg


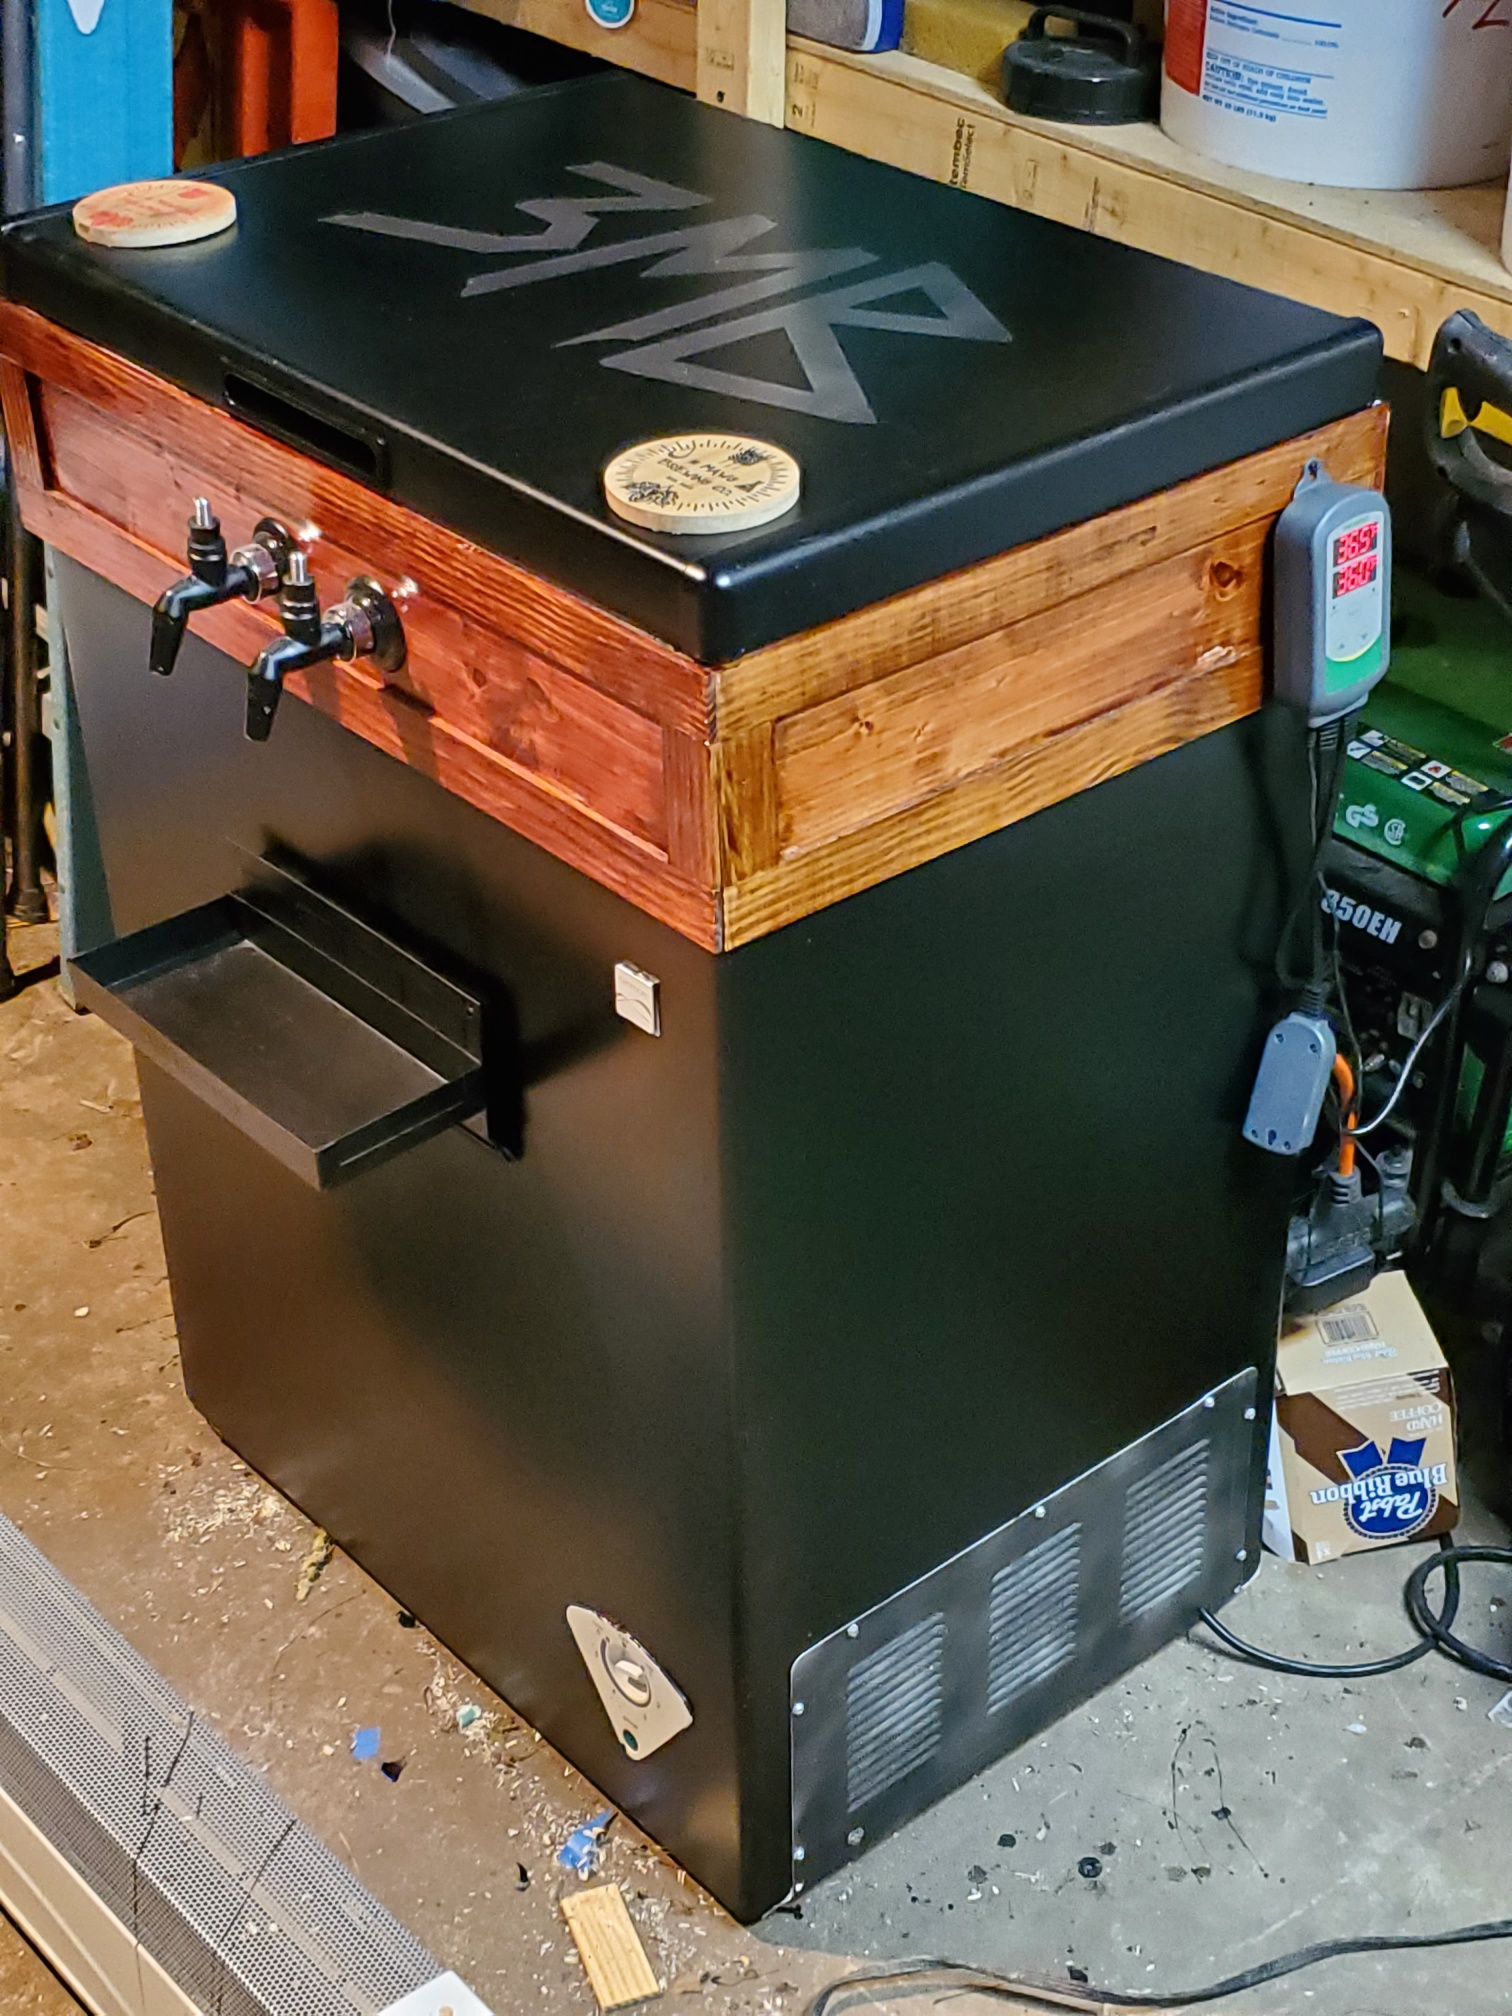
Step 9: I had some silver spray paint lying around so I sprayed the vent cover on the side and a large rectangle on the lid with silver paint. AFter it dried I just used some painters tape on the lid to make the 3MB and then painted the rest of the keezer black - Black paint from Lowes
$13.
- I was able to score a nice set of Nukatap faucets and SS shanks from a forum member for
$90 - installed those as well.

20210125_062950.jpg


Here is where it stands now - waiting on Stainless steel drip tray and custom made Tap Handles. So far its been a lot of fun building and I think total cost is about $535 right now.

20210125_170530_resized.jpg
 
Last edited:
So far so good! Edit: just saw you added more to your post! Looks great! Did you use any specific paint on it? I've been trying to decide between that or vinyl wrapping mine.
 
So far so good! Edit: just saw you added more to your post! Looks great! Did you use any specific paint on it? I've been trying to decide between that or vinyl wrapping mine.

There is spray paint made specifically for appliances at Home Depot or Lowes. Worked great for me with almost no prep.

This looks like a great build to me. Way to go!
 
Last edited:
Found an old power supply from a set of PC speakers and wired it up, I have the power supply plugged into a 3 way splitter thats plugged into the inkbird controller so that the fan only comes on when the freezer kicks on.
 
@Ragman Great build! Not saying you have to, but this is what I did. You have room to fit another corny on the hump if your collar is tall enough and run your co2 line out the collar and have the bottle on the outside.
 
@Ragman Great build! Not saying you have to, but this is what I did. You have room to fit another corny on the hump if your collar is tall enough and run your co2 line out the collar and have the bottle on the outside.
Seriously considering that. Thanks!
 
Back
Top