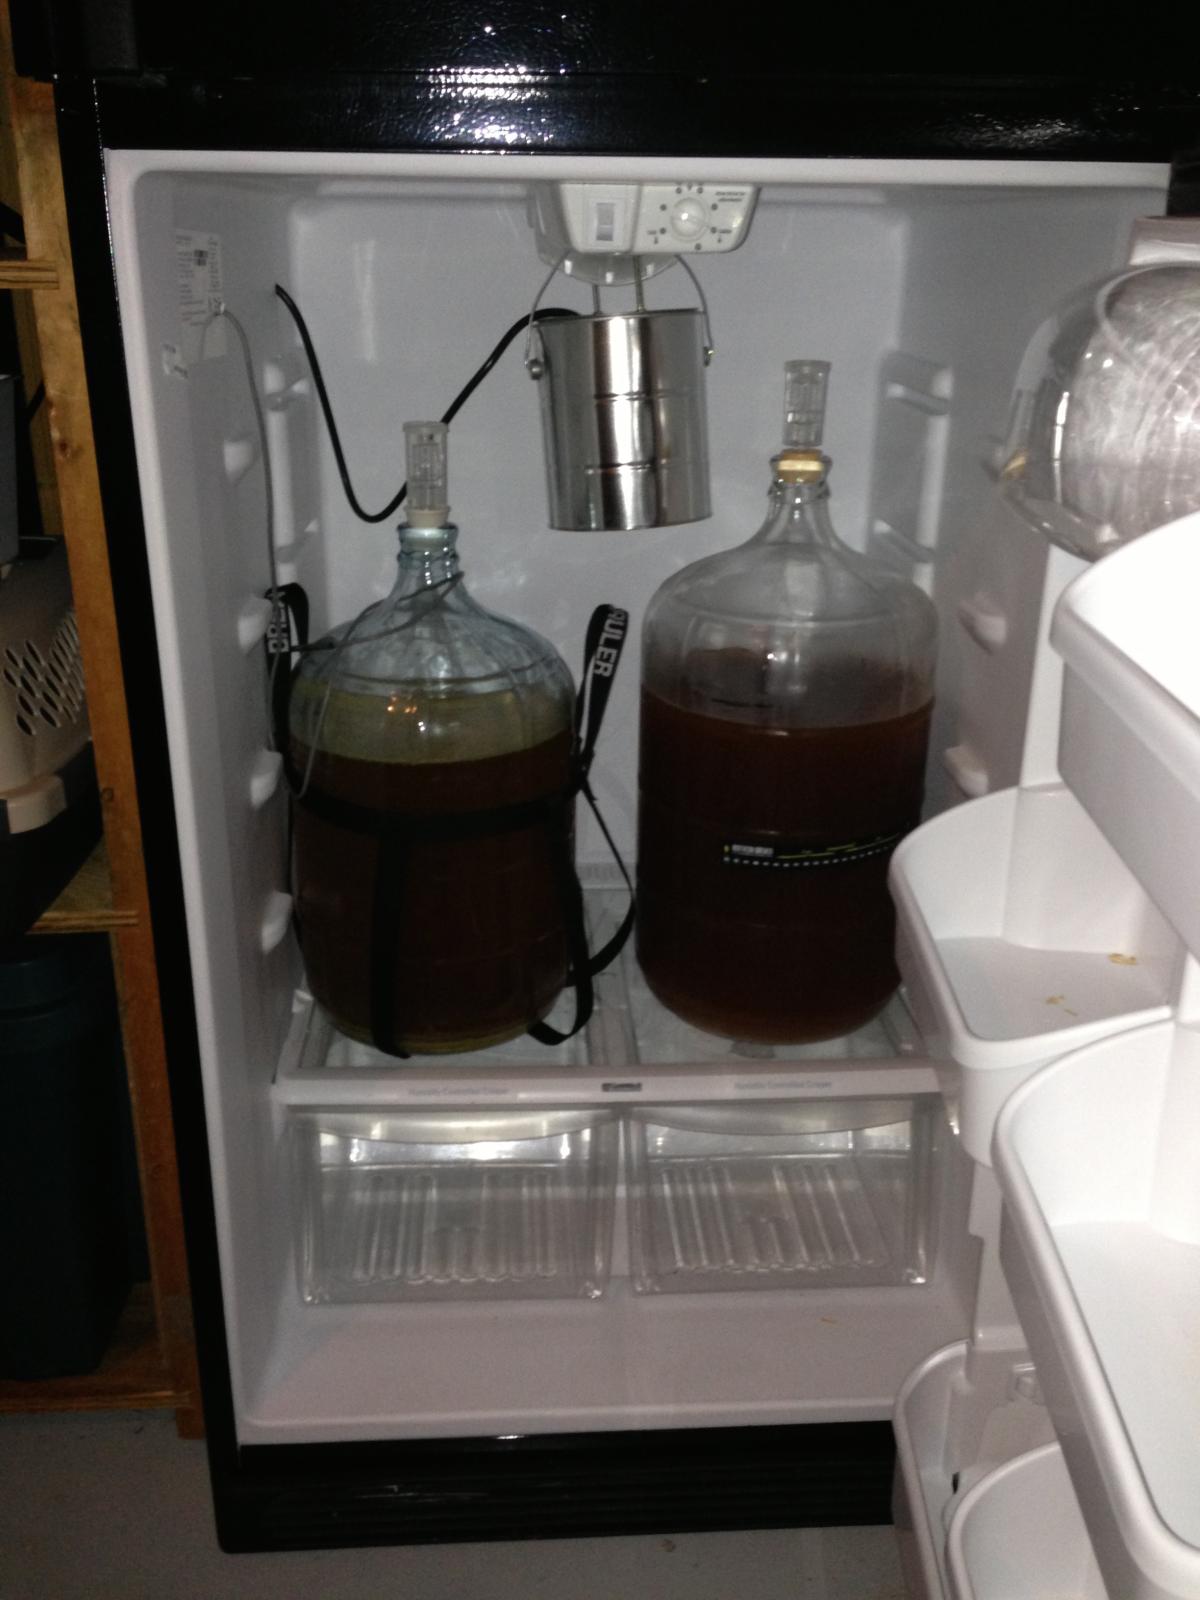
As a way of saying hello to every one, I though I would share my ferm-a-fridge project that I completed about a year ago. Hope you like it.
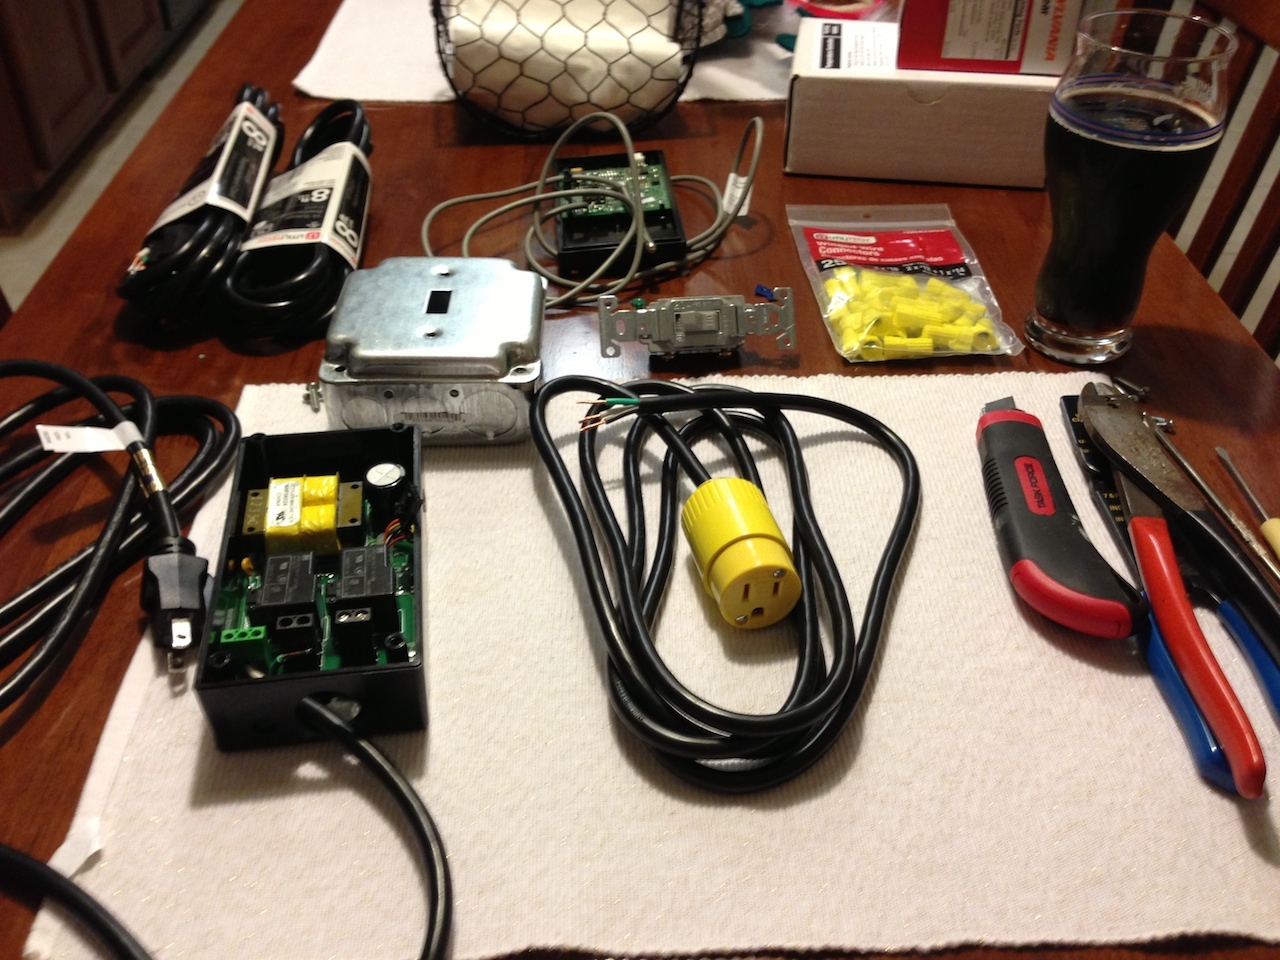
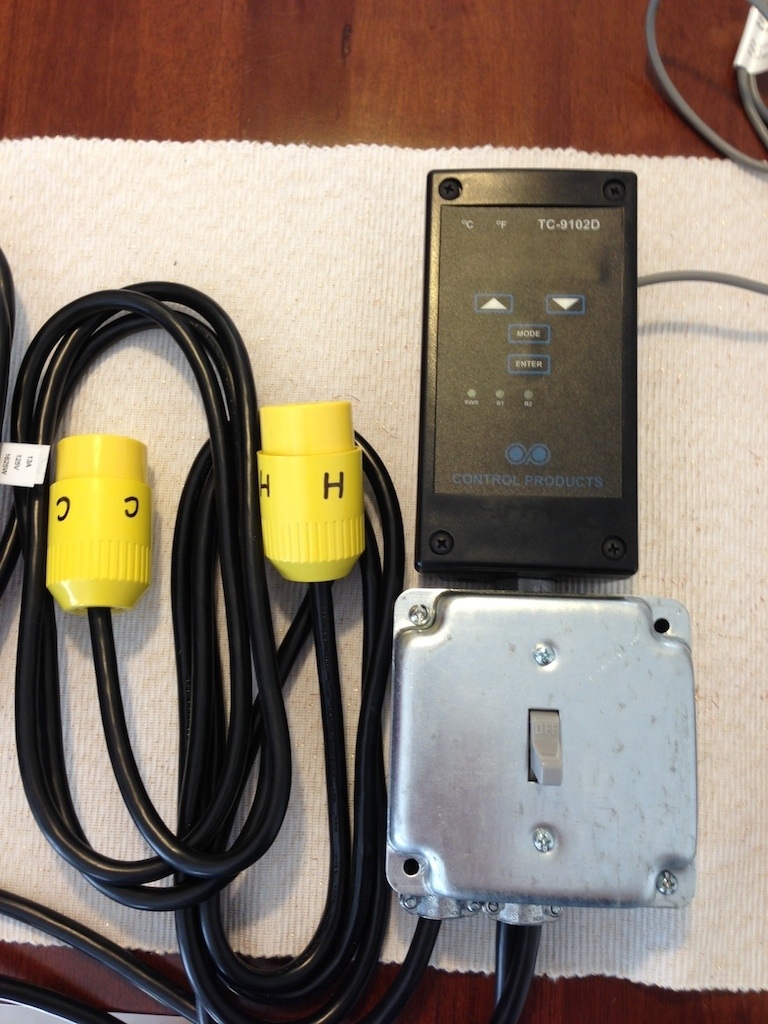
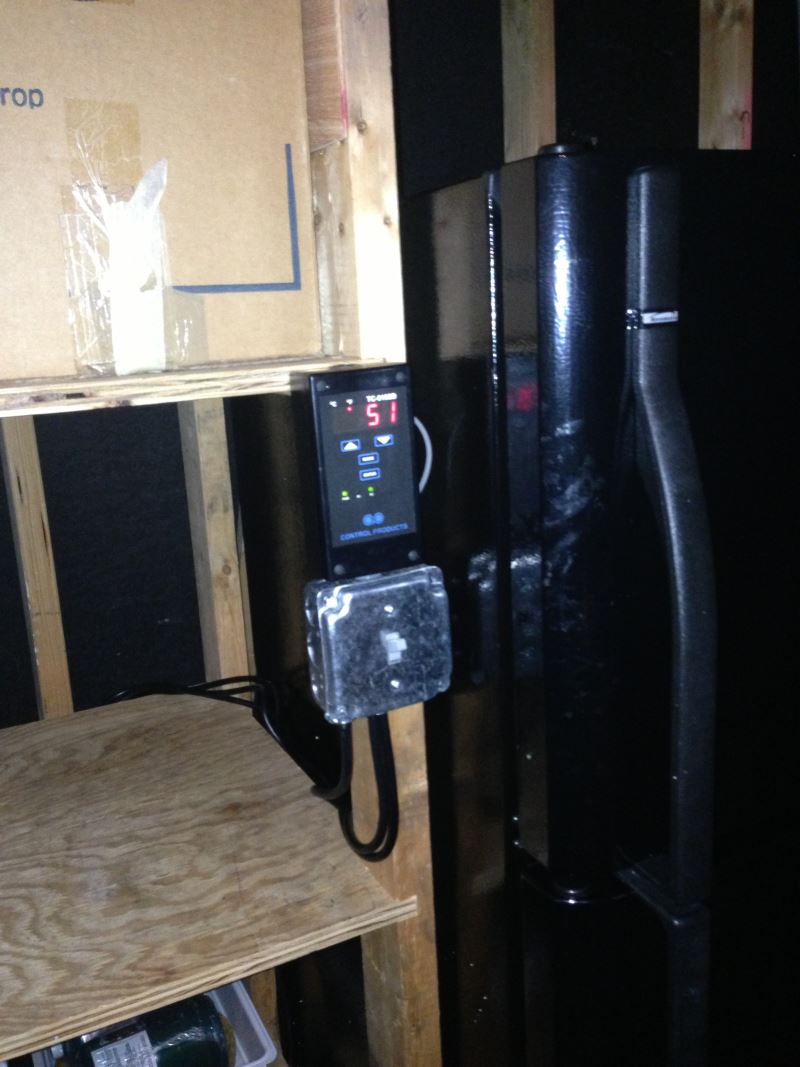
First step was to install the yellow 110V receptacles onto the ends of the power cords for the heat and cool circuits. Then install the box coupler, cord outlets and on/off switch.
My old fridge is a Sears Kenmore brand. I was able to find complete drawings, schematics and parts list on the Sears web site. So I was 99% sure there were no cooling lines running through the side of the fridge. Just to be safe, I drilled a couple small pilot holes first. I drilled the pilot holes from the inside to locate them exactly where I wanted then drilled the larger holes from the outside.
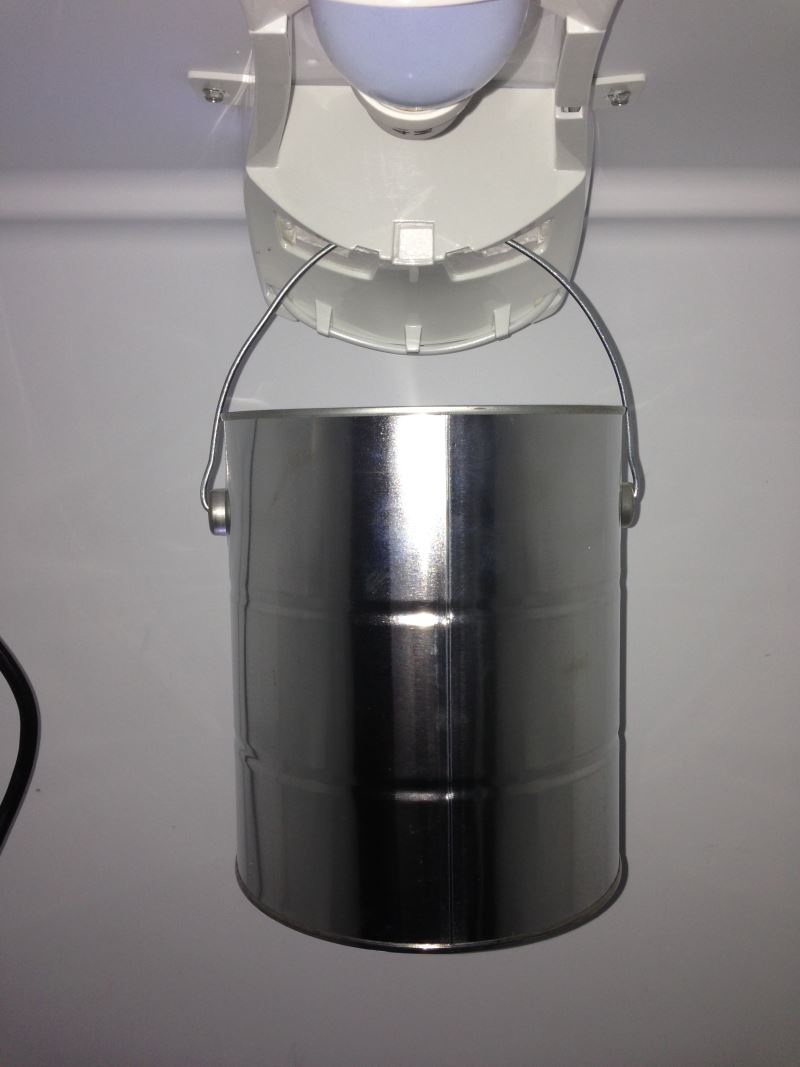
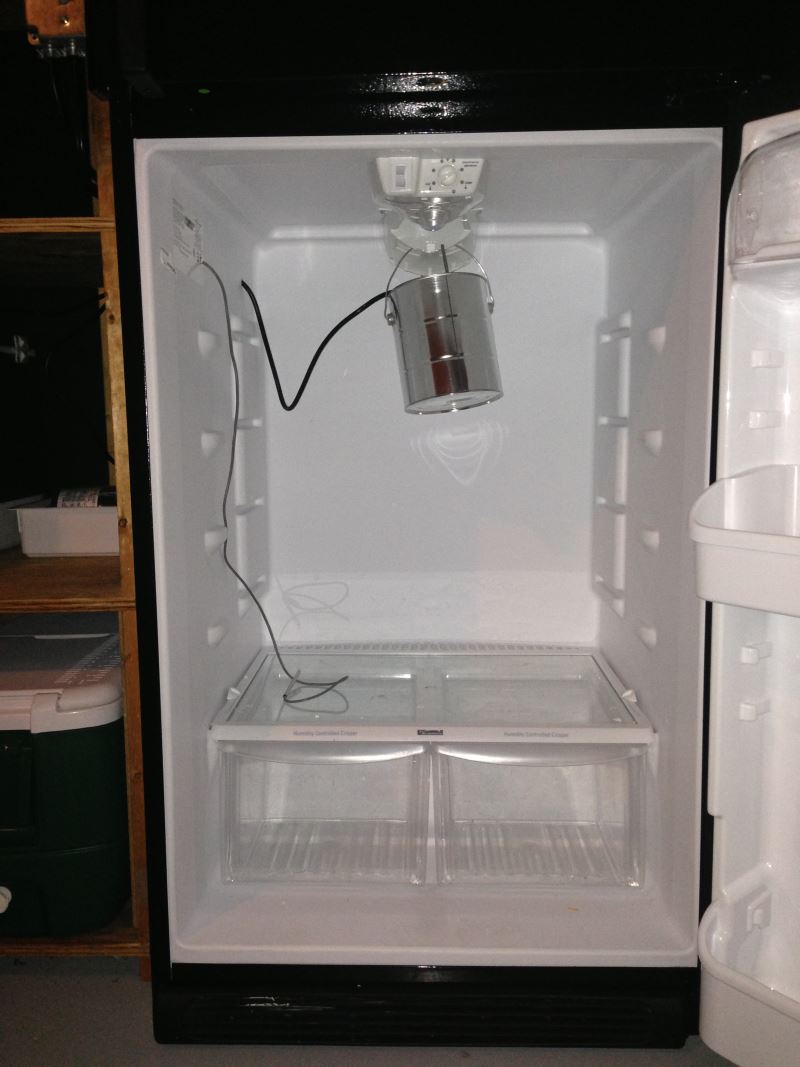
I got lucky hanging the paint can. The fridge light assembly had a notch in it so I could loop the paint can handle through it and hang the can directly in the center of the fridge toward the back.
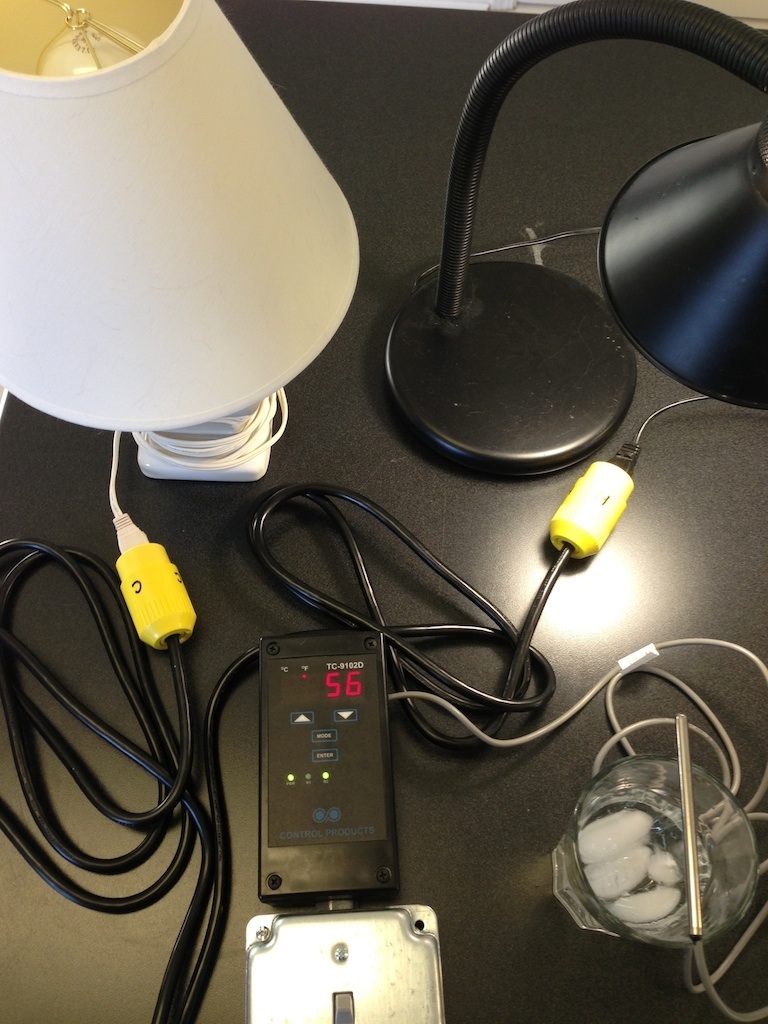
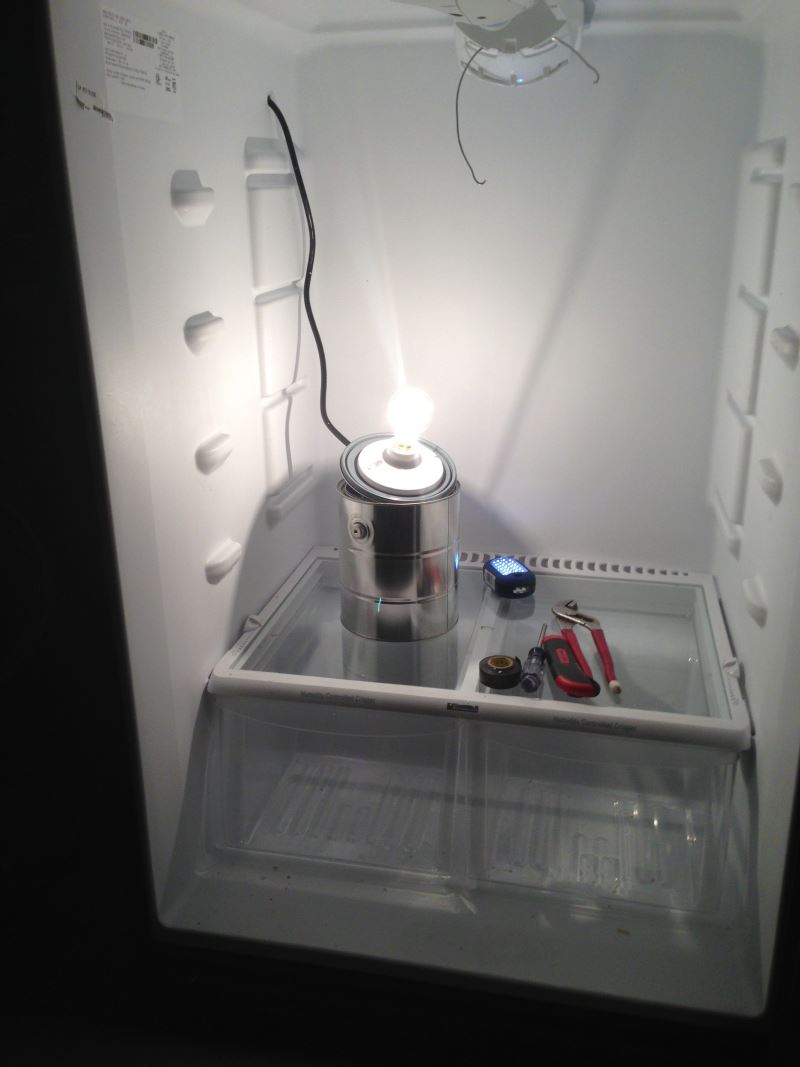
For testing, I used a couple of lamps. White light is cool, black is heat. I used a glass of ice water to simulate chamber temp and watched it cycle heat/cool modes.





![Craft A Brew - Safale S-04 Dry Yeast - Fermentis - English Ale Dry Yeast - For English and American Ales and Hard Apple Ciders - Ingredients for Home Brewing - Beer Making Supplies - [1 Pack]](https://m.media-amazon.com/images/I/41fVGNh6JfL._SL500_.jpg)


