jbsengineer
Well-Known Member
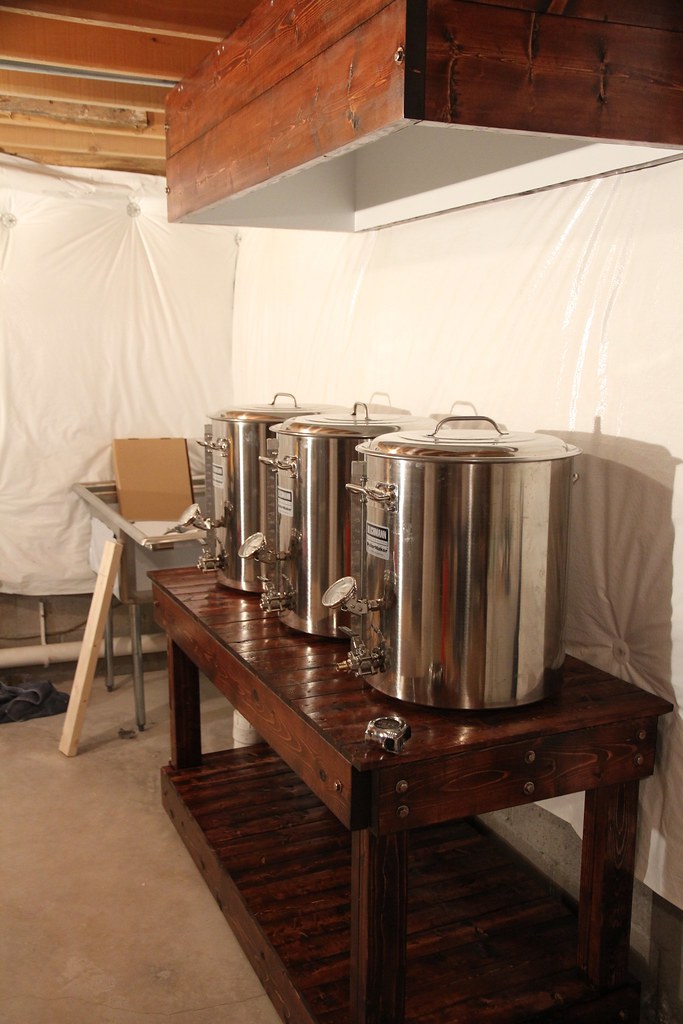
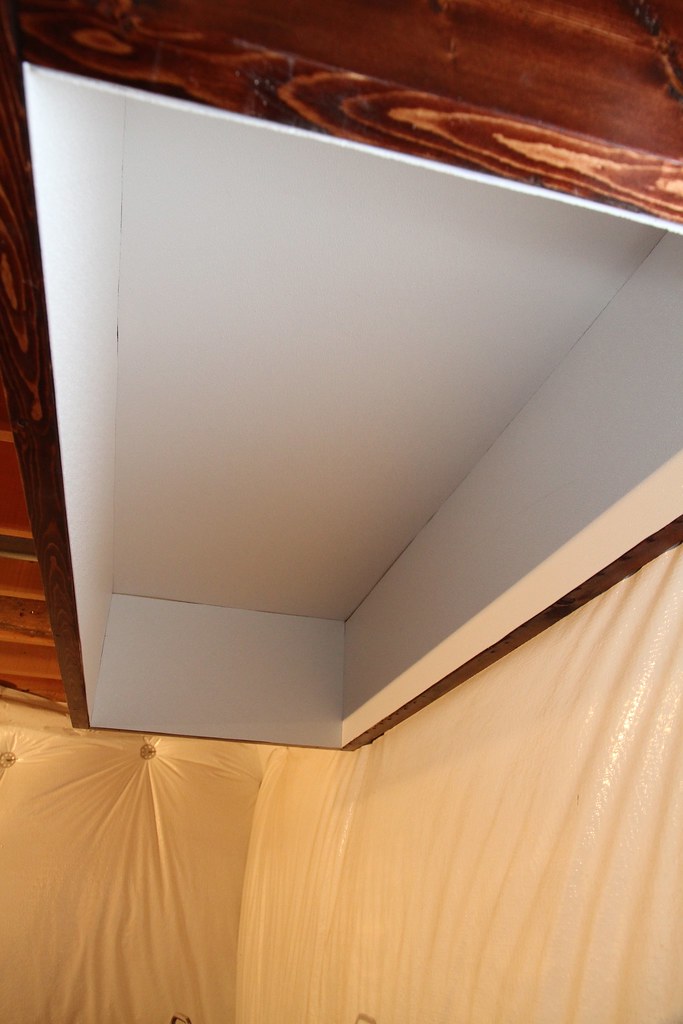
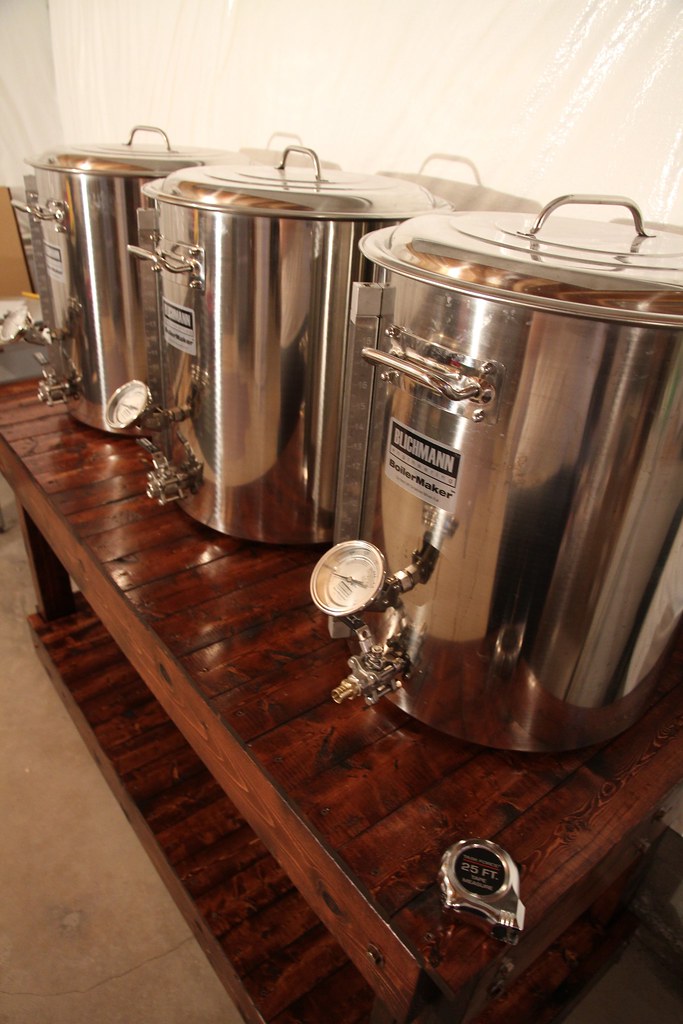
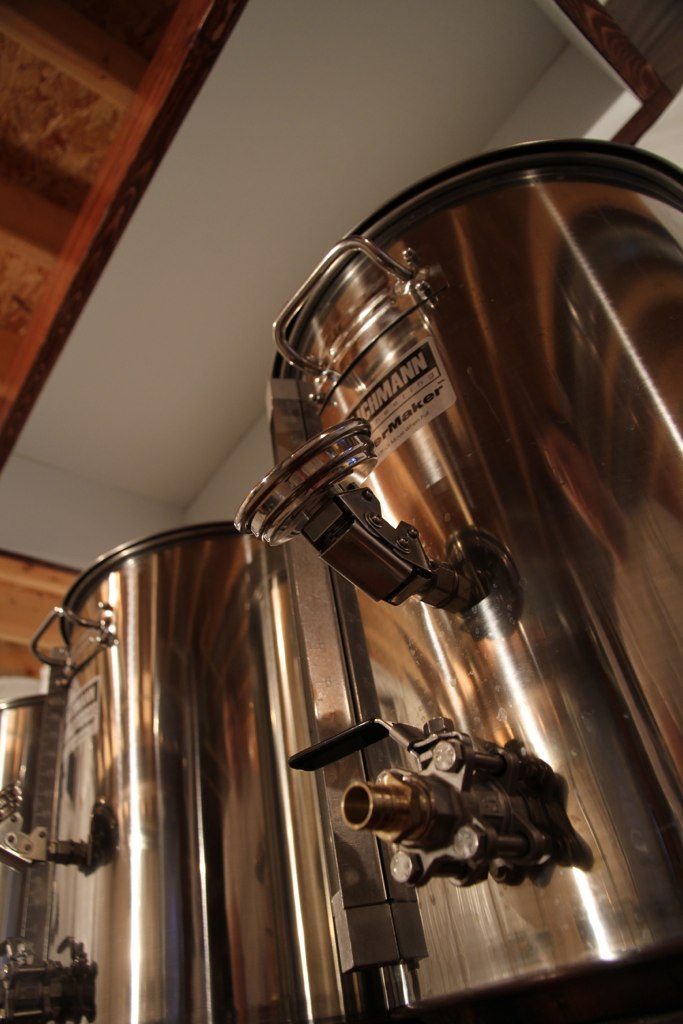
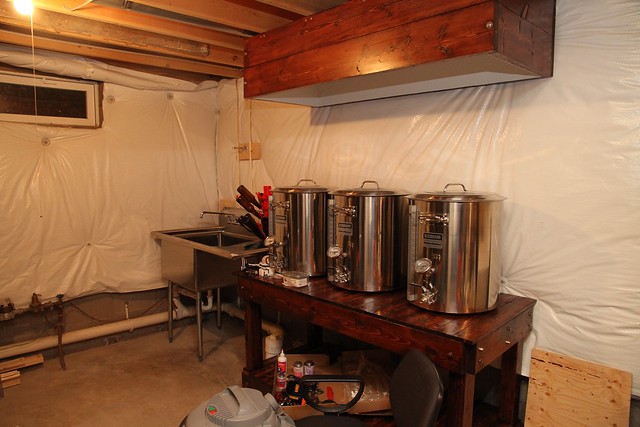
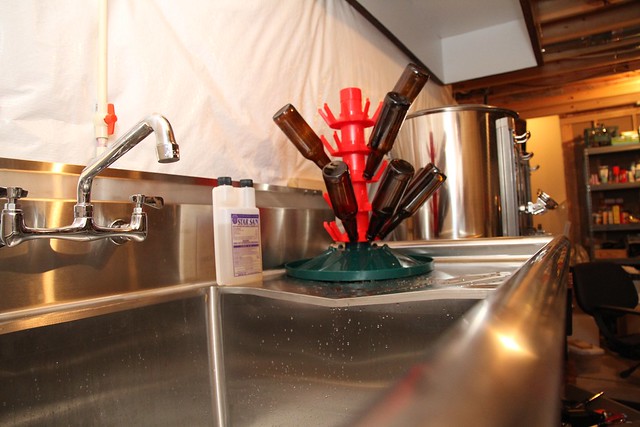
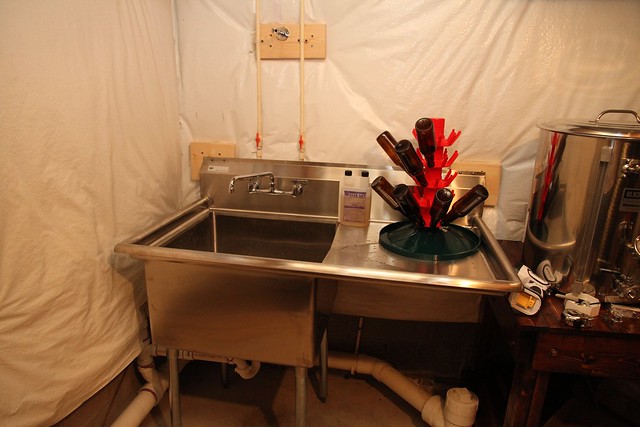
Starting to look like something. Unfortunately I'm only about 20% complete!


What type of exhaust fan are you planning to use?
 ). In due time I would love to add all that to my basement as well.
Nice work!
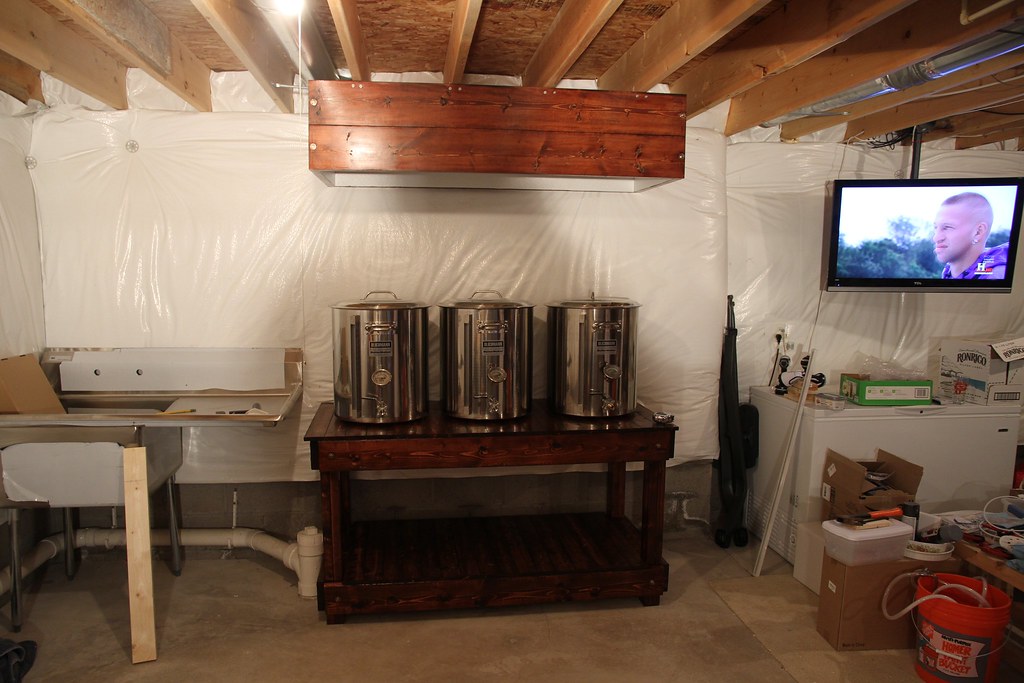
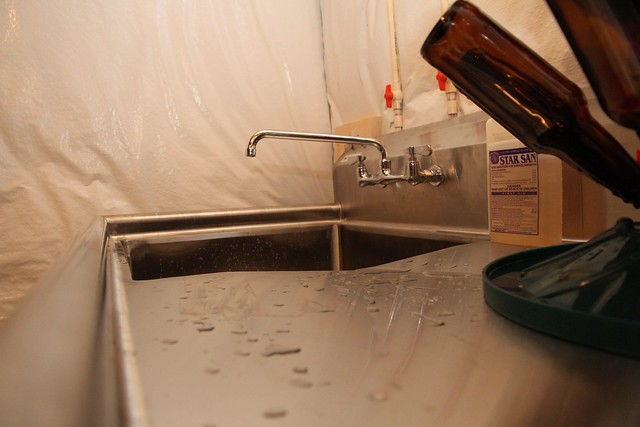
Are you going to be putting anything behind the kettles and sink to cover up the plastic vapour barrier on the wall? I'd be concerned about cleaning off any splashes (you don't want to rip the barrier with cleaning over time).
I tend to not have to do much cleaning of the walls at all actually, but the walls around my sink do get splashes of water. Sometimes some grain bits/hop matter/etc gets on there too as I clean the kettles so the wall gets a quick wipe with a small towel or something at the end of the brew day. End result is wet walls that dry by themselves. My brewing has (had) tiled walls so it worked great.
My other (bigger) concern would be the boil kettle will be near 212F and may melt the vapour barrier.
If it was me I'd want some sort of hard surface that I can wipe down and not worry about hurting/melting the surface.
Sometimes I bang the kettle handles against the wall too. I basically push them back up against the wall so the handle hits first. If all that's there is a thin sheet of plastic with soft insulation behind, I'd probably rip the plastic over time with the constant denting with the kettle handle.
Kal
I'd suggest Home Depot - Fire Shield Gypsum Board.
It's inexpensive ($10 a sheet), easy to put up and will last a very long time.
I would think if you are going for style points a tile back splash type arrangement would be very cool. However it will sure cost more than some water resistant drywall (blueboard or purple depending on brand) with a couple coats of a high gloss paint on it.
Unless you are a real bull in the china shop I would think you wouldn't be smacking into the back wall with your pots.
.
I am with you. While somethings are very cool for style points (shiny pots, control panels with all kinds of lights and switches)... Some parts of the brewery get the basic approach. And you know what? That approach still works.
!by the way I think we decided how to incorporate a partial swing arm using the direct TV armature. If we can get the stock we need I will be posting pictures of the master plan in the next week or so.

![Craft A Brew - Safale BE-256 Yeast - Fermentis - Belgian Ale Dry Yeast - For Belgian & Strong Ales - Ingredients for Home Brewing - Beer Making Supplies - [3 Pack]](https://m.media-amazon.com/images/I/51bcKEwQmWL._SL500_.jpg)


