Oldskewl
Well-Known Member
Looks like that link is dead.

Looks like that link is dead.
Looks like that link is dead.


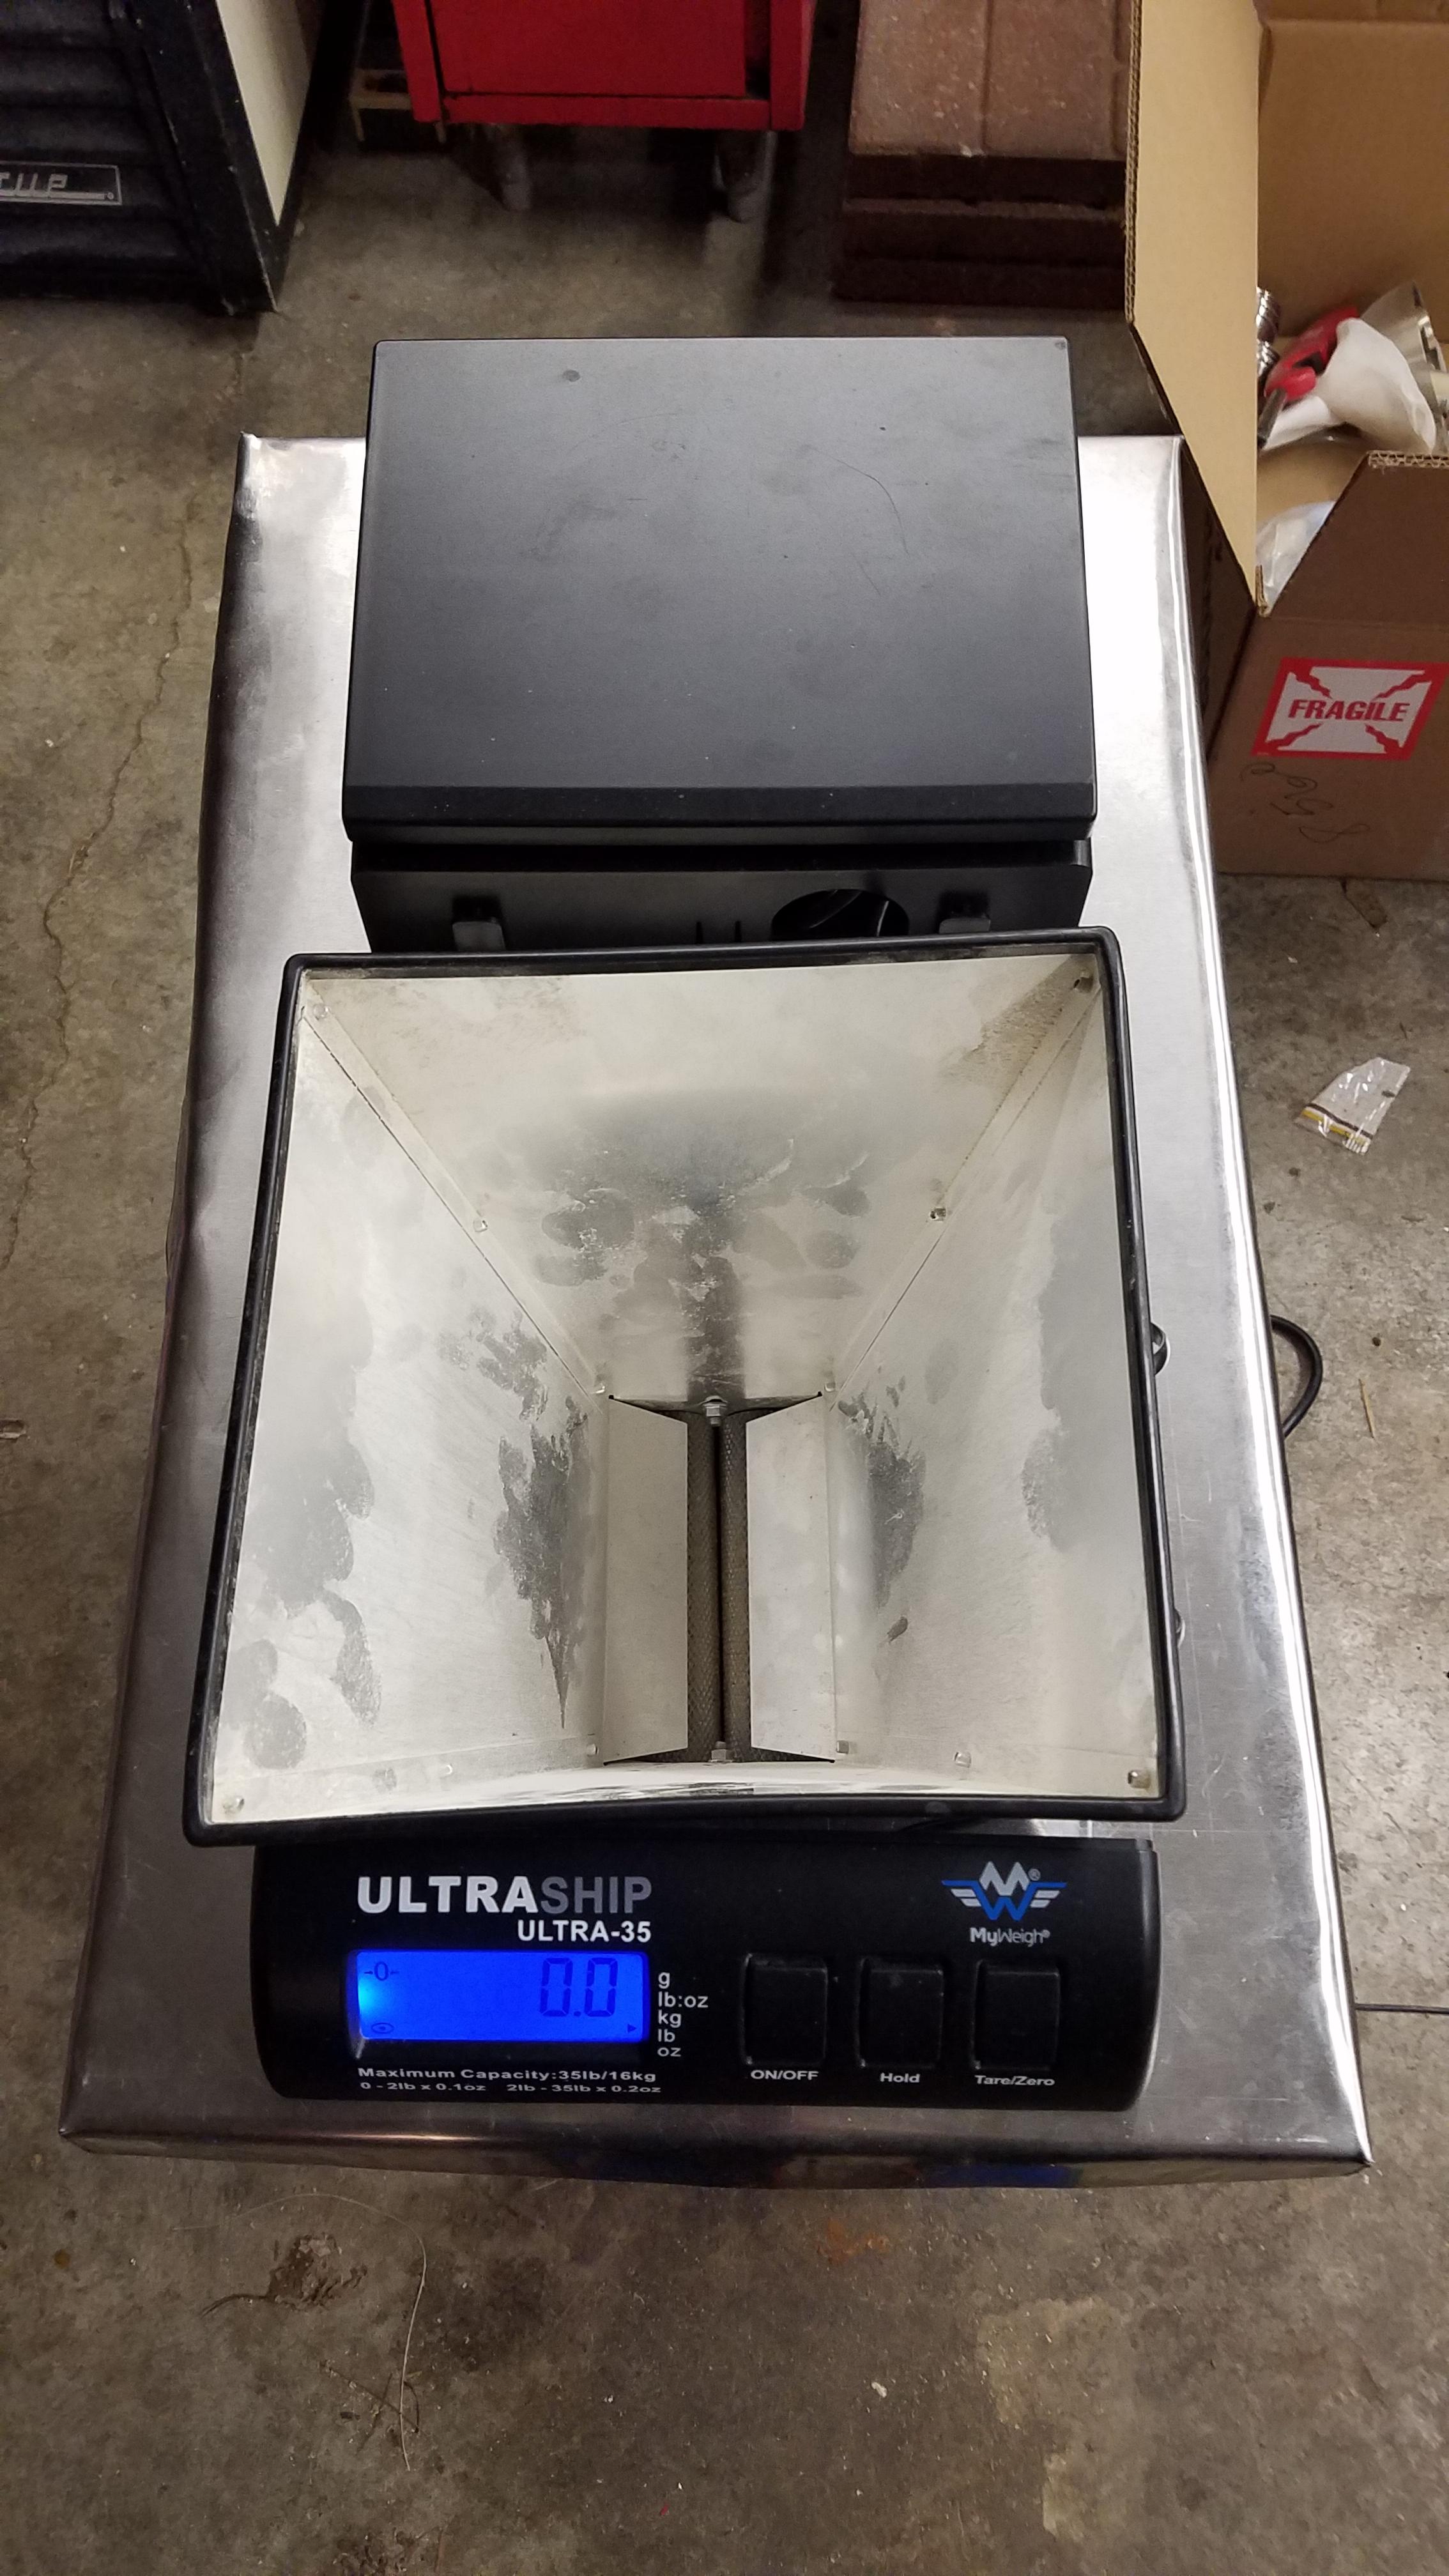
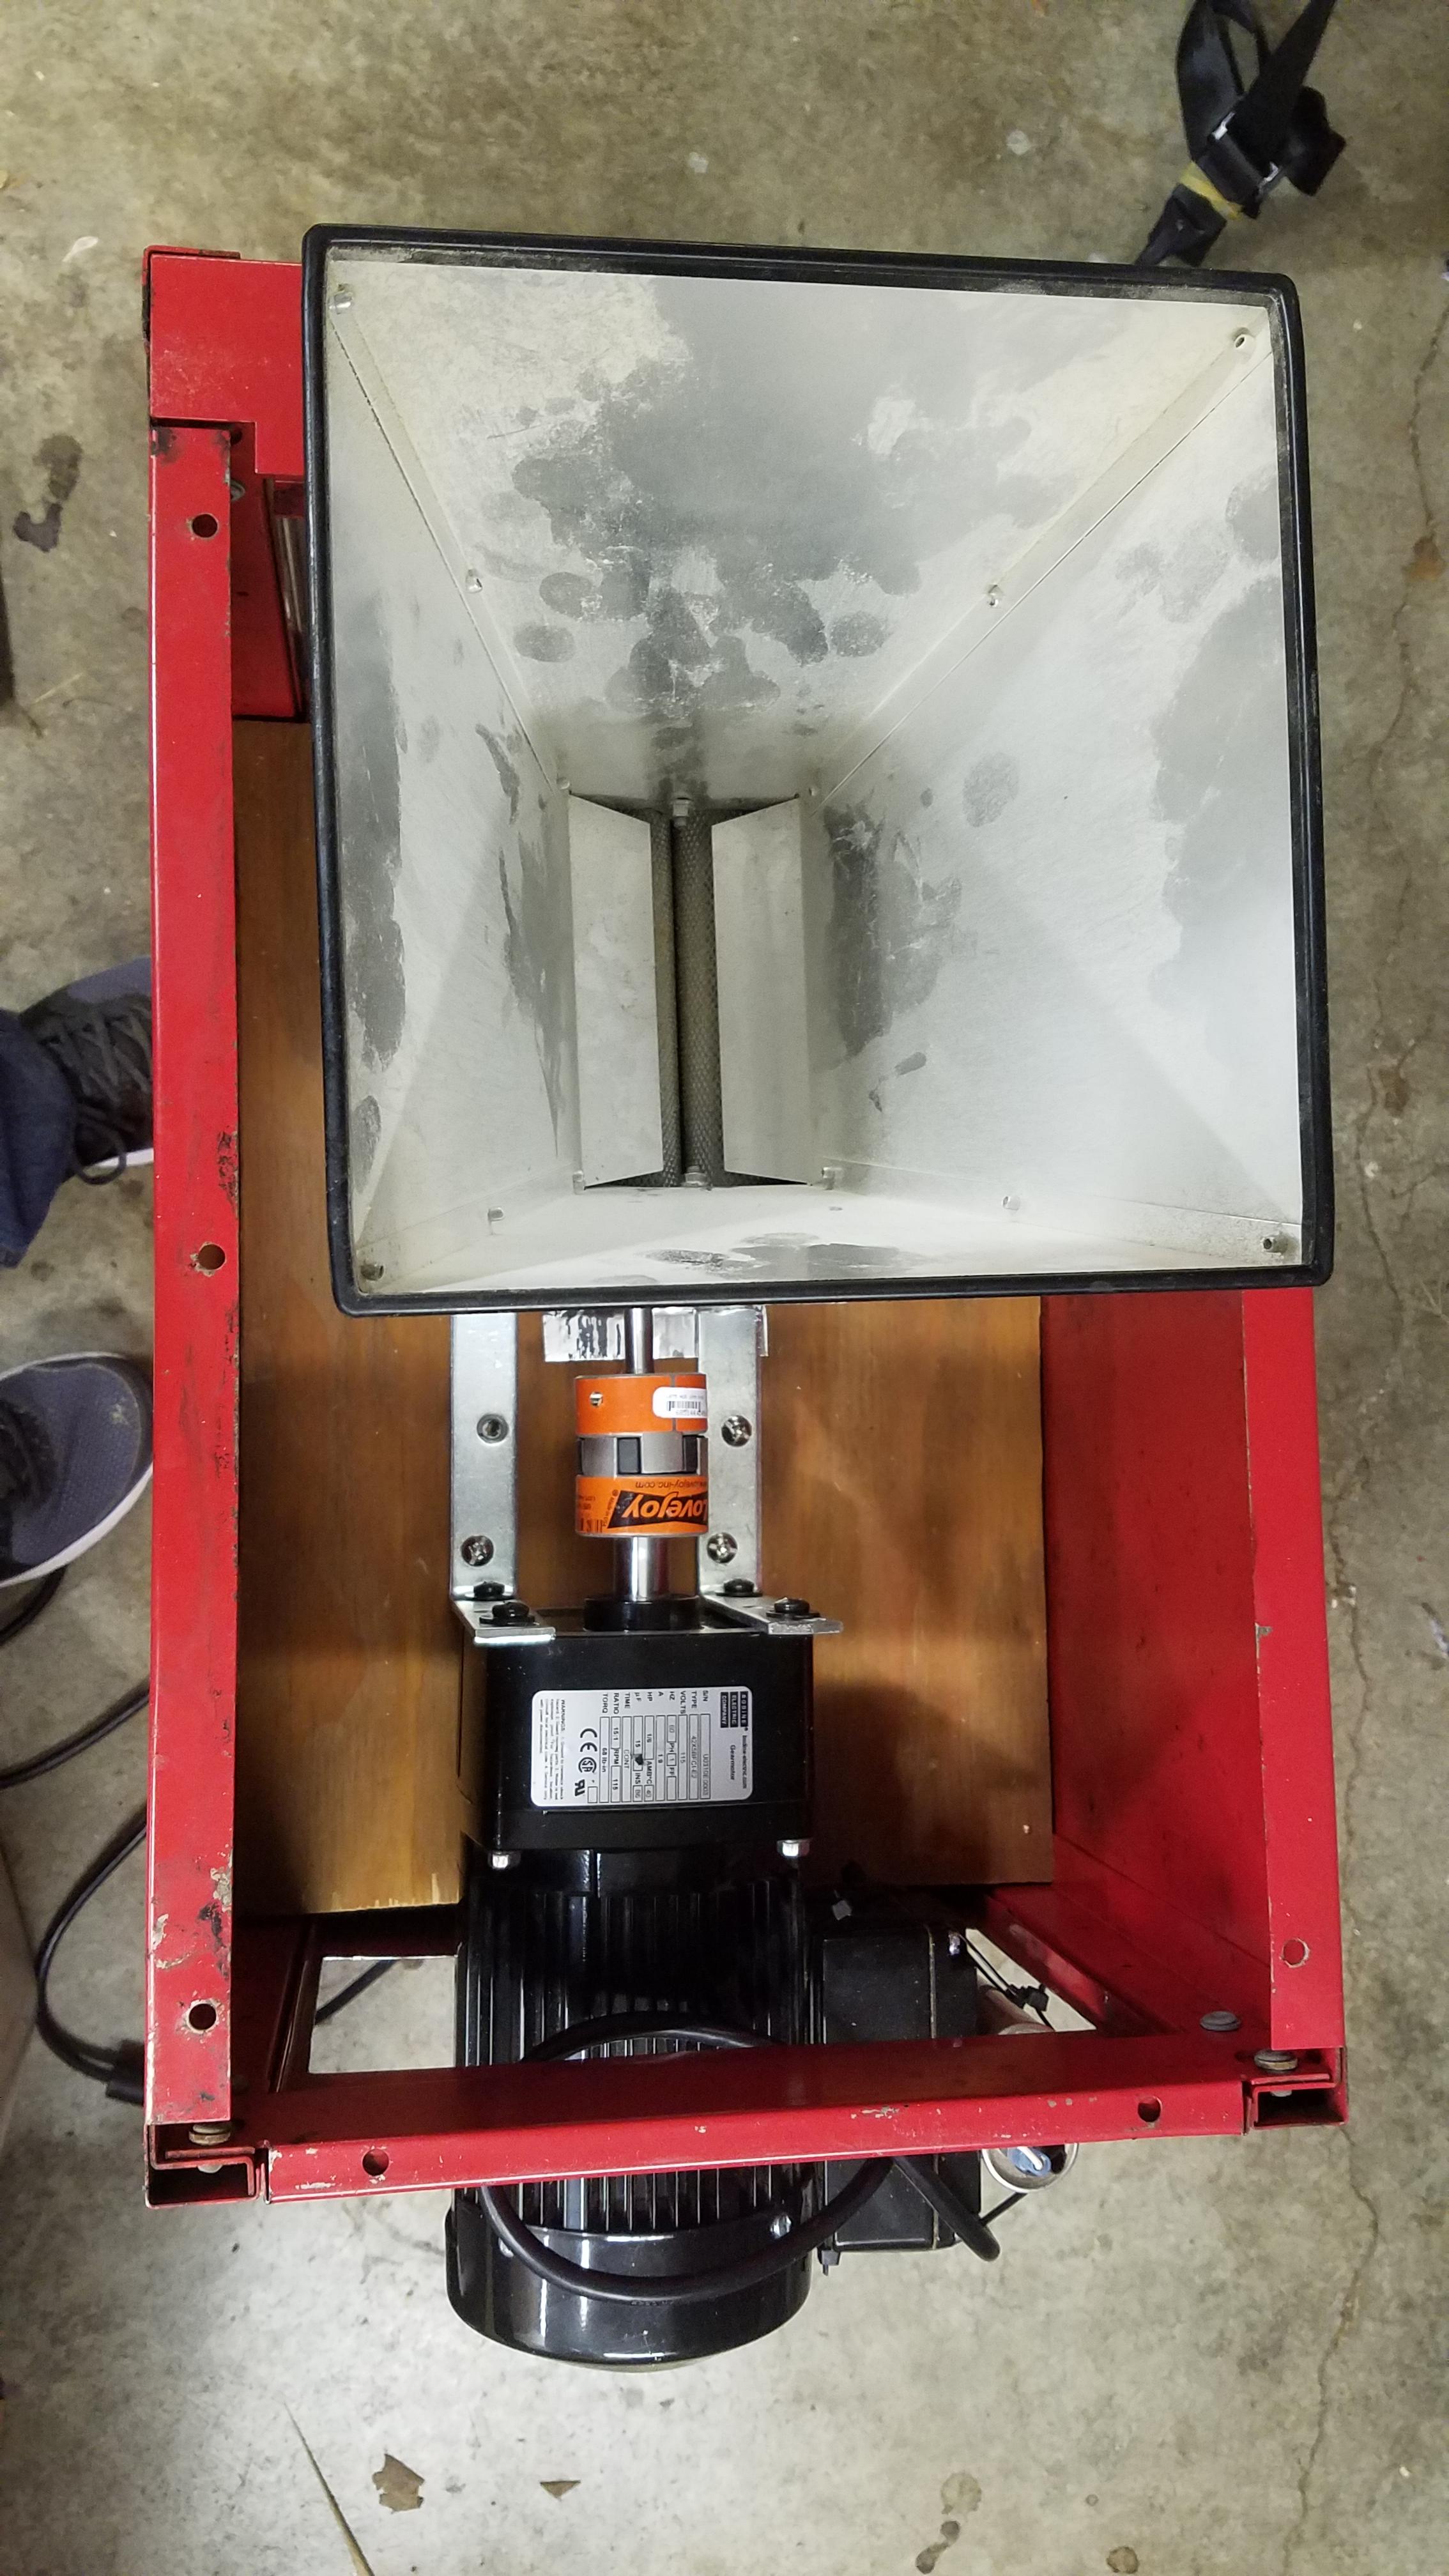
1 hp motor?Monster Mill MM-2 Pro with heat treated rollers


")
Perfect-I'm going to try it.
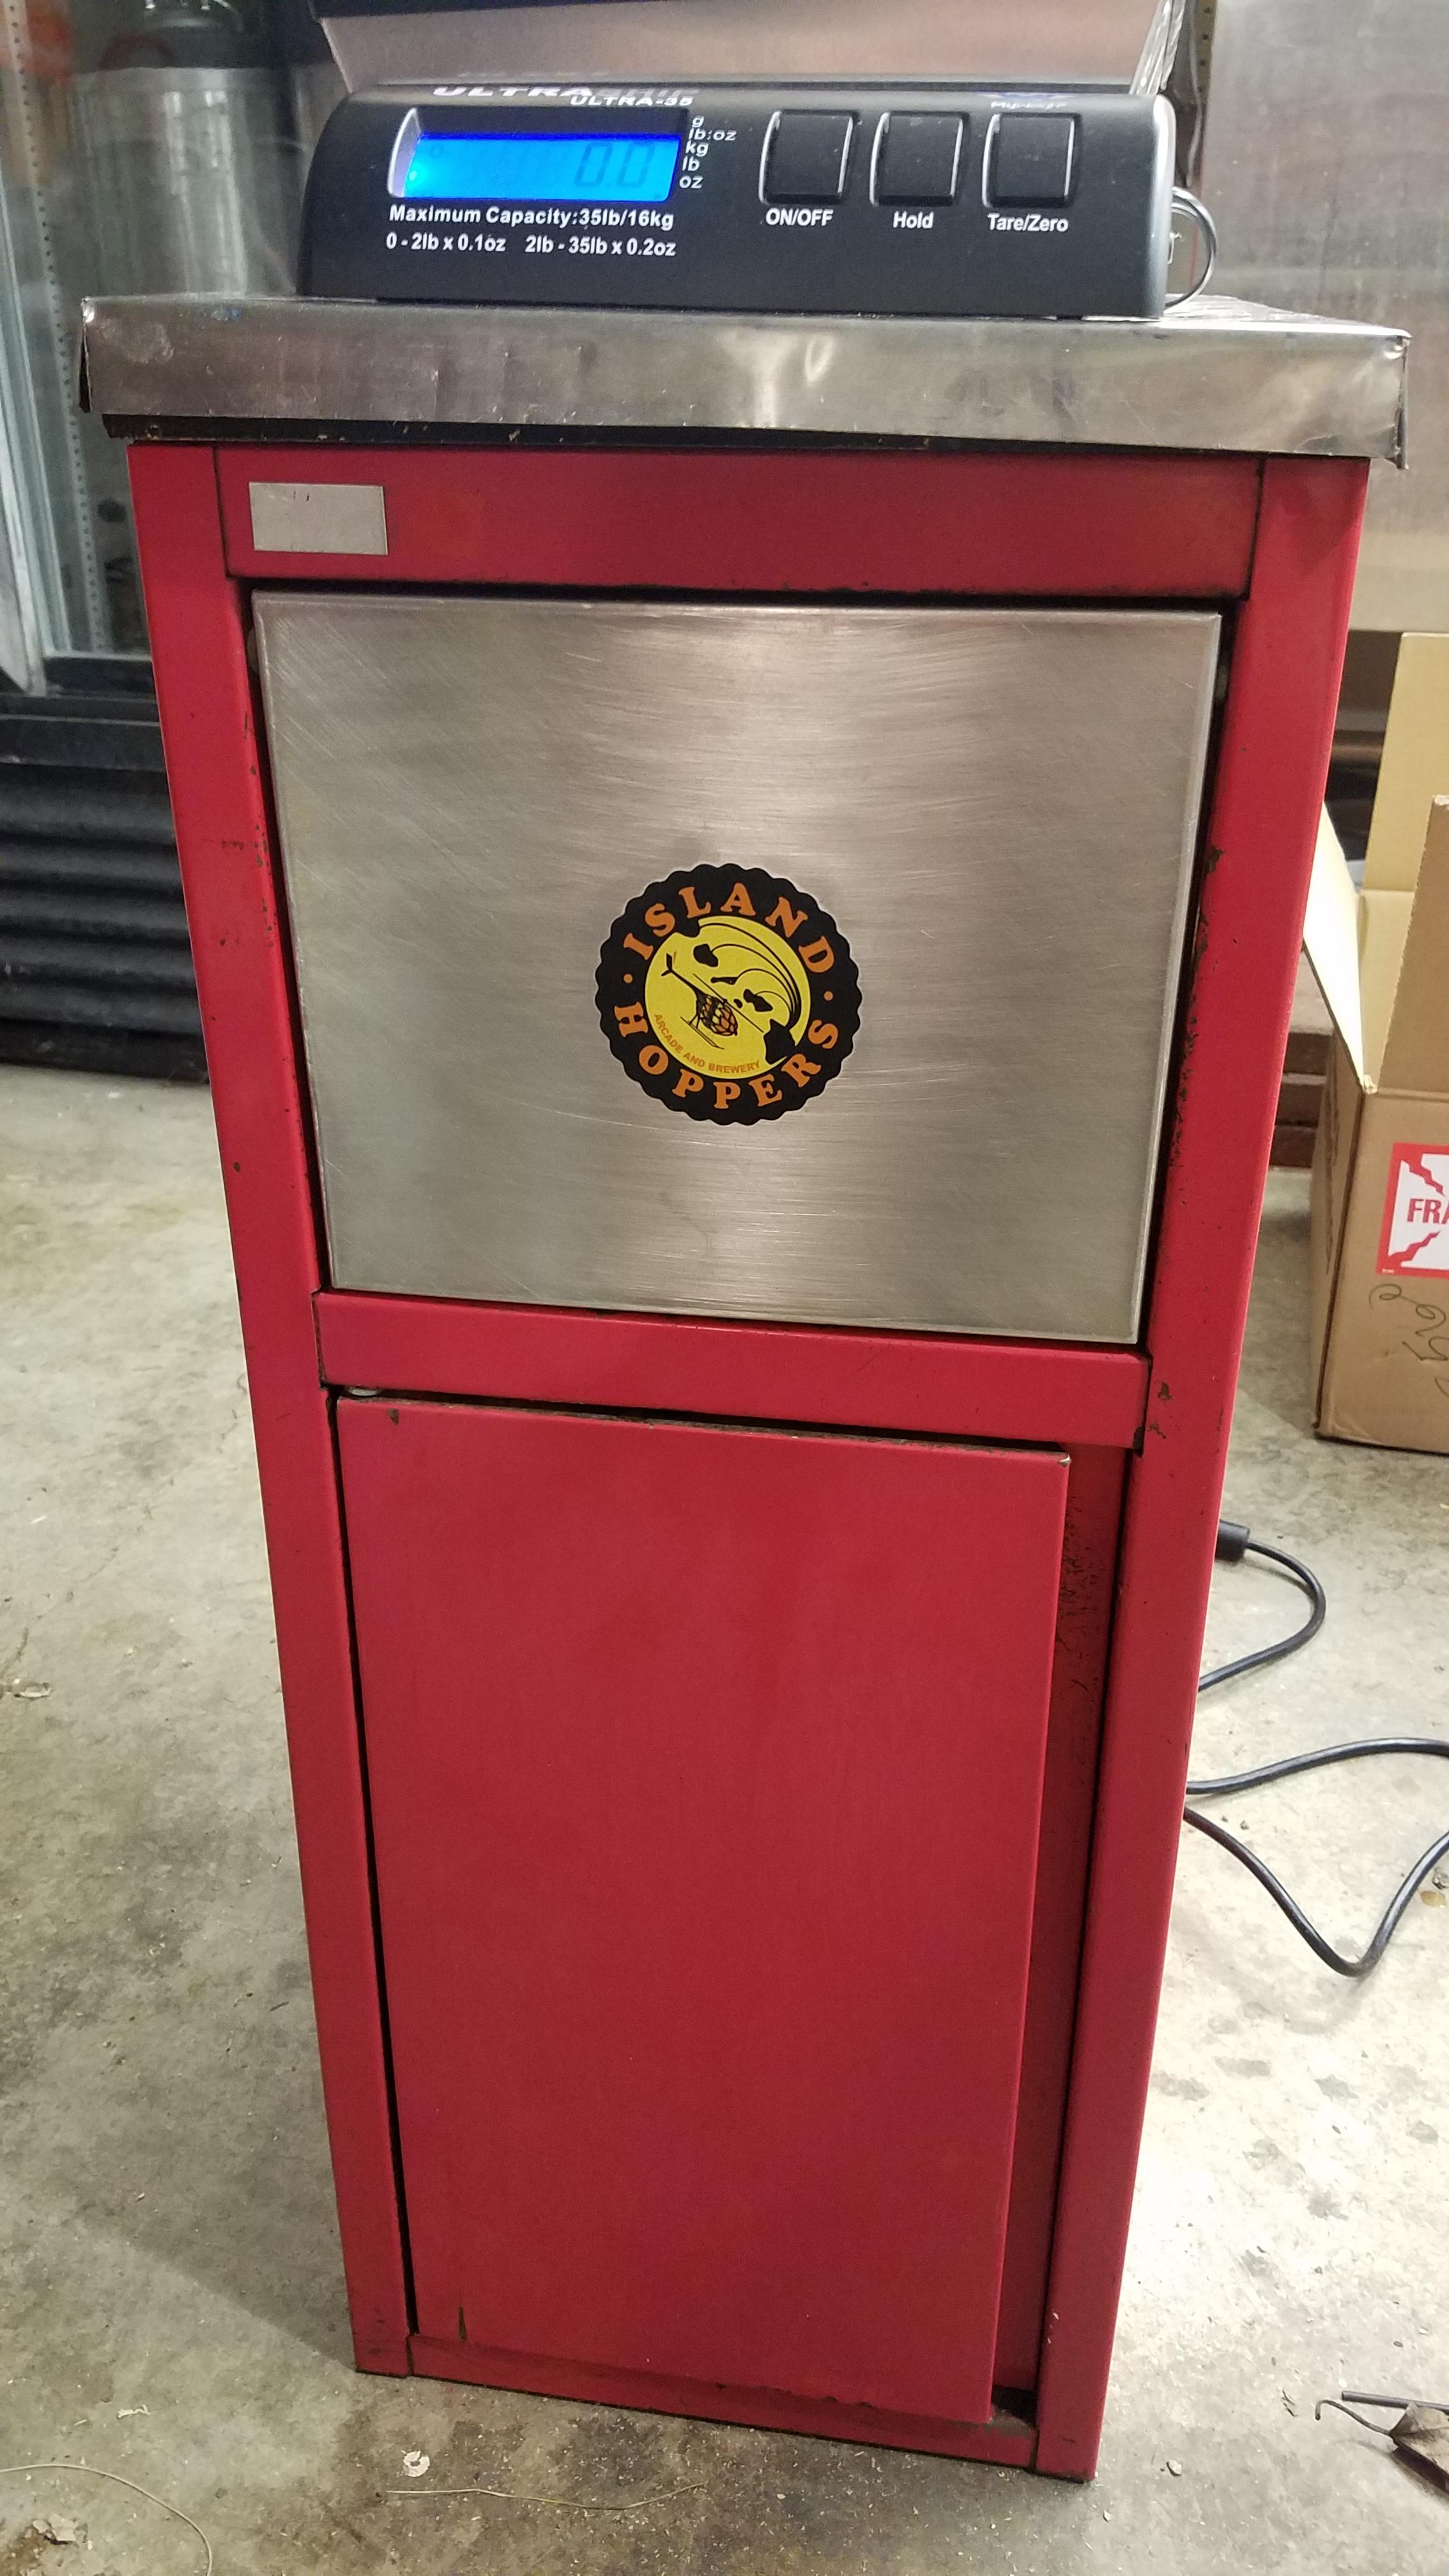
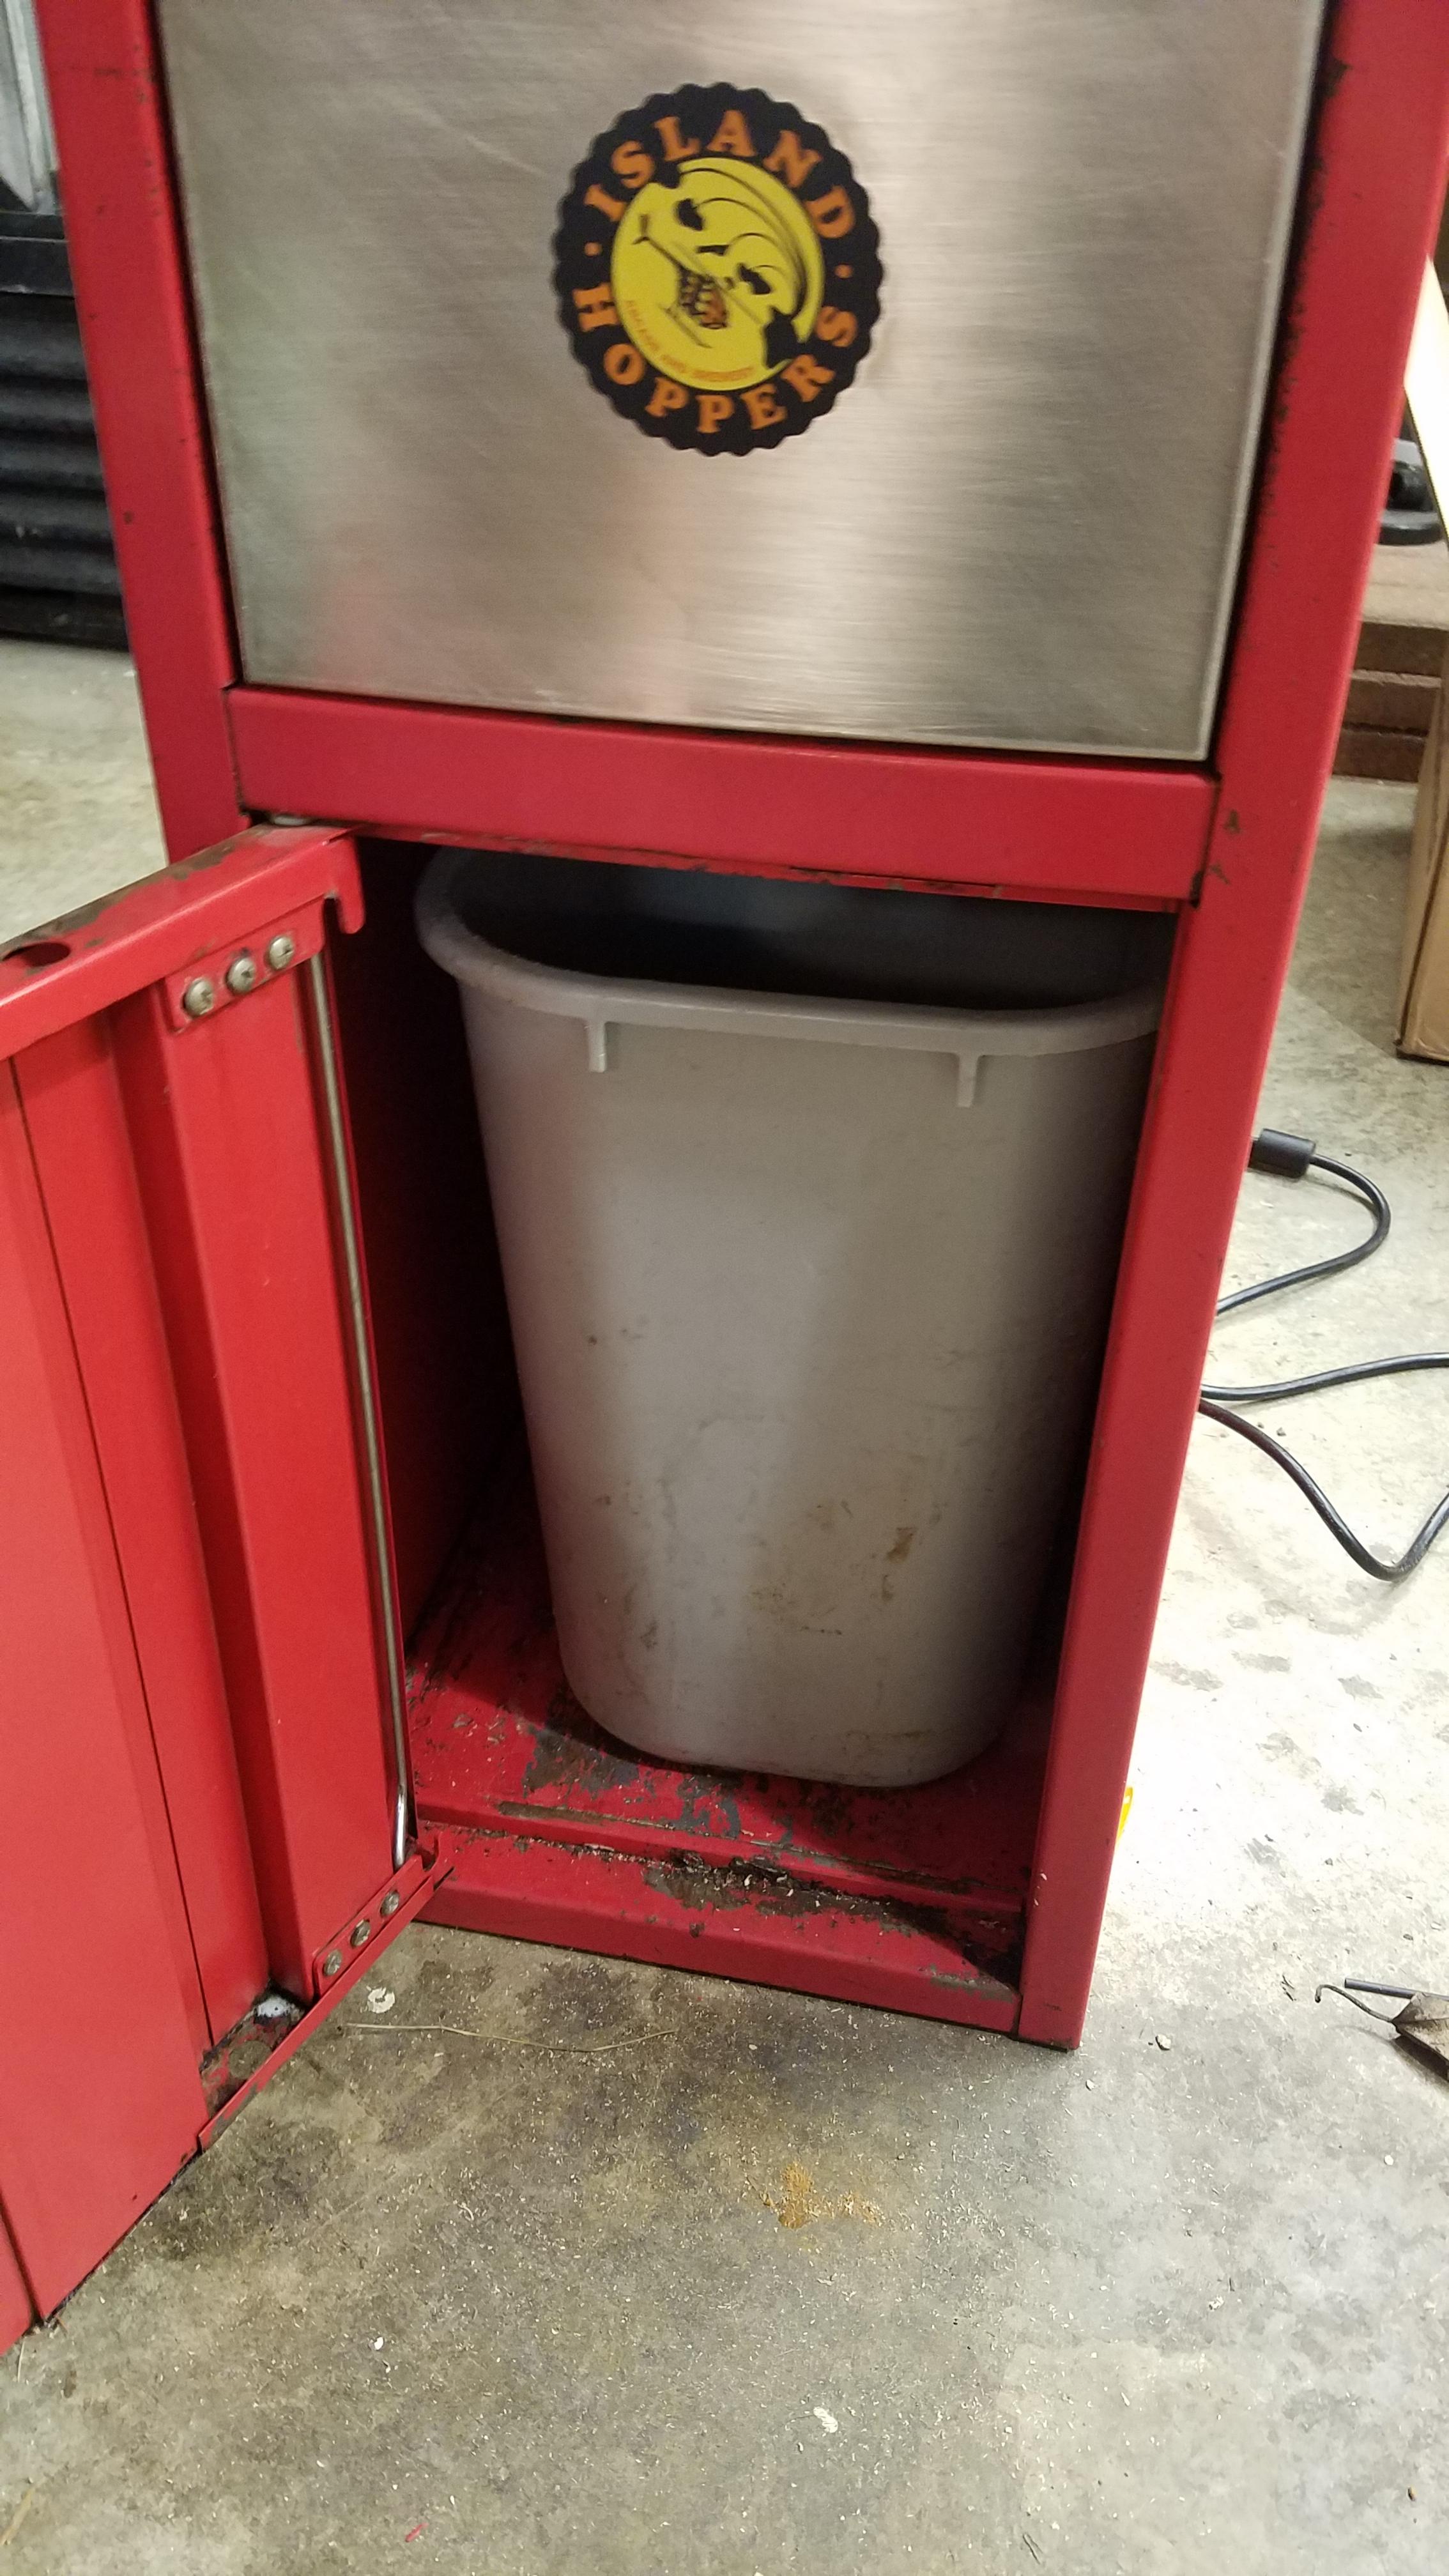
 Just wanted a skinny wheeled structure to save on storage that can comfortably get through 45lb+ grain bills.


My grain mill setup sitting on a Craigslist buffet cart with room for my digital scale.
View attachment 359698


yes you could wire a drum switch to it to give it both forward and reverse.I tried reversing the supply wires to no avail, and asked williams support. Was told it cant be reversed, that it is hard wired for their mill. Perhaps it is the wires between the switch and the motor that need to be reversed?
At any rate, the bottom mount provided a more elegant solution so it was a good problem even if only due to my cluelessness.


Thanks much!Very neat and well contained, It's visually pleasing as well. Nice build.


![Craft A Brew - Safale BE-256 Yeast - Fermentis - Belgian Ale Dry Yeast - For Belgian & Strong Ales - Ingredients for Home Brewing - Beer Making Supplies - [3 Pack]](https://m.media-amazon.com/images/I/51bcKEwQmWL._SL500_.jpg)