MN Kegerator Build Log

Homebrew Talk - Beer, Wine, Mead, & Cider Brewing Discussion Forum

Help Support Homebrew Talk - Beer, Wine, Mead, & Cider Brewing Discussion Forum:

This site may earn a commission from merchant affiliate links, including eBay, Amazon, and others.

kMc21

Well-Known Member
Joined
Jun 23, 2013
Messages
49
Reaction score
12
Location
St Cloud
Hi- longtime lurker, and have learned a tremendous amount from this forum, but this is my first post.
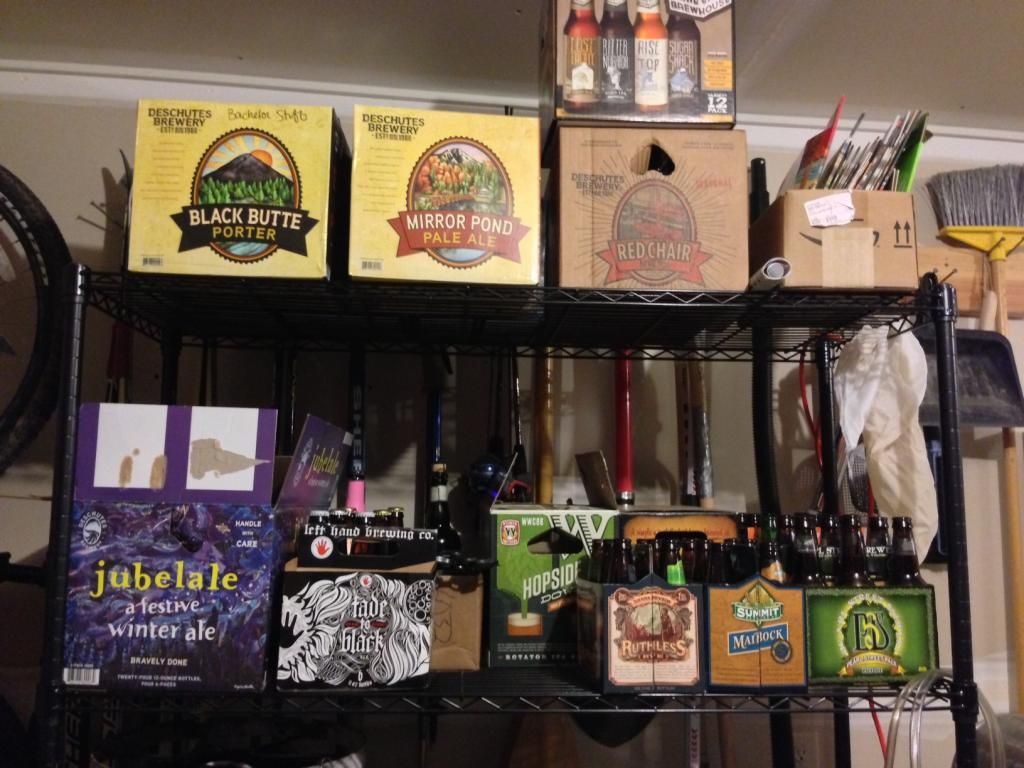
I've been brewing for about 2 years now, and at any given point in time have a couple hundred bottles stored in various states of conditioning, dirty, clean, soaking, or sanitary and waiting to be filled. It takes up an incredible amount of space. Not to mention the time required to fill/clean/maintain all those bottles which admittedly isn't all that fun. I've been doing batch cleanings ahead-of-time and baking bottles in the oven with foil to store sanitary for filling when needed. This works well, but I'm ready for a kegging system.


Too many bottles:
 
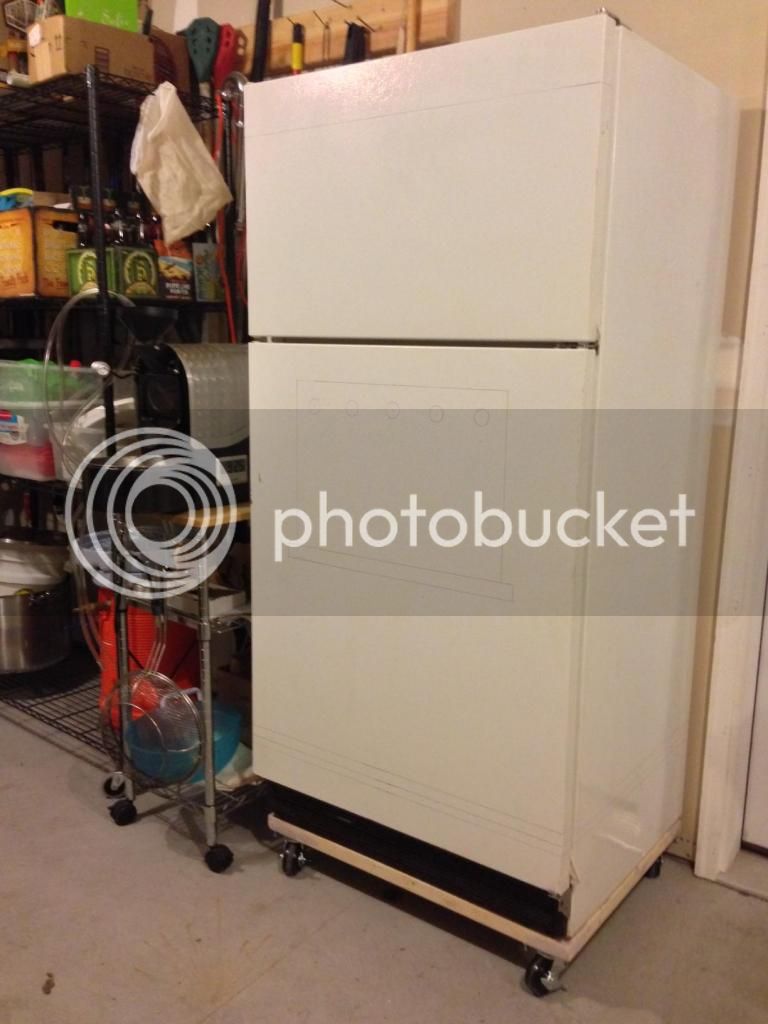
I found out that my brother-in-law was harboring an old refrigerator he wasn't using...and didn't tell me about it! It was taking up storage space and for the price of a couple miles gas pulling a trailer, plus a bbq dinner, I came home with a new project. (note: it is possible to transport a fridge on its side, just stand it upright overnight before plugging it in to let the oil settle.)

Probably the best thing I enjoy about enthusiast forums is the 'build log'. Amateur craftsmen doing amazingly creative things and showing how step-by-step. It's fun to follow along, whether you want to build one too, gain ideas for a future project, or simply see exactly what kind of work goes into the final result. And the community idea pool and problem-solving is wonderful. It's easy to post a pic of something awesome, but the build log is a way to 'give back' to the wealth of information from the interwebs.

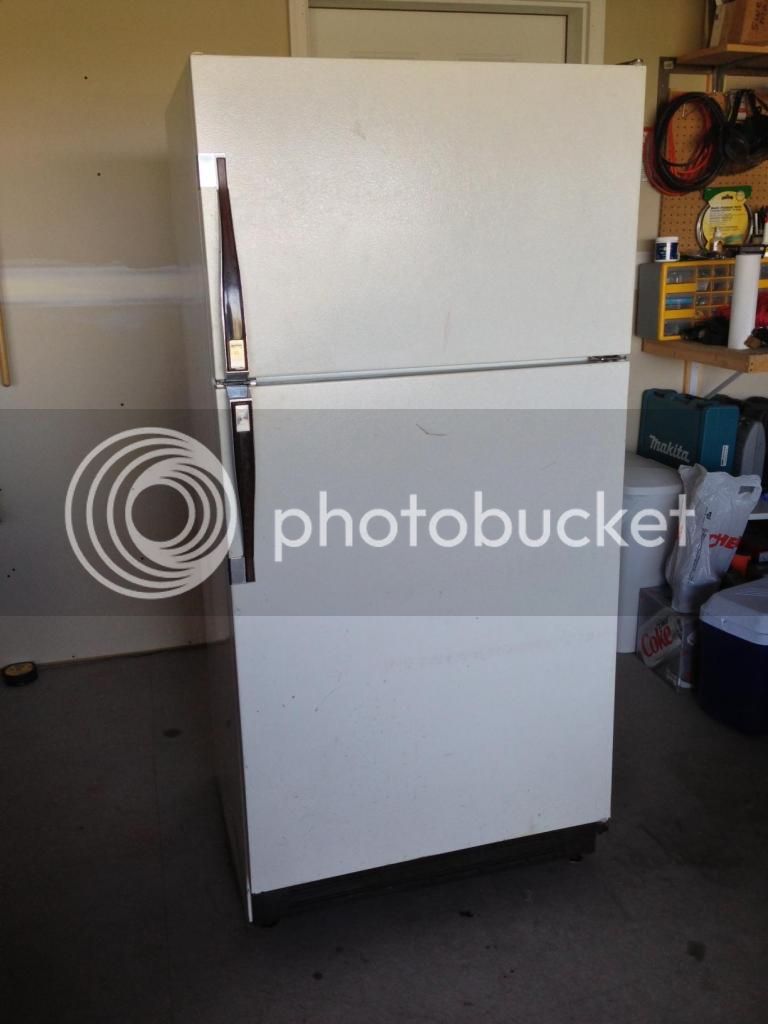
The blank canvas:


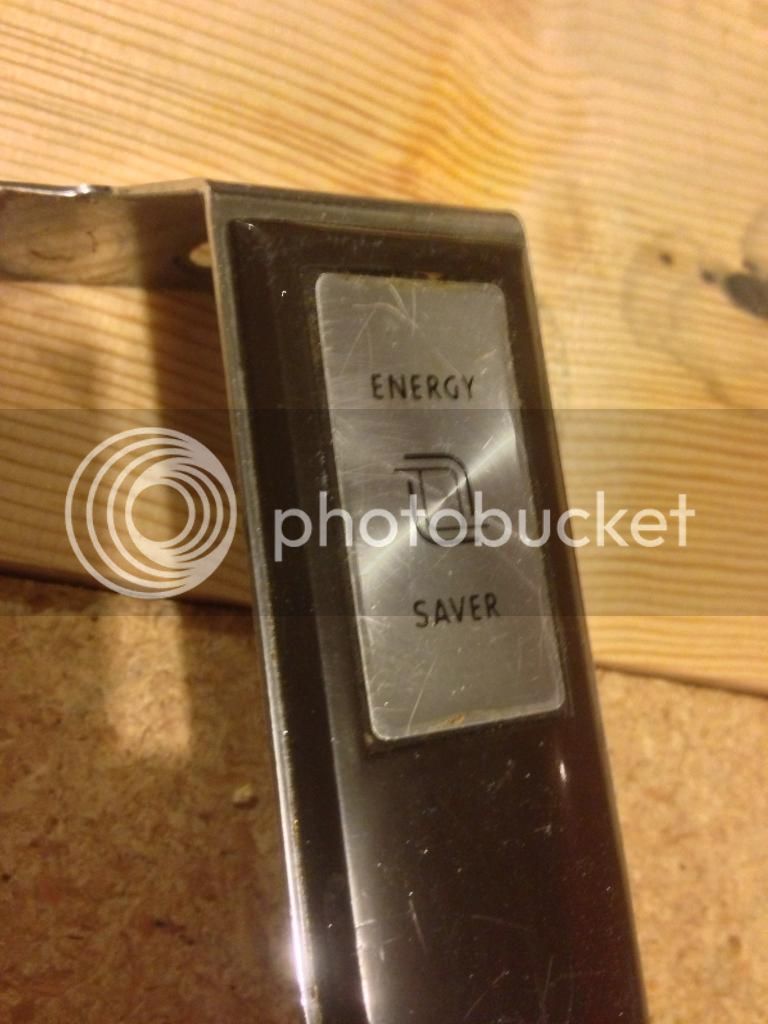
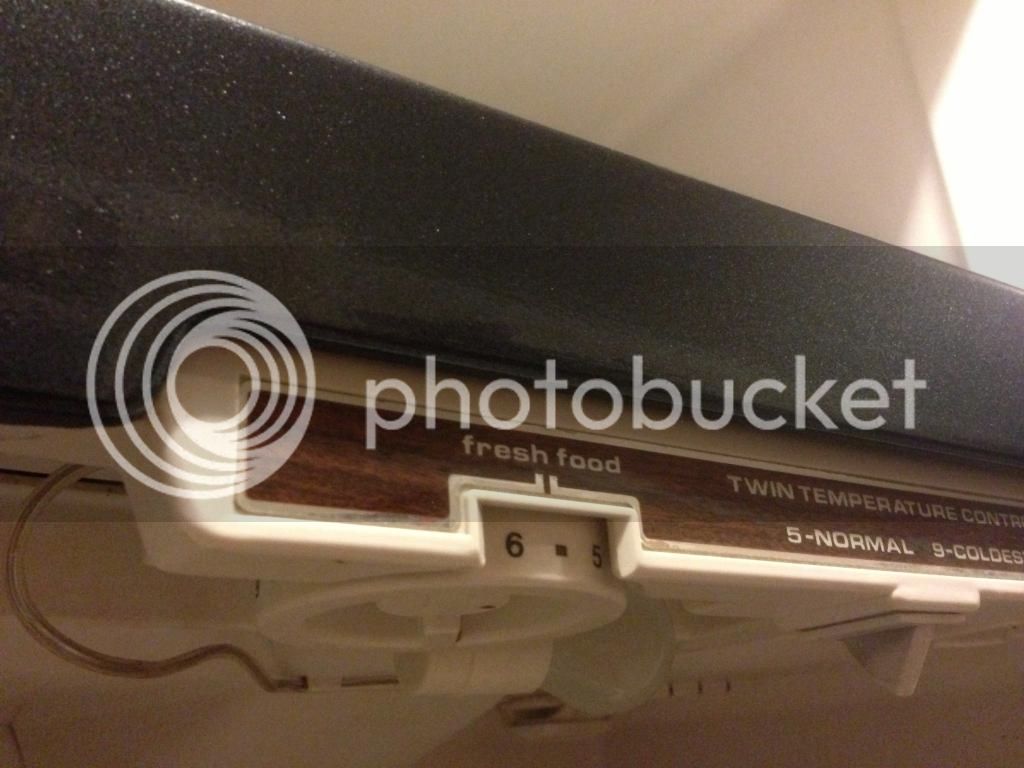
It's a 1986 Montgomery Ward upright. On the front trim piece it says, "Energy Saver" ...I'm guessing not by today's standards.... The body is in decent shape, although there are a few corners of cracked plastic inside. The door seal might need replacing and it's a dirty machine- but it runs and chills!
I plan to use the freezer for extra frozen food storage as the one in our kitchen is so small.
 
Fridge secured, the next step was sourcing the important stuff. I decided to buy a 2-keg starter setup from Midwest supplies:
http://www.midwestsupplies.com/dual-double-cornelius-keg-system-base-system.html
I live about an hour from Minneapolis, and while most of their business is mail-order, they have a retail store that can pull anything you need from the adjoining warehouse. They've always been very helpful and friendly, with decent prices to boot!
Included in the kit is:
2 used cornies
Double regulator
Shiny new 5lb CO2 bottle (gave me a full one for $5 with my purchase).
Gas lines and keg connectors
2 picnic taps

This kit had most of what i needed to start, and I thought of using the picnic tap on a keg for summer vacations to the lake/etc... On the advice of a friend, I knew I wanted forward-sealing faucets on my kegerator from the start, so I ordered 2 perlick 575ss creamers with shanks from kegworks.com . They had the combo as an ebay listing. They shipped fast, but until the order arrived, I neglected to notice that line nipples and nuts weren't included. I've read mixed reviews on the creamer faucets, but I'll be sure to post my experience with them.
 
Next step was the fun/ hard part: designing the layout of the kegerator. What height are the faucets going to be? where do I drill? Drip tray or no? How might I want to upgrade this in the future?
The last part was the most difficult for my brain: Do I eventually want to have 4, 5, or 6 faucets on the kegerator? (important now, because If I center the spacing of 2 faucets, It will be off-center if I upgrade to 5 later.)
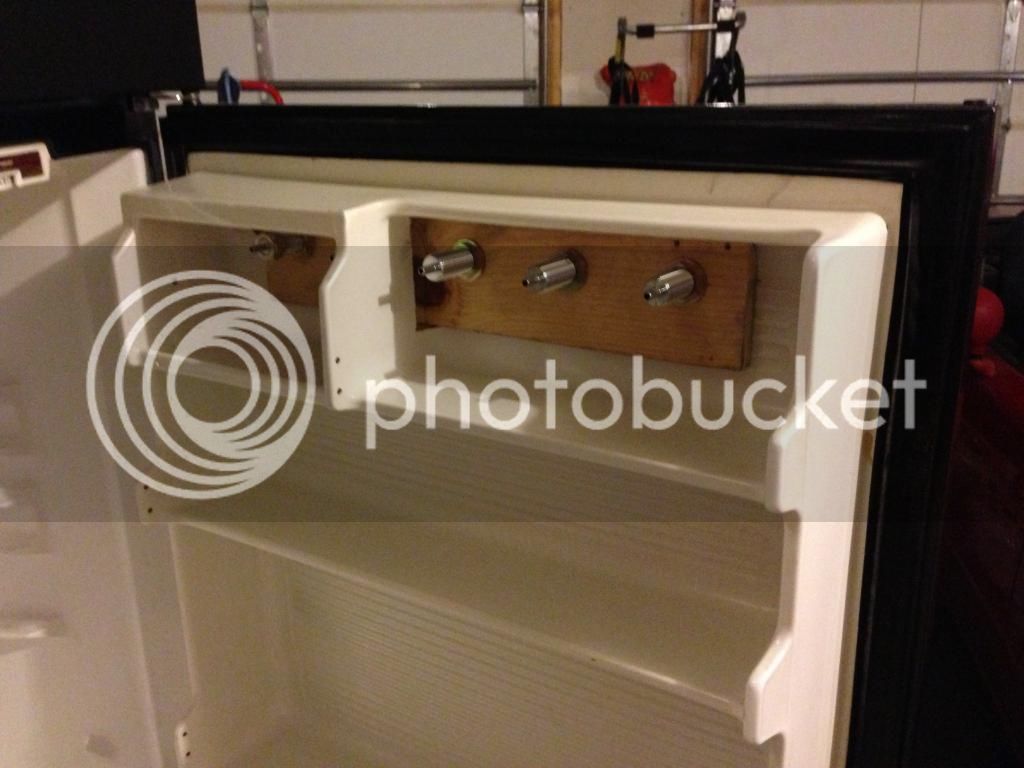
I wrestled with the problem for a couple days. (totally unnecessary minor problem, really, but that's the way I think about things) . My final solution: buy more faucets right now. They might not yet have kegs behind them, but it'll sure look pretty, and will make upgrading to more kegs a cinch. I wanted them all to match, and I found a great deal on faucets (plus shanks and nipples) at ritebrew.com . They're out of Green Bay/Appleton WI. I went for 3 perlick 525PC chrome faucets. That way I can use either if I don't like the creamers. I was a little worried about the durabillity of the chrome plating and that scientific study that found more bacteria/metals from chrome faucets ( http://www.draughtquality.org/wp-content/uploads/2012/02/StainlessVsBrassTNB.pdf ) but for 3 of them as extra faucets the price was unbeatable. They had a $5 off shipping promotion, and overnight delivery one state away ended up being a whopping $0.76!

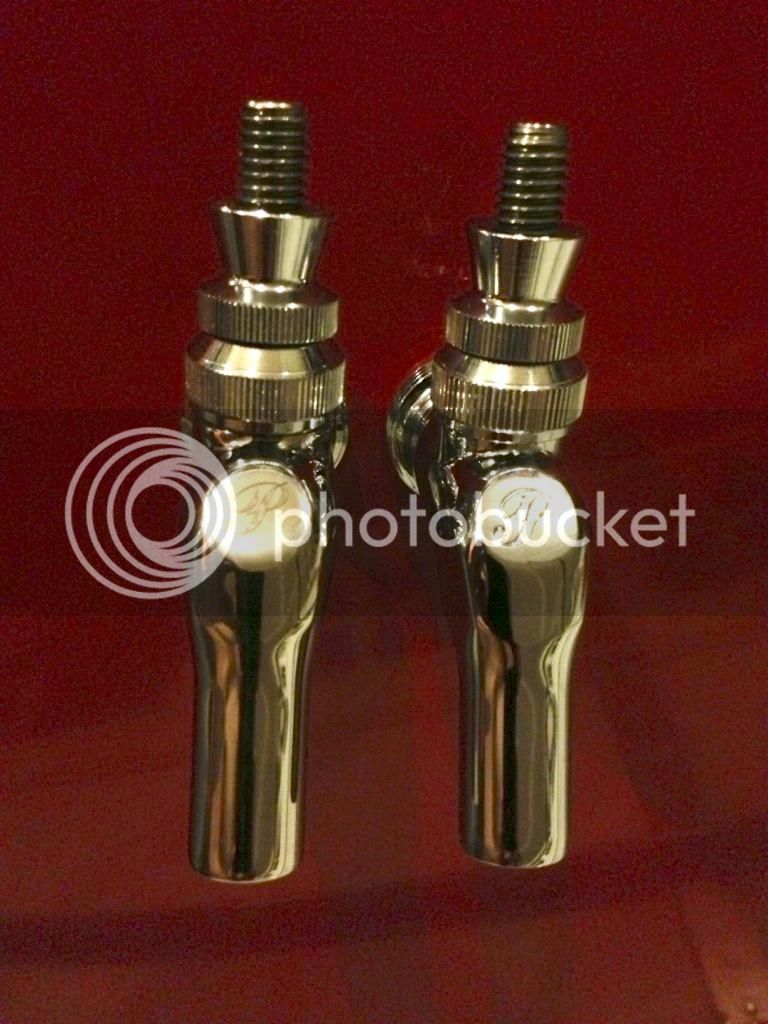
Side-by side:


The 575ss (left) and 525pc (right) have the exact same dimensions. I noticed no difference in tolerances or interior machining or anything like that. The 575 has a printed 'P' logo, and the 525 has a casted 'P' of the same size. The chrome-plated brass might be a little heavier than stainless steel, but otherwise visually identical. They'll have to live in their boxes for now, though, while everything else comes together. Full report on operation of each forthcoming.
 
The next question was the drip tray. Looking around, it seems like this has been a problem for more than one homebrewer. I saw everything from commercial units to drywall pans, to heating vents to buckets on the floor. Add to this the fact that any large drip tray is reeally expensive. After considering a drain tube into a catch basin, I decided on a no-drain after reading the statement "either one thing to clean or 3 things to clean" Keep maintenance simple.
I ordered the $18.99 19.5 x 4 inch tray from bar products.com . Inspiration comes from http://www.mullerbrau.com/Kegerator.htm . I'll make a shelf-surround for the tray so that it can be lifted out and cleaned.
 
I want to paint the refrigerator. Professionally. I'm sure rattle cans or a roller could do it fine, but I'm going to use automotive paint and an hvlp gun. Another project is refinishing an older car, and I want to practice painting using the fridge. I've never done it before and I hear there's a steep learning curve. We'll see how it goes! I like dark grey metallic colors, and with black accents and shiny faucet hardware it should look great.

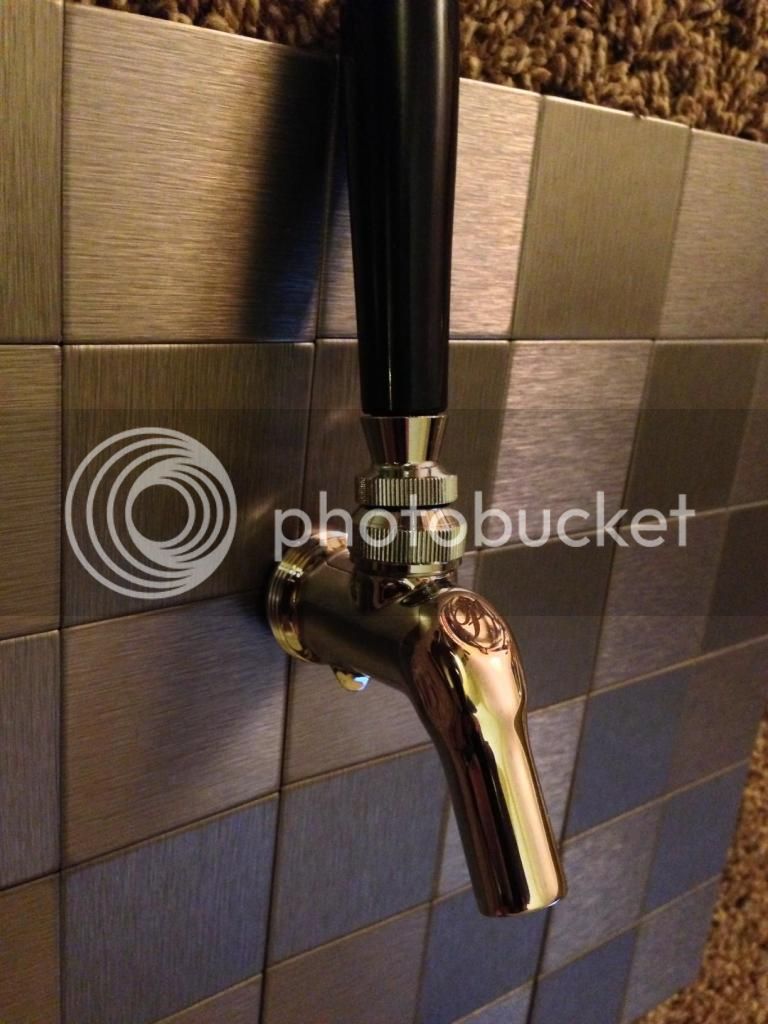
I found a great backsplash product at a local big-box home store. Sheets of 2"x2" stainless steel tiles with peel-and-stick backing. This will be a good way to add stainless to my 1986 fridge.

Not yet mounted, but looks great with that shiny faucet!


Also, the 2x2 tiles answer the spacing questions. Faucets will be aligned with the tiles, 4" apart. A 14" total height will leave just over 10" between faucet tip and drip tray. That should be enough for most glassware. The 2L boot probably won't make it!
 
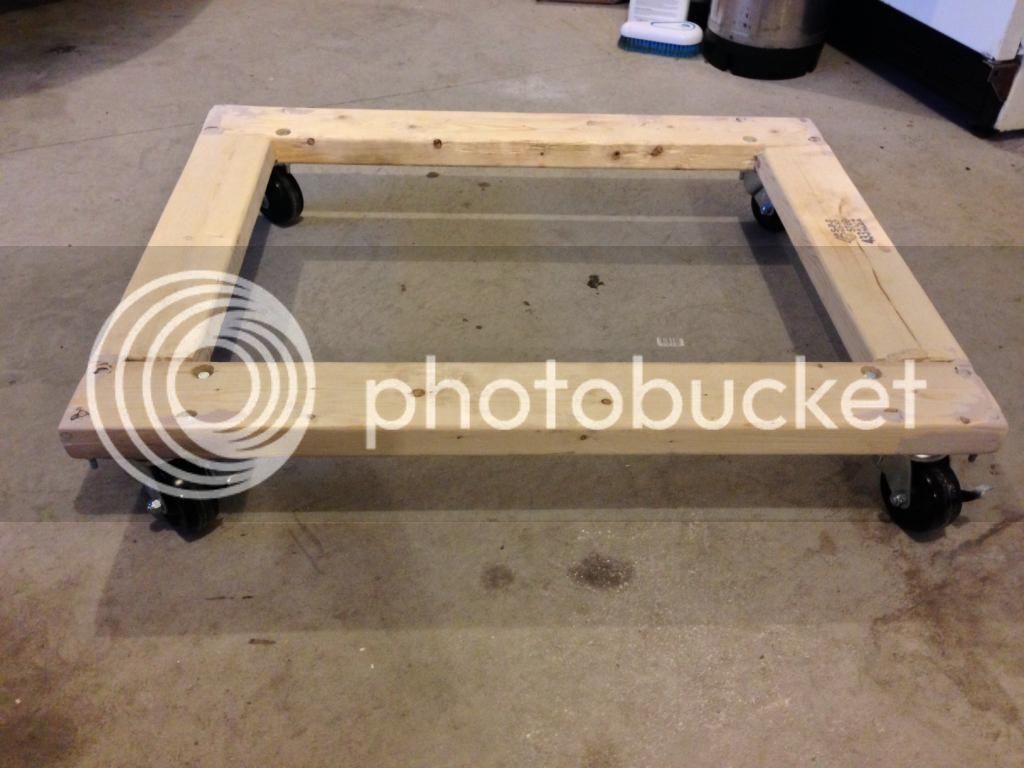
Before paint, though, I need to get some assemblies finished. I want the fridge on wheels. Apparently they didn't come that way in 1986. 2x4's with lap joints and casters make a perfect base that rolls easy. Casters are 3.5" and are rated to 175# each. The front two have brakes. I used some bondo putty on the corners to cover up my poorly-executed cuts and to make it look seamless. The base will be sprayed black.

Base ready for paint:


The simple rule to keeping a clean and organized garage: Have EVERYTHING either on wheels or mounted to the walls. Mobile equipment can be cleaned under and moved/rearranged with ease.

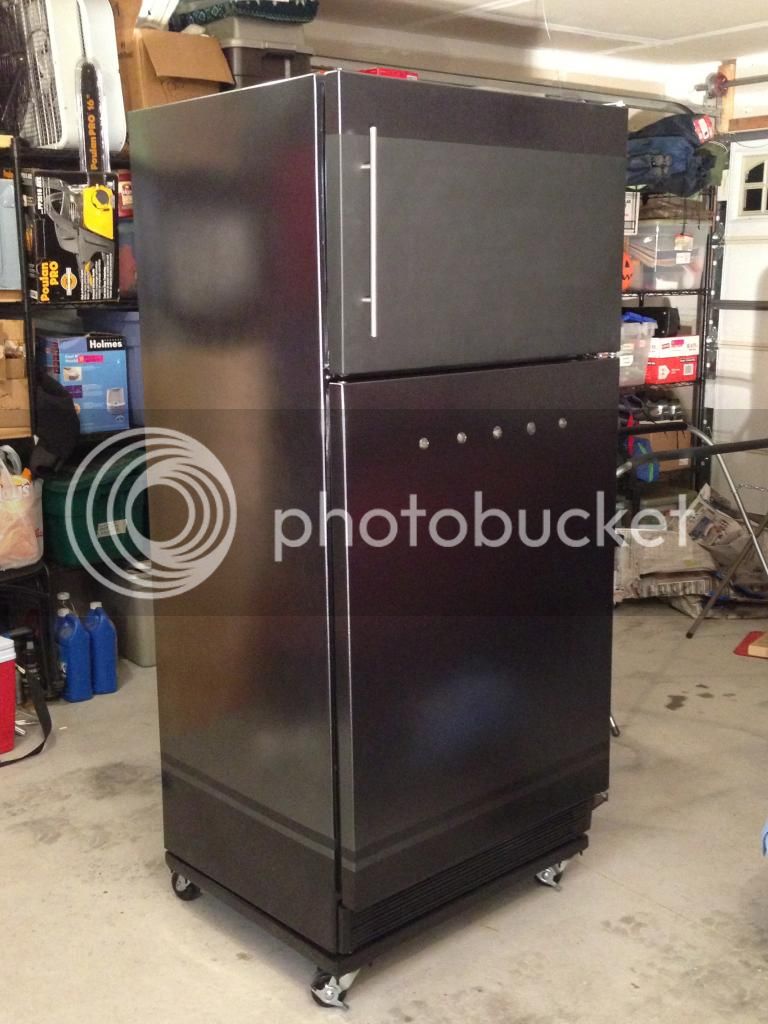
Everything on wheels, plus mock-up of possible paint scheme. Gloss Metallic gray with black stripes on bottom. Flat black Chalkboard paint on freezer above faucets:
 
Can you get FIVE kegs in there?? I guess with stacking and not all 5 gallon, you could. Just a question for you to think about before you drill those holes.

Looking forward to the painting experience stories.
 
If you are using two part epoxy automotive paint the main trick is to follow mixing directions closely. When you shoot it put on a light tack coat, then a cover coat, and then leave it alone. If you try to put on a little more to use up that last bit of paint or because a dry spot looks like it could use some more it will run on you every time.
 
MdSutton- I can fit three rows of 2 kegs deep if I re-skin the interior of the door. I think though, that I'm going to just fiberglass the cracks in the original door lining to make use of the shelves for bottles/yeast/etc. If I stagger 5 kegs, I'll have plenty of room.

Bookworm- thanks for the heads up- I'm looking at a base-clear kit from tcpglobal. Trying to decide between a meteor gray metallic or darker anthracite gray metallic. The meteor gray closely matches my wife's car, which might be parked next to the finished kegerator, and with the lighter gray color I can tape off some simple black stripes across the bottom.

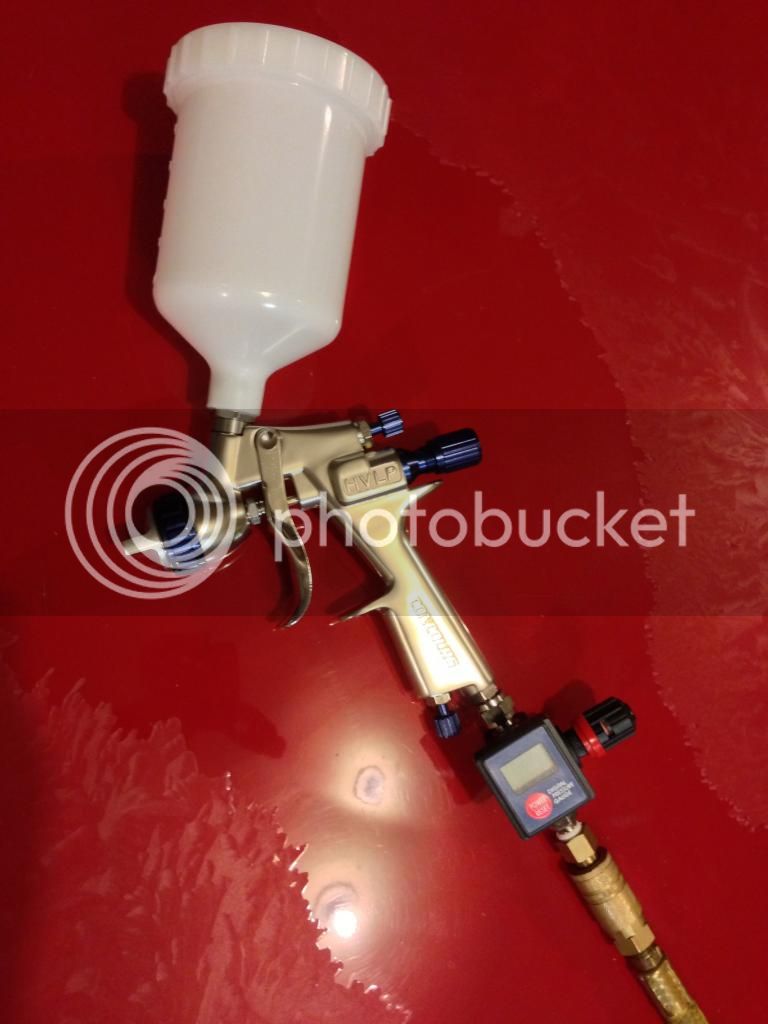
I have the Concours gun from Eastwood.com , but have yet to use it. It's supposed to do well with moderate CFM compressors which is the main reason I bought it. It was difficult to find non-sponsored reviews, though! I don't know much about paint guns at all, but it seems like a solid tool with smooth tolerances and nice machining on the air cap.

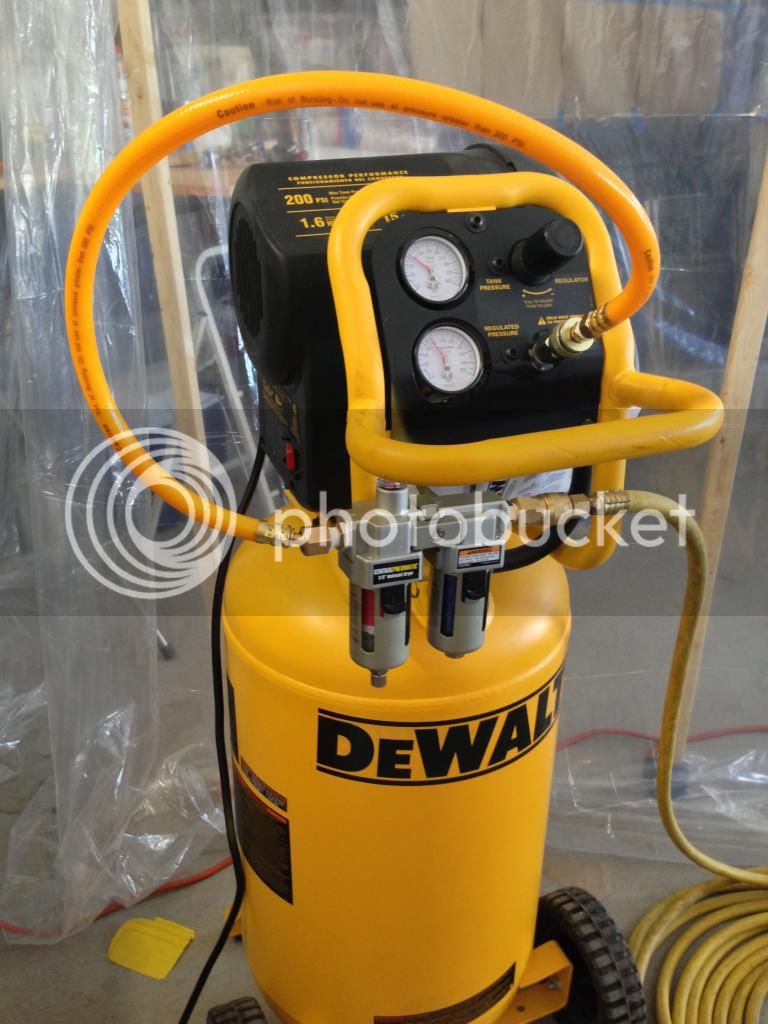
To power it, I have a DeWalt 15gal that runs a tank pressure of 200psi. It's rated at 5CFM (90psi) with a 1.8horse motor. It's been an all-around workhorse for me and I'd hate to have to upgrade to a floor-mount 220volt unit just to paint hvlp. The gun claims a 4cfm draw, so it might be close, but I think it should work out fine for panel work.
 
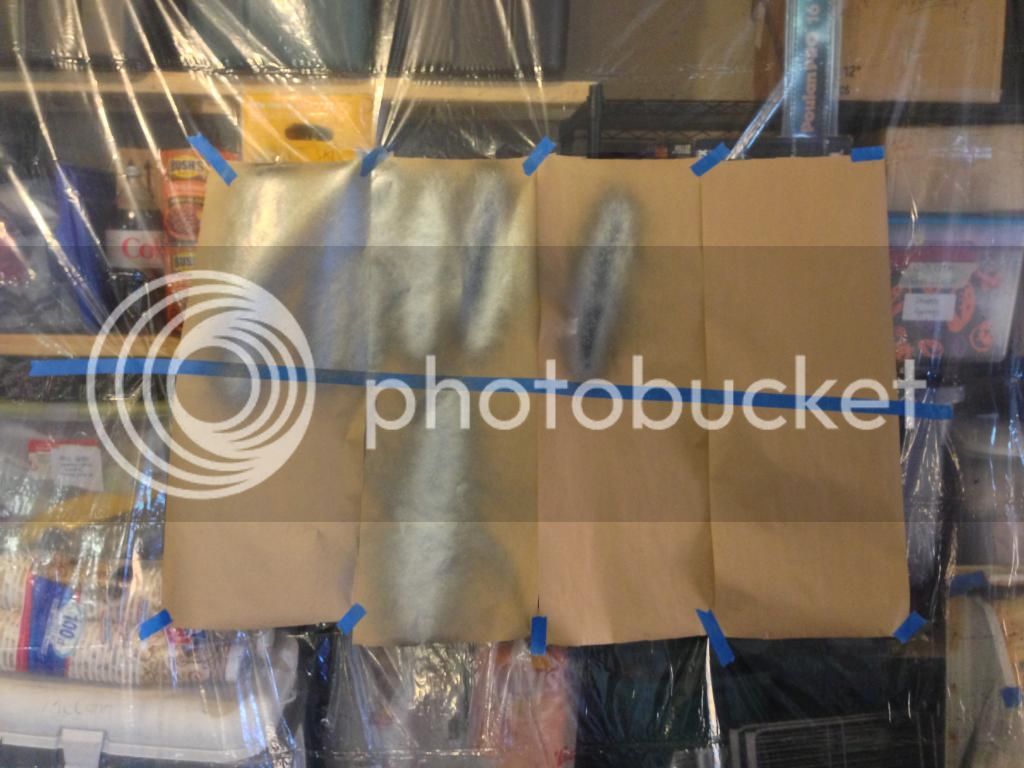
Something I do when I have not shot paint in a long time is set up some big pieces of cardboard to practice on. It will help you set the right pressure and paint feed. When I practice I also concentrate on getting the correct overlap and keeping the gun a constant distance from the surface from start to finish during each paint stroke.
 
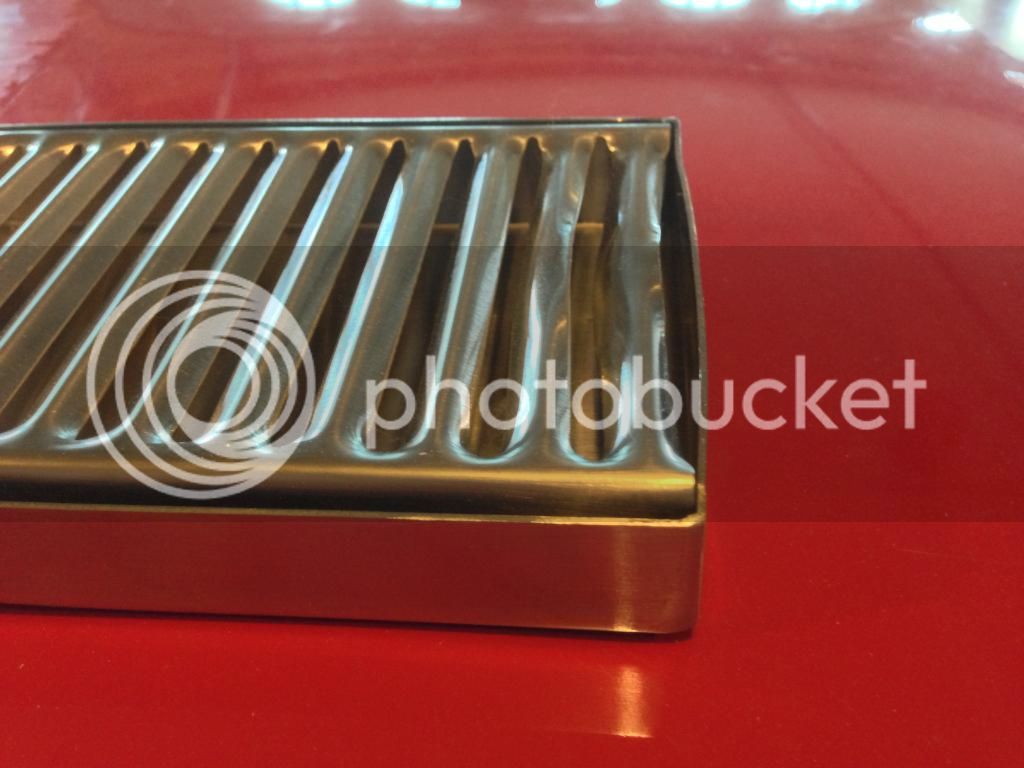
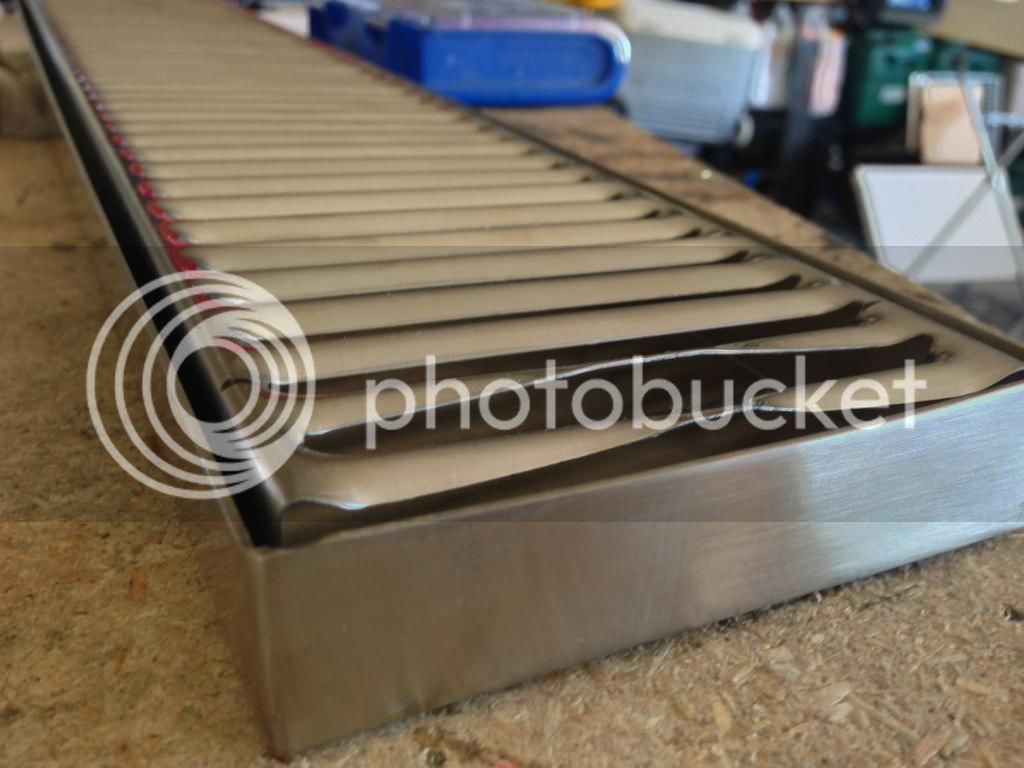
So I might be the first person on the forum that is dissatisfied with the $18 drip tray from barproducts.com . It arrived very well packaged, but the tray was damaged. It appeared as though the stamping of the tray louvers was off by maybe 1/4" on the last two louvers.


It's an obvious defect, and I think it poor business to get rid of it by putting it in a box and sending it to me.
I got hosed by barproducts.com and their 1996-looking website.

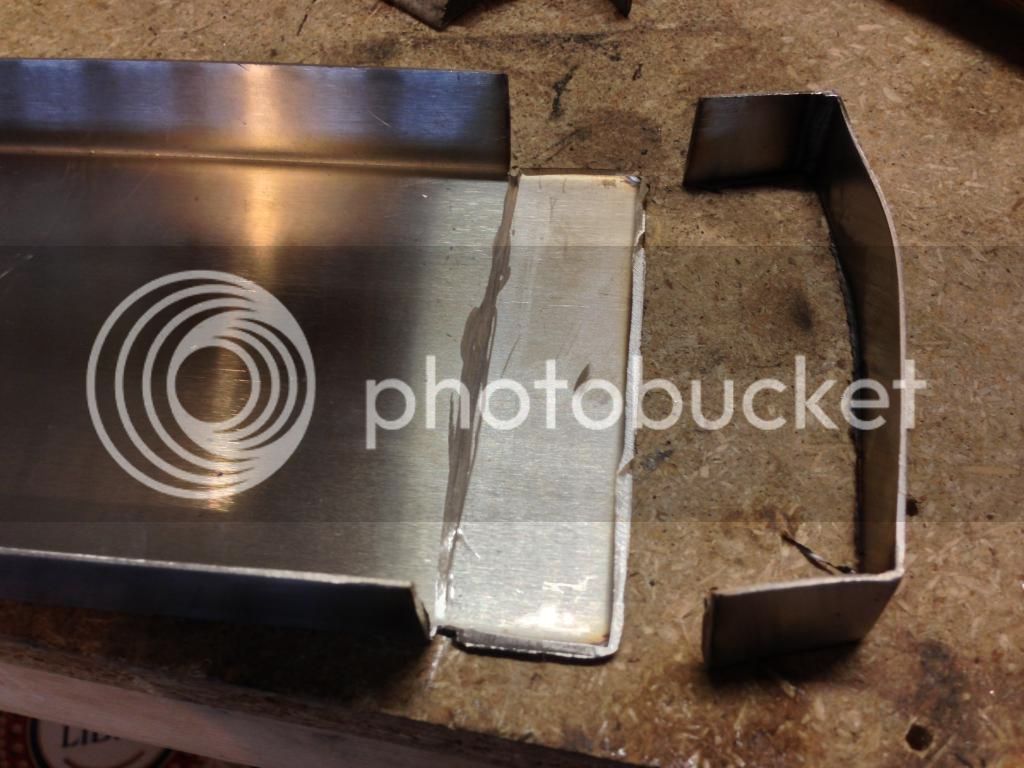
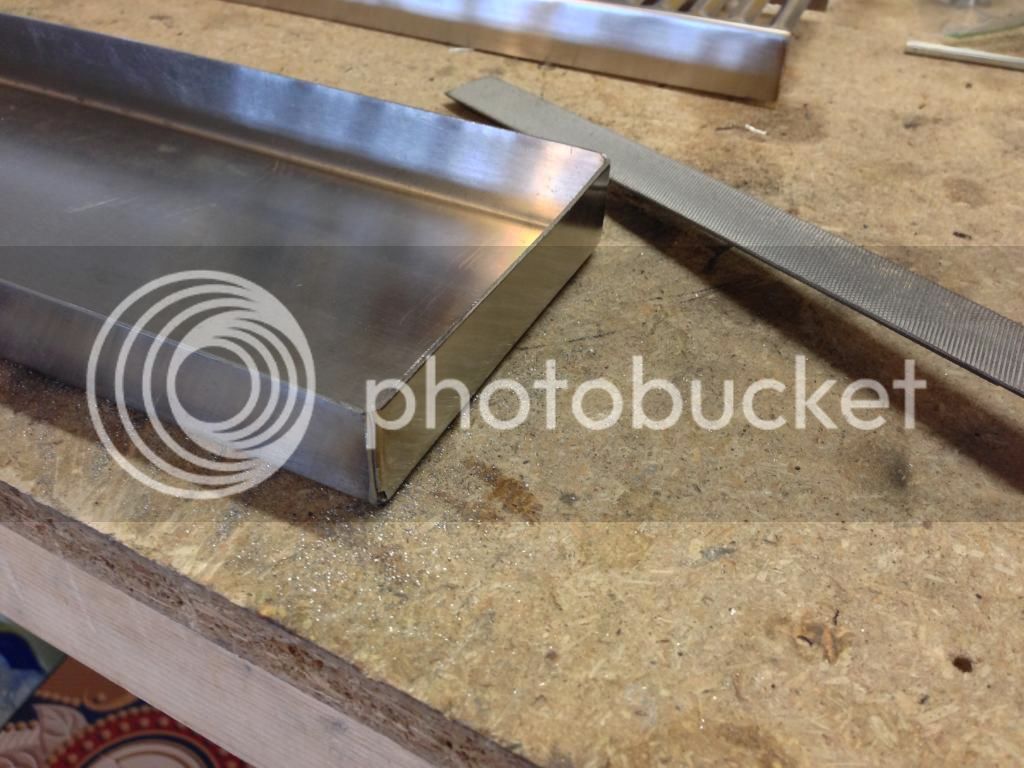
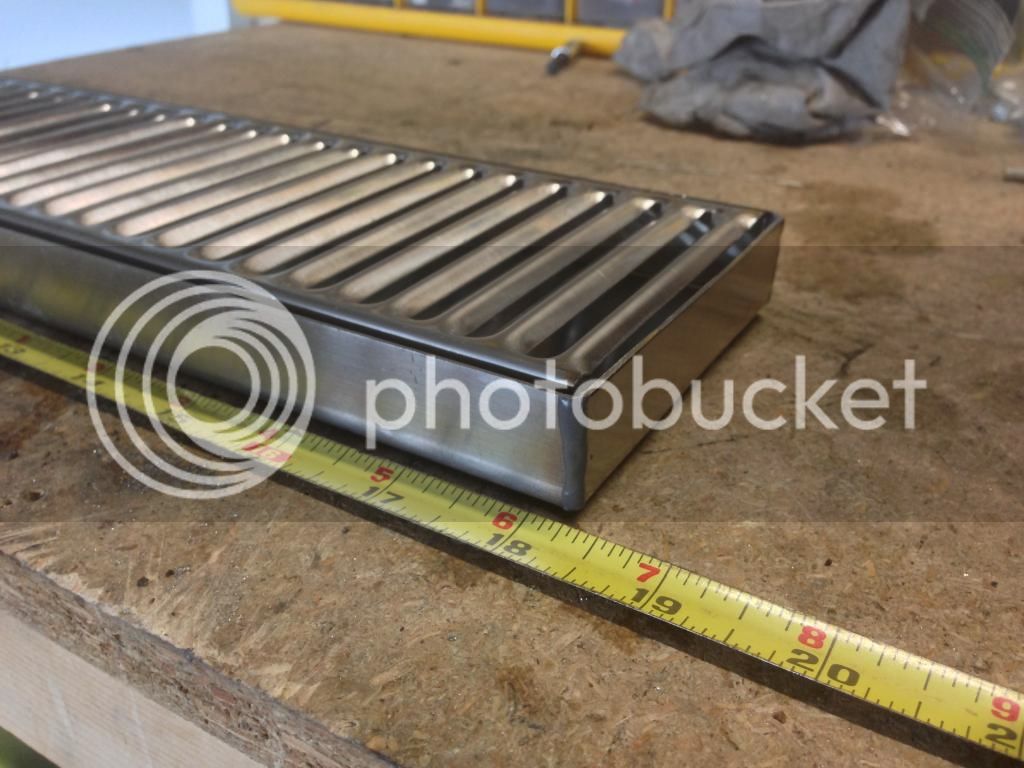
Nevertheless, I need a drip tray. Rather than going through the hassle of shipping a return and waiting for another, I planned to just modify this one. I tried bending the louvers back, which was way more difficult than it looks like. 403 stainless is a hard material. Plan C: cut off the damaged end of the tray. It's 19.5 inches to begin with, and with 5 faucets at 4" spacing I can afford to shorten the tray. I cut off the damaged louvers, folded the tray into a nice box-end, filed the sharp edges, and added some JB weld to the corners to seal it up.

You almost can't tell.


Tray looks good after your Mod. I really did not think you could get three deep on the frig! But you were way ahead of me; knew five kegs staggered; "No Problem"

Looking forward to your final product!
 
Z28- I'm on the north end of town- close to Sartell. You should come have a pint when it's finished.


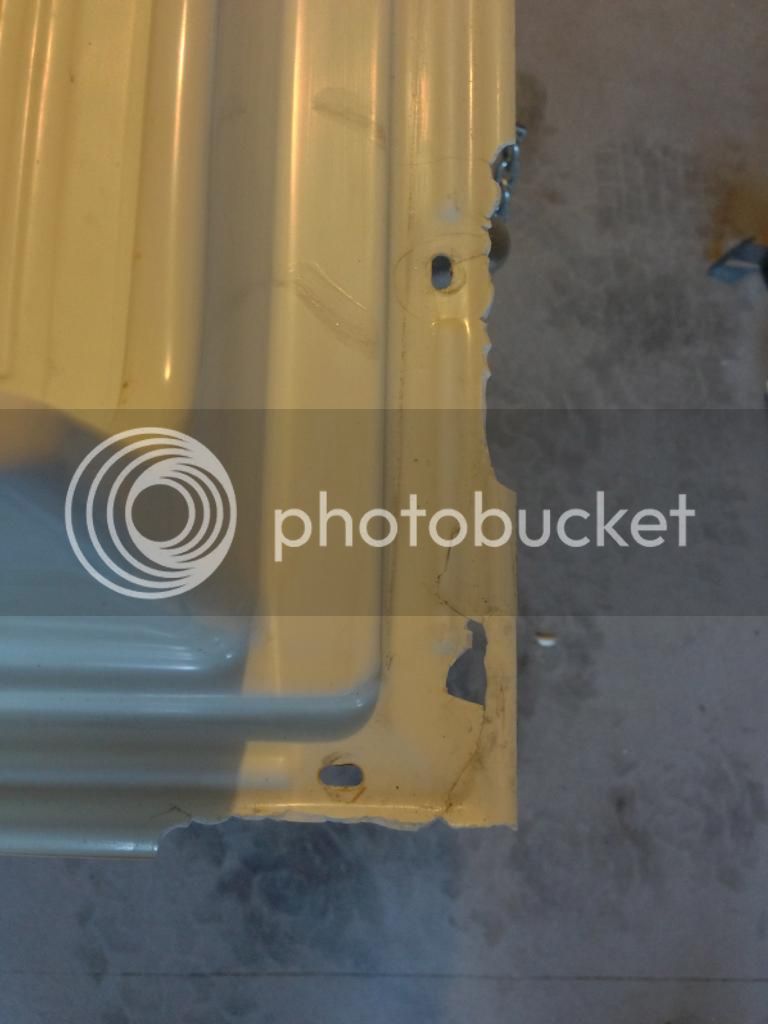
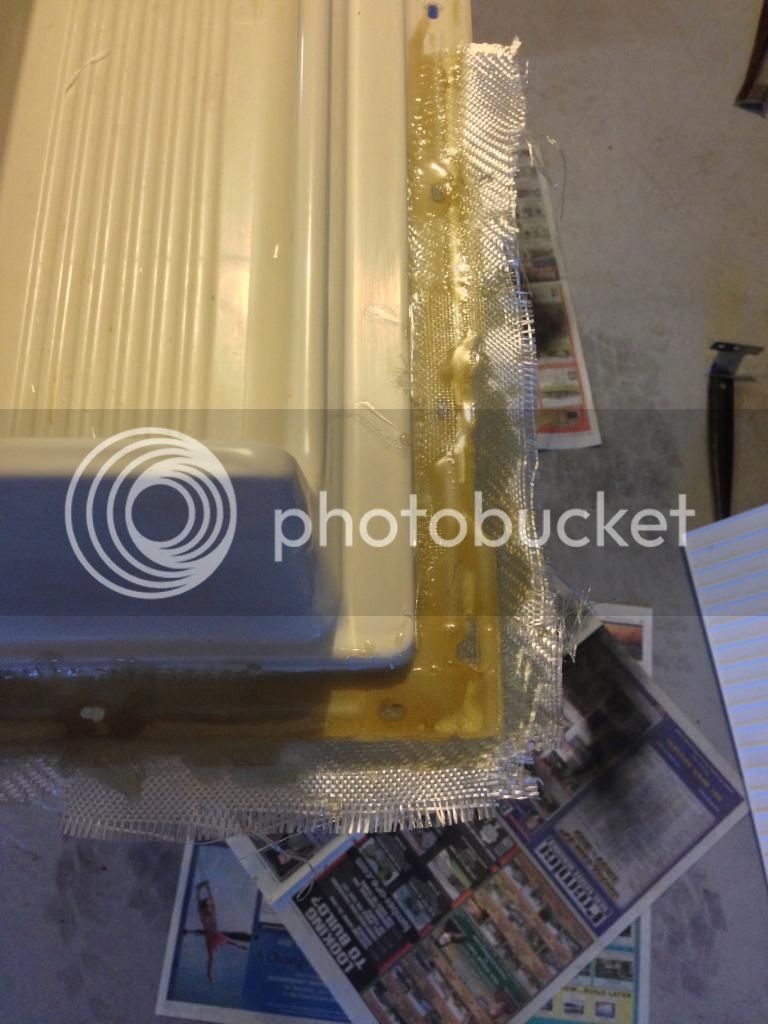
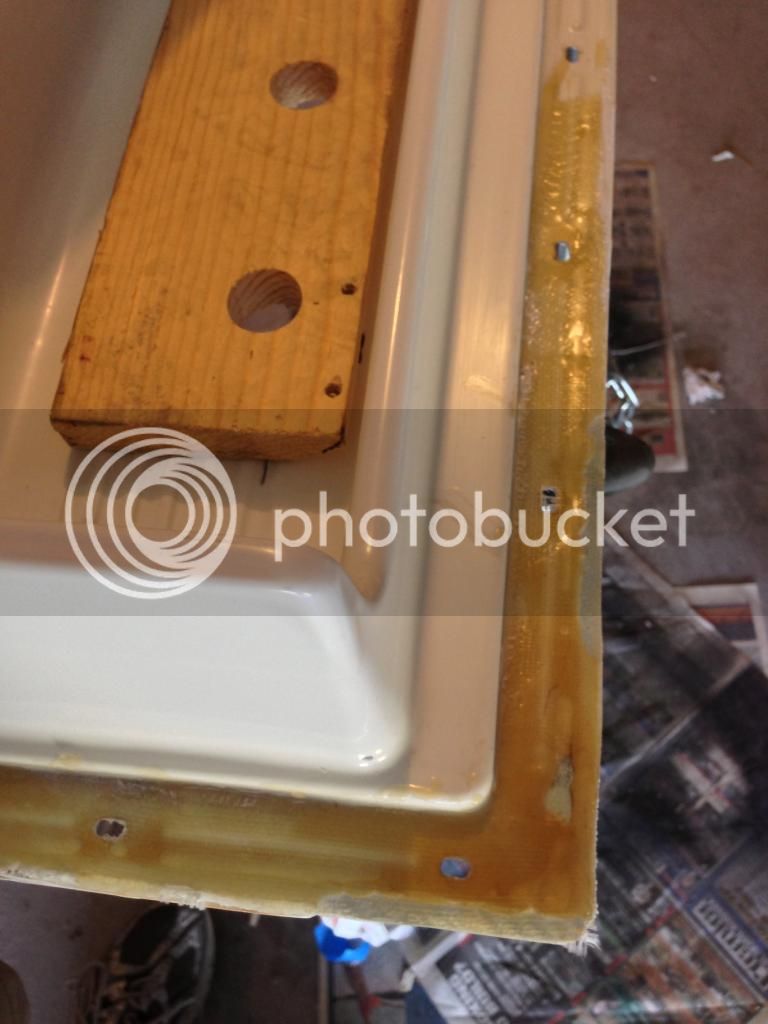
Continuing progress with the build, My 28y/o fridge needs some TLC if it's going to re-enter duty keeping kegs cold. The door seal is coming off and is all cracked and twisted. I disassembled both doors, skins, and seals to repair and prep for paint. The fridge door skin is a single plastic piece with molded shelves that also holds the door seal on. The edges were failing in the corners, allowing the seal to flap in the breeze. Some light fiberglass and minimal sanding/dremel work (cause it'll be completely covered with the seal) and it will work a lot better:

As is:


Glassing the defects:


Much better:
 
The freezer door seal was in pretty good shape and I left it alone. The fridge door seal was another matter. it had major cracks/tears in the two bottom corners. I was able to repair the magnet strip and more rigid pieces with epoxy for a strong and smooth bond. The flexible parts got a mishmash of rubber cement and vinyl tape to try and maintain the flexibility and sealing properties. I guess I have yet to see if it holds cold air and opens/closes smoothly. Replacement seals can be hard to find and are not cheap.

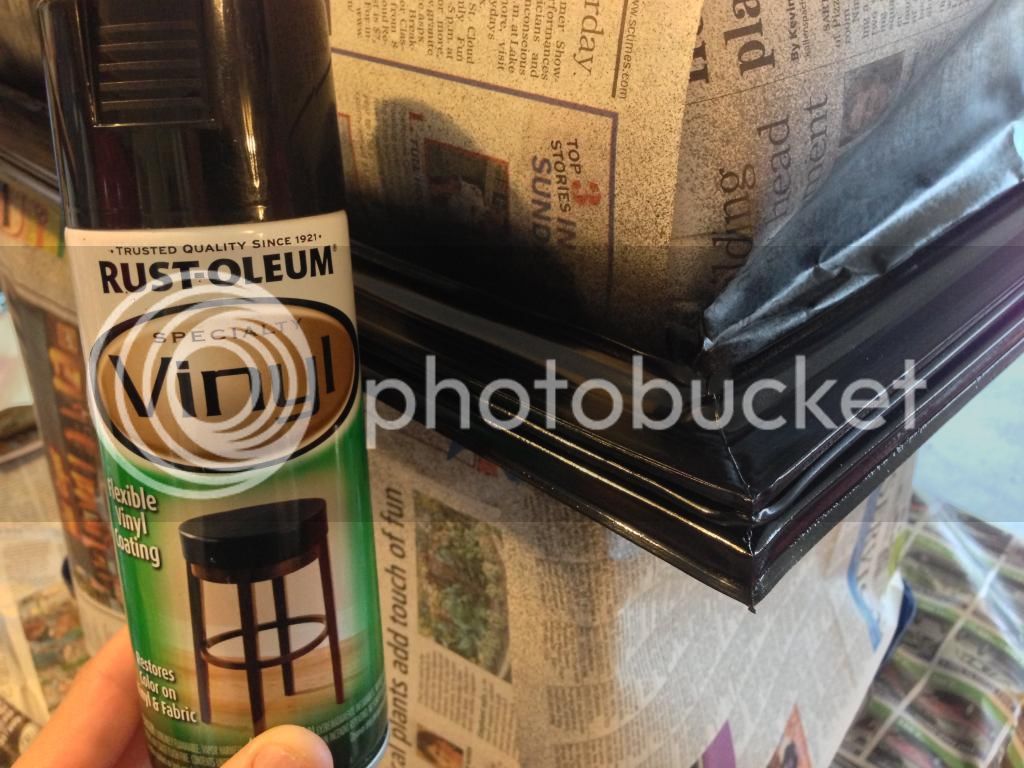
The other problem was that a white seal would look funny with a darker color fridge. I went ahead and painted the seals with rustoleum vinyl paint, which is supposed to give a flexible color that moves with the vinyl. I was afraid that with the motion of opening/closing the door and temperature changes, regular paint would flake off the seal pretty fast. I think it came out great, and it seems to have remained flexible.

 
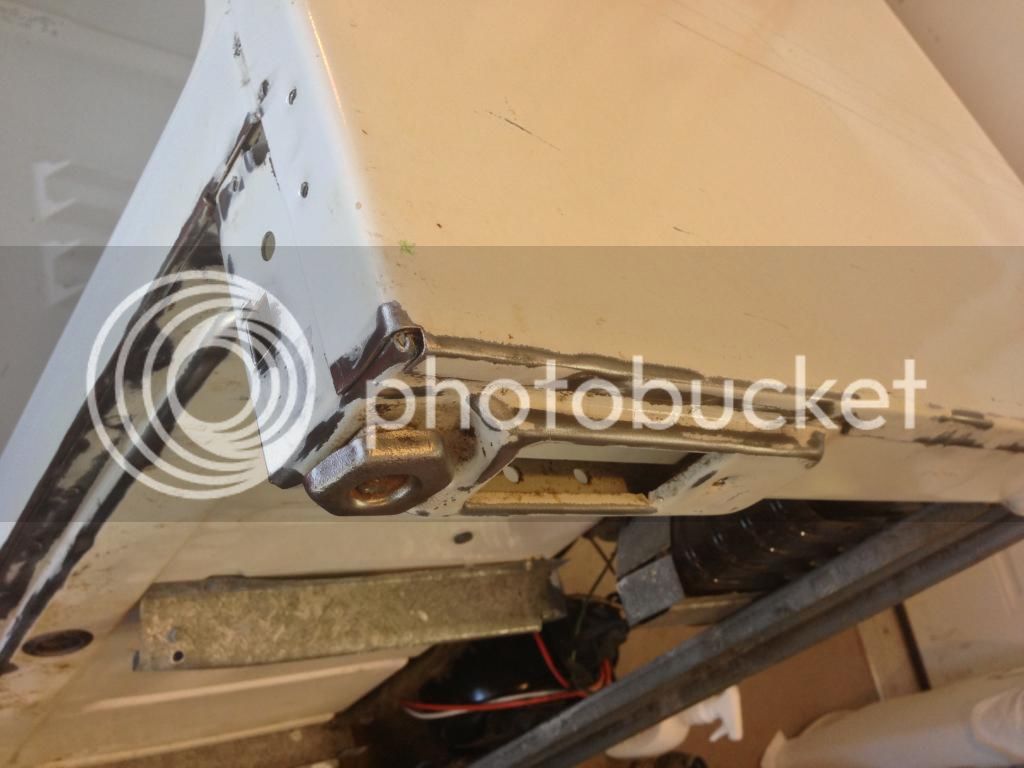
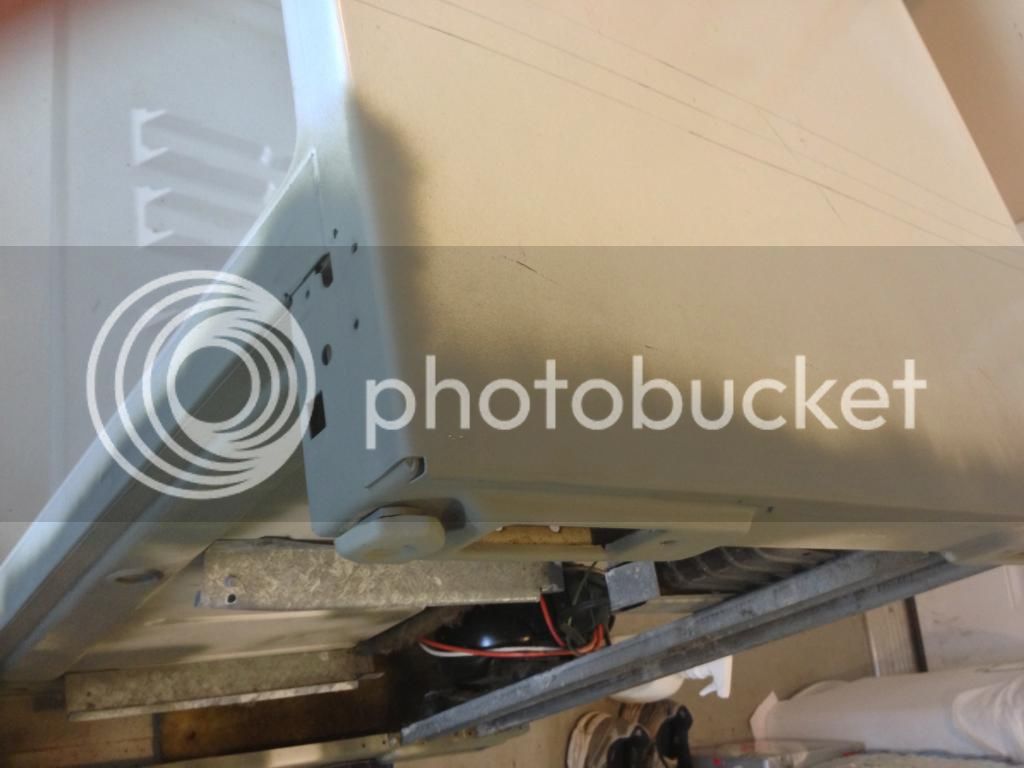
As long as the doors are off and being refinished, I can get to work on the rest of the body. Tipping the fridge on its side showed quite a few rust spots on the bottom- and 27 years of grime and dust. I first attacked it with a wax and grease remover, then took off any rust with a wire wheel to expose the grey shiny steel beneath.


Next, I hit the bare metal with a self-etching primer to protect it. A little light sanding with 400 grit and I'll be ready to paint.

 
Will do buddy. I'm on the road for work until the beginning of Aug. But, once I get back I plan on brewing a few brews. I live just north of the old paper mill on the west side of the river on Riverside.

Are you a AG'er or Extract brewer? I'm planning on building a EBIAB setup once I get back...I'm currently a extract brewer.
 
Back to the doors: I took off the stock rusty "energy saver" handles because they were so awesome. Plans are to attach cabinet hardware for the new freezer door handle, as it will be used for frozen food storage. I think I'm going to leave the fridge without a handle. It would upset the symmetry on the front and you can just grab the edge of the door to open it fairly easily.

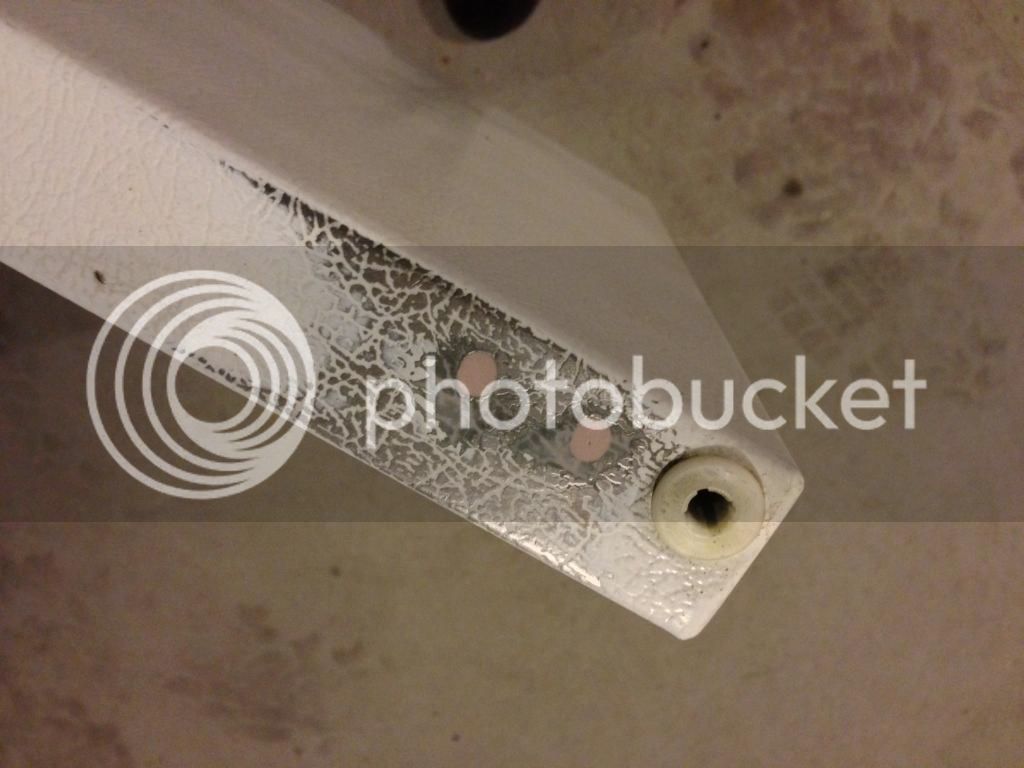
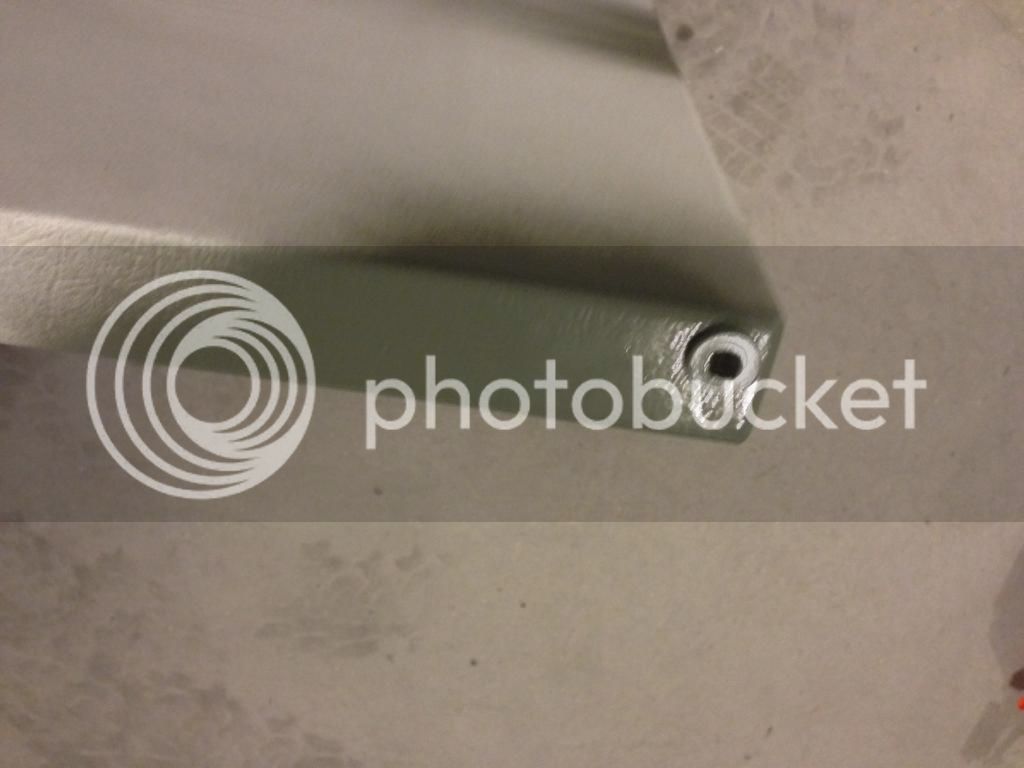
The doors are designed as reversible, so there are two sets of screw holes on both sides. I filled them all with bondo and sanded/primed to a smooth surface like they were never there!


(awesome handle)
 
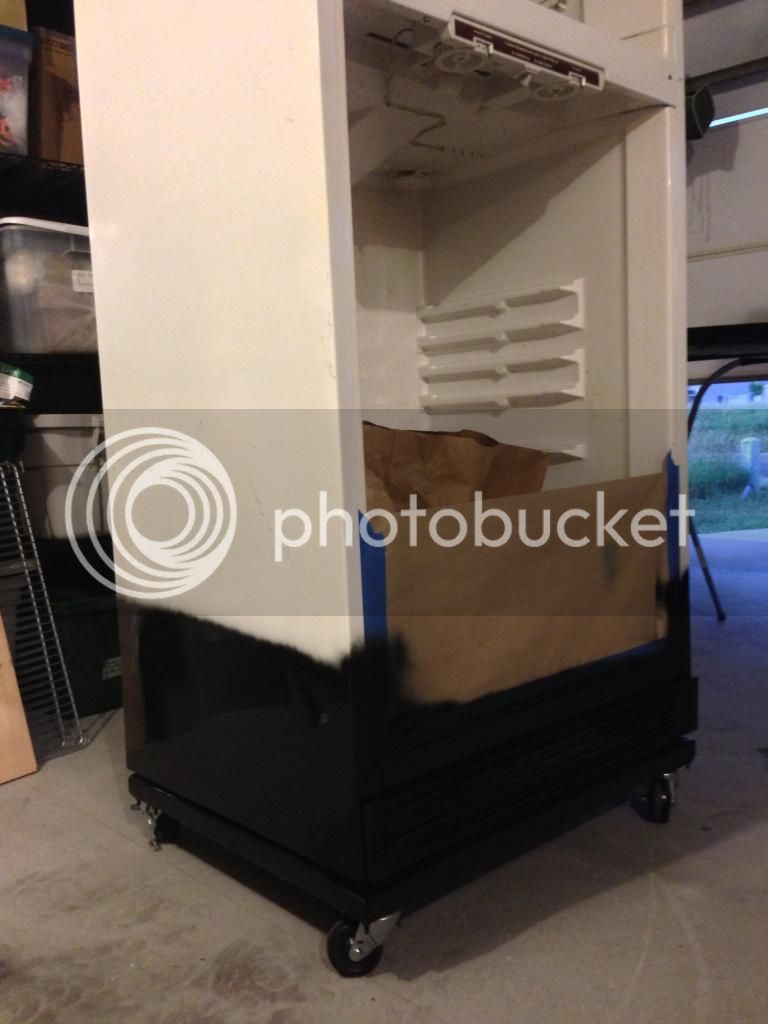
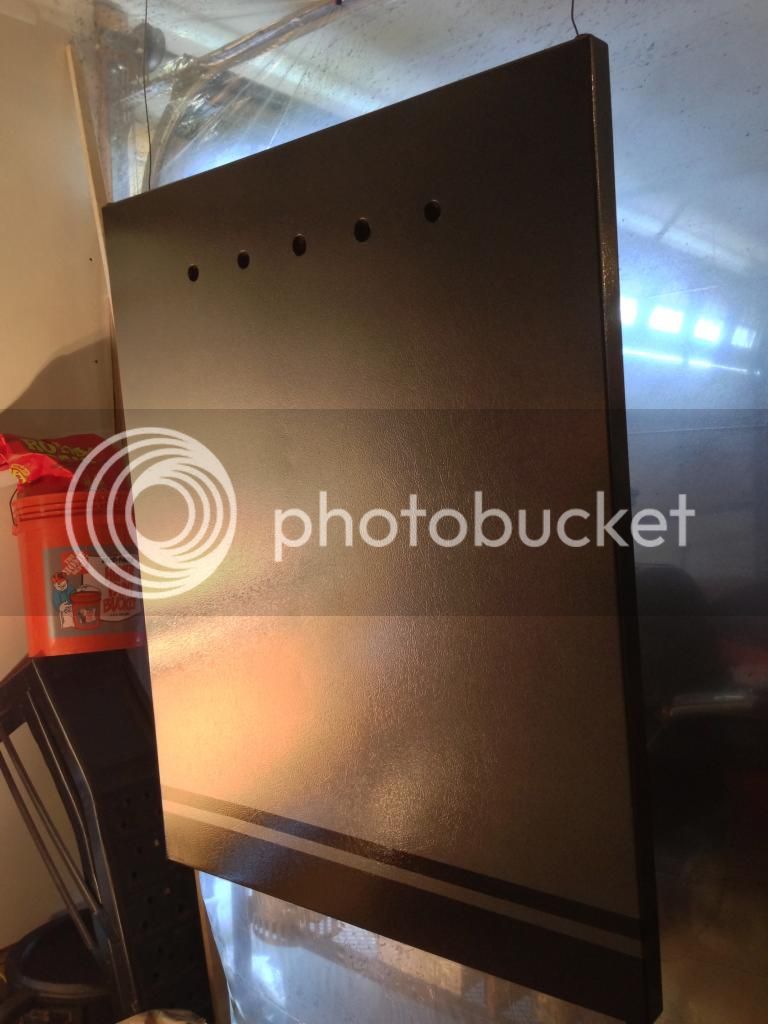
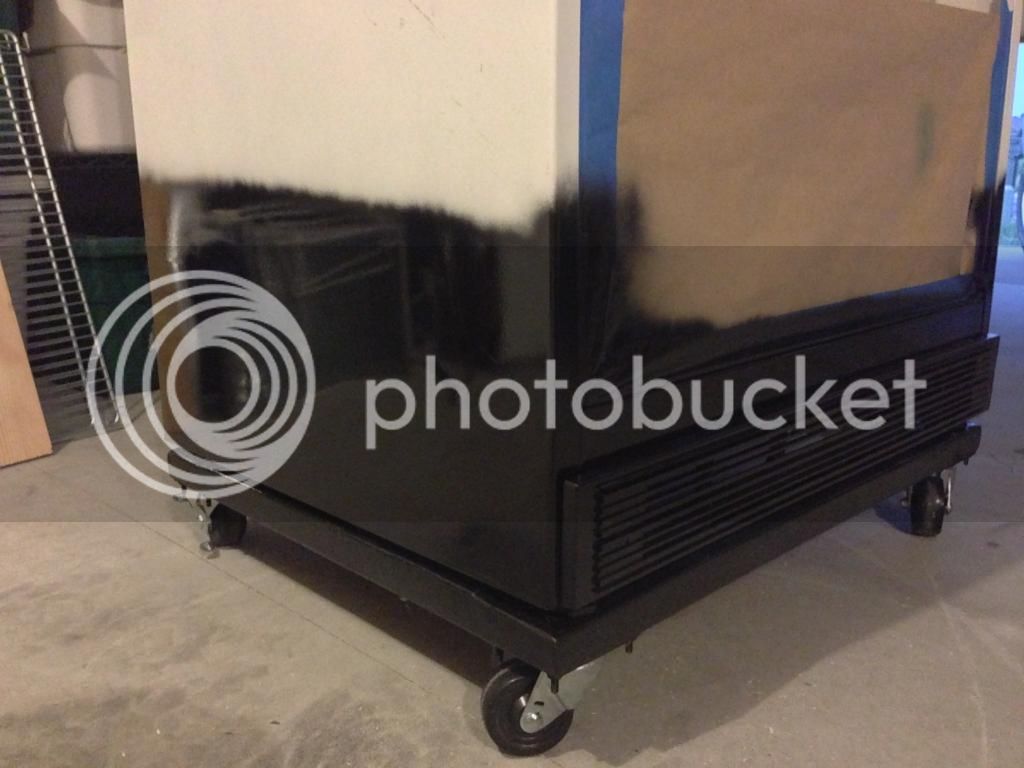
First Paint! To get ahead on the painting, I hit the bottom of the door and the bottom of the fridge with a rustoleum black enamel. This will be taped off for the black stripes. It looks good, I just hope the meteor gray paint will cover the black/white transition well and not show-through. I probably should have sprayed the black AFTER the gray was on, but I was impatient to move forward and complete another easy step. I've only used rattle cans so far on this project- from here on the rest of the paint is going to be shot with HVLP (and my first attempt at it).


Ready to Paint!

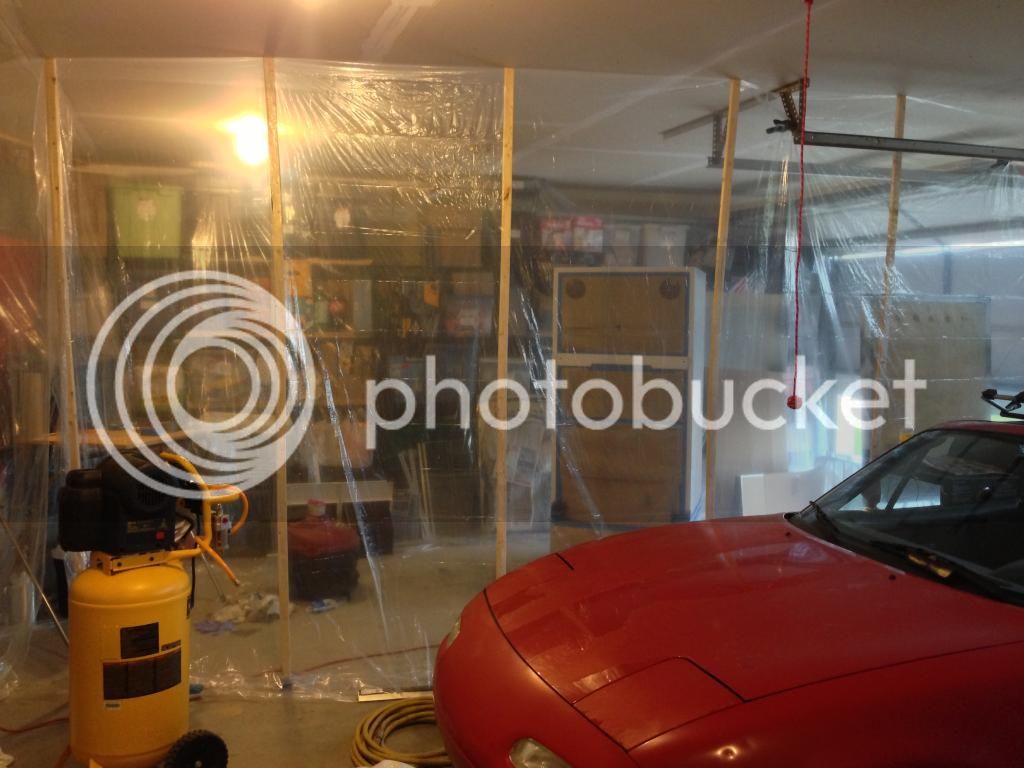
I built a temporary paint booth in one of the garage stalls- to contain overspray and vent fumes as well as control airborne dust. I used 12'x20' dropcloths of 1mil plastic and draped the side and back wall. I made a dividing wall by wedging the plastic floor to ceiling with furring strips. To vent fumes I opened the garage door just enough to hold two box fans. I surrounded the fans with cardboard and protected them from overspray with cheapo furnace filters. The fans would exhaust air out creating a negative pressure in the booth. Fresh air would be drawn in from over the garage door creating a downdraft. Sure, some pollen/dust would be drawn in from outside but not enough to worry about for my amateur paint job.


The red car with peeling clearcoat is the one I eventually want to repaint. The refrigerator is to practice before I take on that project.


To supply air I'm using the compressor I described before. I added a small water trap and desiccator from harbor freight to ensure clean, dry air for the gun. A 25' hose ends with a regulator and the concours HVLP gun.


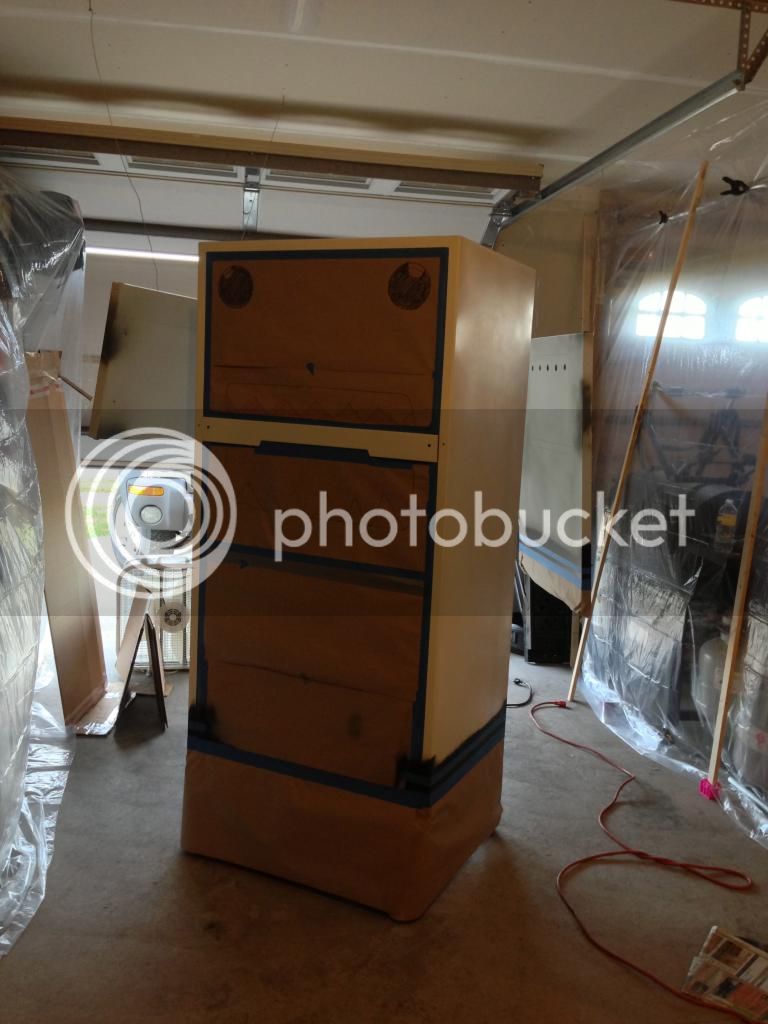
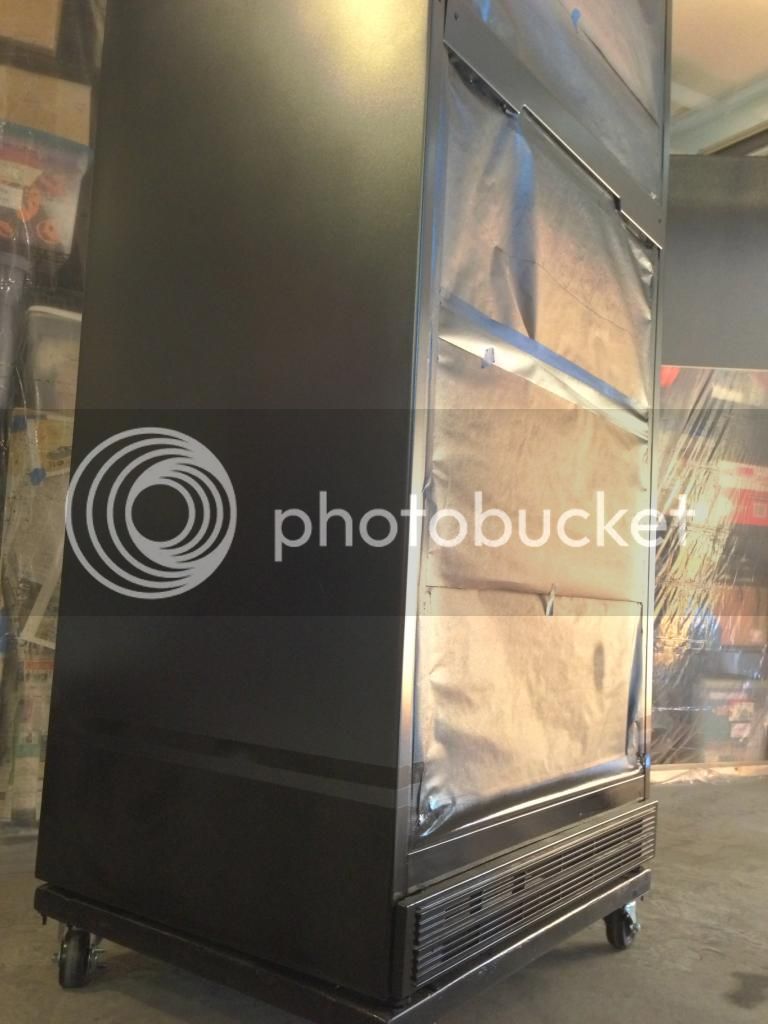
I had the doors hanging from wire with the refrigerator on wheels and had plenty of room in the booth. I masked off the inside of the fridge and the exposed insulation on the back of the doors. I don't want that stuff airborne when I'm painting. It was later at night after hanging plastic and masking, and I thought the fridge looked like domo-kun, so it got eyes and a mouth.

Next, I masked the bottom stripes on the door and the fridge body per the careful measurements I had made beforehand.


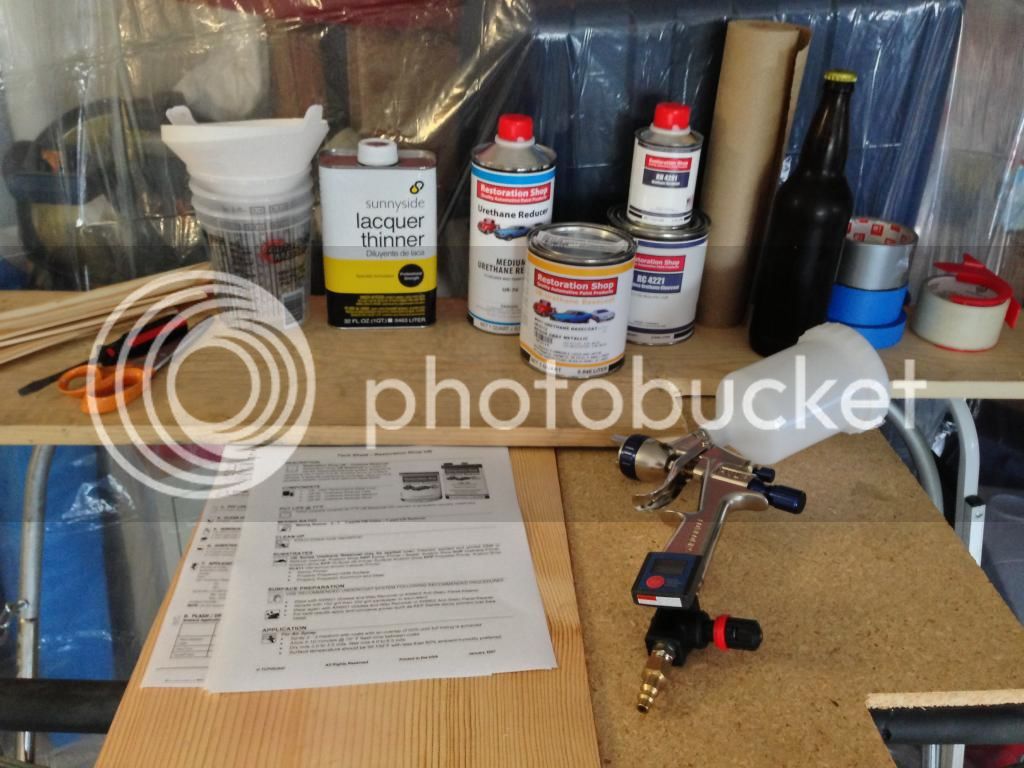
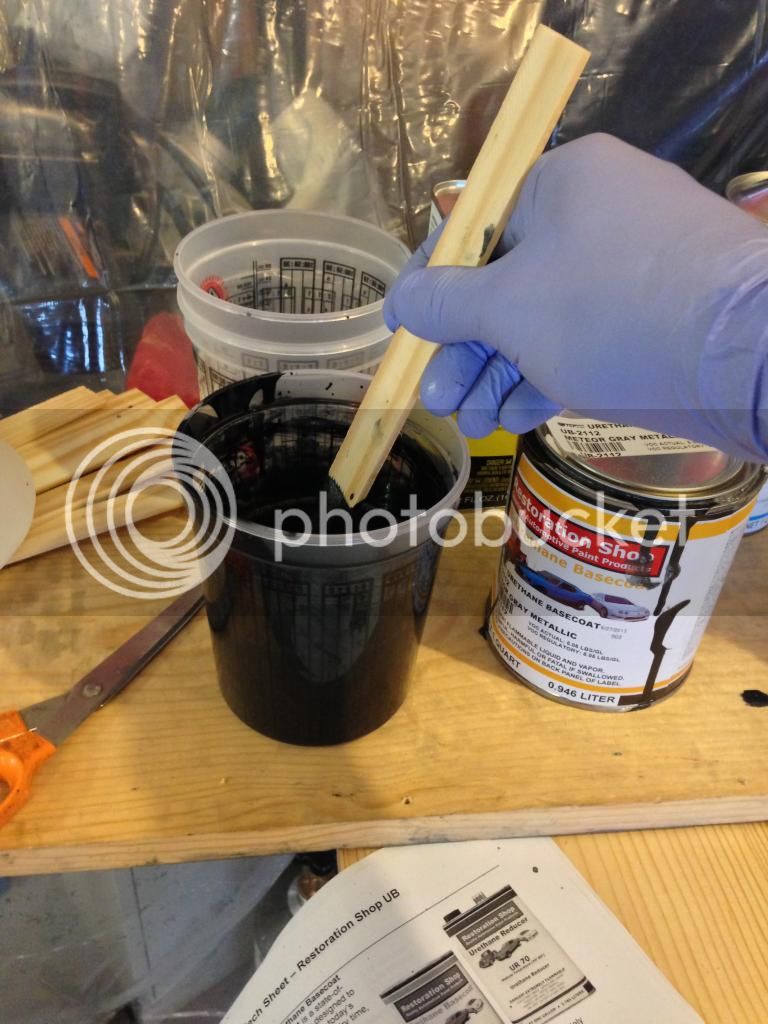
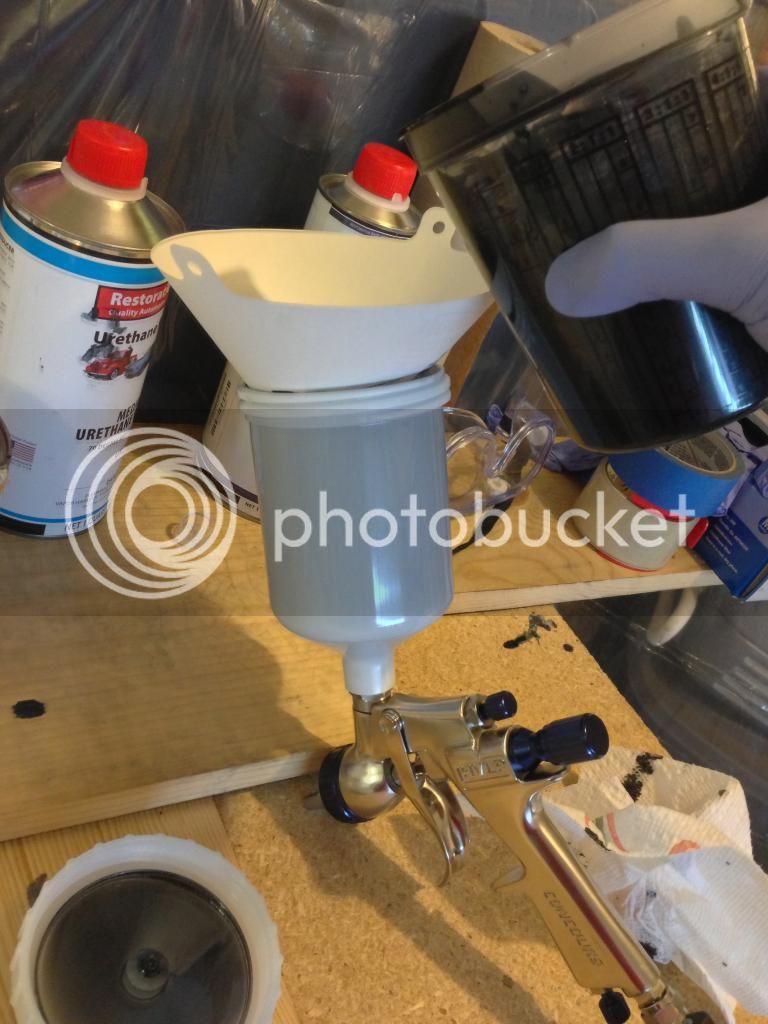
The next step to paint is gathering all the things you are going to need. It's surprising how much stuff this actually includes. From Left to Right: Stir sticks, misc tools, measuring cups and strainers, thinner, reducer, base color, clear coat and hardener, masking paper, homebrew, and tape. It helps reading through the paint tech sheets again to make sure you have everything setup correctly. Mix the paint and strain it into the gun and you're good to go!


Also, Safety First! Urethane paint is nasty stuff.


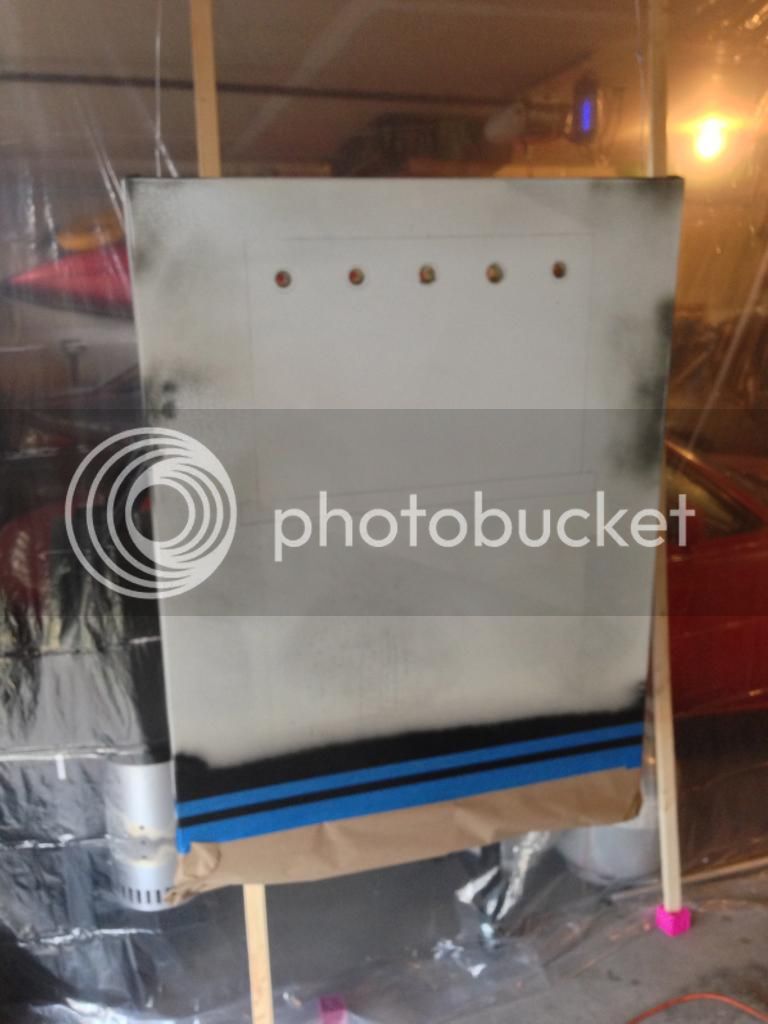
Hanging masking paper on the wall is helpful to dial in the gun and test the fan pattern. This is my first time painting, so I started with the freezer door because it will be covered with chalkboard paint anyway. Then onto the top and back of the fridge as they won't be visible. I thought it was fairly straightforward as long as you keep the motion even and robotic. I can see how it would be difficult to make even layers of a semitransparent candy paint without any stripes. The first coat is a light tack coat, and after a 10 min flash is followed by 2 more medium coats. This gave pretty even coverage of all the black, white, and primed areas. The compressor kept up like a champ: it ran on probably a 30-40% cycle during the time I was painting.


[ame]http://youtu.be/LHdOl9lP2Zw[/ame]
 
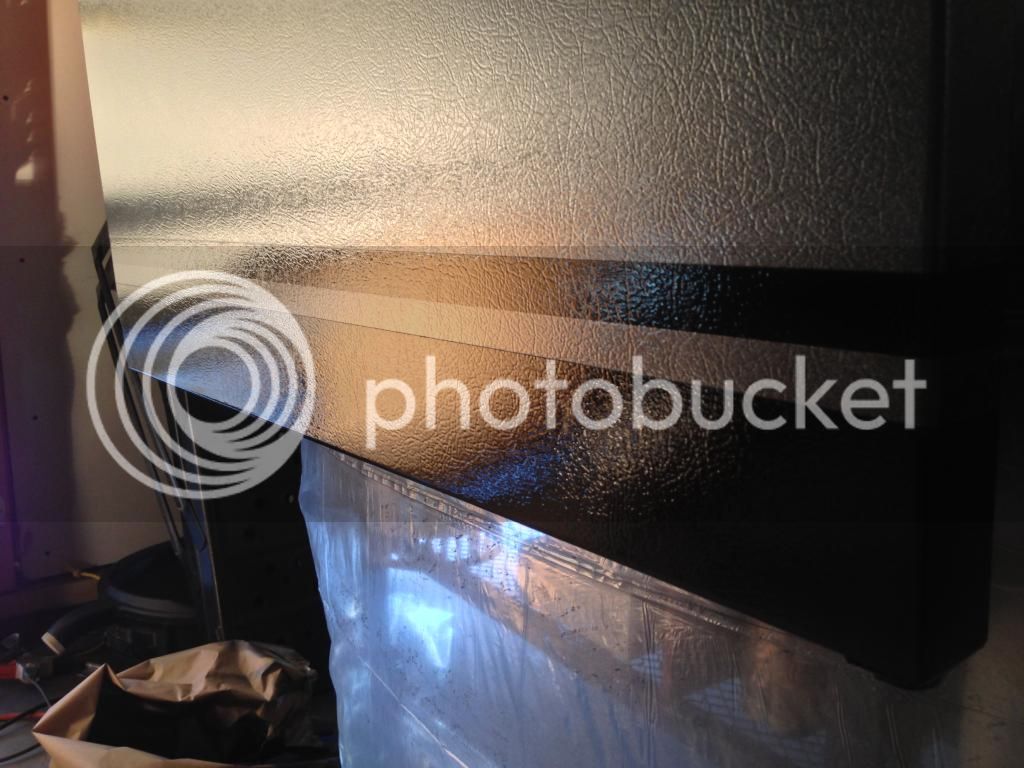
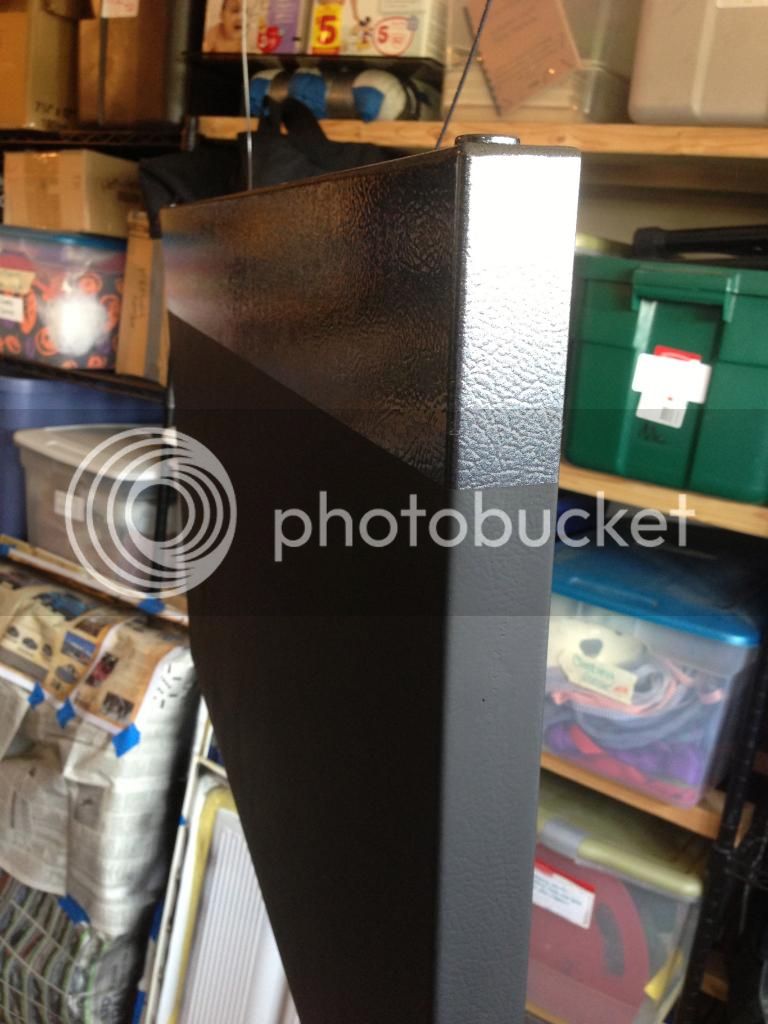
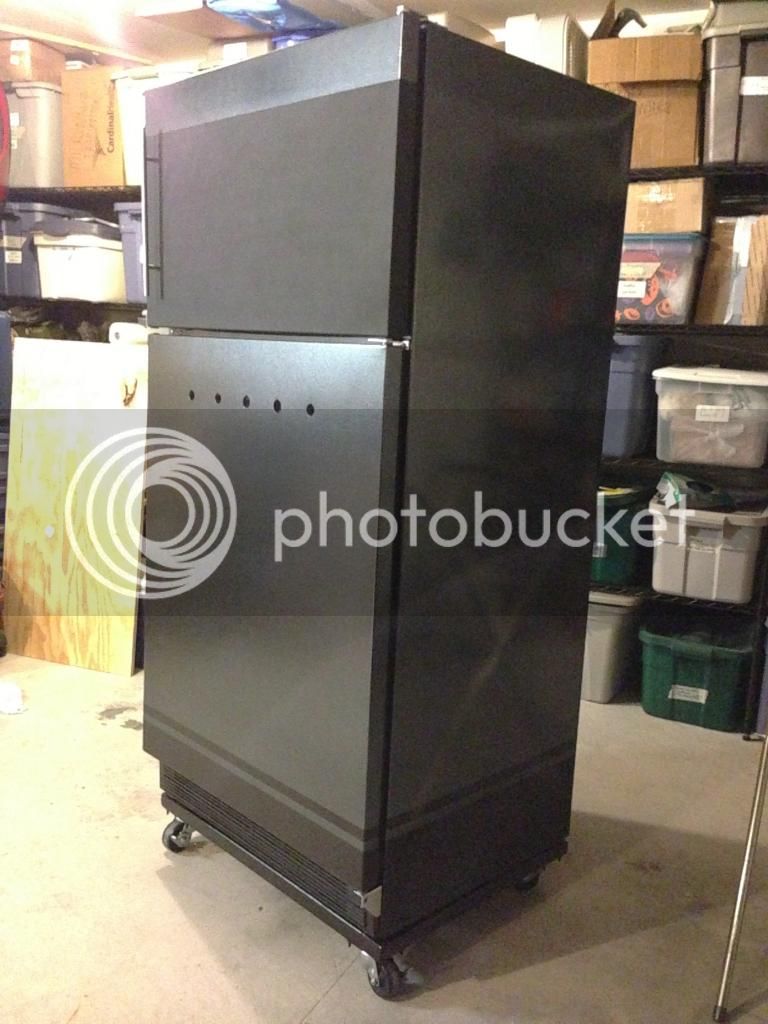
After 3 coats of base and 2 of clear, I think it came out pretty well. The color is really even and the metallic flake looks great. I managed not to get any runs or drips, but it looks like the clear has a lot of 'orange peel' texture to it. It actually looks good like that on the flat sides of the fridge, but it would take a bit of color sanding to make this look good on a car. I'll have to work on why it came out that way- maybe I sprayed it on too light. Now I just have to hope the stripes line up when I reassemble everything.


Awesome job! Looks really good. I'm in mpls, how much to do my fridge for me!? :cross:
 
Ha! ..actually, I'm having a lot of fun with this project- I want to make another one!


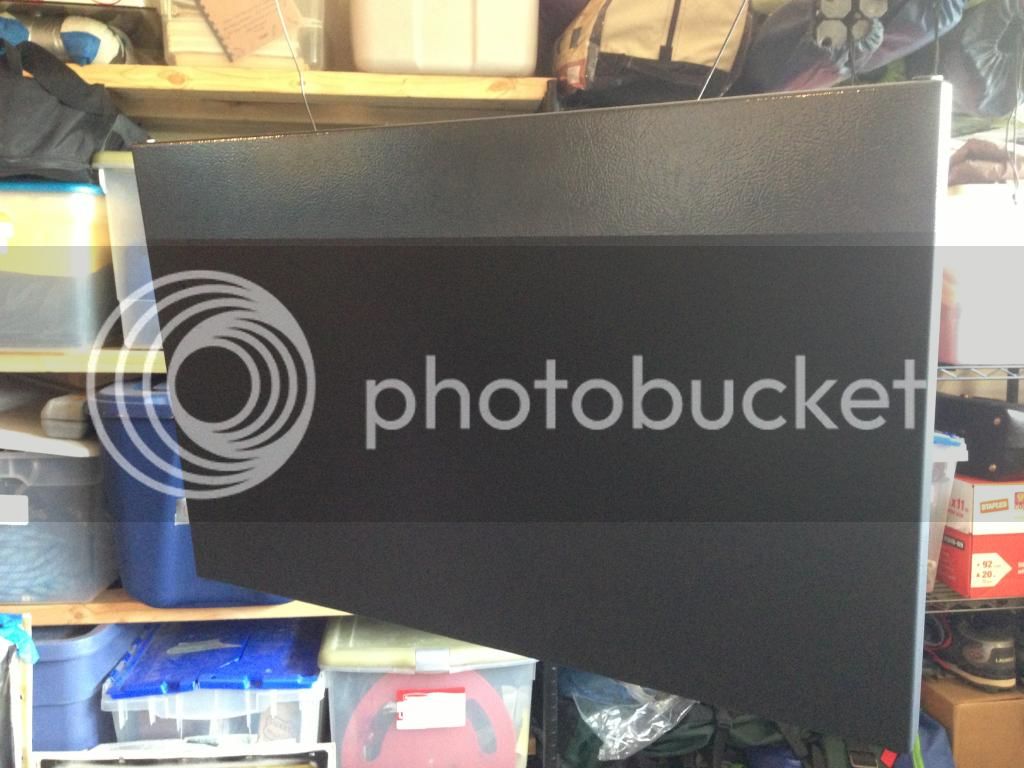
I finished painting the freezer door with chalkboard paint. I used the rustoleum spray-on. 3 coats gave excellent coverage and a nice flat black finish. I painted the edges, too, in a 'full bleed' wrap around the door.


I waited a day or so and then reassembled everything. It was hell trying to get the alignment right so that both doors sealed all the way around, but by shimming the mounting brackets I got it pretty close. The door seal has some wrinkly areas where it doesn't want to lay flat. I don't have time to work on it this weekend, so I'm hoping to just let it sit in the garage and maybe even out on it's own. I've also heard of using a hairdryer to get the vinyl to sit flat.

The new handle on the freezer is a $14.99 stainless cabinet pull. I mounted it to the steel door before reassembling everything.

The stripe on both ends of the door is about 1/8" off of the stripe on the body. Close enough that you can't tell unless you're laying on the ground staring straight at it. It's going to kill me waiting all weekend to start mounting the stainless tiles and faucets.

It's amazing how the paint changes hue under different lighting.


I was able to get the faucets and the backsplash mounted. I covered the tiles in masking tape and used a step-drill to make 15/16" holes. They didn't line up exactly, and I had to adjust some of the holes with a dremel. The tiles have a foam adhesive backing and went right on to the front of the fridge.

I have a 1x4 inside the door to tighten the shanks against, but even when all 5 are tightened they are able to spin around without too much effort. I think that despite the steel on the outside and wood on the inside, the fiberglass insulation will still get compressed enough that I can't get a good, tight mounting. I might have to try some sort of a locking mechanism or maybe a sleeve around the shank inside the door to allow a tighter compression.
I drilled the holes with close enough tolerances that I didn't put the black plastic shank collars on. As long as I can get them tight enough, I think it looks sharp without them.


So I found that tightening the shanks between the outside metal of the fridge and the inside of the door would compress the fiberglass insulation in the door. With all 5 shanks through the same 1x4 board, I was unable to get them all tight enough at the same time. Once you tighten one, the other 4 are loose. Solution: I made collars out of 1.25" galvanized electrical conduit. Cutting pieces 2" long and slipping them over the shanks but inside the door. That way each shank nut could be tightened down on the board and it wouldn't compress the insulation, but rather would be tightened down on the conduit collar. Out to in, each shank travels through: tile, outside metal of door, conduit collar, inside plastic of door, 1x4 wood.
 
Time to get ready to kick this thing on. I made a shelf for the inside out of 3/4" plywood. It could fit 6 kegs if need be, and have room beneath the shelf or in the door to keep bottled beer.


Question for you.....were you able to purchase those kegs from Bernicks? If so, do you know if they still have any to sell?
 
No, the two pepsi kegs came from Midwest as part of the kit. The other two from a local restaurant auction.
 
Awesome work! Looks like it is going to turn out awesome. I especially like the custom paint job!

My only thought was that with tall tap handles you may have an issue with opening the freezer door....but that is manageable.

Great work! Say hello next time you make it down to Midwest. We recently converted a stand-up freezer into a keezer for the back office, but nowhere near as decked out as yours.
 
Operational!

After crossing my fingers, the old fridge made it down to an icy cold temperature- taking almost an entire 24 hrs to get there! I hacked together a line with some misc fittings and have my first beer on tap!

Still to do: Arrange gas manifold, lines, and fittings so I can have more than 1 beer on;
Make and mount carbon drip tray surround;
Finish trim around ss backsplash (as soon as the damn hardware store gets more in stock)
Brew more beer! (tap #2 is bubbling away right now in primary)


Thanks, bmeulebroeck! I'll be after some lines and flare fittings soon!
I thought about the handles, and without pinning the doors together I'll just stick with the shorties- The freezer will be used for cold food storage.

[ame]http://youtu.be/XPWiuk0nKw4[/ame]


My hacked-together beer line ended up around 14 feet with 2 different diameters and a bunch of odd fittings. It's a slow pour, but that's at around 9psi and can be balanced later.

You know it's cold when the faucet condenses on the first pour!

 
No time to get a lot of work done. The update is that the hardware store finally got more trim pieces in stock, so I was able to trim out the backsplash tile.


The IPA is a dogfish clone, and the first time I'm attempting a dryhop in a keg. I have a stainless dip tube filter, and just tossed 2 oz of hops right in before racking from primary. I hope it doesn't clog!


The drip tray project is still waiting for me. Summertime is proving to be too much fun with weekend camping trips and family vacations keeping me from being bored enough to play with epoxy in the garage. I plan to mold the tray surround from MDF or ply and skin it with some carbon fiber left over from a separate project. I'll mount it to the fridge door with 6" steel 'L' brackets. Instead of conventionally fitting it to the outside of the door, I'll mount the bracket through the door so it is attached to the inside where it won't be seen. Some measurements are all the progress I've made thus far- it just needs a few hours of solid work.

 
Back
Top