Kauai_Kahuna
Well-Known Member
That cooler sure looks like the one I use, and I have not even had a single degree drop on me in 1 hour to 1.5 hour mashes. Maybe it's because my ambient temperature is around 80F.


![Craft A Brew - Safale S-04 Dry Yeast - Fermentis - English Ale Dry Yeast - For English and American Ales and Hard Apple Ciders - Ingredients for Home Brewing - Beer Making Supplies - [1 Pack]](https://m.media-amazon.com/images/I/41fVGNh6JfL._SL500_.jpg)


I just filled the lid to my 10g round cooler with great stuff (window safe) we'll see how I fare with my next batch. I drilled two small holes from the top, and filled a little here and there until it was nearly full, and I still had worms of stuff coming out for a bout an hour.
Ironically, on the advice of one of your WHALES club co-members,just tonight I tried to take the inner hose out of a 24" water heater supply line to build my MLT. Talk about a royal PITA! I was able to get the hose out of a typical SS supply line in about 3 minutes. After working on the water heater supply hose for I guess 45+ minutes I gave up (I had about 4" out by then). I'd love to know: How do you do it? There's got to be a trick I'm missing (beyond the typical "push don't pull" advice).
") . Hopefully I'll get to brew Sunday to give it a test. I'll report back here what happens.
. Hopefully I'll get to brew Sunday to give it a test. I'll report back here what happens.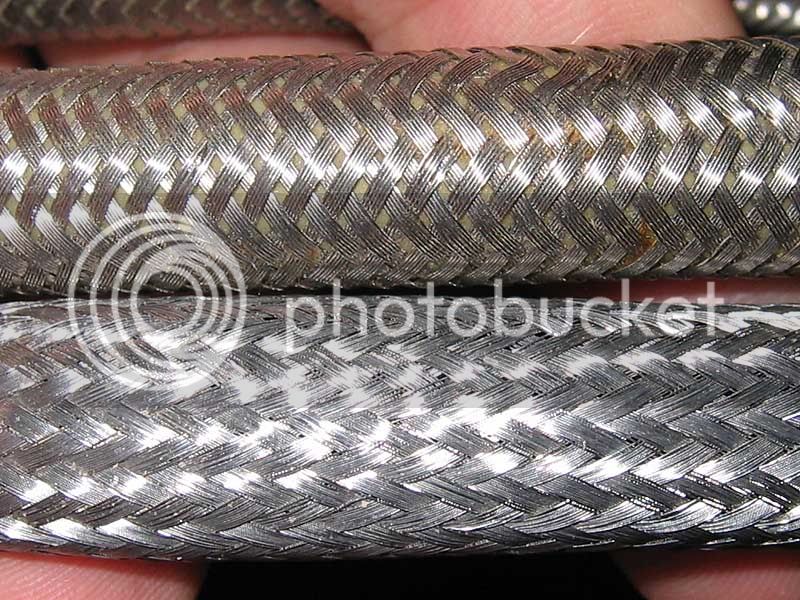
Well, I just had my first stuck runoff and stuck sparge - even after taking all of the grain out of the MLT and putting it in a grain bag. The mash was 50% flaked wheat and apparently formed a spackle, completely clogging the braid.
I took a side-by-side of a dishwasher hose I had in stock and the protective sleeve from McMaster that I used. Dishwasher hose on top. You can see the big holes in the weave. I'll be trying that next time.
Live and learn! Spring: great idea. Mesh abrasion sleeve for lautering: bad idea.
-Joe
. . . but is it stainless?I use the binding from a spiral bound notebook the same way, and its free!
Like this?Anyone try a braid and then have it cover a cooper pipe that has some slots/holes in it? Like a mini braided manifold.

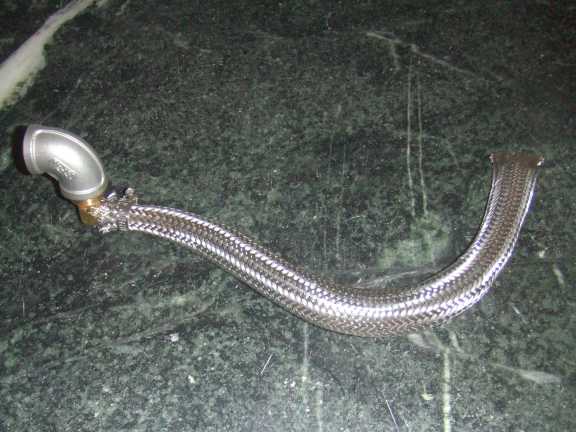

Works great. The end of the copper is open and the holes are big to not restrict the flow. The only thing that I am considering changing is the braid. If you look at post #45 of this thread you'll see that there are different levels of weave. Mine is very fine and can result in a slow lauter sometimes. But the other side is that it does a nice job of filtering and doesn't take much vorlauf time before the run-off is clear.Yeah kinda like that. Does it work for you?
Would you do anything different? The holes are bigger than I imagined.
Is the end of the copper open or closed?
...
20" stainless steel spring, p/n 9663K27 $4.55
10-pack of all-stainless clamps, p/n 5321K17 $6.79
2 feet of 1/2" stainless steel expandable mesh sleeving, p/n 1478T3 $5.72
-Joe
I order these parts yesterday from McMaster-Carr at 9:25a. My wife sends me a message at 2:40p that a delivery has been made, I'm stumped as to what it could be but it's my McMaster-Carr order!
Hey Mike, hope it works out for you. I did find that the expandable mesh sleeve was a little too fine for some mashes: see post #45 above.
I'm still using the setup with great success though. I've done 16 batches with it so far.
-Joe


