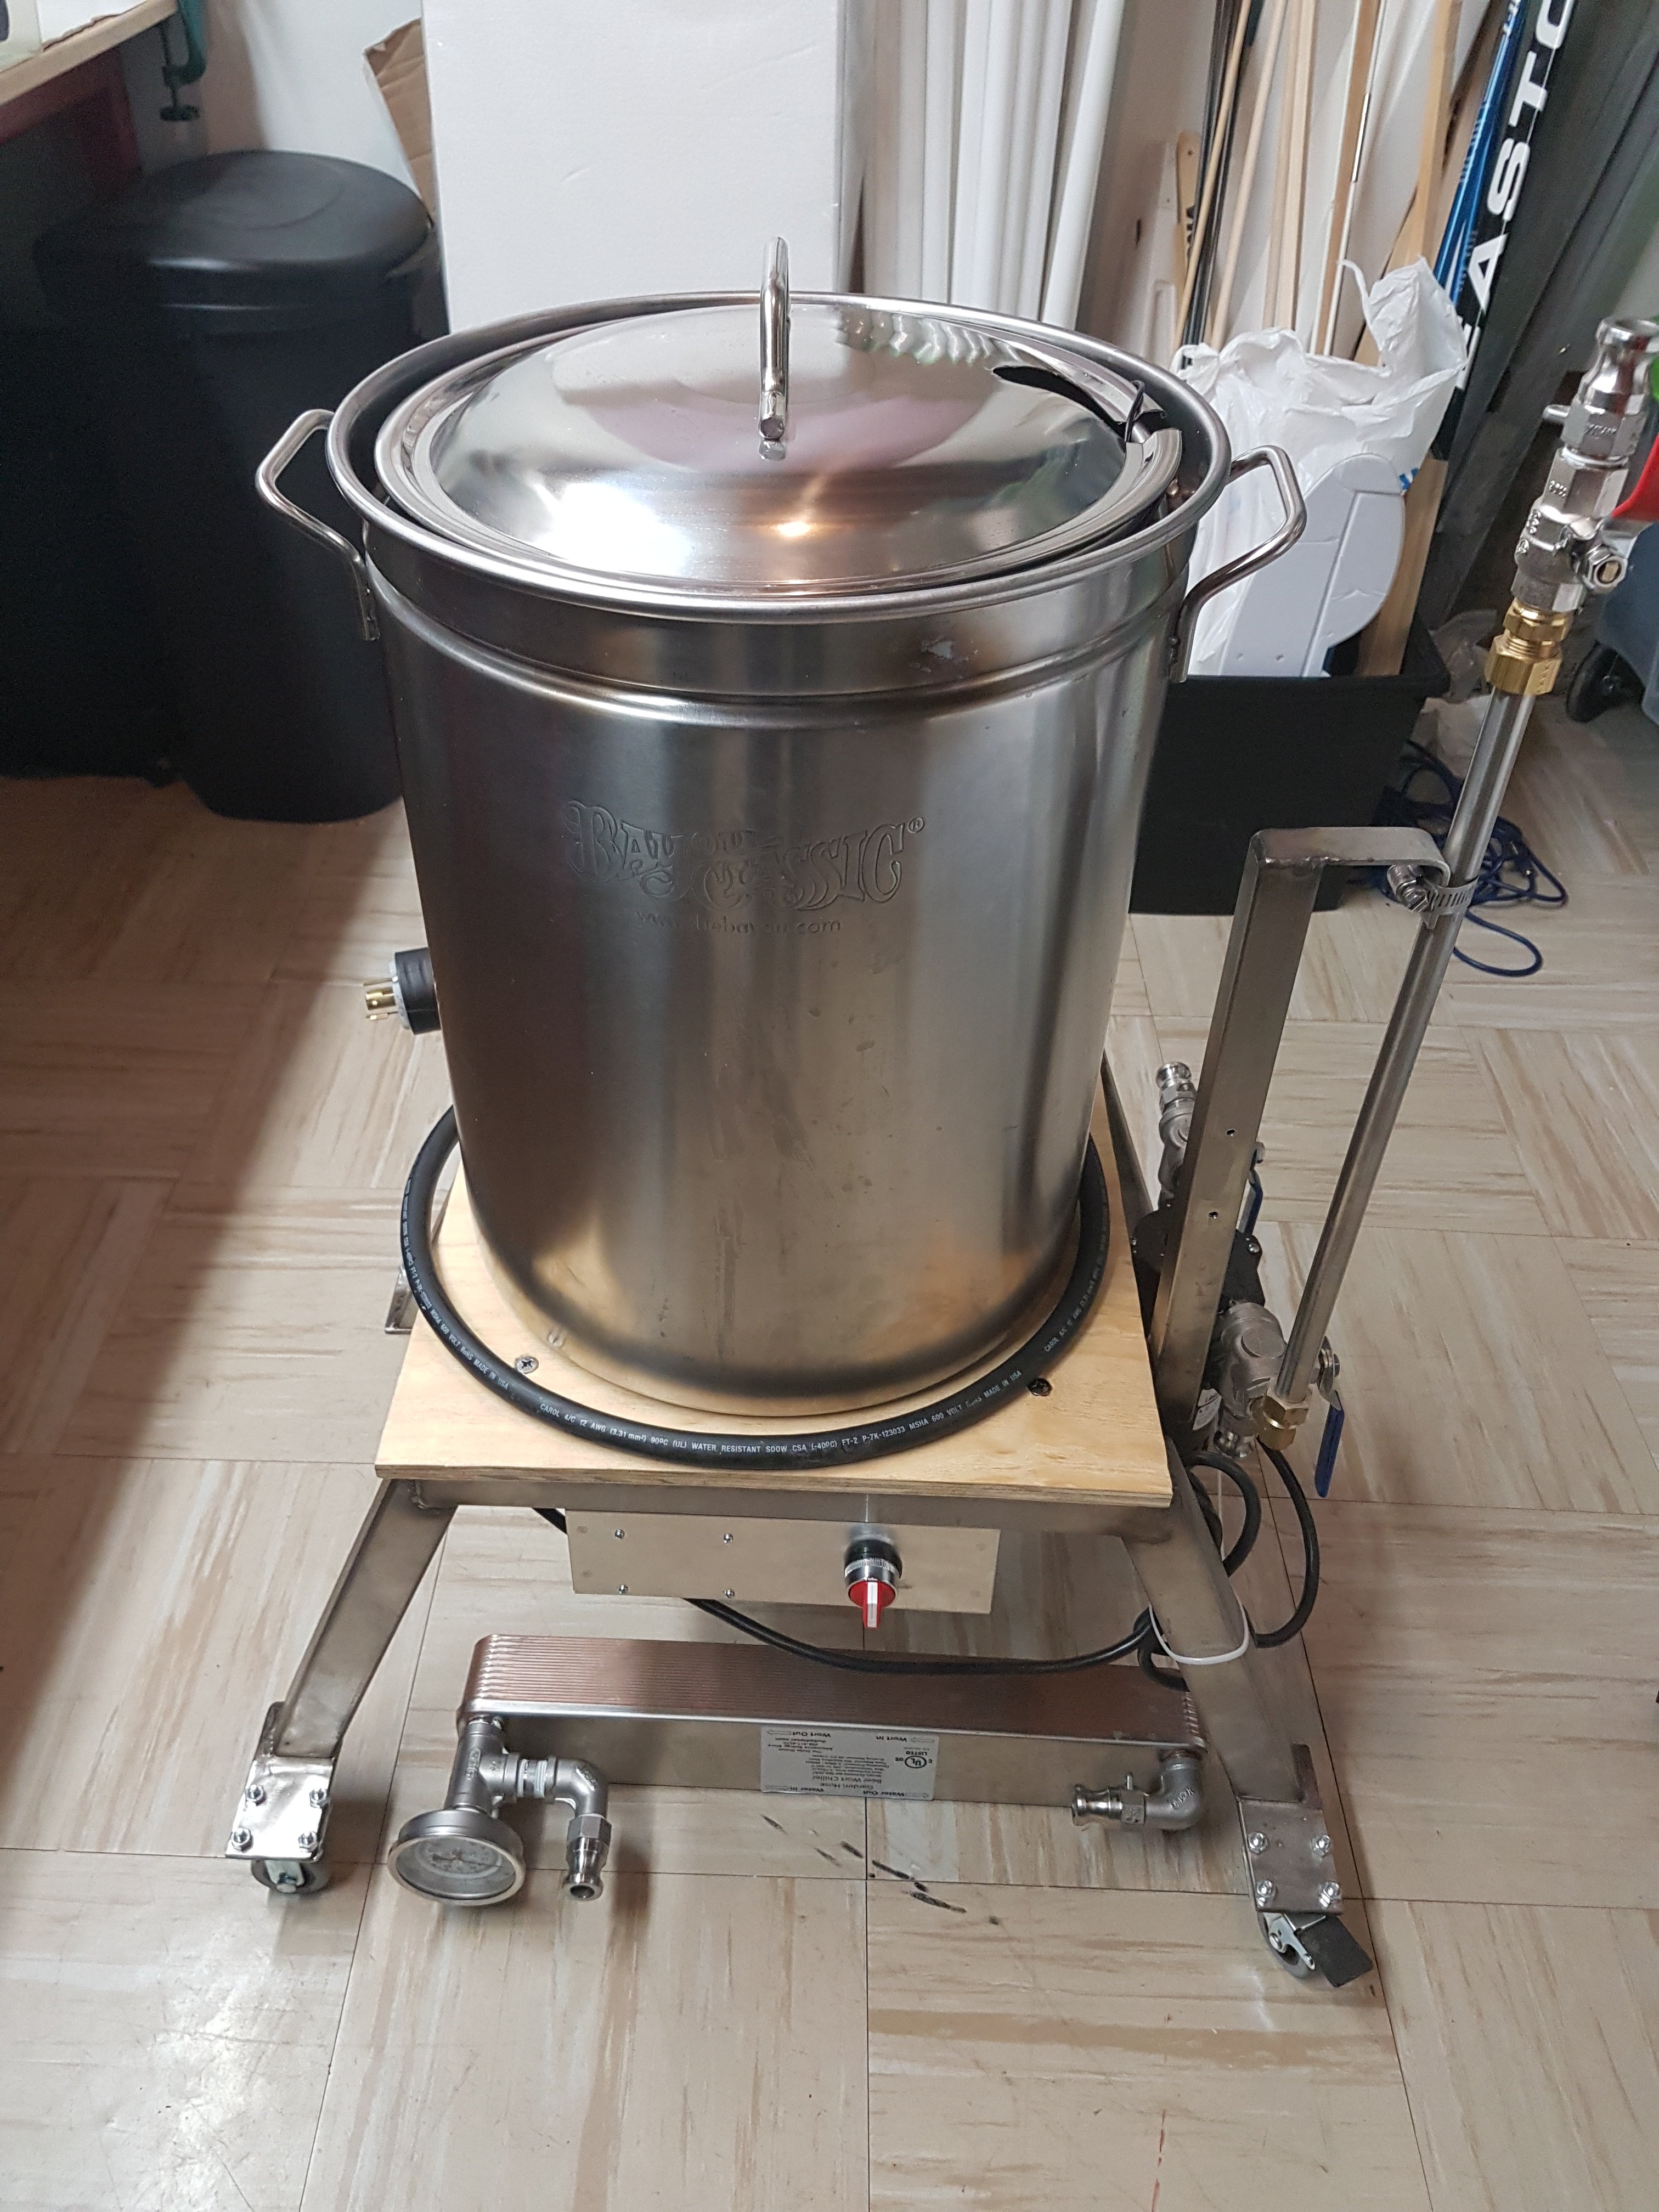
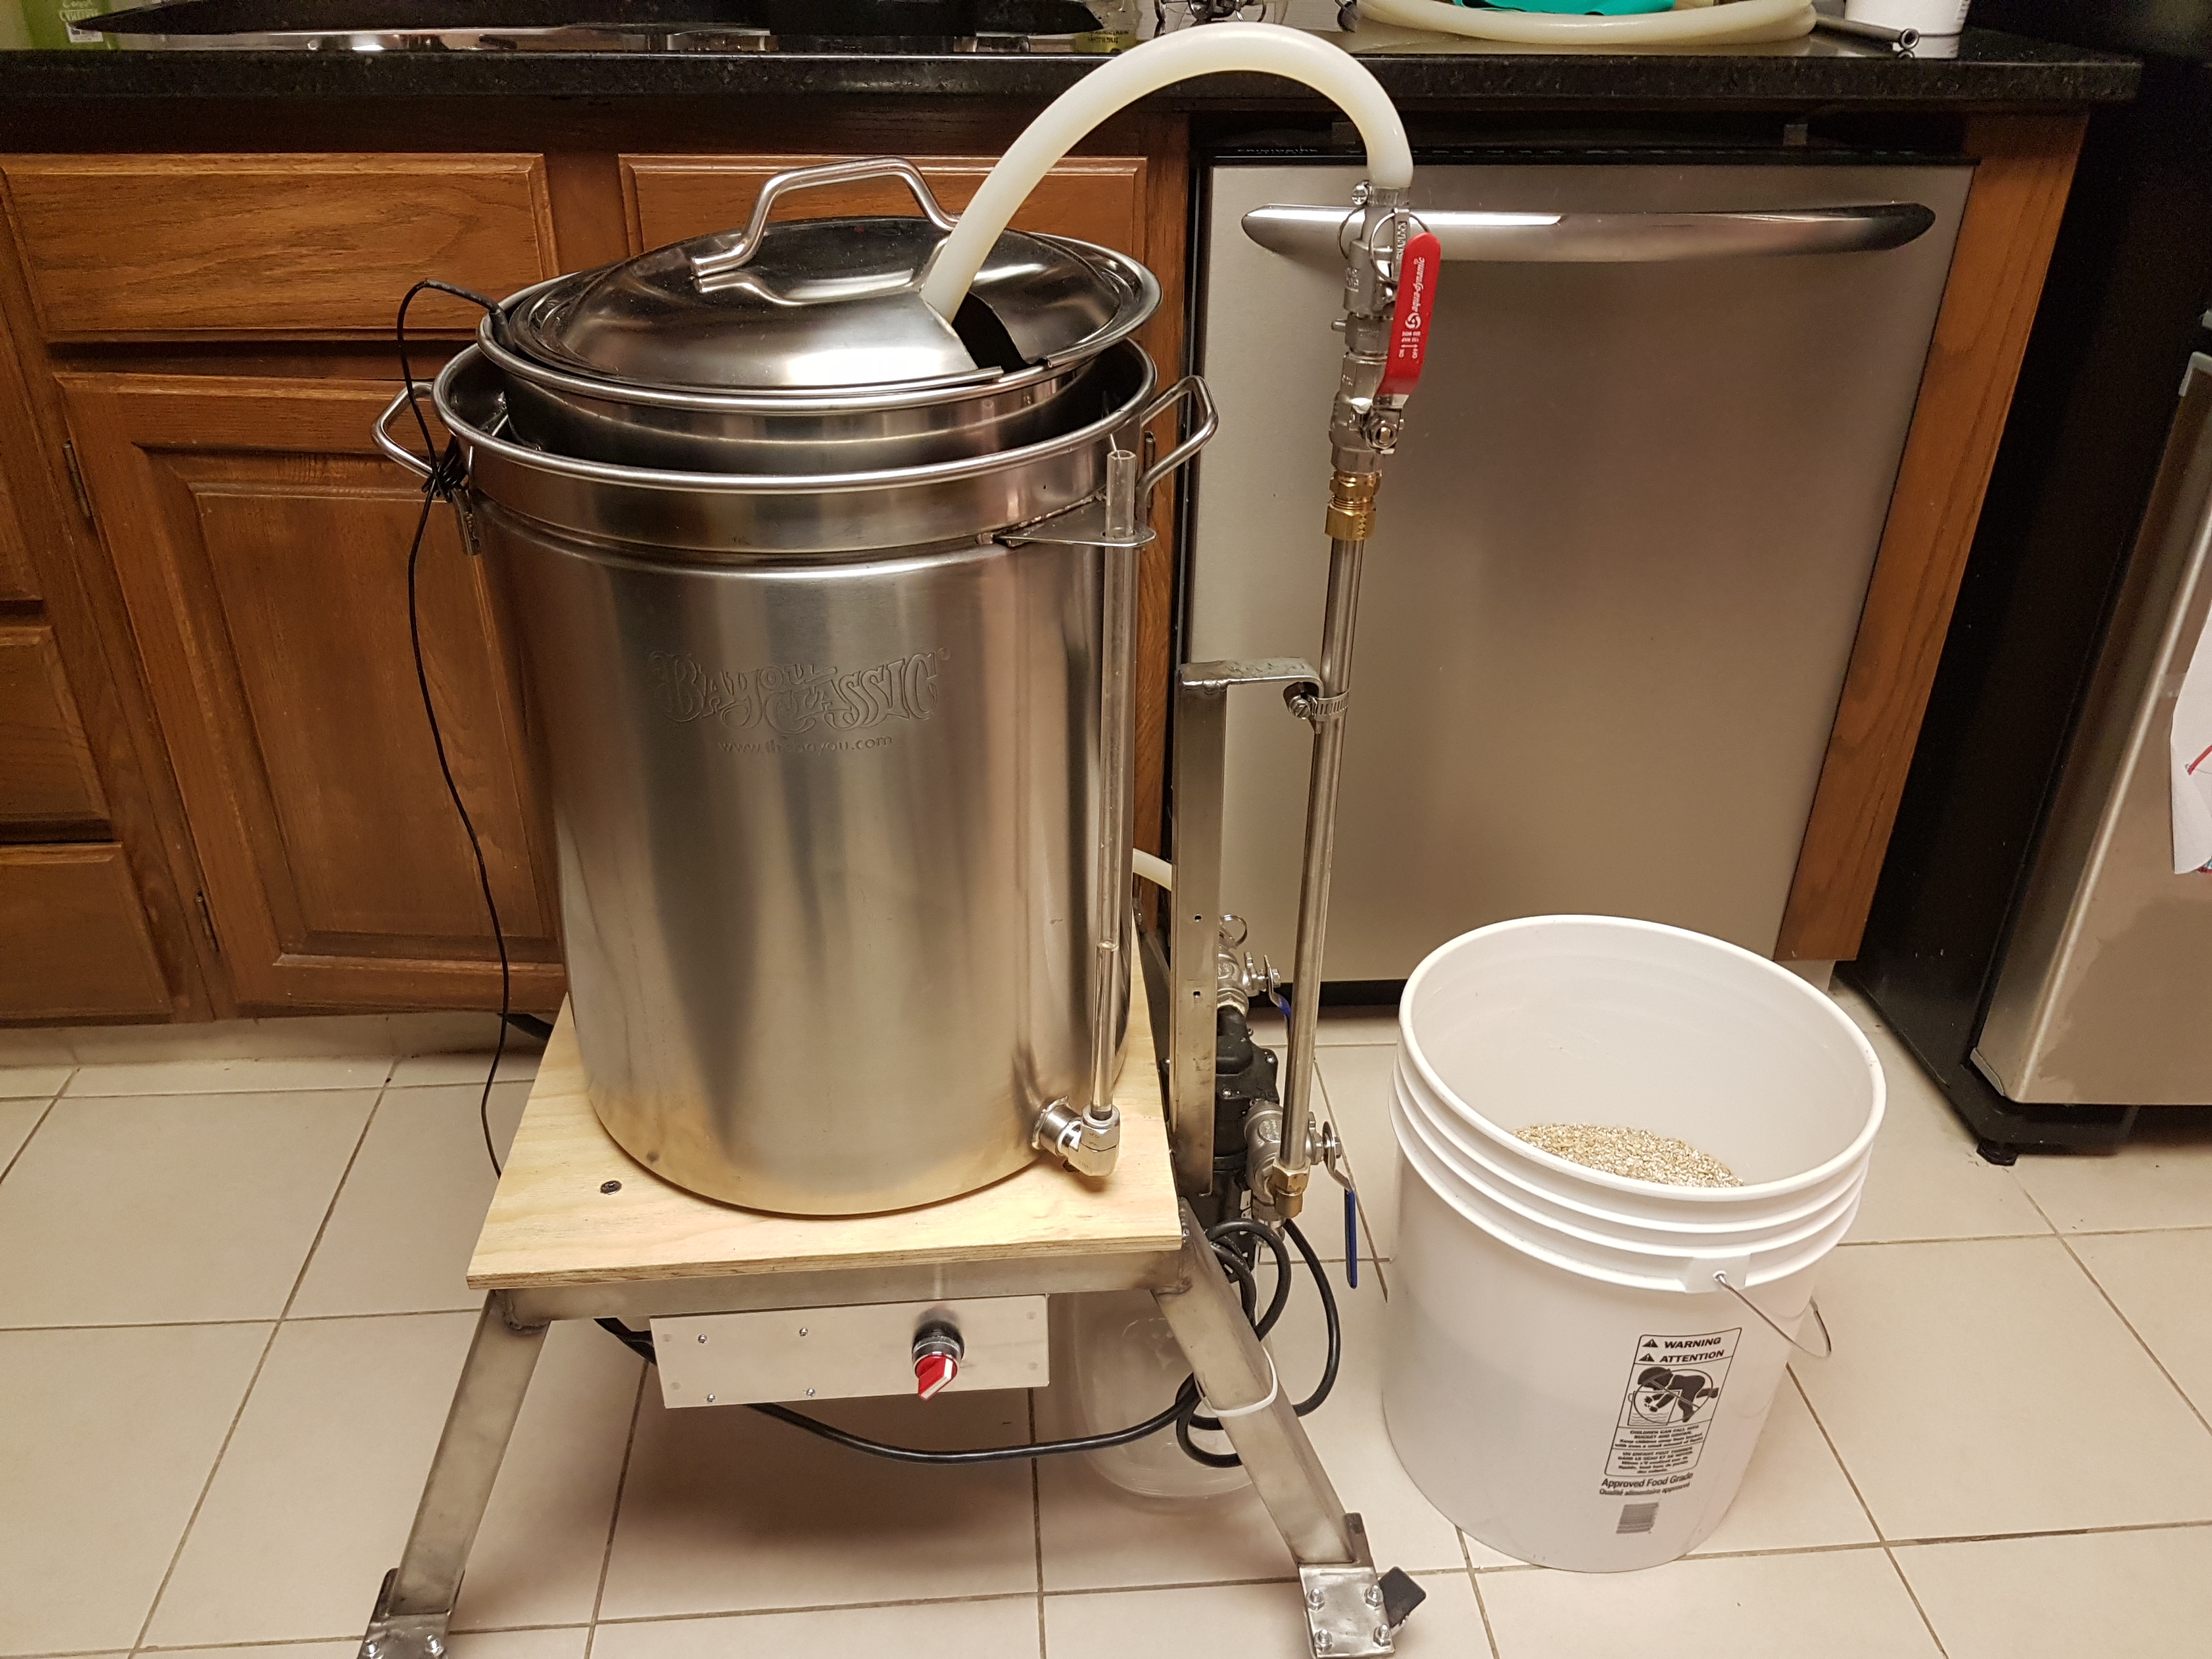
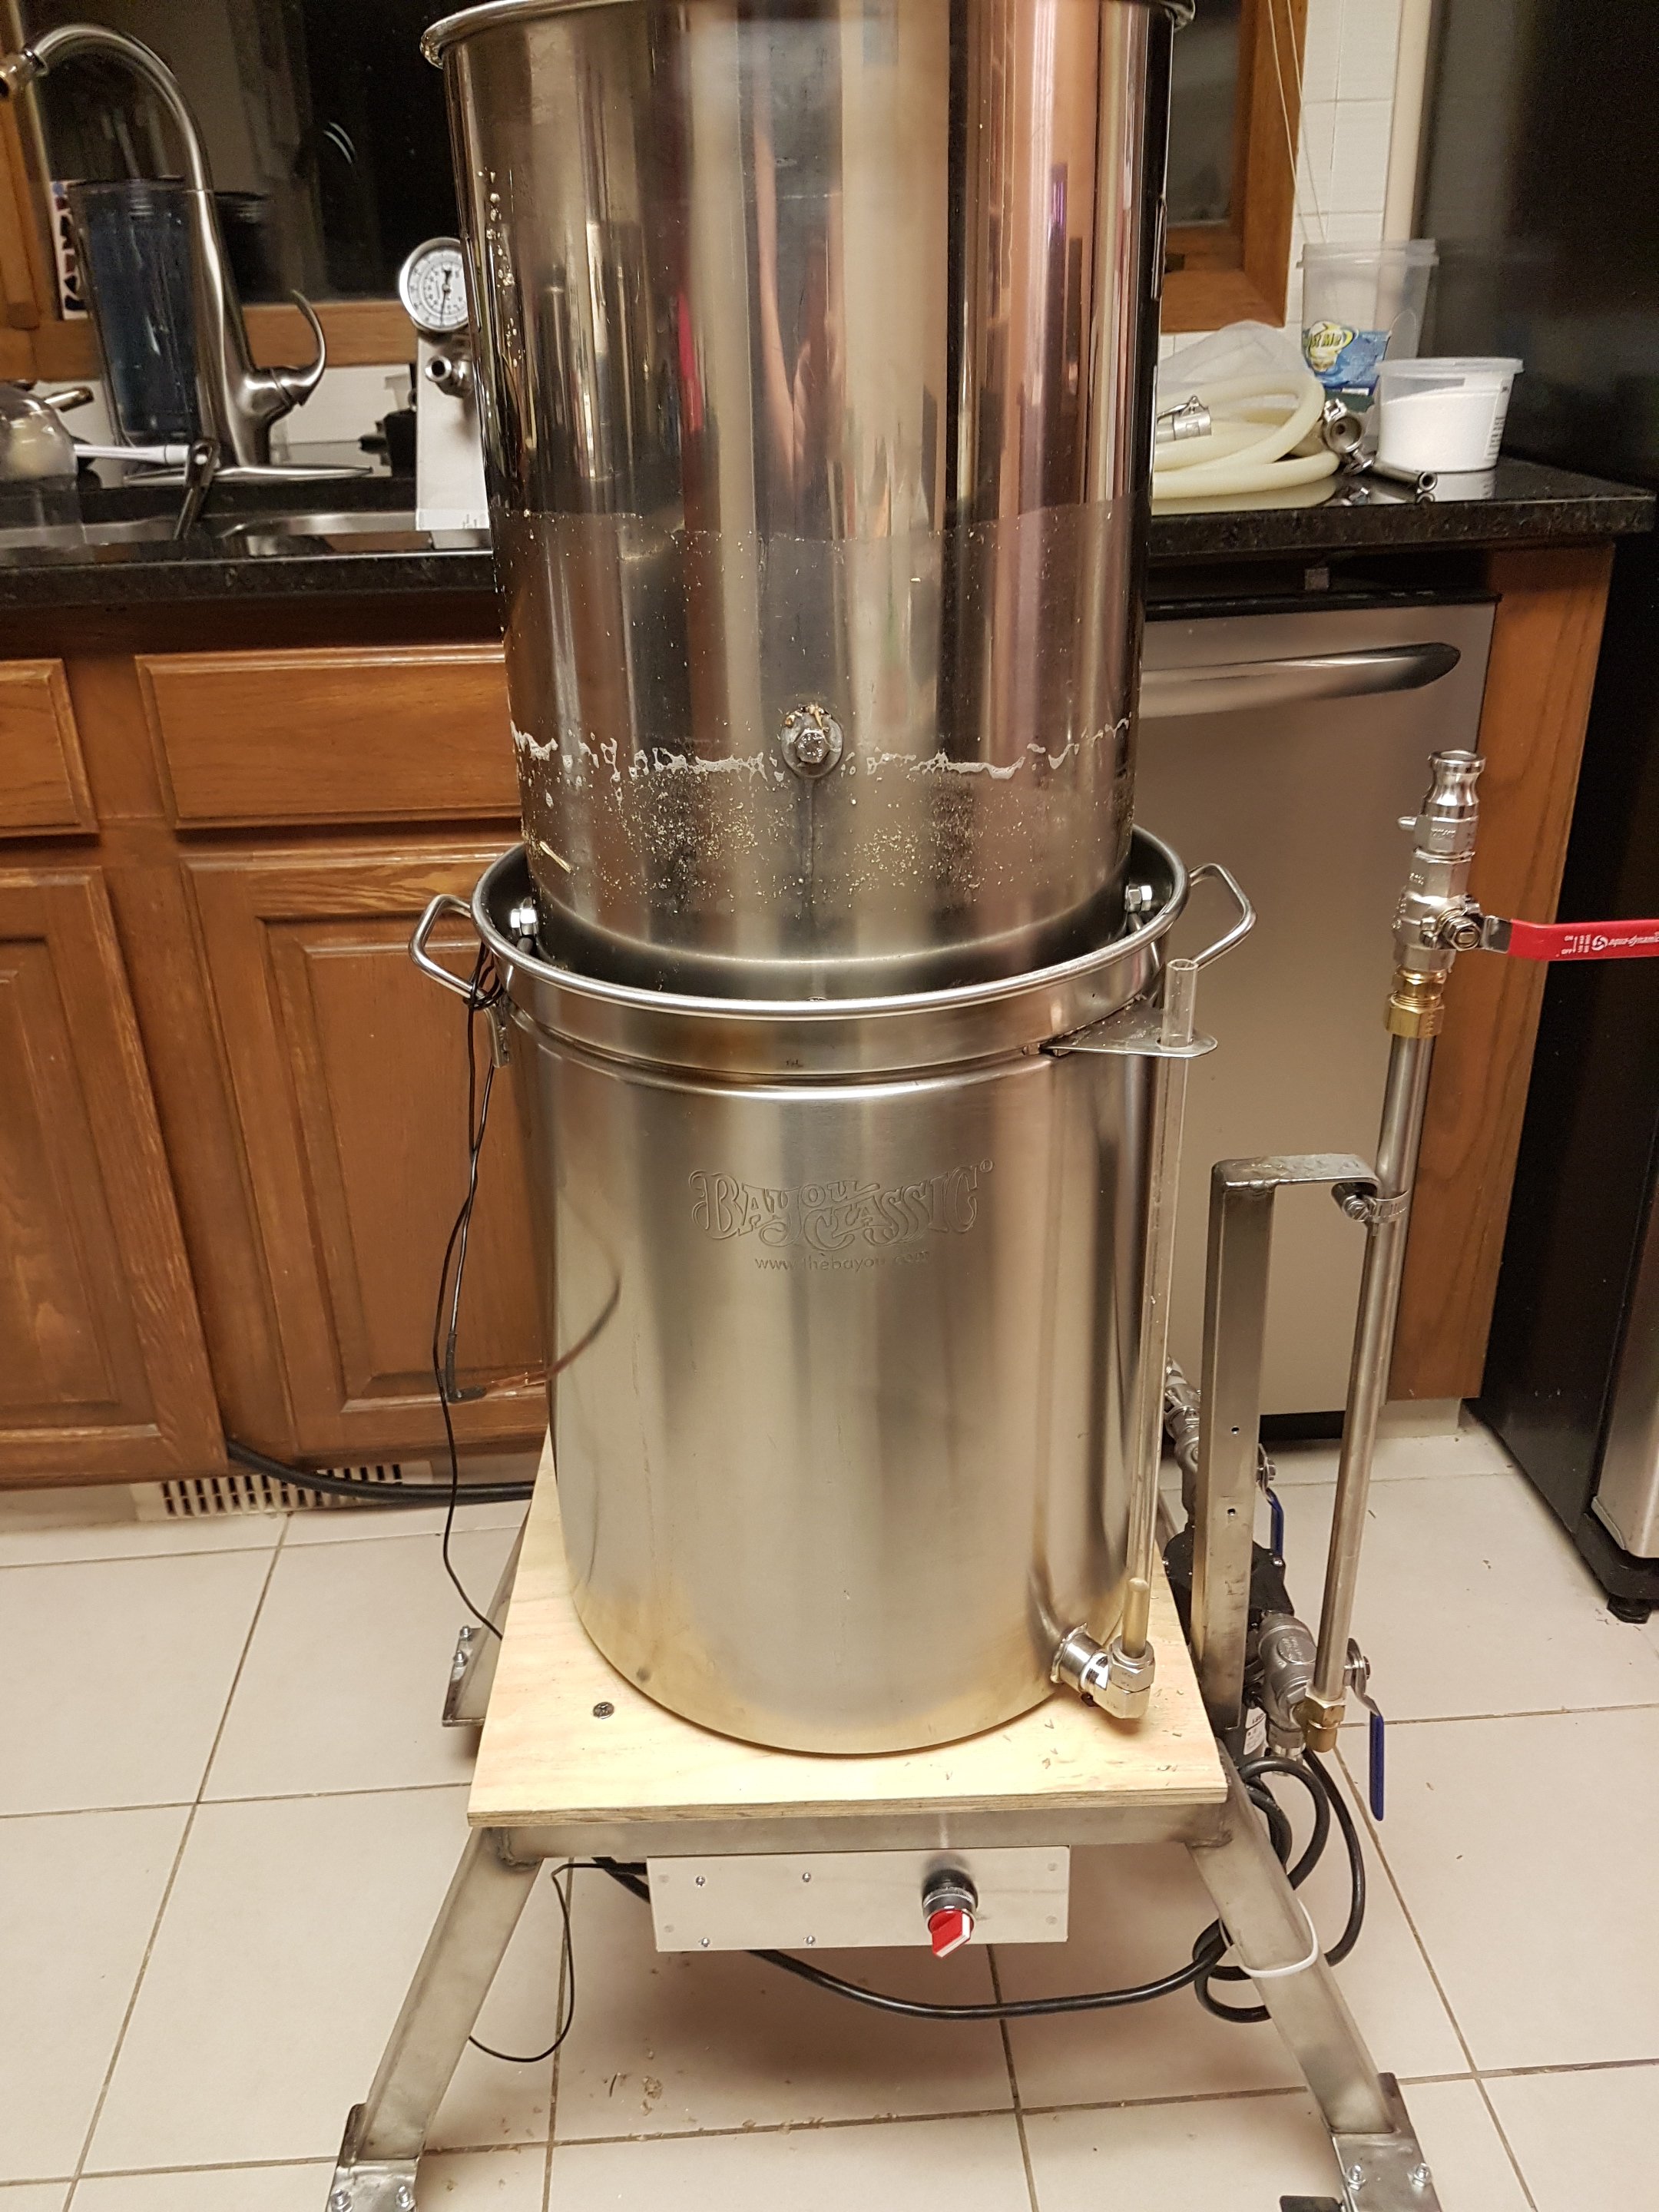
Meet Thing 1. A 5Kw Induction All In One...

Homebrew Talk - Beer, Wine, Mead, & Cider Brewing Discussion Forum

Help Support Homebrew Talk - Beer, Wine, Mead, & Cider Brewing Discussion Forum:

This site may earn a commission from merchant affiliate links, including eBay, Amazon, and others.
I'm running the SystemTempSensor addin on CraftBeerPi. It reports the internal temp of the RPi3. I added fans to the enclosure to remove the heat created by the induction coil. I'm seeing about 130F during the boil.

I'd check the current draw on your GPIO pins.

Huh? Current draw has nothing to do with CPU temp. 130f is too hot for the Pi CPU, but you're the engineer. I'm a dumb bilogist. Carry on
 
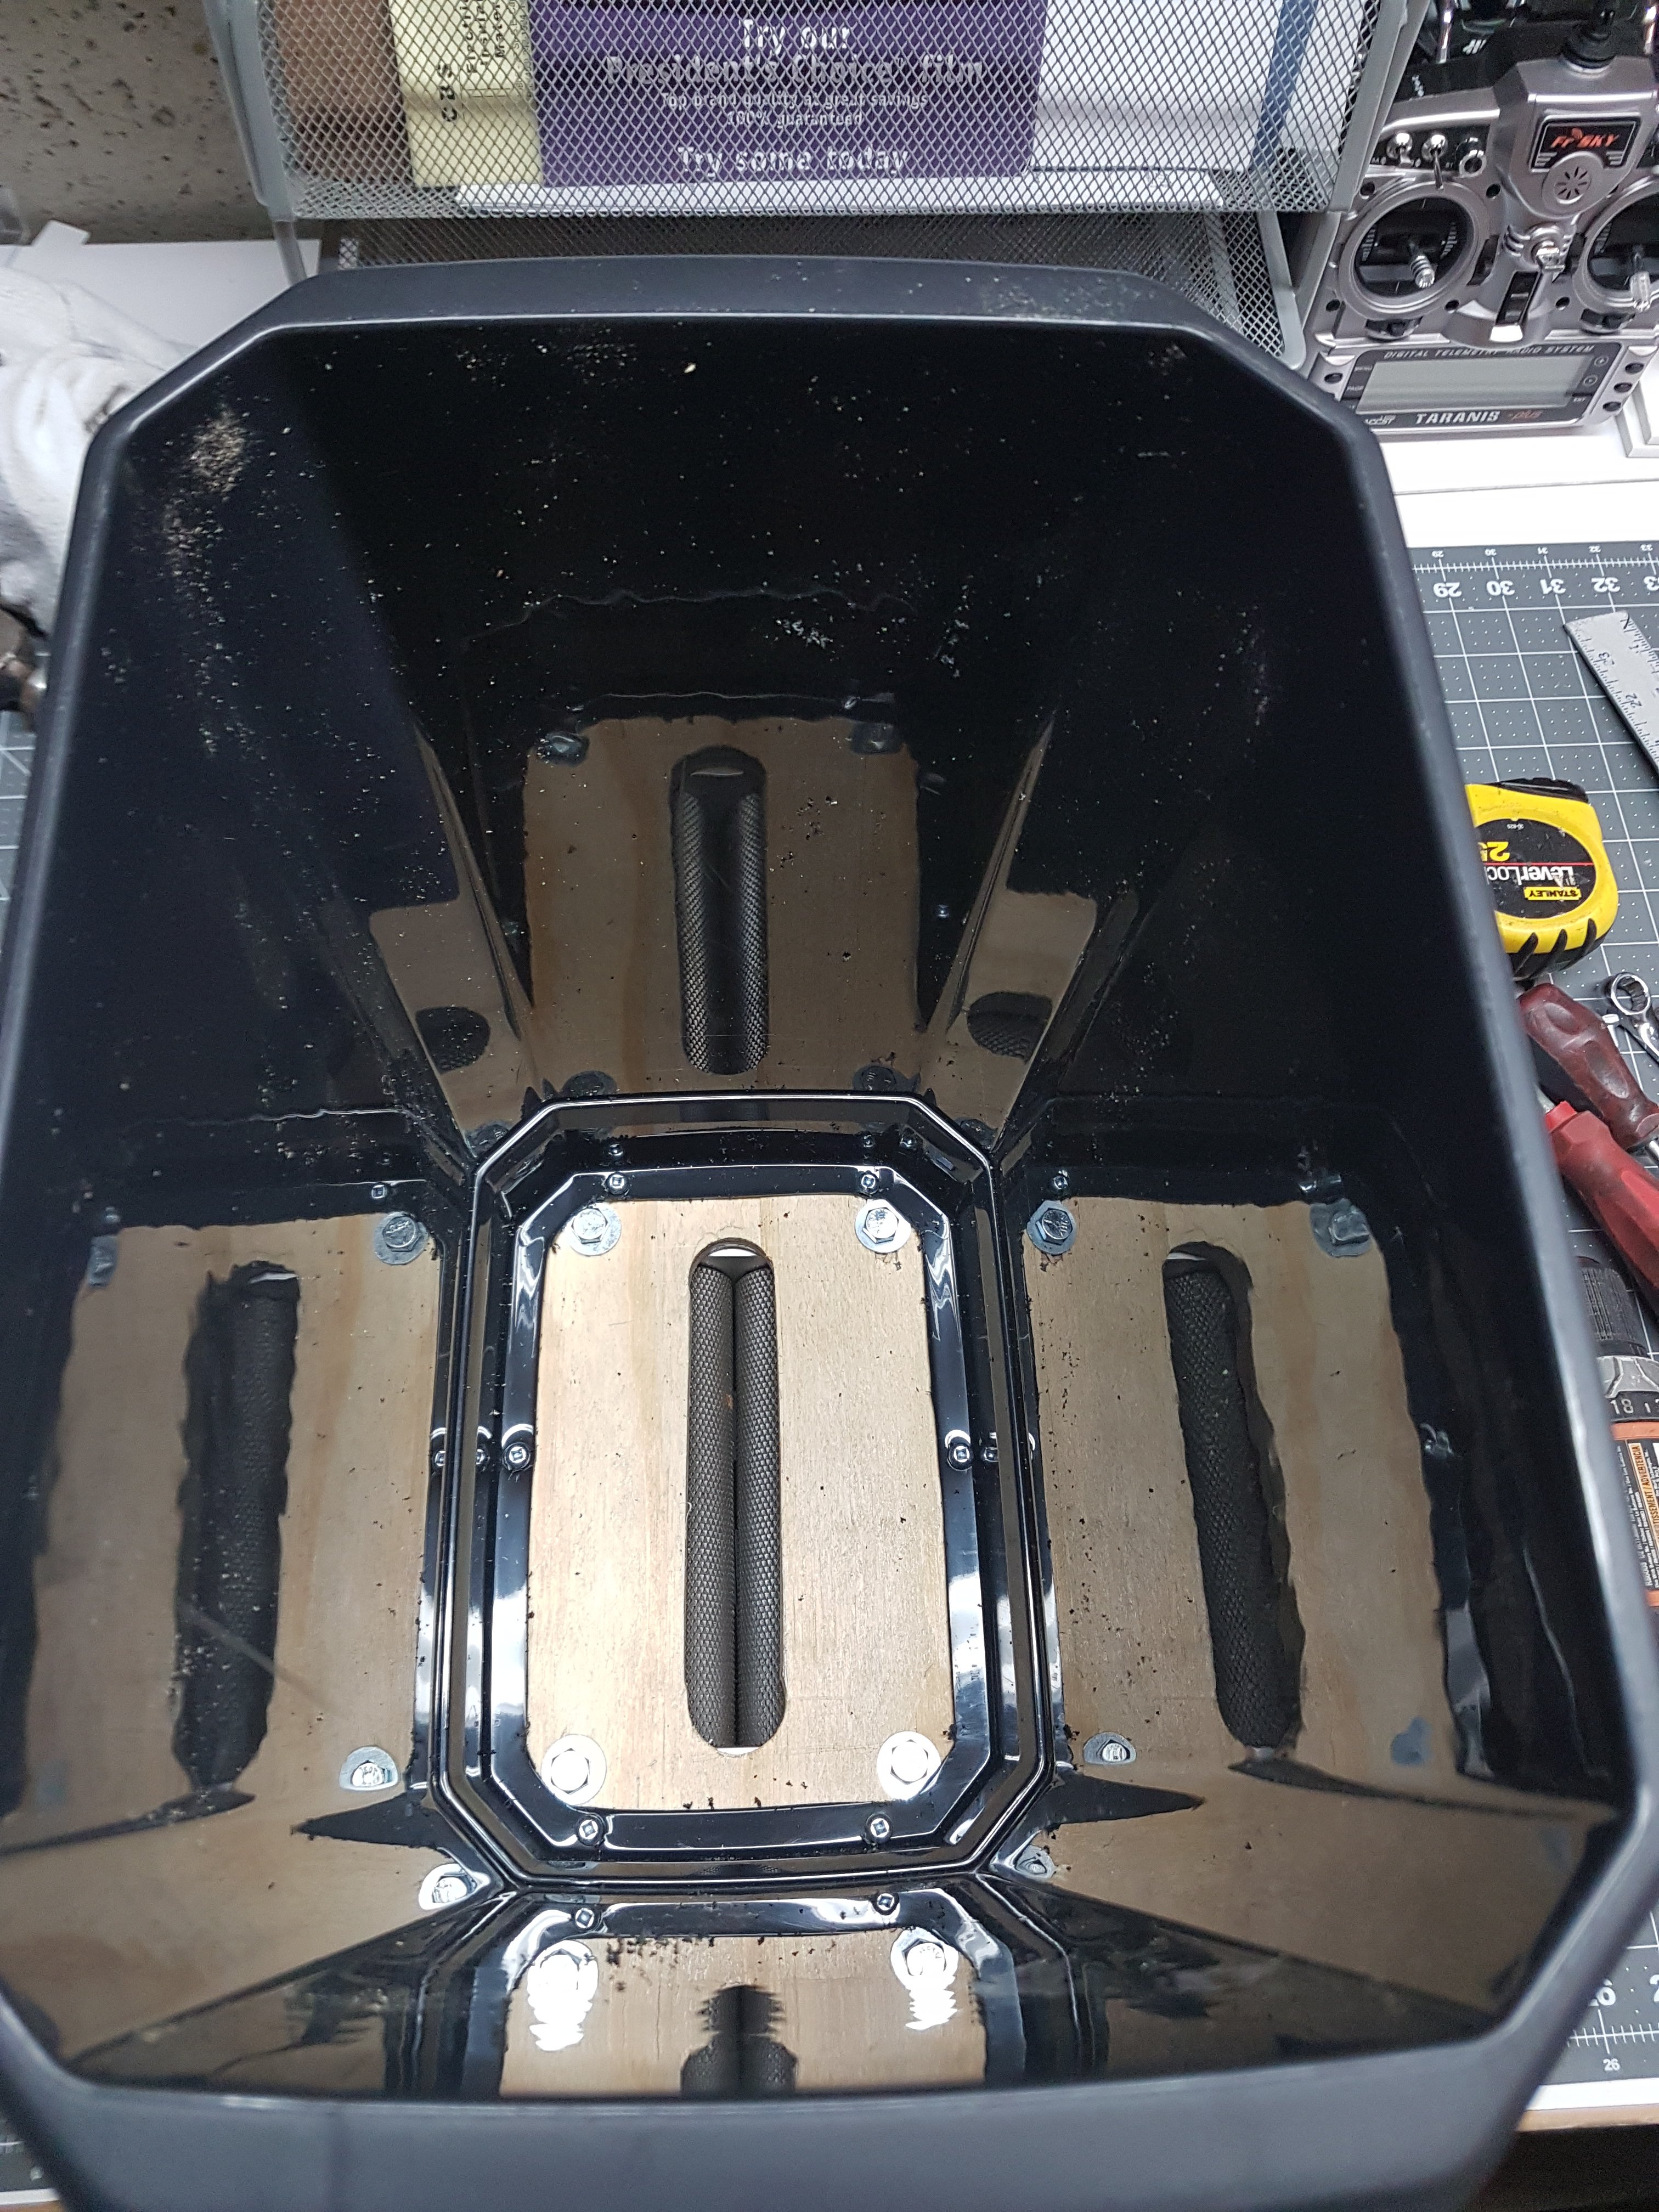
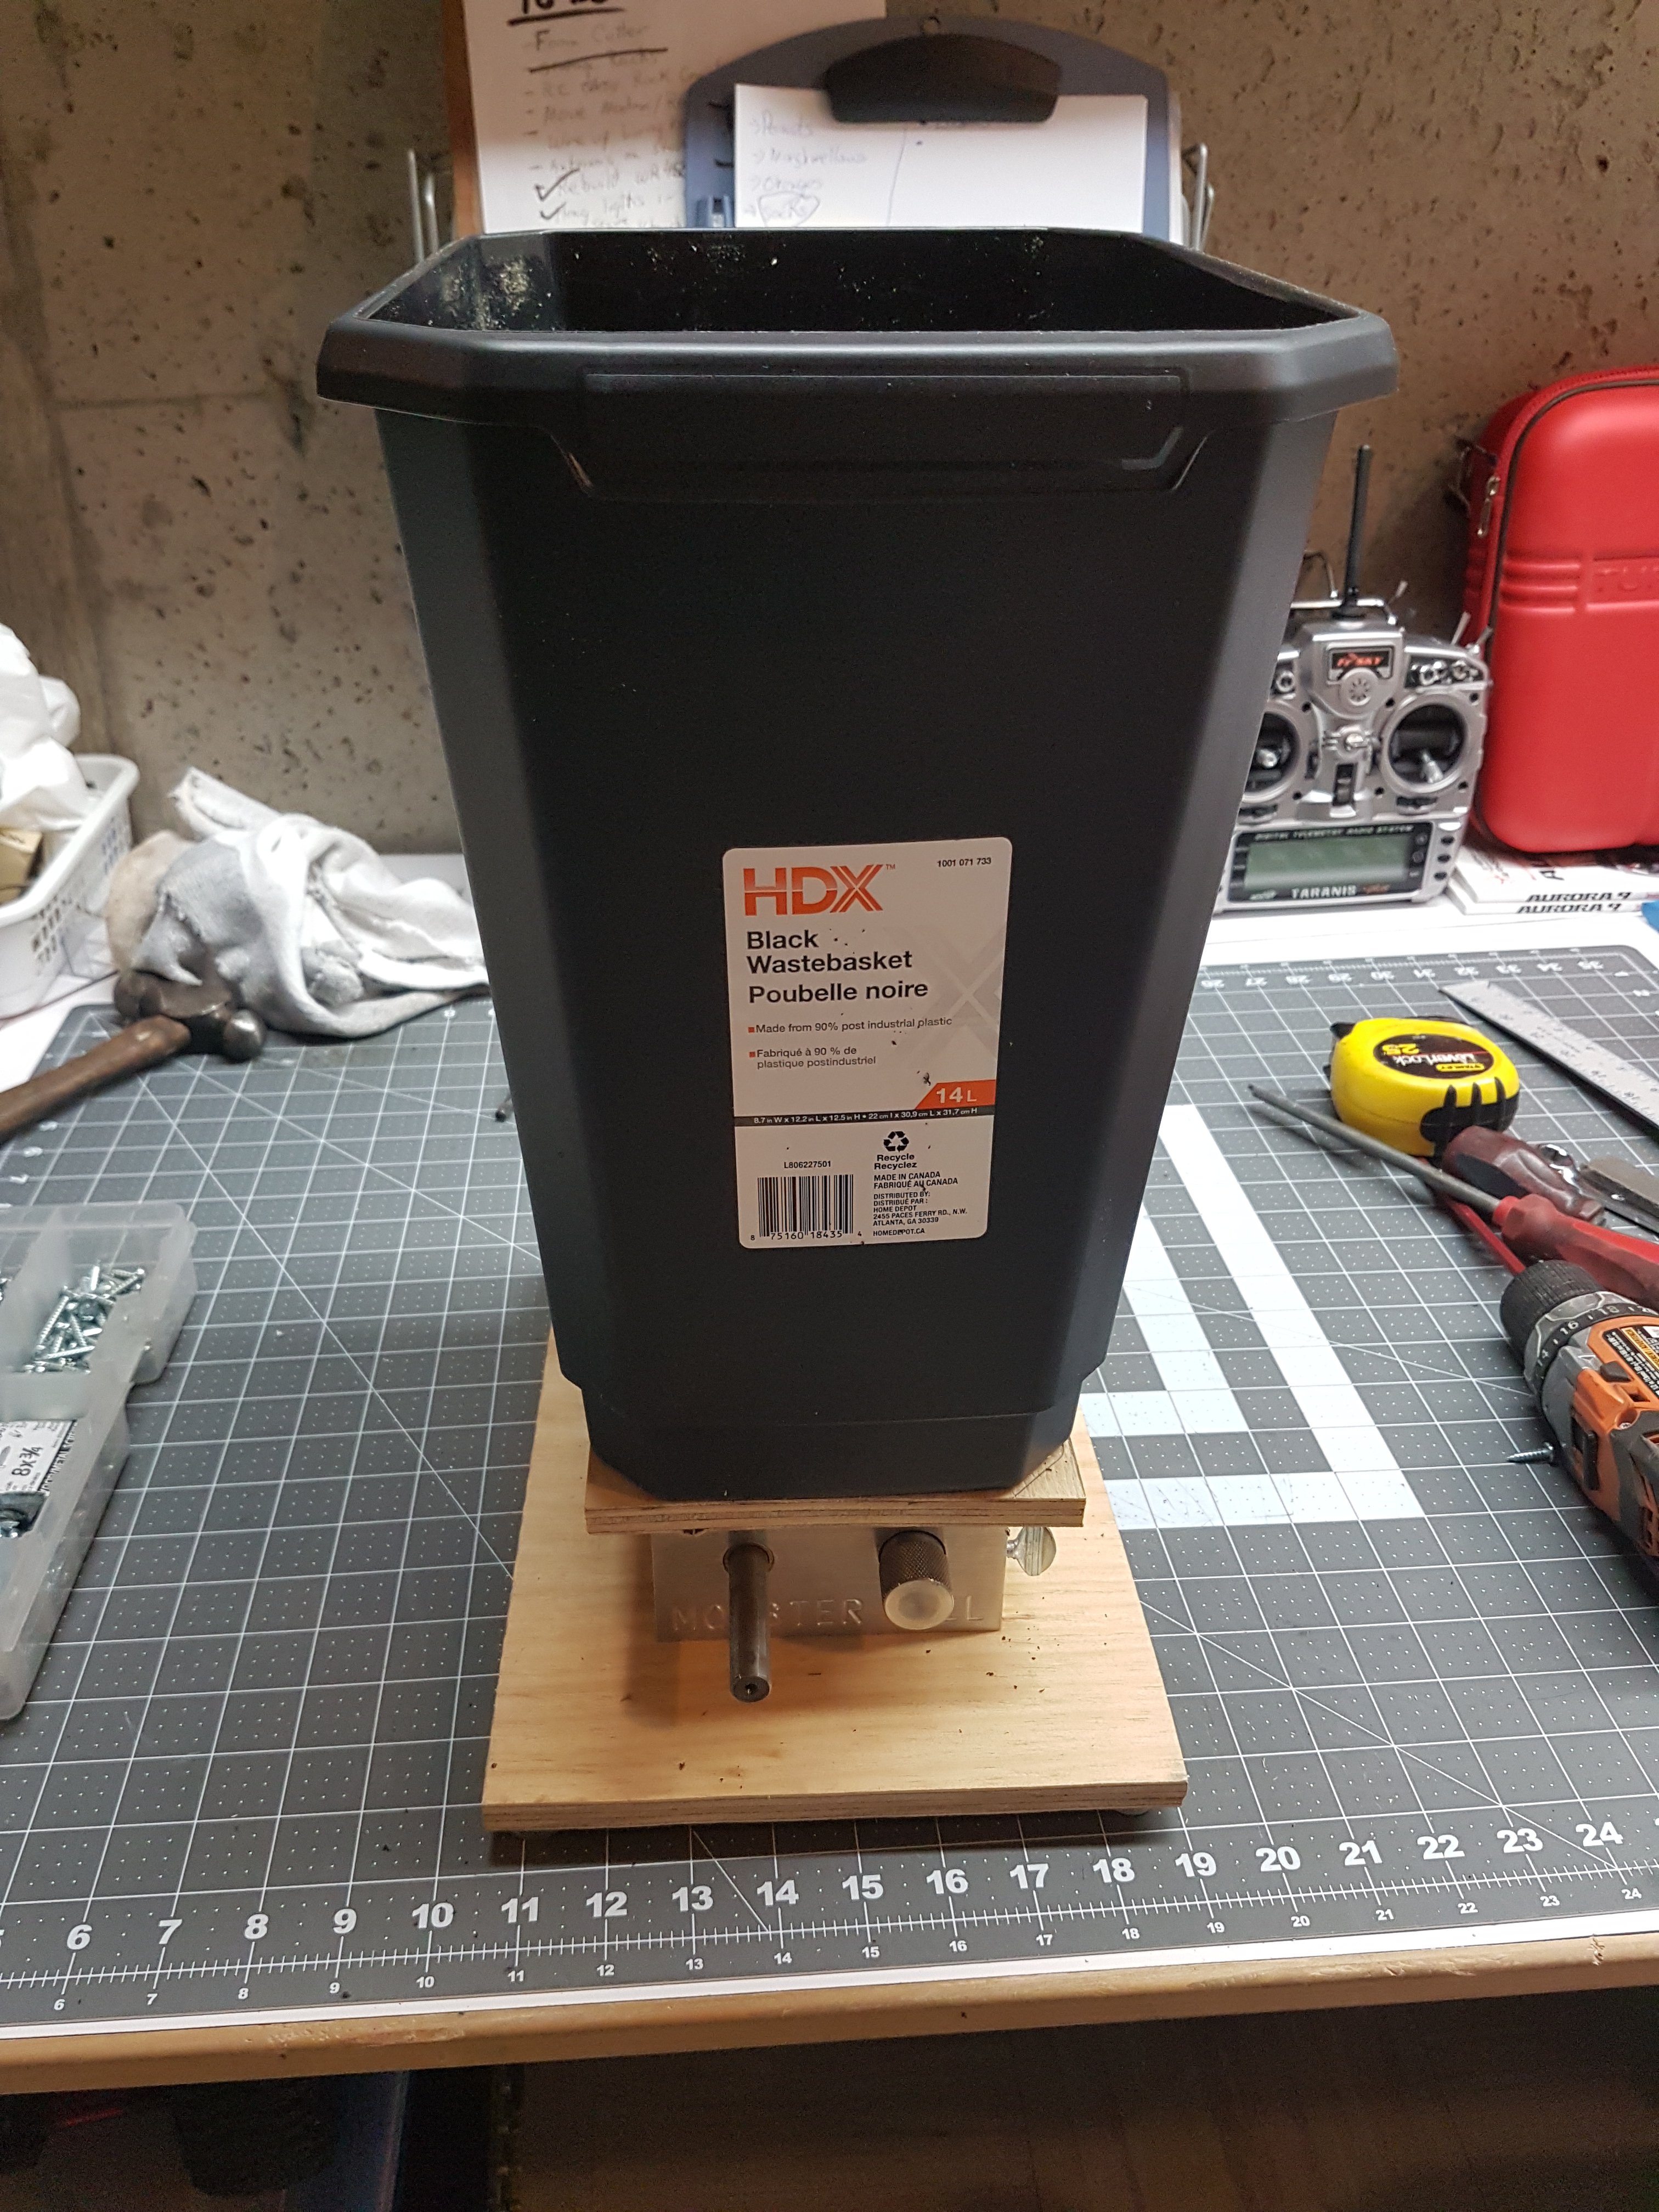
Got my grain mill done.

I could put a bag in it and use it for a real trash can... lol.

20190217_172520.jpg
20190217_172450.jpg
20190217_172446.jpg
 
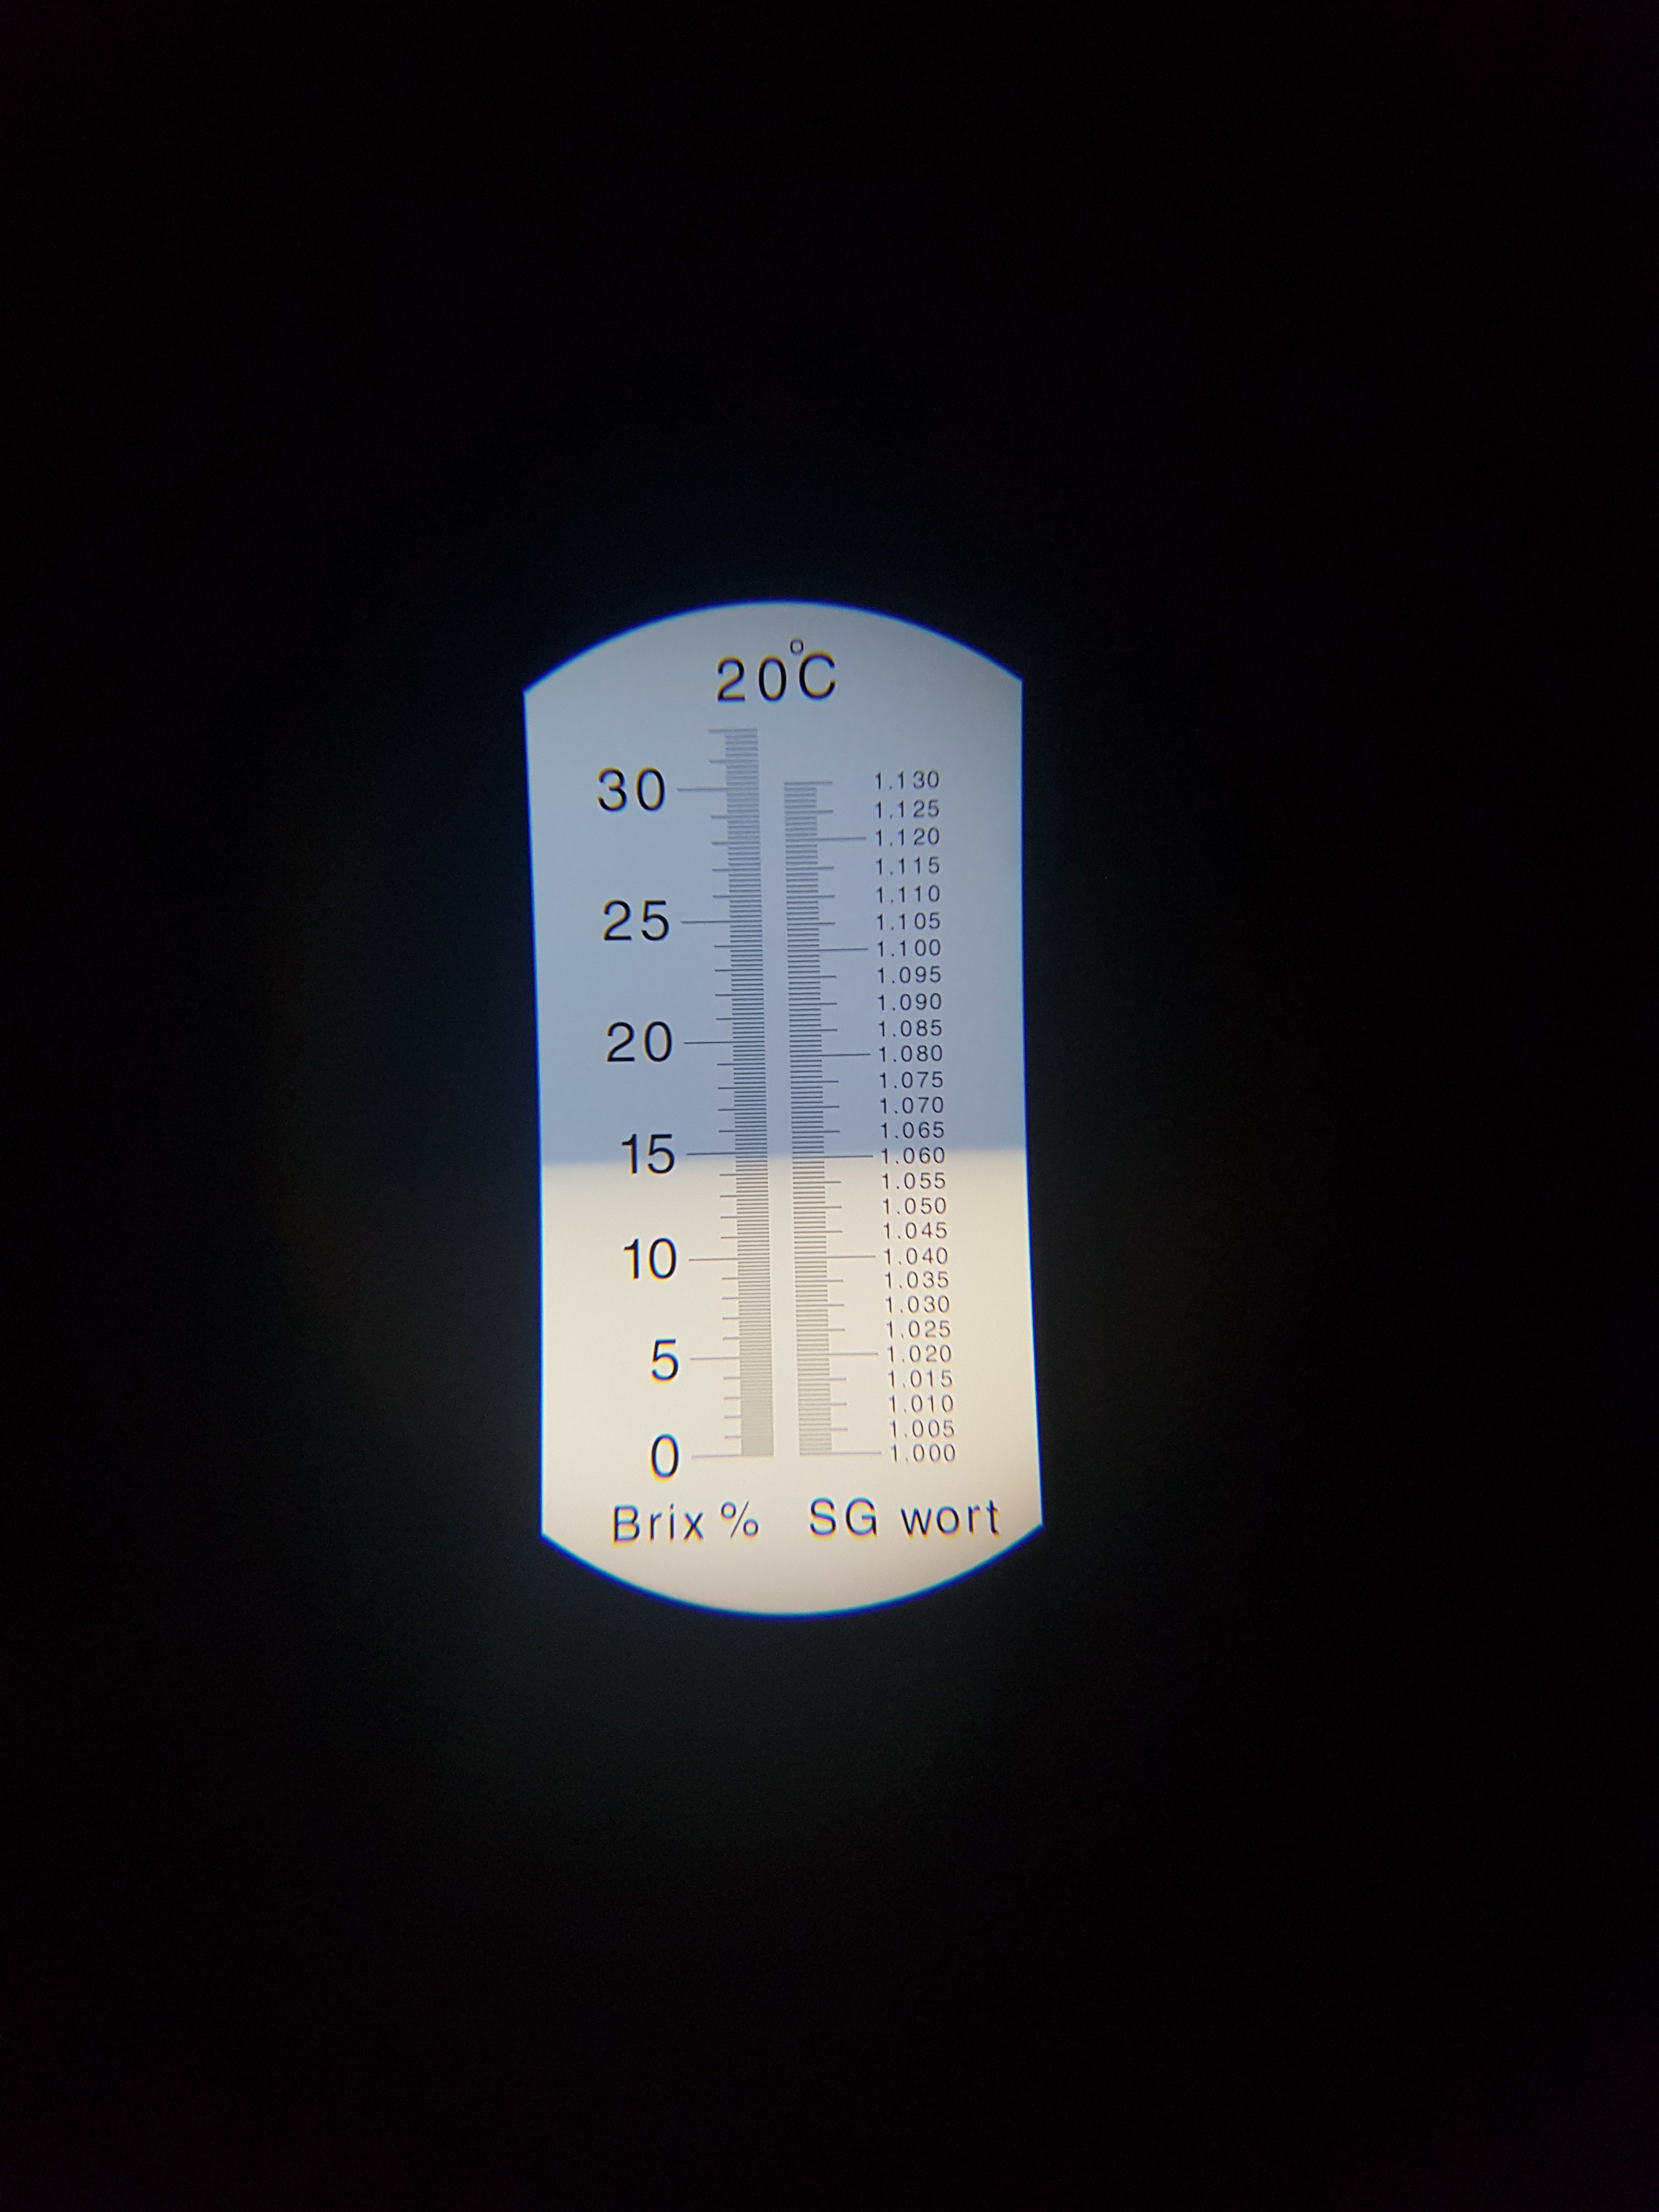
I brewed another batch tonight. London porter. A bit less than 4 hours start to finish with a 2 hour mash. And I was doing other stuff half the time. OG was 1.060 with about 10.5 pounds of grain. I don't know for sure because I spilled some when milling and added to make it up.

Why 2 hour mashes ? Why not ? It runs almost unattended and I got busy doing other things, so I let it run. The conversion efficiency is crazy good.

I love brewing in the kitchen. I'm not 100% comfortable leaving it alone when it is running, so I can be near and yet do things like read or clean up.

I love that it is on wheels. I love working right in front of the sink when chilling and mashing in and yet you can roll it out of the way to do dishes, cook, etc. When you are in front of the sink you can use a spoon or remove a hose and put it right into the sink. Spray it with some water and it is clean 30 seconds after you use it.

I still have a temp control issue to work on though. I need to change the temp sensors to something faster acting and read the return temp. The bed temp changes way too slow.

I'll be doing some other tweaks too.

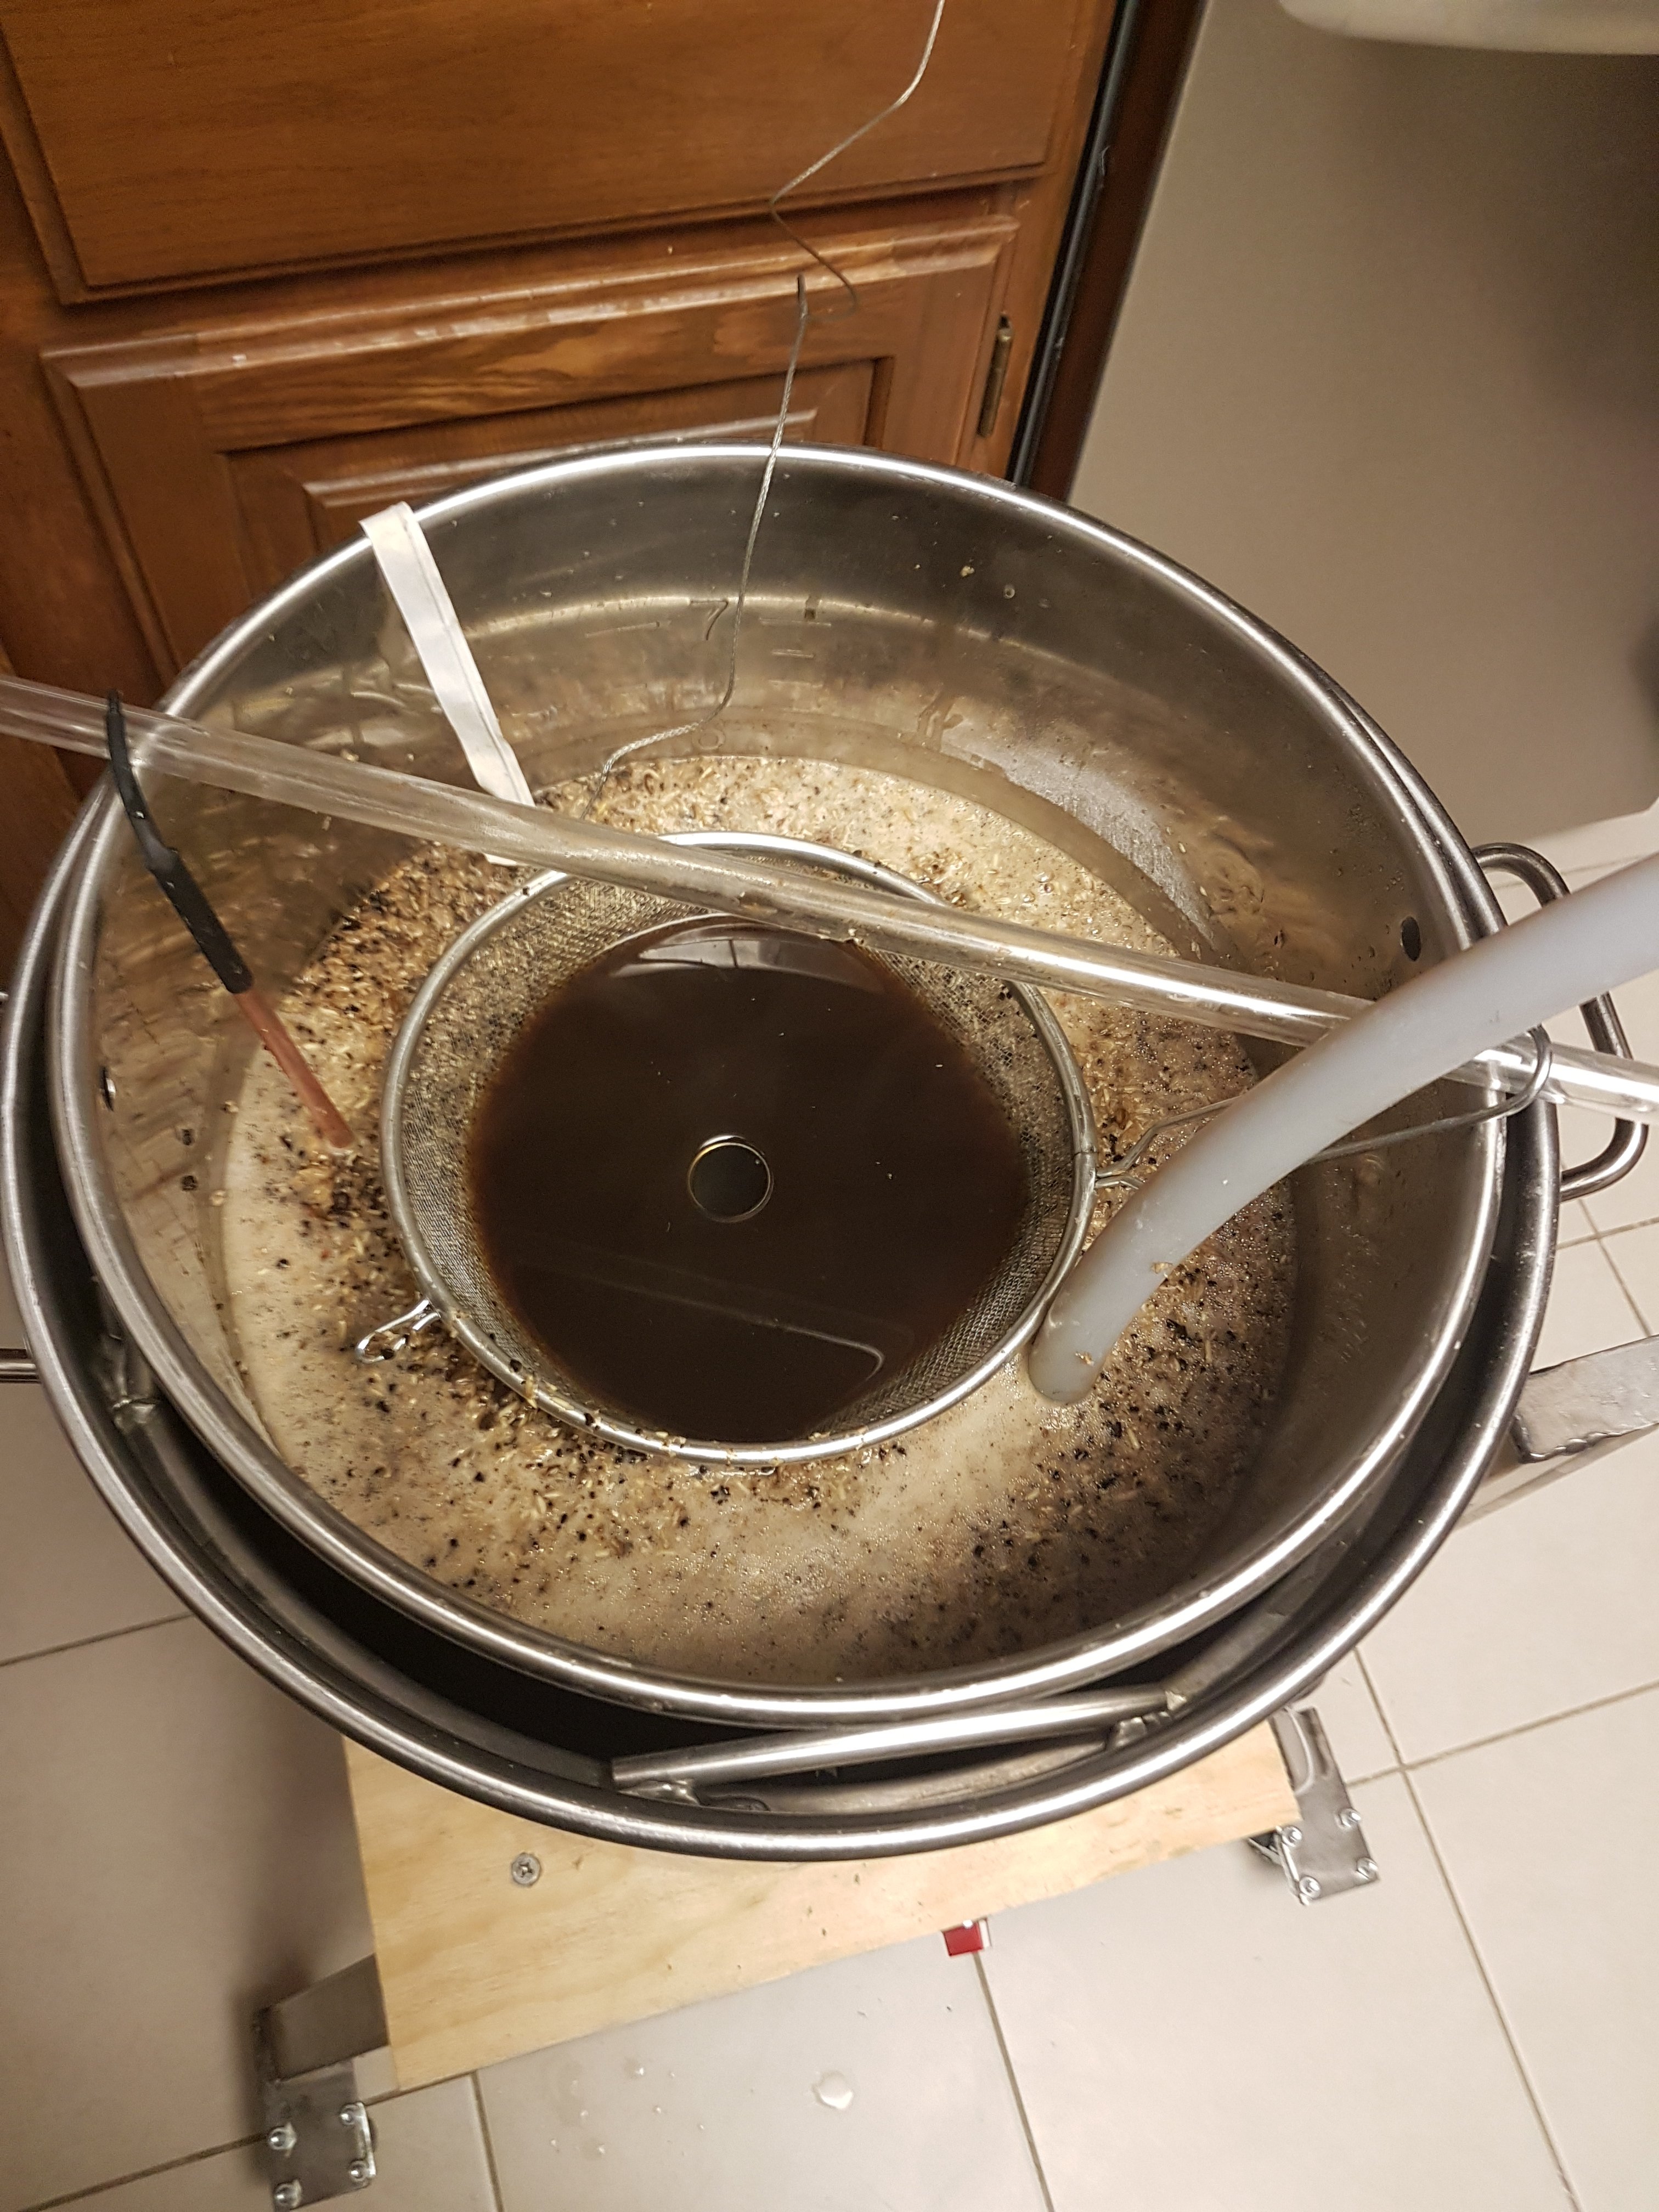
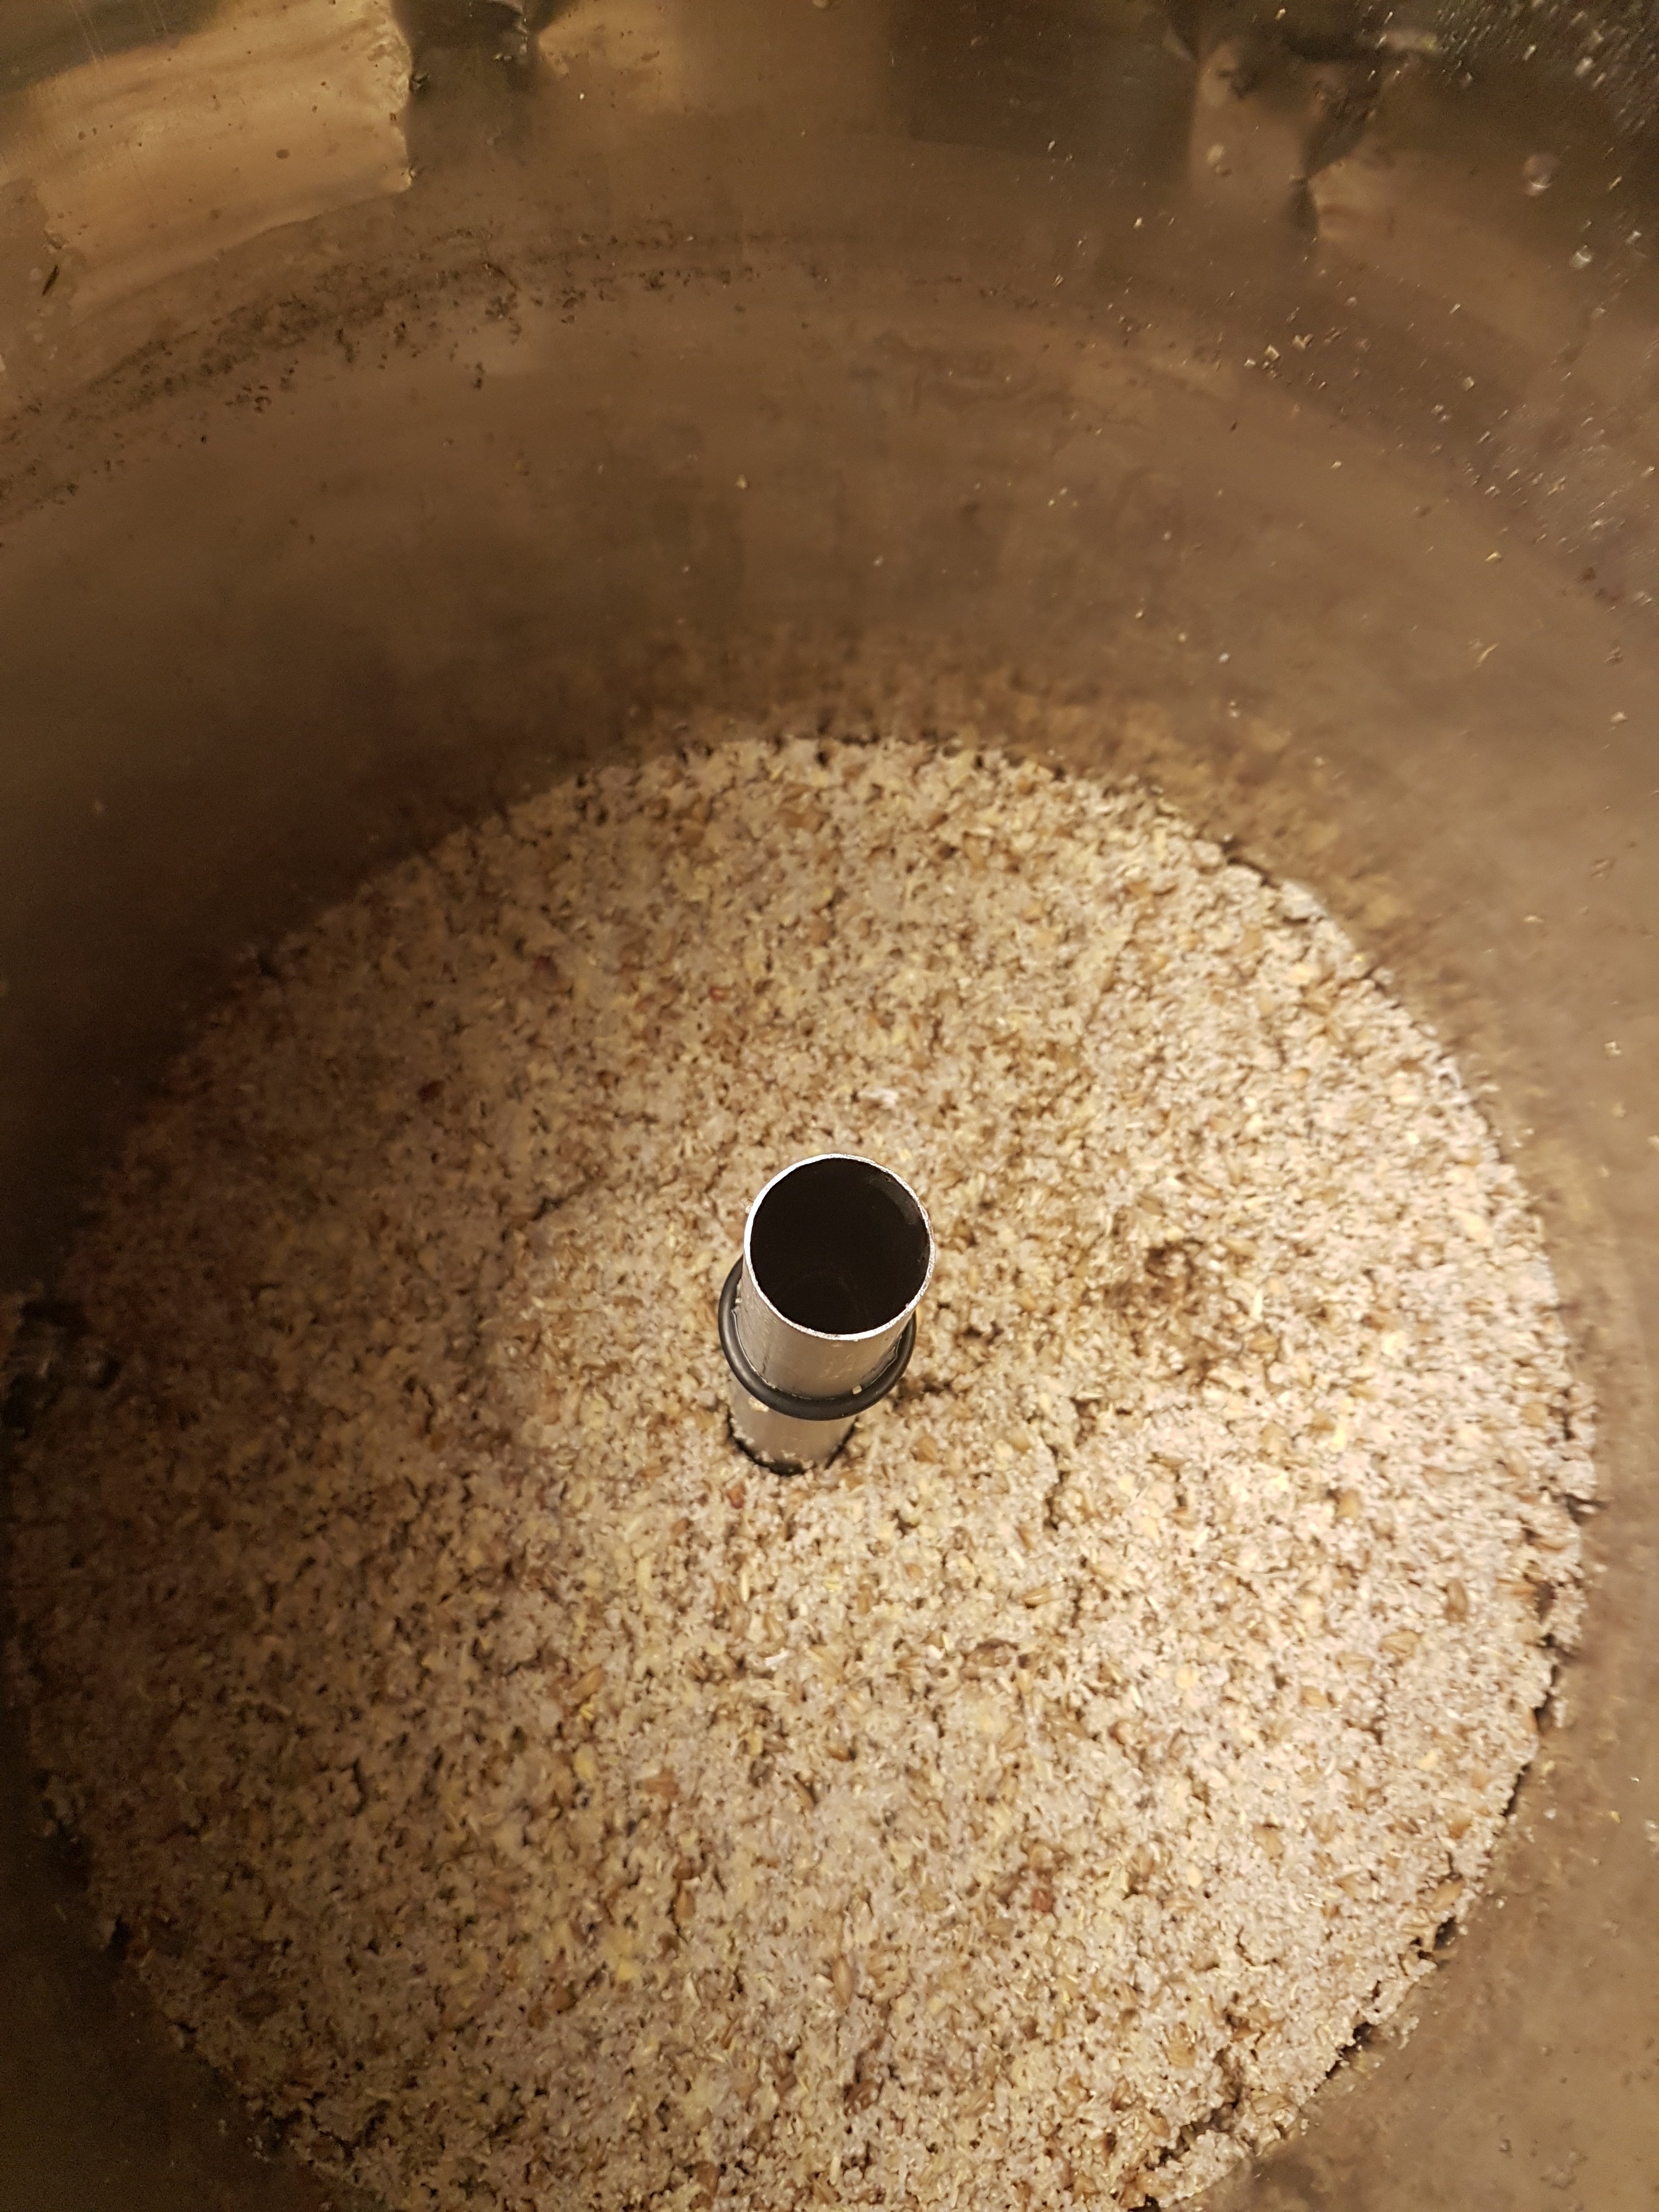
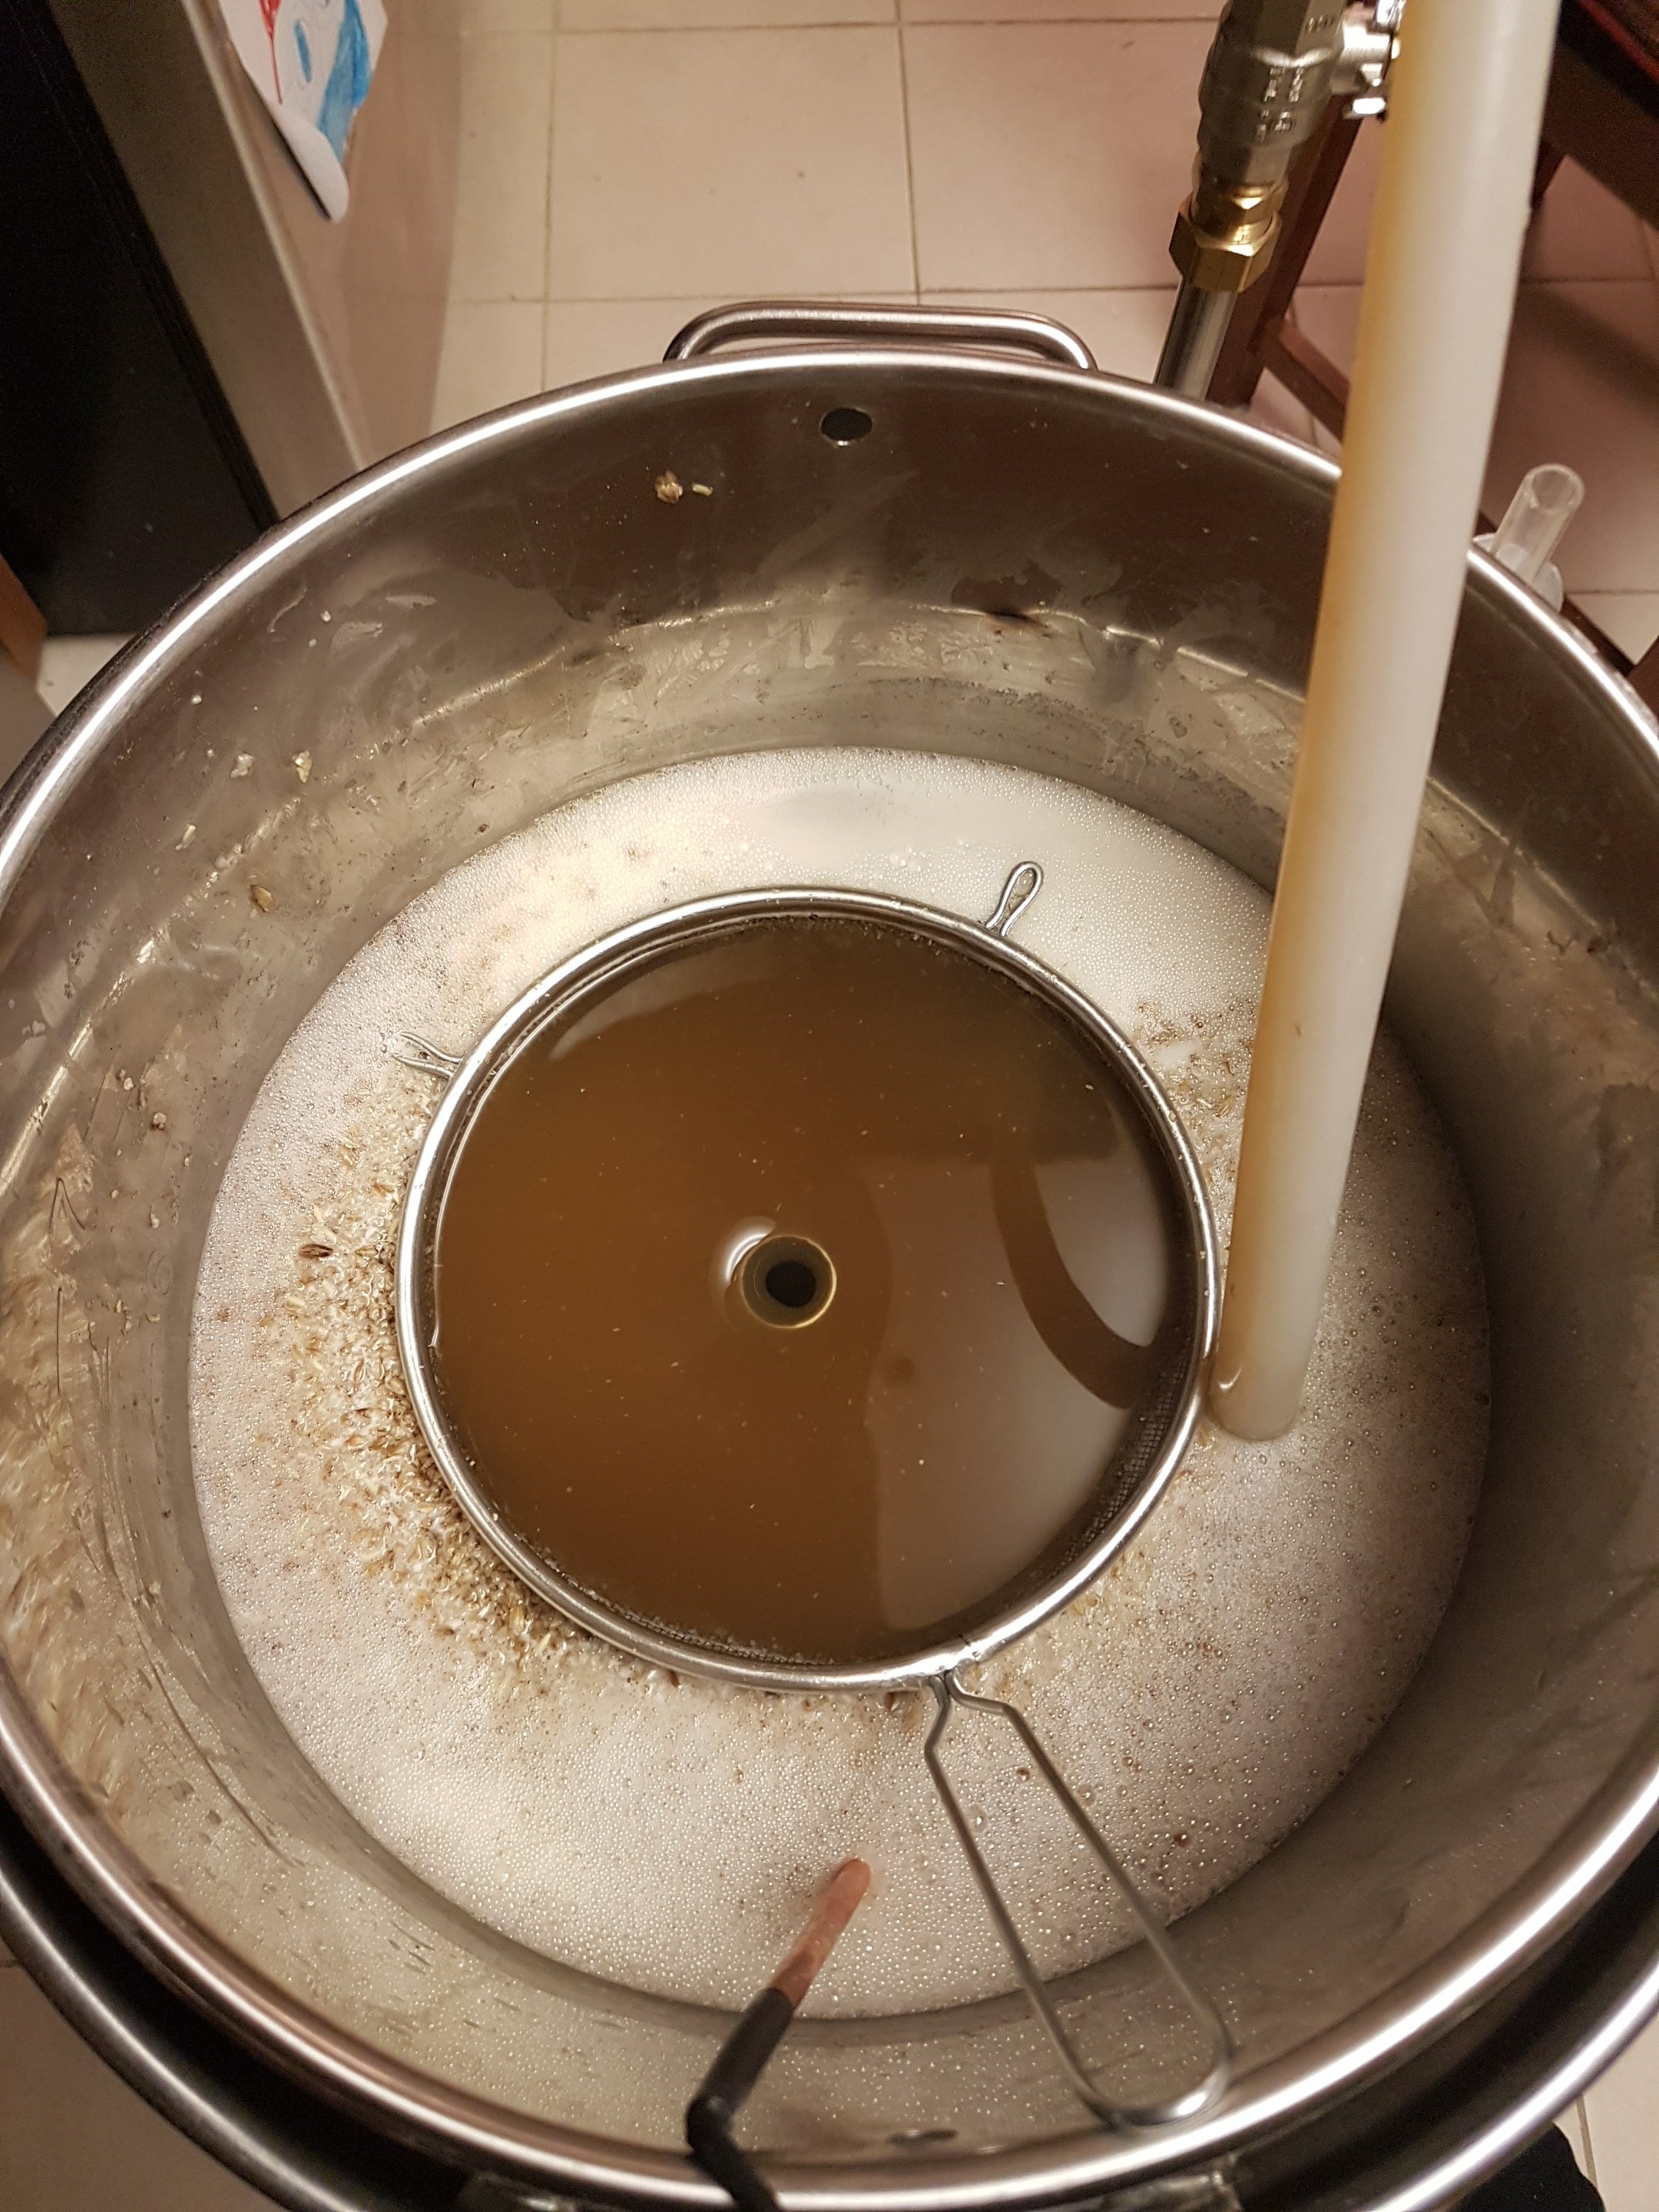
Mashing. The standpipe and strainer make things so easy. This batch had 20% wheat malt. I didn't use any rice hulls. No issues with stuck mash.

20190217_205146.jpg


Typical boil. It has the perfect amount of power. Vigorous boil, but no boil over. It is close when it starts but after the foam dies a bit, it is good. I always boil open, no lid.

20190217_225327.jpg


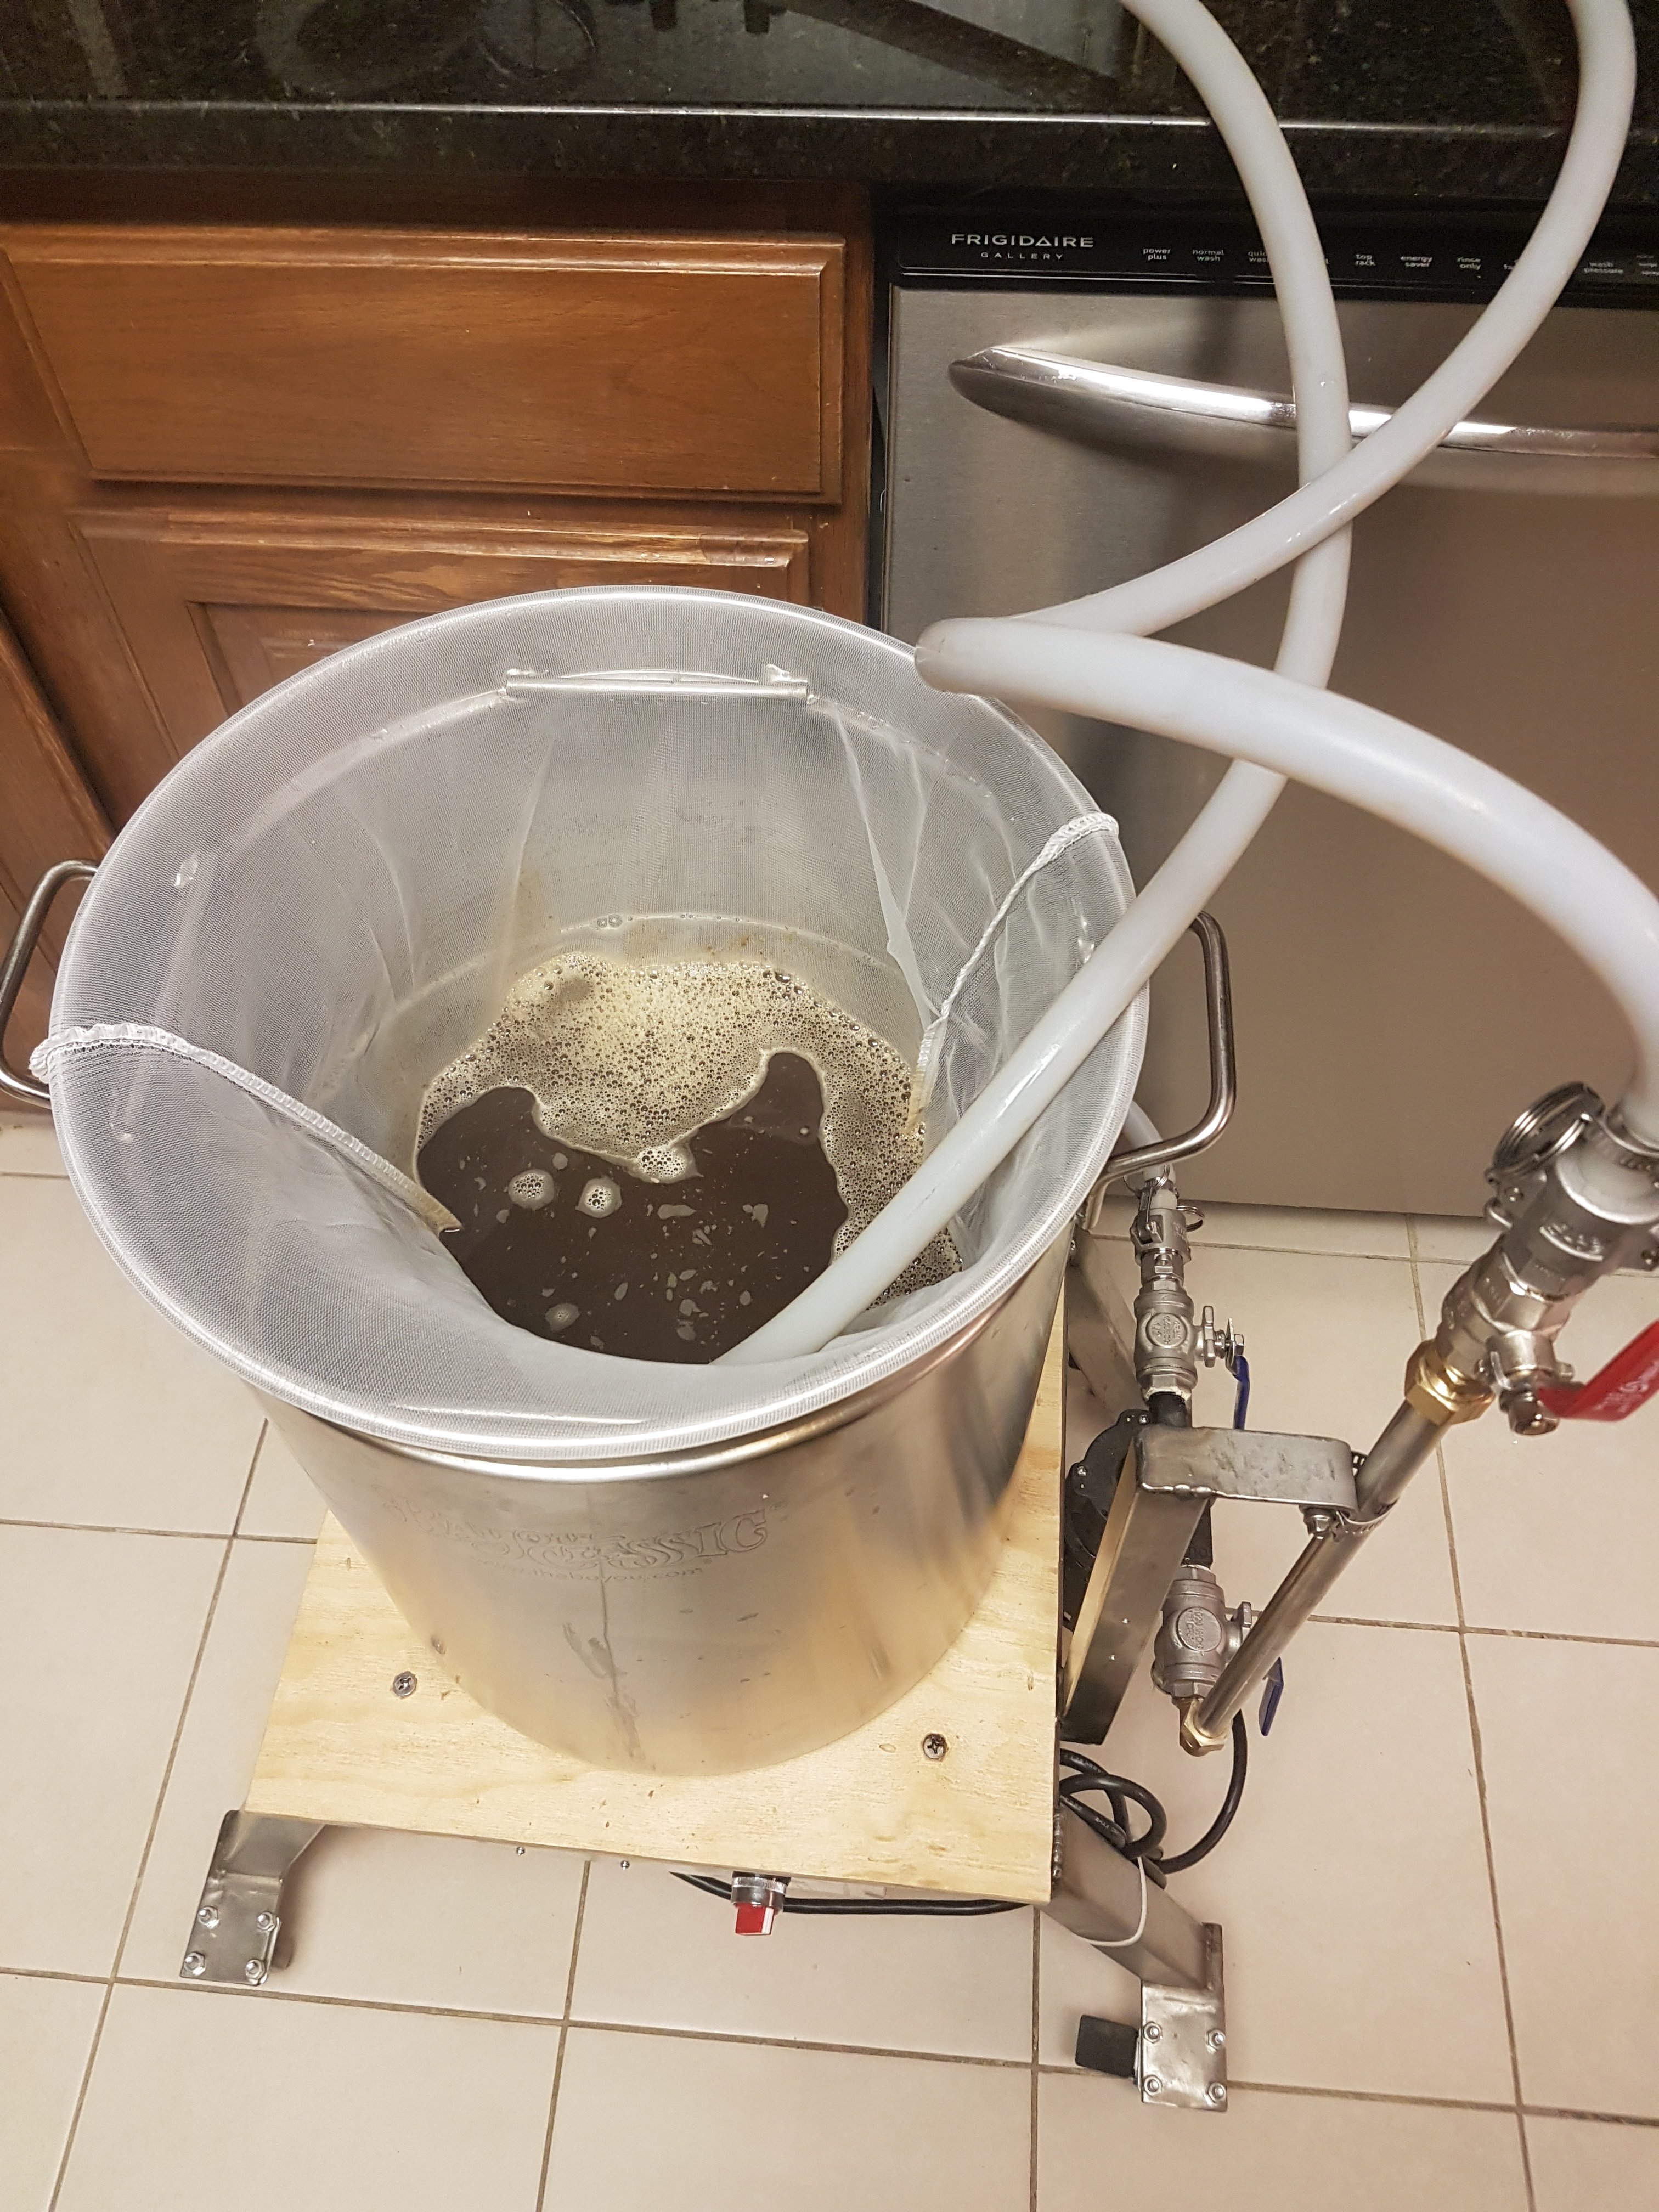
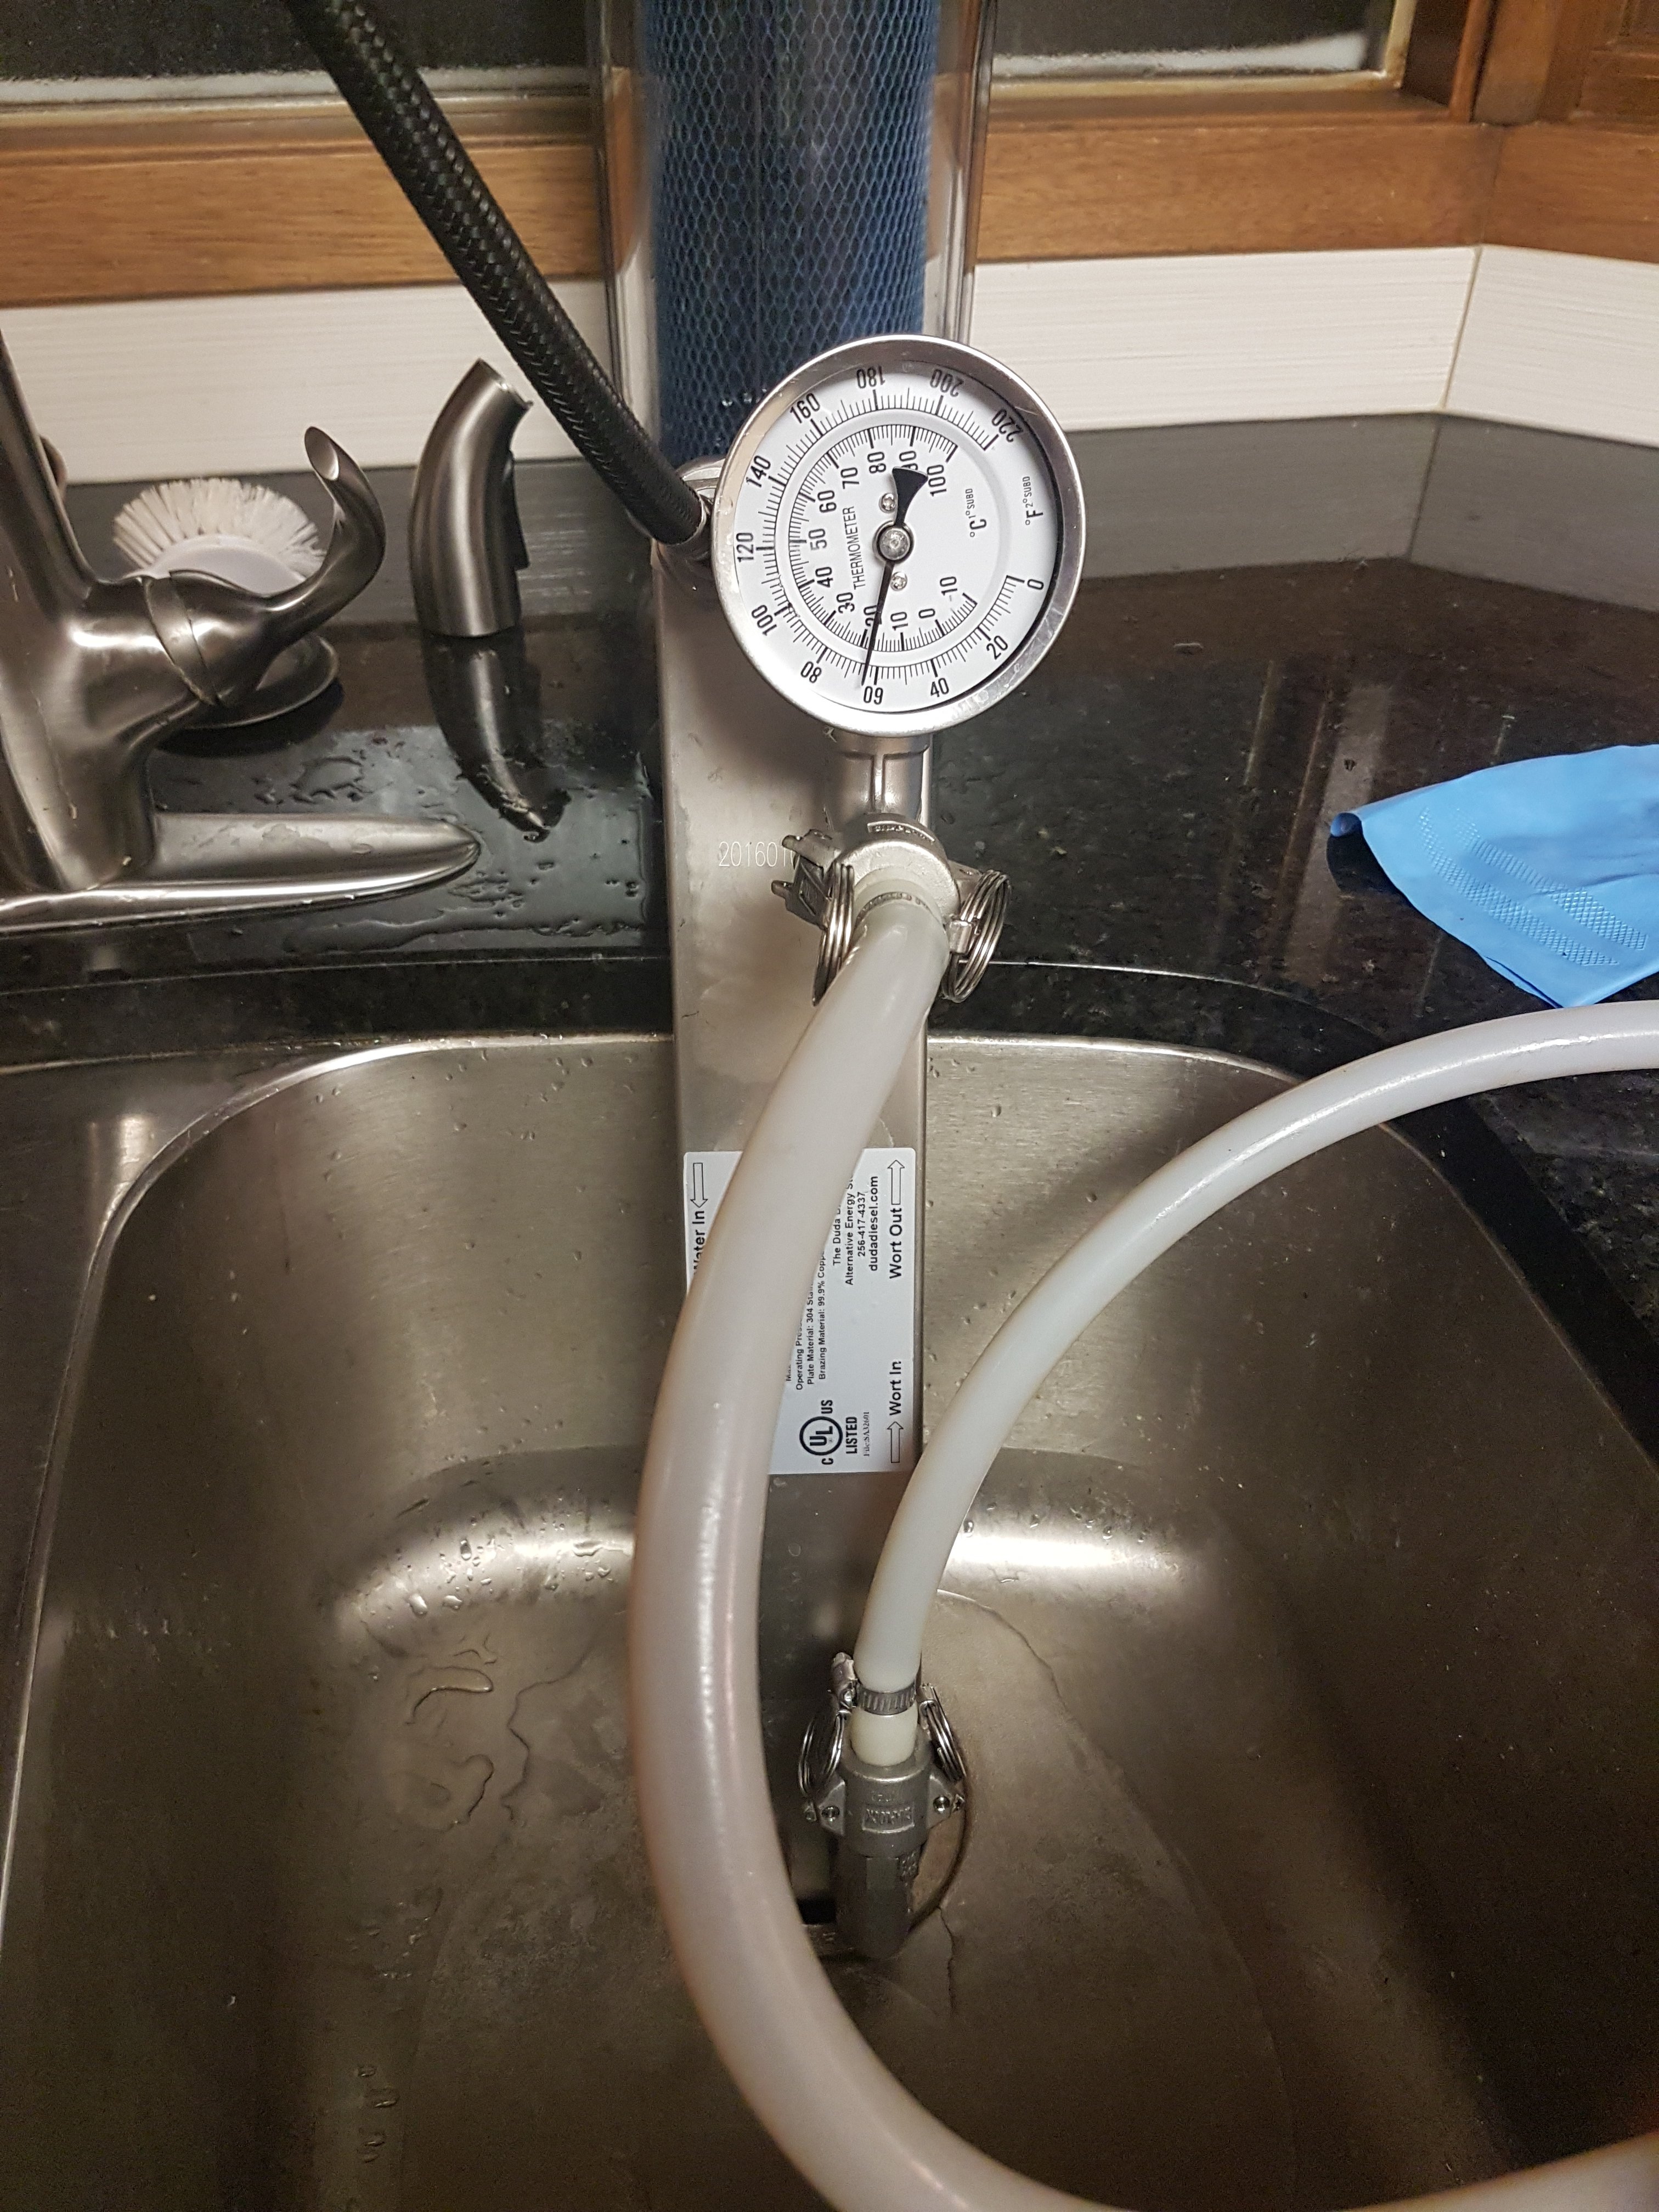
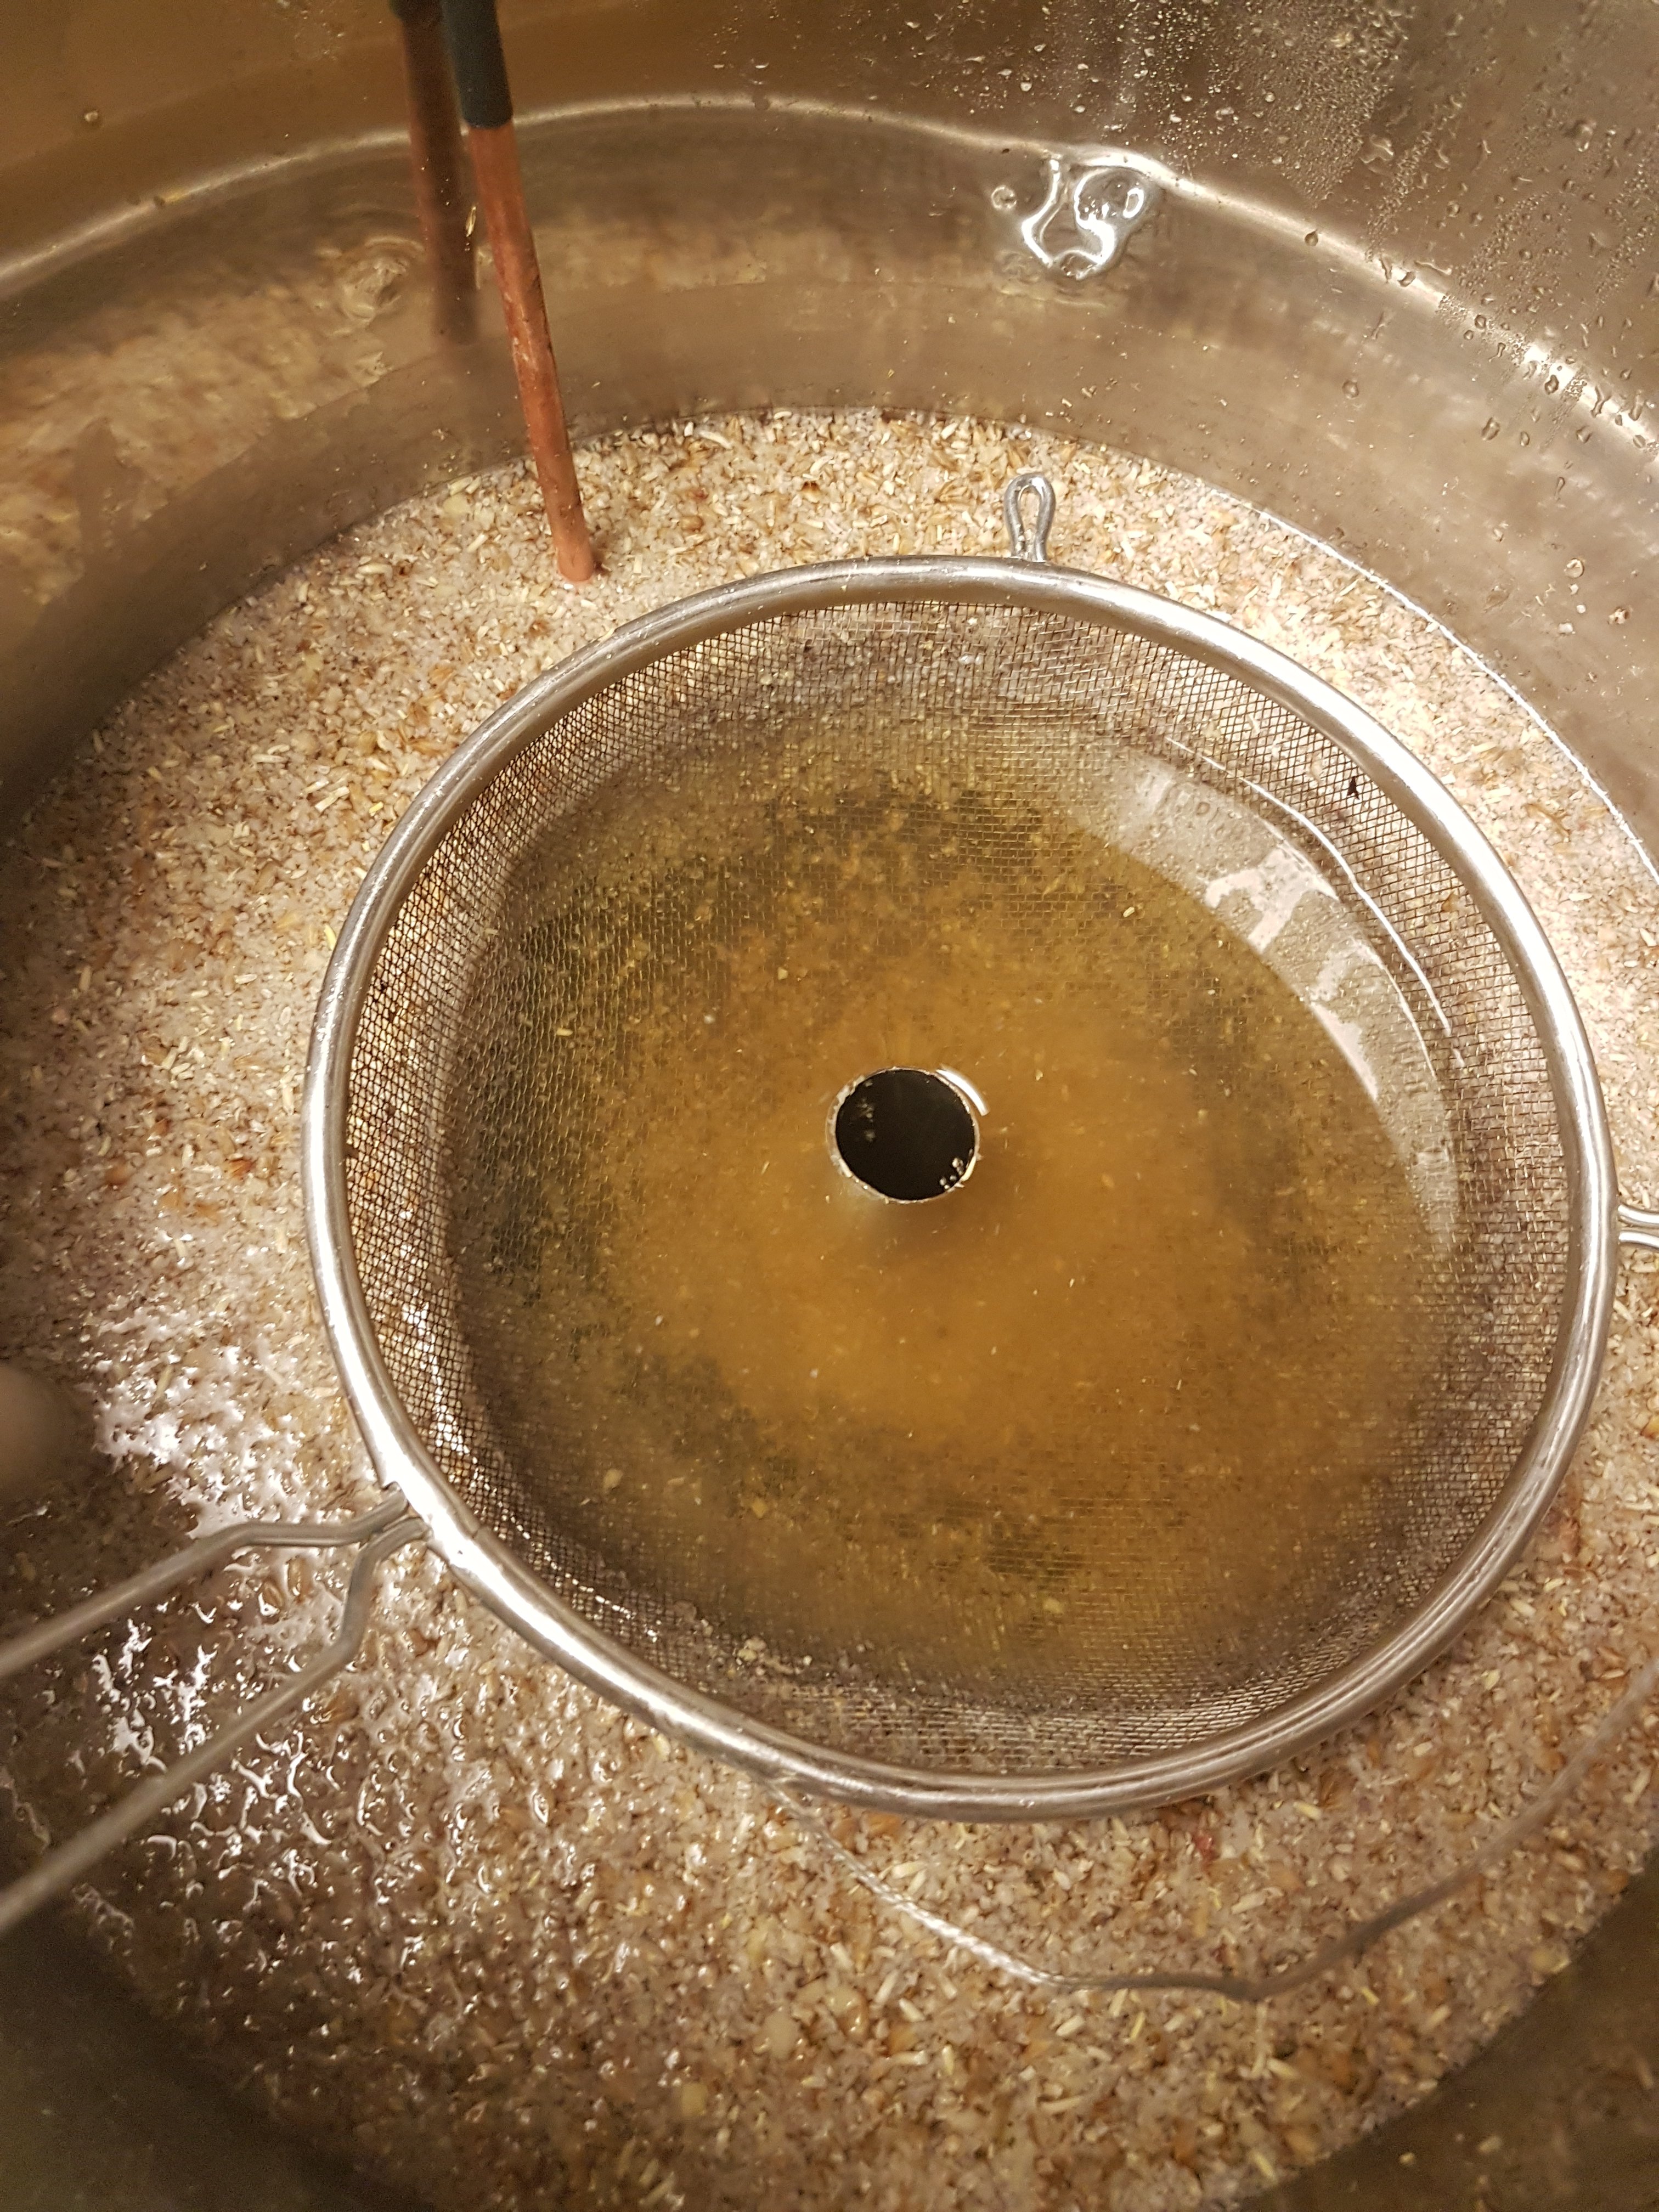
This is my post boil straining technique. First recirc the near boiling wort through the BIAB bag. Once all the grunge is filtered out, then recirc through the chiller to sterilize it. Then turn on the chilling water and recirc back into the kettle for a bit, filter out some cold break as well.

I ran without any hop filter in the kettle. No problems whatsoever. The kettle was almost perfectly clean at the end.

20190217_233932.jpg


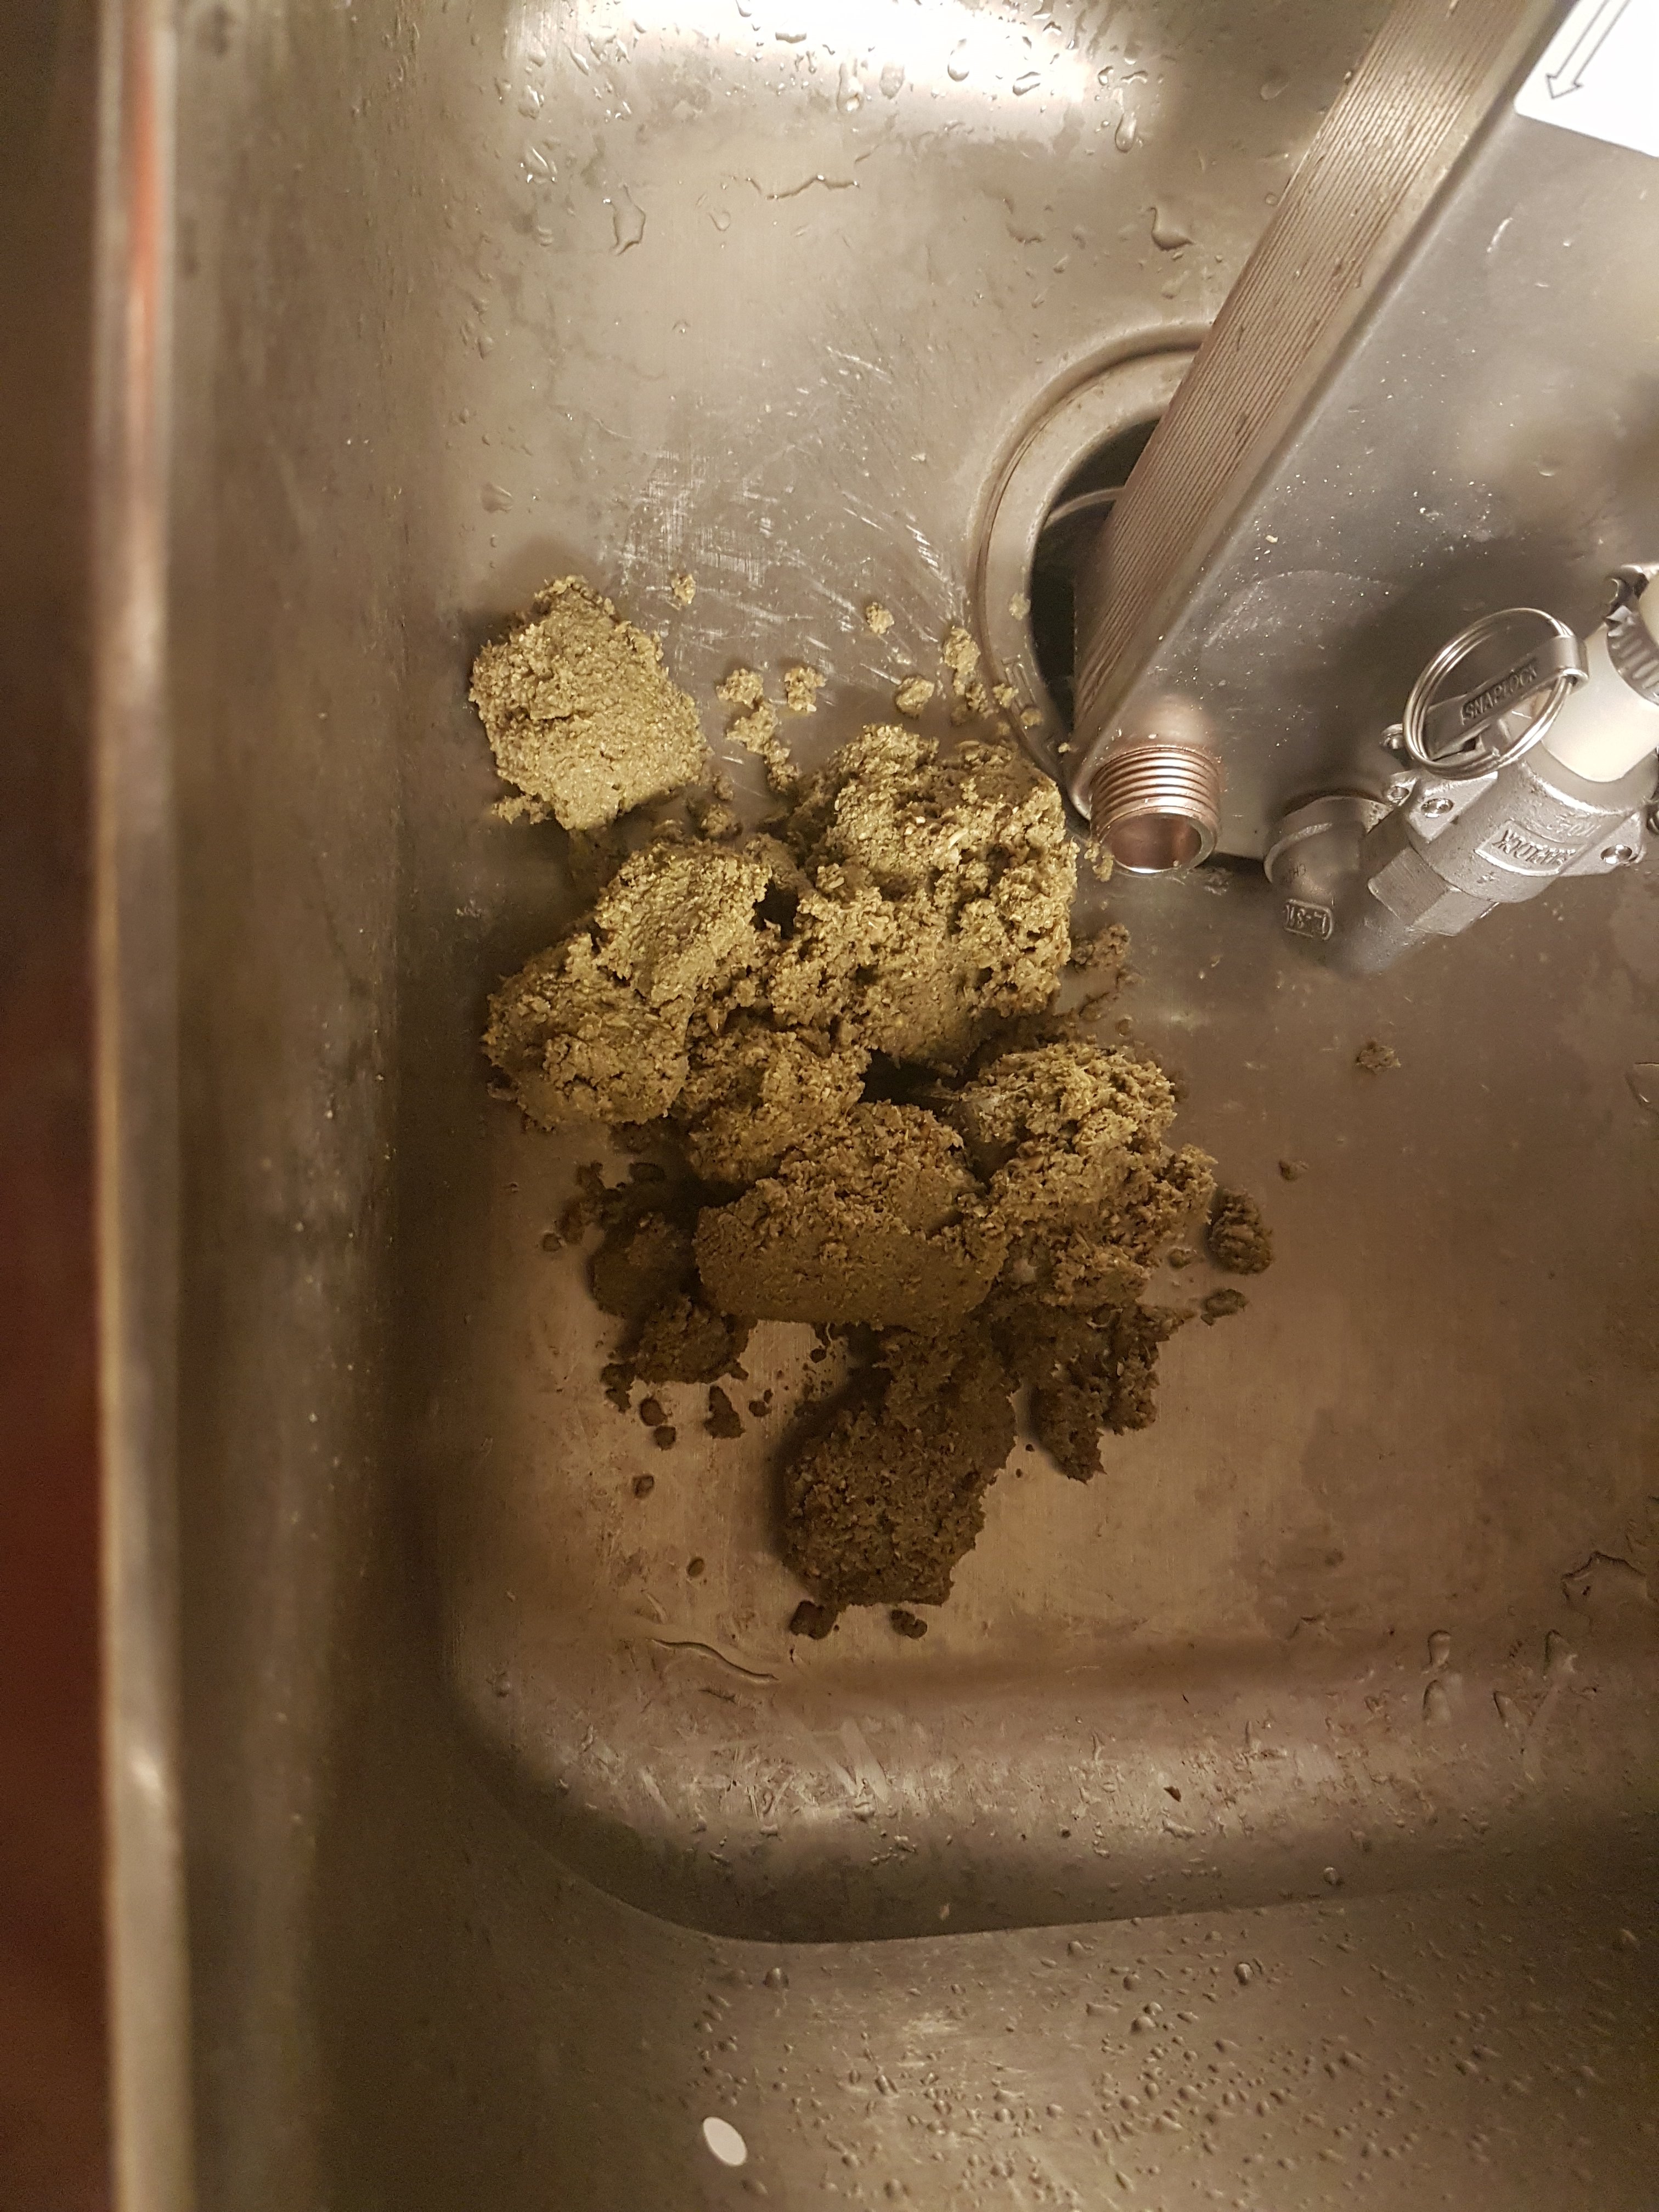
This is what the BIAB strainer catches. This batch only had 1 oz of hops. Most of that is hot and cold break.

20190217_234949.jpg


Chilling worked great. I had total control of the outlet temp into the fermentor. I could drop it down further, but this is an ale that ferments at room temp.

20190217_234648.jpg
 
Last edited:
What are you doing to manage the steam from your boil?

Nothing.

Thing1 boils off about a gallon per hour from what I can tell. It has been very cold here and the air in the house has been dry. There is no problem with humidity build up, in fact, the humidity is welcome.

The smell is another thing. The first brew had more hops in it and was more aromatic. I opened a window and turned on the oven fan hood. That cleared it out pretty well. I love the smell of hops so it doesn't bother me. The second brew had hardly any hops (only 1 oz) so no smell build up with it.
 
Morning after thought... it is a shame these batches are so small. At some point I'll probably either put larger pots on Thing1 so that I can do 10 gallon (finished into keg) batches or I'll build Thing2, a 10 gallon version.

5Kw would be under powered for 10 gallon batches, but it would work. 7.5 or even 10 Kw would be better for the bigger boils.

I really enjoyed brewing this weekend. I have post weekend brewing blues !
 
Last edited:
I decided to brew one more batch before I put it everything away. This is a lager.

I can't wait to put a quiet pump on Thing1. It is way too loud right now.

20190218_172223.jpg
 
Last edited:
Crystal clear wort. This beer is has an SRM of 3.18.

The good thing is that the bed won't be disturbed when I lift up the mash bucket like a BIAB would.

20190218_183618.jpg
 
I don't like that plywood either. That plywood is actually a test piece because it is hard to find a material that isn't ferromagnetic, doesn't conduct electricity and stands up to the heat that occurs between the induction coil and the boil kettle.

Induction cooktops use a type of ceramic glass. It turns out to be a special glass. I haven't found a source for that glass, nor can that glass be cut after it is manufactured.

Between the thermal issue and the lack of weight bearing capability, tile is a non starter.

Would granite work?

https://www.homedepot.com/p/Emser-G...-Granite-Floor-and-Wall-Tile-822186/304368304
 
Spent grain. Thing1 is very easy to clean out. Way easier than a keggle. It fits right into my sink to wash and when dumping the grain.

20190218_192651.jpg


3rd boil in 3 nights. This thing is a machine.

I overshot OG again. Recipe called for 1.048. I'm at 1.052+ and the boil isn't done. Darn.

20190218_194400.jpg
 
Last edited:
Here is a video for an aftermarket false bottom upgrade for the Grainfather. It is designed to prevent pump plugging and scorching. Scorching happens on the UK machines if you aren't careful. Pump plugging happens on all models if the factory hop blocker falls off.


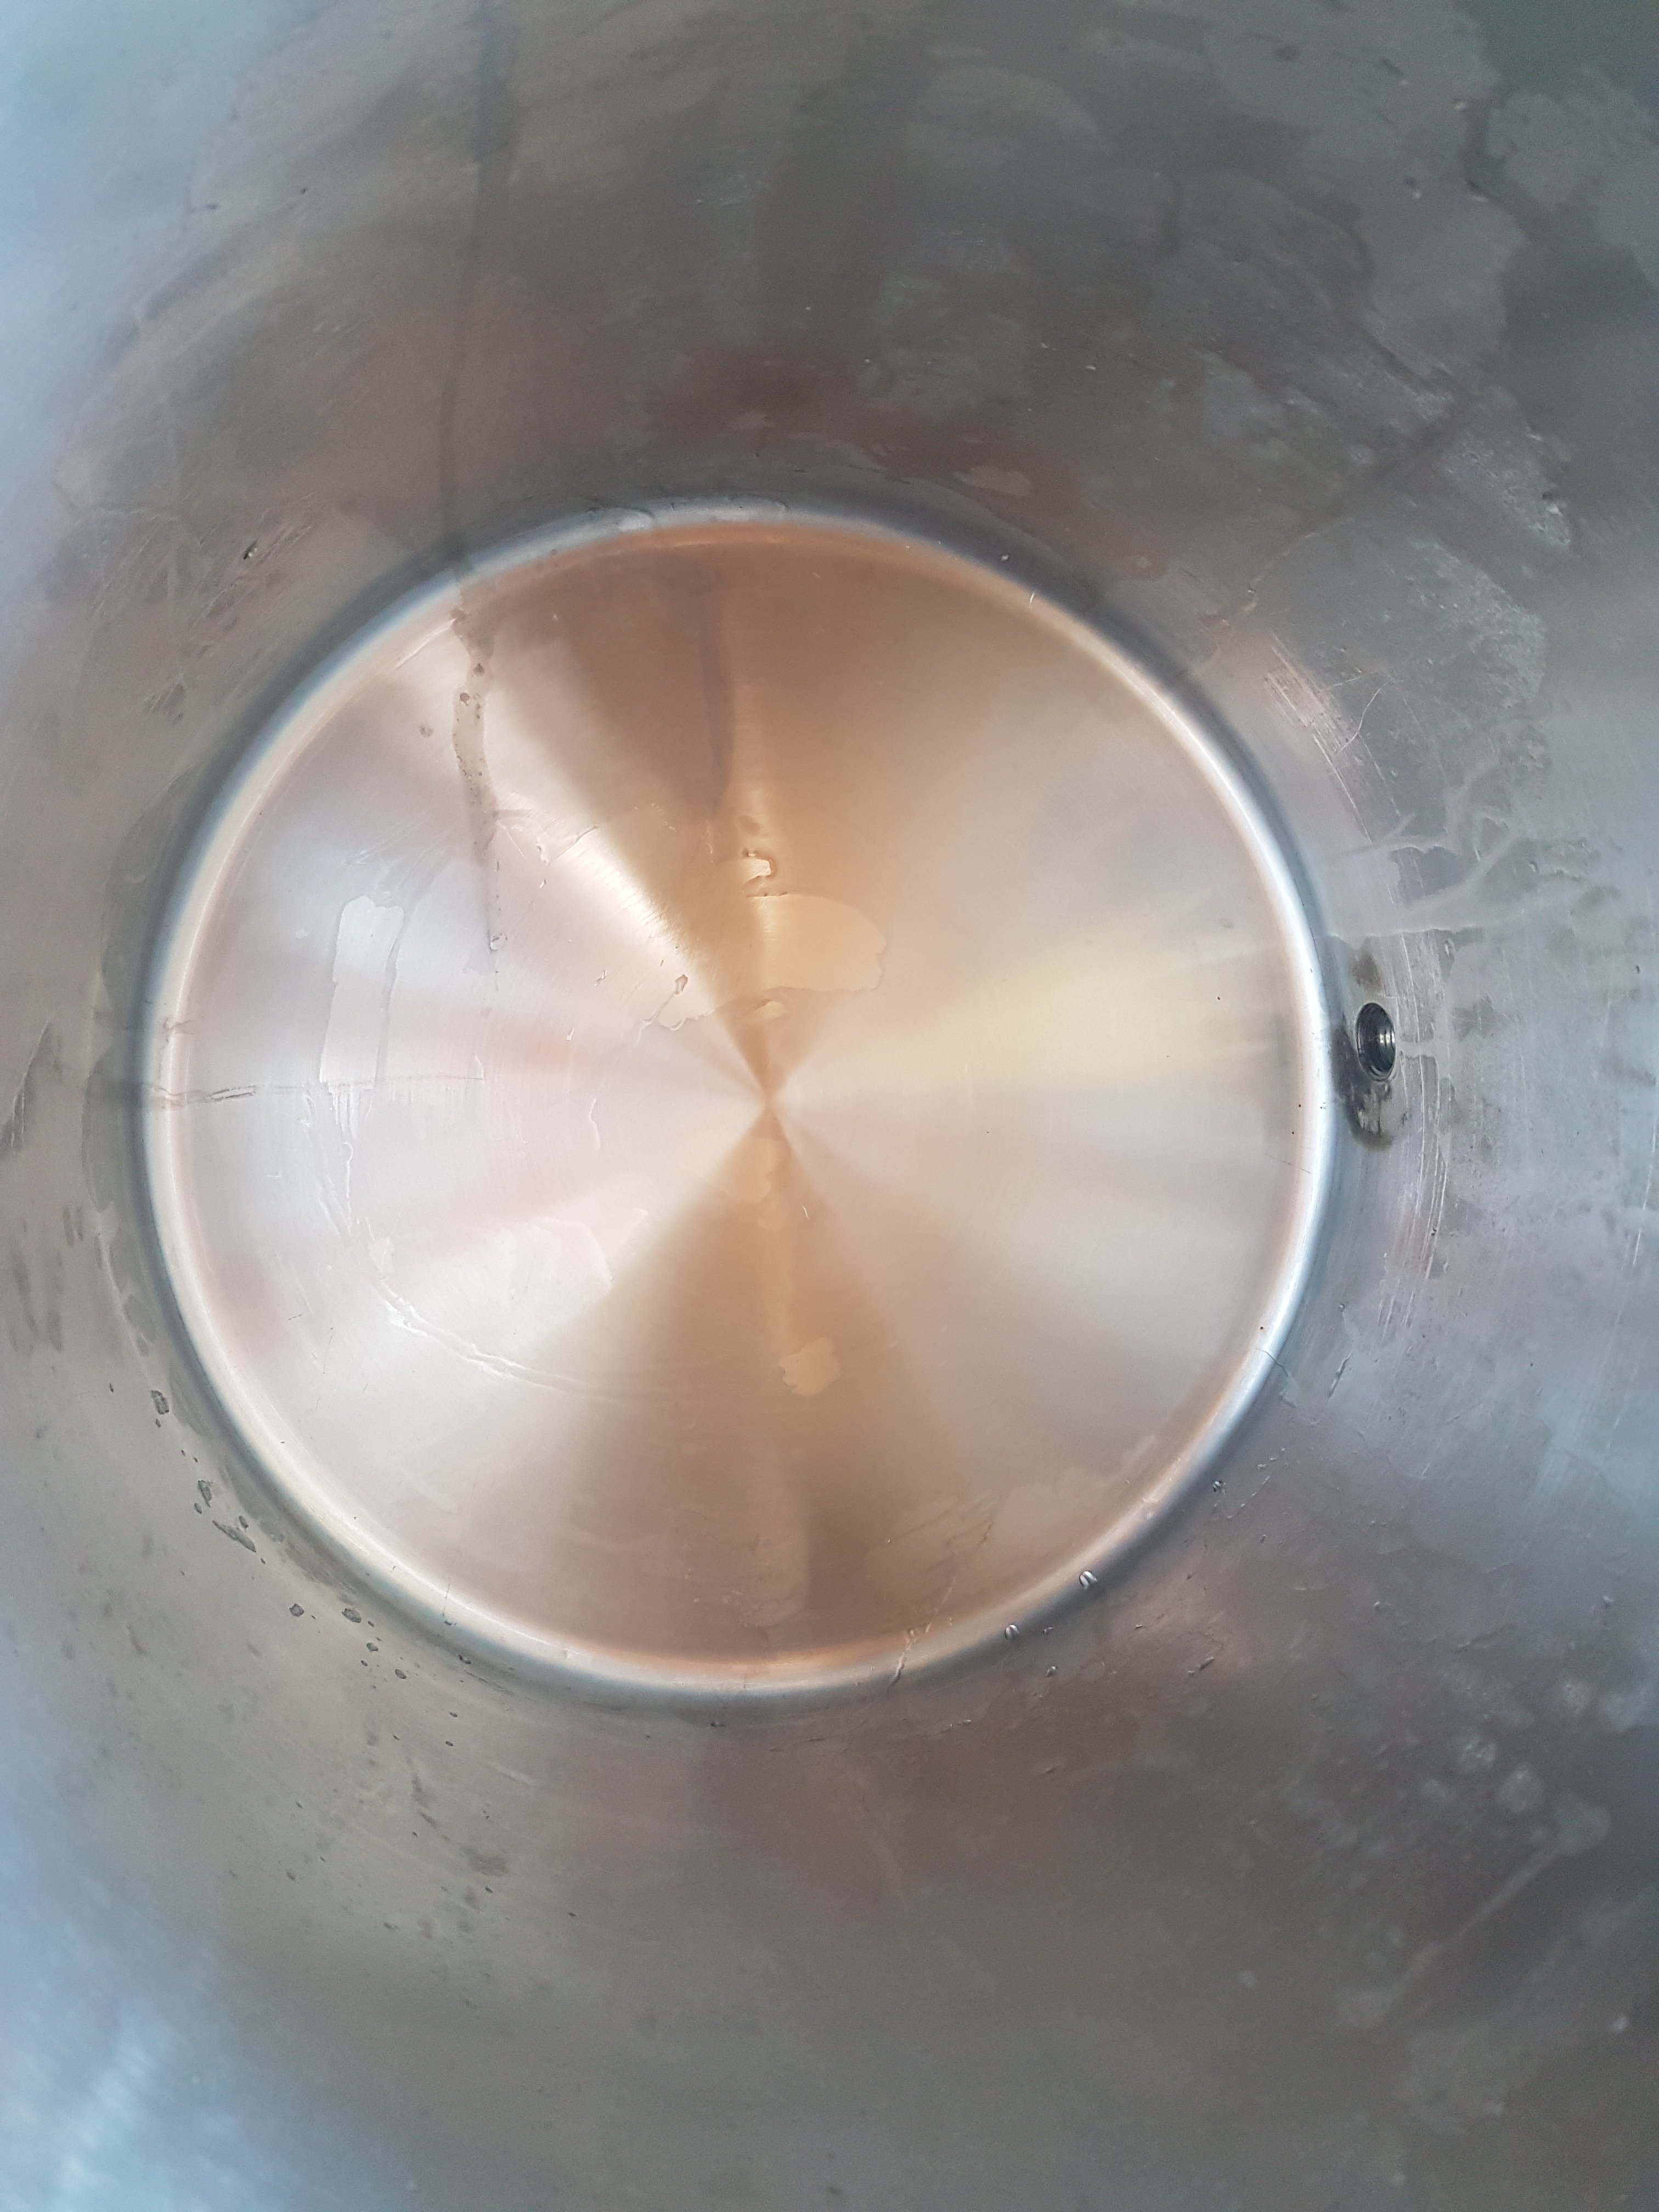
Here is the bottom of my pot straight after my boil, after 3 brews, a ton of testing and almost no cleaning since new.

You can see where I wiped the residue with my finger. And most of that happened because the water deposited minerals under the bazooka ring I was using which was pressing against the bottom.

Induction is a great way to heat. No scorching.

20190218_210519.jpg
 
Last edited:
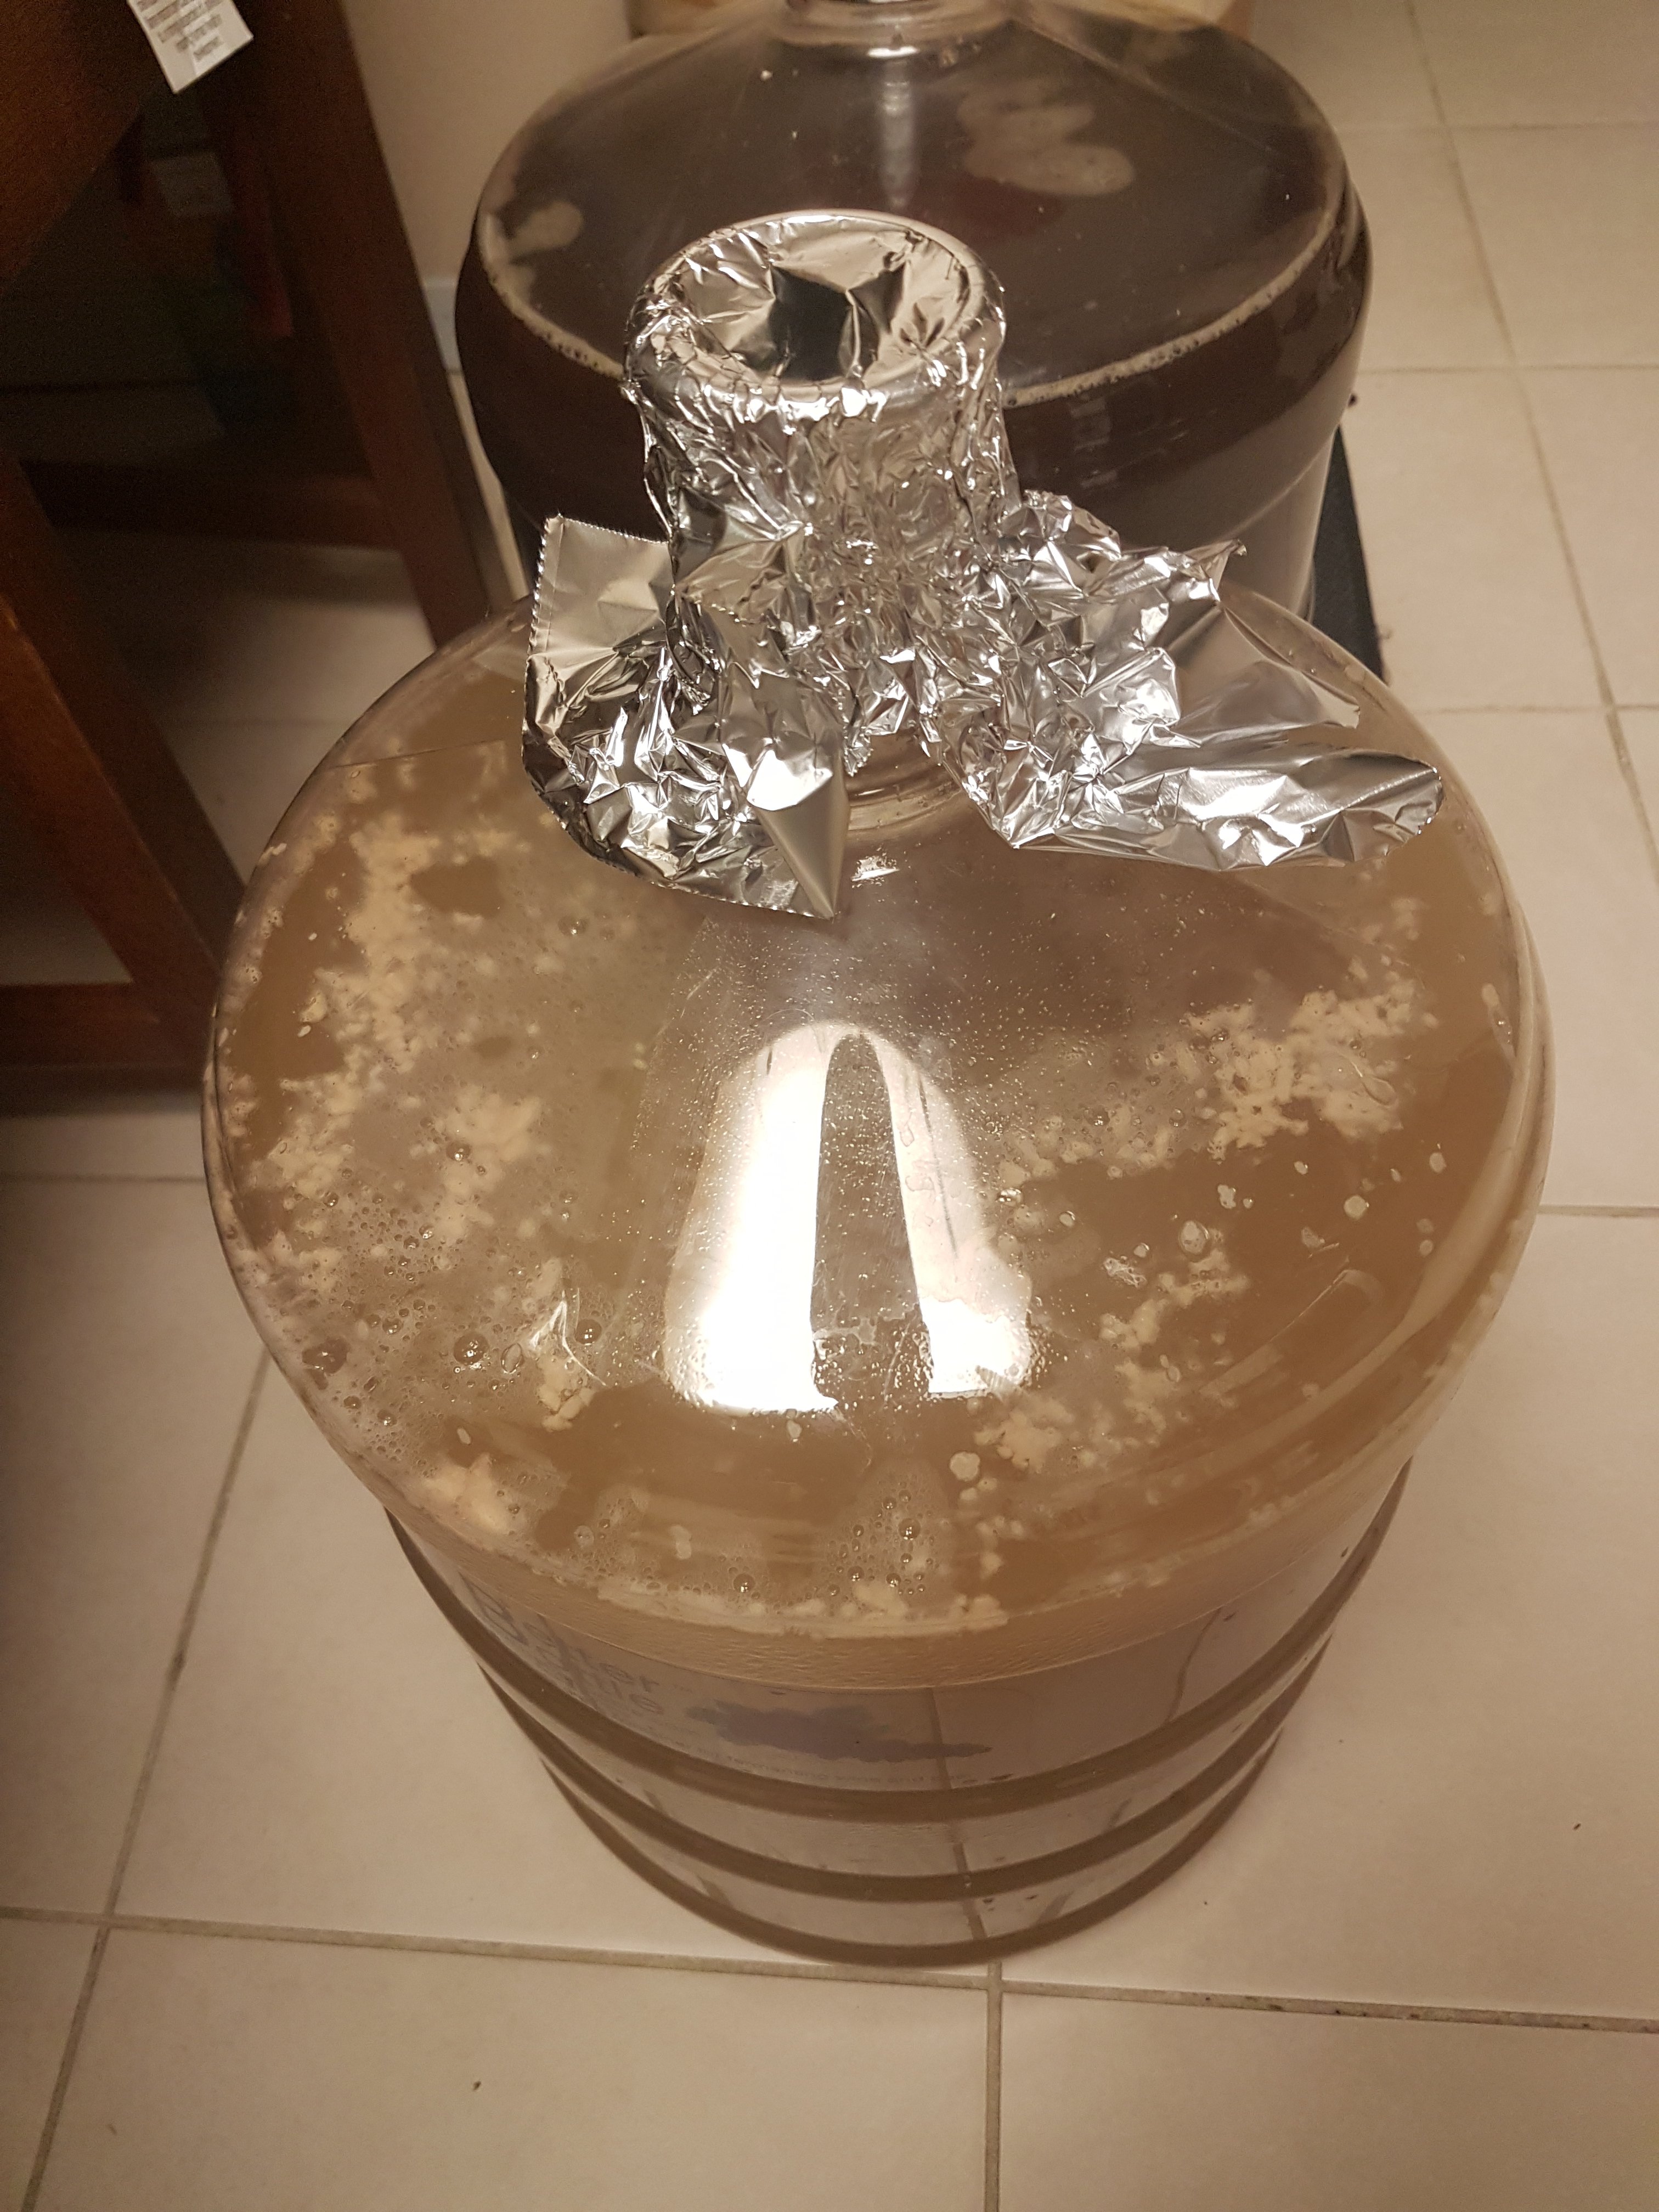
Pitched and in the fermentor. 4 hours from dough in to done, with a 2 hour mash. It went into the fermenter at about 48F.

20190218_205758.jpg


This is what the "filter bag" caught when I recirculated into it at the end of the boil. This beer had 3 oz of hops. Zero problems chilling.

20190218_205317.jpg


Oh... OG is 1.060. Recipe called for 1.048. I never used to hit my gravities with my old system. And it required constant attention for the whole mash. Other than watching the temp from a remote computer, this thing runs hands off.

20190218_211342.jpg
 
Last edited:
This is what didn't end up in my fermentor. And remember, this was very clear wort.

BTW, Thing1 has enough power to keep the wort boiling while circulating through the filter.

20190218_213545.jpg
 
Last edited:
Here is what the bottom of the boil kettle looks like after wiping out with some CLR. It is perfect - no scorching, no warping.

The induction coil is not over heating or warping the kettle bottom as some people told me a 5 Kw coil would do. It's all about watt density and applying the heat evenly over the entire surface.

20190219_094604.jpg
 
Last edited:
WOW, so this is the type of ingenuity I love to see. May I ask which power supply you are using? And would it be possible to get more detail on how you constructed the induction coil? Is it a custom gauge that you made by twisting smaller strands of solid copper together?
 
Thanks.

That power supply is not designed for this application and there is an issue with it. Furthermore, the manufacturer isn't totally cooperative with solving it. There are also a few tricks to getting the induction coil working properly with the power supply.

I'll be testing a slightly different setup in a couple months. I think people should wait to see the outcome of that before they build anything.

Good to know! Sorry to hear that you're having troubles with it currently. I await future developments with bated breath. Thanks for blazing the trail here!
 
I'm not having troubles with it currently. It works excellent. But it it isn't a plug and play solution, like it should be.
 
Storage mode. All the accessories fit inside the kettles. You can put the lid upside down if you want to put something on top.

I can't wait to brew with it again.

20190220_085939.jpg
 
I'll be testing a slightly different setup in a couple months. I think people should wait to see the outcome of that before they build anything.

i'm pretty interested in moving to induction brewing, can you expand on what you're planning on testing?
 
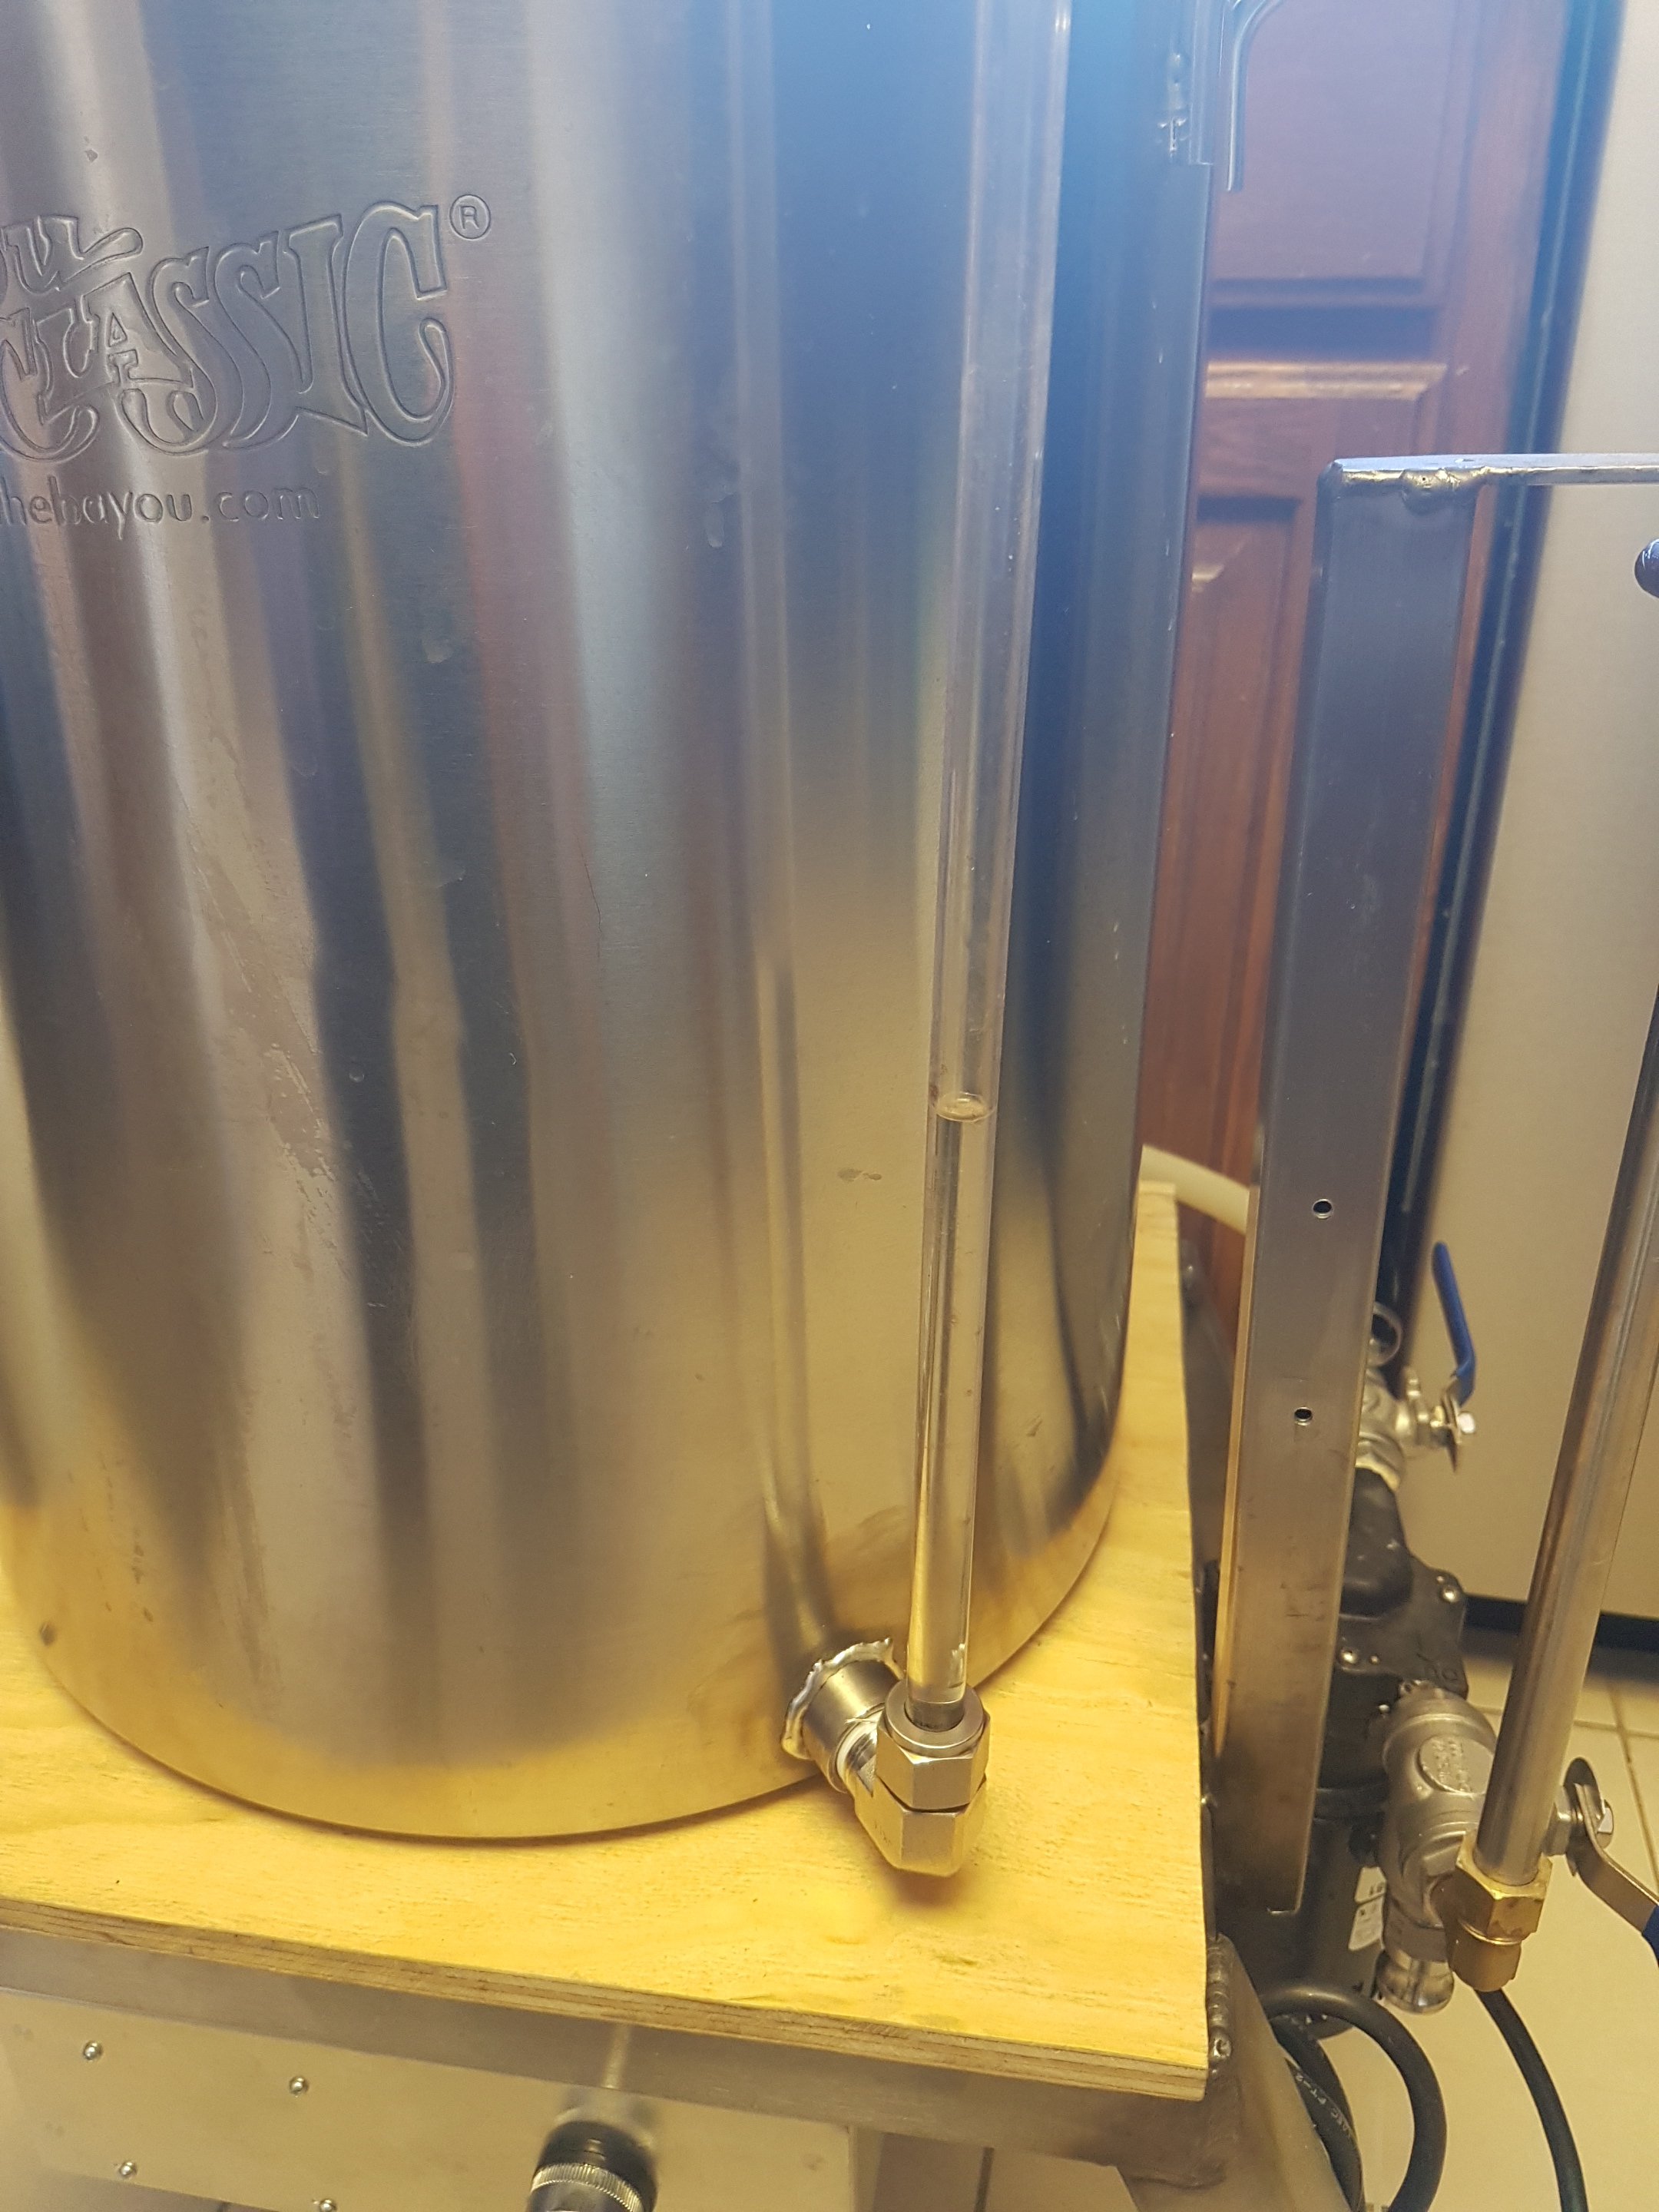
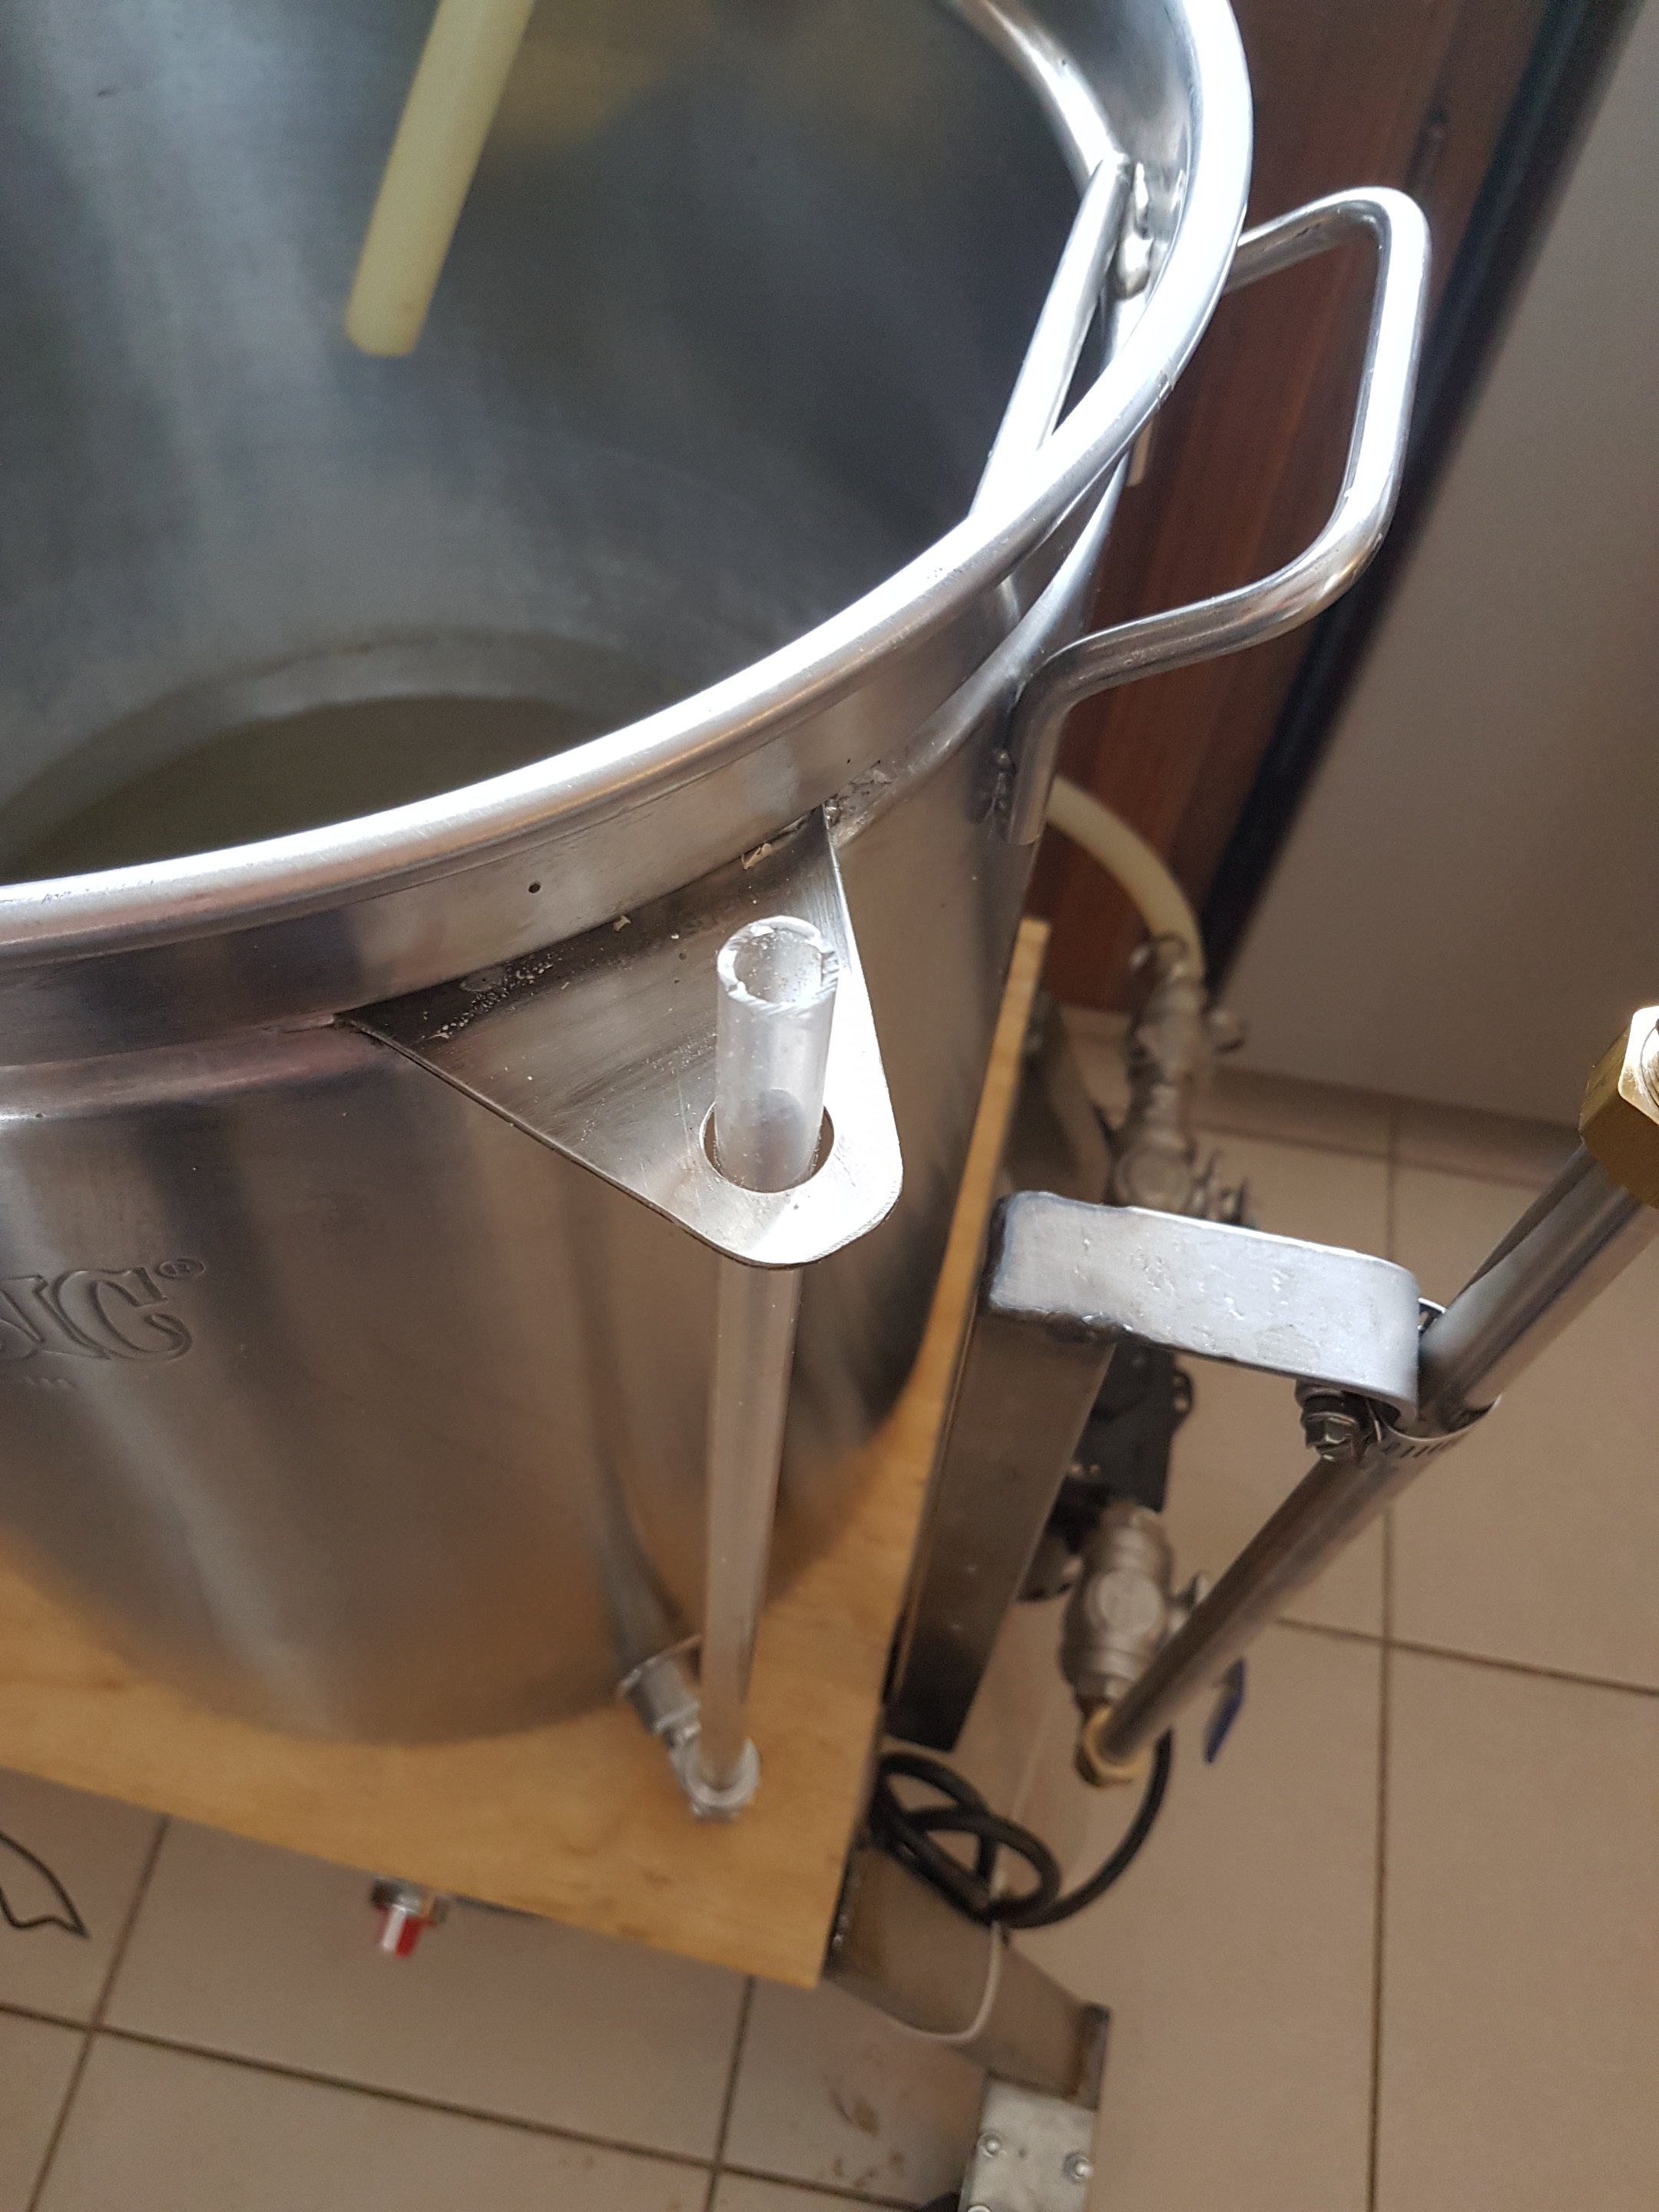
I'm adding a sight glass to Thing1, because:

1) I'm going to be changing up my batch sizes because of some work I've been doing on fermentors or rather kegmentors - using kegs as pressurized fermentation, settling and possibly serving vessels, AKA unitanks. Because I won't be brewing the same batch size over and over, I need to get my volumes right when brewing oddball batch sizes. Thus I need a sight glass.

Aside. I've got the ingredients for 2 batches sitting in my basement. I really wanted to brew 2 or 3 batches this weekend, but I was working on fermentors for the batches to go into. Hopefully I brew a couple evenings this week.

2) I can't see into the kettle during the sparge, so I never know how much is actually in the kettle. I've been dipping a SS rod into the kettle during the sparge and calculating the volume based on that, but that is a pain.

3) I want to see how much suction is on the grain bed during recirculation. You can get this by comparing the hydraulic head at the bottom of the kettle (shown by the sight glass) with the liquid level on top of the bed. The difference between the two is the suction on the bed.

Said suction exists even with the standpipe. If there was no suction on the bed, the standpipe would be full to the top of the bed. This happens if you turn the pump off. But when you run the pump, the standpipe level drops because of the suction on the bed.

Now I can throttle the pump so I have a fixed amount of suction on the grain bed. I can also easily measure the recirc flow and calculate a flow parameter for the grain bed and start making educated decisions about mash step times, when to add hulls to improve bed flow, etc.

I've put this off for a while because I didn't want to void the warranty on Thing1. Oh... wait... LOL.

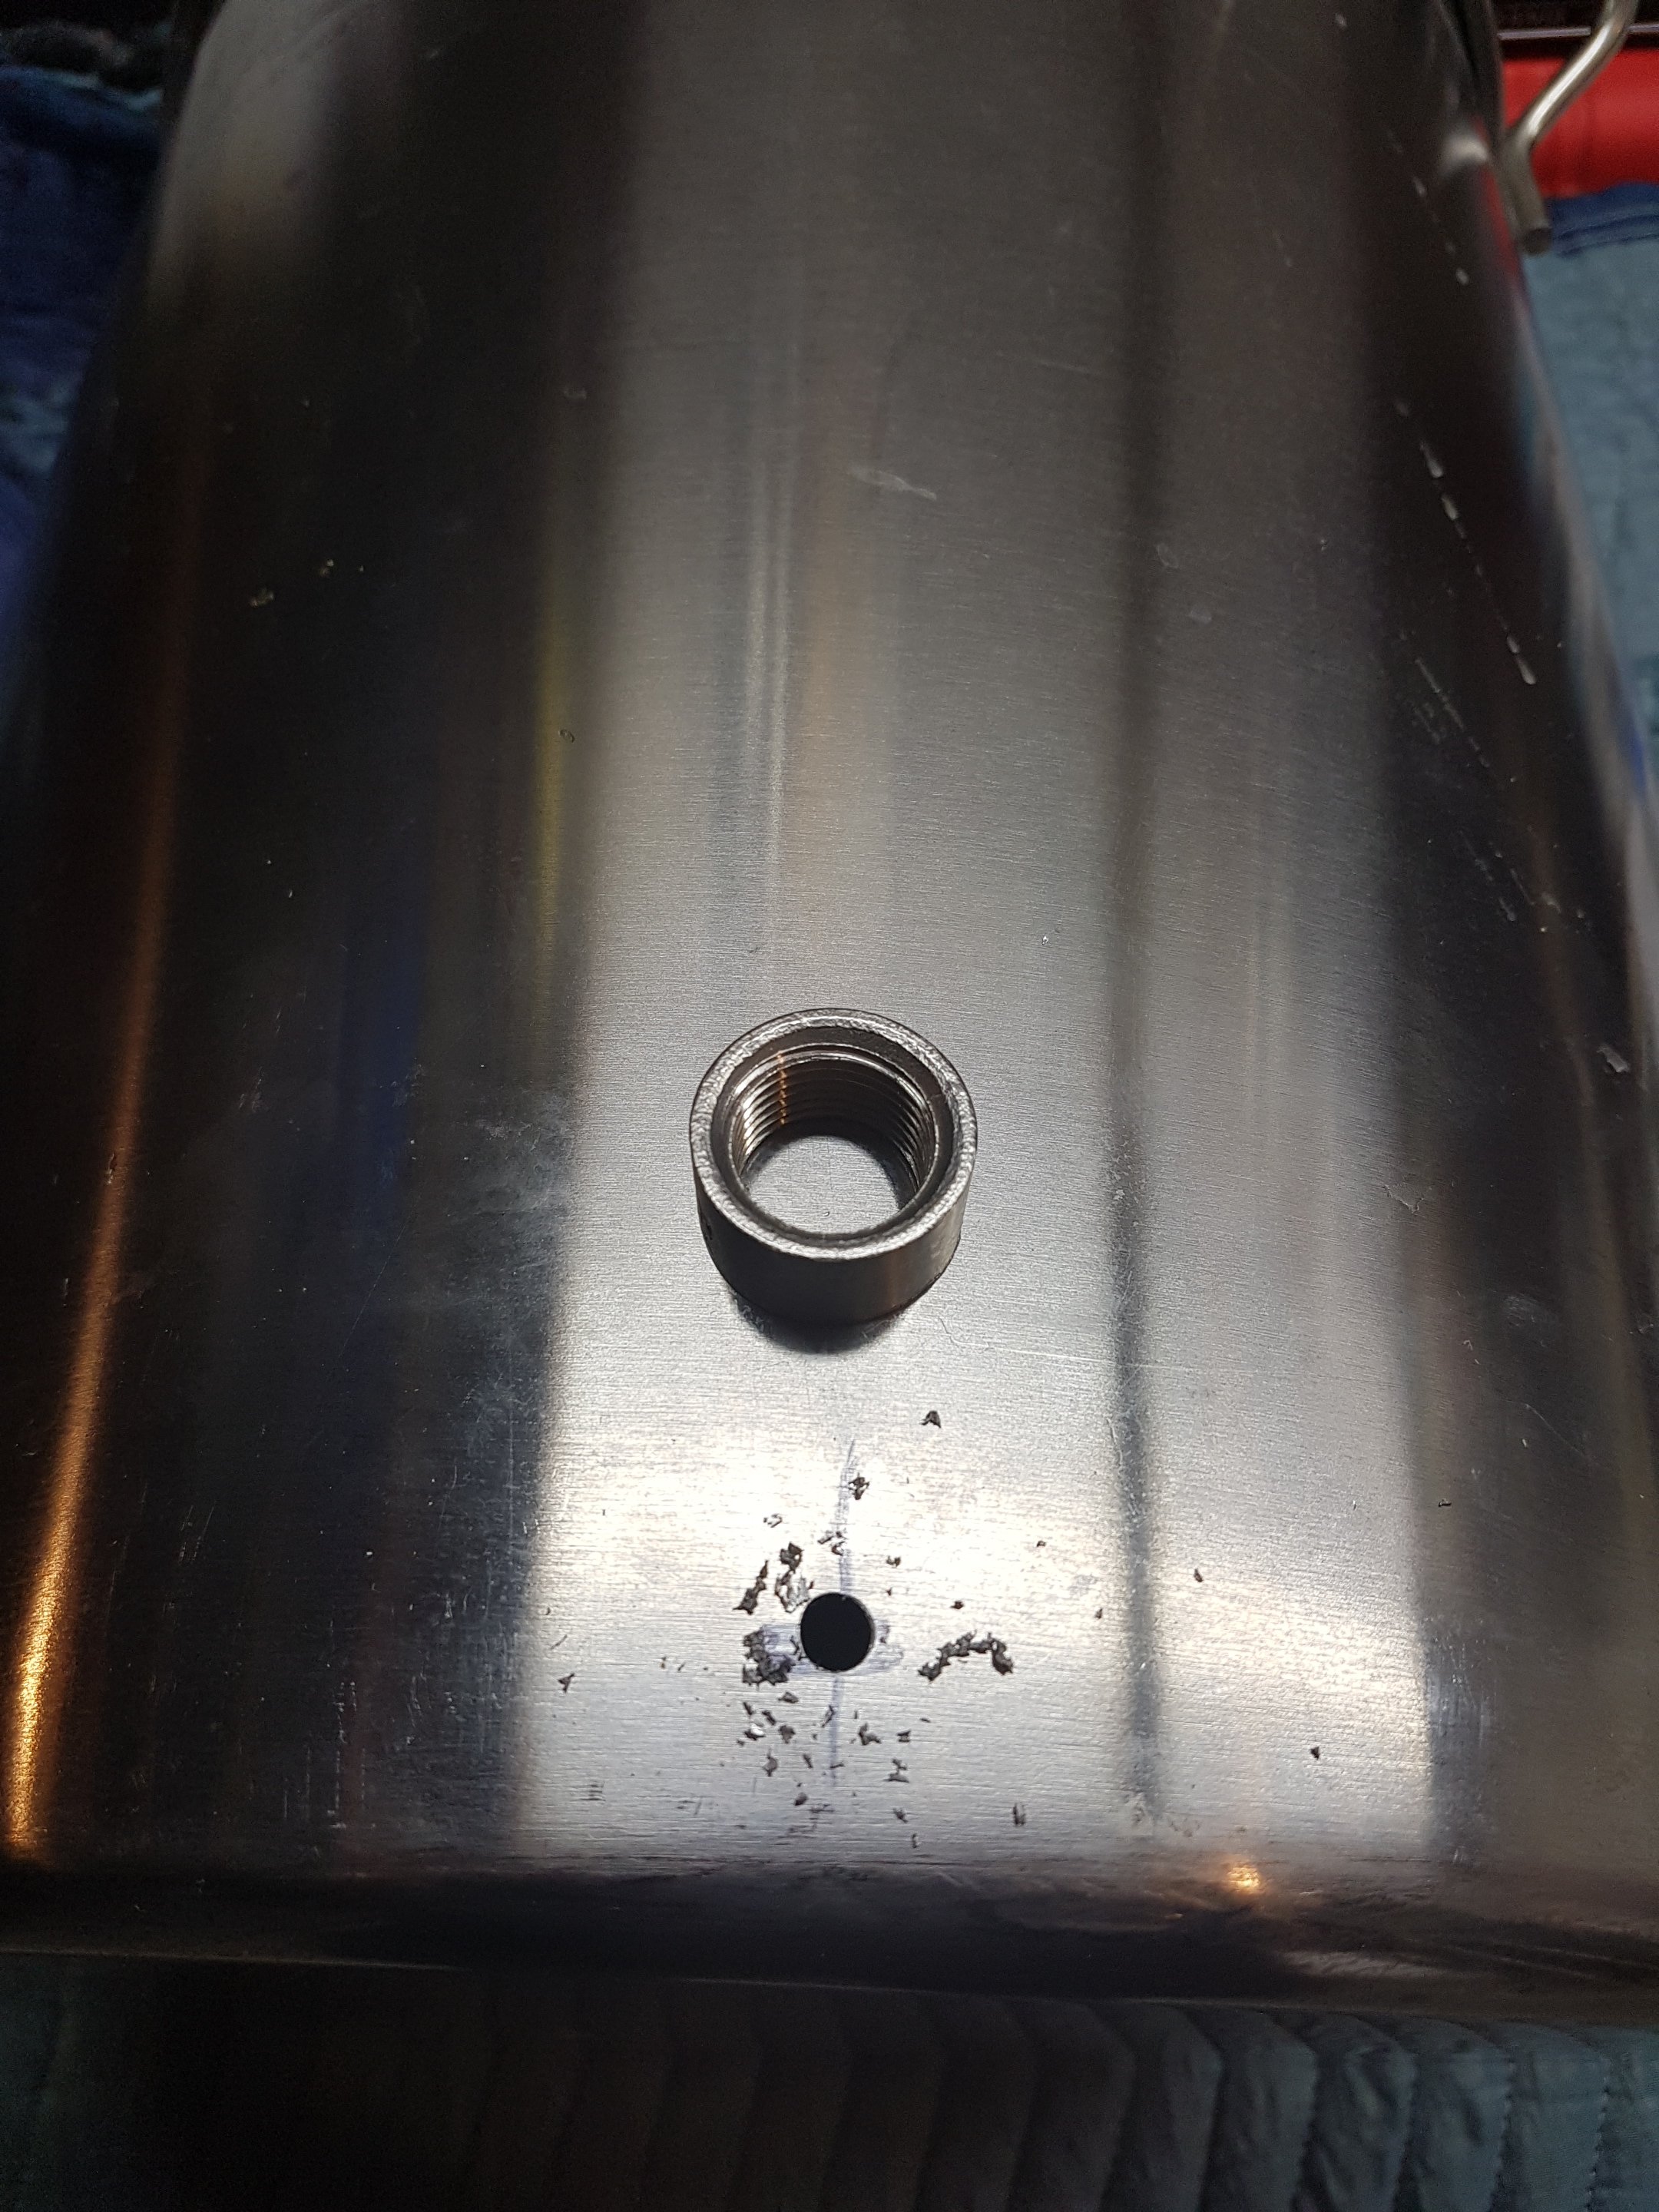
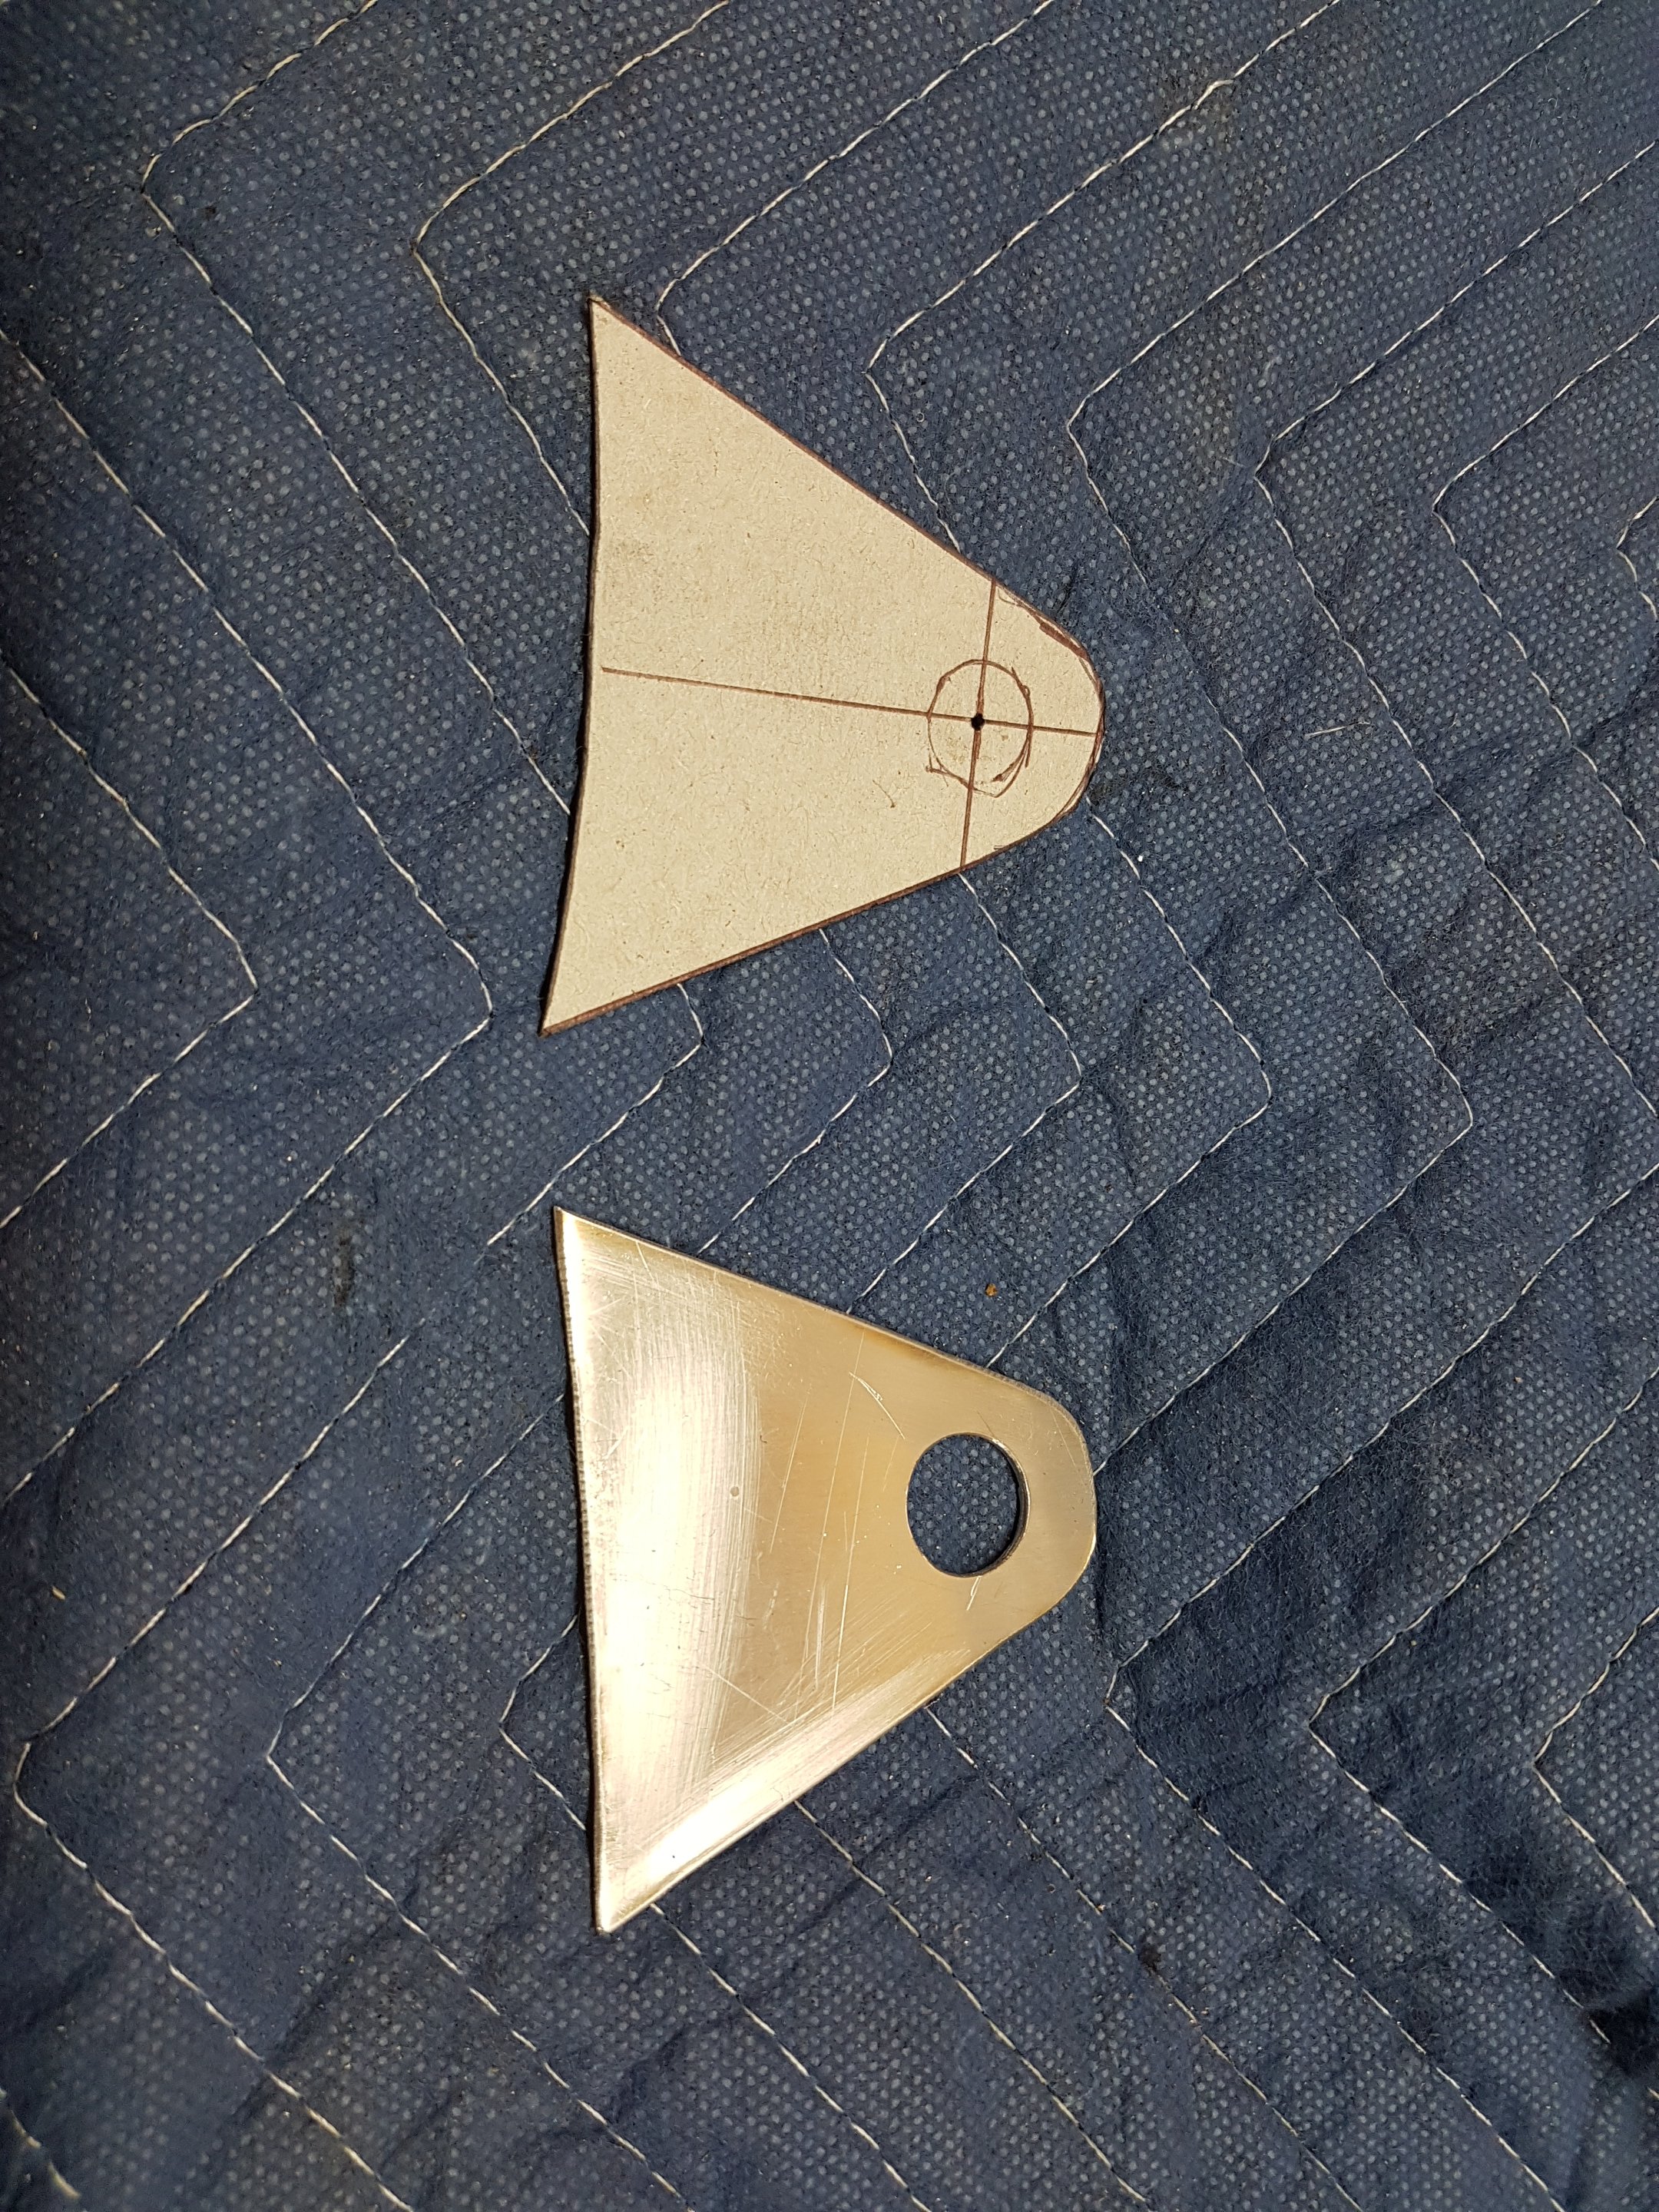
Drill the pilot hole. I put an old furniture moving blanket on my work bench when I work on shiny kettles so I don't scratch them. Plus they don't roll around as much.

20190303_143345.jpg


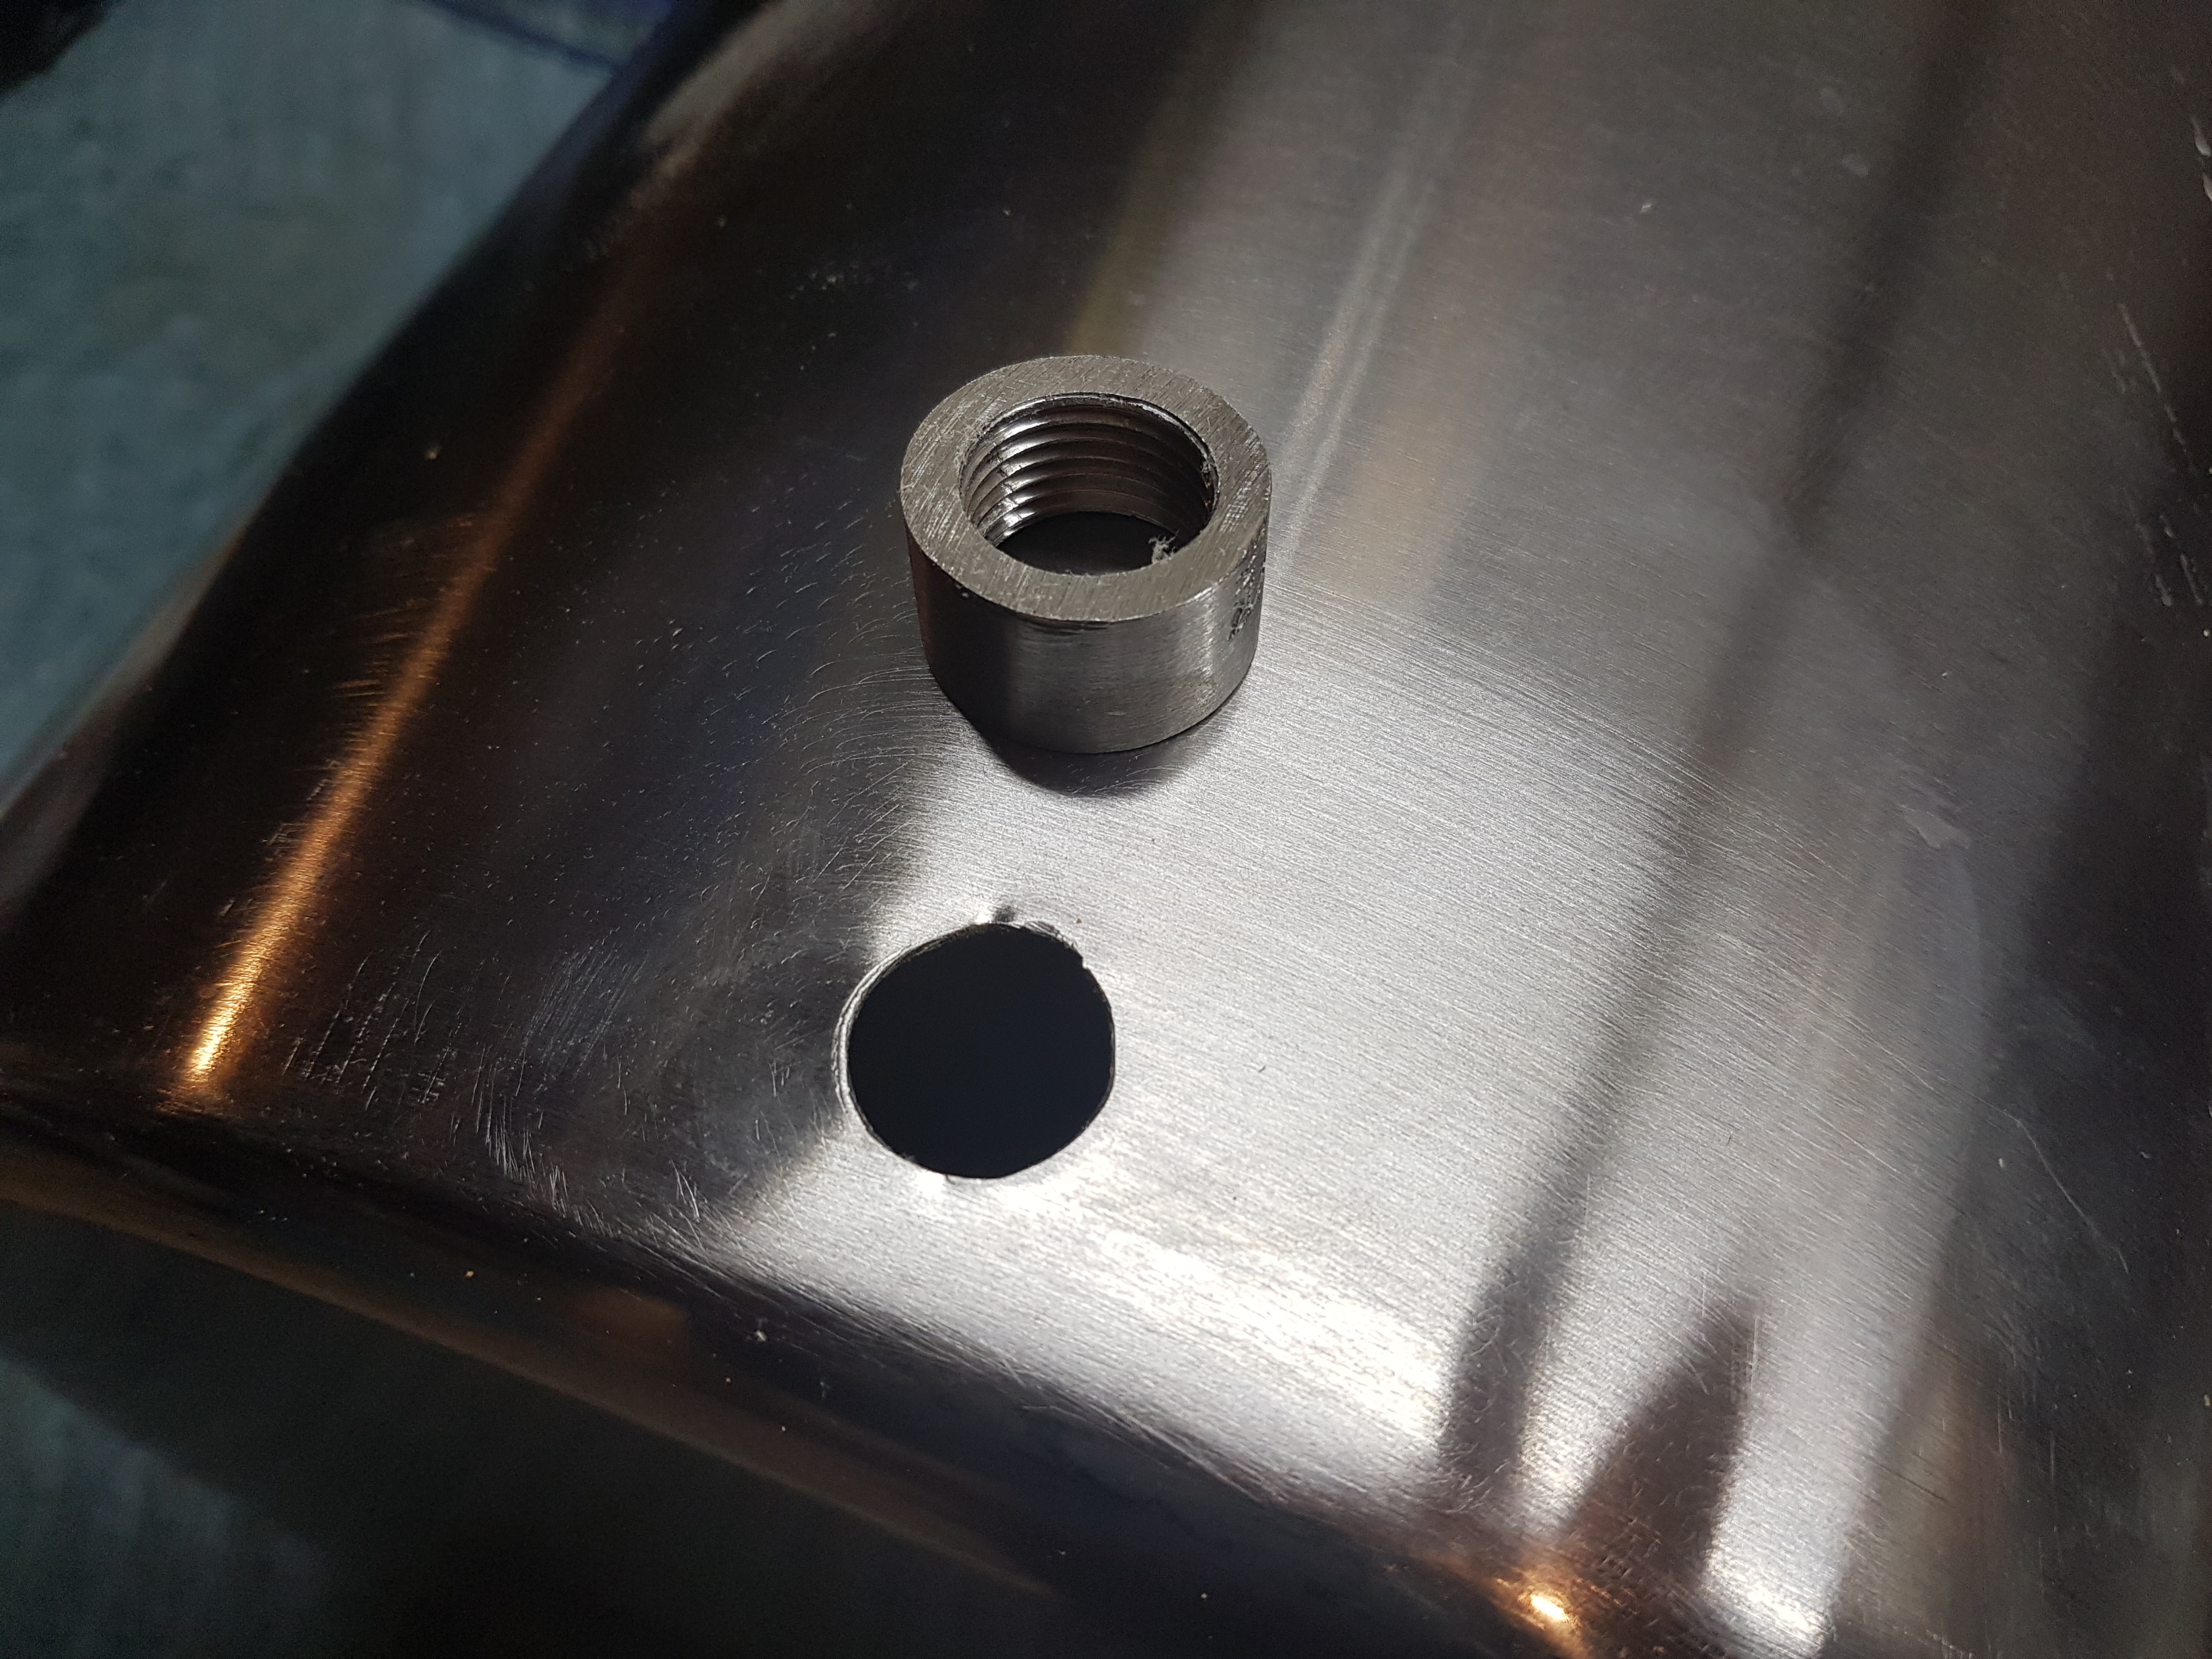
Enlarge it with a step bit. Clean it up a bit.

20190303_144251.jpg


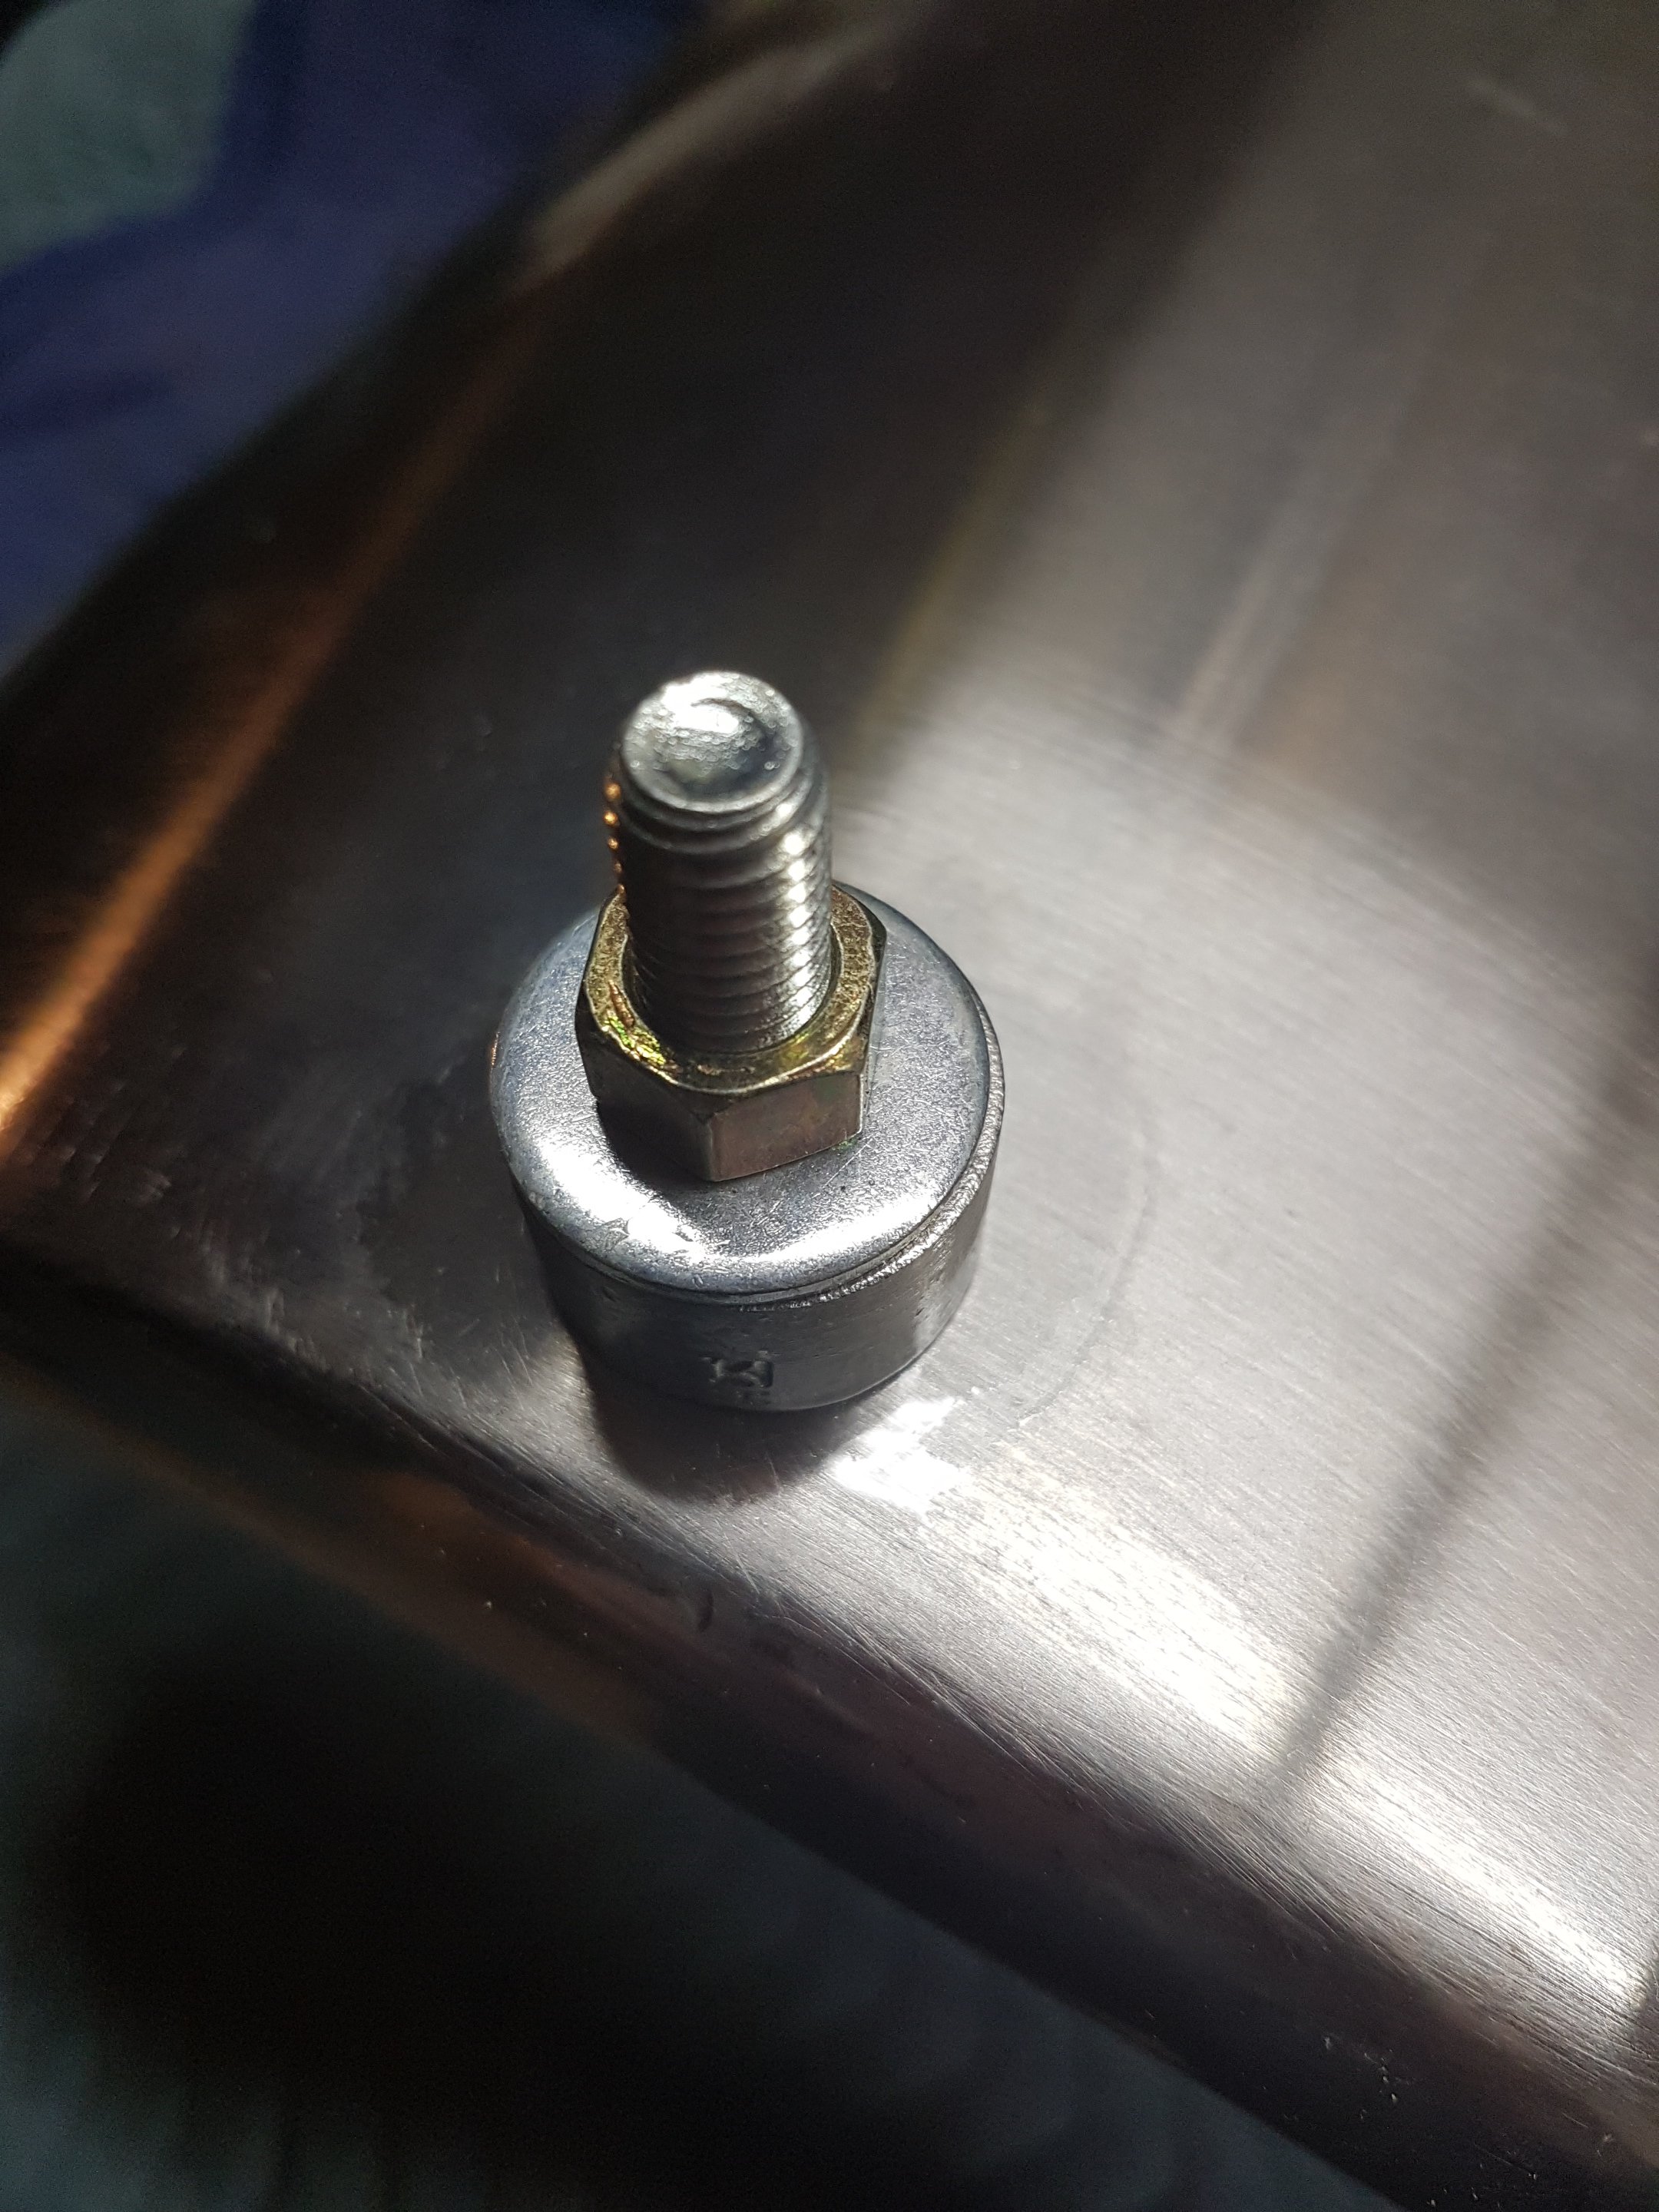
Clean everything up with sandpaper and acetone and bolt it down so it doesn't move while soldering. Apply flux.

I solder stuff that isn't too big, isn't heated by a flame and isn't under pressure. FYI, this is a 1/2" NPT coupler that I cut in half. I don't want anything protruding into my kettle, so it goes on the outside.

20190303_144818.jpg


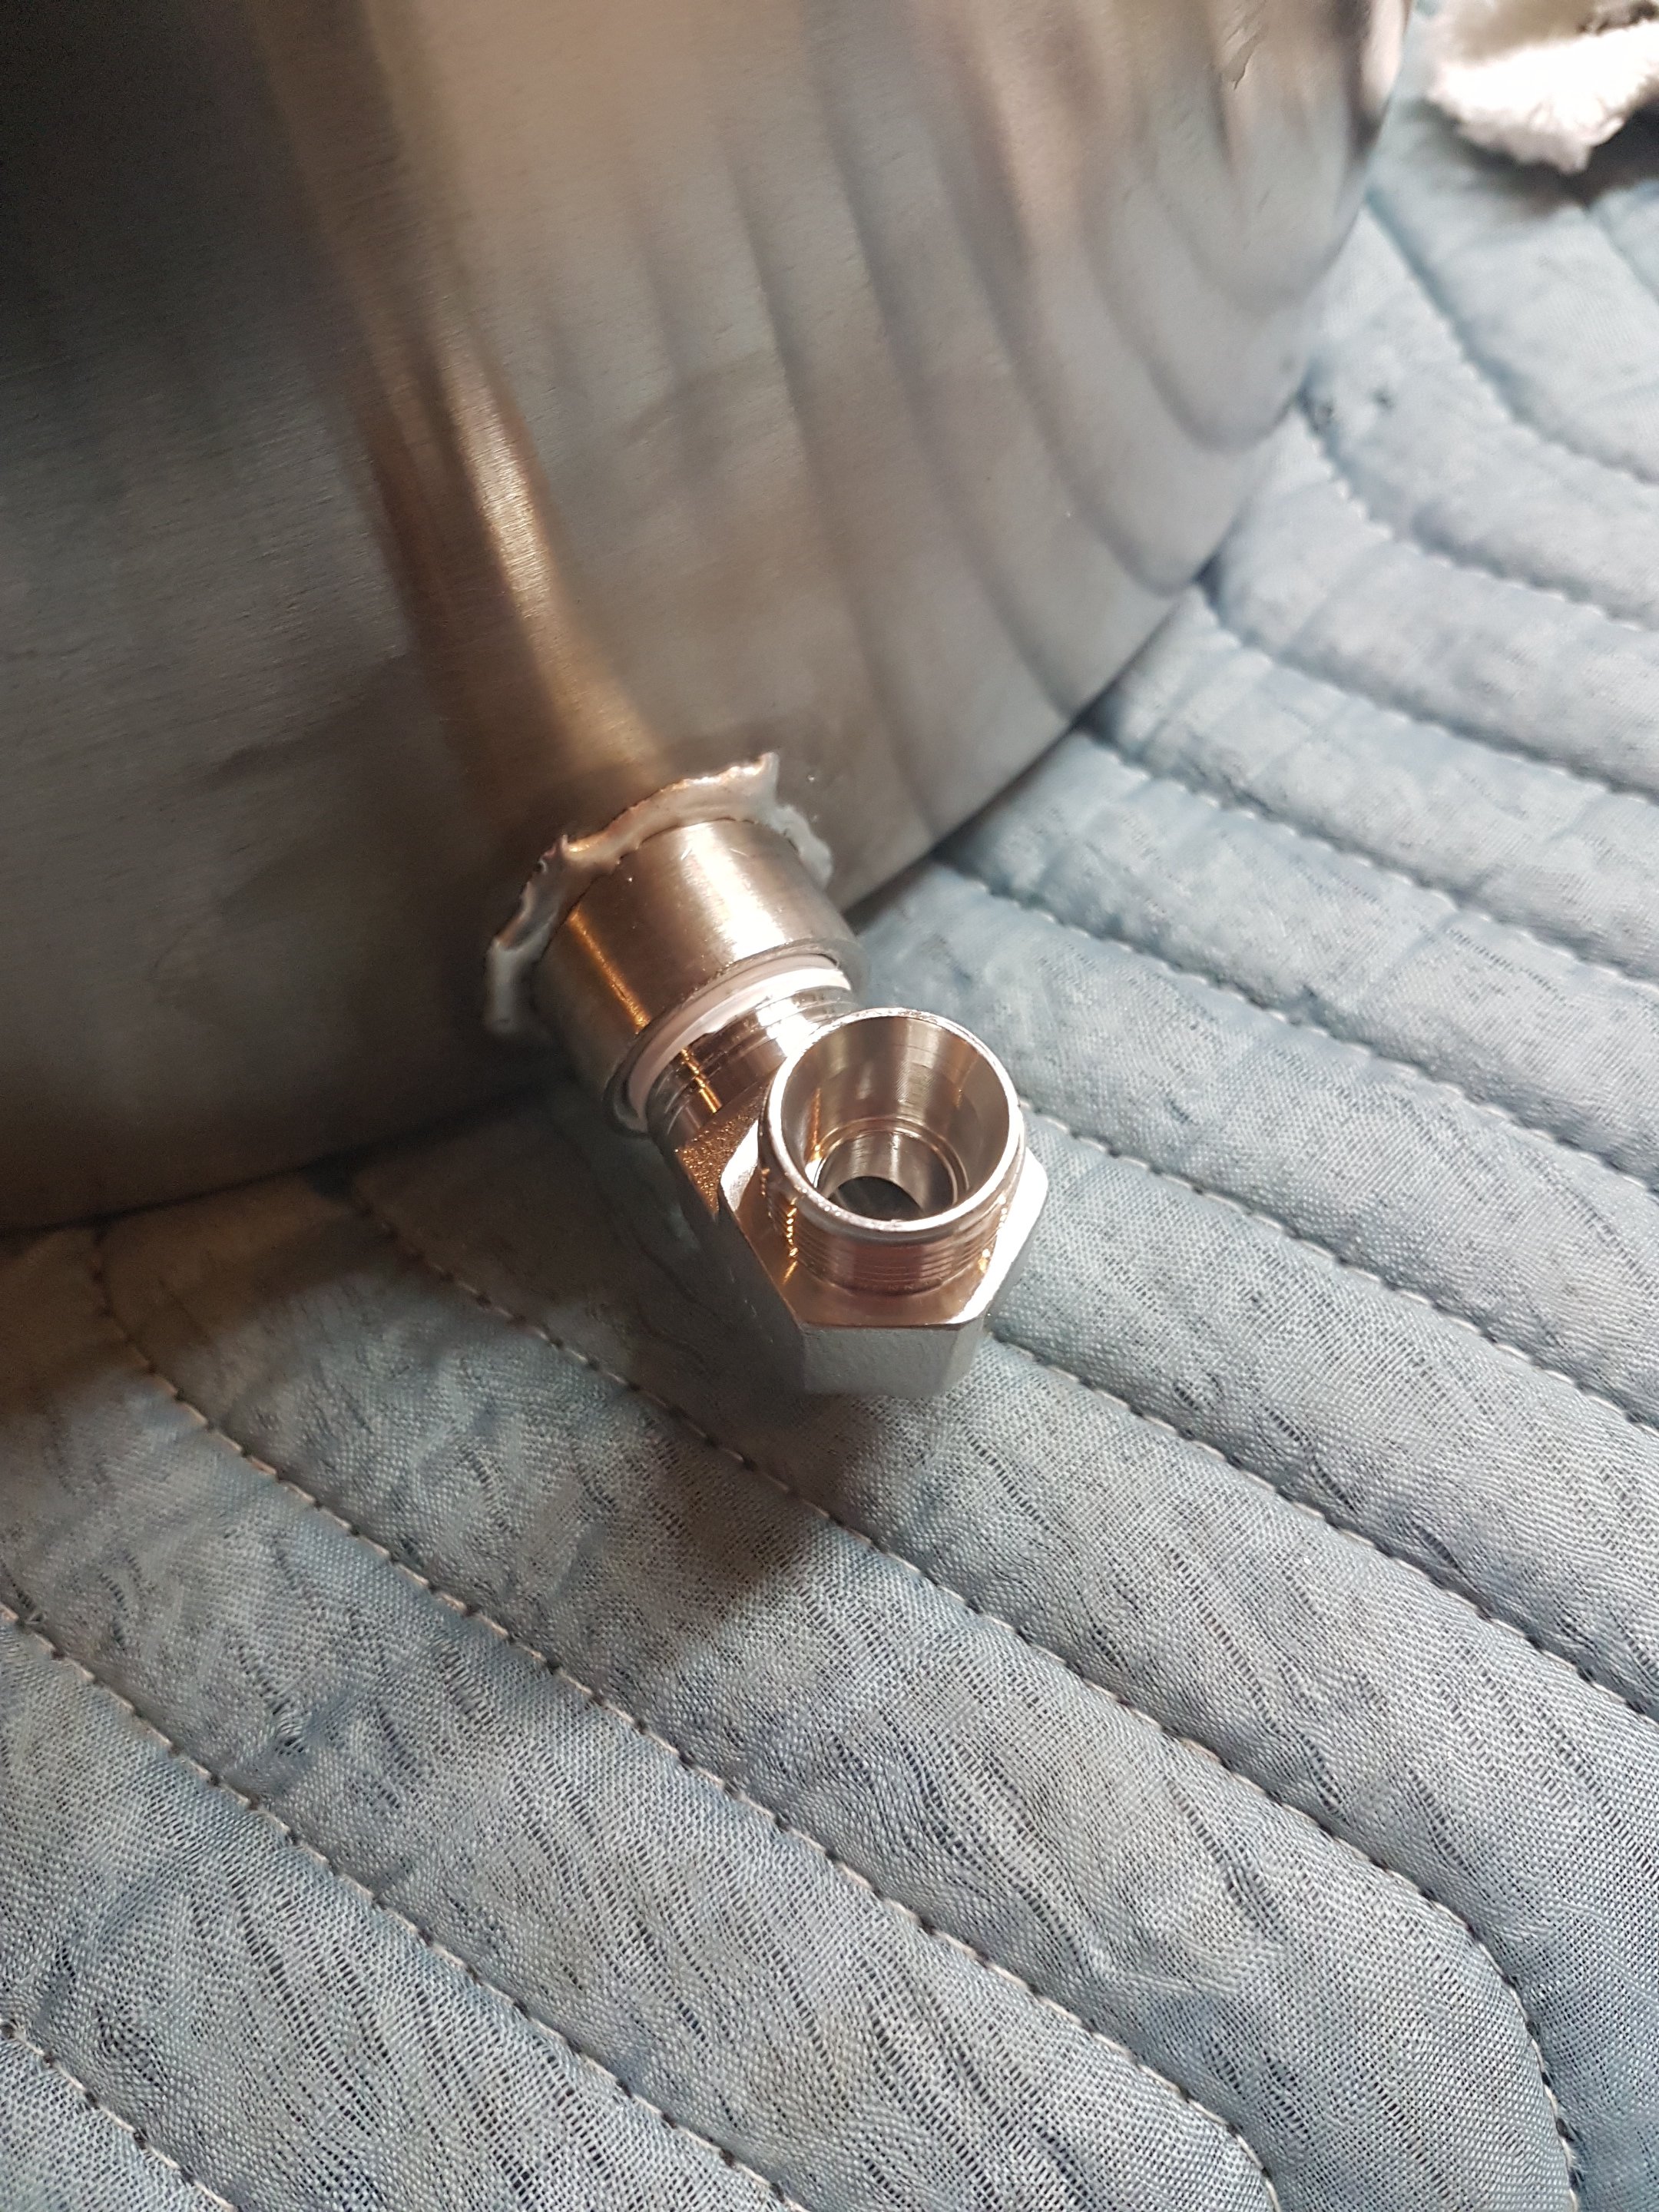
Soldered piece, with a compression elbow added.

The solder job isn't artistic, but it works. It looks better than a TIG job where the metal got cooked. It is hard to control where the solder goes. This joint was strong enough that I tightened the pipe thread with a Crescent wrench without holding the coupler with a wrench.

I used 95/5 solder, Stay Brite flux and a simple propane torch. It took 5 minutes to solder this. This is pretty much as soldered with no cleanup. I wiped it with a rag because the flux is nasty.

One of the nice things about soldering a fitting is that it can be easily removed and cleaned up with some heat and a stainless steel wire brush if you change your mind.

20190303_145708.jpg


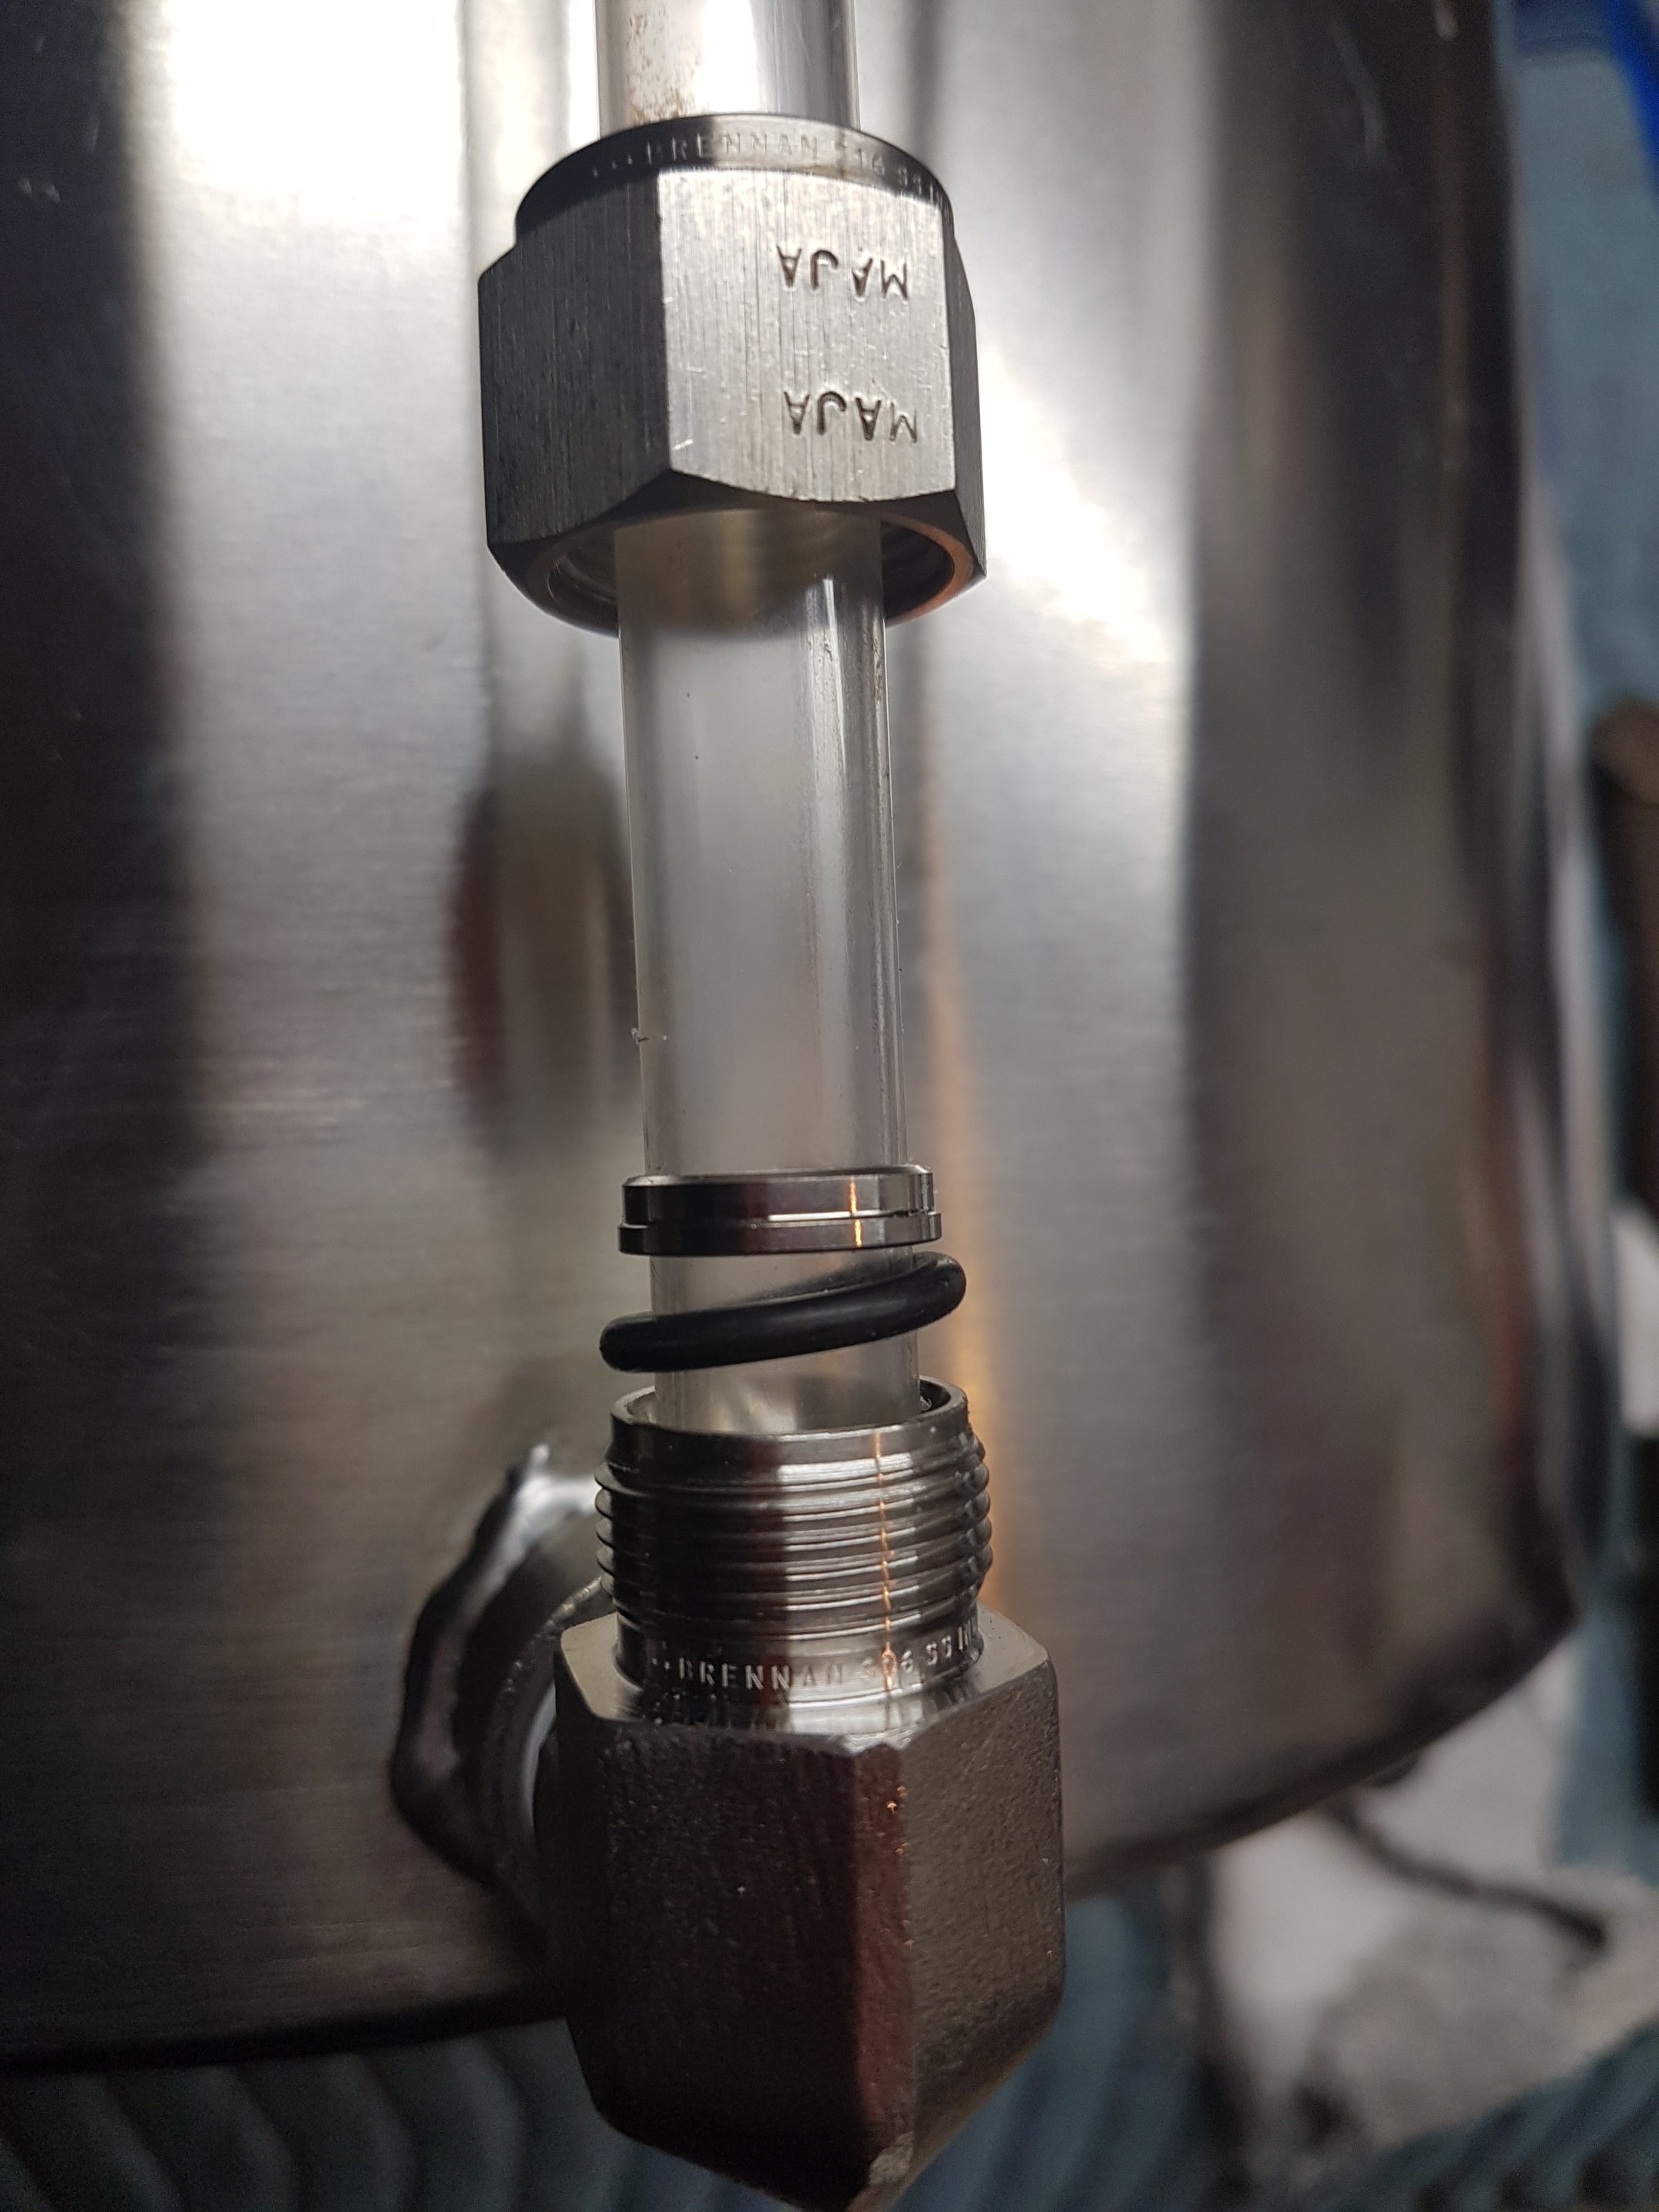
Here is how the tube seals in the fitting. You can't use a ferrule because the plastic tube will crack before you get enough force on the ferrule to compress it.

The tube is a 1/2" plastic racking tube. I'm using it because it is cheap, kinda shatter proof, safe it if does "shatter" and my LHBS carries them if I break one. I use 1/2" racking tubes as blow offs on my fermentors, so I have a few around anyway.

I could replace it with a glass tube, but I'd probably have to put a guard on it. With plastic I can pull it off and throw it in the sink to wash with everything else and not have to worry about breaking it. I could also just replace it.

This tube would probably get soft if it was sitting in boiling water. I've mounted it away from the kettle so that it stays cooler. I ran a similar tube as a sight glass on the kettles on my old propane rig. The tubes worked well even though they were also exposed to the burner heat coming up the side of the kettles.

20190303_145736.jpg


Look, Ma - no leaks !

20190303_150623.jpg


20190305_191237.jpg


20190306_121301.jpg
 
Last edited:
Interesting find... an anti scorching loop.

The Bulldog all in one has an anti scorch pump loop that feeds excess pump output during the mash recirc back into the *bottom* of the boil kettle, under the grain bucket, where the heat is being applied. The pump output essentially gets split between going up to the top of the grain bed and going under the grain bucket, to prevent the wort from sitting still and thus getting scorched by the heating element.

Even if the bed sticks or the user throttles the recirc rate way down, the wort under the bed will never stop moving. It will also assist with mixing the flow under the bed and facilitating the even movement of liquid once it makes it through the bed.

The discussion of the anti scorching loop starts at 5:00 in the video.

I think the anti scorch pump loop is ingenious. On Thing1 I could replumb the 3 way valve on the pump outlet to divert wort through the the underlet space to prevent scorching. I haven't had any scorching issues whatsoever. But if I ever do, I'll be doing this.

I think it says something about induction heating that the Grainfather (3,000 W for the EU version) and the Bulldog (2200 W) are much lower power units and suffer from scorching whereas Thing1 is 5,000 watts and doesn't scorch at all. The standpipe also helps. I think this is also due to Thing1 having a good, high volume pump as well, though I sometimes throttle the pump flow back quite a bit.
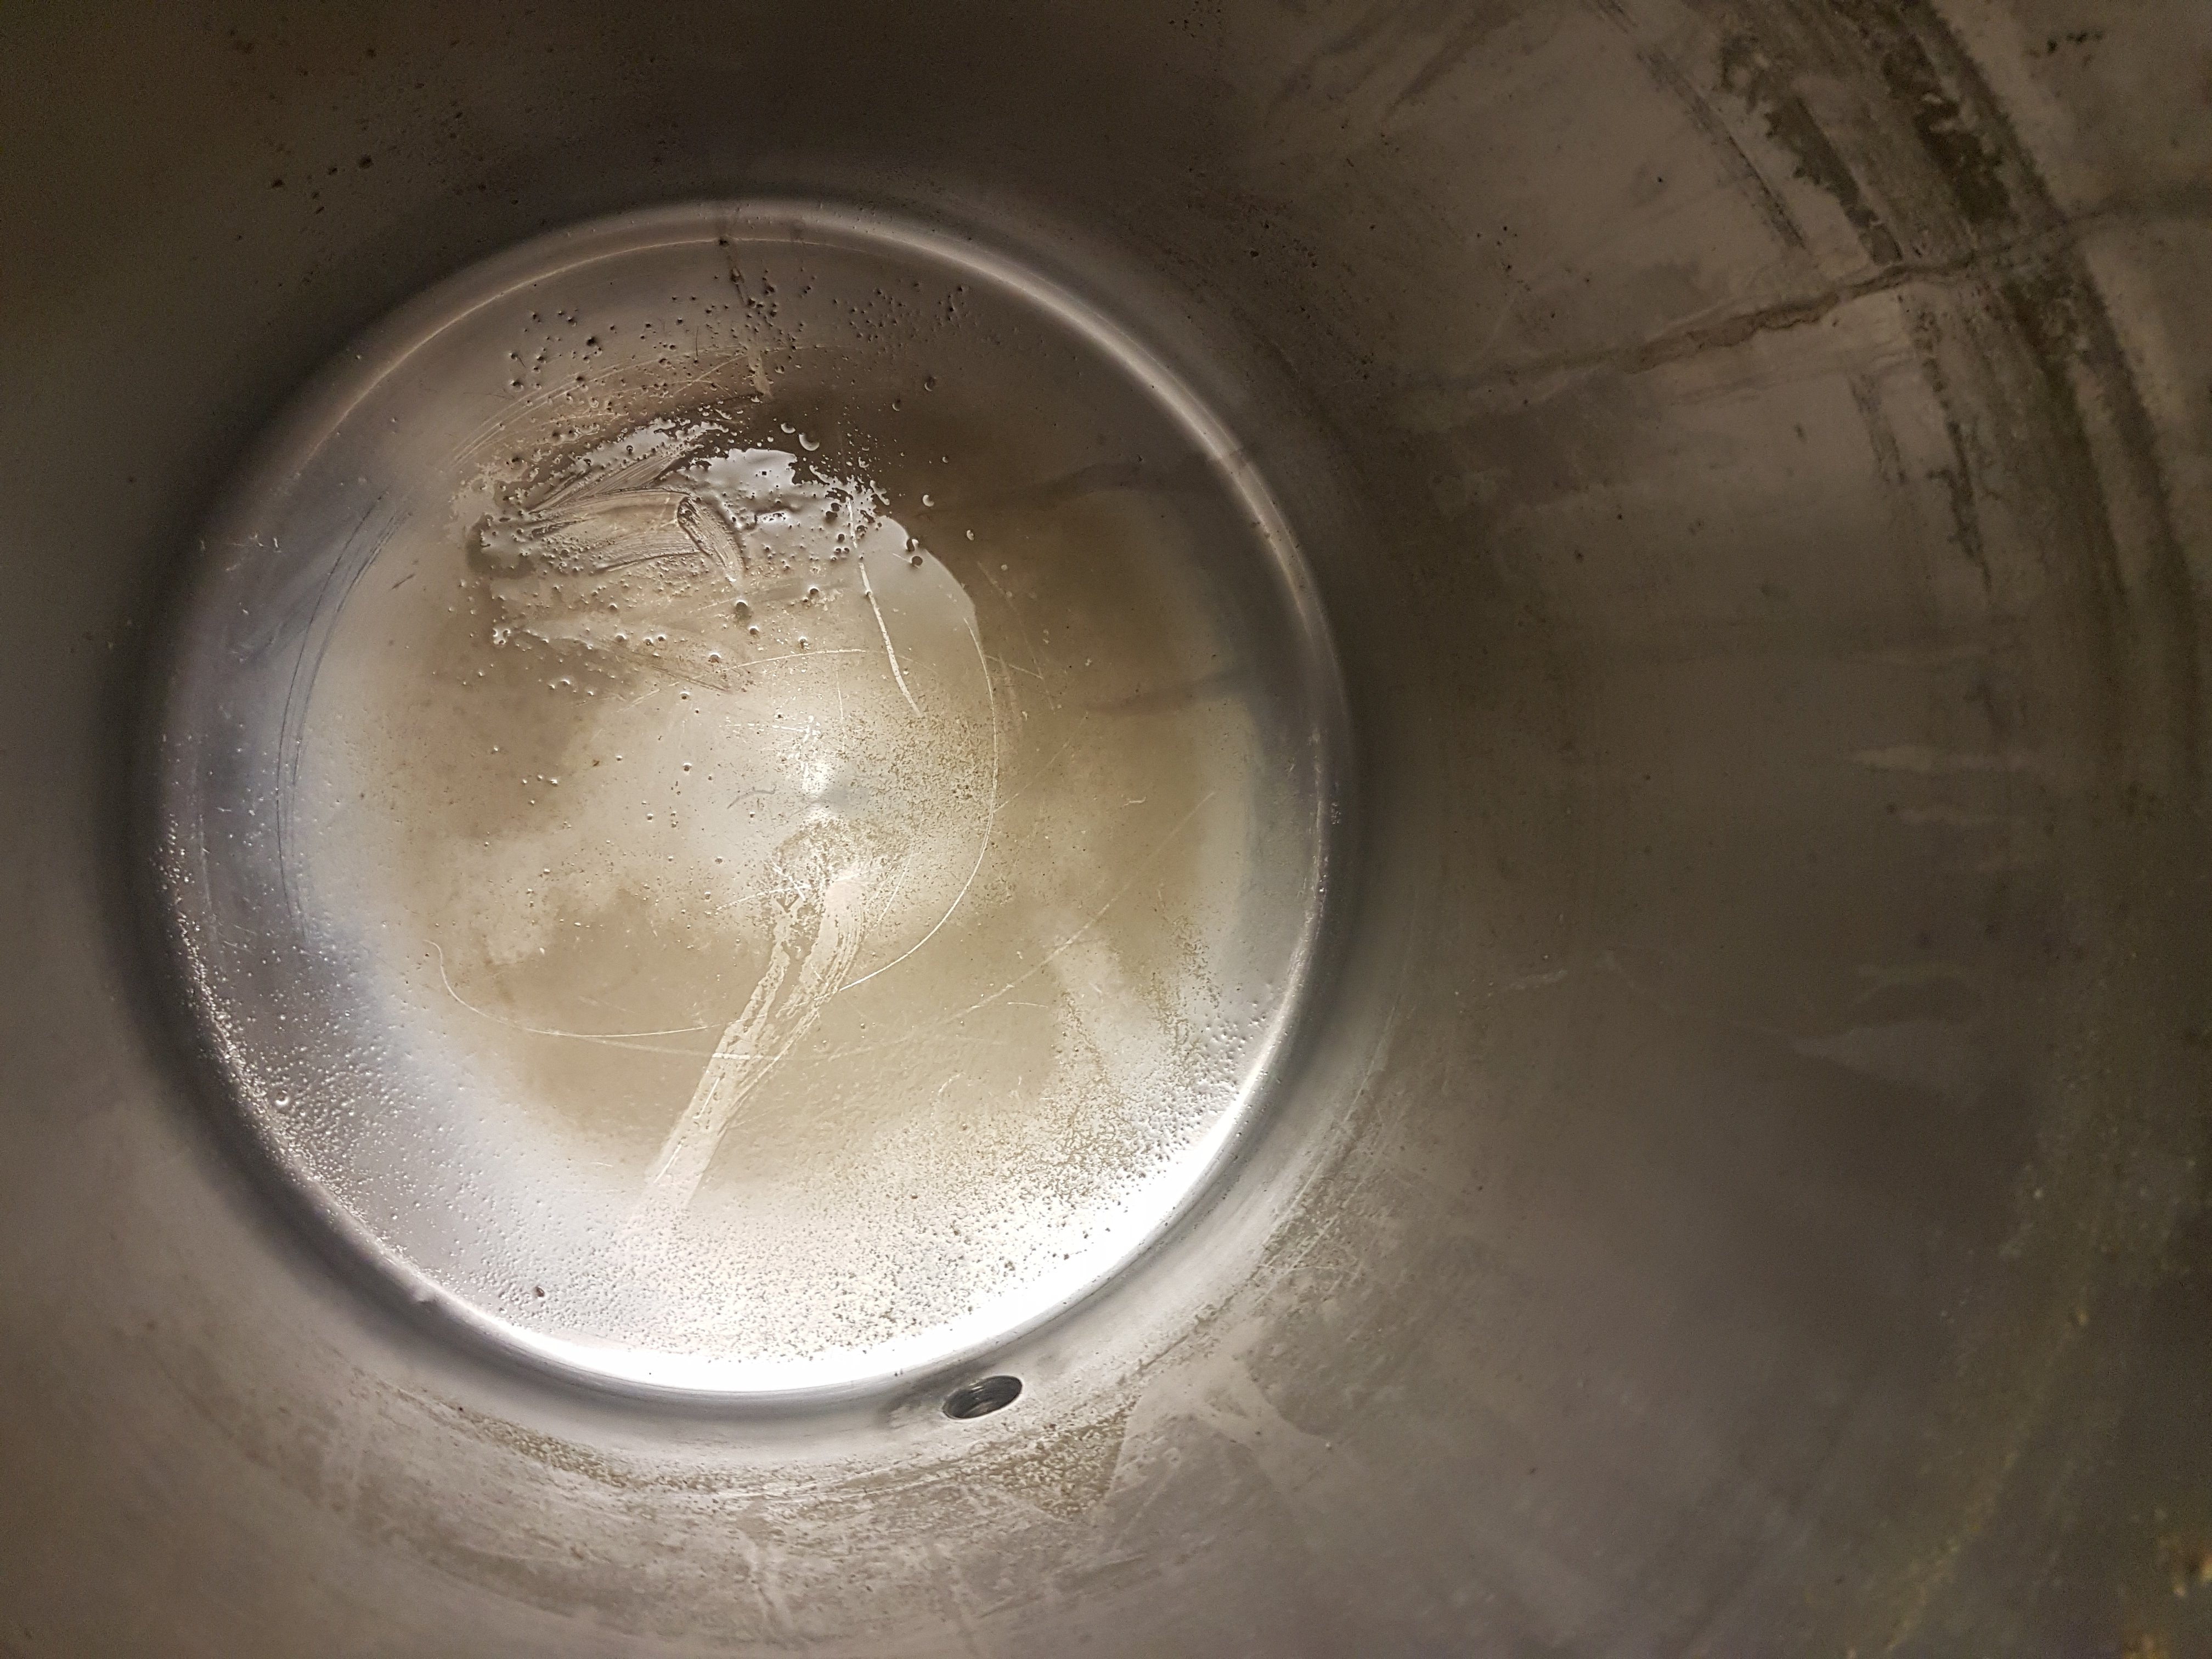
I was very worried about Thing1 scorching wort during the mash because the heating power is so high for a small system.

An anti scorching pump loop would be a good addition to direct heat propane fired kettles that use large burners that can't be turned down very well. The other issue they have is that some of the false bottoms are very close to the bottom of the vessel thus there is very little liquid for the pump to remove before the space is dry if the pump output is set to high relative to the bed flow. This could be helped by using a standpipe, but I've never seen a standpipe used in anything but an all in one.

Thing1 seems to mash, recirc and flow really, really well. The best system I've ever used. But if I ever run into problems, I'll be adding an anti scorch pump loop.
 
Last edited:
So... I've said the Chugger pump on Thing1 is annoyingly noisy to listen to for hours while it runs. BUT... it never plugs.

You can't say that about the pumps on the Grainfather or the Robobrew. And if they don't plug, it is because they use super fine screens that plug up. If you look at the Robobrew false bottom screens, they are way finer than what has been traditionally used in a mash tun.

With a Chugger pump, it doesn't matter if a bit of grain gets past the mash screen. The pump will pump it back up to the top of the mash where it will rejoin the grain bed. With the Grainfather or the Robobrew, the pumps are prone to plug if any debris gets into the pump. Thus they run a filter on the pump inlet as well as finer than normal false bottom screens.

Here is what can happen if things don't go right when running a fine false bottom screen.


Last edited:
I brewed an IPA last night. Batch #4.

Everything went well, but the conversion efficiency wasn't as great as the previous batches. Not sure why. I hit OG, but didn't overshoot like before. 1.054 from 9.5 pounds. I suspect that my crush is a little bit too fine and the flow through the bed wasn't really good. A lot seemed to be going down the standpipe. This was demonstrated by the flow during the sparge.

The sight glass was really helpful in getting volumes right.

20190305_204021.jpg


20190305_215444.jpg


20190305_225645.jpg
 
Last edited:
Great job so far! I'm following with wrapped interest on what the future has in store for you. I'm a fellow induction brewer on an Avanto 3500 but I would really love to swap it out for something that I can control the mash better with. Thank you for such an involved thread. I think Thing1 is a great idea and hopefully, I can mimic it with something similar soon.
 
This has been an interesting build to watch.

Thanks. Makes it worth the effort of posting it.

For the grain mill, you could add some sloped wooden blocks to help the grain fall to the rollers. May keep you from stopping to push the grain in or reaching in while the rollers are spinning.

I was thinking something similar. But once I used it, it isn't worth the effort. If I rock the mill back and forth a few times almost all the grain goes into the slot and gets milled. Then I use the shop vac to vacuum the dust and remaining grain before I put it away. I lose almost nothing.
 
Last edited:
I am curious about your standpipe. How far above the Iiquid level do you set the height @Brewman?

Sorry, I missed this on the weekend.

The bed height changes a bit as it settles through the mash.

I mash in and get the flow set without using the standpipe. This isn't too hard because at that point the bed hasn't settled yet.

Then I put the strainer over the standpipe and hold it in place with O Rings above and below it.

Then I push the strainer (and the stand pipe) down into the mash. Usually the standpipe is still too high at this point. Then I push the standpipe down so that there is some flow going down it. Usually it stays there for the rest of the mash.

I have had an issue with fine particles plugging up the screen bowl, causing the bowl to rise. This usually only happens in the first part of the mash until those fines get trapped in the bed itself. To counter this problem, I wipe the fines off the mesh with a spoon. No biggie, but you have to watch it a bit.

Once the mash is set, it basically runs unattended.
 
Hi guys.

I haven't looked at it since I put it away in spring. But fall is upon us, time to start brewing again.

I got the parts and materials for the better version, but have not had time to work on it, nor will I have for a bit, anyway. I will, however, probably be brewing this weekend.
 
Hi guys.

I haven't looked at it since I put it away in spring. But fall is upon us, time to start brewing again.

I got the parts and materials for the better version, but have not had time to work on it, nor will I have for a bit, anyway. I will, however, probably be brewing this weekend.

Hey Brewman, doesn't look like you've been online for a while. Wondering if you got any more brews on this system over the winter?
 
Back
Top