• Please visit and share your knowledge at our sister communities:
  • If you have not, please join our official Homebrewing Facebook Group!

    Homebrewing Facebook Group

Meet Thing 1. A 5Kw Induction All In One...

Homebrew Talk

Help Support Homebrew Talk:

This site may earn a commission from merchant affiliate links, including eBay, Amazon, and others.
You can't modulate the power of this board much. I'm still investigating. All you can do is turn the power output on and off with a relay contact. The board remains energized, it just stops driving the coil.

Temp control is not a big problem with a decent amount of liquid in the pot. Temp rise is ~4F per minute with 6 gallons. Turns off instantly, takes a second or so to turn on. It runs well with turn on hysteresis at 0 degrees and turn off at 0.5 degrees. That provides +/- 0.5 F control.

CraftBeerPi works excellent. Rpi + $2 isolated relay gets it done.
 
Last edited:
From what I remember, on and off control was exactly what was lacking with the off-the-shelf induction units.

Maybe I'm out of the loop but I didn't realize winding your own induction coil was an option. I'm glad I know that now.

Cool project!
 
Maybe I'm out of the loop but I didn't realize winding your own induction coil was an option.
It's just science and some DIY skills. 3rd time was a charm.

I suspect that the countertop hobs also use on/off control. In fact, the controller board is separate from the power board. I think they'd be fairly easy to hack. Some have done it. There is a module in CraftBrewPi to control one. I shared this in another thread.
 
Last edited:
General comment... pretty much anything near an induction coil needs to be non magnetic. Thing1's frame is 1.5 square SS, 0.100" wall. 318 IIRC. Thing1s frame is slightly magnetic and it does heat up a bit when it runs. Not a lot, but a bit.

If I had to build Thing1 again, I would make the frame from aluminum. SS is such a pain to drill, especially small holes. It is also hard to cut if you don't have a plasma cutter that does tubing. Cutoff wheels work, but it is a pain.

I find aluminum much nicer to work with. Easy to cut, easy to weld. And it shines up to look pretty much just like SS. It is softer and not quite as strong, but this project doesn't need a bunch of strength.
 
Here is the drawing and bending schedule for the ring that holds the mash bucket This fits a Bayou 1044 boil kettle.

I haven't built mine yet.

Edit: The bending schedule should be done for the inside of the rod as when you bend rod the inside does not compress, the outside stretches, generally. The diameter of the inside of the rod is 13.5" - 2 x 0.25 = 13", not 13.5 as I have used in the diagram.

I was able to bend a fairly decent ring using this method, but I wasn't happy that I could catch the studs on the side of the grain basket on the ring and lift it up and possibly out. So I cut off segments of SS rod and soldered them into the boil kettle. Easier to do and it works better.

Brewpot ring.png
 
Last edited:
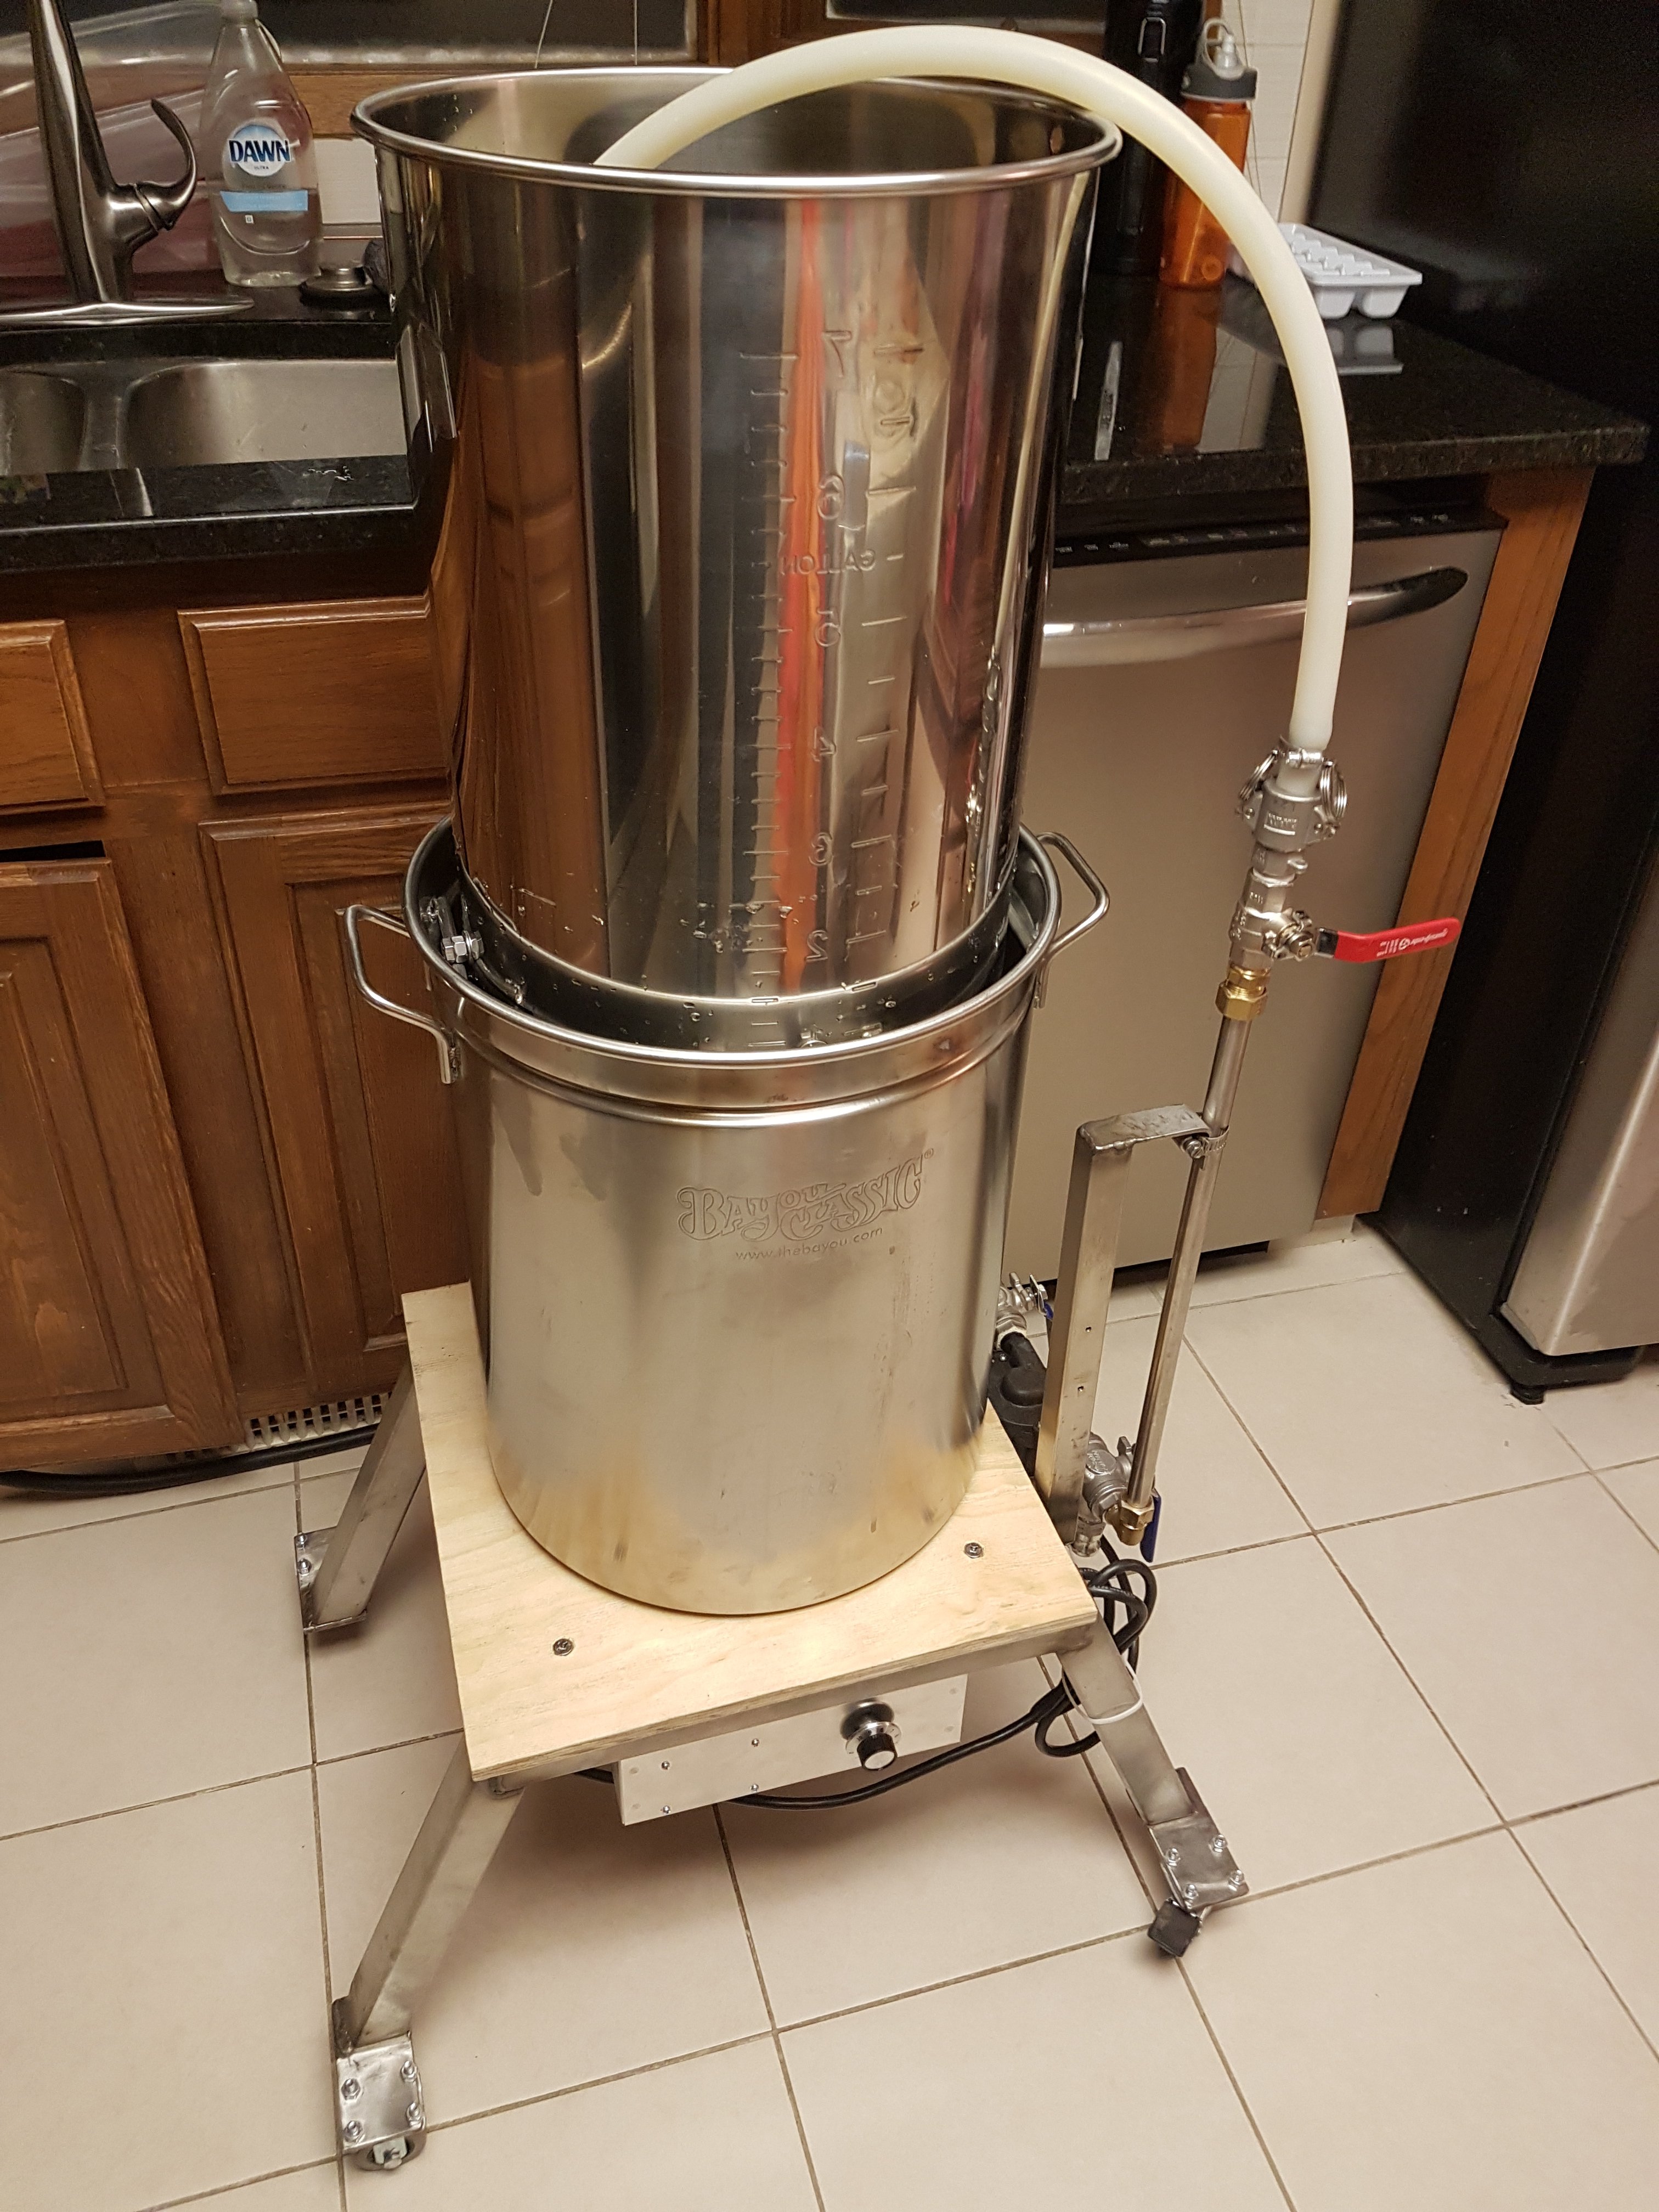
Thing1 with the mash bucket in the sparge position.

20190211_212134.jpg


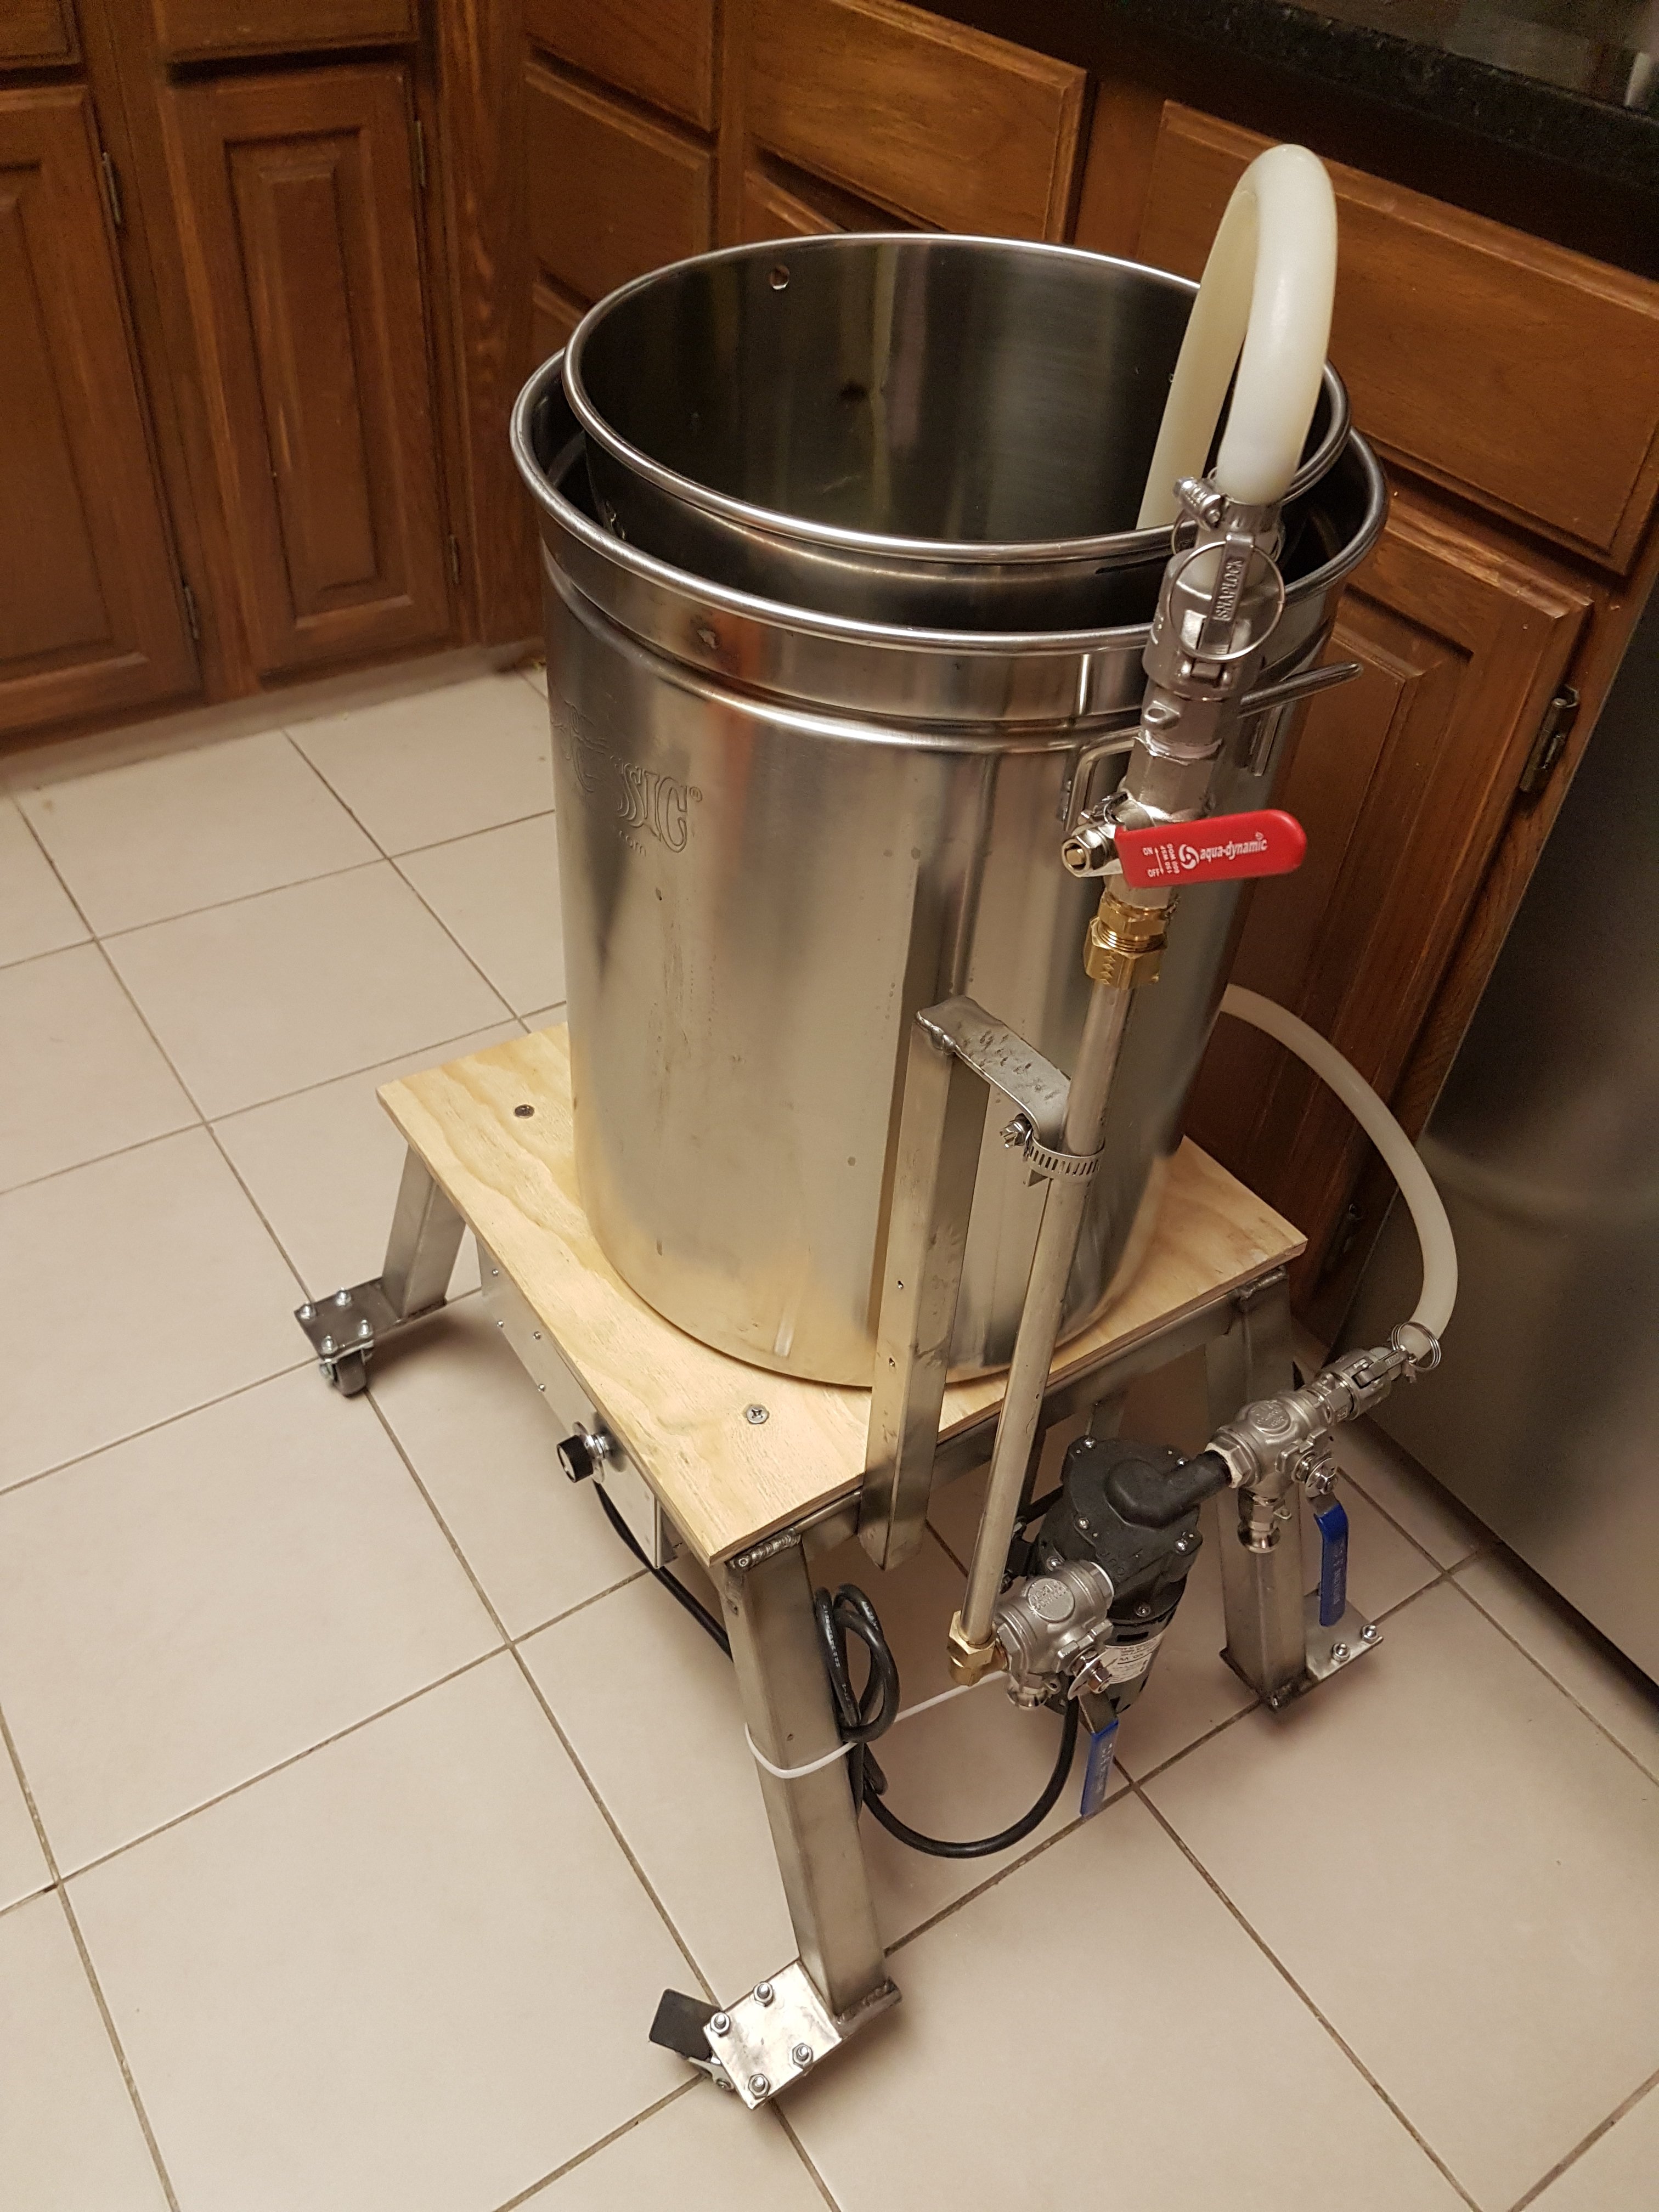
Thing1 with the mash bucket in the mashing position.

20190211_212021.jpg


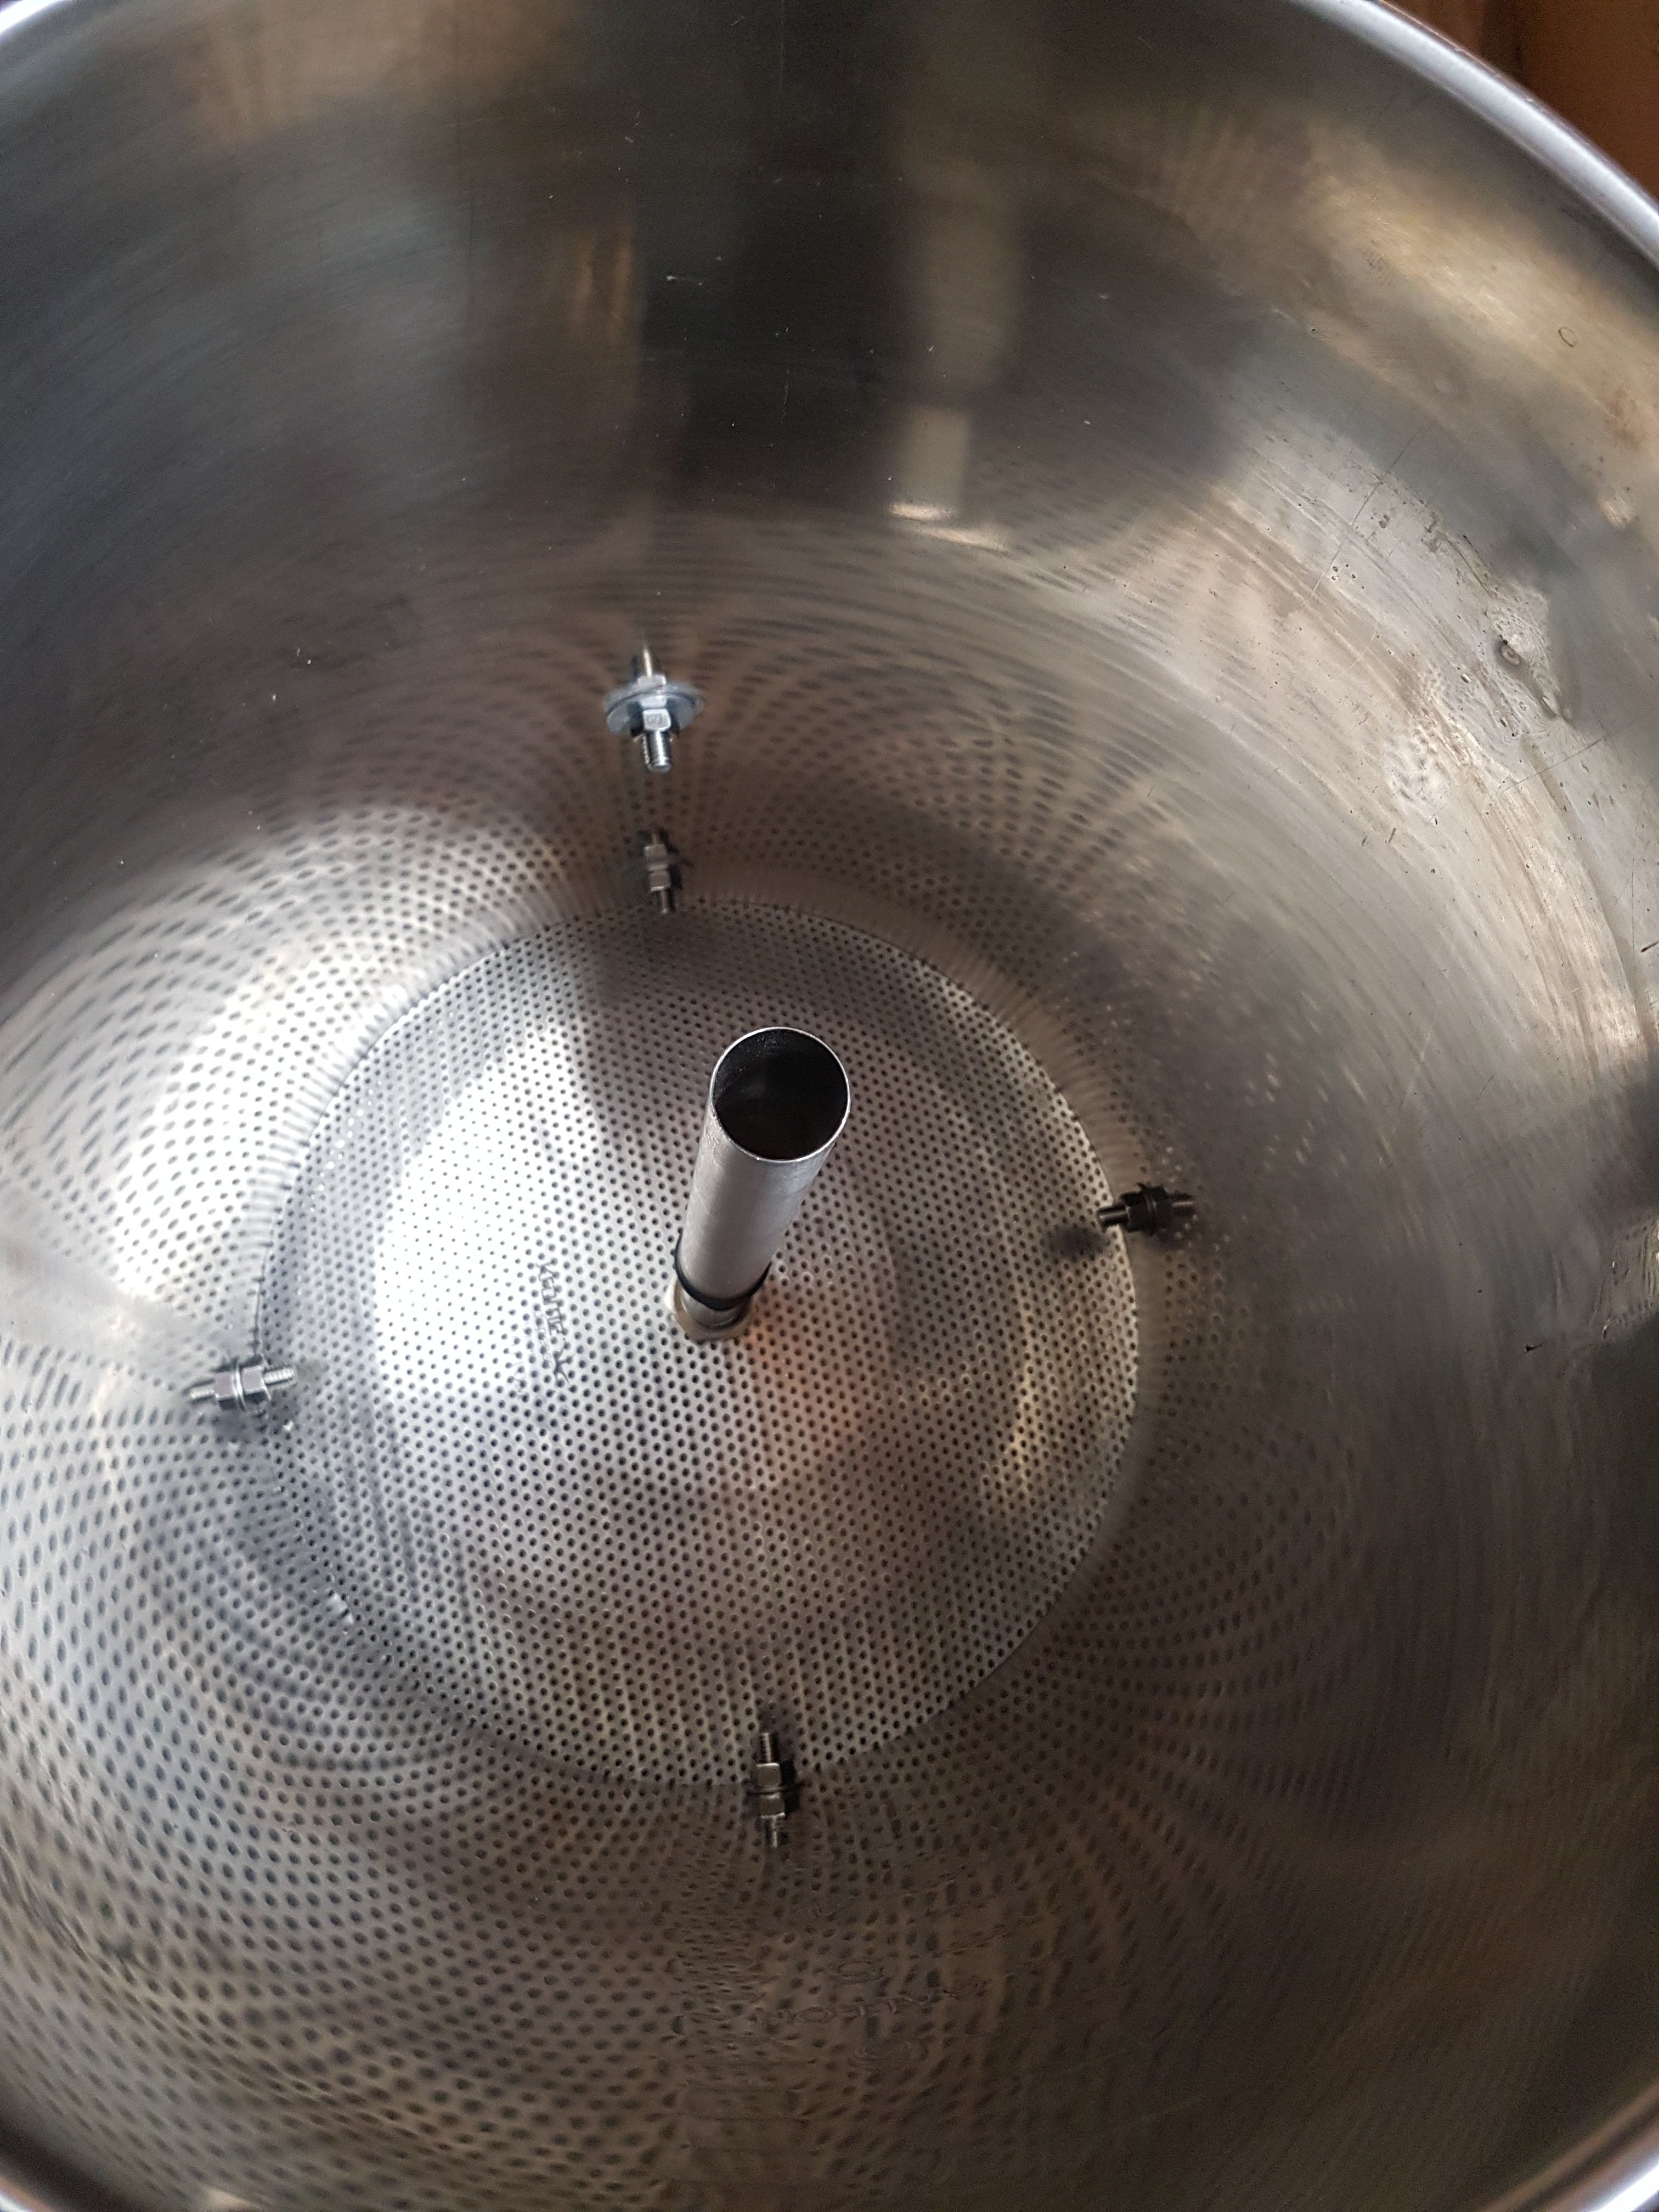
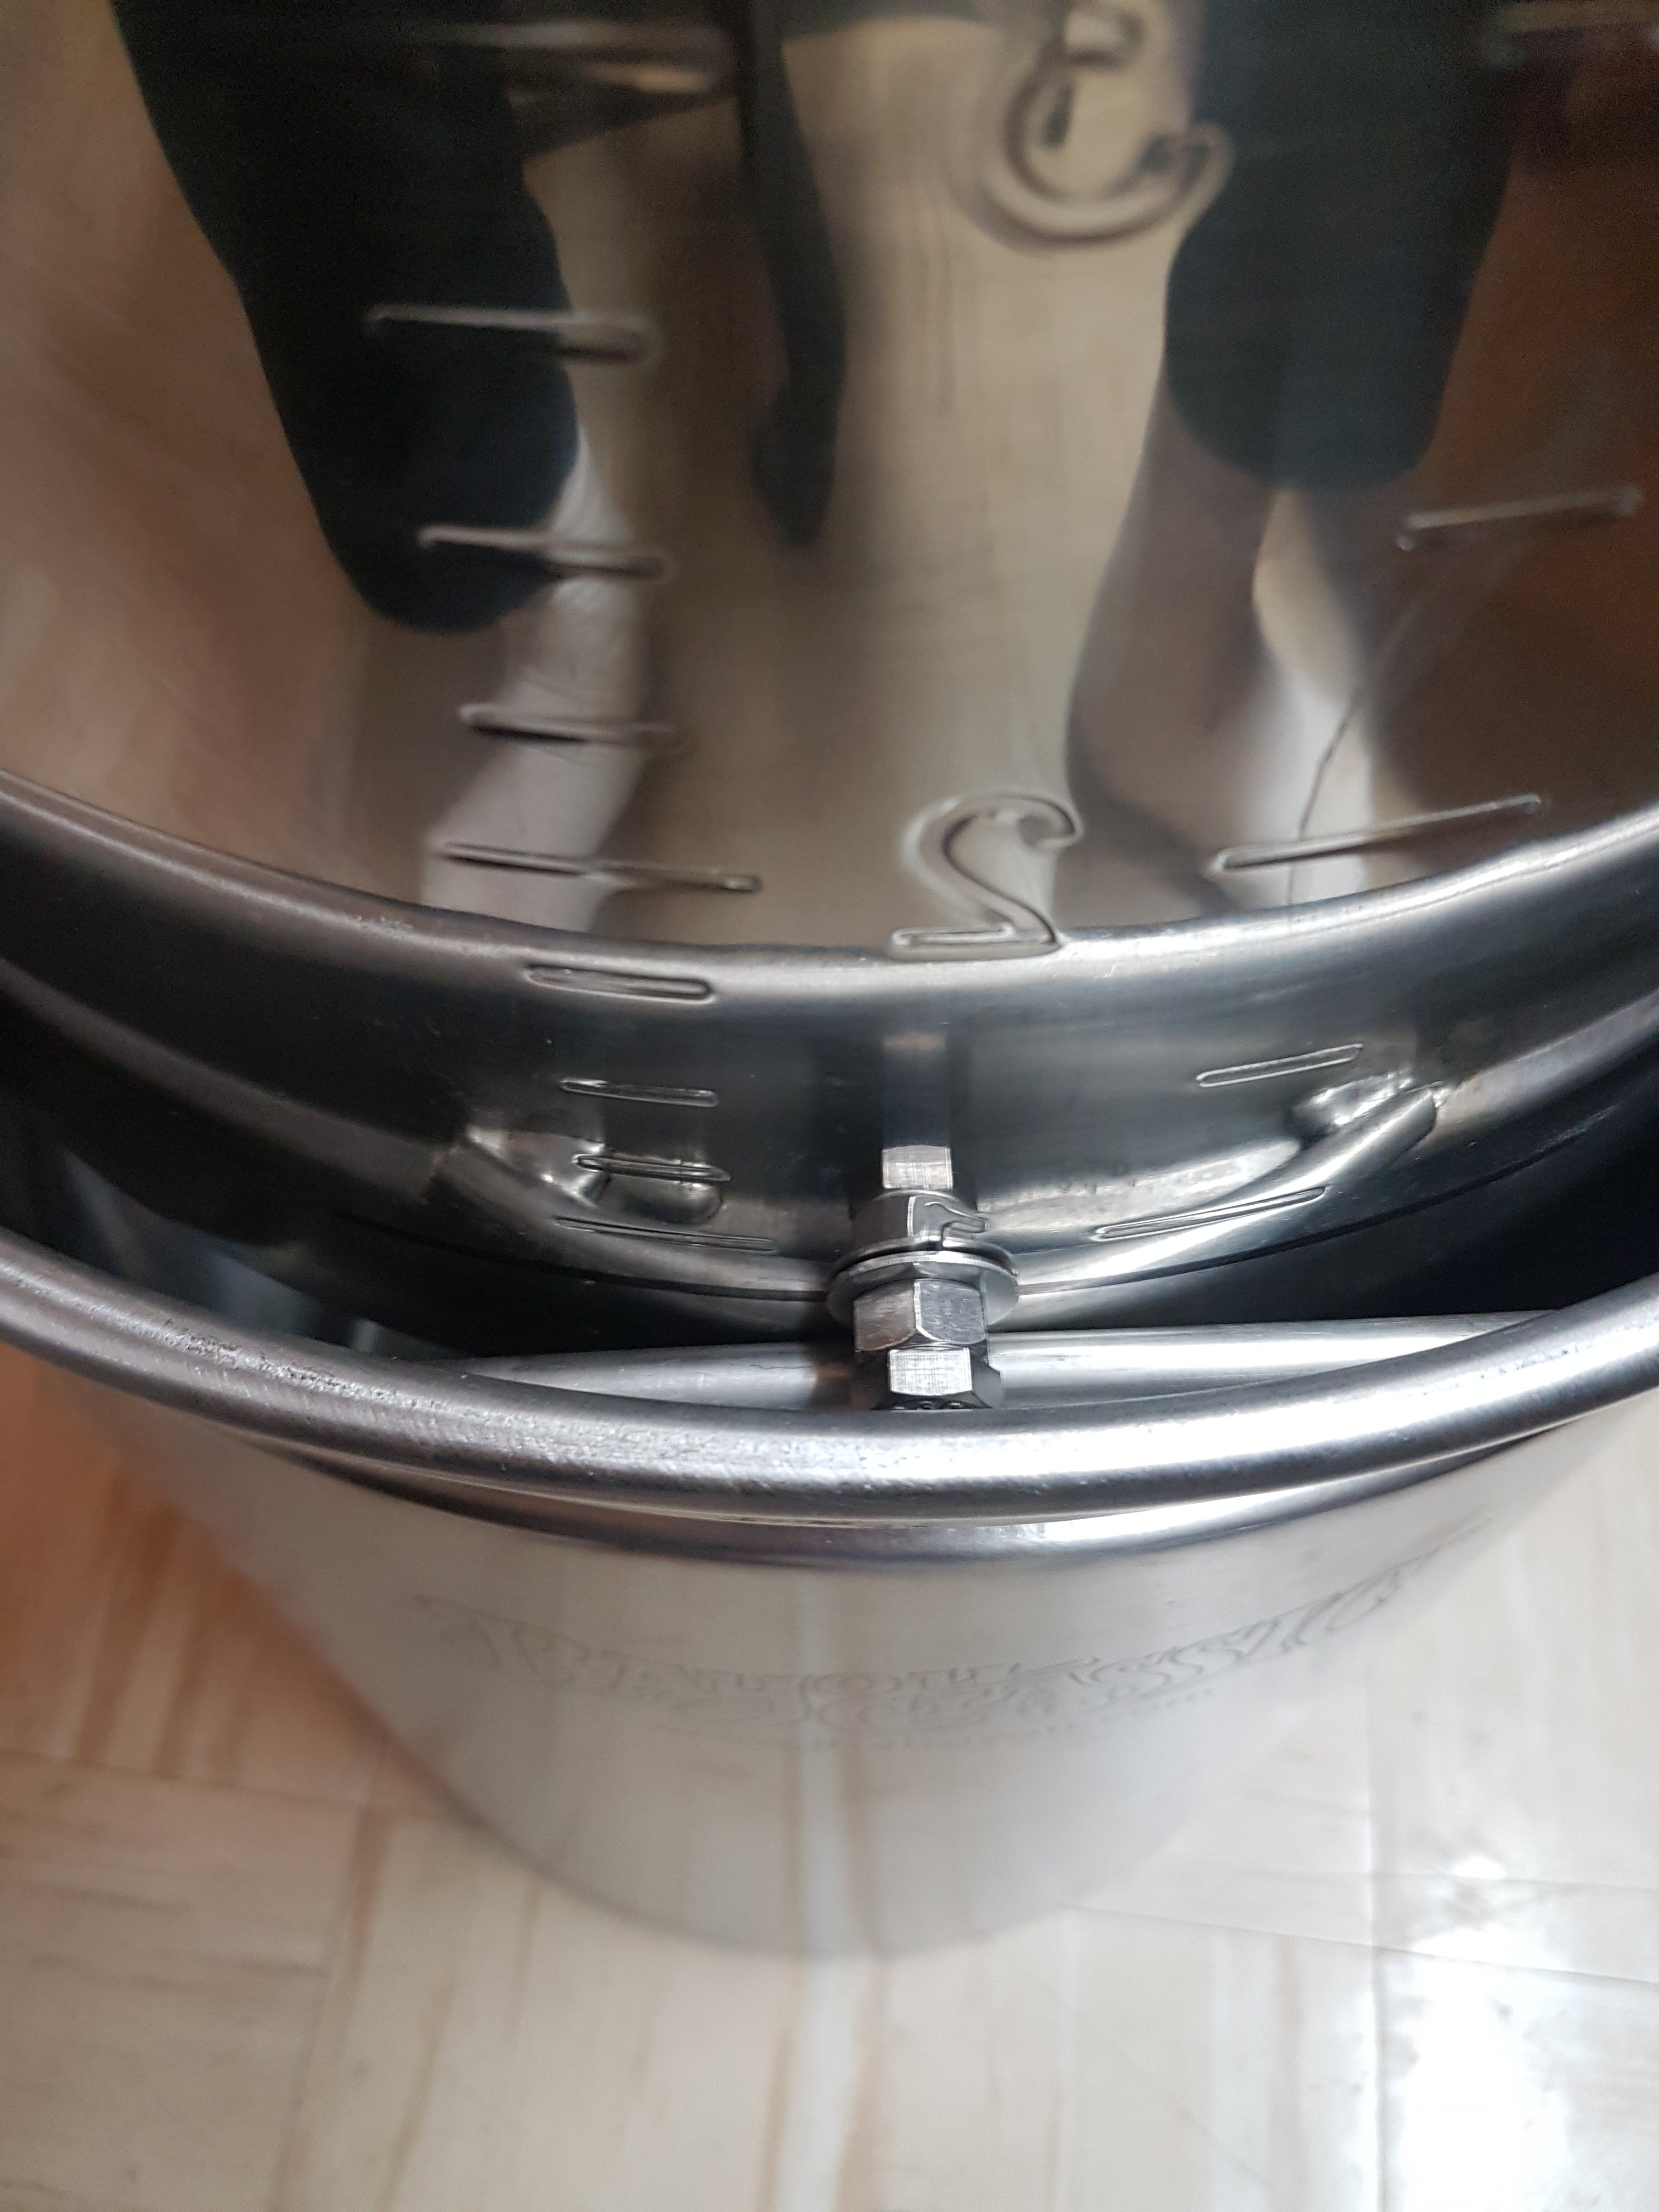
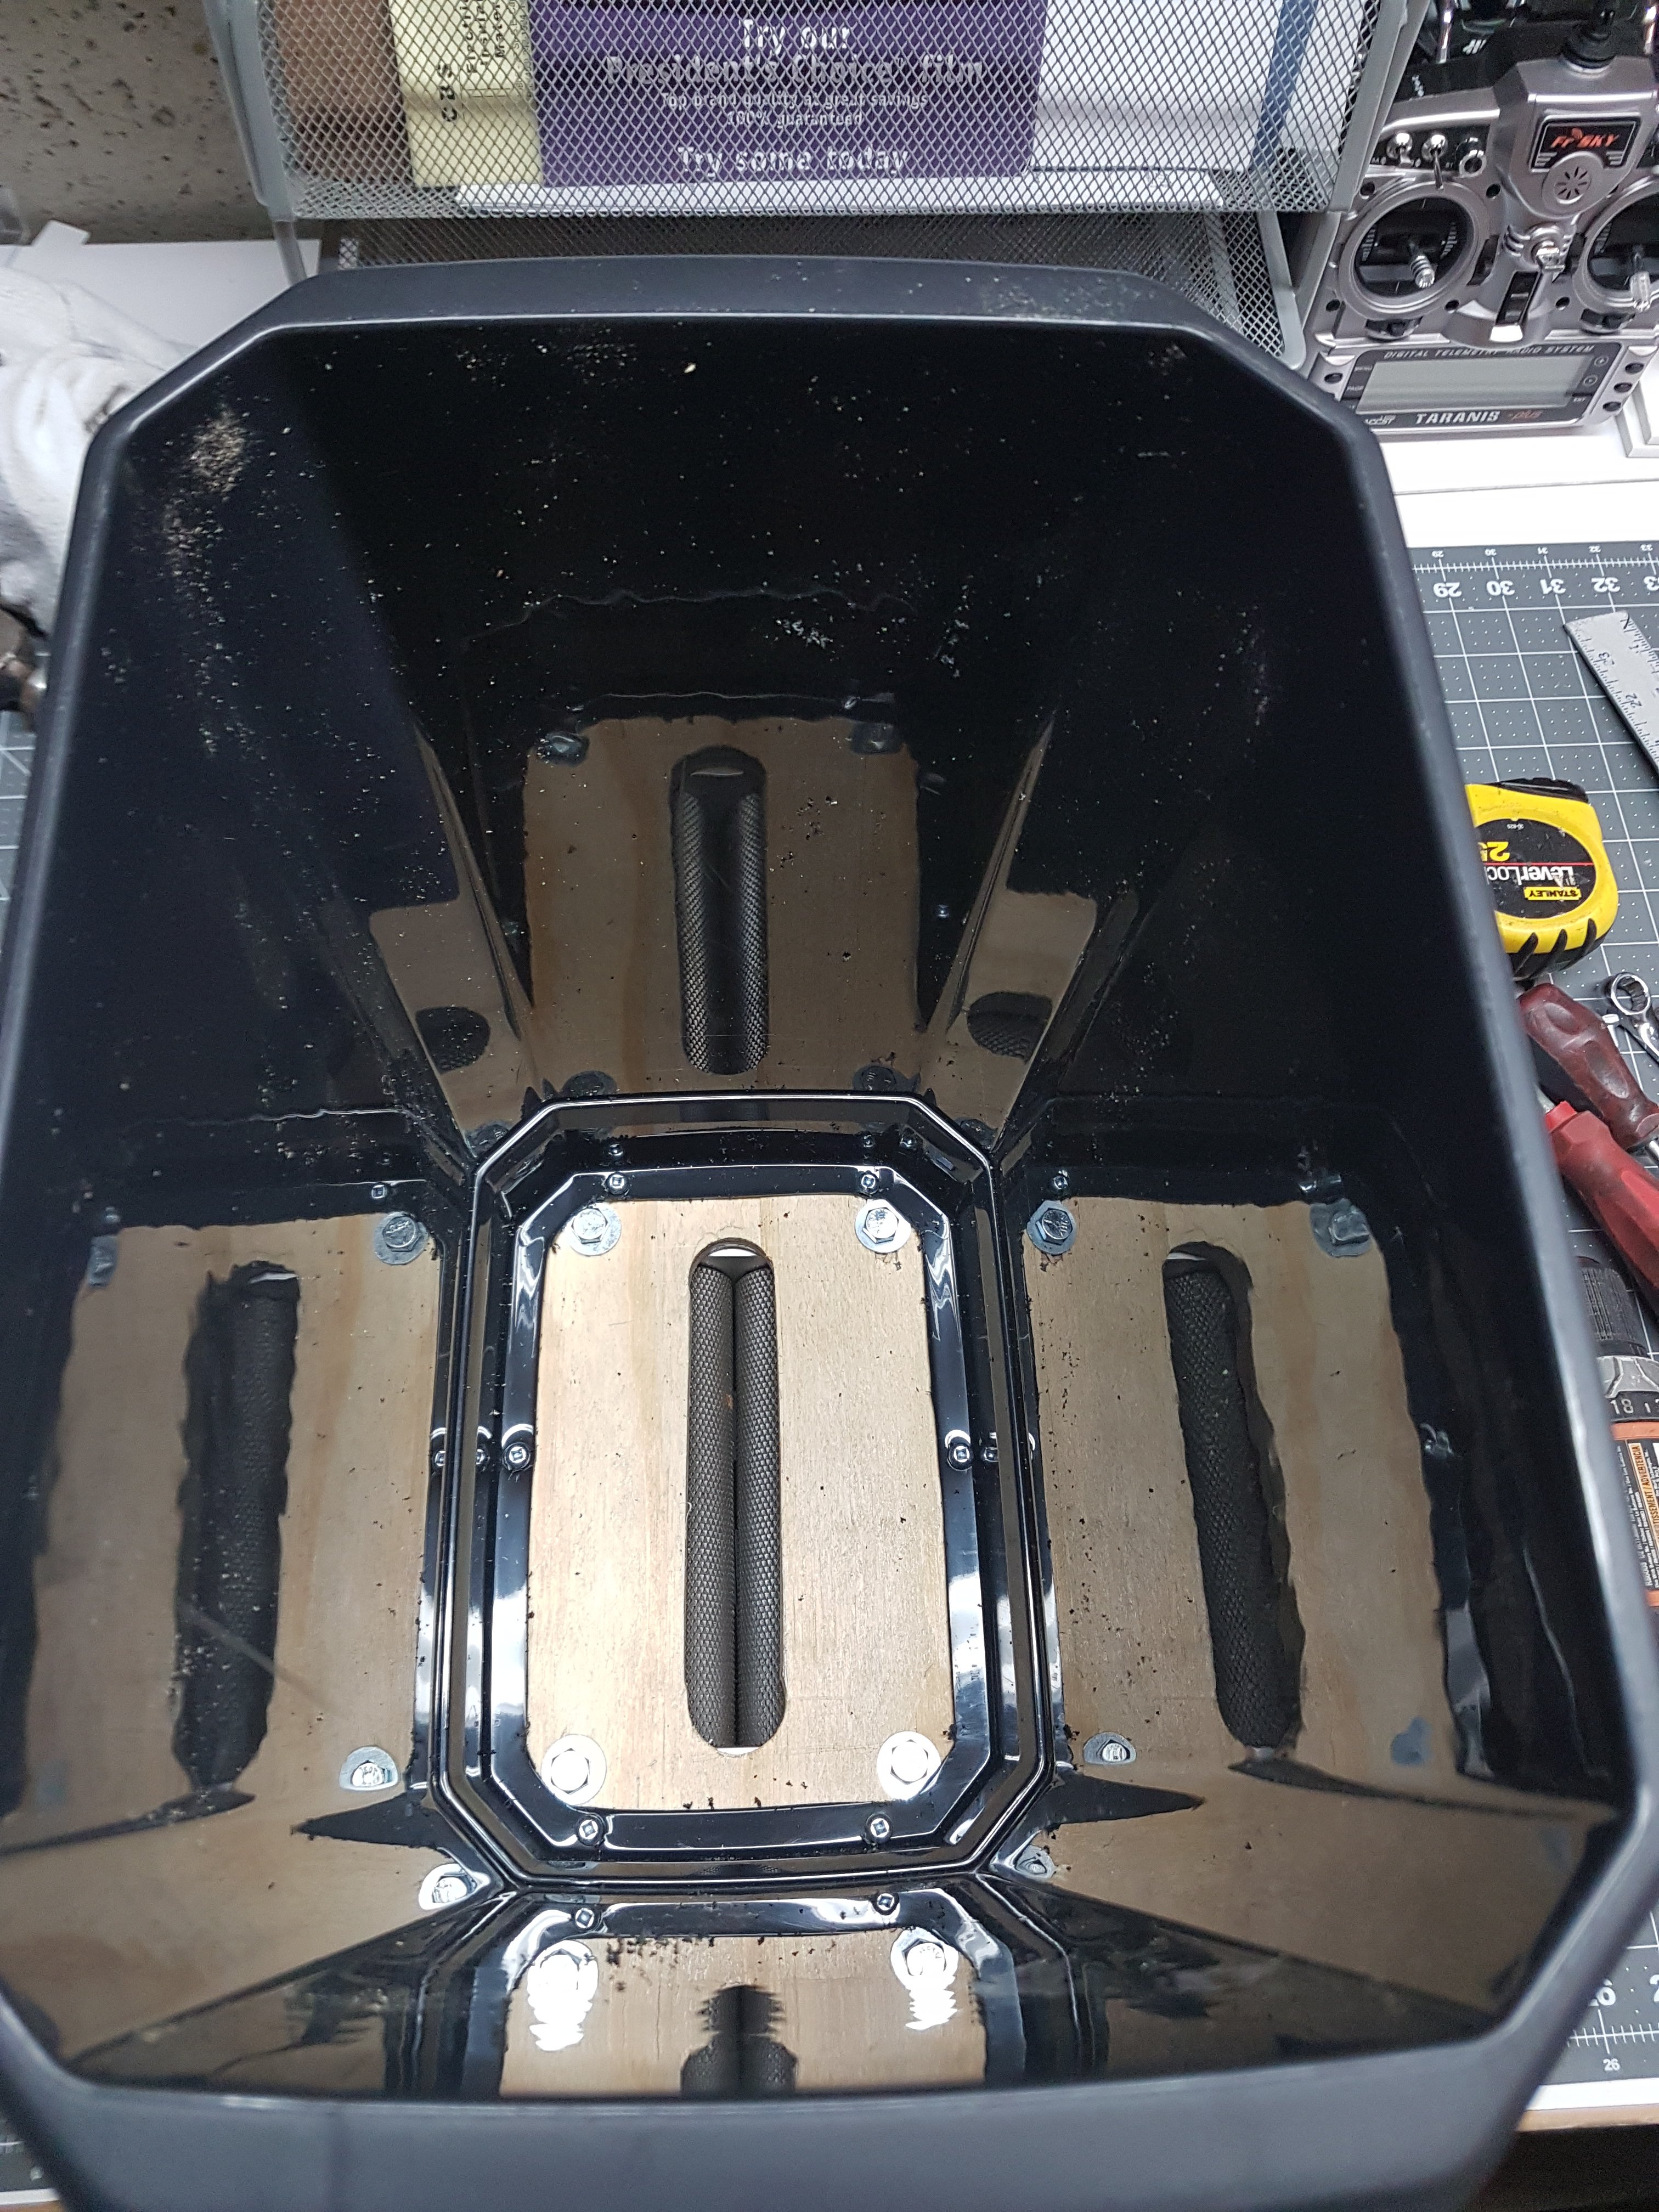
This is the inside of the mash bucket. The 4 bottom bolts are the studs that hold the bucket in the sparge position. The extra bolt further up covers a thermometer hole that was in the kettle from the factory. I'll solder a piece of SS over it someday.

20190211_205203.jpg


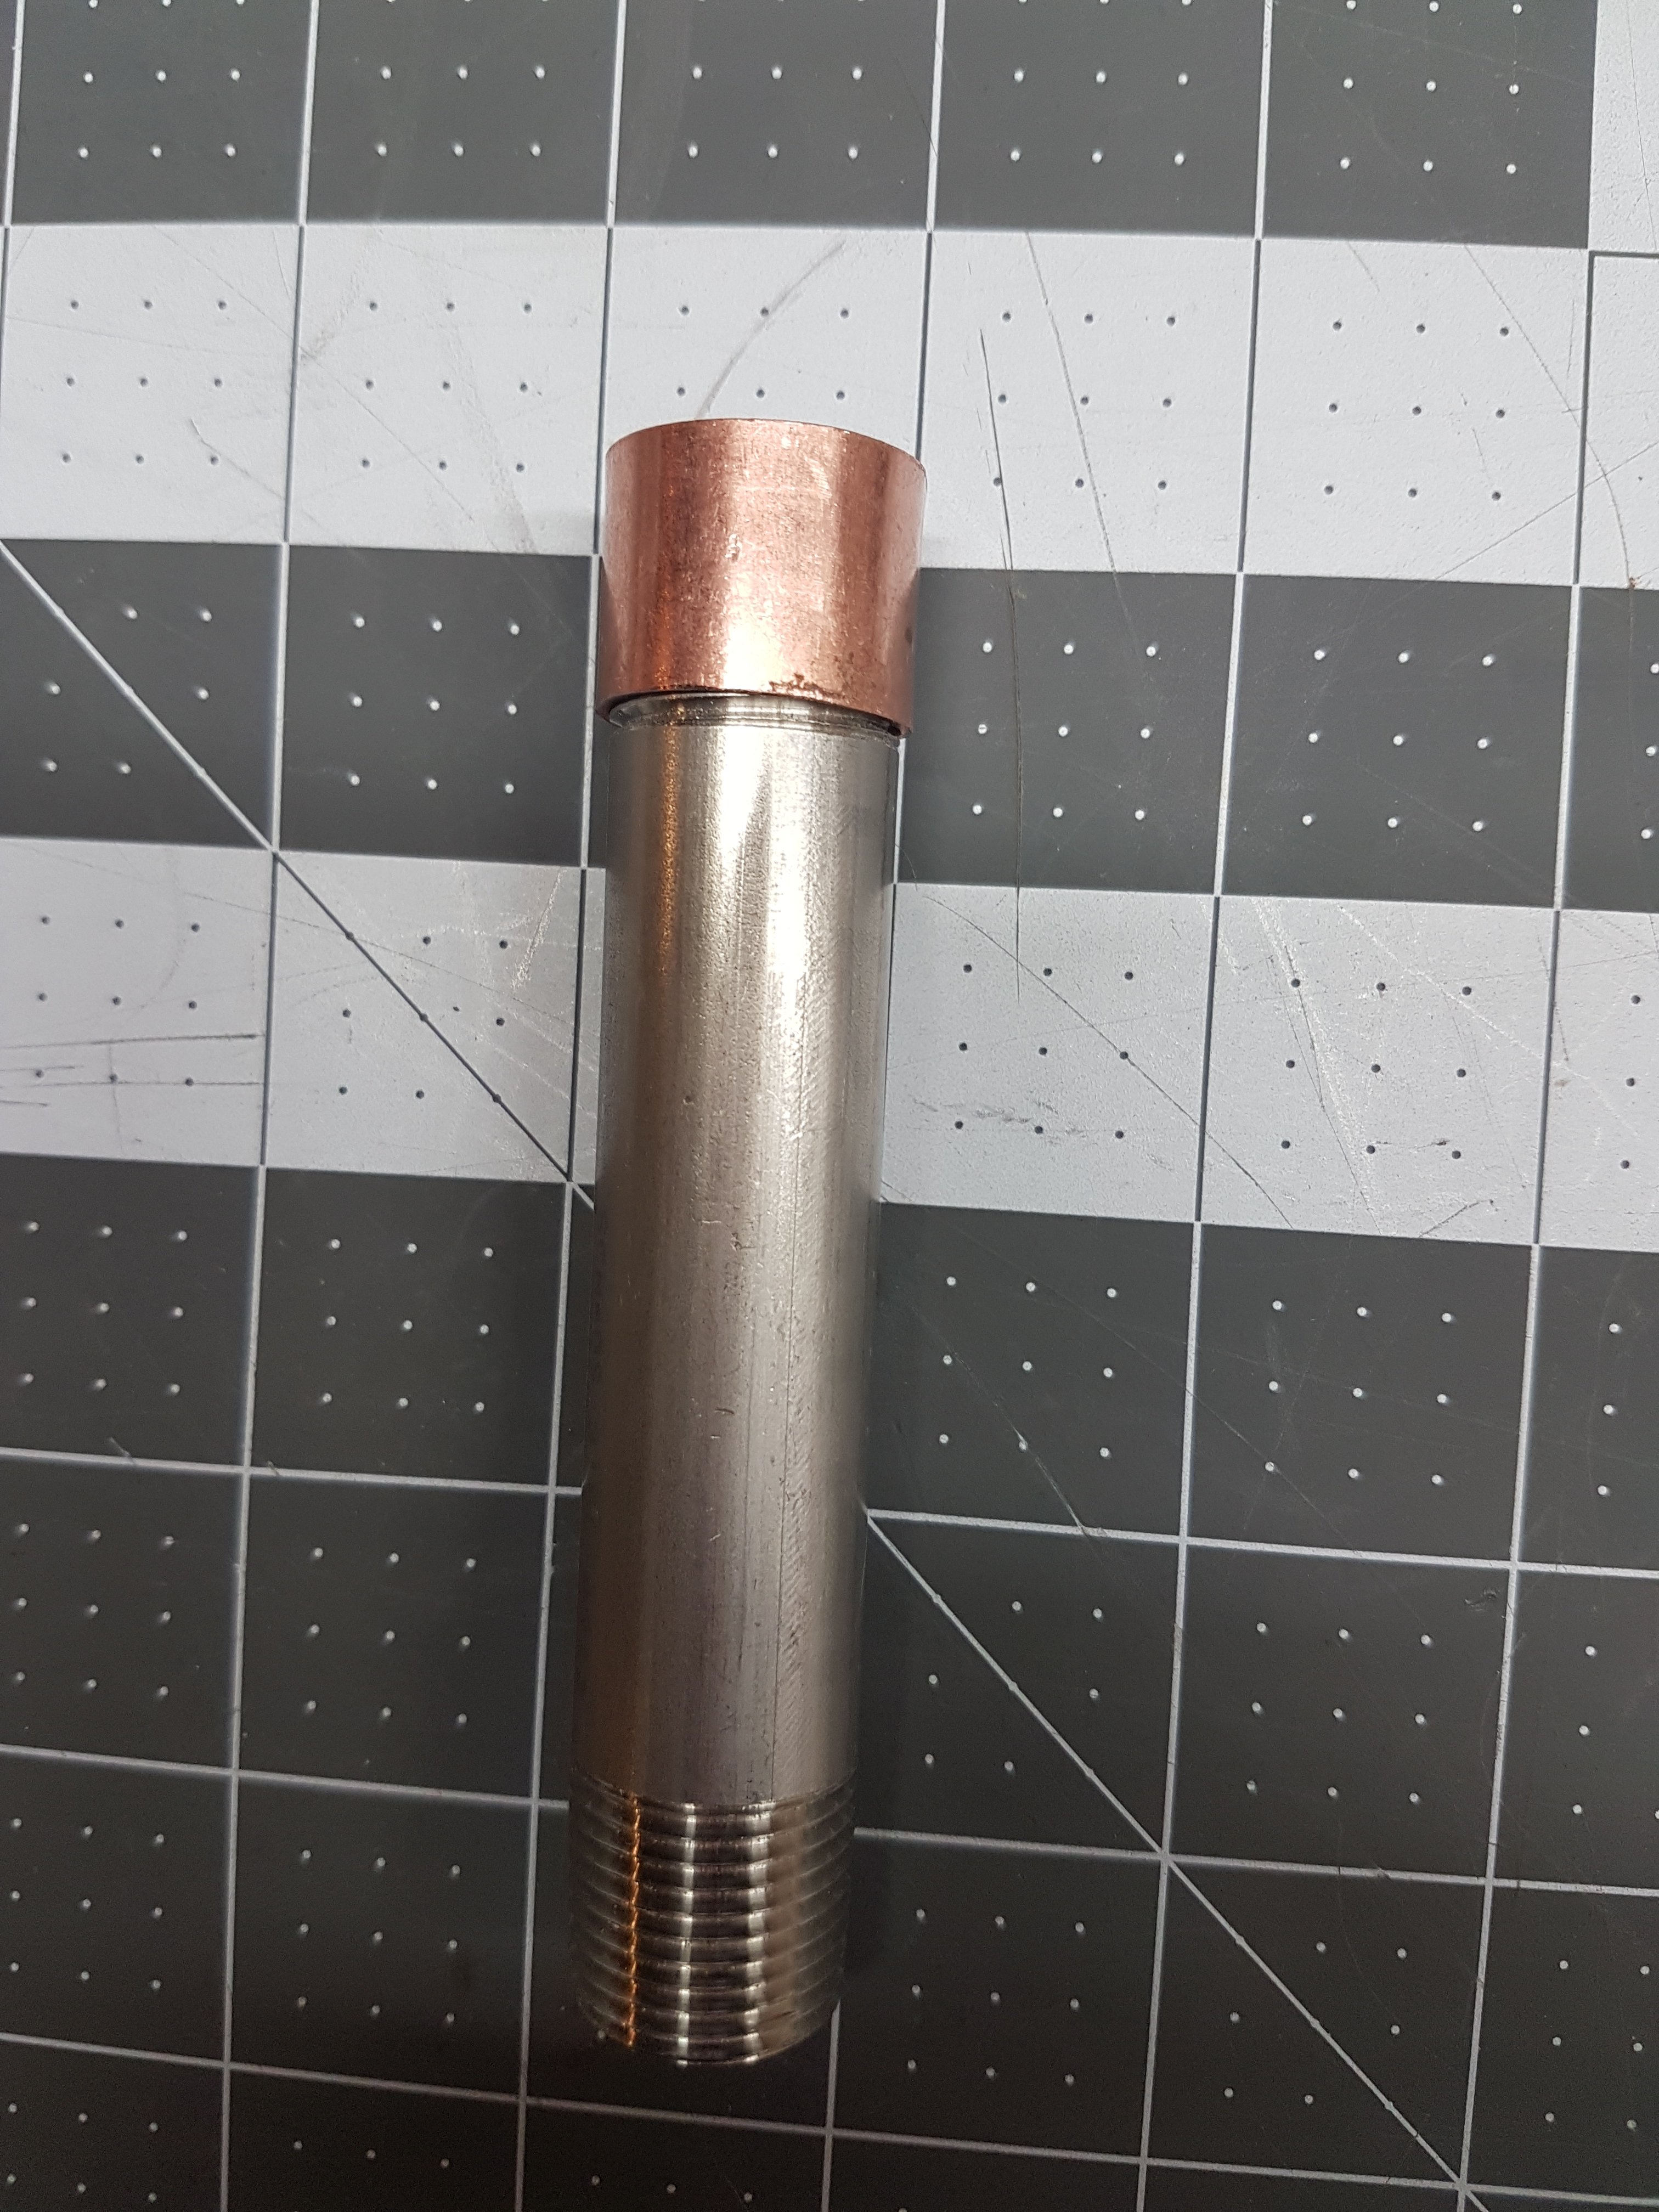
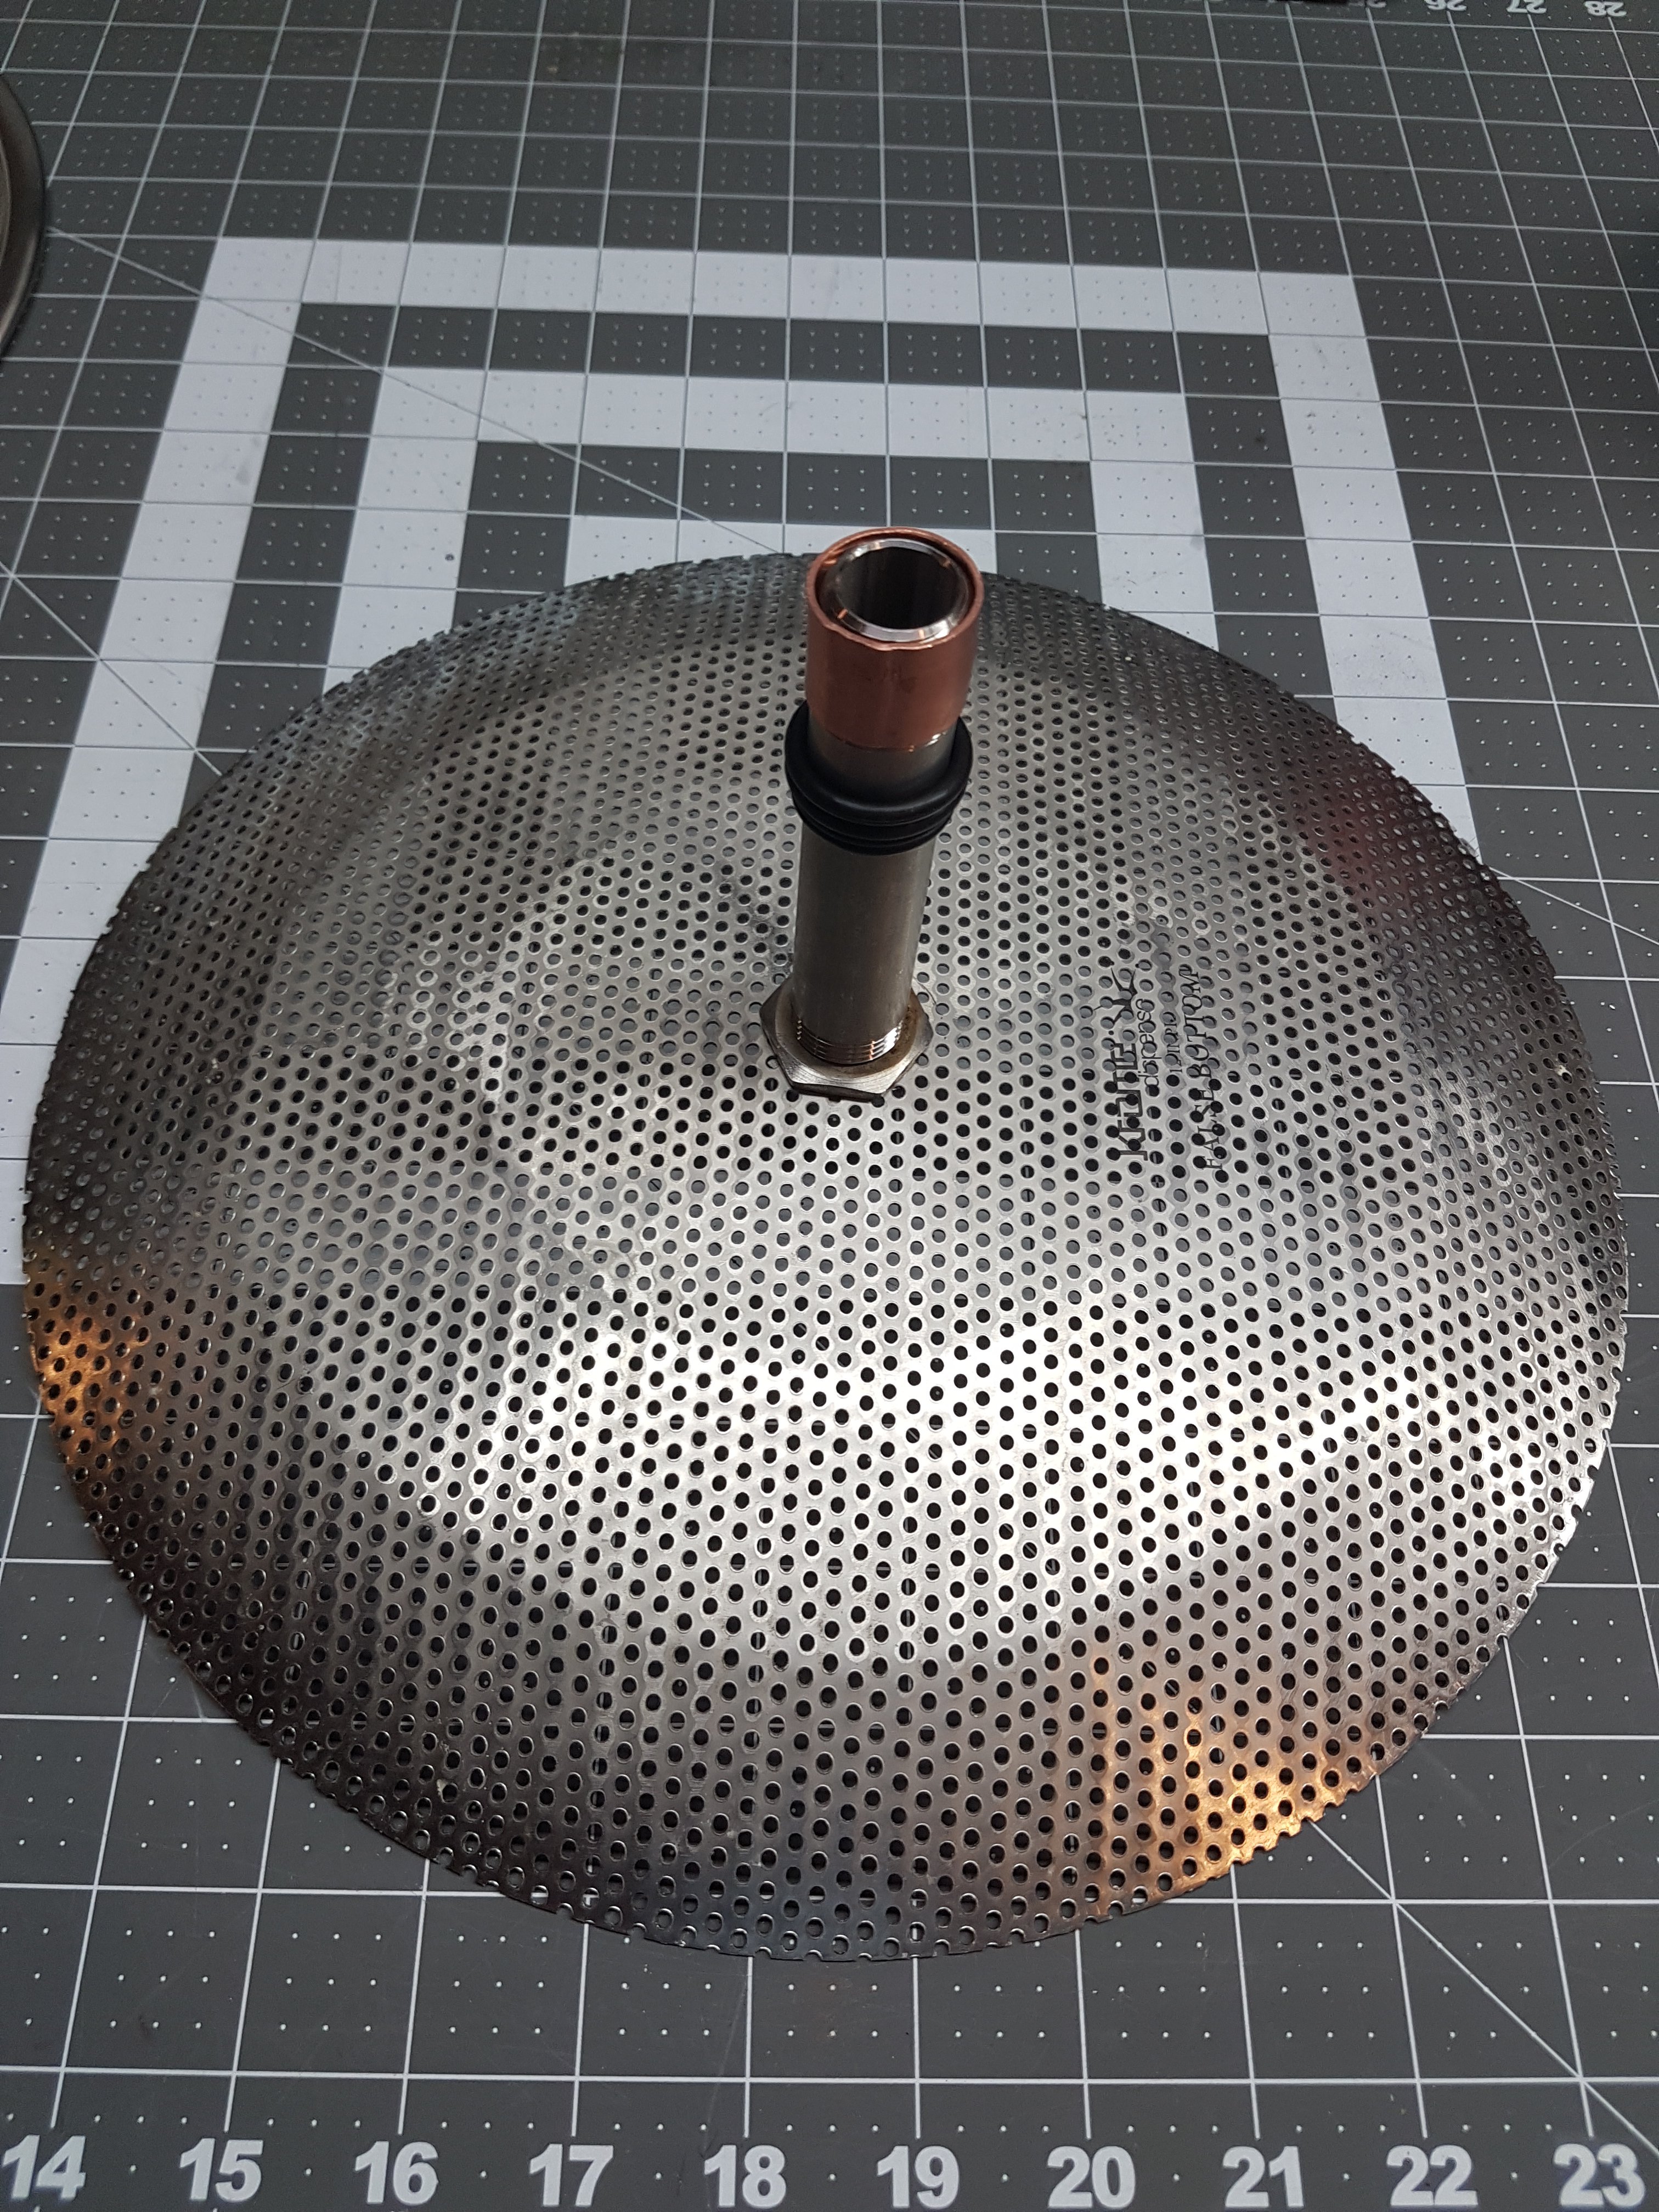
This is the inner standpipe I'm using right now. The copper is pressed onto the standpipe to take up the clearance with the outer standpipe, which is a Sanke keg dip tube.

The copper is a piece of a 3/4" copper pipe connector. I pressed it down to fit by using a 3.4" Pex crimp tool, which was just a bit too big. I wrapped the connector piece with paper and then crimped it and it works perfectly.


20190211_200449.jpg


I put some O Rings over the lower standpipe to hold the upper standpipe at the right height. I'll eventually use a clip.

20190211_201500.jpg


Test fitting the mash bucket onto the boil kettle. I was happy to find it is very stable.

20190211_204204.jpg


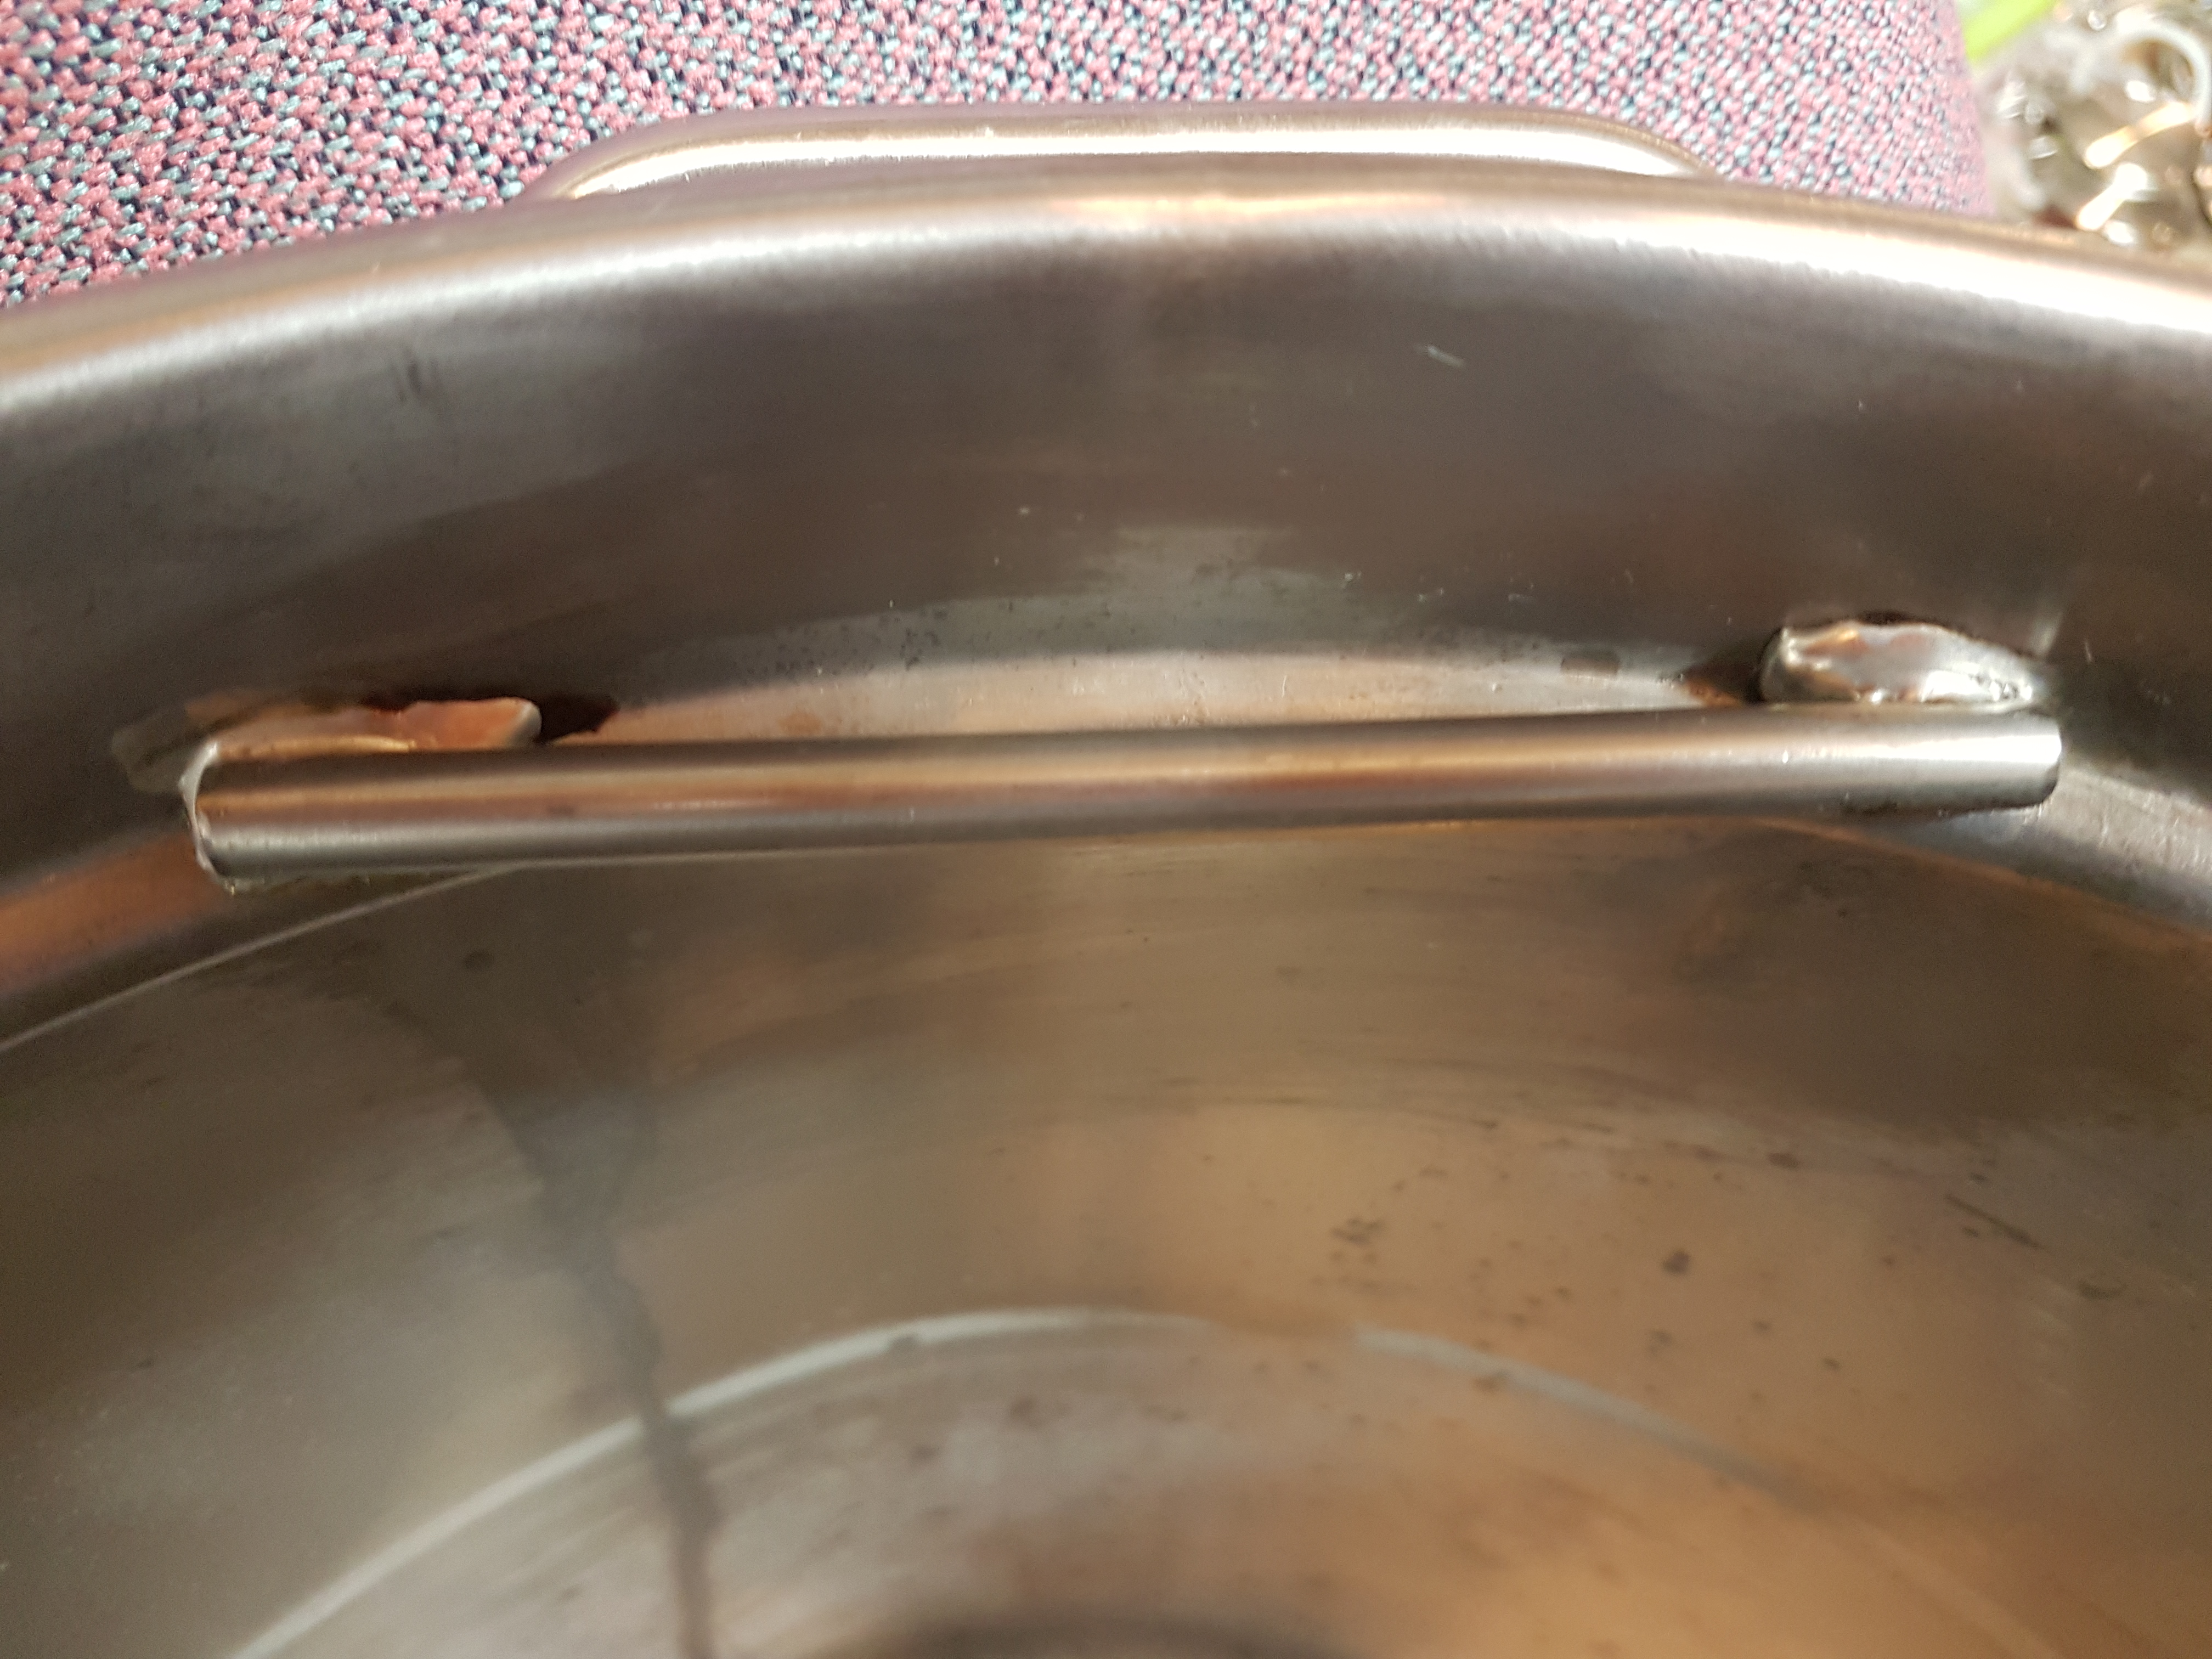
Here is the bolt sitting on the SS piece I soldered into the boil kettle. Explanation is in the next post.

20190211_204145.jpg


Standpipe mounted in the screen in the bottom of the mash bucket.

20190211_202432.jpg


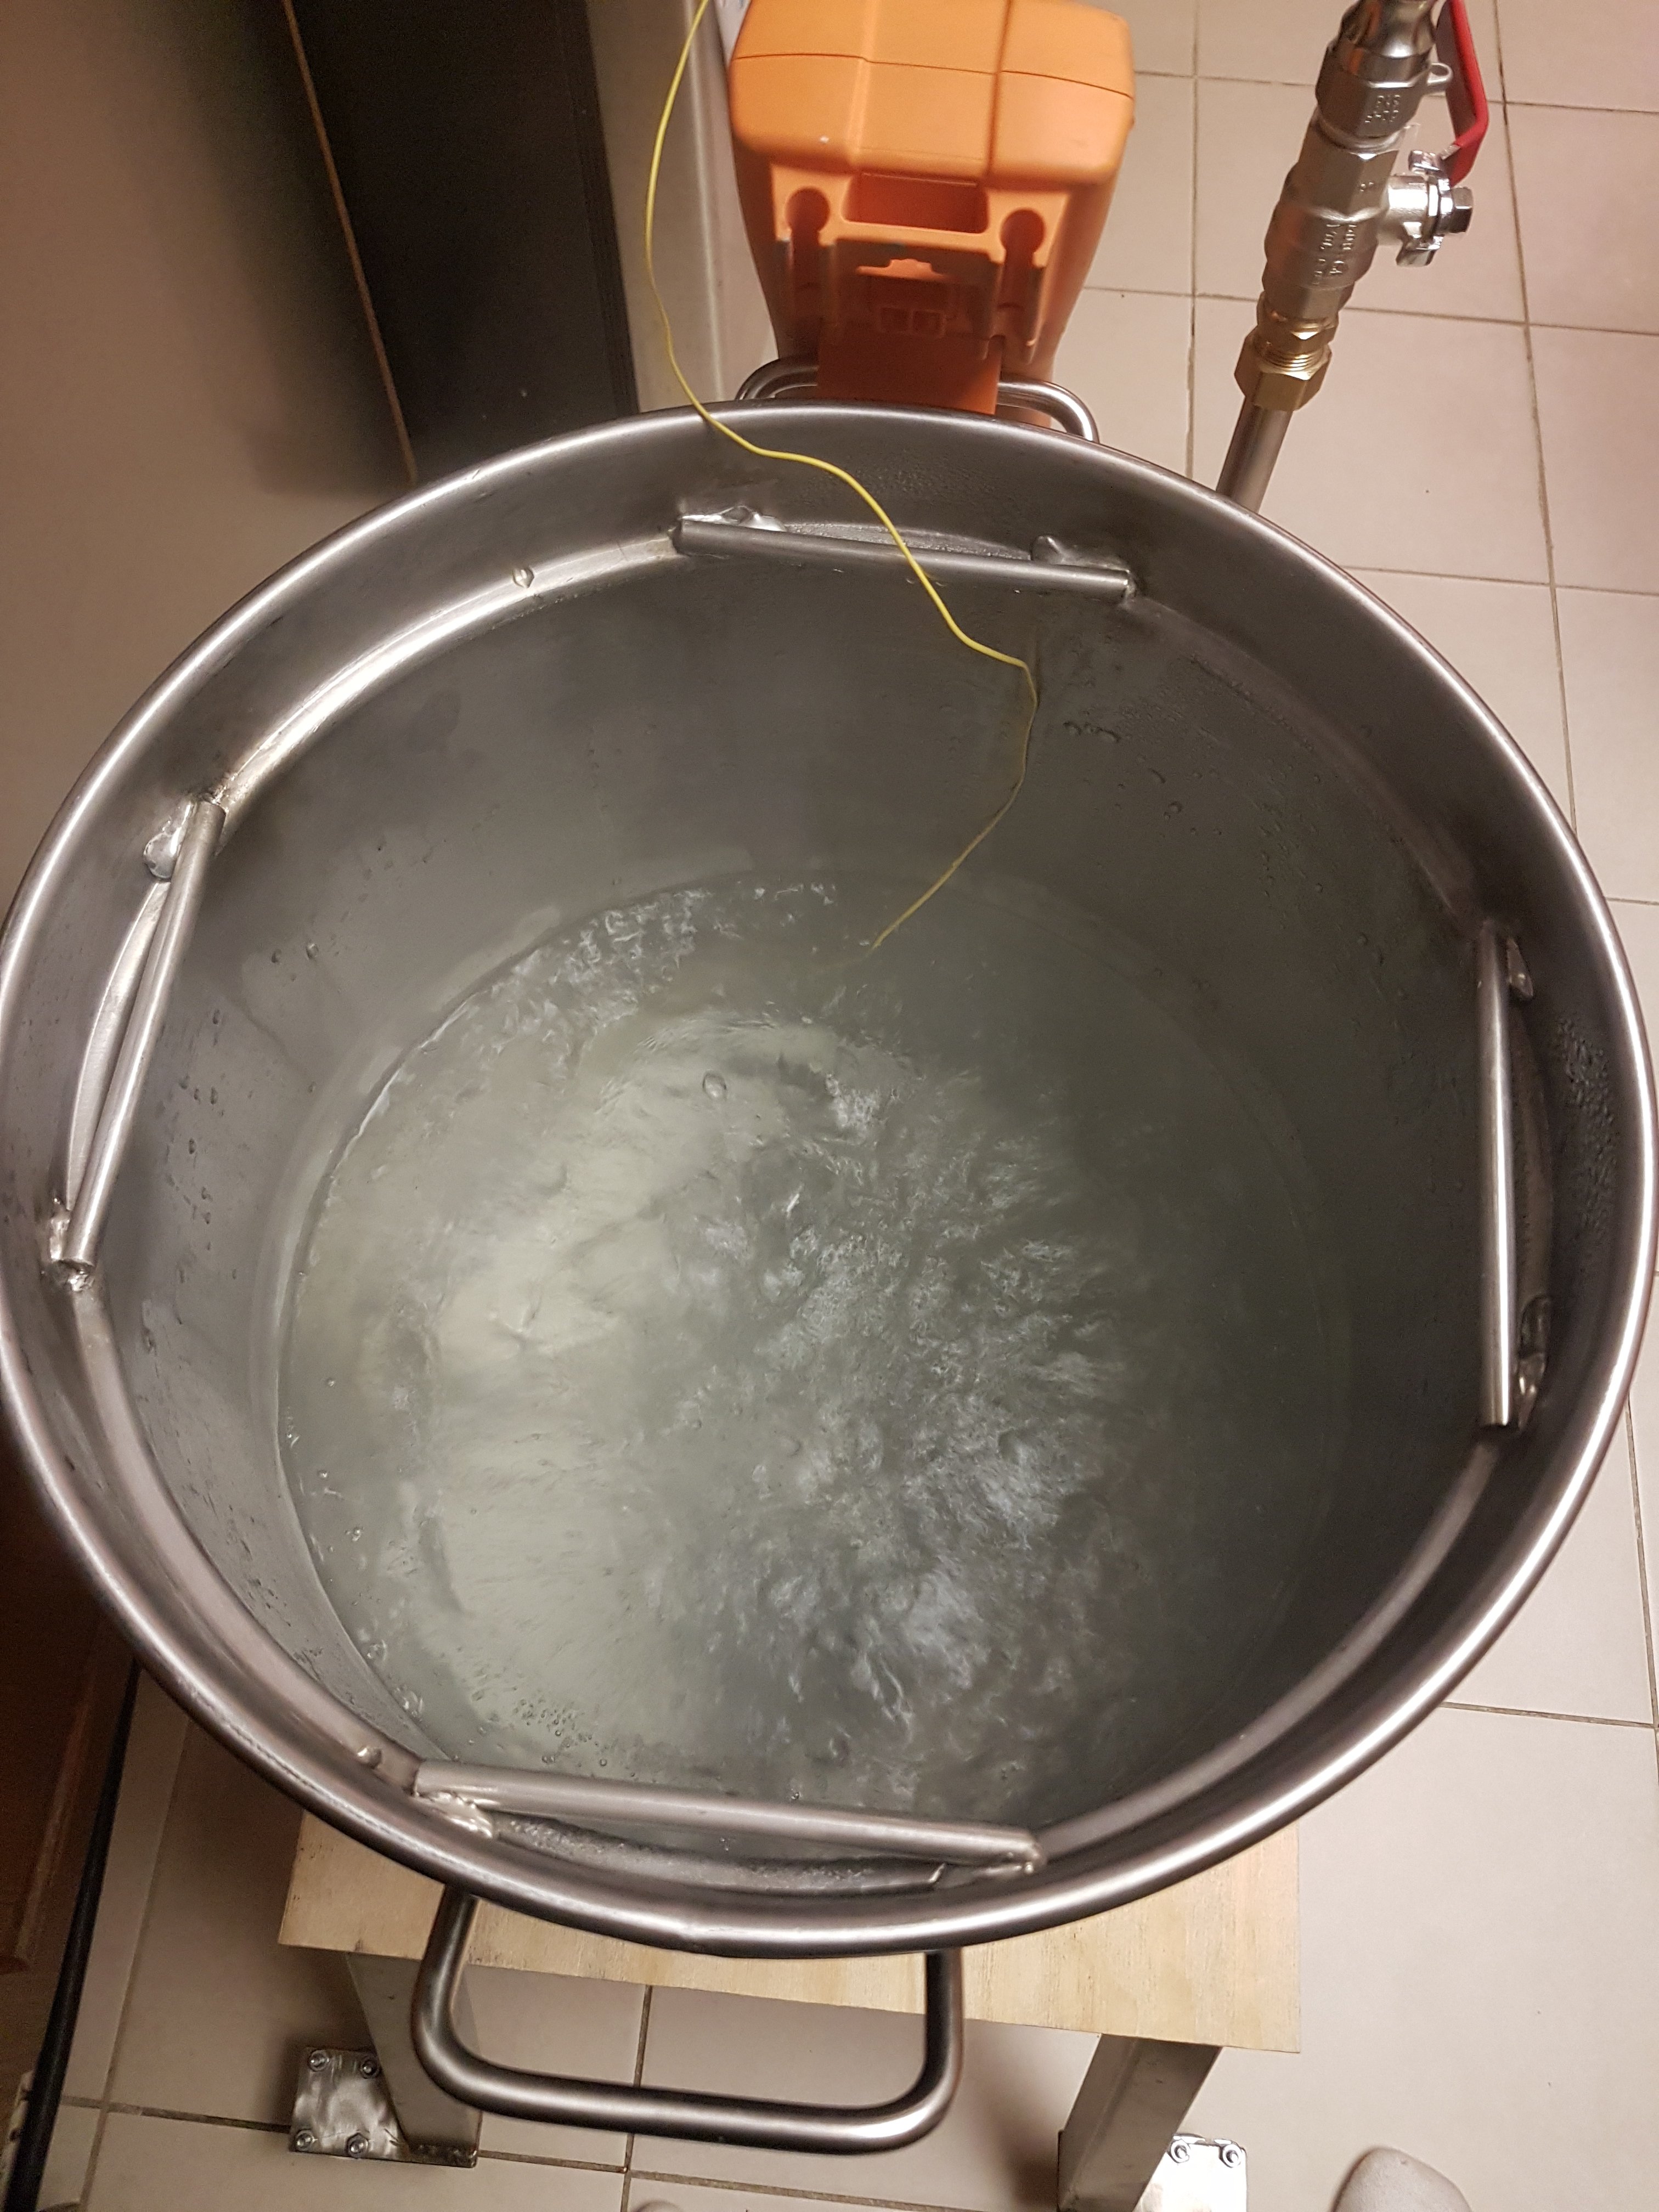
It boils with pretty good vigor. Not as good as propane, but still a good, rolling boil. Time to boil is very fast.

20190211_221036.jpg
 
Last edited:
Instead of bending the ring to hold the mash bucket while sparging, I cut some sections of 1/4" SS rod and soldered them to the inside of the boil pot. They work great.

20190211_202155.jpg


Thing1 is pretty much ready for a full on brewing session. I just need to encapsulate the temp sensors into copper tubes and double check my plate chiller and I'm ready to go.
 
Last edited:
Thing1 temp sensors.

20190215_142235.jpg


DS18b20 temp sensors embedded in 1/4" copper tubing, for maximum thermal conductivity. The ends are sealed with a high quality silicone.

There are 2 of them, one for the mash and the other for the return liquid temp and boil temp.

I'm going to try using a cascaded PID controller in CBPi3 that manages both the bottom of kettle temp (ie return temp) as well as the mash temp itself. The source for this controller is here:
https://github.com/jangevaare/cbpi-CascadePID
 
Last edited:
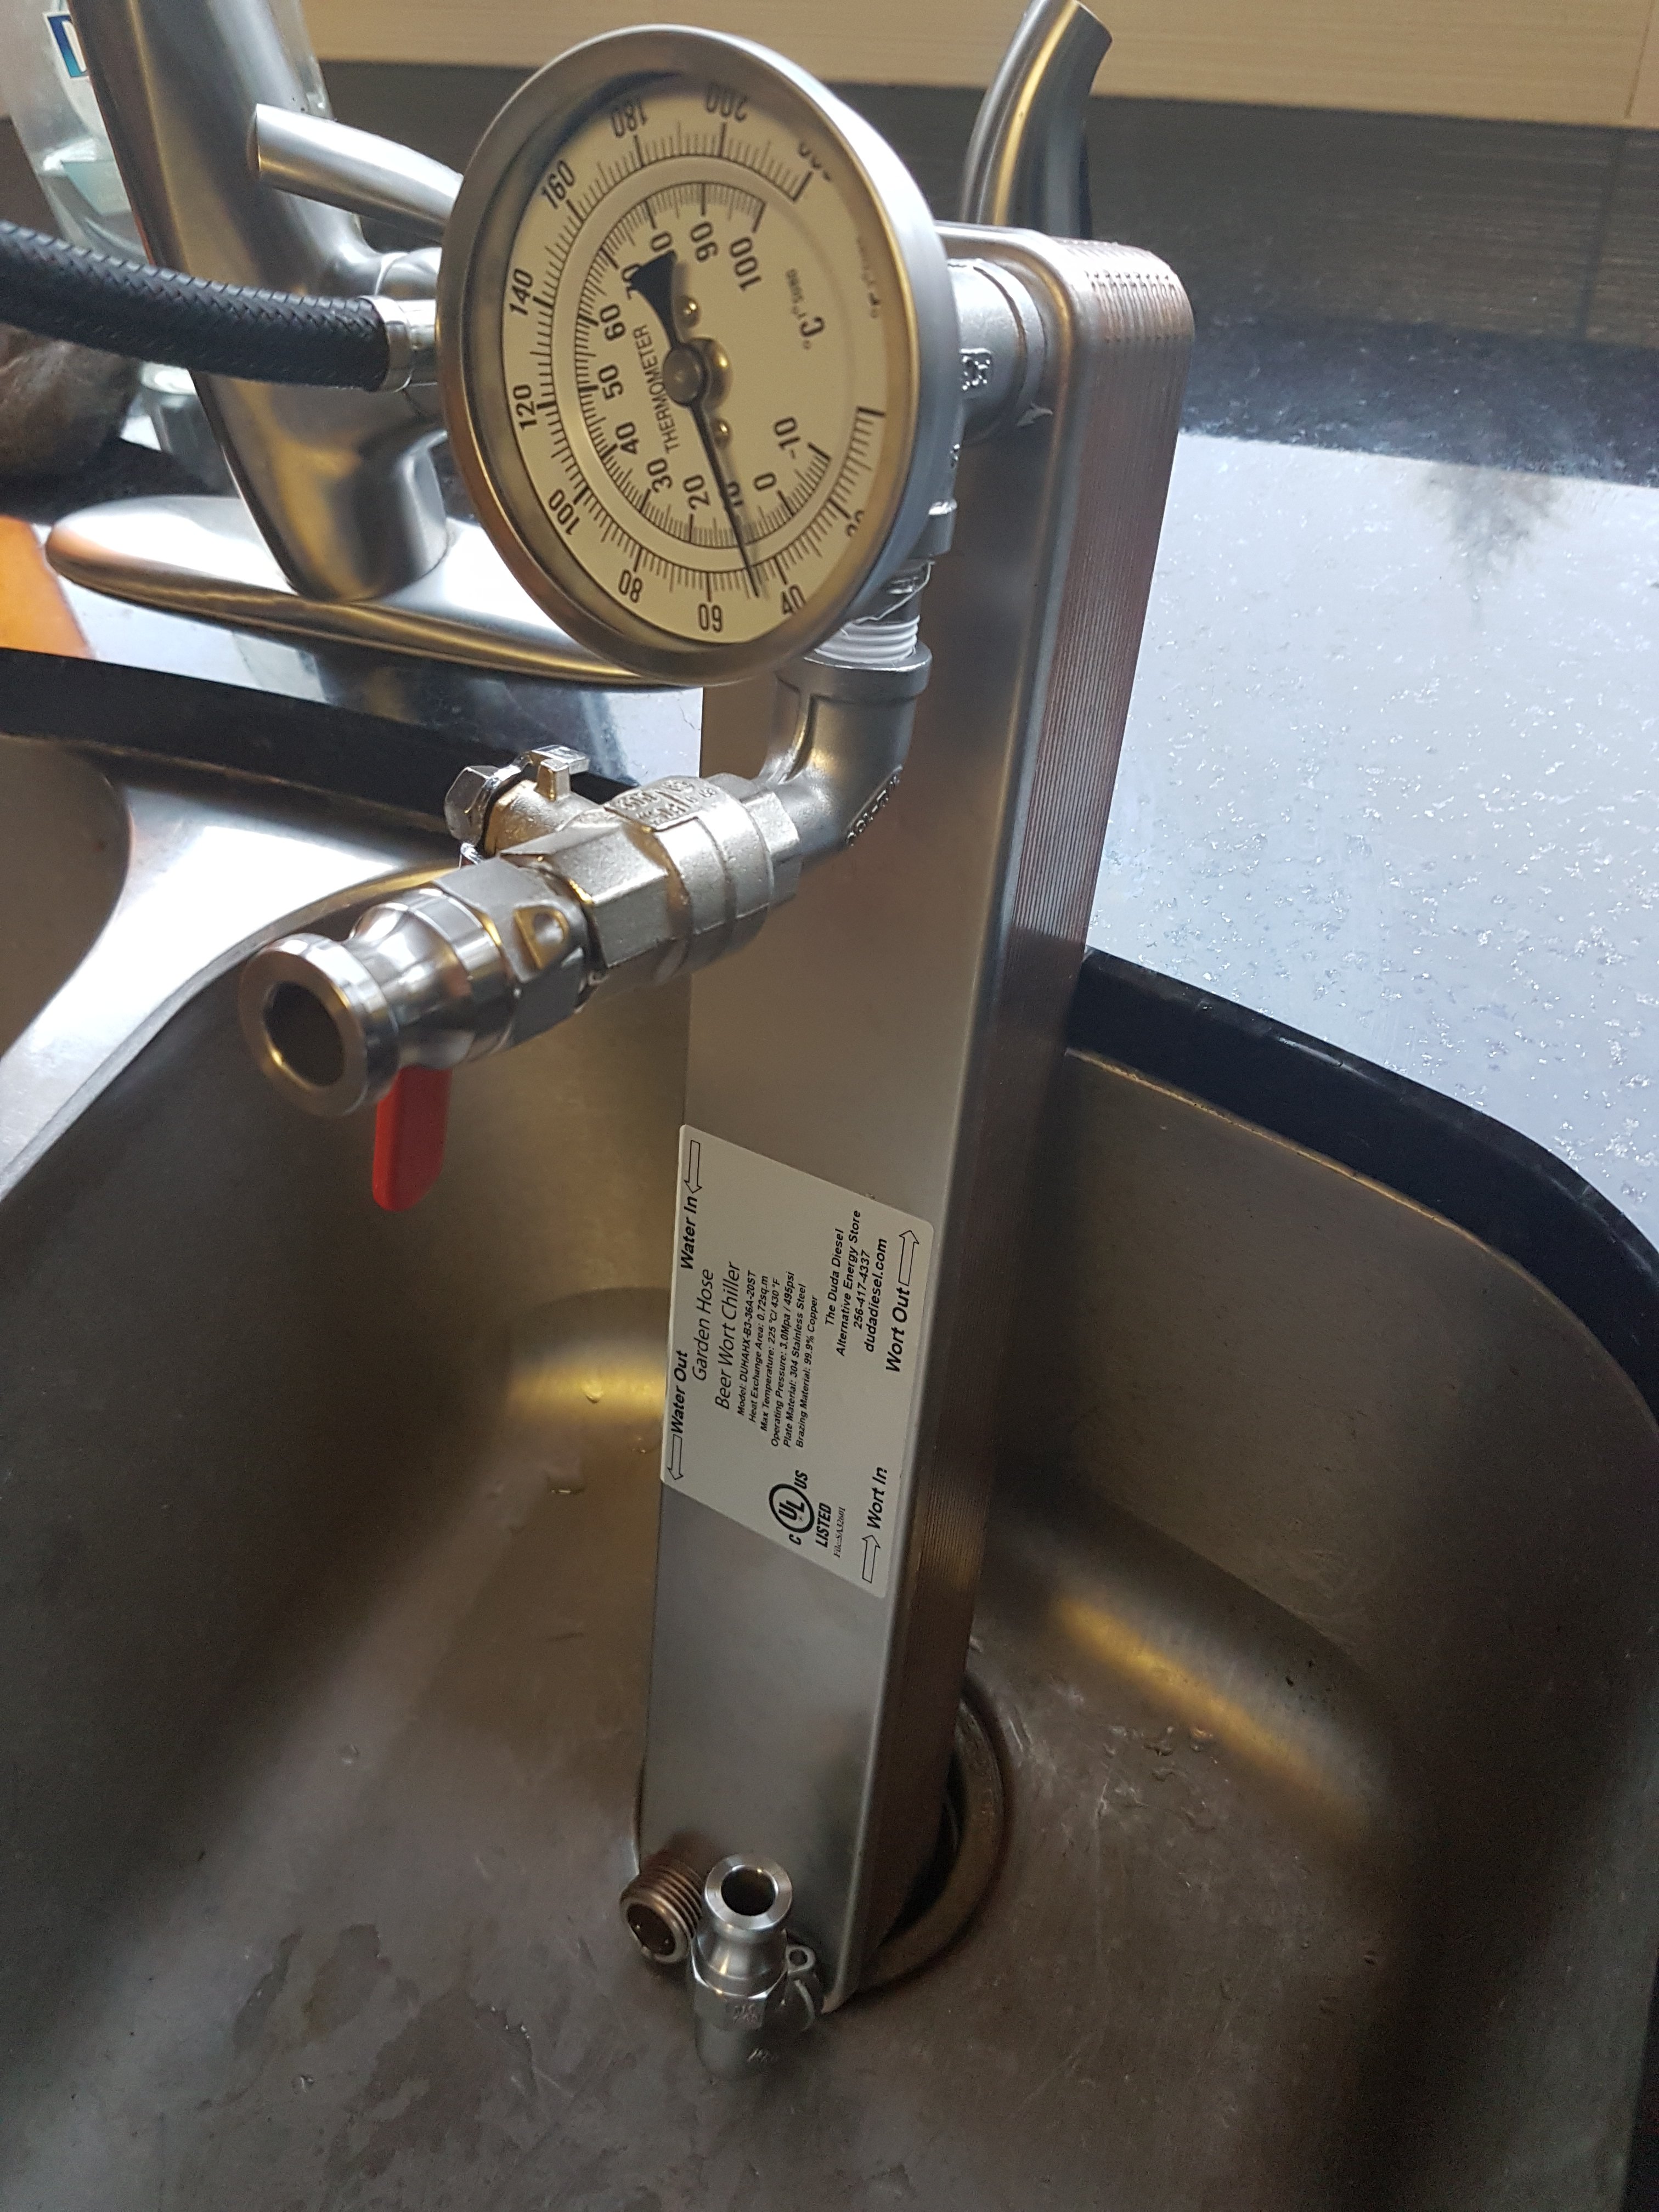
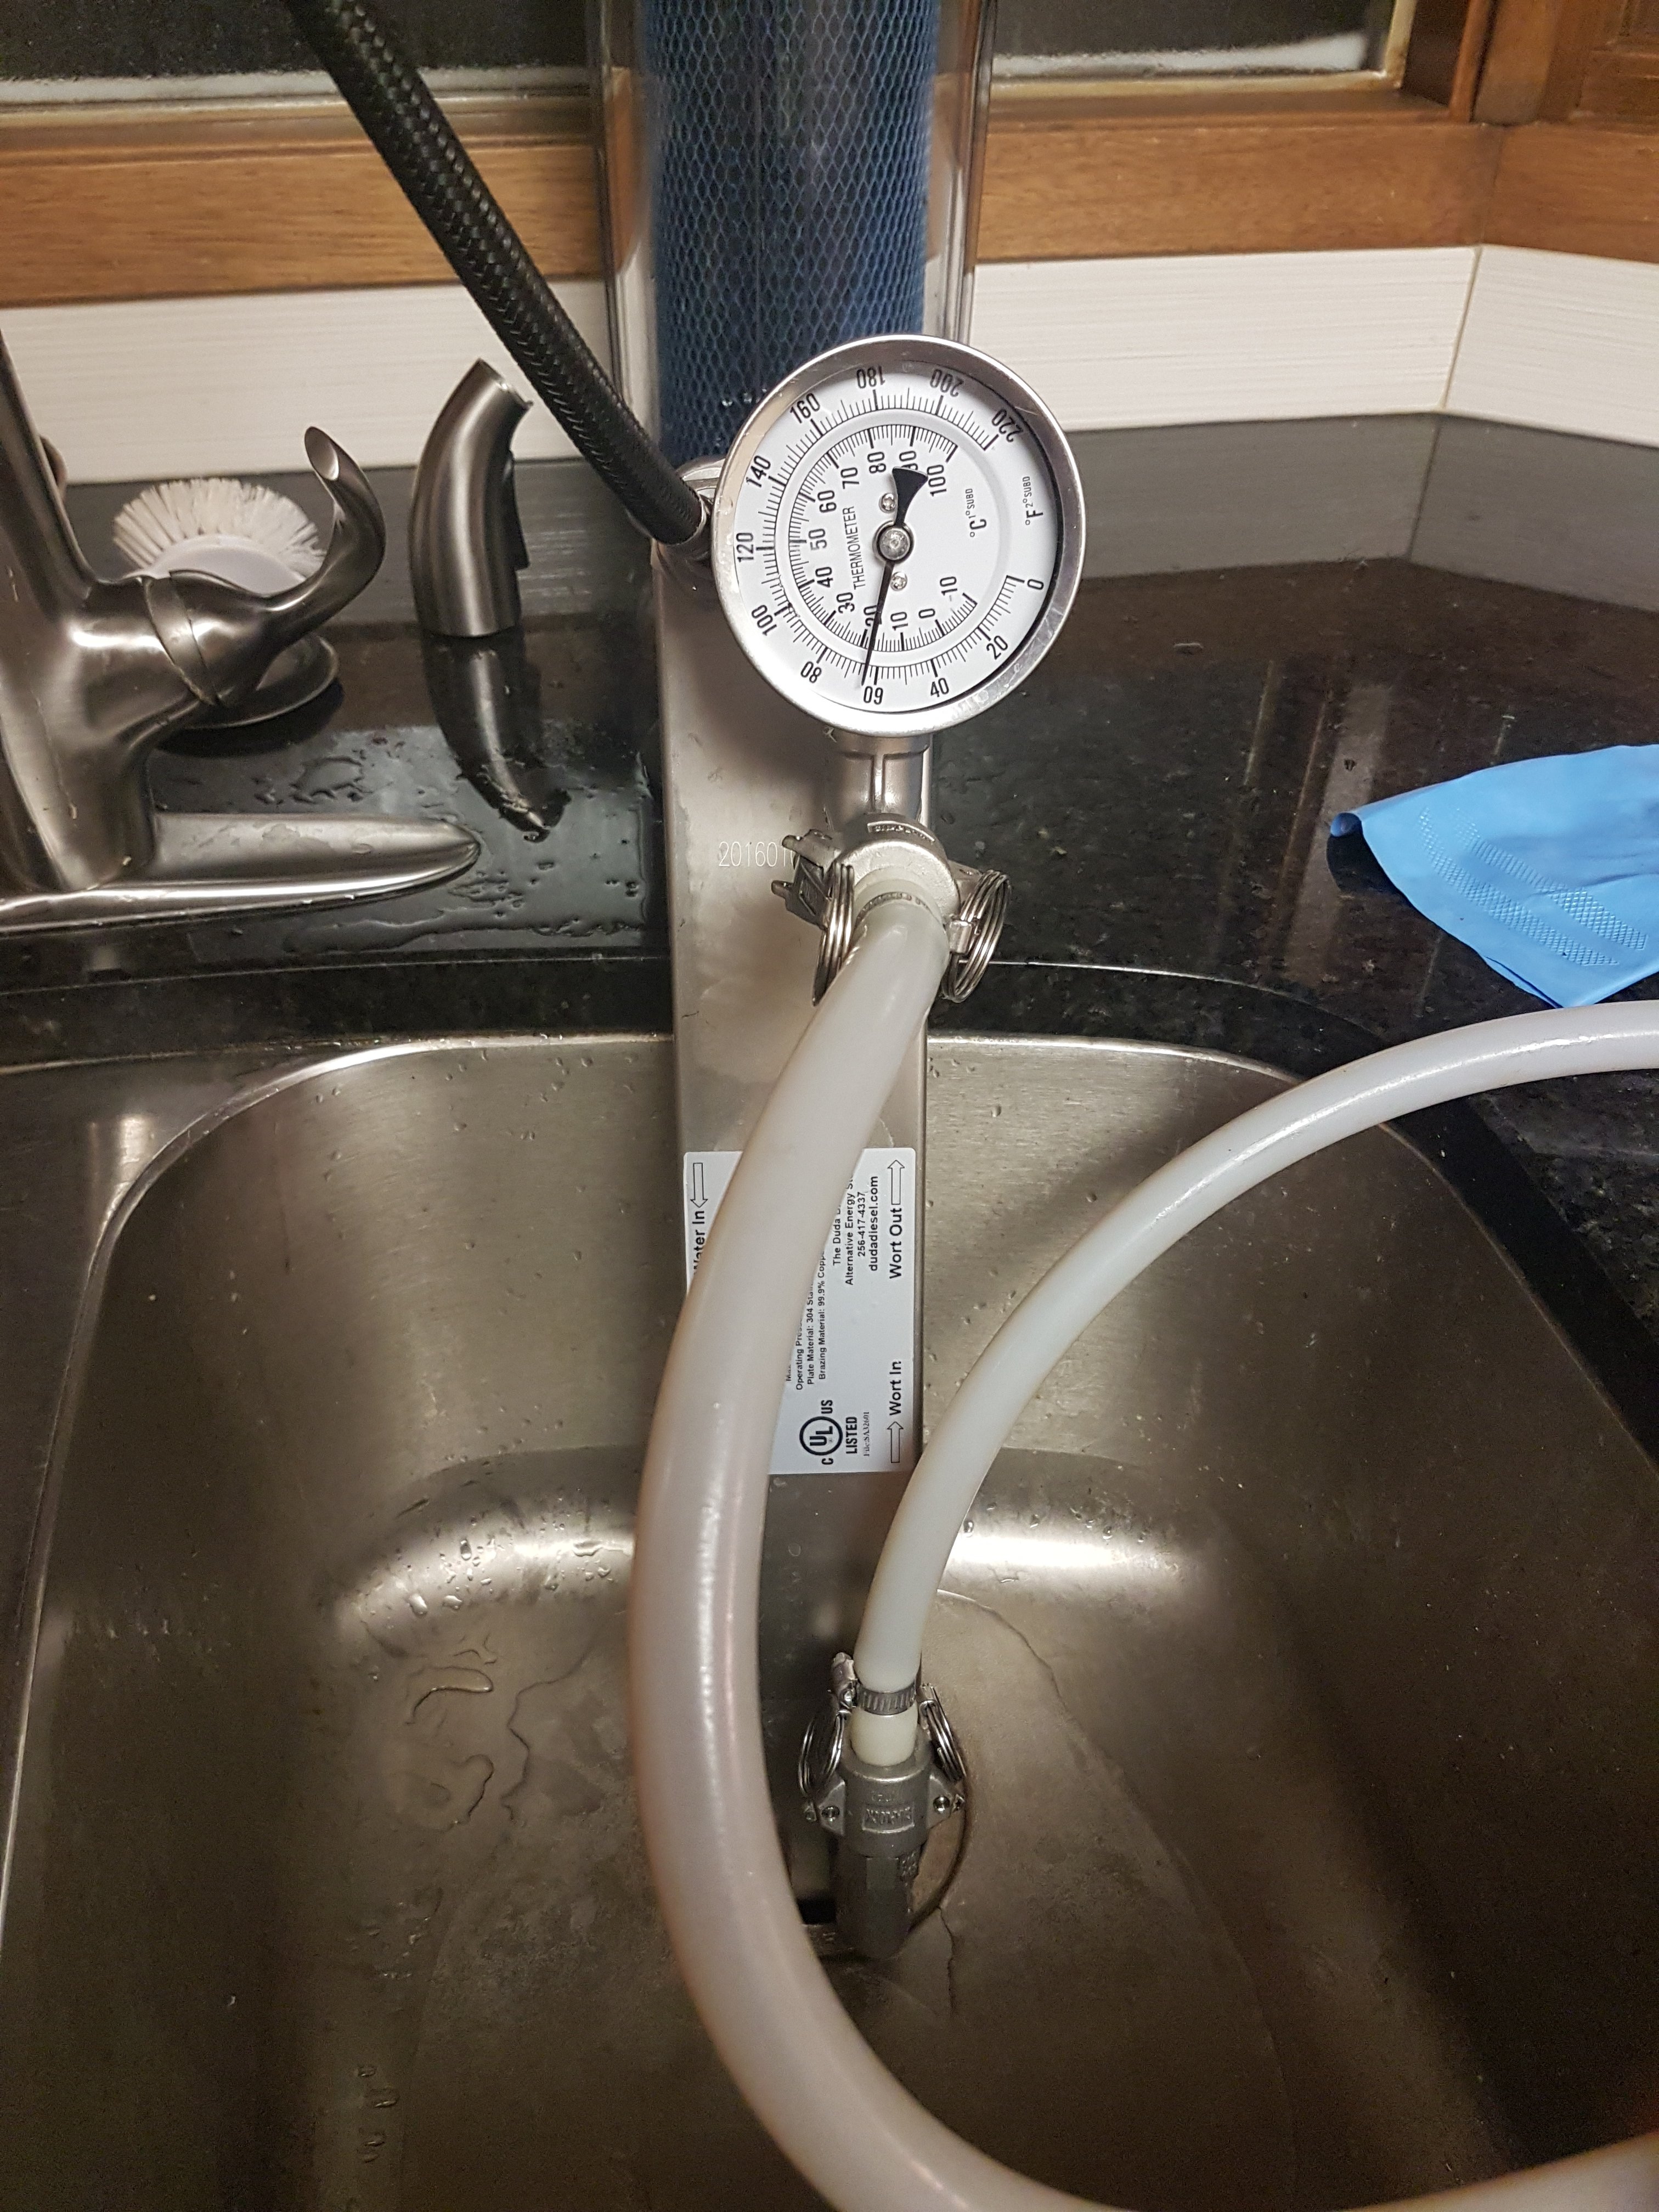
Chiller is ready to go.

It connects directly to the faucet head hose in my sink and rests in the sink itself. All the leakage when connecting and disconnecting is contained in the sink.

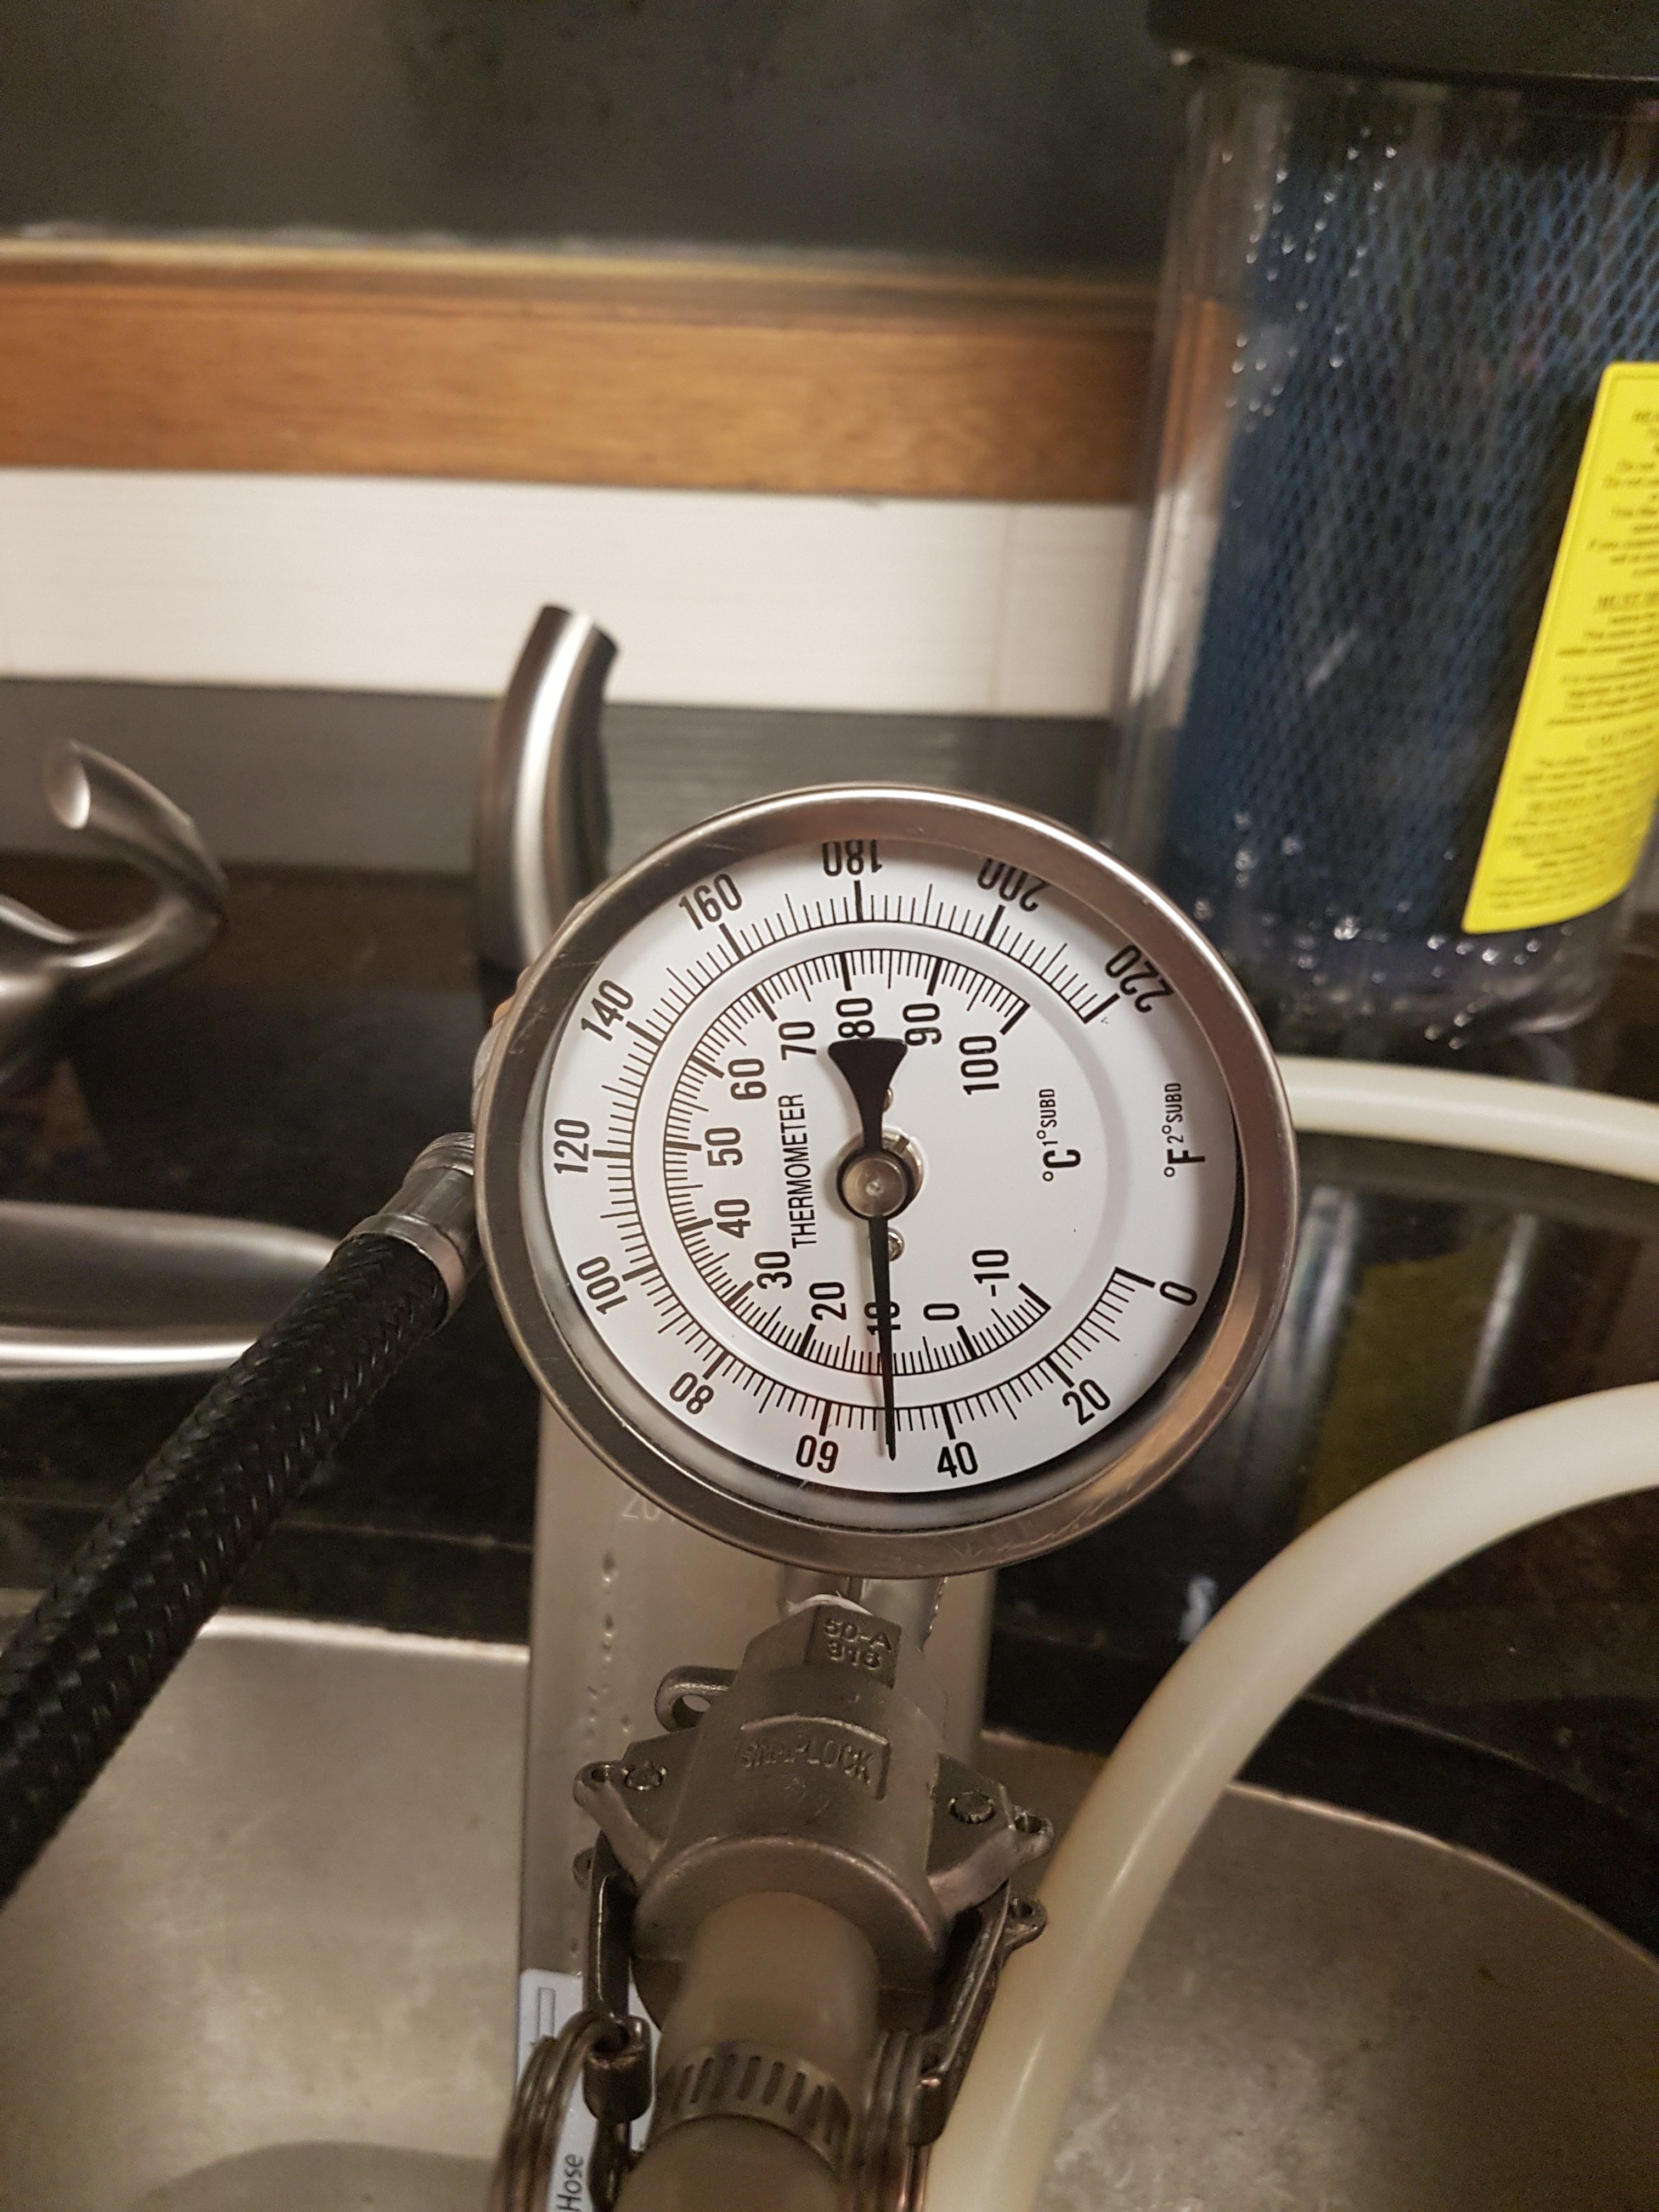
I mounted the thermometer and flow control valve right on the chiller so I can see the outlet temp and adjust the flow right in the same place.

The downside is that I have to remove the thermometer to get it totally clean and dry. Probably that valve too. The valve should actually be on the inlet, where the wort is still boiling hot.

I wish chillers came with tri clamp fittings. I might redo the plumbing on this thing to make it easier to clean, etc. Everything downstream of the chiller has to be sanitary. If there is one place that needs tri clamps, this is it. Ball valves are notorious for trapping small amounts of liquid in the space behind the ball, only to put that liquid in contact with the wort when you adjust the valve.

FWIW, all the outlets on my brewing system have male QCs. All my hoses have female QCs.

Edit: I remove the ball valve from the outlet of the chiller. I can control the flow with the ball valve on Thing1. Hot, near boiling wort will be going through it, so no chance of contamination. Anything living in it will be long dead from being killed by heat during the brewing process.

20190215_165516.jpg


20190215_165521.jpg
 
Last edited:
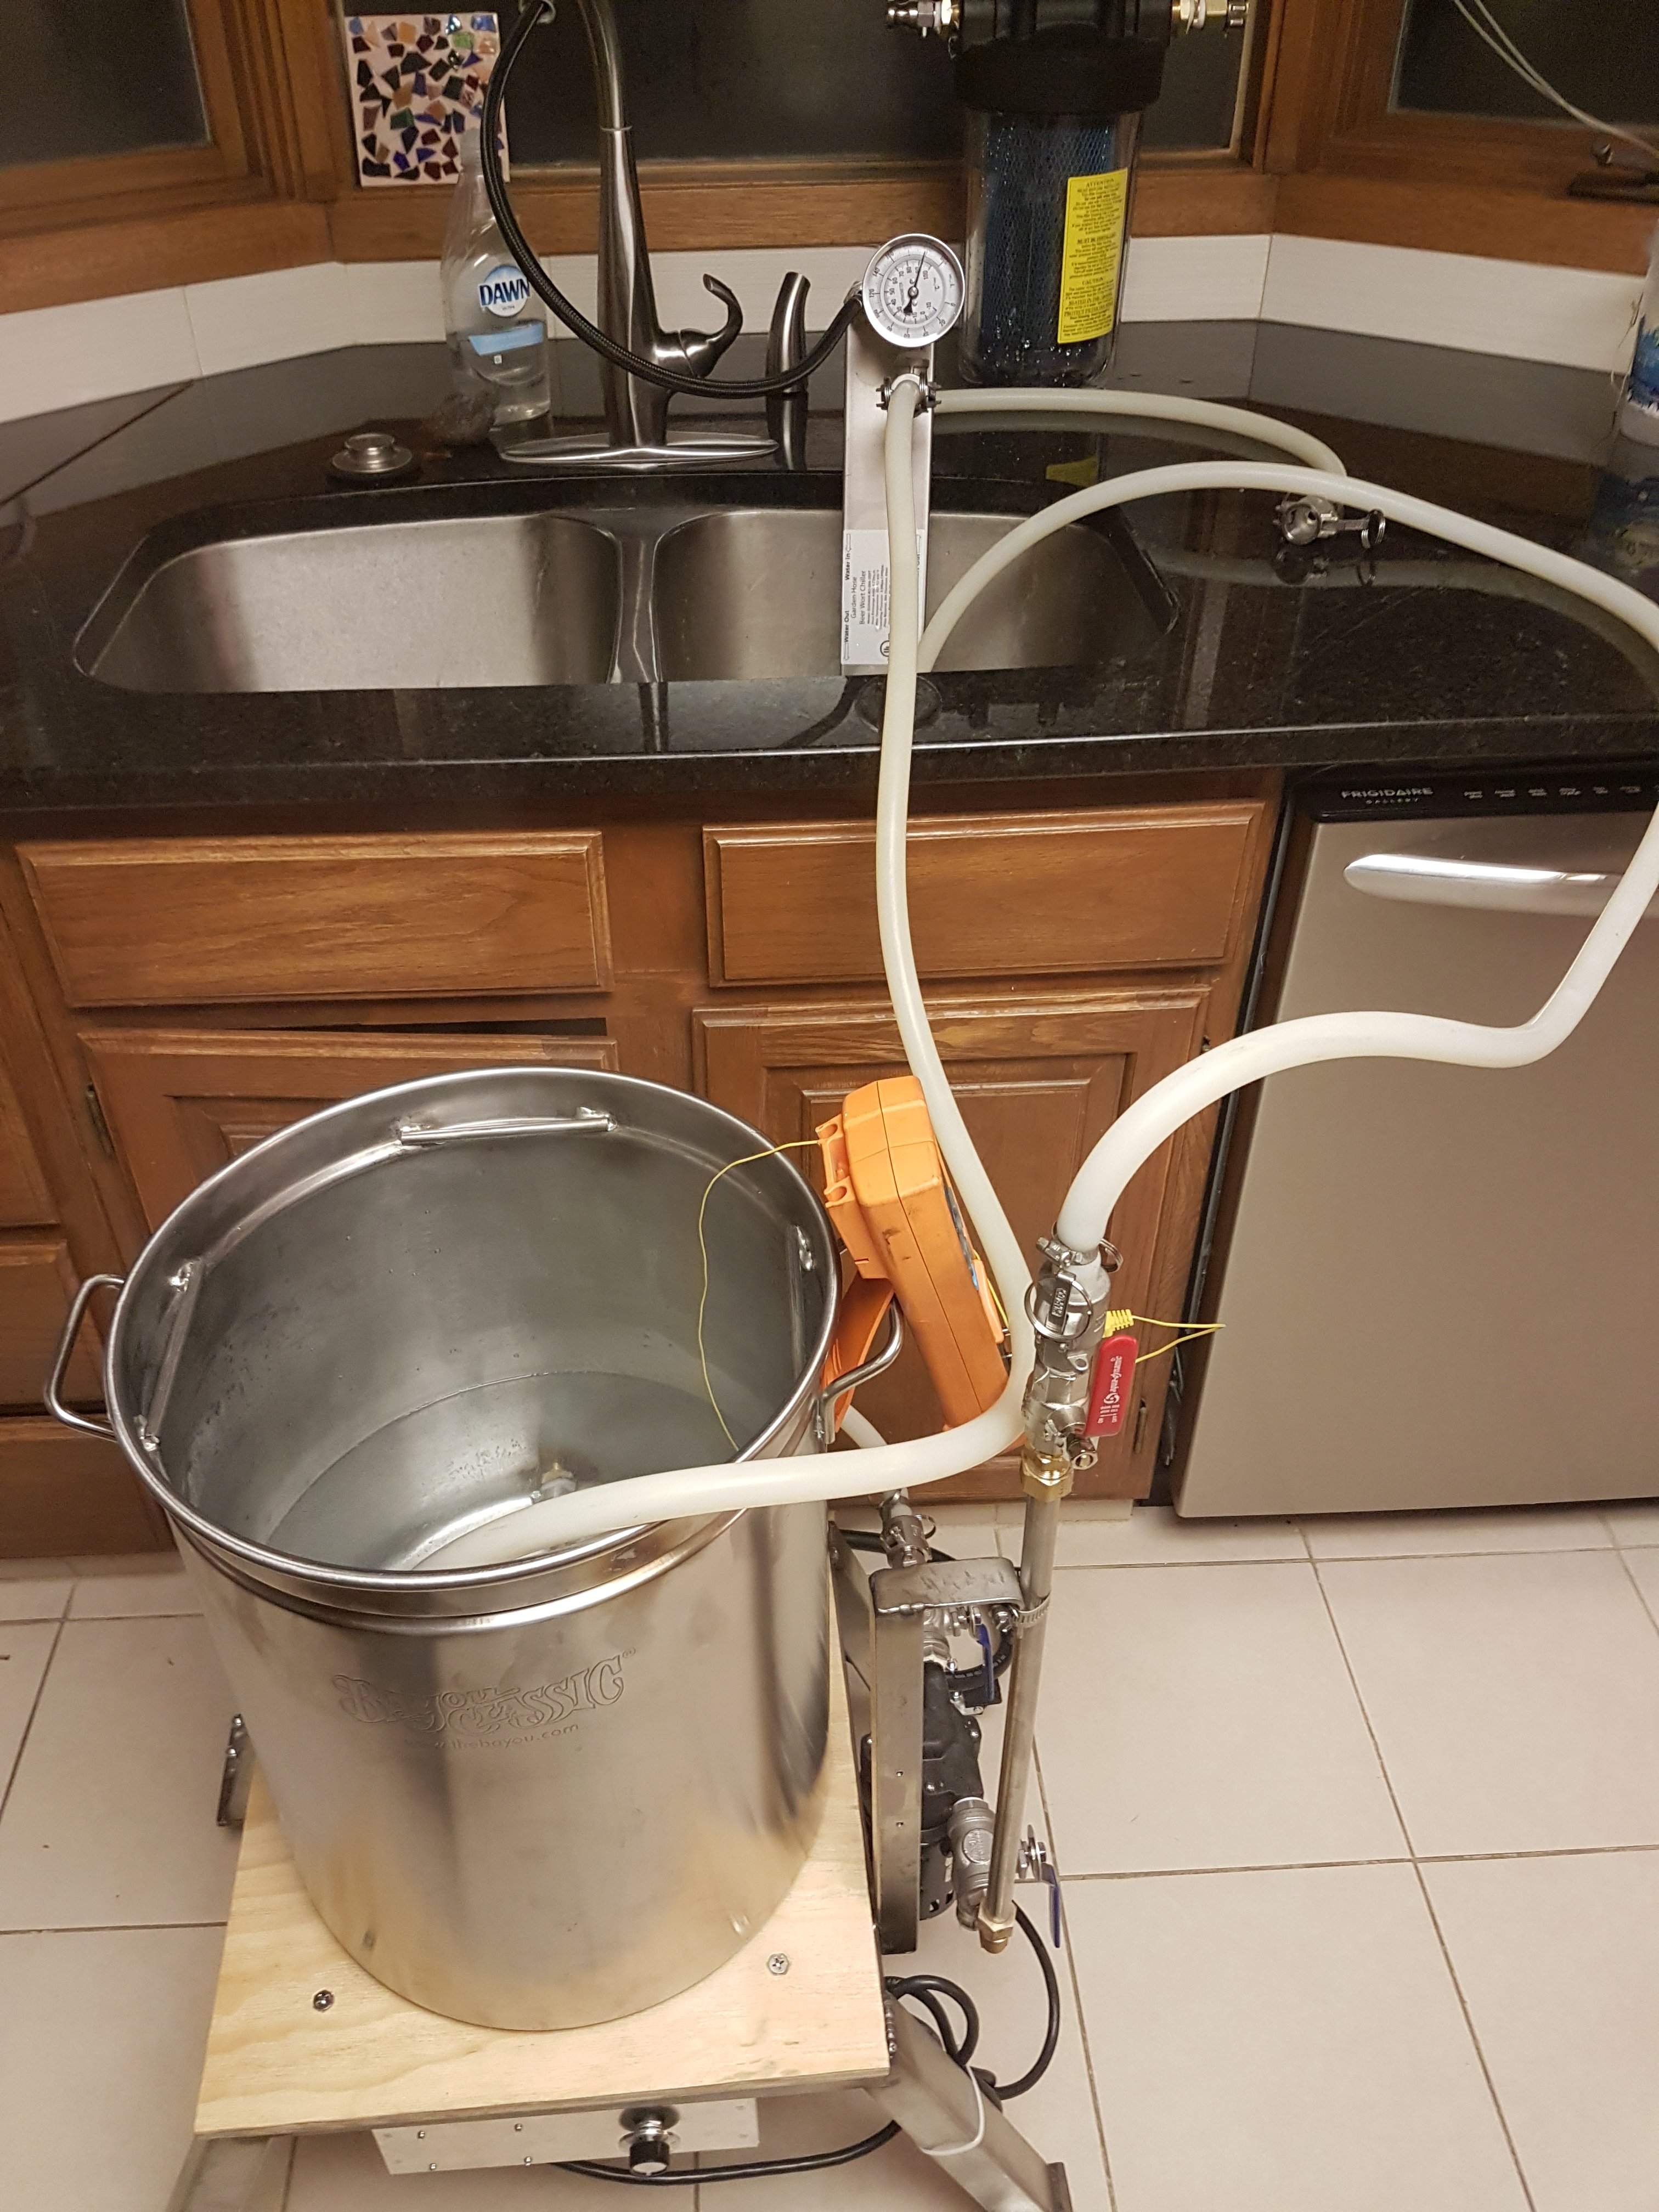
Chiller setup works really well. Here I am circulating hot water back into the kettle. My hoses could be shorter, especially the hose going from Thing1 to the chiller.

I love that this thing is on wheels and you can wheel it out of the way if you want to use the sink while brewing.

20190215_213139.jpg


This is what happens when I start cooling.

20190215_213510.jpg
 
Last edited:
I found a few little bugs doing a water run tonight. I'll fix them in the morning and brew a beer or two tomorrow.

I'm very happy with how this thing works. It is fantastic. I can't wait to see how it handles a real brew session.
 
Last edited:
golfindia said:
No heat sinks and no issues with the Pi getting too hot? I got overheat warnings continuously until I put a fan over the top of mine.

I'm running the SystemTempSensor addin on CraftBeerPi. It reports the internal temp of the RPi3. I added fans to the enclosure to remove the heat created by the induction coil. I'm seeing about 130F during the boil.

I'd check the current draw on your GPIO pins.
 
First batch is in the fermenter. I brewed Ed Wort's Pale Ale.

- Started heating water for mash in at 7 PM
- Mashed in at 7:40. Hit strike temp before that, but I was still getting things ready.
- Mashed for 2 hours because I was experimenting with various things. Measuring mash pH, taking refractometer and hydrometer readings, testing mash temp step changes, etc.
- lifted the grain basket at 9:45 and sparged about 2.5 gallons
- added first hops at 10:19 PM. Was boiling before this. I was testing things.
- done boil at 11:19 PM.
- chilled and in the fermentor at 11:40. Lot of issues chilling, read below.

Going into the boil pot I had 7 gallons @1.057 = 399 points. For 11.1 pounds of grain, that is nearly 36 points per pound. Must be a measurement error.

Going into the fermentor I have 5.75 gallons @ 1.062 = 356 points. For 11.1 pounds of grain, that is 32 points per pound. There is some liquid left in the boil kettle and I lost a bit trying to get the pump pumping the boiling wort... more on that later.

4.5 hour brew session with a 2 hour mash and pump problems when chilling, first time ever using it. I'll take that. It will only get faster from here.

Everything worked excellent except:

1) With such a powerful heating element, the DS18B20s don't react nearly fast enough, especially when they are stuck in the mash. Thing1 has a temp rise of about 4F per minute. If you need to bump the mash temp 1F, the induction coil only needs to run for 15 seconds. CraftBrewPi only senses the DS18B20s once every 5 seconds and they seem very laggy.

Outcome: I overshot mash temp several times, by a lot. This needs work. Caveat: I was using a simple hysteresis controller and I had the controlling temp sensor suck in the mash.

2) The pump would hardly pump the boiling wort through the plate chiller. Not sure why. Not only wouldn't it pump through the plate chiller, I disconnected the chiller and it wouldn't pump straight back into the kettle. I need to investigate some things.

(I found the culprit, see my post below.)

Overall I am very happy with Thing1. I'll tweak a few things, but overall it is everything I hoped for.
 
Last edited:
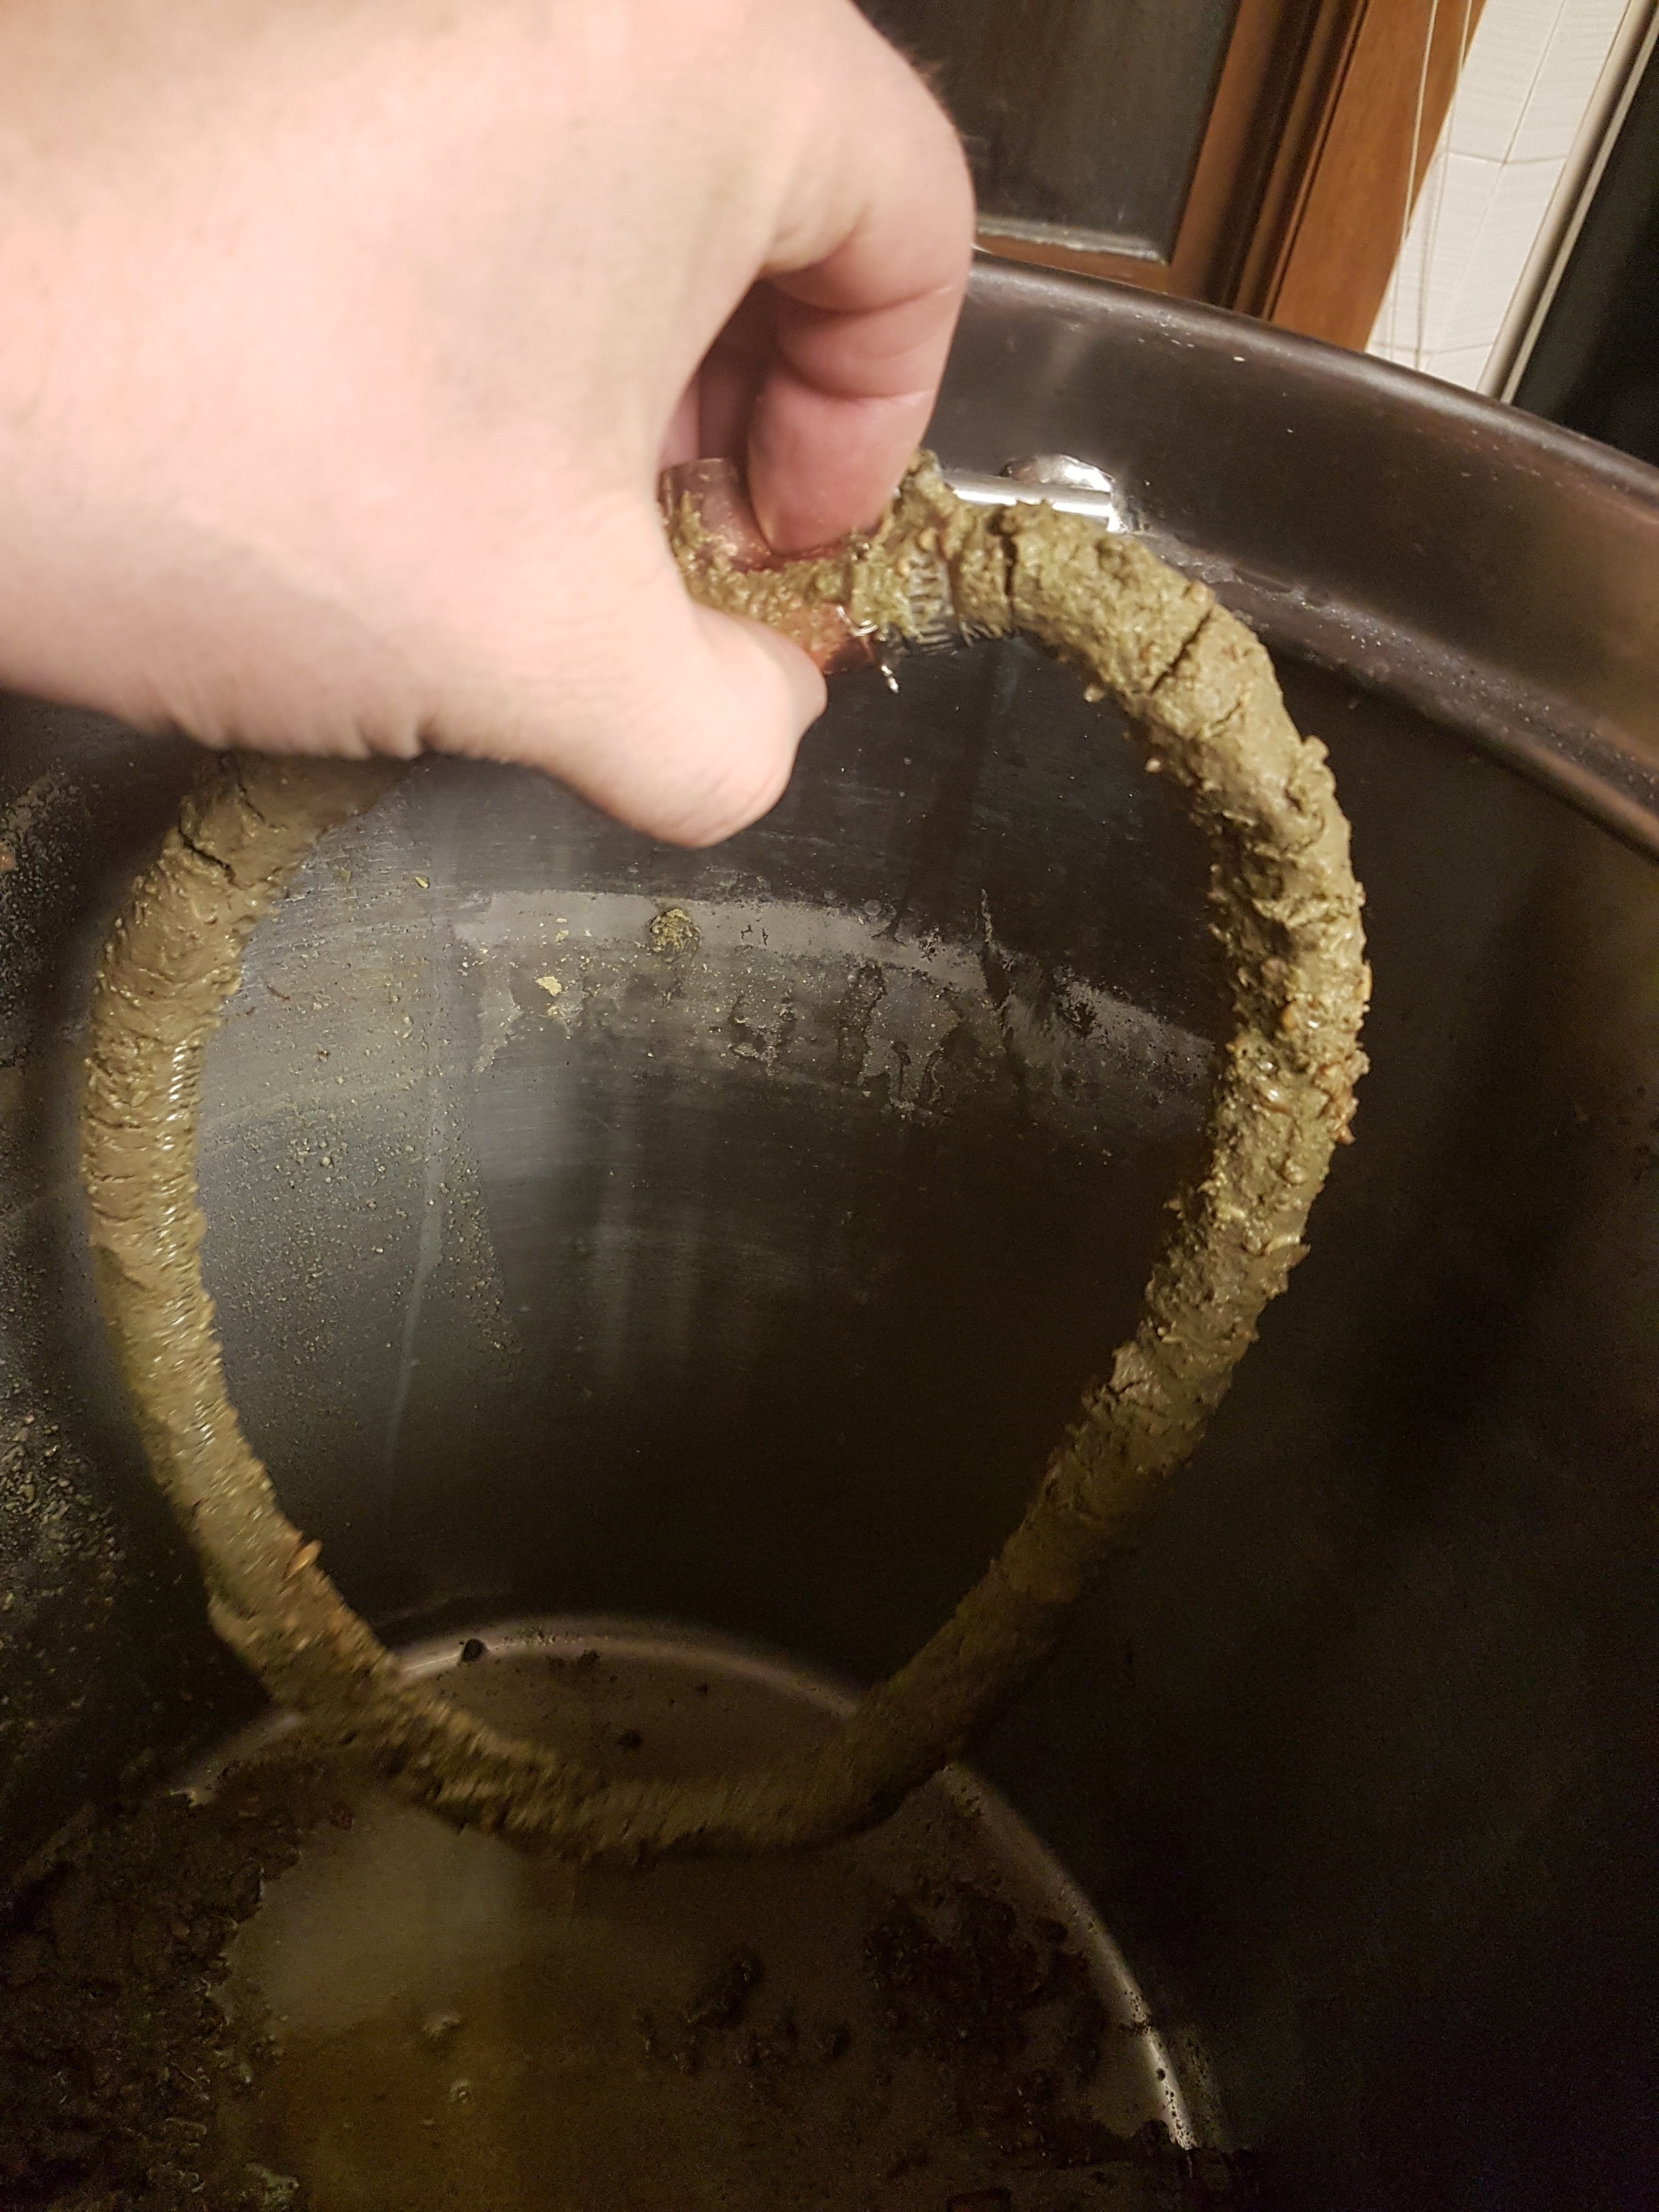
Here is why the pump wouldn't pump the hot wort. This is the pickup from the bottom of the boil kettle. I had a very hard time getting the kettle chilled. The flow was very, very slow.

At first I thought the plate chiller was plugged. So I reversed the hose connections and reversed flowed it. Same thing. So then I tried pumping straight into the boil kettle. No flow there either. I lost a lot of wort doing all this. Luckily I was able to get it chilled and emptied.

I just did a clean cycle on Thing1, without the pickup ring. It pumps near boiling water through the chiller with no problem and even boiling water.

This batch had 2 ounces of Chinook pellets in total. I did a 1 hour boil. It boils vigorously.

The bottom of the kettle wiped clean. Absolutely no scorching.

FWIW, people report warping the bottom of Bayou Classic pots on the 3500 watt induction plates. I think that is because the pot is larger than the plate and the coil is smaller. My coil is a full 12 inches in diameter. I've done a lot of boiling while testing and the bottom of my BC 1044 pot is like new.

20190217_001439.jpg
 
Last edited:
Standpipe and strainer in operation. The stand pipe was fantastic. Set and forget mashing, except for temp control...

I need to make a sparge ring.

20190216_200256.jpg


Boiling. Yes I have 3 different temp sensors in the pot.

20190216_221548.jpg
 
Last edited:
I'm running the SystemTempSensor addin on CraftBeerPi. It reports the internal temp of the RPi3. I added fans to the enclosure to remove the heat created by the induction coil. I'm seeing about 130F during the boil.

I'd check the current draw on your GPIO pins.

Huh? Current draw has nothing to do with CPU temp. 130f is too hot for the Pi CPU, but you're the engineer. I'm a dumb bilogist. Carry on
 
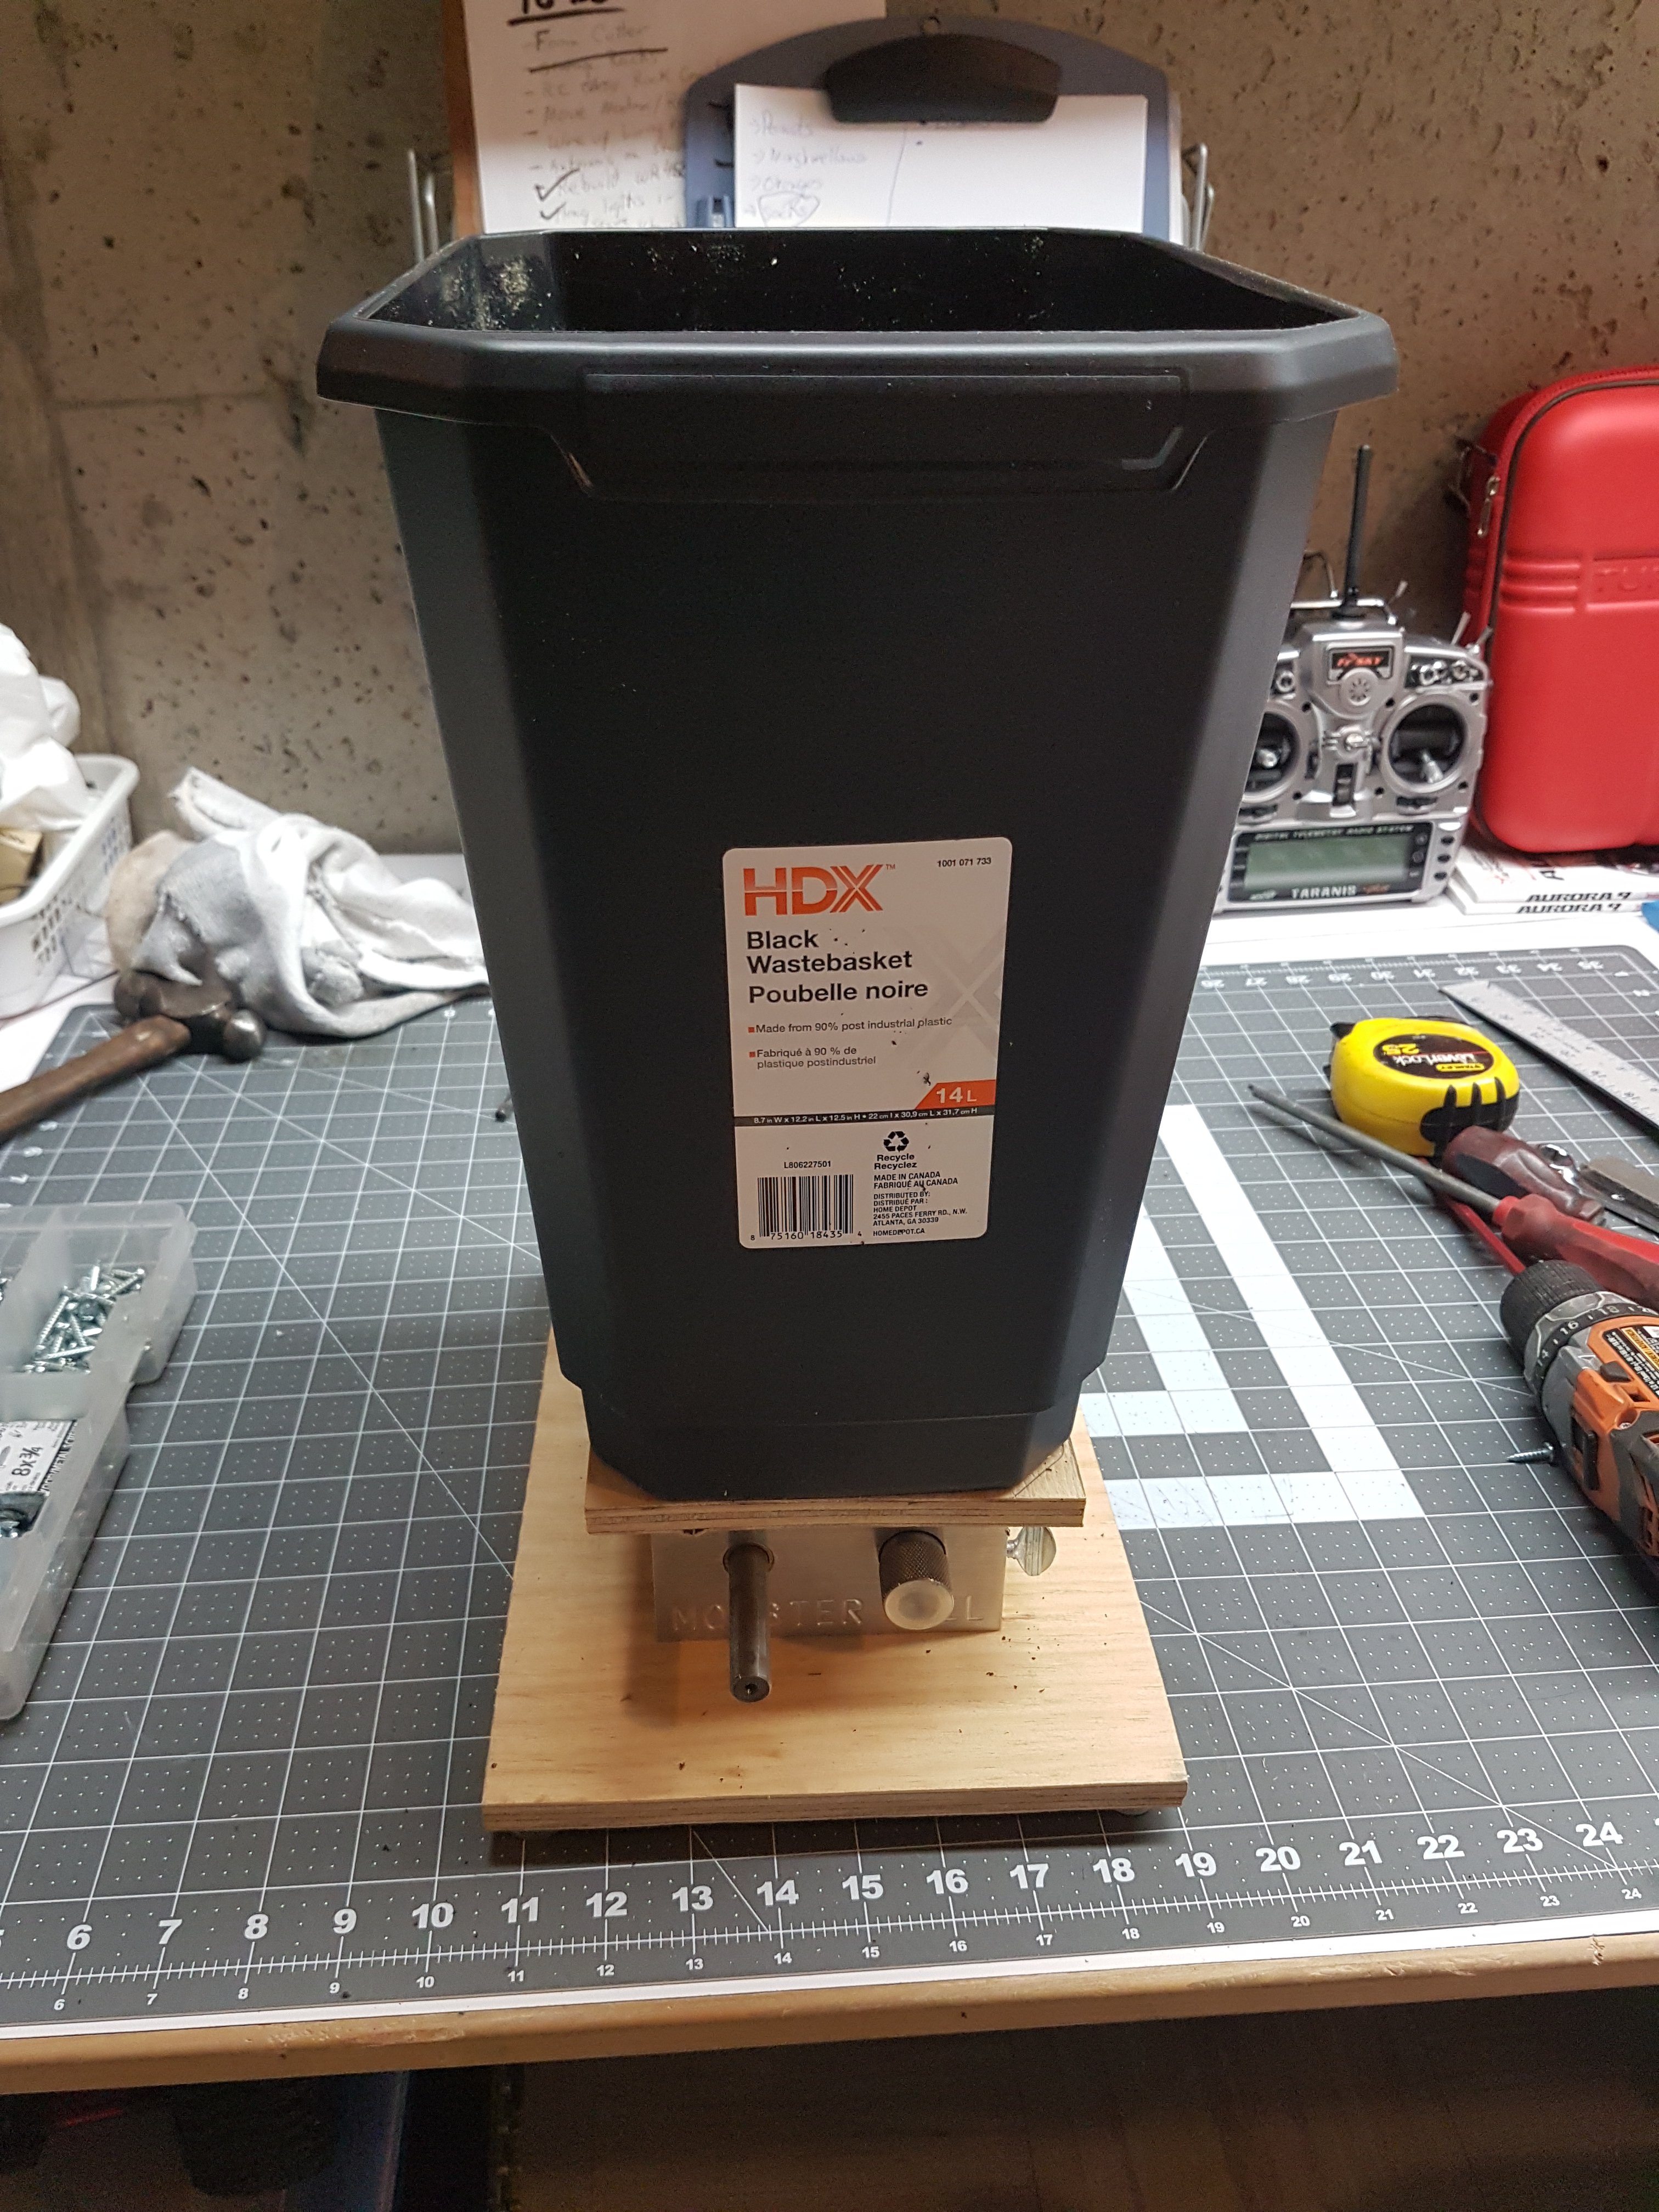
Got my grain mill done.

I could put a bag in it and use it for a real trash can... lol.

20190217_172520.jpg
20190217_172450.jpg
20190217_172446.jpg
 
I brewed another batch tonight. London porter. A bit less than 4 hours start to finish with a 2 hour mash. And I was doing other stuff half the time. OG was 1.060 with about 10.5 pounds of grain. I don't know for sure because I spilled some when milling and added to make it up.

Why 2 hour mashes ? Why not ? It runs almost unattended and I got busy doing other things, so I let it run. The conversion efficiency is crazy good.

I love brewing in the kitchen. I'm not 100% comfortable leaving it alone when it is running, so I can be near and yet do things like read or clean up.

I love that it is on wheels. I love working right in front of the sink when chilling and mashing in and yet you can roll it out of the way to do dishes, cook, etc. When you are in front of the sink you can use a spoon or remove a hose and put it right into the sink. Spray it with some water and it is clean 30 seconds after you use it.

I still have a temp control issue to work on though. I need to change the temp sensors to something faster acting and read the return temp. The bed temp changes way too slow.

I'll be doing some other tweaks too.

Mashing. The standpipe and strainer make things so easy. This batch had 20% wheat malt. I didn't use any rice hulls. No issues with stuck mash.

20190217_205146.jpg


Typical boil. It has the perfect amount of power. Vigorous boil, but no boil over. It is close when it starts but after the foam dies a bit, it is good. I always boil open, no lid.

20190217_225327.jpg


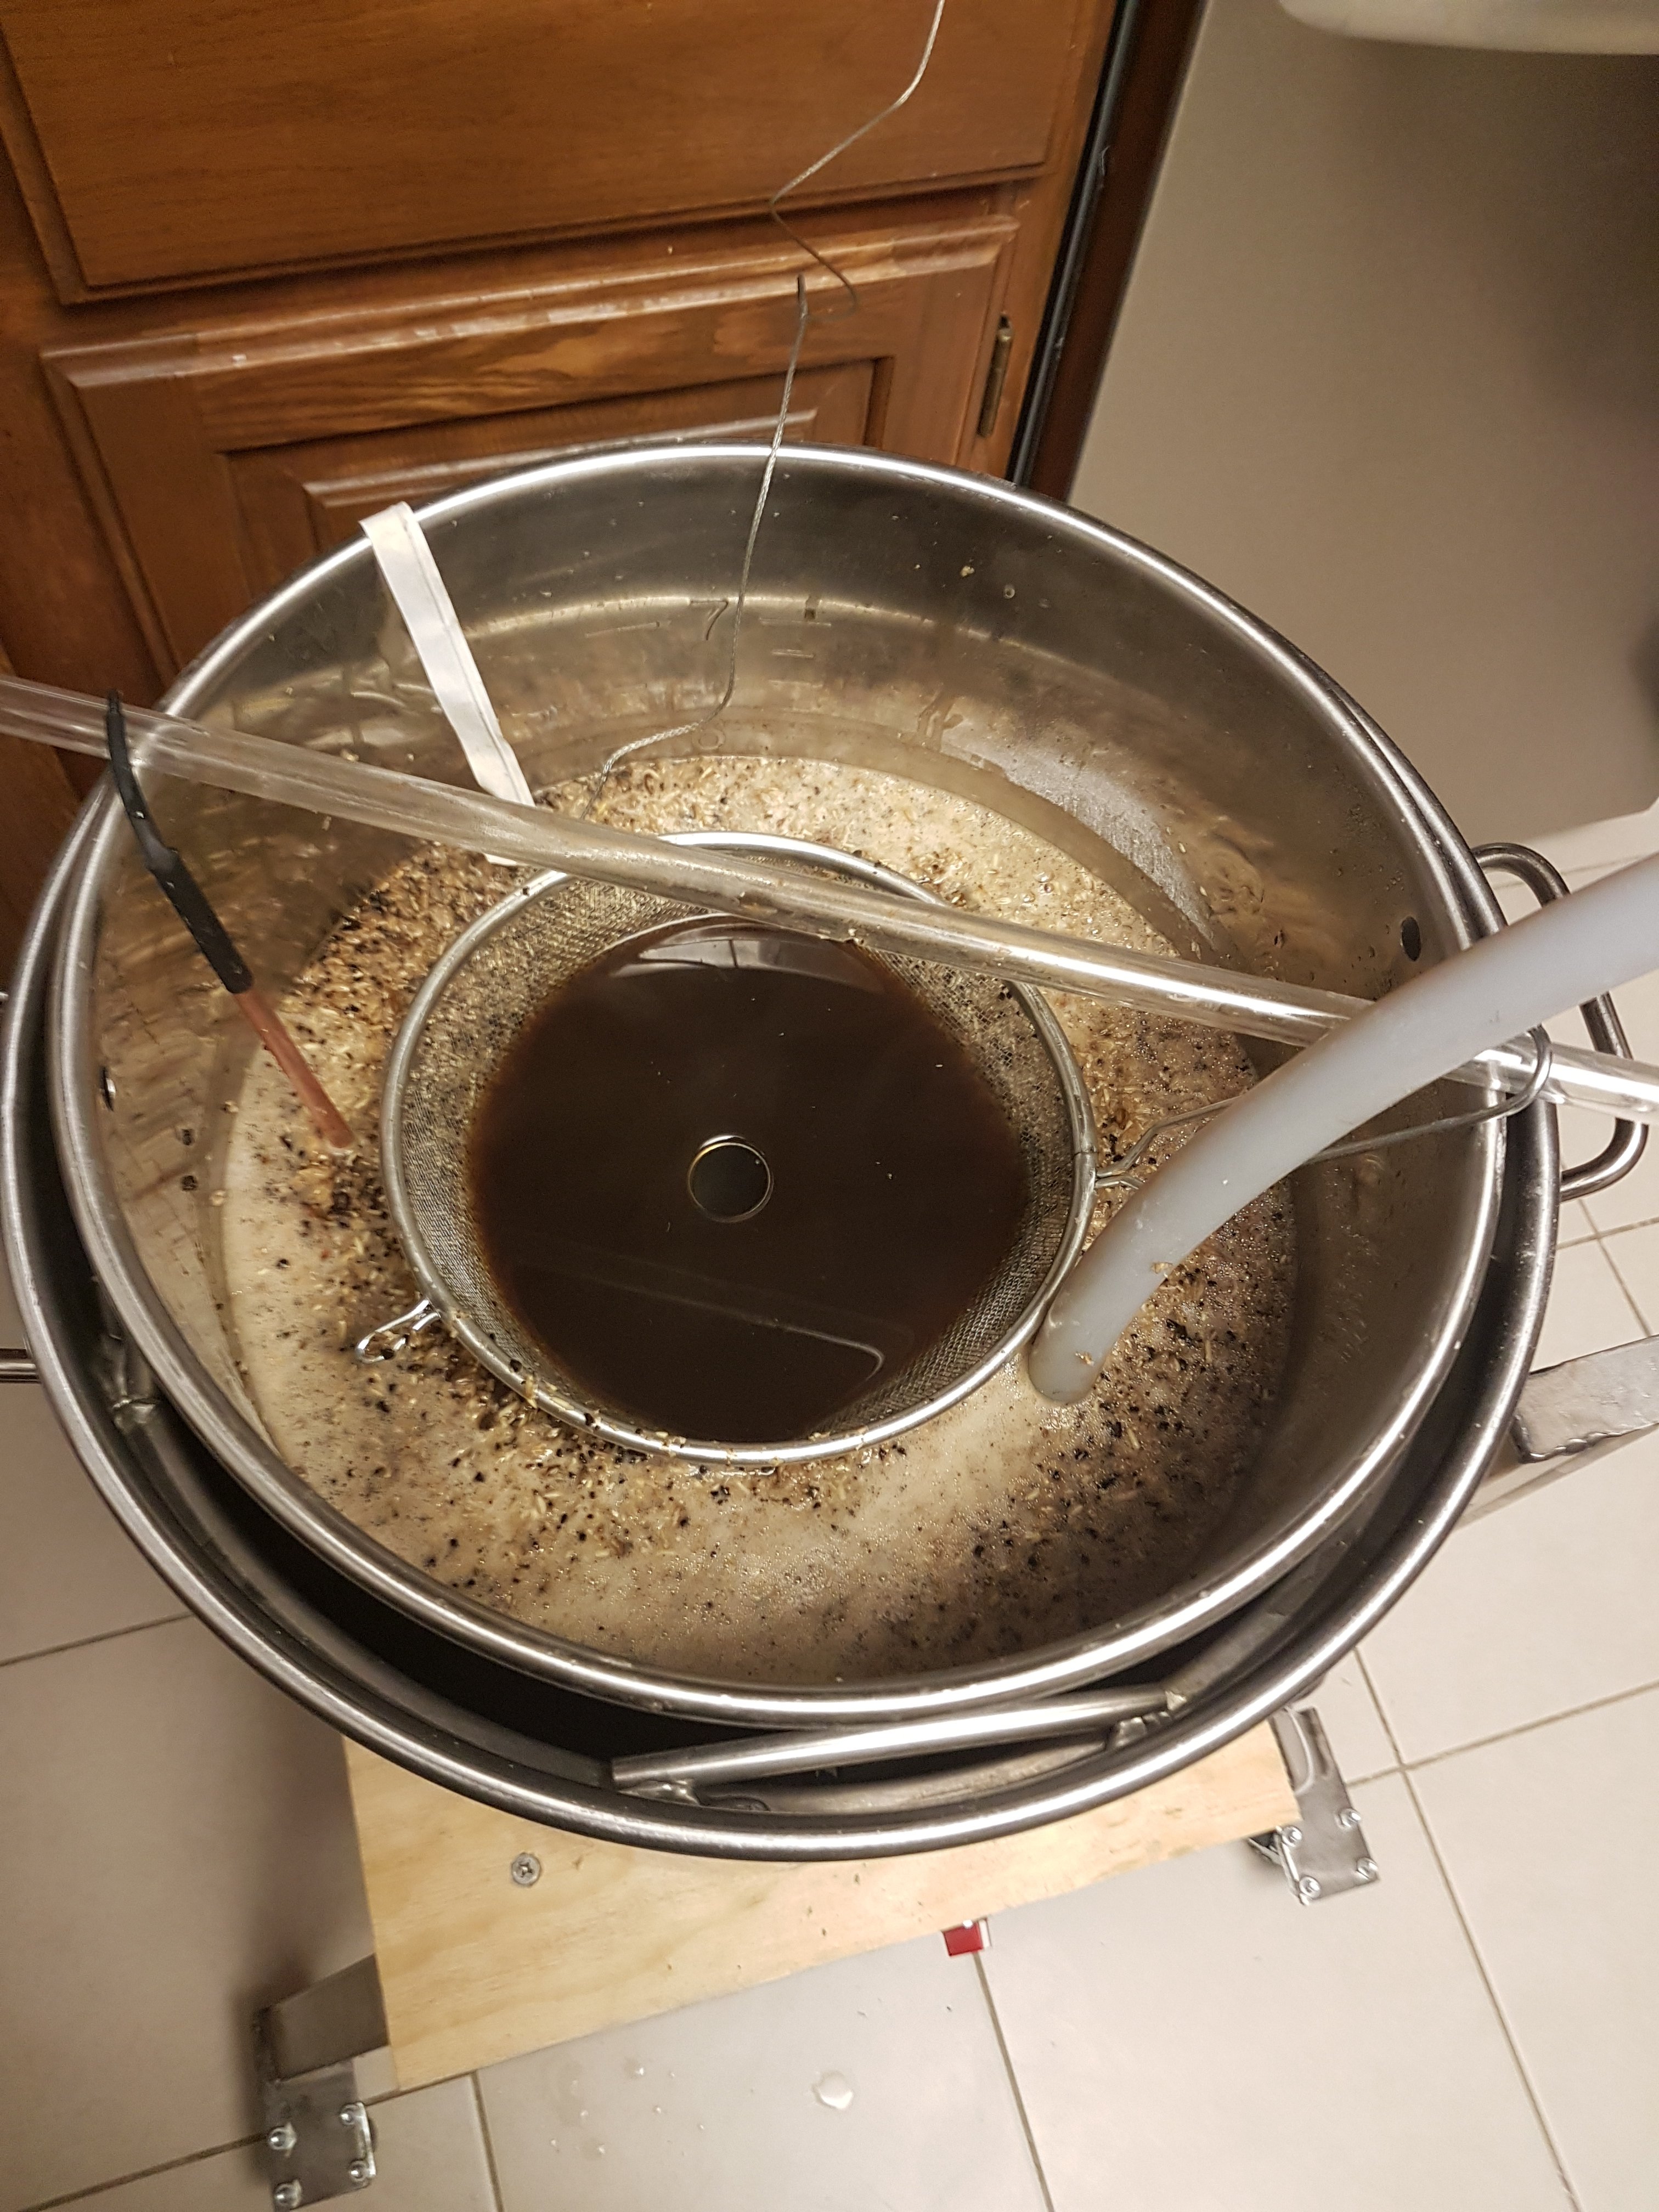
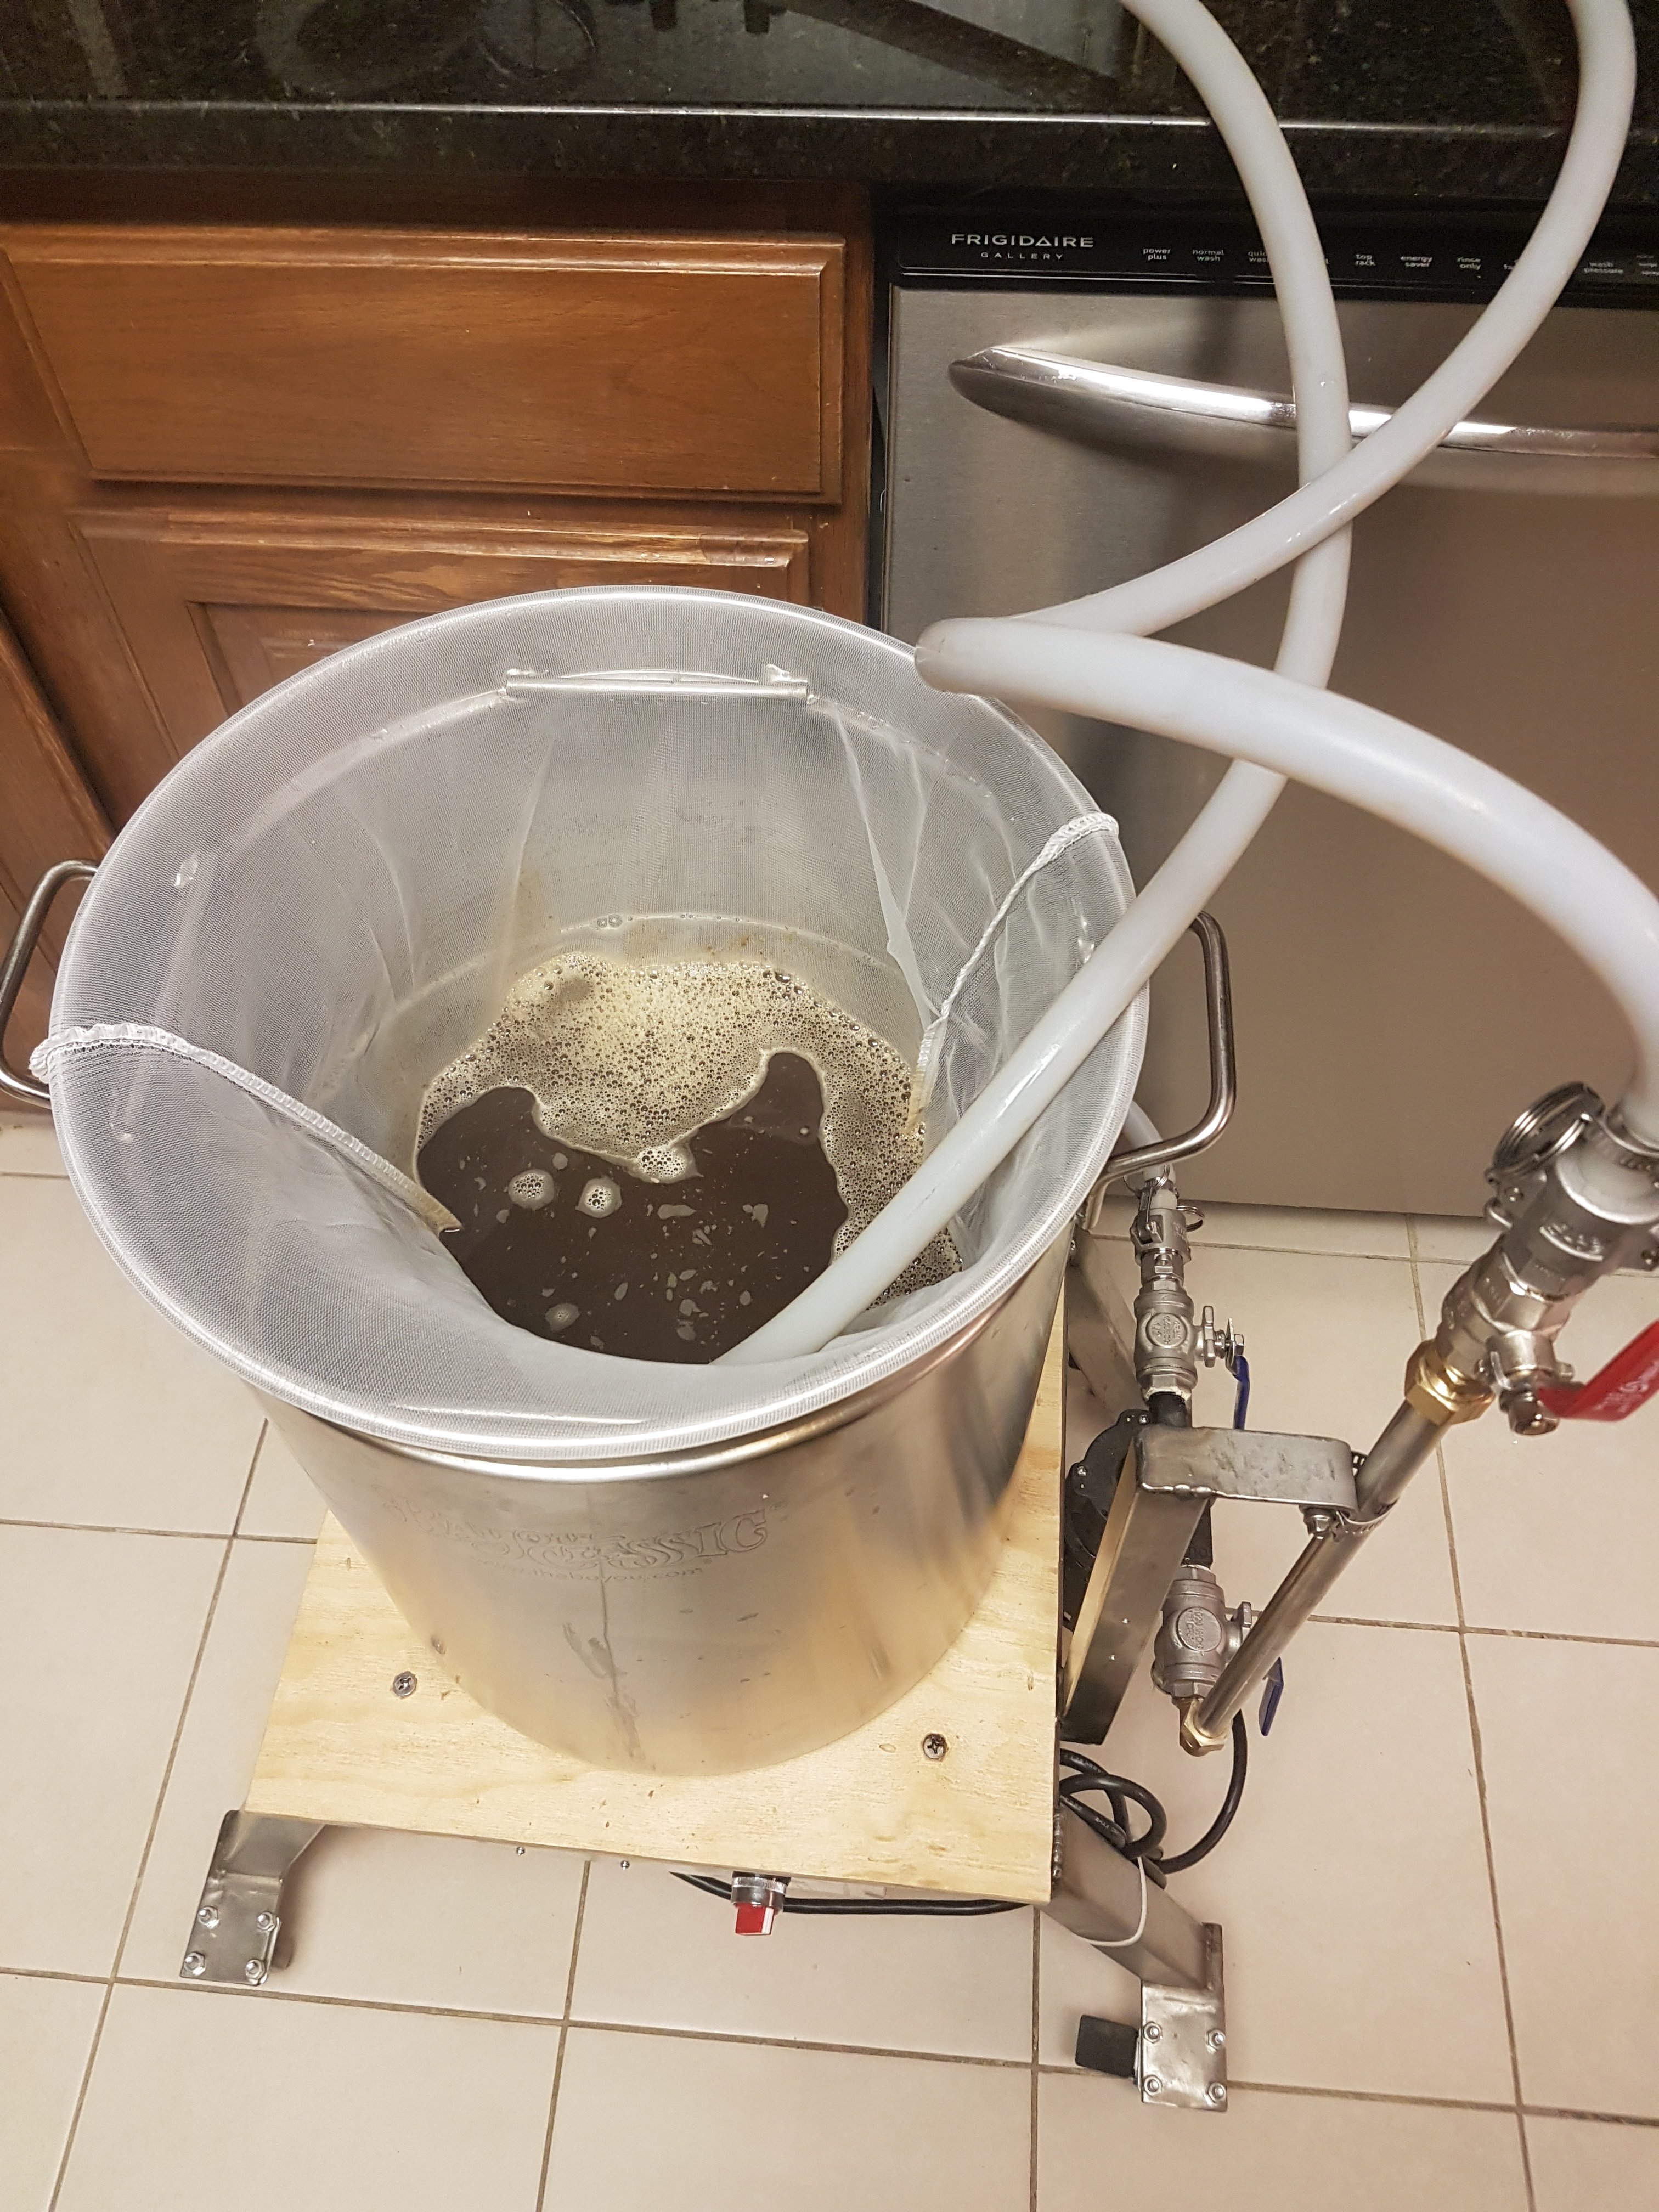
This is my post boil straining technique. First recirc the near boiling wort through the BIAB bag. Once all the grunge is filtered out, then recirc through the chiller to sterilize it. Then turn on the chilling water and recirc back into the kettle for a bit, filter out some cold break as well.

I ran without any hop filter in the kettle. No problems whatsoever. The kettle was almost perfectly clean at the end.

20190217_233932.jpg


This is what the BIAB strainer catches. This batch only had 1 oz of hops. Most of that is hot and cold break.

20190217_234949.jpg


Chilling worked great. I had total control of the outlet temp into the fermentor. I could drop it down further, but this is an ale that ferments at room temp.

20190217_234648.jpg
 
Last edited:
What are you doing to manage the steam from your boil?

Nothing.

Thing1 boils off about a gallon per hour from what I can tell. It has been very cold here and the air in the house has been dry. There is no problem with humidity build up, in fact, the humidity is welcome.

The smell is another thing. The first brew had more hops in it and was more aromatic. I opened a window and turned on the oven fan hood. That cleared it out pretty well. I love the smell of hops so it doesn't bother me. The second brew had hardly any hops (only 1 oz) so no smell build up with it.
 
Morning after thought... it is a shame these batches are so small. At some point I'll probably either put larger pots on Thing1 so that I can do 10 gallon (finished into keg) batches or I'll build Thing2, a 10 gallon version.

5Kw would be under powered for 10 gallon batches, but it would work. 7.5 or even 10 Kw would be better for the bigger boils.

I really enjoyed brewing this weekend. I have post weekend brewing blues !
 
Last edited:

Latest posts

Back
Top