Junkster
Well-Known Member
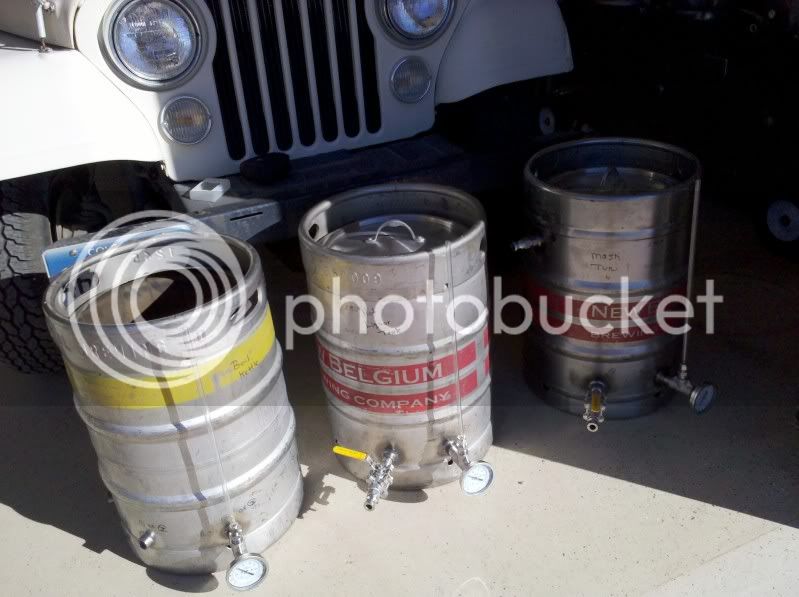
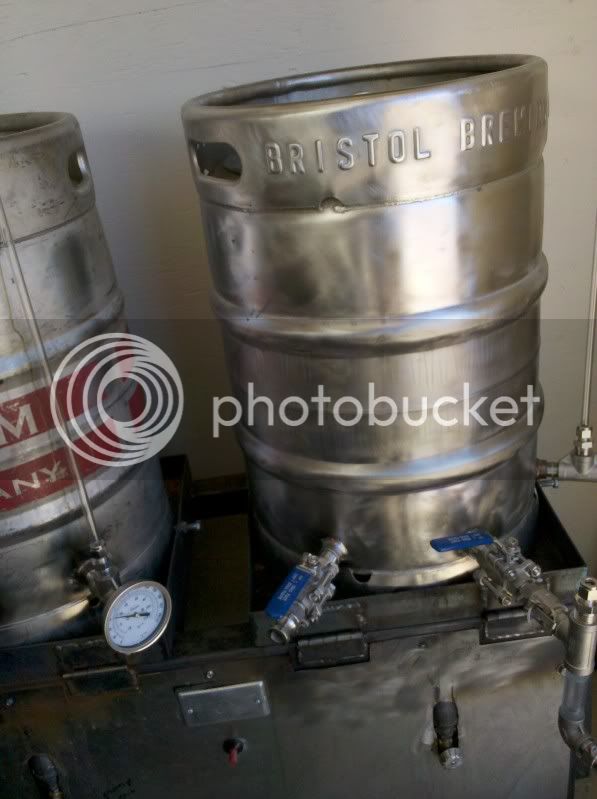
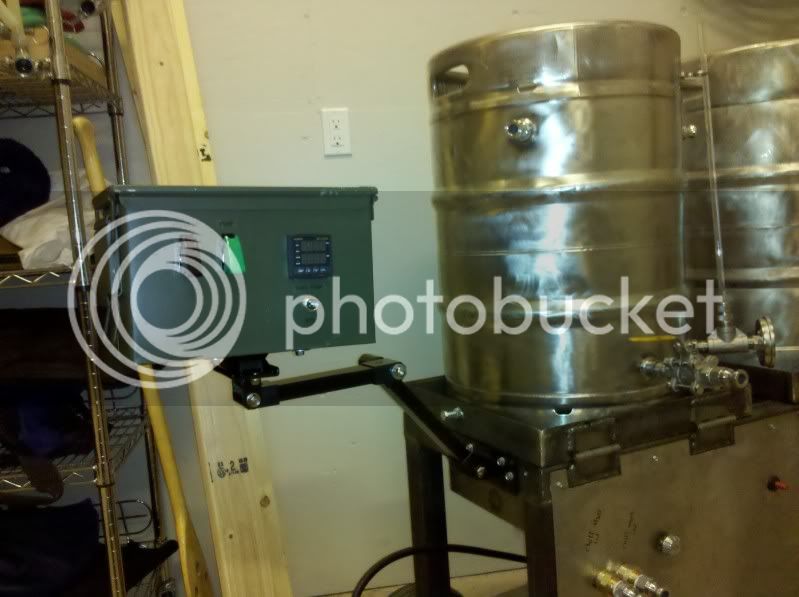
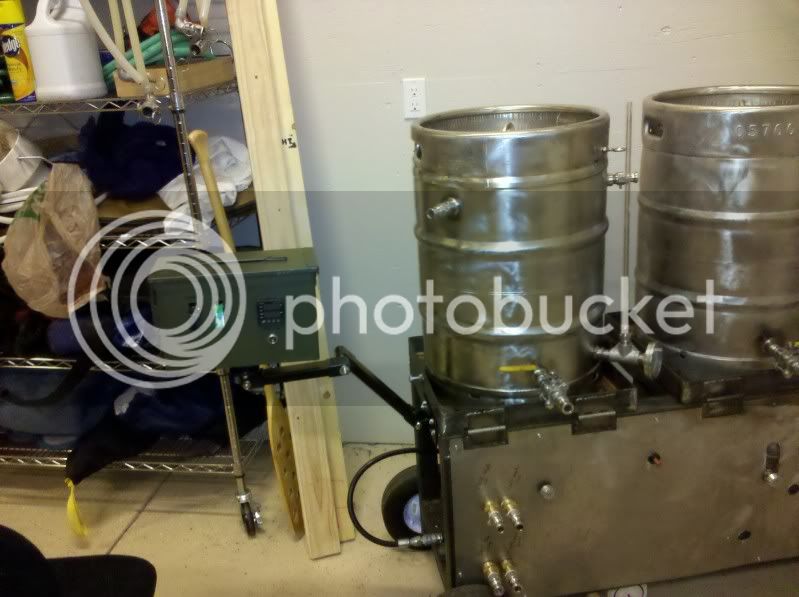
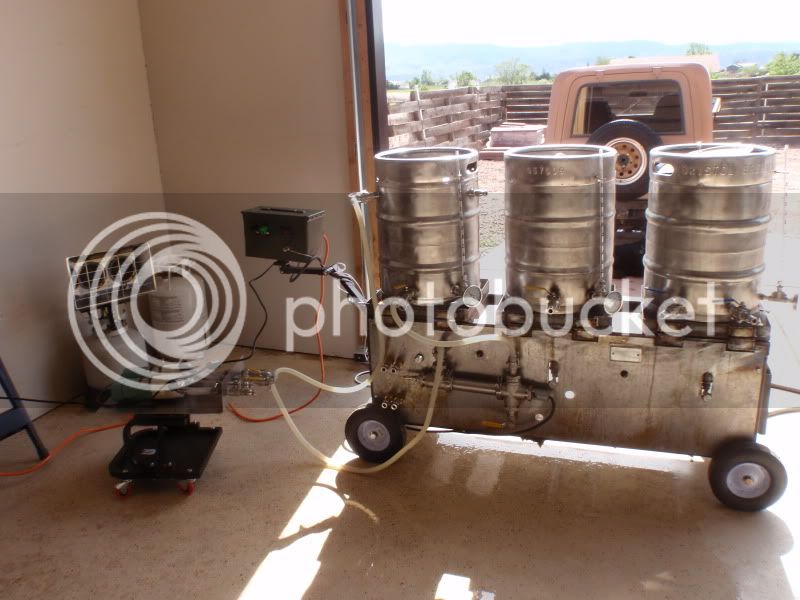
Nice rig! Are the kettles held captive onto the hinged frames somehow?
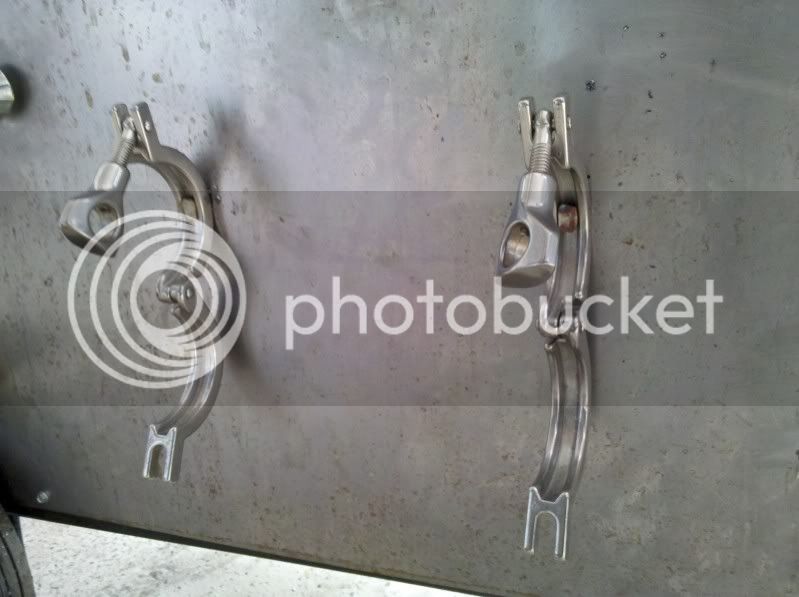
I like the fold-down handle construction...
I like the fold-down handle construction...


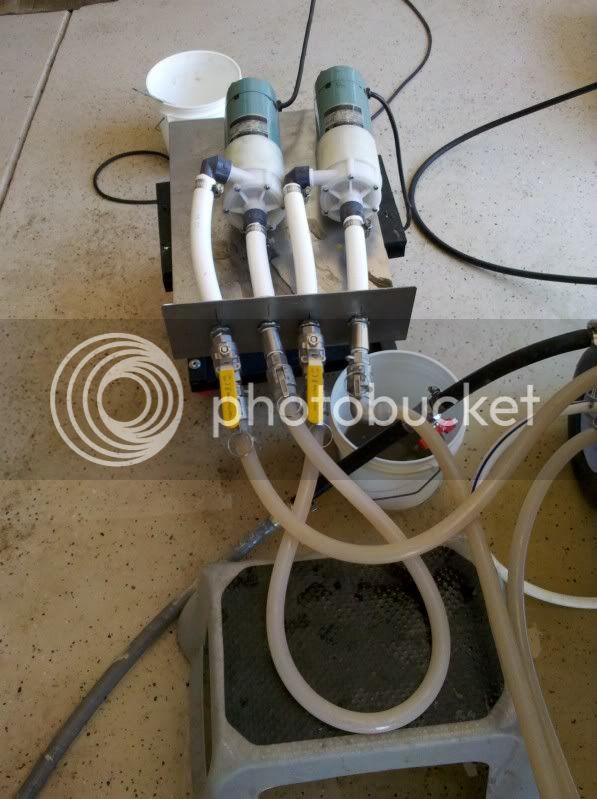


Hey NYC,
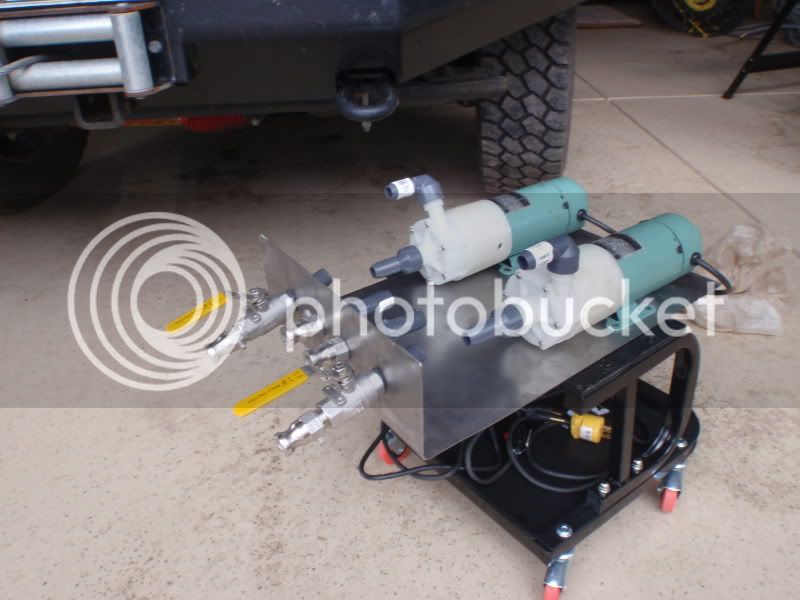
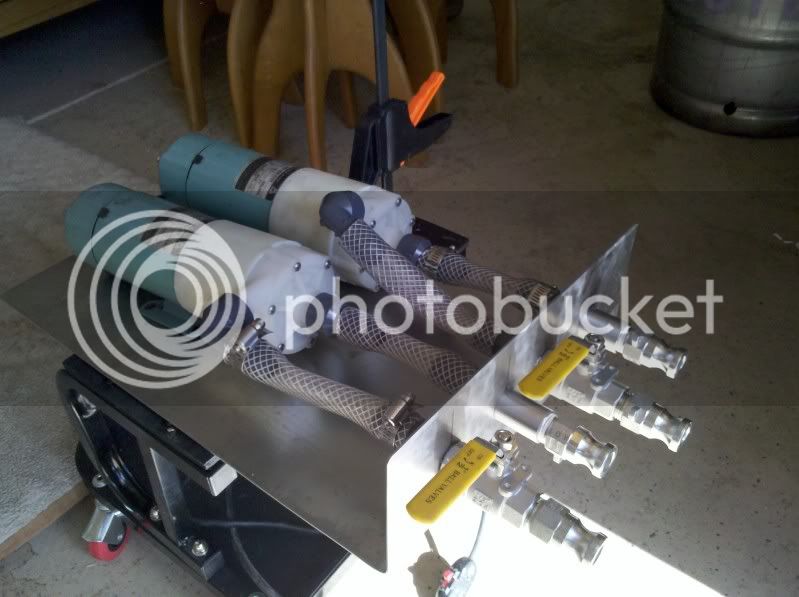
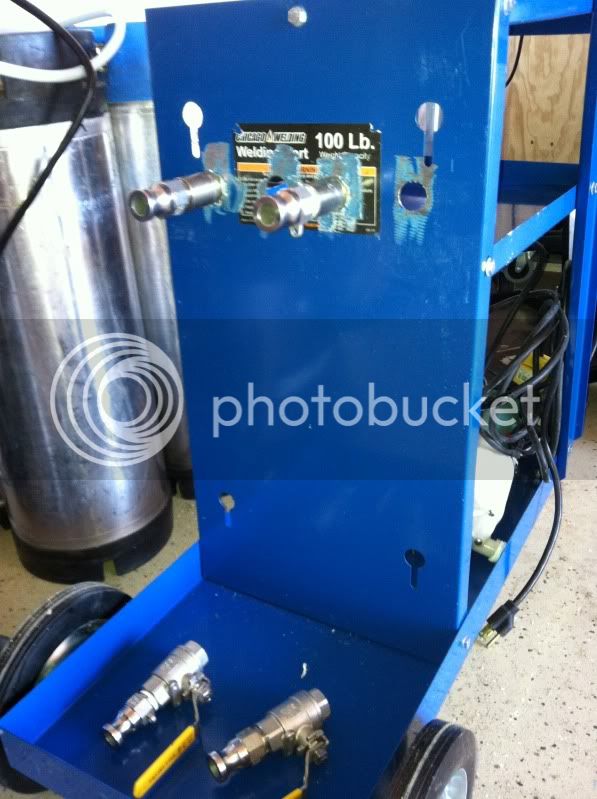
I rebuilt the pump and put it back in operation along with an identical one to augment the procedure. Using both at this time and Little Giant being plumbed soon. Thanks for the offer though.

This is a great build. Thanks for taking the time to document everything out so well. This is a lot what my dream system will look like.
Looks awesome! What are you fermenting in?


![Craft A Brew - Safale BE-256 Yeast - Fermentis - Belgian Ale Dry Yeast - For Belgian & Strong Ales - Ingredients for Home Brewing - Beer Making Supplies - [3 Pack]](https://m.media-amazon.com/images/I/51bcKEwQmWL._SL500_.jpg)


