Knotty Pine and Cedar Log Keezer Build

Homebrew Talk - Beer, Wine, Mead, & Cider Brewing Discussion Forum

Help Support Homebrew Talk - Beer, Wine, Mead, & Cider Brewing Discussion Forum:

This site may earn a commission from merchant affiliate links, including eBay, Amazon, and others.
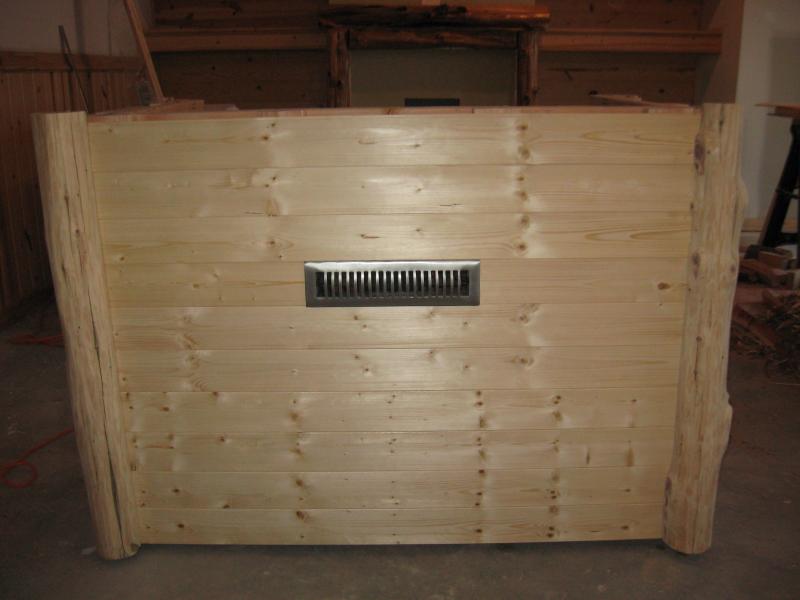
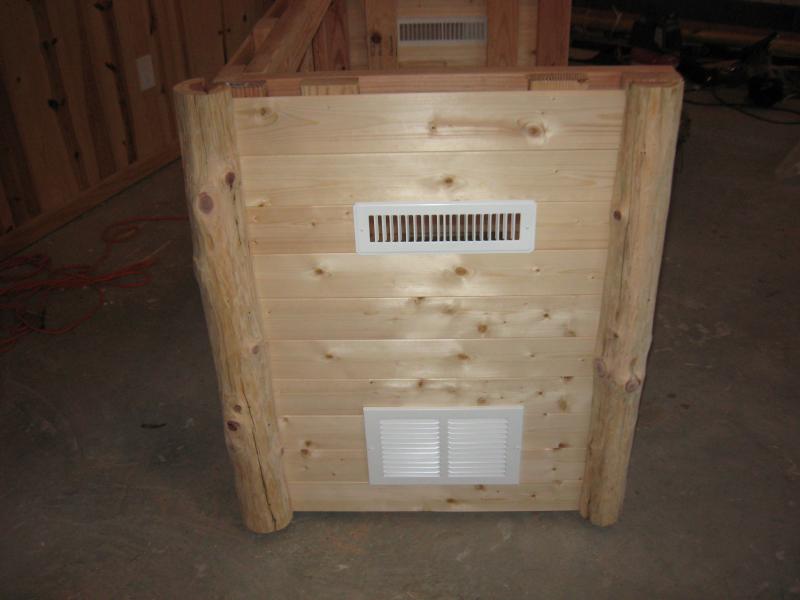
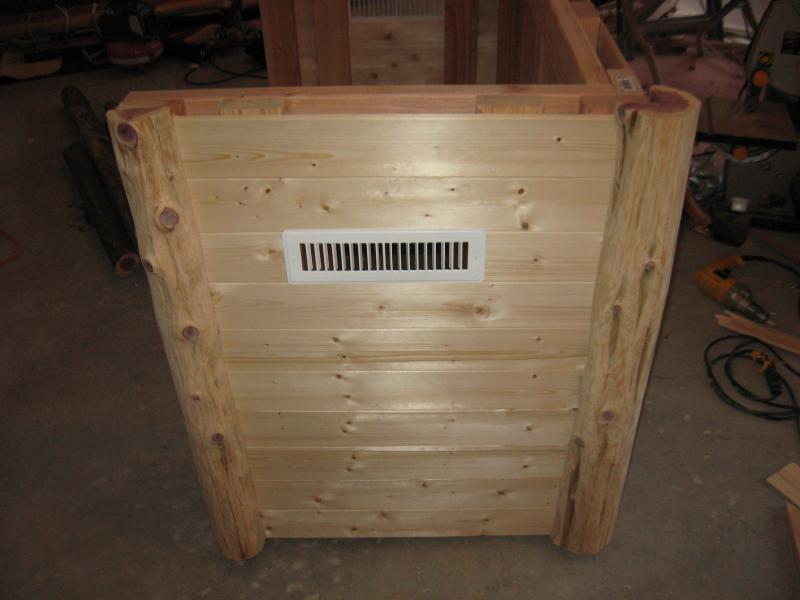
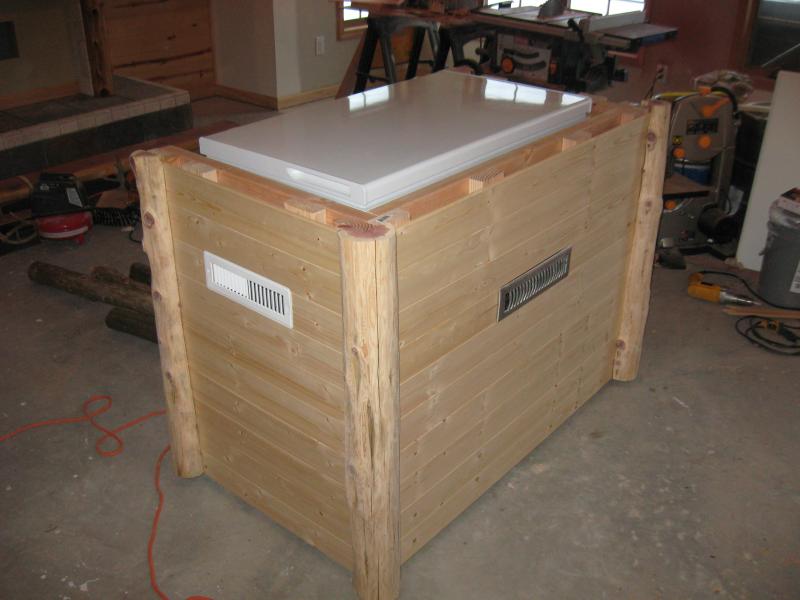
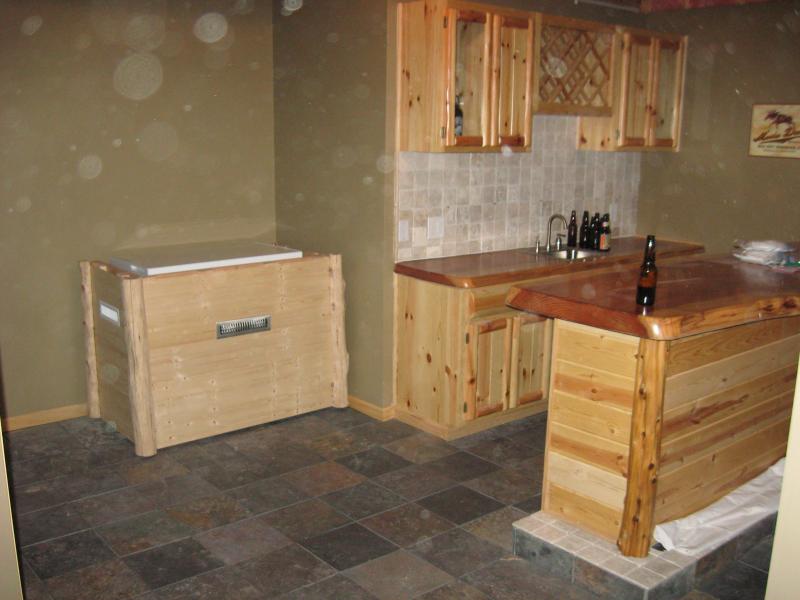
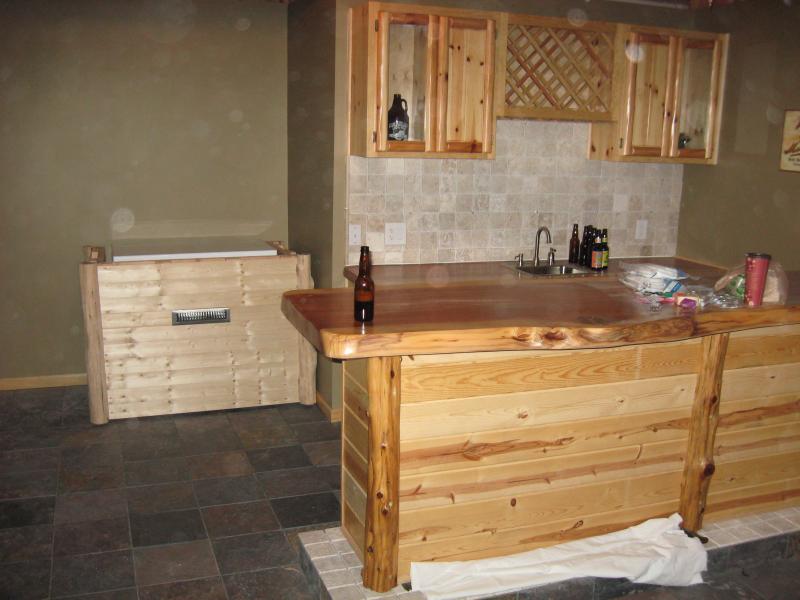
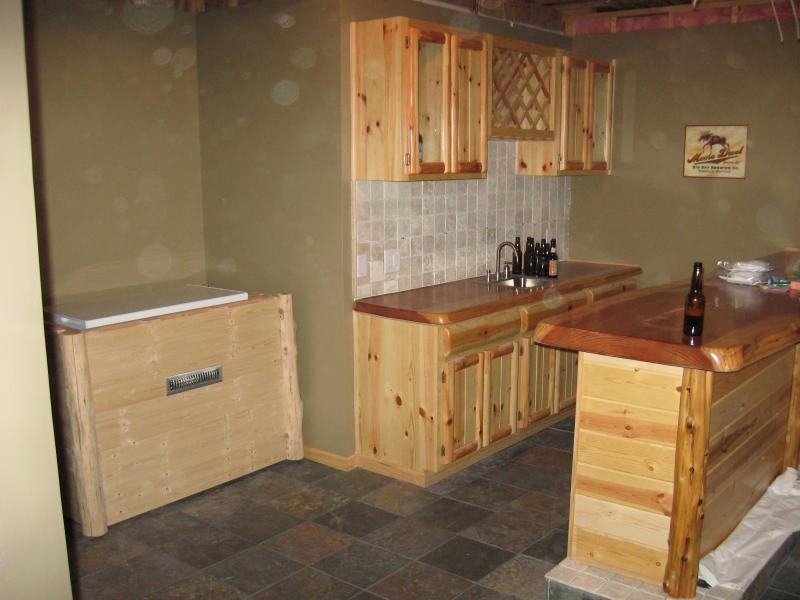
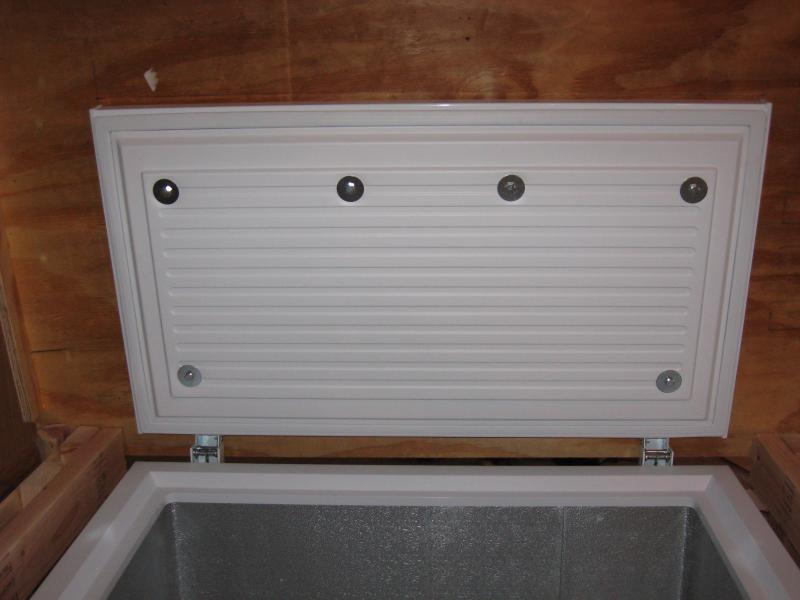
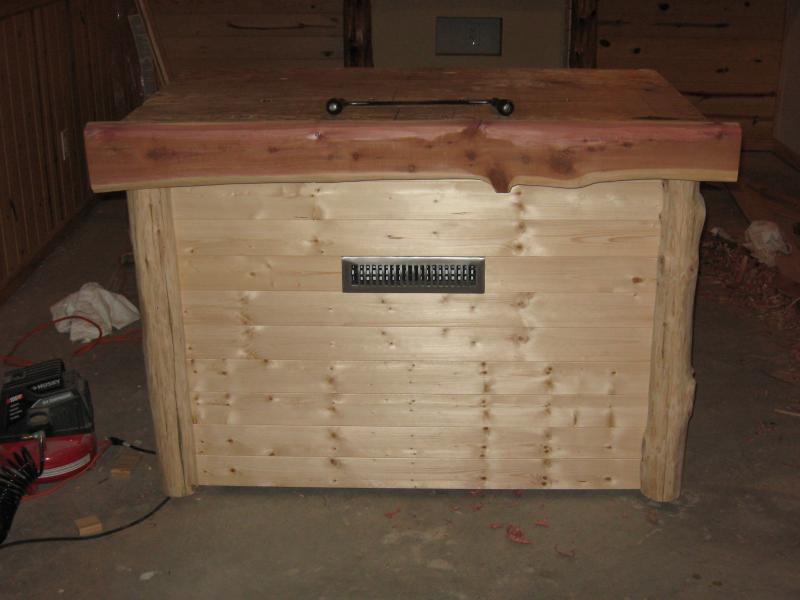
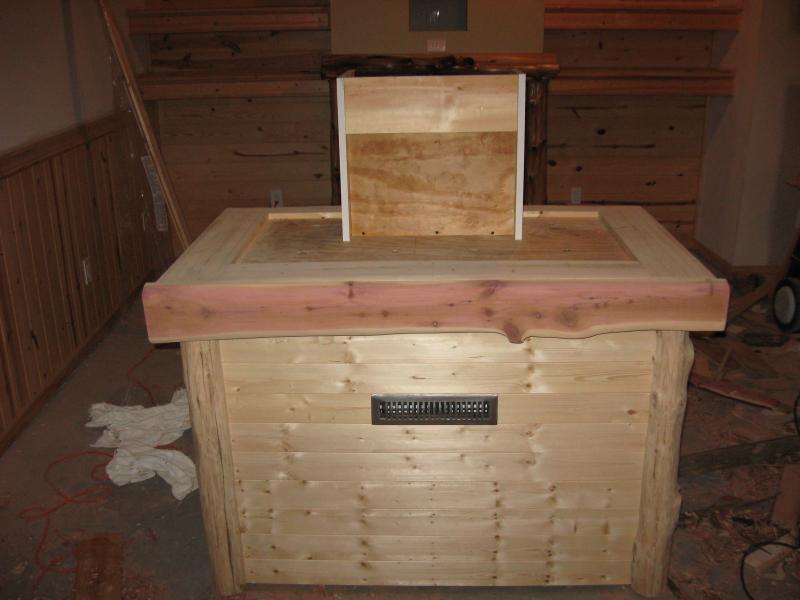
Here is the cabinet rolled into it's final resting place when it is finally completed. I put it into the space to make sure that there is going to be enough room to slide the side by side fridge next to it. There "should" be plenty of room. :D Not sure what the hell happened with the camera, but there appears to be spots in the pics. They look like orbs...:confused:... I hope my basement isn't haunted.

OK....that's all for tonight. I'll work on the top on Thursday and will try to get the other logs milled and attached. I plan on using plywood with the log trims across the edges, then 1/4" cement board, then tumbled travertine to match my bar backsplash, then the coffin. It's going to weigh a ton, but I have been assured by many that the hinges will hold up... at least I hope. Still lots of work to do, but I'm having fun doing it. :mug:

IMG_2001.jpg


IMG_2003.jpg


IMG_2004.jpg


IMG_2006.jpg
 
Thanks stp. Hopefully tomorrow after work I can make a quick trip to HD to get the plywood, cement board, cedar boards, etc. to start the top and coffin. I'm getting excited to see how the top turns out. I really don't have a blueprint to work off, I just build and add to it as I go. I'll try to keep the thread updated. Sorry the last few pics. suck so bad :( Not sure if it was just dust flying around or a dirty camera lense. Thanks for the compliment :mug:

Awesome! Nice progress today and definitely something to be proud of.
 
those circles are from dust or other debris in the air and the flash is reflecting off them.

-= Jason =-
 
Yeah, that part of the basement is darker, so the flash went off. Your right...probably just dust particals. Lord knows that I had enough cedar dust floating around down there to choke a horse. There are a bunch of windows in the other part of the room where the other pics were taken, so the flash must not have went off for those. The basement was fairly clean prior to my log ripping rampage yesterday. Thanks for the feedback. :mug:

those circles are from dust or other debris in the air and the flash is reflecting off them.

-= Jason =-
 
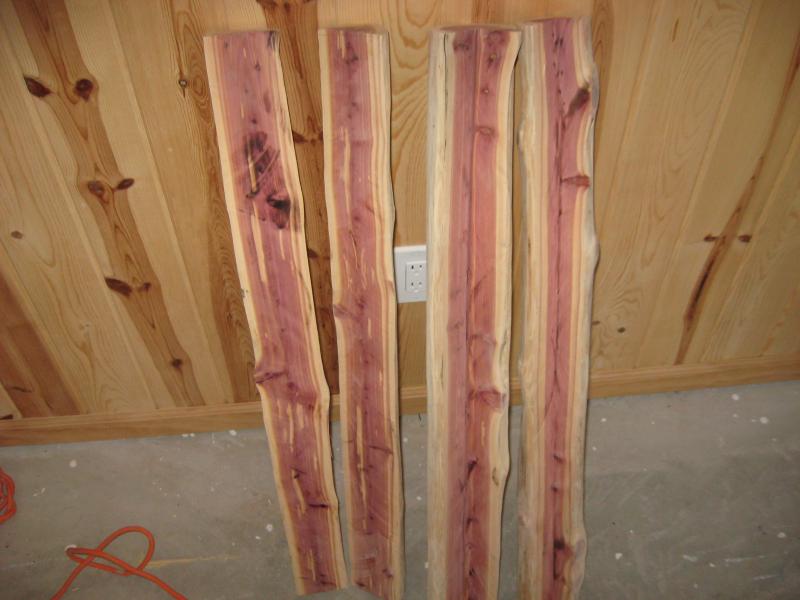
The straight rips are fairly easy to do with a nice new 40 tooth combination blade. With my 10" table saw, I can rip through almost 4" diameter logs. I basically find the flattest part of the log and that side goes down flat onto the table saw platform. I take a 4' long level and lay it down the entire length of the log on the top and use a sharpie to make a pefectly straight line down the center of the log. With the blade ripping all of the way through the log, it's fairly easy to guide the log so the blade bisects the line on top. The key is to not force the log, just let the blade do the work.

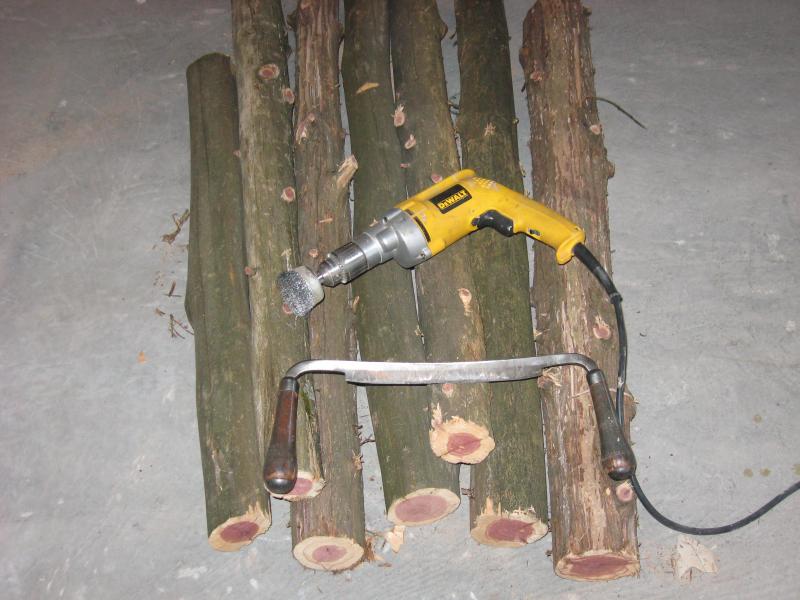
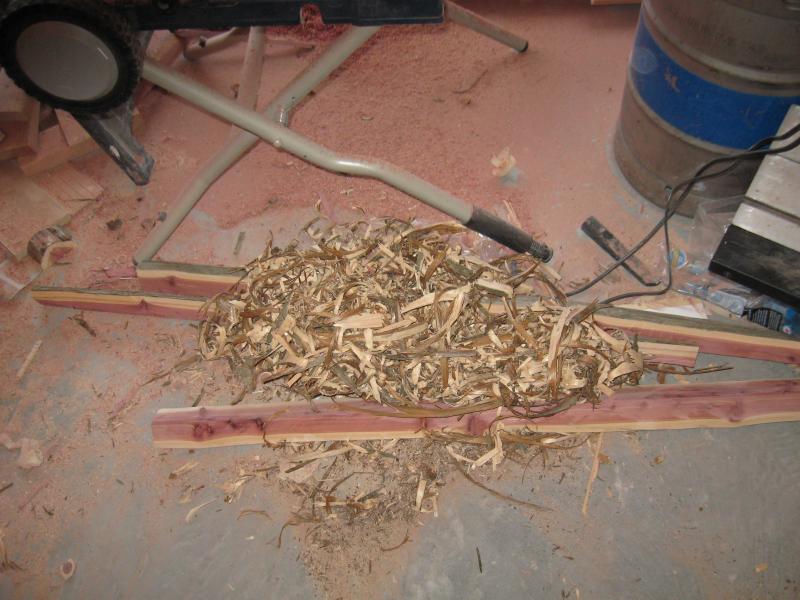
Milling the 90 degree wedge out of the corner log trims is another story. I'll be honest, it's a pain in the a$$! Since the blade depth has to be lowered to rip only through 1/2 of the log's thickness, you don't have a line to follow. I just sit down on a bucket and pick a reference point in the distance and a reference point on the log. I just keep the reference points in line and let the blade do it's work as I slowly feed the log through. I then flip the log 90 degrees and line the first cut up with the top my ripping guide on the table saw. I just try to be careful not to let the log twist. It's best to keep the angle cuts straight and the angle should be 90 degrees of even a little more acute. If the angle gets too obtuse (greater than 90 degrees) then your screwed, because the edges won't lay flush on the face of the cabinet. I wasted one log and was pi$$ed that I had to knife and mill another, but the second one went smoother. For other projects with log trim, I have had to use a hand planer to straighten the edges, but it wasn't necessary this go around. After my first screw up...I just basically got lucky. :rockin:

how did you rip those logs so perfectly on a table saw?
 
i have a feeling luck had very little to do with it.

I'm scared of my table saw when i'm ripping a flat 2x4, much less sitting with my face right behing the log!!

I'm impressed - keep up the good work.
 
Thanks shroom! I'll bypass PM'ing you this time and ask the question here. I like the idea of the HD Inductor fans to cool the coffin when completed, especially because they are 120v and I can handle the wiring of them. The 80mm computer fans that you mentioned move the same amount of air, are quieter, and cheaper. I assume that there would be a transformer involved to power these things. Could you give me a little tutuorial on how to wire a transformer into the mix? I'm electronically challenged! :confused:

Dat's a pretty snazzy keez ya go there!!! Love the bar too!

SUBSCRIBED--ARE YOU KIDDING ME?
 
Stopped by HD at 6 a.m. this morning to get the materials for the top......... plywood, foam insulation, knotty pine boards, and fasteners to secure the top. This will get me underway, but I'll still need cement board and tumbled travertine....this thing is going to weight a ton! :eek: Hopefully I'll have a few hours today to work on the top before getting the kids off of the bus.

On the HD website, they have the 4" Inductor booster fans for $14. They are $27.98 in the store. The associate said that there must me a mistake on the website, but he gave two of them to me for $14 each! It's worth a shot at this price to see if they do the job cooling the coffin when complete. Now I need to get my hands on a 4" hole saw, without having to buy one. The 4" bimetal hole saws are $30 each + $12 for the mandrel. :mad: I'm gonna ask around to see if anyone has one. I only need the damn thing for 2 holes! Hopefully, I'll post pics later today with the progress. Wish me luck.
 
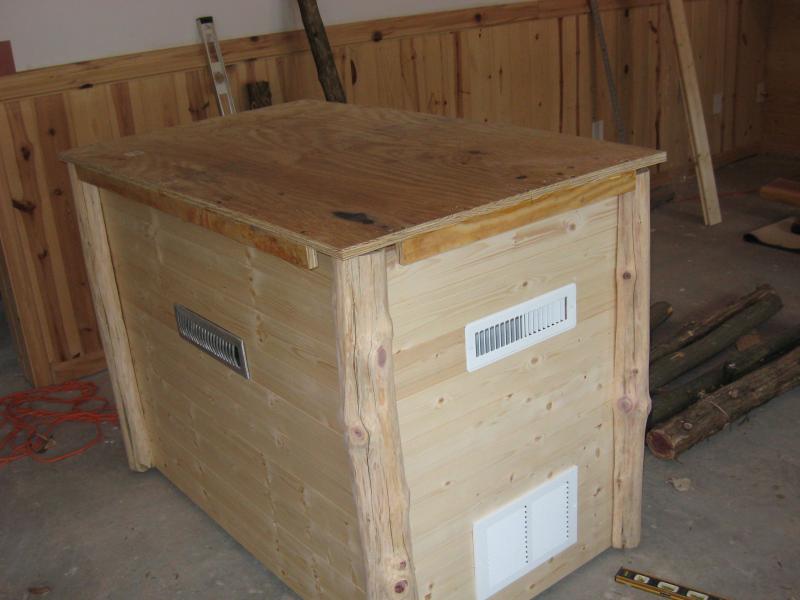
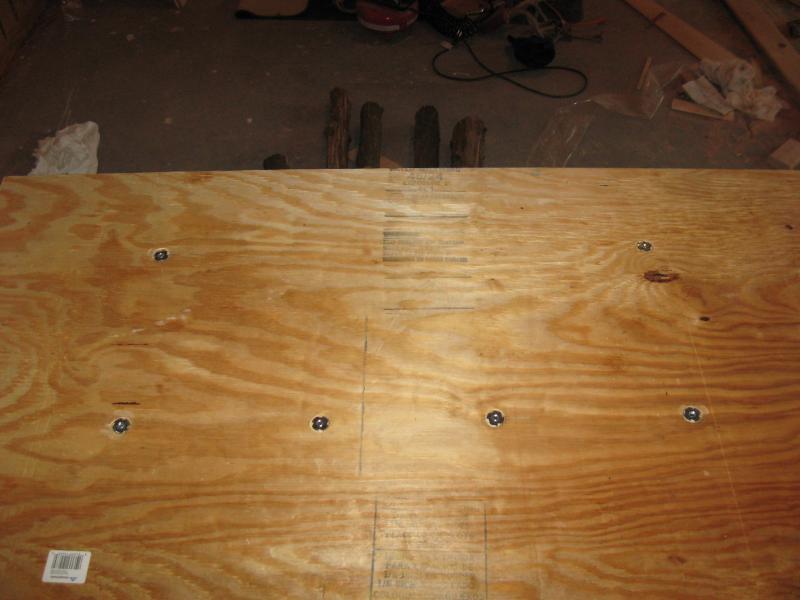
I had a couple of hours today to get the plywood top cut, log backers on, and fasteners. I used 3 1/2" long 5/16" bolts, oversized washers and t-nuts to fasten the plywood to the top. A spade bit was used to countersink the t-nuts into the plywood, so that trim boards and cement board can be applied to the top and sit nice and flush to the surface. I have to rip down a few more logs for the horizontal cedar log trims across the front and sides. I only have one more log left that is long enough to span the width, so one screw up and I'm toast :(. I'll try to get some more done and post updates tonight, but gotta get the kids off of the bus.

This thing is turning into a frickin' beast!

IMG_2009.jpg


IMG_2010.jpg


IMG_2011.jpg


IMG_2012.jpg
 
Well, the inevitable happened...:mad:... the only log that I had that was long enought to span the width of the top for the horizontal trim piece didn't work out so well. I ripped it down the center straight as an arrow and discovered that 1/2 of the interior of the log was punky and dried out. As I started to knife the bark off of the log, portions of the log started to disintegrate, so I scrapped it. :( I have no plans of going back down to my parents in the near future to get another log, so it's on to plan B. I have a long (8') 2" thick red cedar slab left over from when my buddy slabbed the log for my liquor shelf. I was going to make a big Cedar Hollow Brewing sign out of it and hang it by chains for my bar, but not anymore. I guess I am going to try my hand at ripping it down to a smaller width and then knifing it down into a log shape. What a royal PITA!
 
Thanks Yukon and Butcher. I only got a little done on the keezer this weekend. I wanted to get coffin built and cooling fans installed, but my wife was a little irritated by the amount of time I have been spending on it. I spent several hours brewing a Two Hearted IPA clone yesterday, so I wasn't going to press my luck. :D

Very impressive, you have given me a few ideas!
 
A little progress was made on the keezer Friday night, but not as much as planned. I got the leftover cedar slab ripped to width, cut to size, and fastened across the front. I started knifing the piece into a log shape, but ran out of steam. I planned on working on it more over the weekend, but my wife had other ideas. I will finish trimming out the sides and then will get the coffin framed.

I wired the two 4" Inductor fans that I purchased from HD to an old extension cord to test them. I will be using them to cool the coffin once insulated. One will draw cold air into the coffin and the other will exhaust air back to the freezer. I have always heard that these in-lin duct booster fans were noisy, but these things are whisper quiet and at 80 cfm move quite a bit of air. I'm pleased with the purchase, especially since I got them for $14 each. :ban:

Here is a pic. of the cedar slab that I started to knife into a log shape. Still got a lot of work to do on it, but it's coming together. :mug:

IMG_2013.jpg
 
Trimmed out the rest of the top, finished knifing/shaping the front cedar trim log, and built the coffin box. Building shelves on either side of the coffin to dress it out tonight and tomorrow. A patient of mine had a complete set of industrial hole saws, so I'm also drilling the 4" holes through the bottom of the coffin and top of the freezer for the Inductor fans. I'll also drill the hole for the beer lines and the 3 holes in the front of the coffin for the tap shanks. I'll post more pics. later.

IMG_2018.jpg


IMG_2019.jpg


IMG_2023.jpg


IMG_2025.jpg
 
Thanks Starrfish. I appreciate all of the advice that you have given me over the past few months, both with brewing and most recently kegging. It's nice having seasoned vets like yourself, gracious enough to guide us noobs along the way. :mug:

Getting ready to drill the holes through the bottom of the coffin and top of the freezer and am nervous as hell for some reason. :confused: Hopefully I can make more progress that just that tonight, but it all depends on what my wife has planned for the evening. Wish me luck!

That's just looking AWESOME!
 
I'm pretty much a newb at kegging too! just passing on the info I gathered here, and other places, but glad to help.

I think going to a real 10 gallon mash tun is going to make brewing life MUCH easier as well as finally putting the drain valve in my 10 gallon kettle!!! I hate syphoning... (just picked up an auto syphon too can't wait to try that out!).

OH! Cutting oil (got some for dilling out kettle) or 3-in-one oil (I ran out when I drilled the top of my fridge) helps cutting through top of freezer. wd40 is too thin and tends to smoke, I found that put the hard way. Go slow, measure twice and you'll be fine.
 
Got the holes drilled for my Inductor cooling fans for the coffin and a port for the beer lines to feed up through. I've never used a 4" hole saw before. What a b*tch! I about broke my wrist several times when the big caught. I wasn't fun, but it's done. :ban: The holes are a little oversized, but I'll find a way to get a good tight seal around the fans....maybe a little expansion foam. Plan on finishing the bulk of the coffin/shelves tomorrow.....then onto insulating. Thanks for following the thread!

IMG_2029.jpg


IMG_2030.jpg


IMG_2031.jpg


IMG_2033.jpg
 
Lookin' great man! I plan on being on this same build course very soon and I have been thinking about how to insulate the coffin. This looks really nice.
 
Thanks Toasted. I plan on stacking 1" foam insulation and drilling the same 4 inch diameter holes and the 1 1/2 hole for the beer lines in each piece to create a channel. I'll cut the space out between the left 4" hole and the smaller one, so that the beer lines travel up the same channel as the intake fan side. I essentially plan on filling the entire cavity of the coffin with styrofoam insulation with a continuous channel from the intake up to the shanks and across and back down to the exhaust fan. I just started that today, but decided to put the insulating on hold and build the shelves on the sides of the coffin instead. I also bought a rope light that plugs into 110 v. and drilled the holes for that as well. Here are a couple of pics. I'll do more of the insulating and post more pic. to give you an idea of what I'm doing. Thanks for the compliment. :mug:

IMG_2034.jpg


IMG_2035.jpg
 
Here are a few pics of the shelves that I built on both sides of the coffin box. Thanks for the idea Keith...Jake the Hop Dog. There is a 1 1/2 gap behind the vertical logs on either side of the coffin that will also be filled with styrofoam insulation to add more R value to the coffin.

IMG_2038.jpg


IMG_2037.jpg
 
I added a little decorative trim to the coffin and shelving to spice it up a little. I needed a horizontal trim piece to hide the rope lighting behind, so I decided to add it to the front of the shelving and across the top of the coffin as well. Now I need to get a nice piece of ponderosa pine for the top and get the back enclosed. I'm going to make an access panel on the back of the coffin to get to the guts inside. Accessing through a lid on the top would be too high. Haven't figured it out completely, but like the rest of the project, I'll cross that bridge when I get there. I plan on doing the top this weekend and just using leftover plywood for the back, then I have a sh*t load of sanding to do. Bought the cement board and tumbled travertine today, so I just may be nearing the end stages of the build. Now I just need the green light from my wife to order the kegging components. :tank:

p.s. If it looks like the little shelving units on the sides of the coffin are sitting a little crooked, it's because they are not attached yet. Still need to run the cord for the rope light and insulate the cavity between the coffin and the shelves.

IMG_2040.jpg


IMG_2041.jpg


IMG_2044.jpg
 
Thanks "daaviator". How's the weather up there? It has been a rough winter here in Michigan, but nothing in comparison to what you guys go through. Can I assume by your username that your a pilot? I've been watching that show "Flying Wild Alaska" and all I have to say is......crazy b*st*rds! Thanks for the compliment....the keezer is getting there. :mug:

Very, very cool. Awesome job.:rockin:
 
What an awesome project! This thing has to be a BEAST!!! Have you thought of the beer that will be the first pint out of the tap?

I'm glad to see that someone out there has a messier basement than I do. :D
 
I know, I know....my basement was frickin' spotless before I started this keezer build. We had already painted all of the rooms in the basement except the main/family room, which was next on the agenda a few weeks back. As I mentioned earlier, my wife wanted me to finish the rest of the basement before starting this project, but I just couldn't wait. I usually do all of my knifing and sawing outside, but with 18" of snow on my patio, I decided to just make one last mess in the basement. Funny you should mention how bad of a mess is in the basement, because my wife and I just discussed this over a glass of wine this evening and we both agree that this is the worst it has ever been. Thankfully, my knifing and sawing is done....just have to sand everything and then I'll clean up the hell hole that I created. This build has been a blast and I don't regret the mess one bit. I took my son and daugther down to show them what I got done and my son said "The basement is messy right now, but is has been worse." Just the reassurance I needed! :)

I will finish the sanding on Saturday morning and the basement will be back to tip/top condition. I really just needed a break from the basement build and the keezer was exactly what I needed. Now if I can talk my wife into giving me the green light to order $500 worth of kegging equipment, I'll be all set. Thankfully, my wife supports my newfound passion with homebrewing and for the most is pretty supportive. She did mention, however, that she wants the rest of the basement done by summer. :drunk:

I have a Two Hearted/Centennial IPA Hybrid in the primary and I'll be transferring and dry hopping to a secondary this weekend. I have a Blood Orange Hefewiezen brewing this weekend and then I'm reverting back to my Amarillo Wheat for the third tap. To answer your question....most likely a kick a$$ IPA will be the first pour off of this "beast"! :rockin:


What an awesome project! This thing has to be a BEAST!!! Have you thought of the beer that will be the first pint out of the tap?

I'm glad to see that someone out there has a messier basement than I do. :D
 
Thanks Big Red! Did you ever get your basement project underway? Mine's still not 100% complete, but I've been wanting to build this keezer for a while so it jumped to the top of the priority list. :mug:

Great looking keezer!!! If I can do something half this good I'll be happy.
 
That looks awesome. Have you done any testing on the 4" fans yet? Do they keep the lines cool enough? I would think it wouldn't be a problem anymore.

Also, are those shelves big enough to hold a pint glass or two? That's exactly what I was thinking of doing. Nice build. :mug:
 
No testing yet besides hooking the fans up to an old extension cord to make sure they worked. They are both 80 cfm and they move air really well for their size. I have heard that they are traditionally noisy, but these things are whisper quiet. :rockin:

I still haven't ordered my kegging equipment, so no formal testing has been done on temperature differentials between the coffin and the keezer, or beer line temps. As you can see by the pics. I'm creating a cylindrical channel within the layers of the foam insulation for the air to move through....the beer lines come up through the smaller hole on the left and after the first two layers of foam will merge into the 4" channel. I'm essentially filling the entire coffin solid with the foam insulation in layers, creating the tunnel as I go. I think that with the cold air being confined to and directed through a small insulated cavity and exhausted back into the freezer, it should work out well.

The shelves will easily hold 4 pint glasses each. This is going to be sitting right next to my bar cabinetry, so I'm simply using the shelves to display pint glasses from my favorite breweries, not to store pint glasses for use.

Thanks for the compliment. :mug:

That looks awesome. Have you done any testing on the 4" fans yet? Do they keep the lines cool enough? I would think it wouldn't be a problem anymore.

Also, are those shelves big enough to hold a pint glass or two? That's exactly what I was thinking of doing. Nice build. :mug:
 
Kent, that is looking great! I like the shelves on the coffin. :mug:

Let me know how the fans work out, I may have to put some on mine since it may be out by the pool this summer (Faster access!:drunk:).
 
The winter has been pretty mildish...one day it is January and the next it is April. I say we could use more snow but SWMBO disagrees. I do fly helicopters and it is the most fun you can have with your pants on.
 
I got a little work done on the keezer today. I purchased a piece of ponderosa pine for the top....still needs to be cut to size, the edge routered and get it attached. I also bought the tile and put a few pieces on the top to see how it looks. There will be cement board under the tile, so it will sit flush with the trim on the top. Also, the travertine tile will run up the face of the coffin in the recessed area. I'm still trying to make a decision on a drip tray, but I'll most likely go with a 19" x 4" stainless one and recess it down into the tile.

Does anyone know exactly how far out the Perlick SS faucets reach out from the front of the coffin? I need to determine drip tray placement and make sure that my overhang on the top board doesn't interfere with the tap handles.

IMG_2045.jpg


IMG_2046.jpg


IMG_2052.jpg


IMG_2053.jpg
 
I also made a hinged access panel on the back of the coffin with compression locking mechanisms. I'll add some thin rubber weather stripping to creat an air tight seal. Now I just need to caulk the sh*t out of the inside of the coffin to make sure all of the joints are sealed and then get to work on insulating the inside of the coffin. I'm going to line the entire inside of the coffin with 1" acoustical panels for sound deadening properties (eventhough the fans are waaaaay quieter than expected).......thanks for the acoustical panel samples Ted (Gridlocked)! Once the inside of the coffin is caulked and lined with the soundproofing material, I'll then proceed with the styrofoam insuation....with air circulating channels for the beer lines.

If anyone has any words of wisdom at this point....please speak up. I'm approaching the point of no return. :mug:

IMG_2048.jpg


IMG_2049.jpg


IMG_2051.jpg


IMG_2050.jpg
 
Back
Top