Nice job, keezer's really coming together!
John
John

")
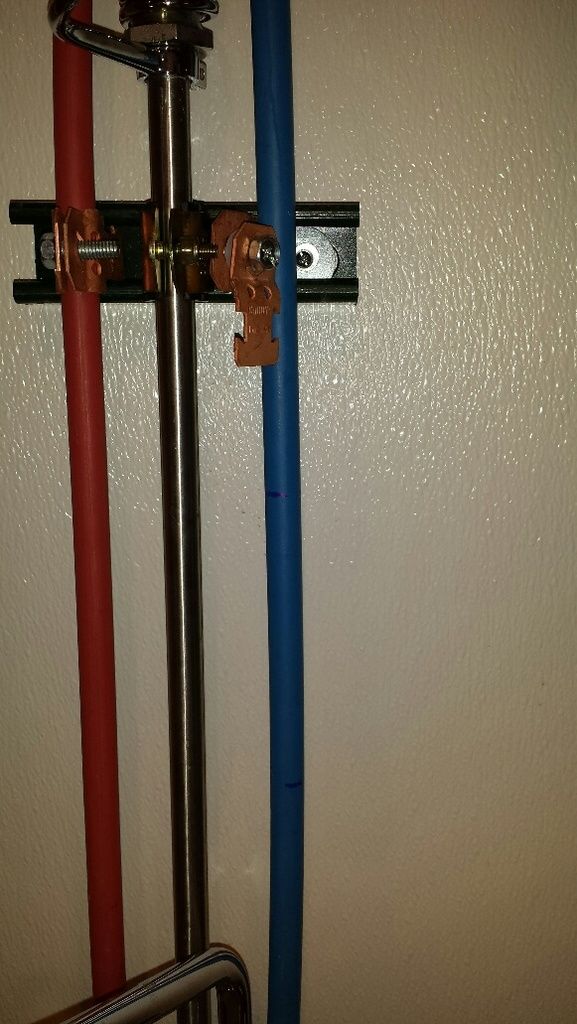
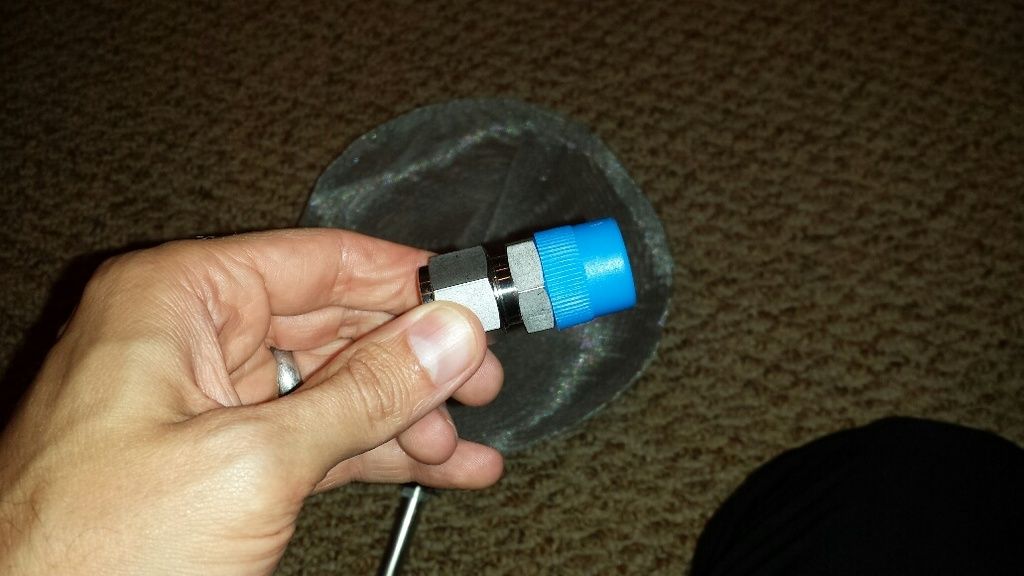
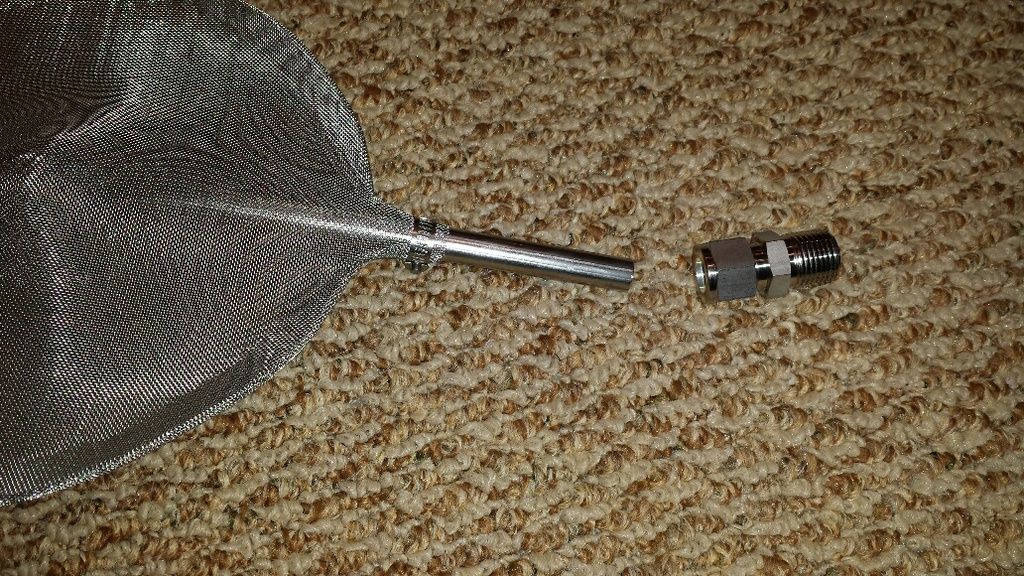
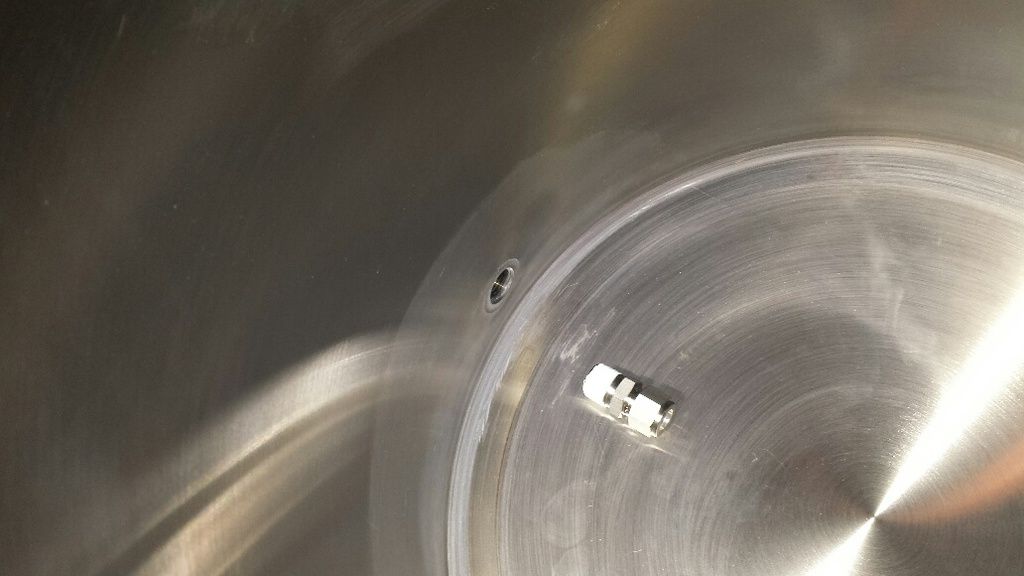
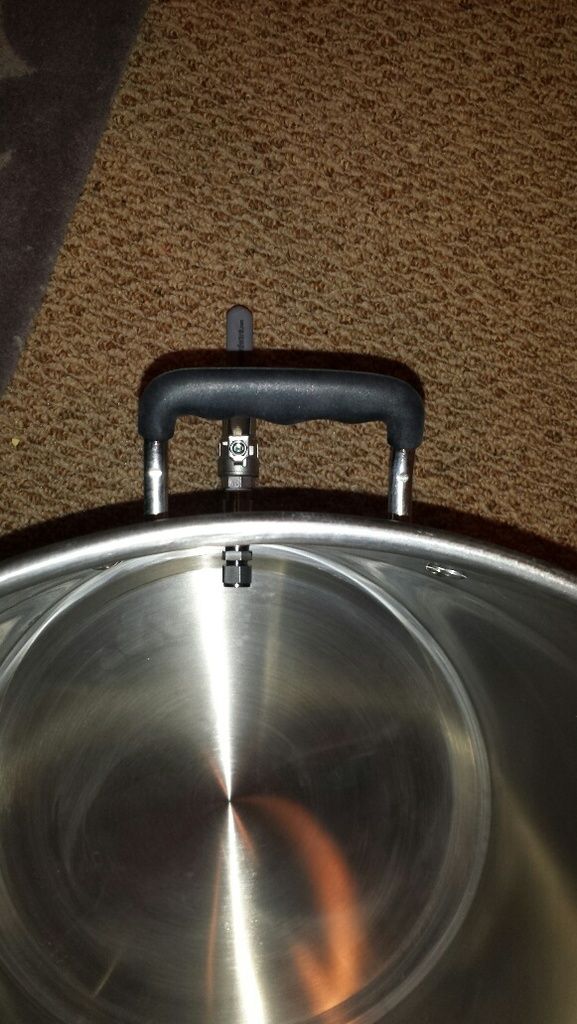
If you have room outside the keezer, store the CO2 tank(s) there. Since you already have a collar, it's easy to go through and not worry about hitting freon lines.
Like stratslinger mentioned, the bigger tank, the better. A 20lb tank is not much more than a 5 or 10 lb tank and the real savings is in the cost to fill: It's only about 10-20% more to fill a 20lb tank compared to a 5lb but you get 4x as much CO2. Having to fill 4 times less is also a bonus.
P.S. Great job on the keezer!
Kal
That makes a lot of sense. I'd probably do the same. Hopefuly you have some way of stopping them from playing with the taps too.i considered an exterior tank but the keezer is in an open area and we have younger kids. yeah, i can chain it up, tell them not to mess with it, etc. but at the end of the day, having it inside the keezer was a requirement.
CO2 is cheap so most of the expense is their time and it takes about the same amount of time to fill regardless of tank size. The place I've been charge a set rate per tank size but it's something like $23 for a 10lb and $26 for a 20lb (going by memory here so don't quote me). Other places may do it differently like you mentioned.regarding filling, it seems most places charge less per pound for larger tanks? maybe my place is uncommon, they charge the same rate per pound regardless of the tank size.


i got thinking about the co2 tank situation some more and thought i misheard the gas place on their pricing. i just called them back to confirm and they charge $1/lb plus tax. no minimum charge, no additional fees, nothing. sales tax here is 5.5% so i can fill a five pounder for about $5.25. based on some limited internet research, that seems like a crazy-good price.
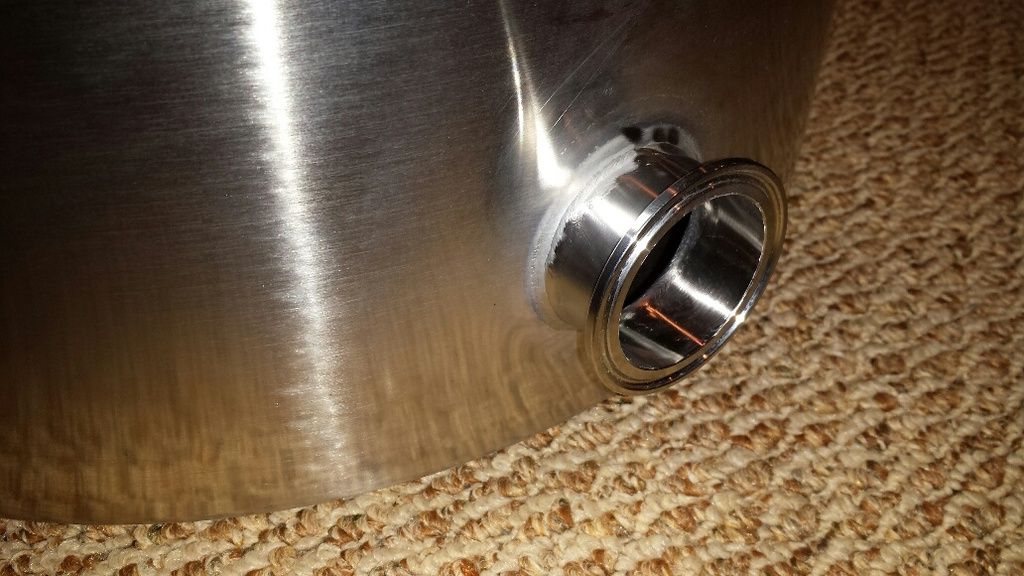
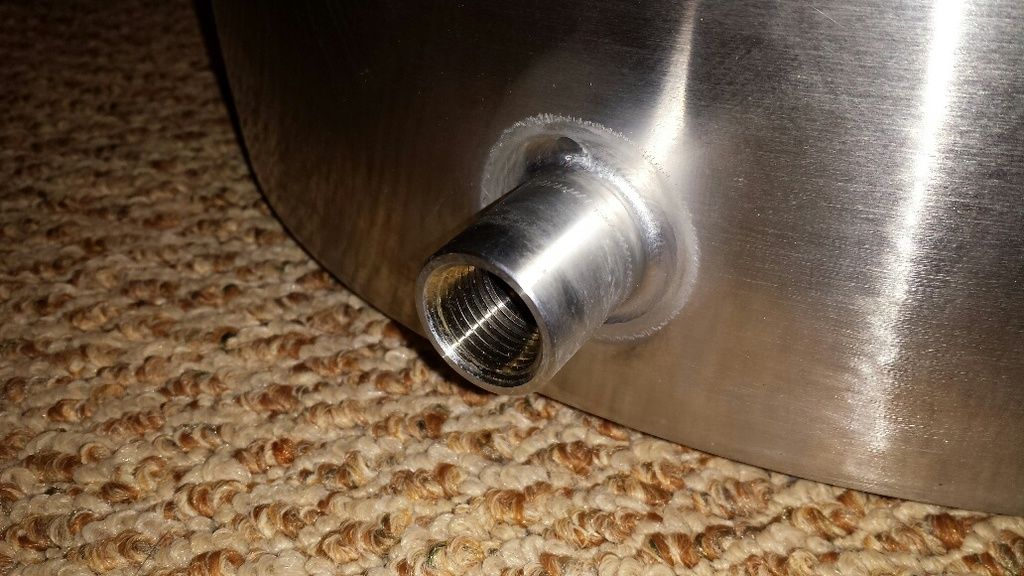
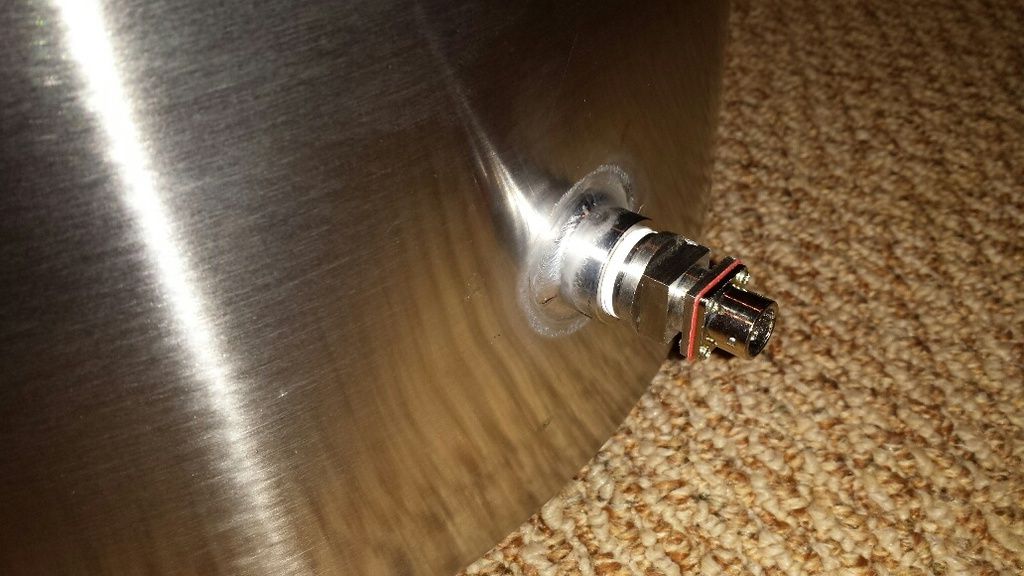
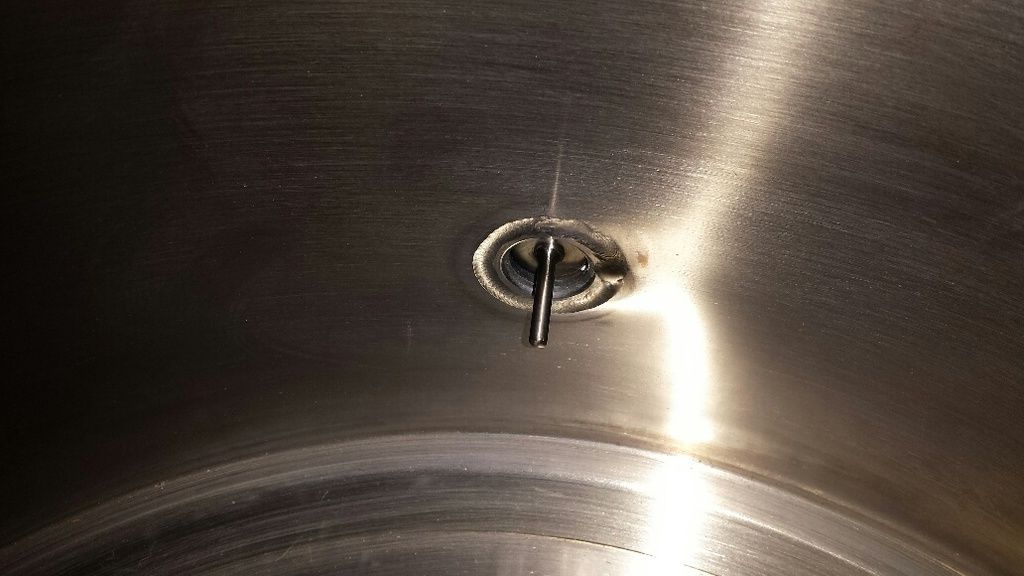
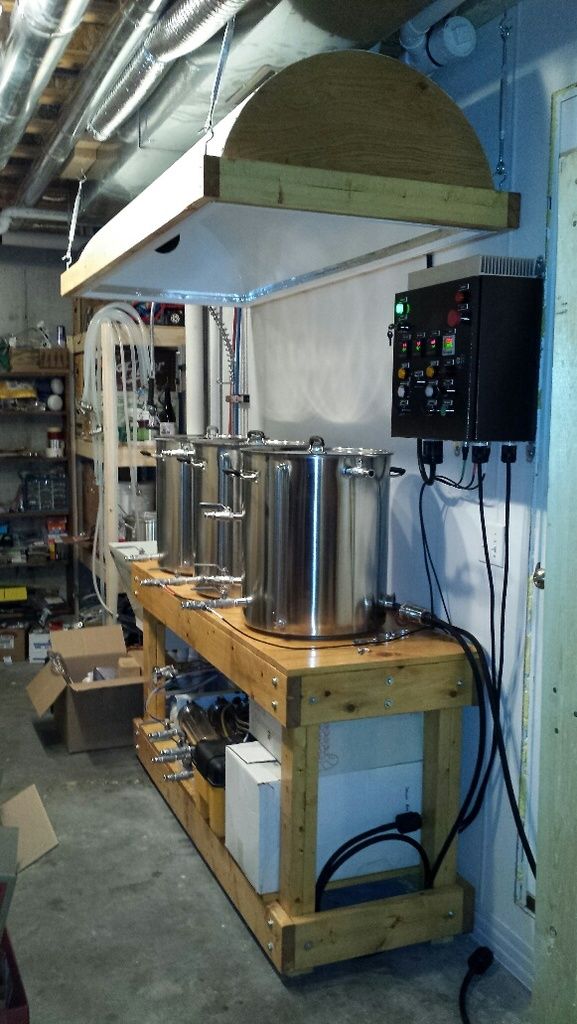
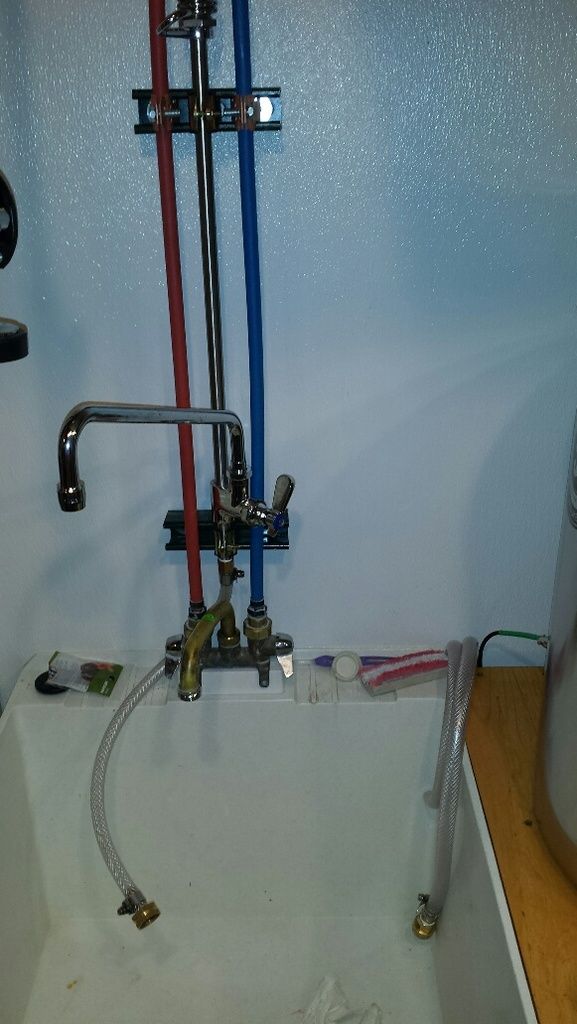
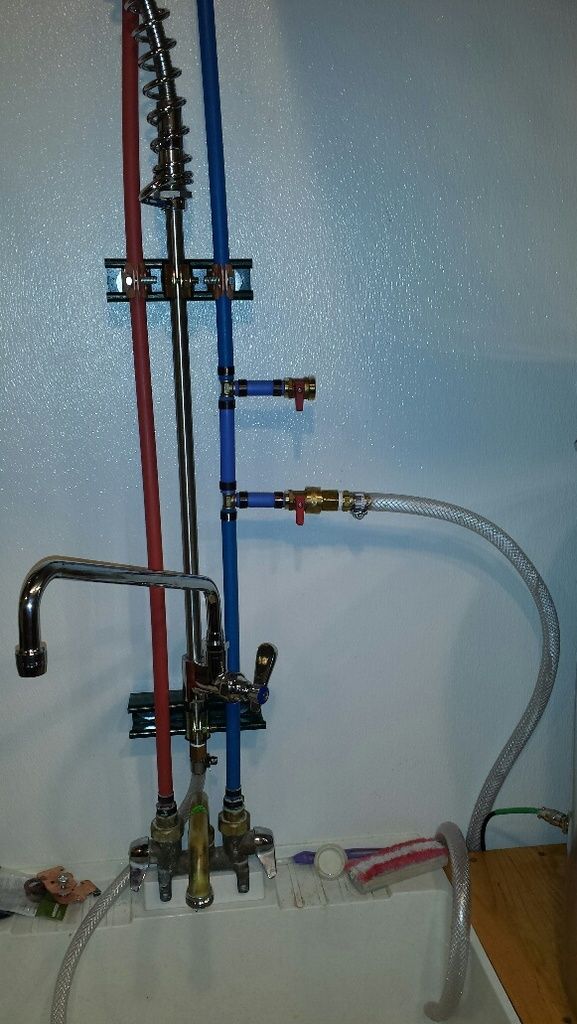
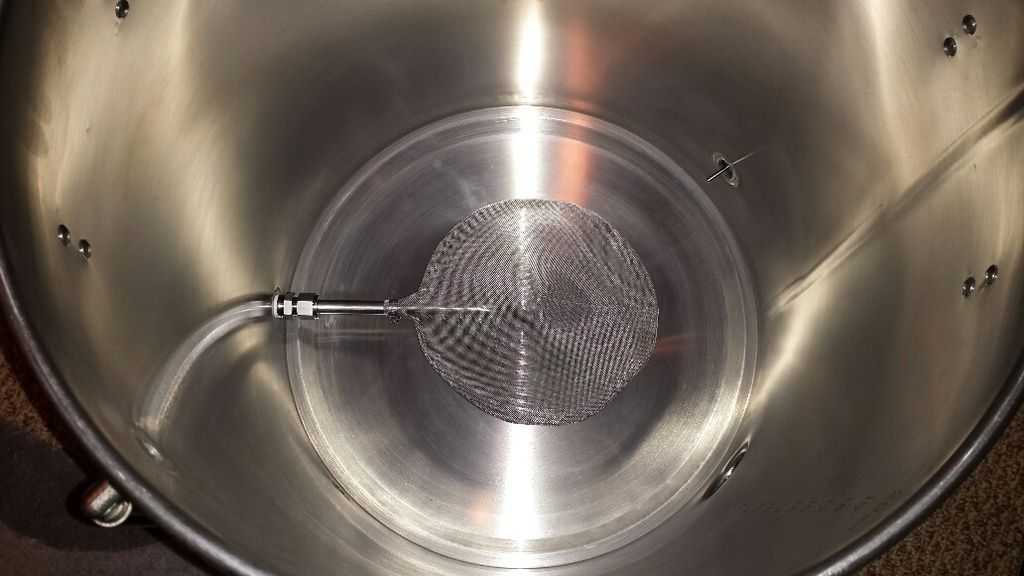
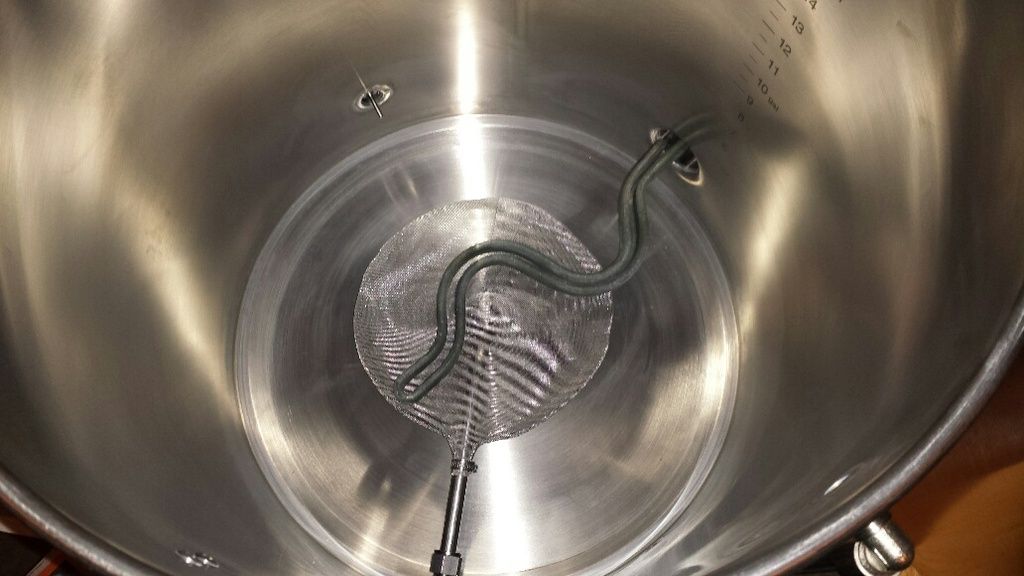
I have to ask, why didn't you run the edge of the J channel between the FRP and the frame? I built one of those hoods myself and was able to get it in that configuration which gives the advantage of being water tight(enough with a drain hose) and fewer penetrations through the FRP.

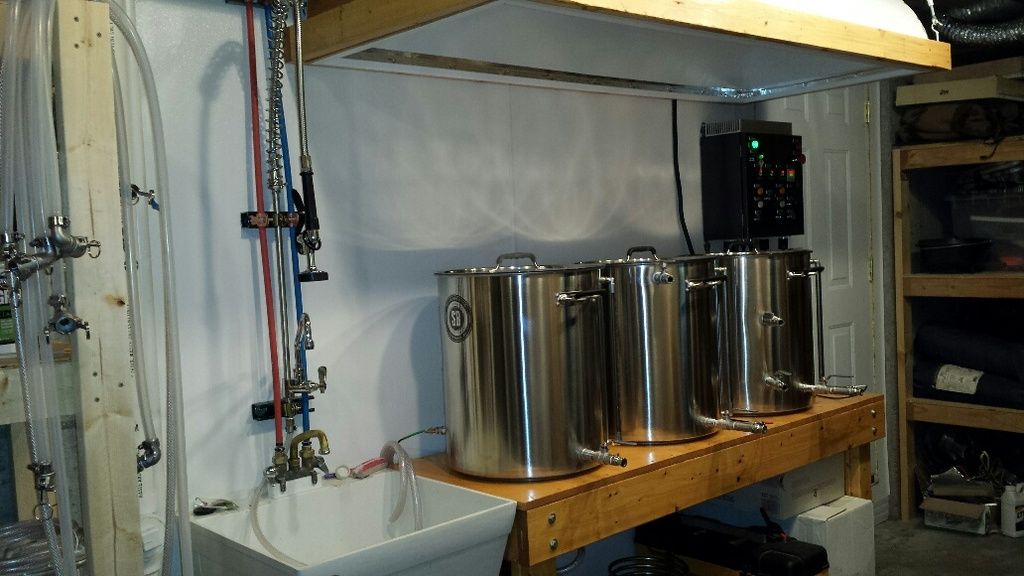

Tap room? What about making some wort? ;-)
Good one BrunDog! I was wondering that myself actually. It's gotta be time to fire up that beautiful creation and make some beer! Hey Brun' we might have to take a road trip up North and enforce the "No more packages until you brew" rule on him!!
John

260 posts and not a drop of wort! How do you manage the suspense!?!
How do you manage the suspense!?!
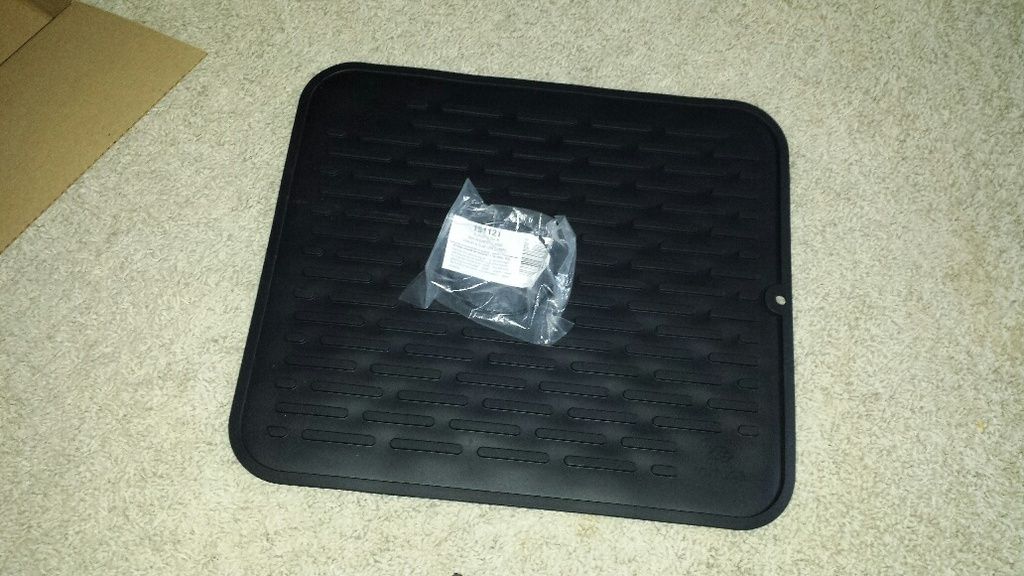
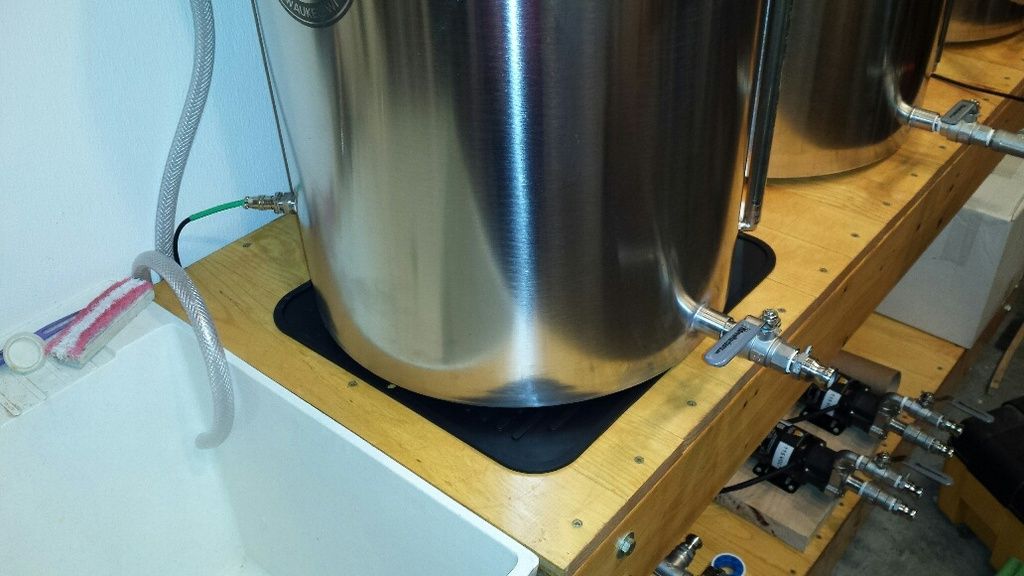
Nice. Can you post a link to the silicone mat?
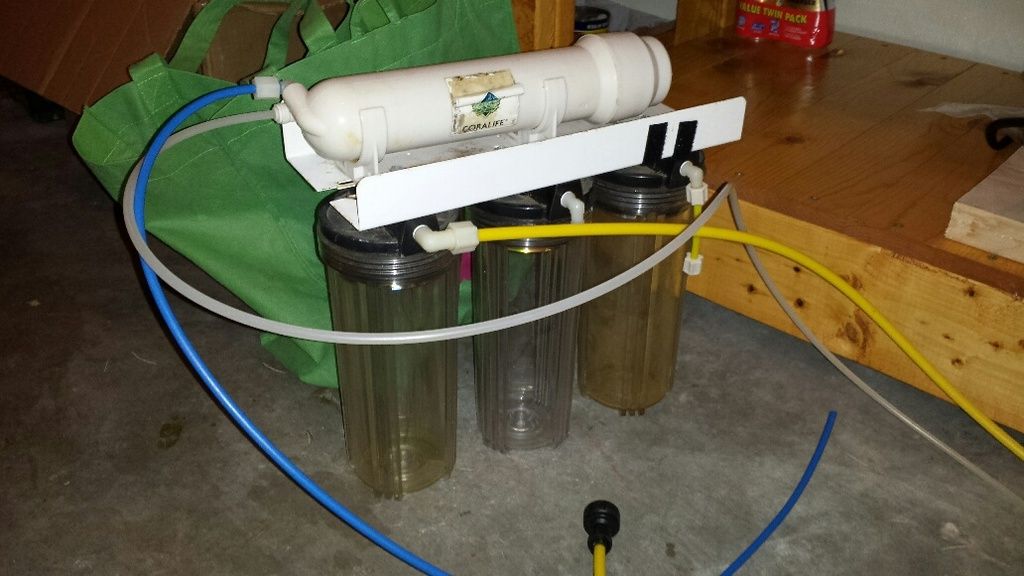
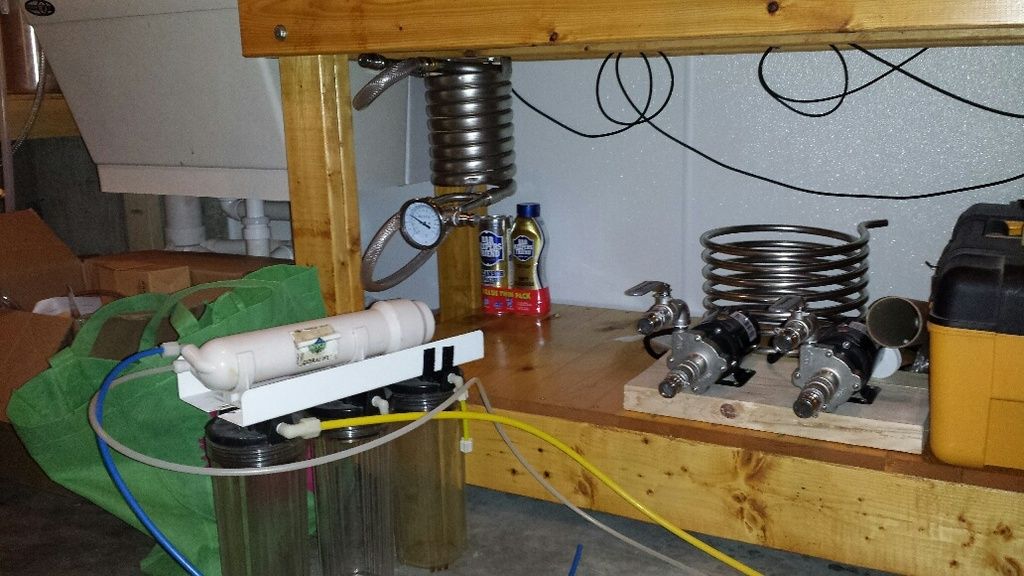
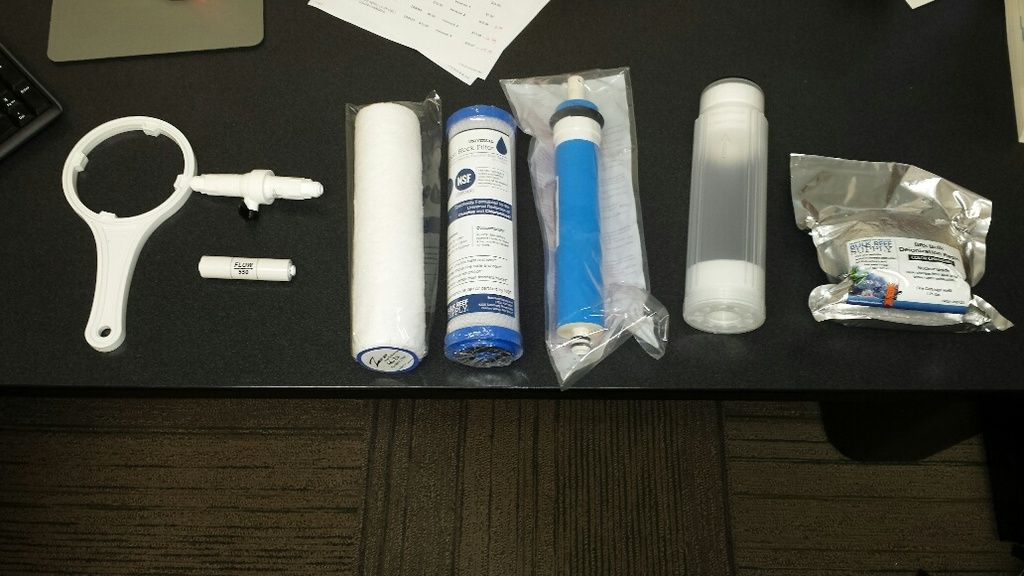
6/1/2016 update
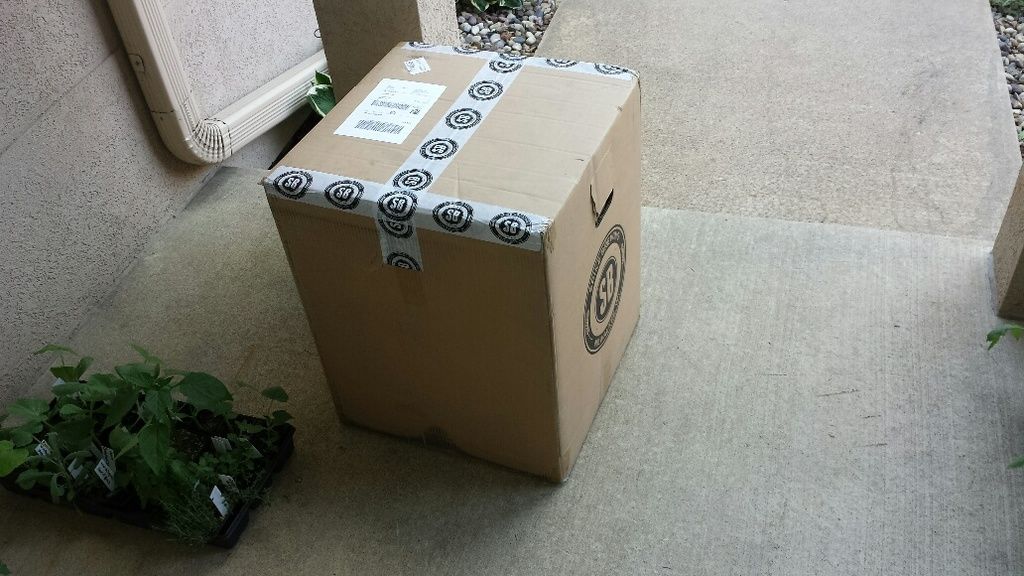
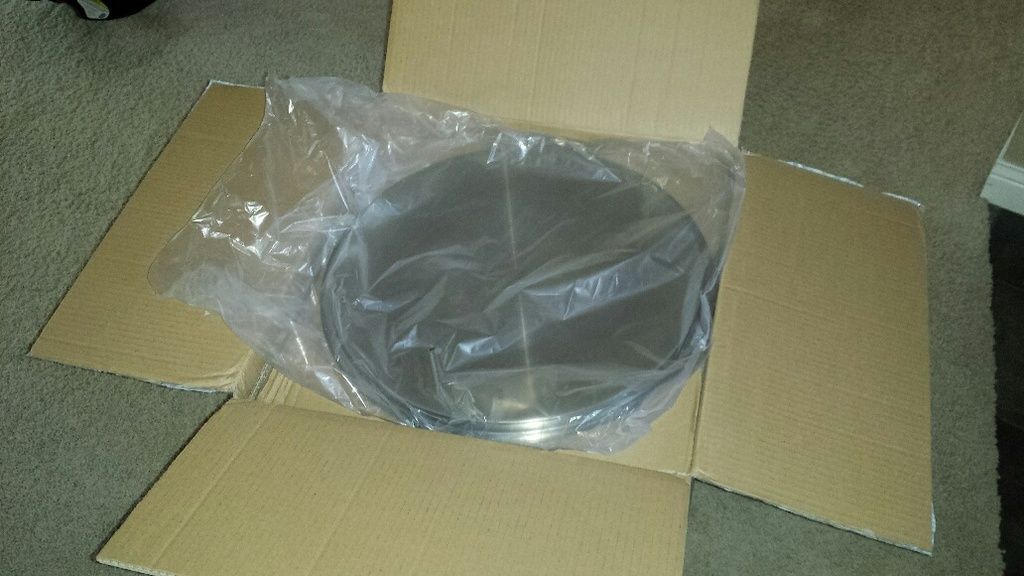
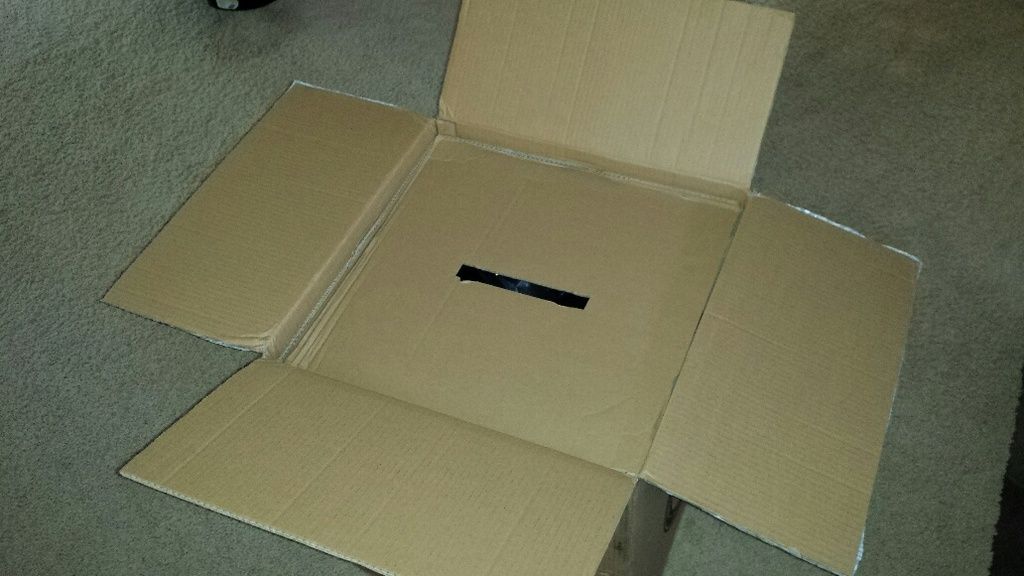
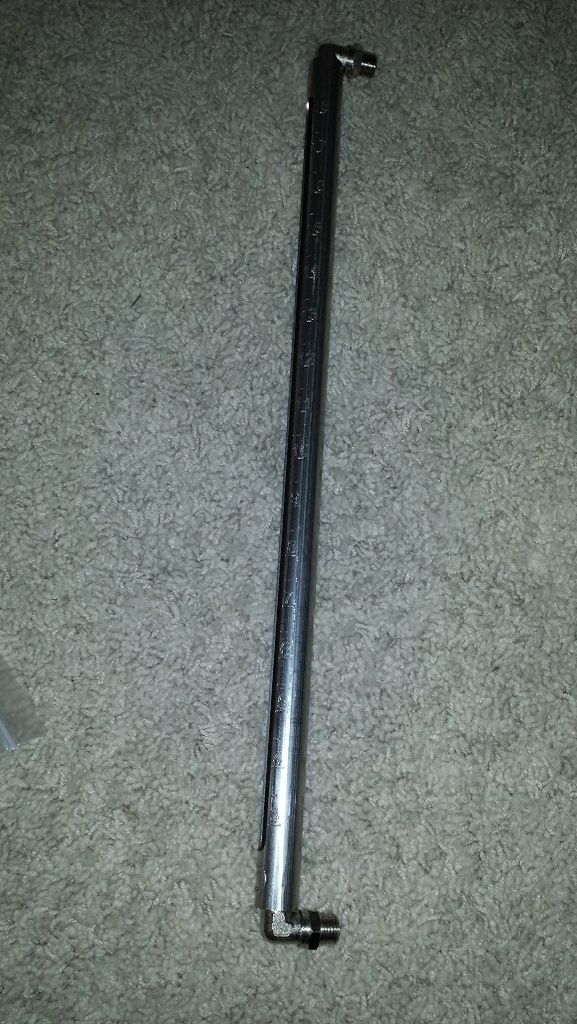
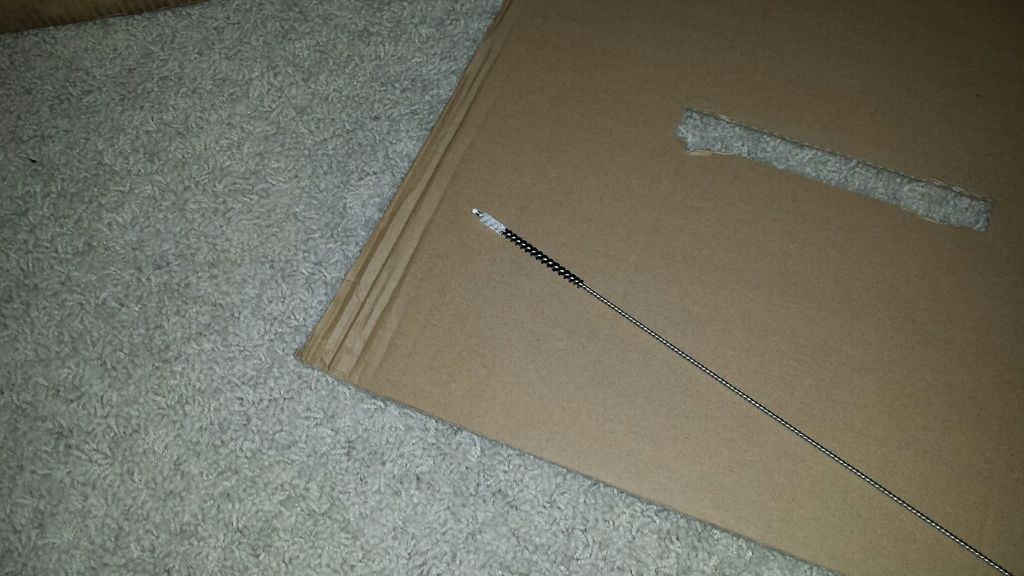
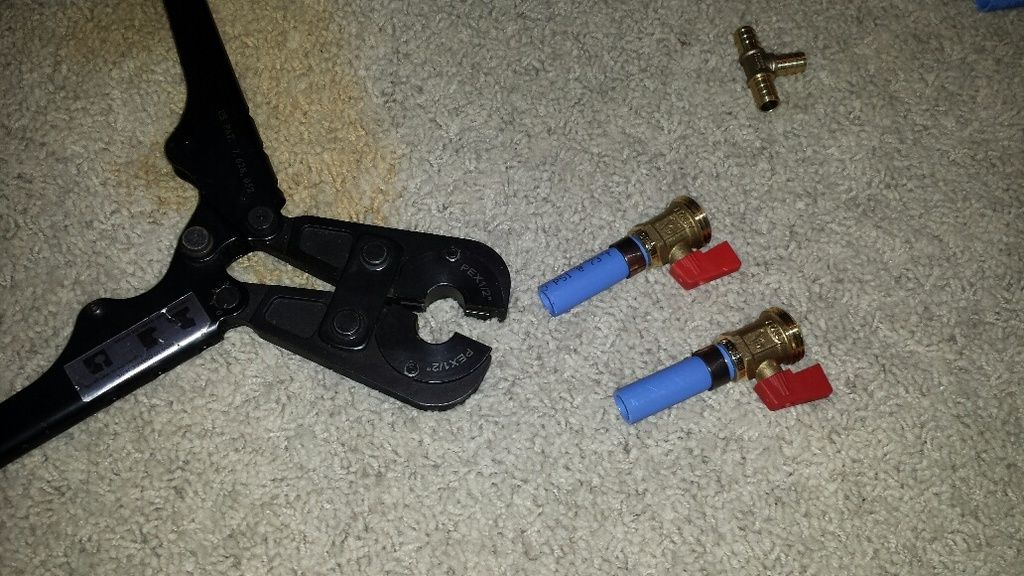
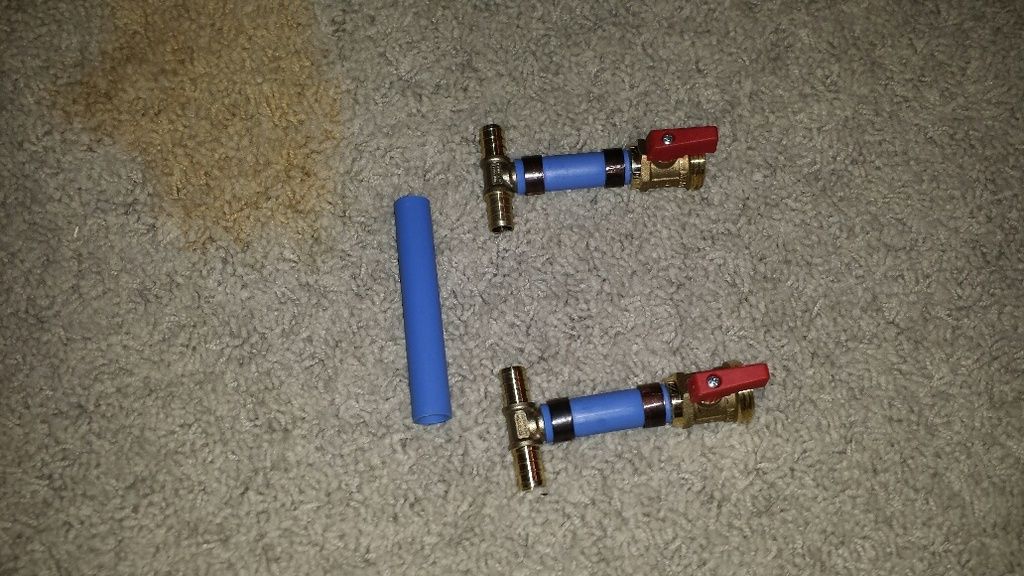
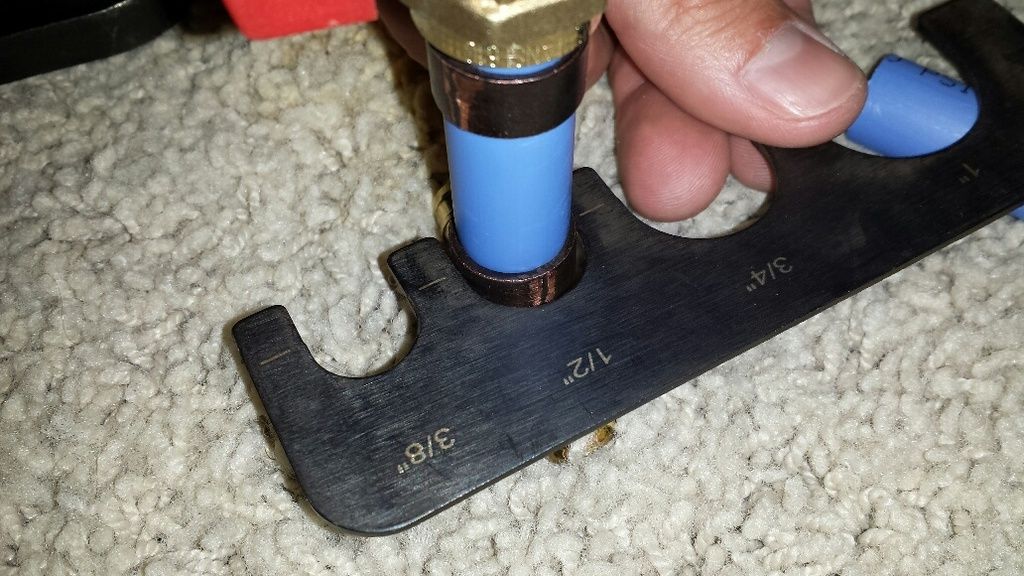
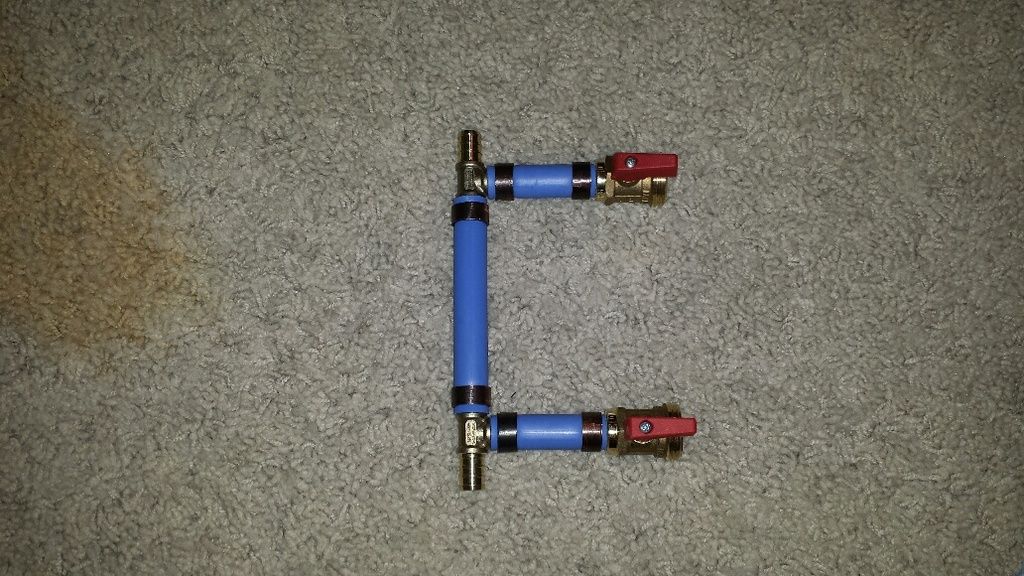
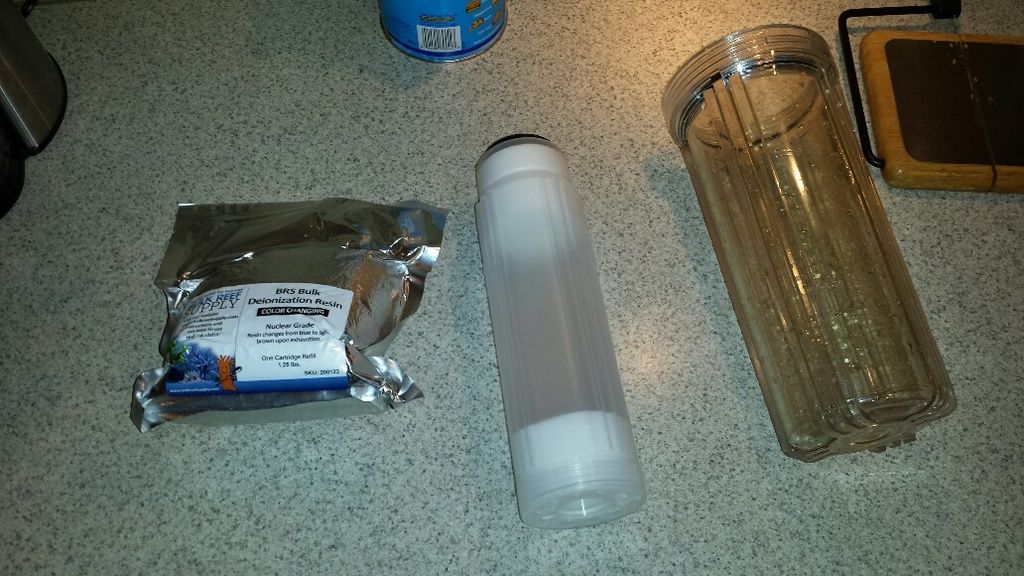
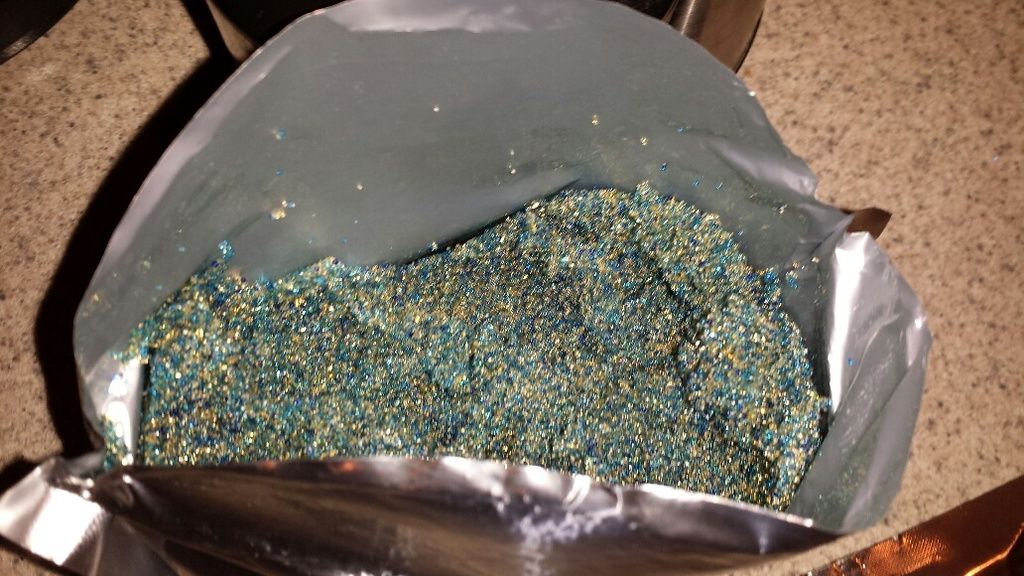
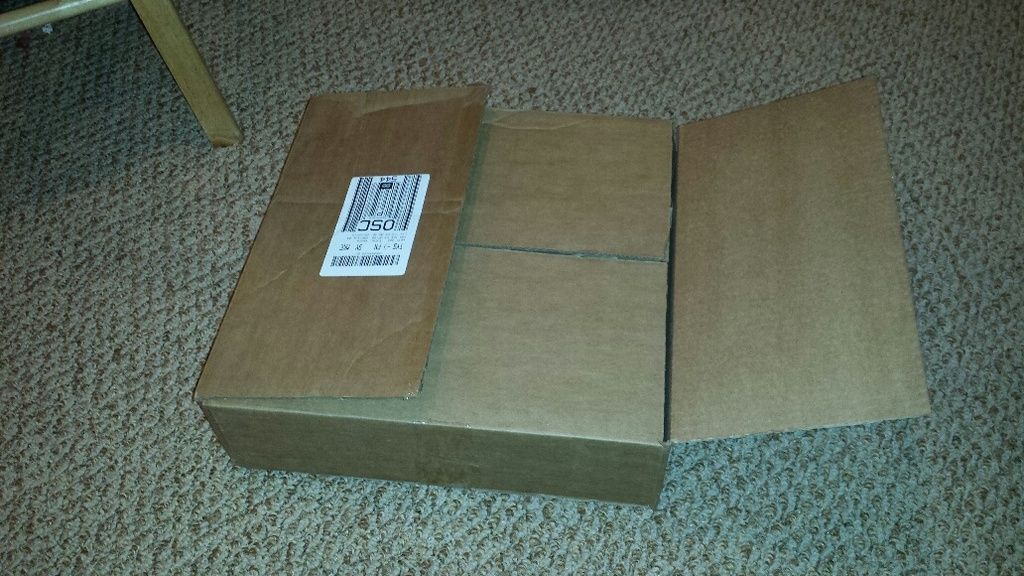
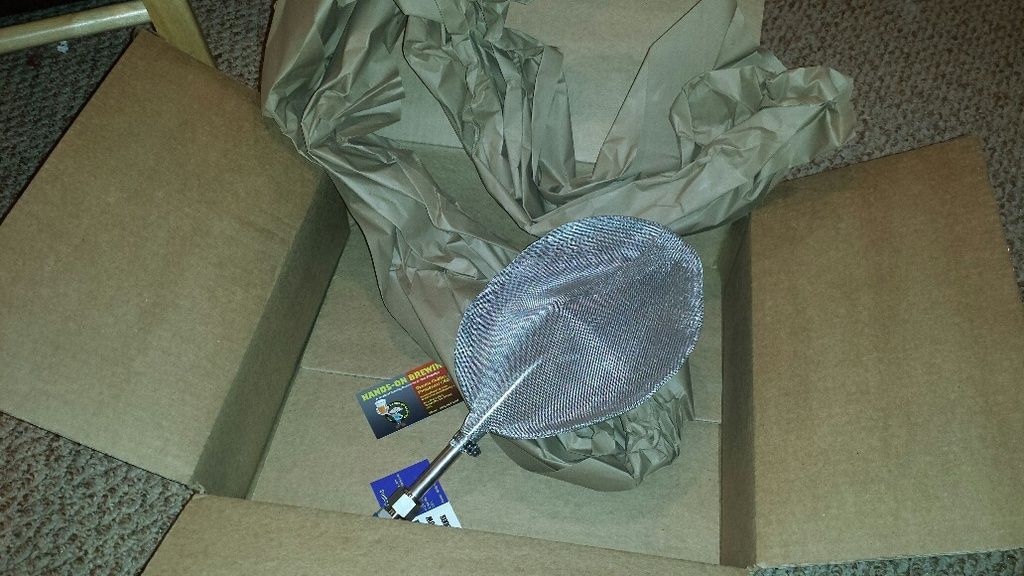
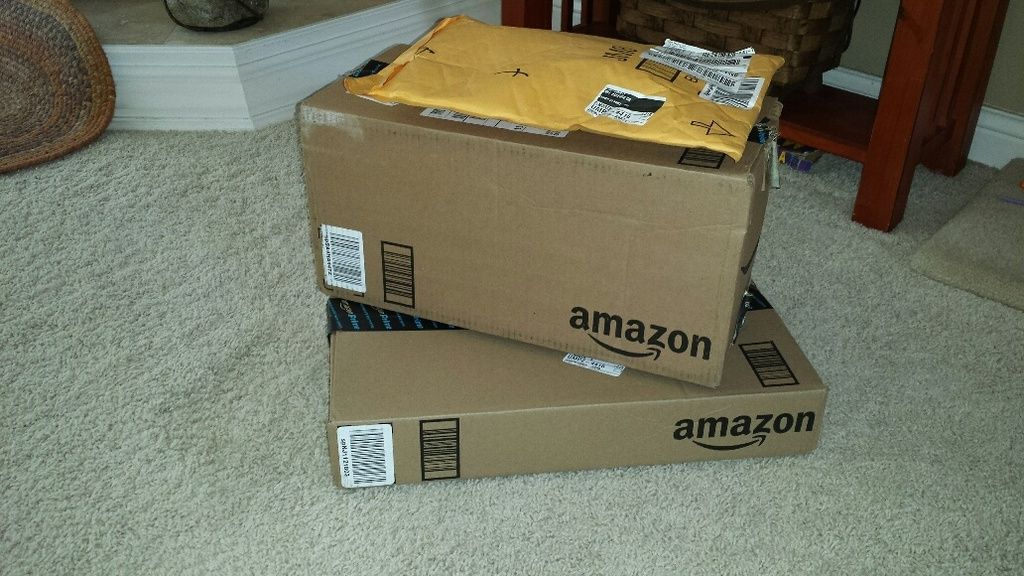
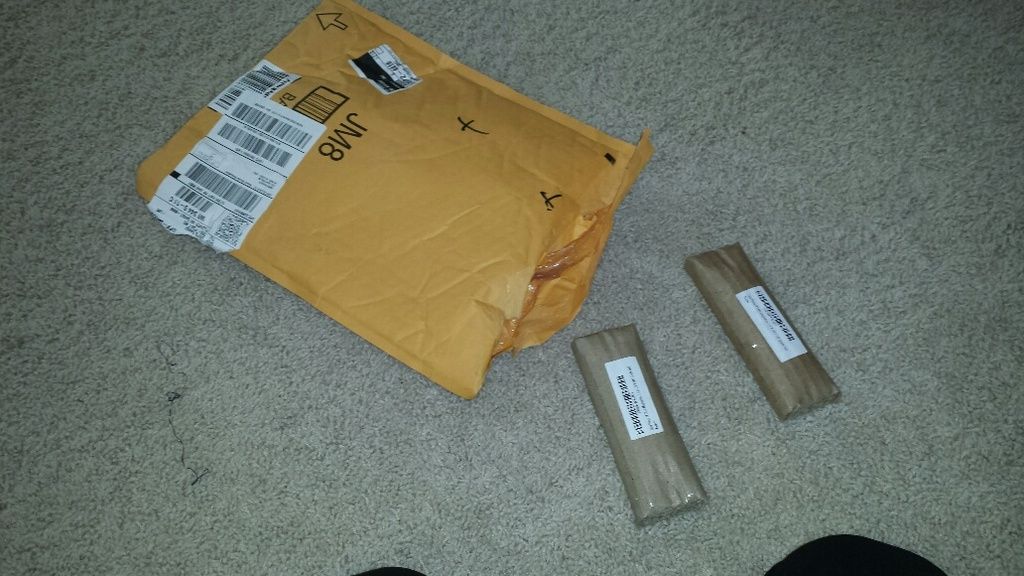
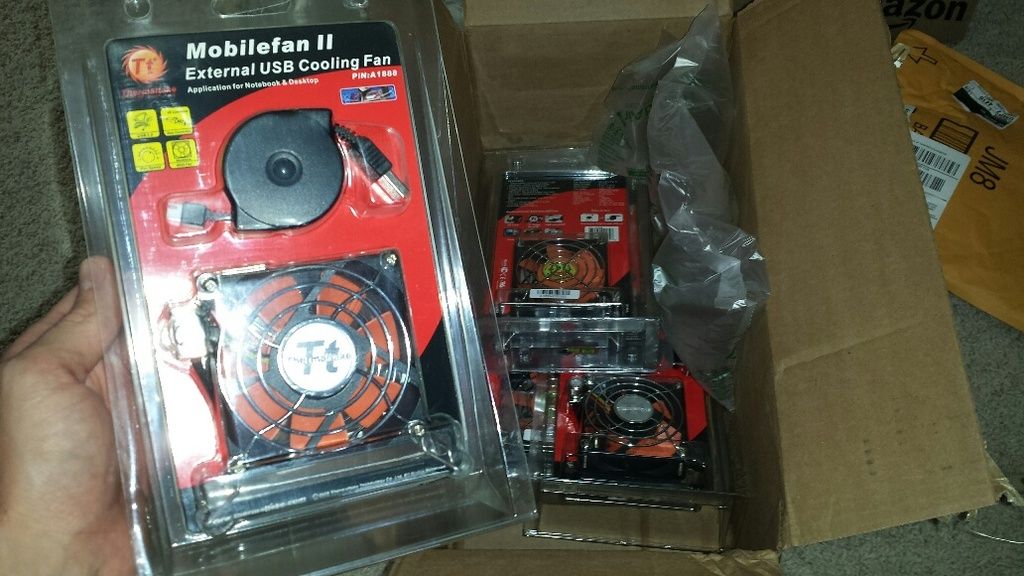
just for jcav and brundog, more packages:
:smack: Nice one !


![Craft A Brew - Safale BE-256 Yeast - Fermentis - Belgian Ale Dry Yeast - For Belgian & Strong Ales - Ingredients for Home Brewing - Beer Making Supplies - [3 Pack]](https://m.media-amazon.com/images/I/51bcKEwQmWL._SL500_.jpg)


