• Please visit and share your knowledge at our sister communities:
  • If you have not, please join our official Homebrewing Facebook Group!

    Homebrewing Facebook Group

inr brewing - basement brewery build

Homebrew Talk

Help Support Homebrew Talk:

This site may earn a commission from merchant affiliate links, including eBay, Amazon, and others.
I'm glad you went with the center inlet pump heads. It made all the difference for me on my build! Others use the inline heads with no problems, but for my system the inline heads couldn't handle pumping through the herms coil and other issues. When I switched to the center inlet heads, bye bye problems and hello happy brew days!

John
 
2/27/2016 update

no photos but my lhbs had a sale in february, 10% if you spent $100. i picked up a 6.5 gal glass carboy, two carboy haulers (i already had a 6 gal carboy) and 10 keg couplers for my keezer.

i have some other equipment in shipping right now.:D
 
3/3/2016 update

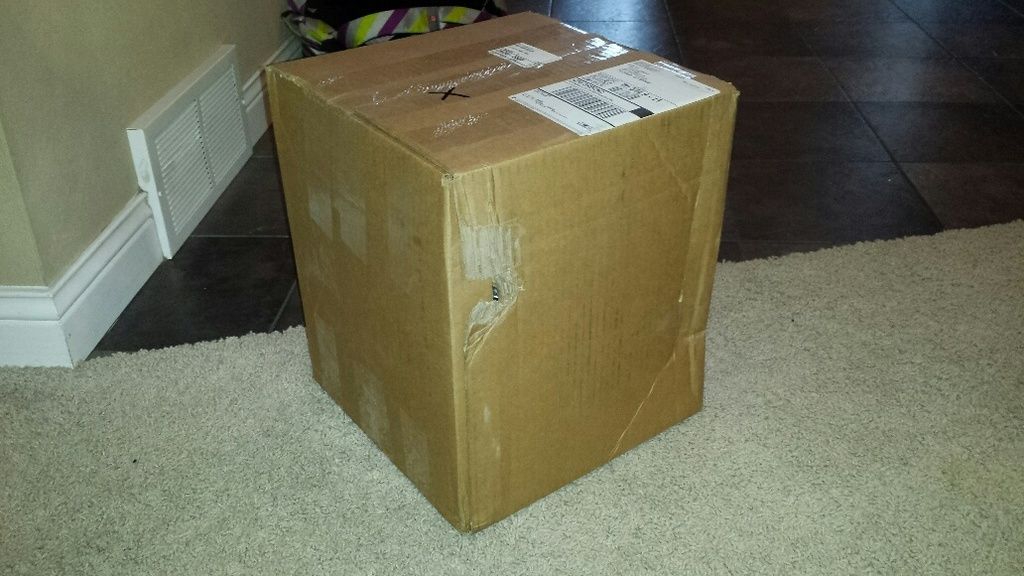
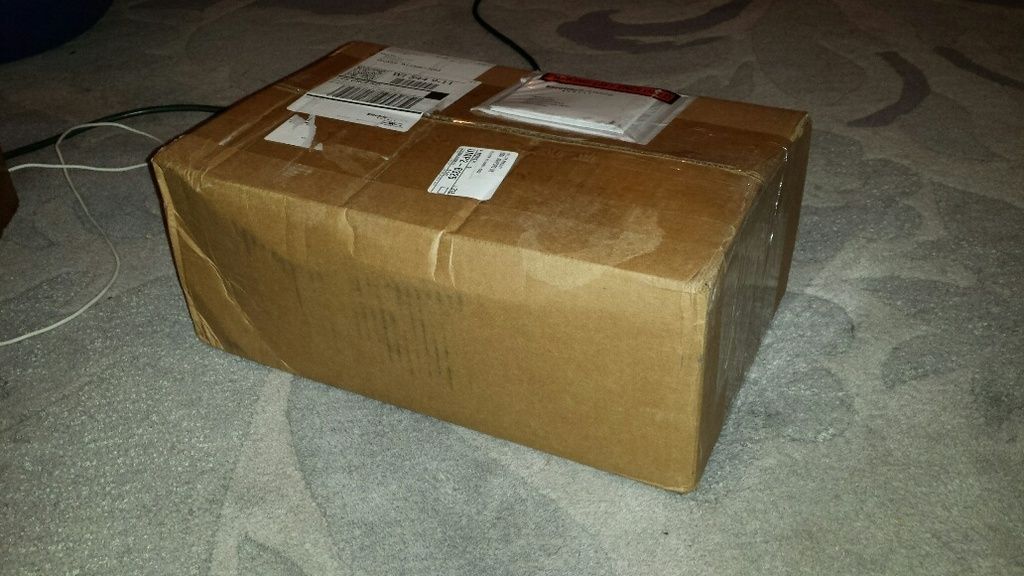
goodies at the door!

20160303_171122_resized_zpswrws9esl.jpg


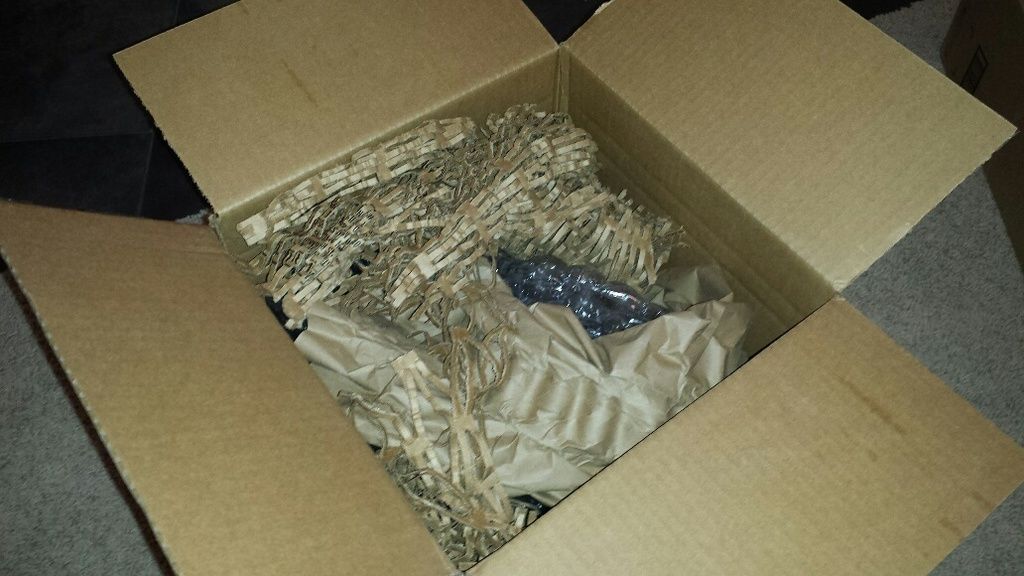
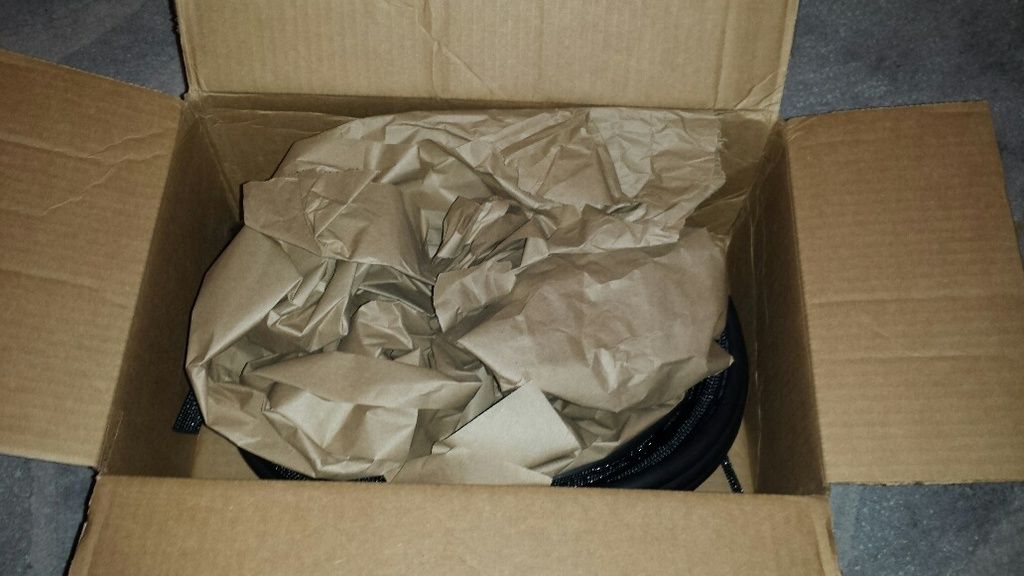
i was a little worried about the damage on the side of the box but the inside was well packed:

20160303_171155_resized_zpsk77sshnw.jpg


20160303_171230_resized_zpspbxah2kd.jpg


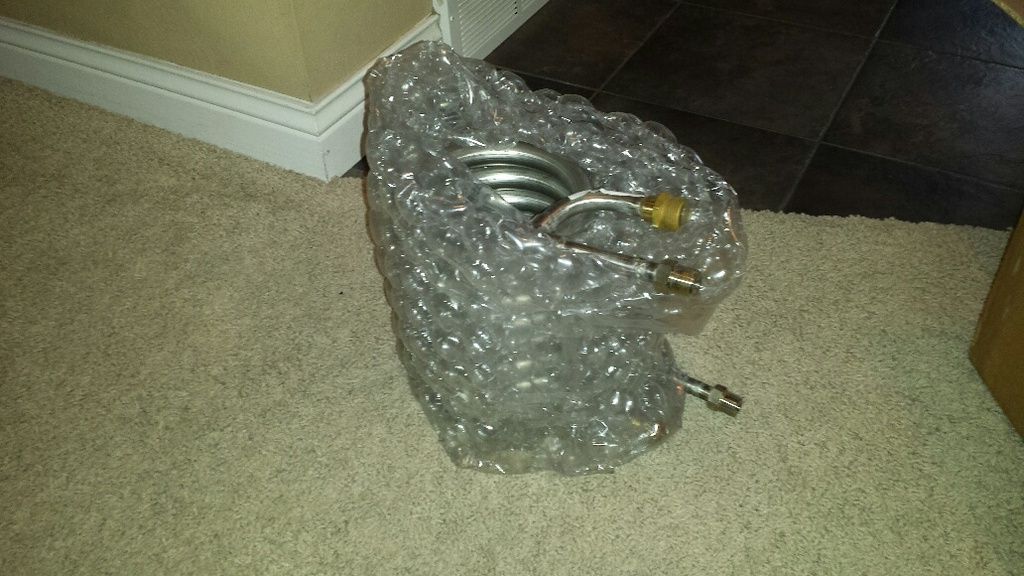
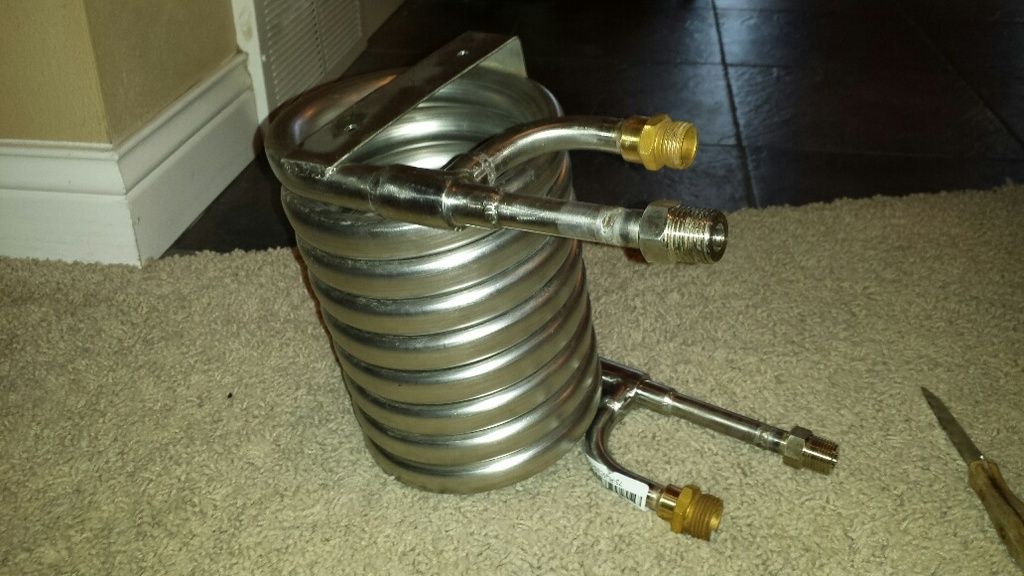
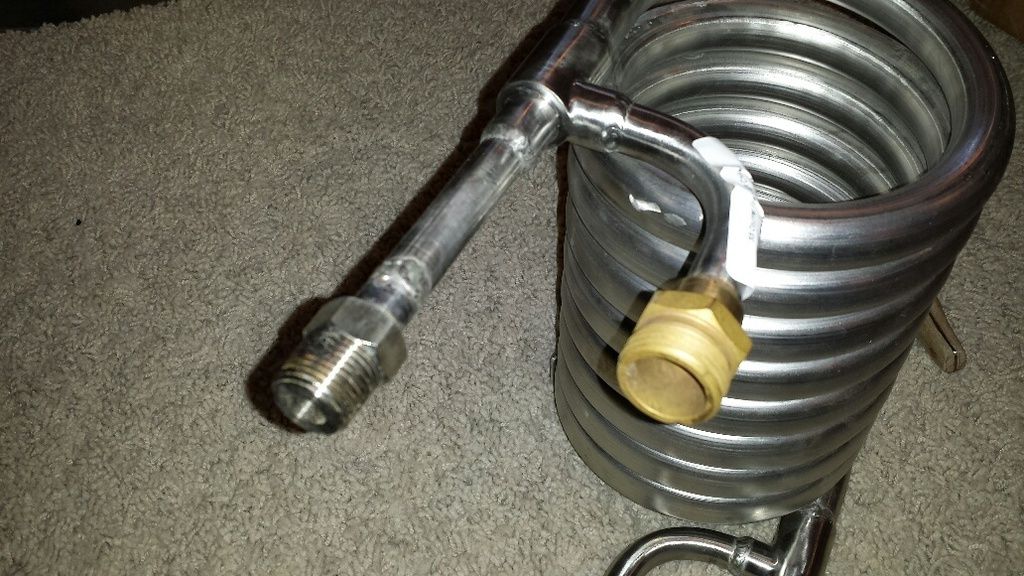
stainless steel counterflow chiller:

20160303_171316_resized_zps6otz9s7a.jpg


1/2" stainless threads for wort, 3/4" brass threads for water:

20160303_171350_resized_zpsupvuhu3p.jpg


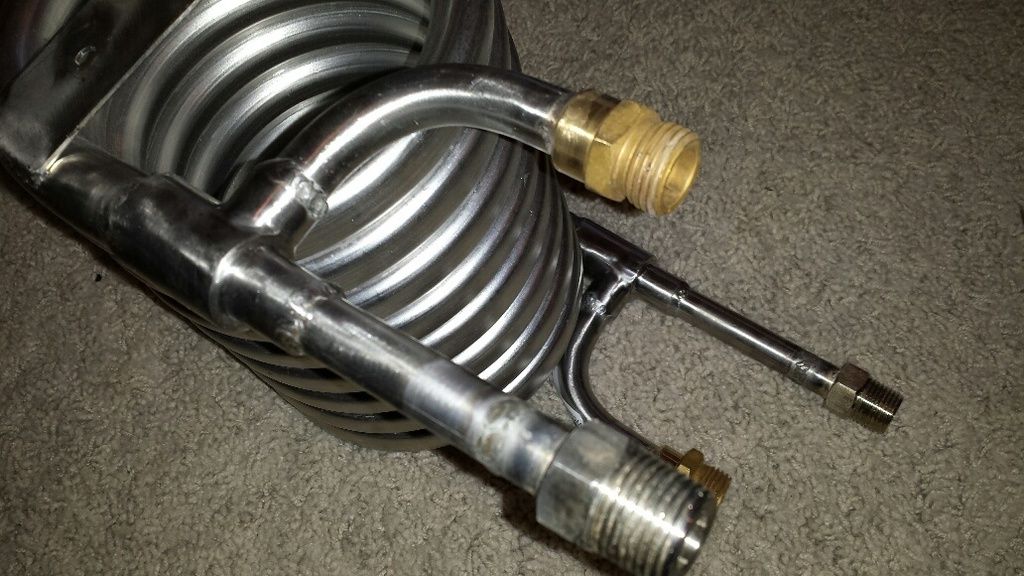
other side also has 1/2" stainless wort threads but what appear to be 1/2" brass threads for the water. no biggie, i have to buy fittings anyway, just thought it was odd:

20160303_171334_resized_zpsbzq7ub4s.jpg
 
Curious: Why Stainless for the chiller, instead of the more-traditional (and more efficient for heat transfer) copper?
 
I'm starting to think I should have gone CFC instead of plate. Seems like all I see are builds using a CFC.
 
I'm starting to think I should have gone CFC instead of plate. Seems like all I see are builds using a CFC.

I'm building out right now. I went back and forth on this for a long time. I finally decided on plate chiller. However I don't know if there is a wrong answer.
 
I'm starting to think I should have gone CFC instead of plate. Seems like all I see are builds using a CFC.

What size plate chiller do you have? I'm thinking of going the other way. Plate chillers are generally more efficient but are more prone to clogging if you use lots of pellet hops.
 
What size plate chiller do you have? I'm thinking of going the other way. Plate chillers are generally more efficient but are more prone to clogging if you use lots of pellet hops.

I bought the blichman at my lhbs a while back to force myself to stop being indecisive. But now I'm debating the choice as I'm also thinking of just throwing my hop pellets into the BK without a hop bag.
 
I got the copper CFC and mine is very efficient. Even with my warm ground water I get down to 70-74 degrees in the winter here no problem. Summer I will have to use some ice water after knocking it down from boil temps initially, with ground water. I use a hop spider, but just to see on one batch I just threw in the hops bareback in the kettle. The CFC handled it with no problem at all. When I went to clean it out, there was not even a small amount of hop particles that were caught in there. I did recirculate back through to the boil kettle though during chilling, until I got down to pitching temps. If you did one pass through it and straight into the fermenter I don't know if this would still be the case and you may have some hop matter in the chiller coils. The plate chiller would probably catch some more hop matter without a bag or spider in my opinion.

John
 
Curious: Why Stainless for the chiller, instead of the more-traditional (and more efficient for heat transfer) copper?


Could you double up on this as a quasi-HERMS setup pumping the wort and HLT water simultaneously?
 
Curious: Why Stainless for the chiller, instead of the more-traditional (and more efficient for heat transfer) copper?

one reason was cost. i had a $20 gift certificate so i only paid $135 for the chiller (and that included shipping). all the copper ones i was finding were $200 or more. yes, copper is a better heat conductor than stainless but with the metal thicknesses we're talking about here, the advantage seems negligible. i found several other threads where folks are saying the same thing. sounds like worse case scenario is it may take a minute or two more to chill the wort, not a big deal on a six+ hour brew day.

Where you get the SS chiller? Williams?

adventures in homebrewing
 
3/4/2016 update

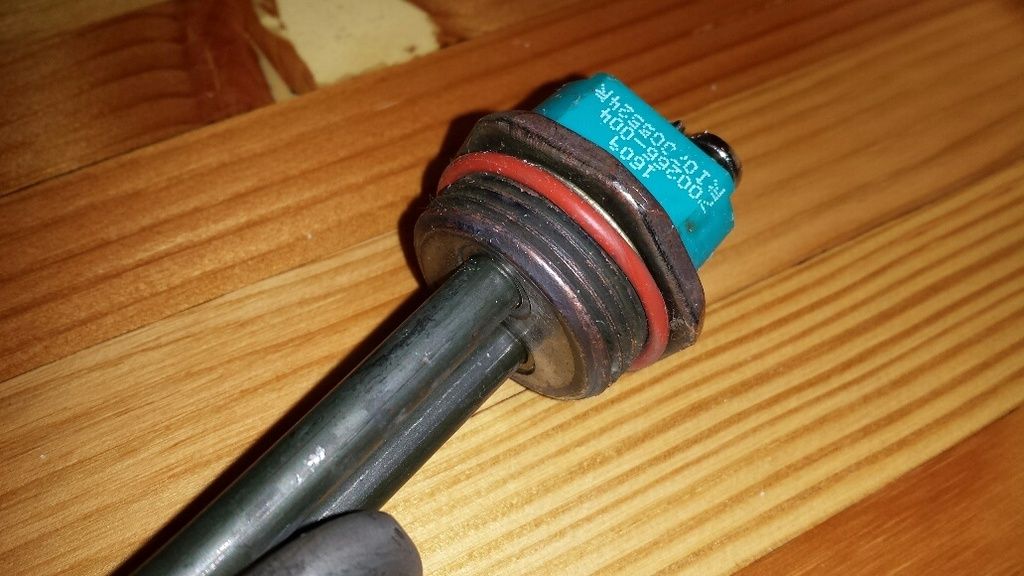
no building but i did get some new heating elements in the mail. about a week after i got my elements from brewhardware, i received an email which stated that they believed many of the elements they recently shipped did not have stainless bases. the email said if you have a rusting base, send them a couple photos and they would replace it, no worries. i am several months away from brewing and meant to email bobby, asking how good the 'offer' stood for.

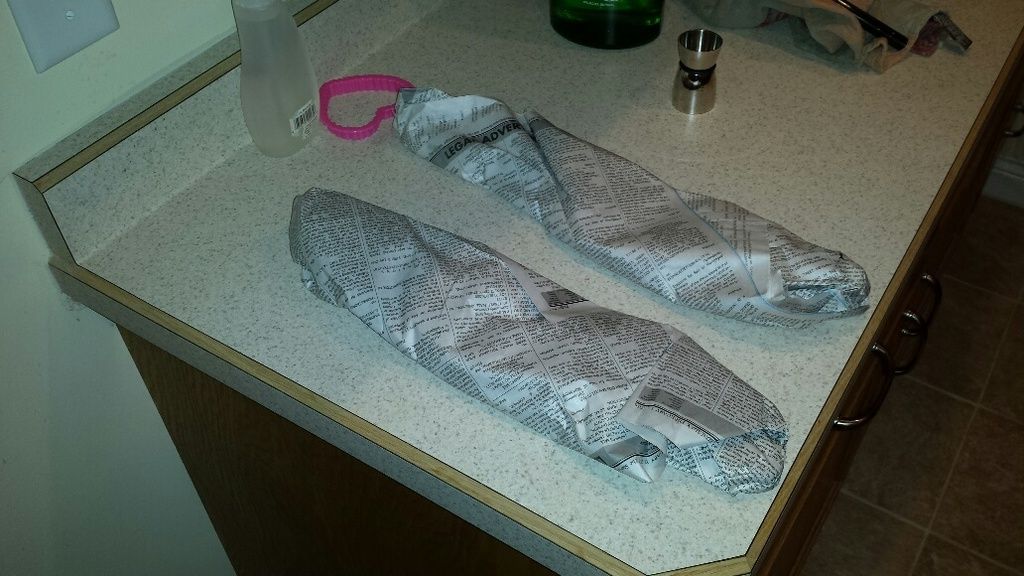
it was a few days later when i got an email indicating my order had shipped from brewhardware. huh? i didn't order anything. i emailed bobby and sure enough, they decided to replace all the elements whether a buyer contacted them or not. sweet! box of new elements showed up on friday. i love the jersey fish wrap:

20160304_205748_resized_zps9fc7wnw5.jpg


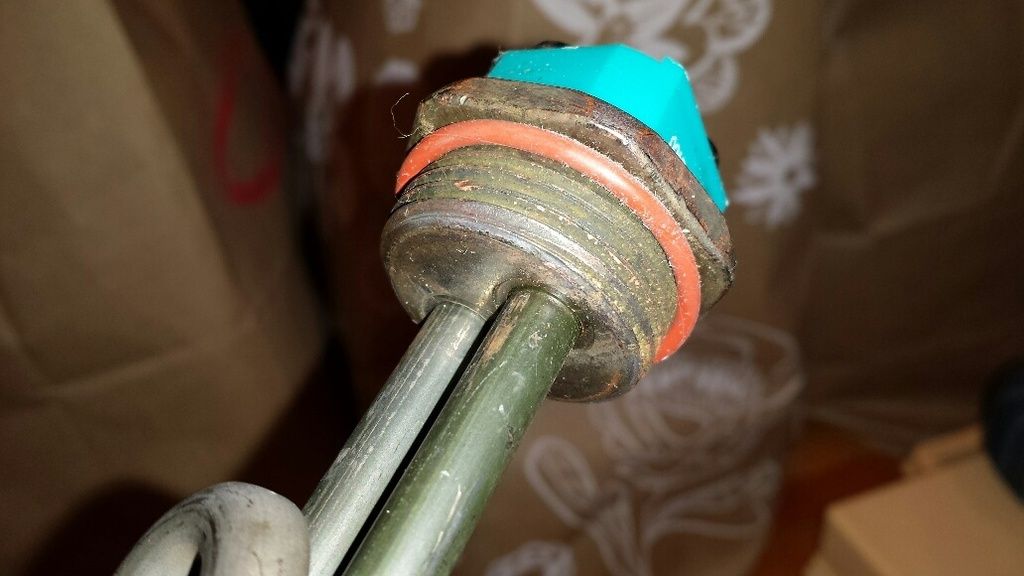
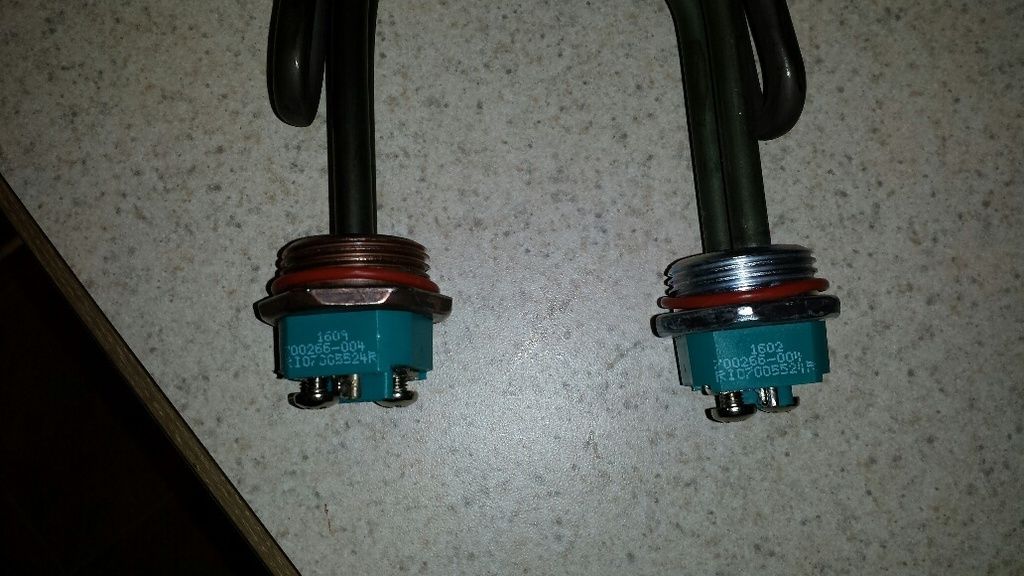
their website states that the stainless bases aren't pretty but i wasn't expecting this:

20160304_205931_resized_zpsgh57oncv.jpg


wtf? i rubbed some paper towel on the base and all kinds of grease came off. after a little scrubbing, the base looked way better:

20160304_205911_resized_zpscokvymgf.jpg


a comparison with the old elements, definitely a difference:

20160306_110308_resized_zps69rujsdt.jpg


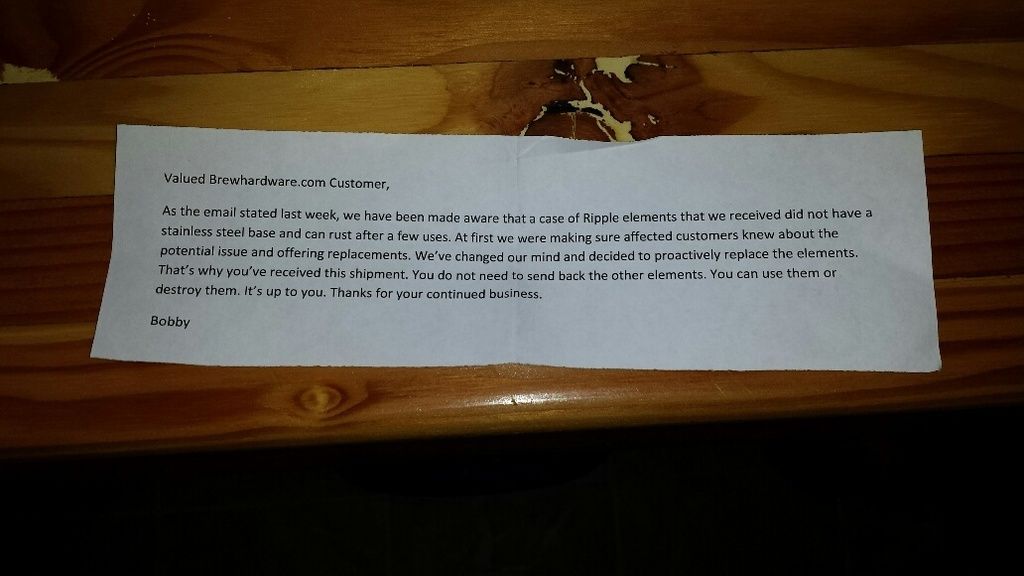
i was breaking down the shipping box today and noticed a note in the bottom of the box. hard to beat service like this:

20160306_110139_resized_zps9vregpvy.jpg
 
3/9/2016 update

some more goodies in the mail today, this time from ebrewsupply. a pretty non-nondescript box:

20160309_203339_resized_zpsrdqzsfk7.jpg


pretty standard packaging:

20160309_203408_resized_zpsekslngth.jpg


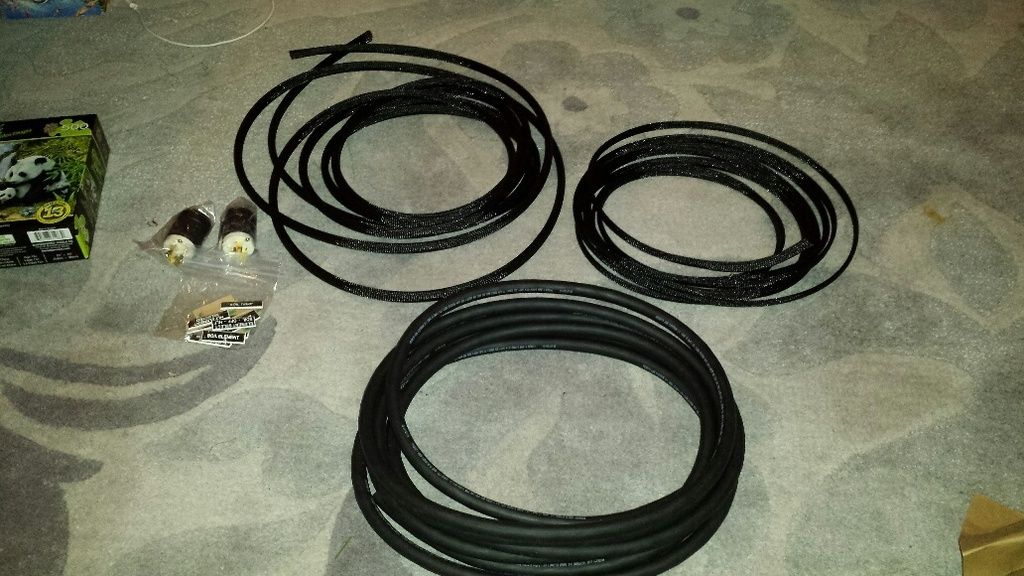
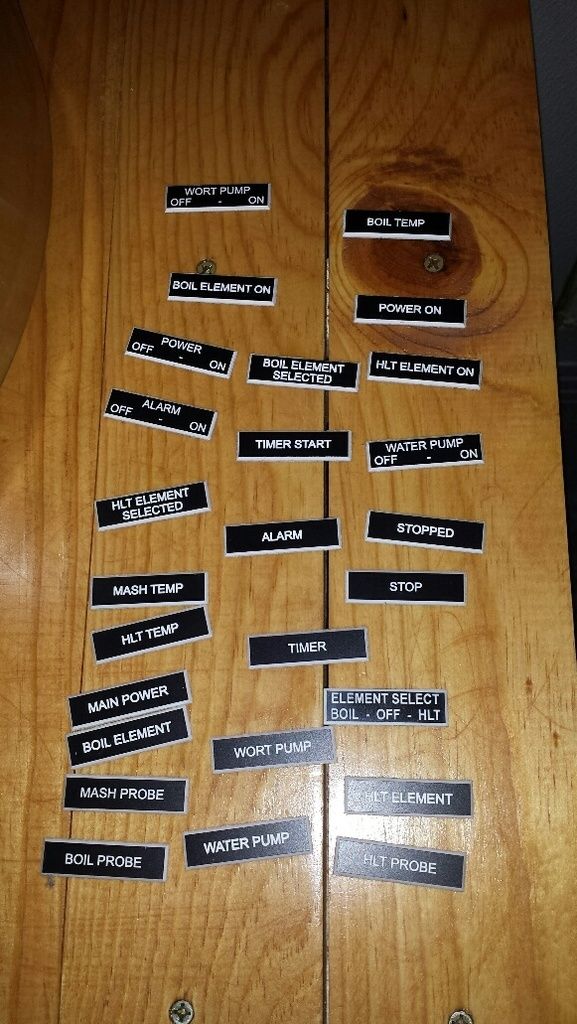
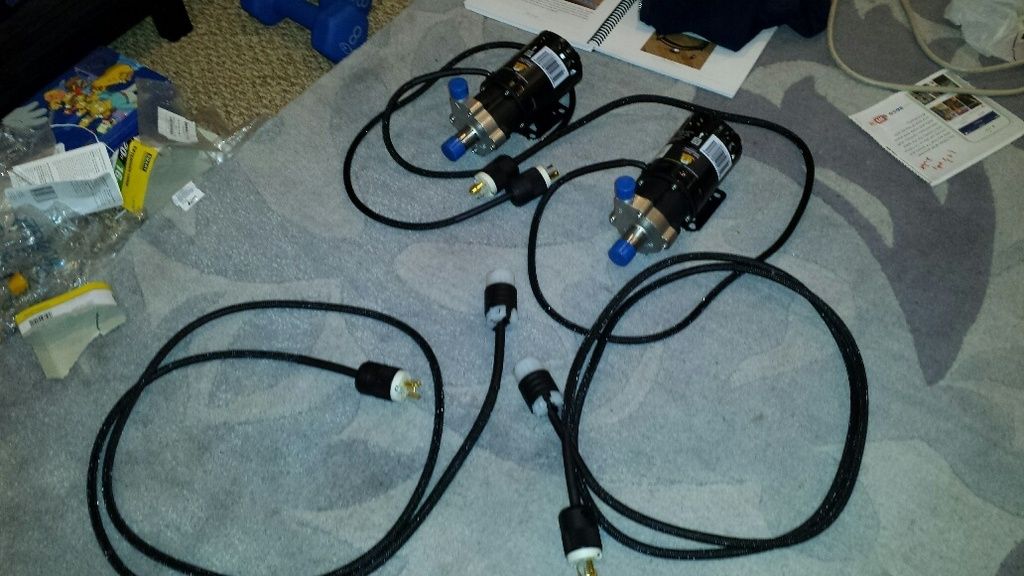
and the goods! got a bunch of tags for my panel, a couple more plugs for my pumps (i will need to make some pigtails), #10 so cord for the heating elements and some flex braid for covering the heating element and pump cables:

20160309_203543_resized_zpsyth1jawc.jpg


some tags came with the original panel kit i got from ebrew but i wanted a few more. sort of anal about having every device have a tag:

20160309_205106_resized_zpsh4ayw9st.jpg
 
Cool but when are we gonna make some wort?

man, you've been riding my ass for weeks, cut me some slack! :fro:

still missing out on some major components like a boil kettle and all the hoses, valves and fittings. plus i need most of the guts for my keezer. targeting mid-may for the first brew but definitely getting antsy. i may even need to do an extract batch just to keep it together! :tank:
 
3/12/2016 update

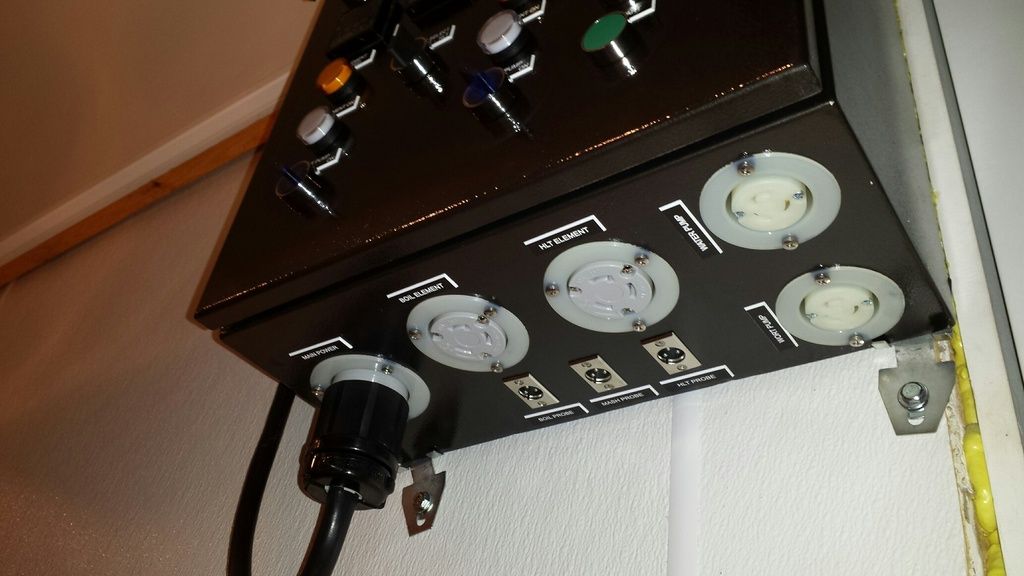
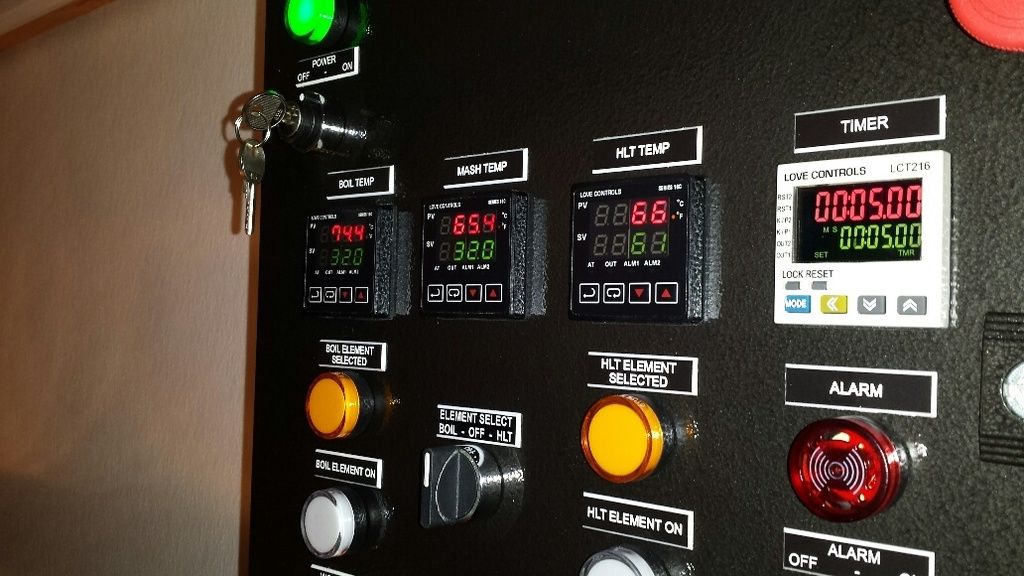
weather was super-nice here today so most of my time was spent outdoors. still, i was able to get the tags thrown on the control panel. progress:

20160312_102016_resized_zpsmcvzxckl.jpg


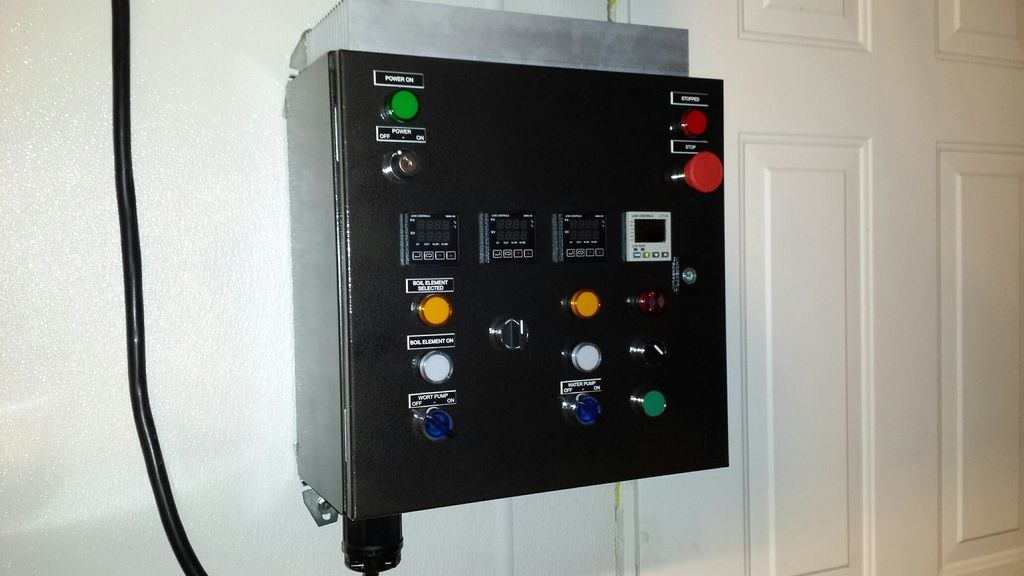
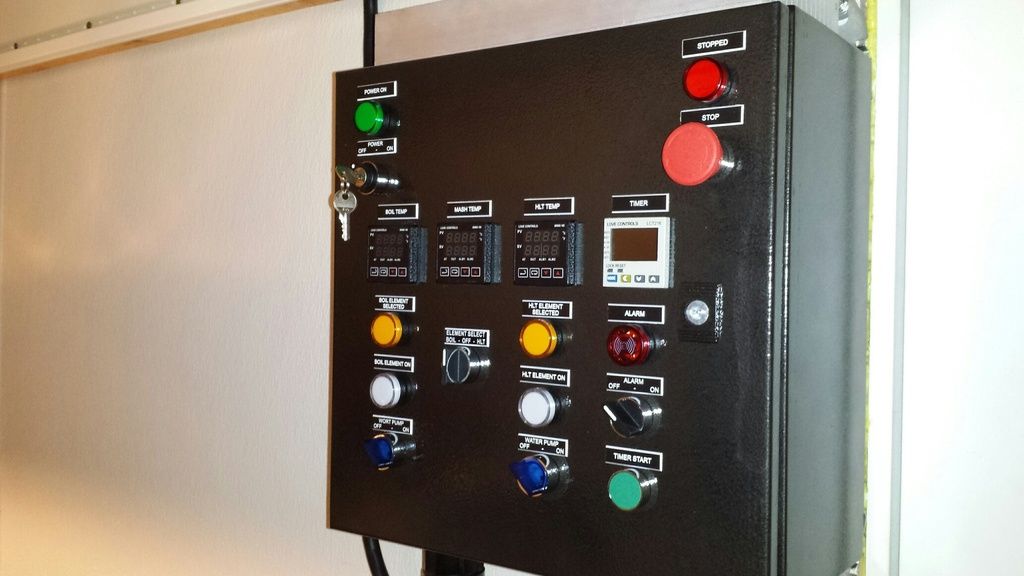
and complete:

20160312_194155_resized_zpsgs2usbji.jpg


20160312_194201_resized_zpsmeu1zucj.jpg


i spent a lot of time over the past few days thinking of ways to get the tags perfectly true and square. i finally gave up and decided to eyeball it. came out really nice, i fretted for nothing. tomorrow is supposed to be raining so the plan is to tackle the cables for the pumps, heating elements and temp sensors.
 
Looks dang good for 'eyeballing' it on the tags placements! :) If I were to try that they would be all askew and crooked as hell!
 
3/13/2016 update

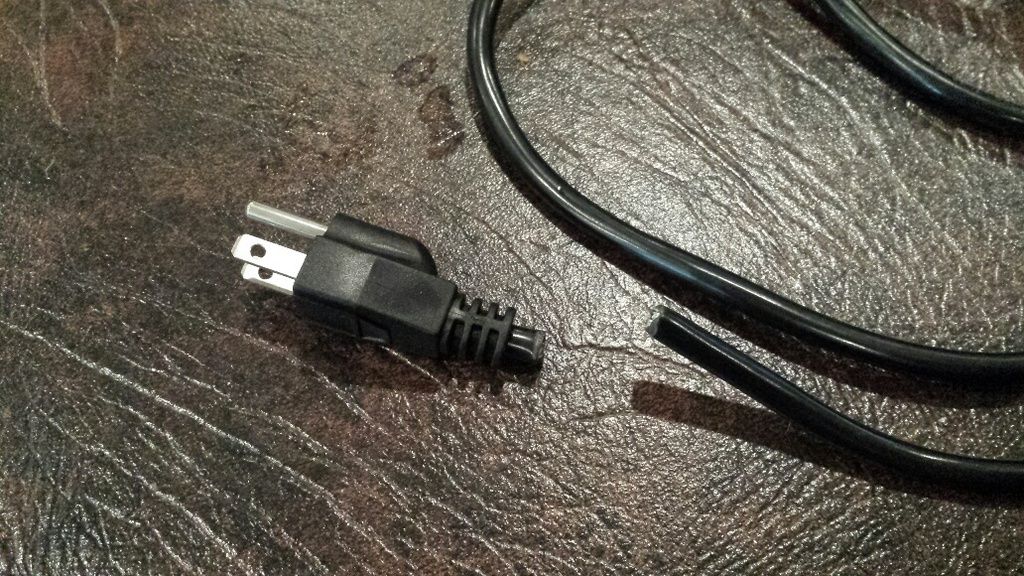
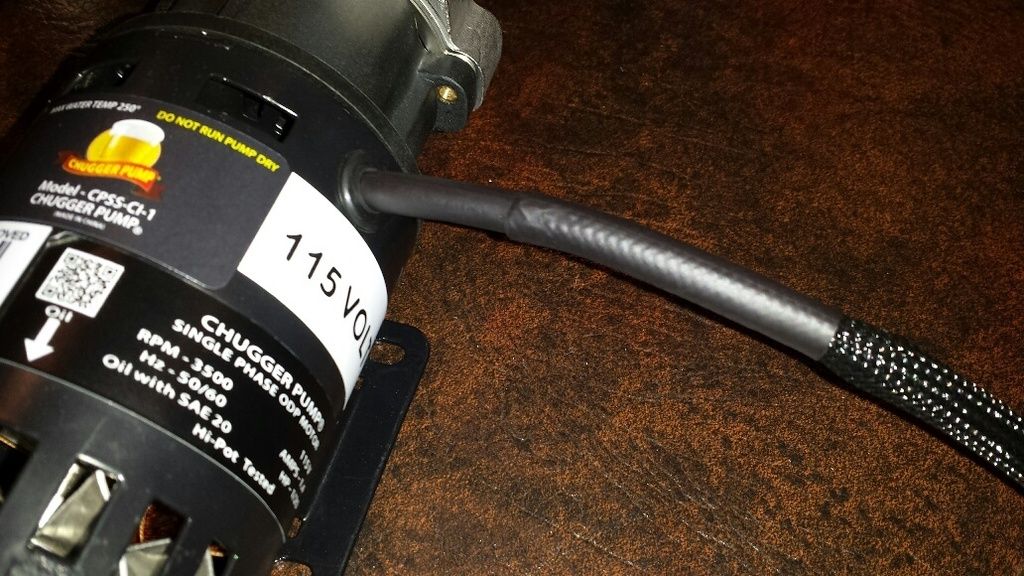
today was 'cord day;, getting mesh tubing, shrink wrap and locking plugs installed. first step is cutting the plug off the chugger pump. yikes:

20160313_111822_resized_zpsfyqwt8do.jpg


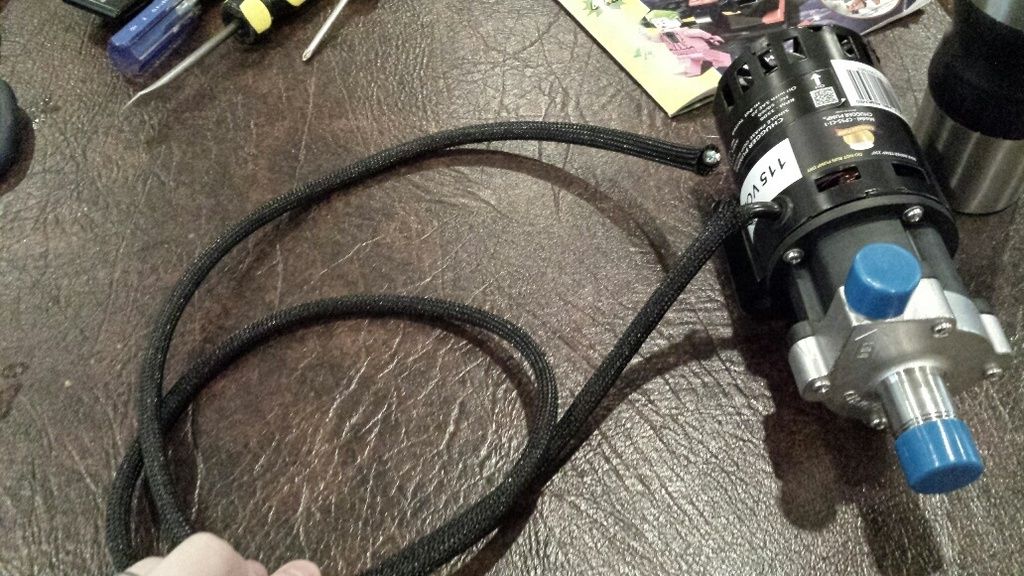
mesh tubing slid onto the pump cord:

20160313_112129_resized_zpsua9wjp5z.jpg


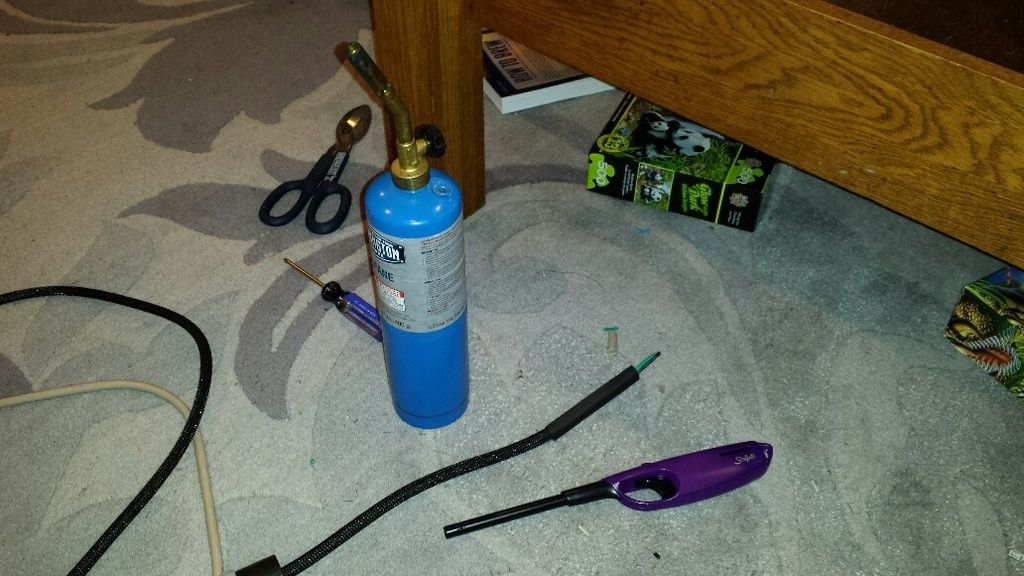
high-tech heat gun for the shrink tubing:

20160313_170715_resized_zps1swln6zv.jpg


and the final results. not bad:

20160313_112953_resized_zpsnzj5ioki.jpg


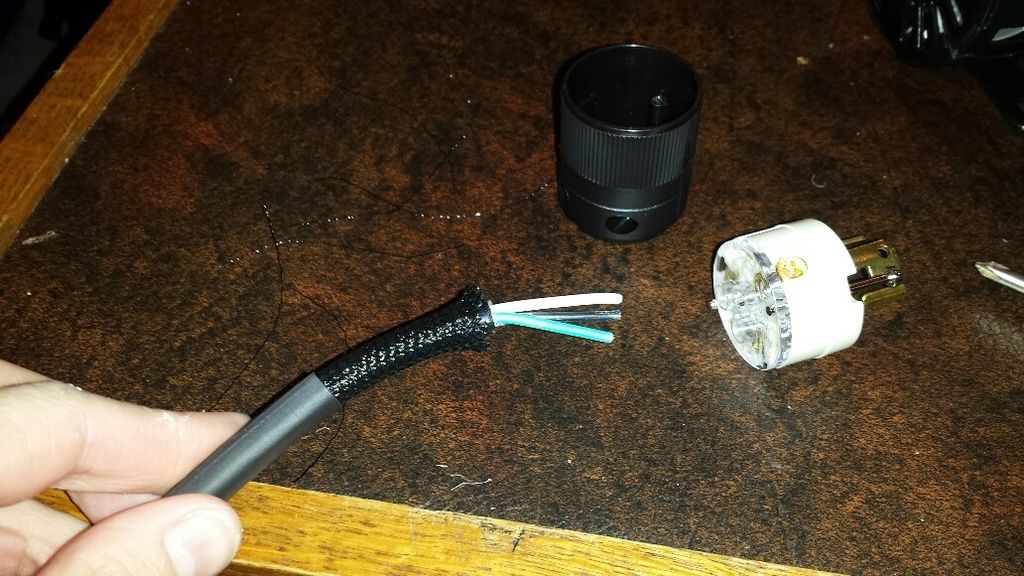
wiring the plug on. first step is to slid on the tubing:

20160313_113542_resized_zpswgupcp3j.jpg


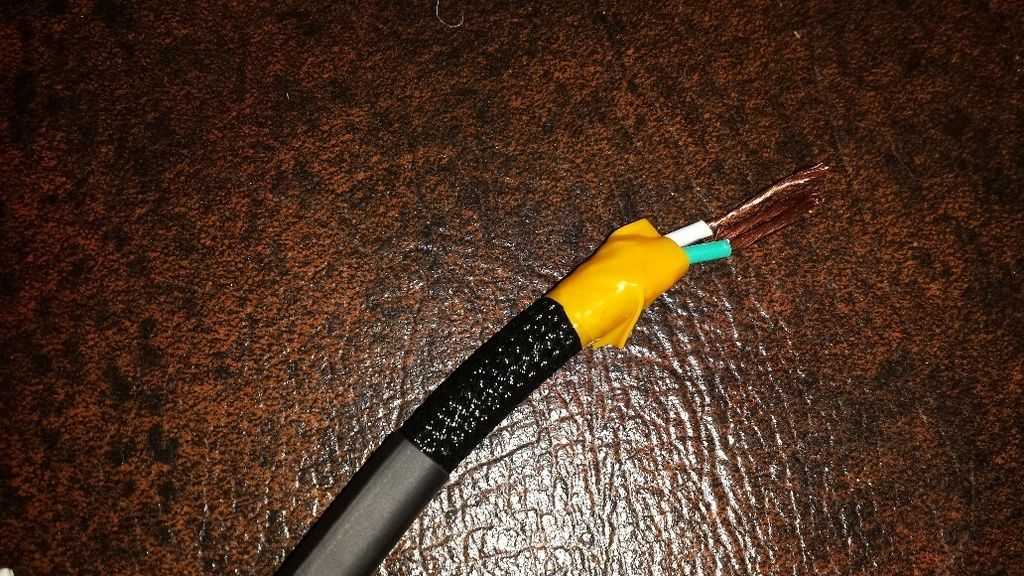
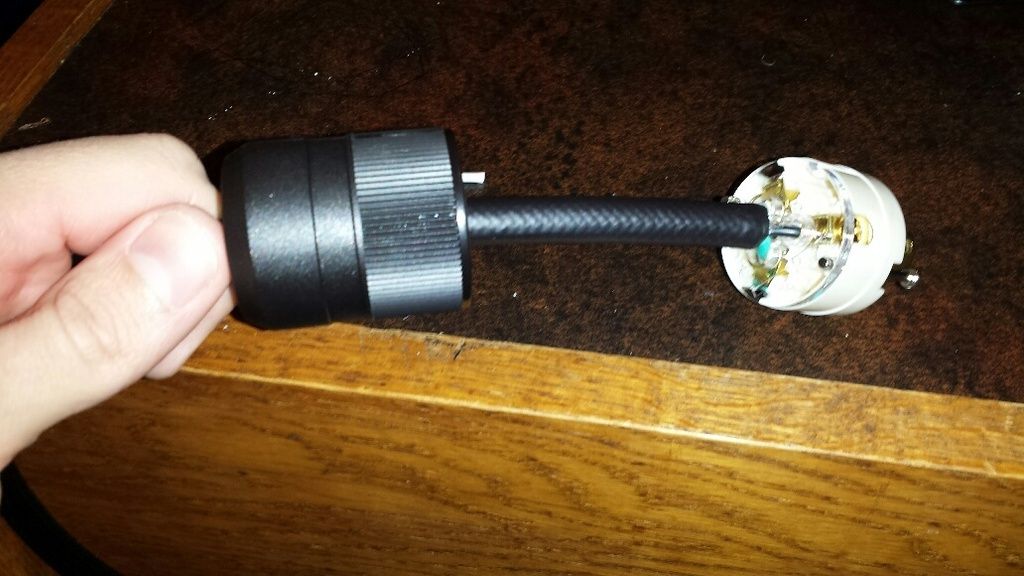
too hard to slid the plug cover over the mesh tubing without flaying it all over the place. some temporary tape:

20160313_114239_resized_zpsssrhufip.jpg


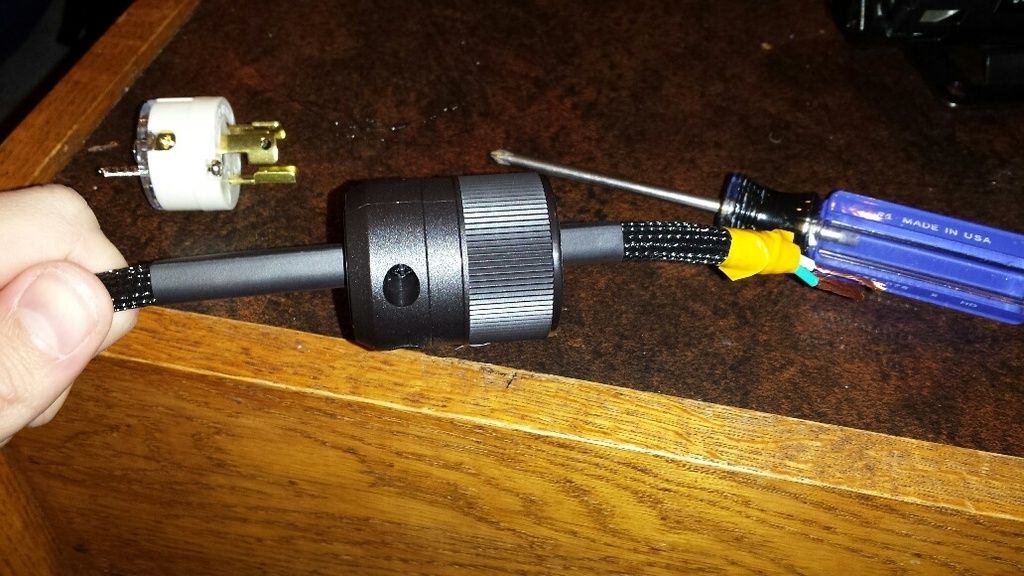
plug cover slid on:

20160313_114329_resized_zpsdbsir05t.jpg


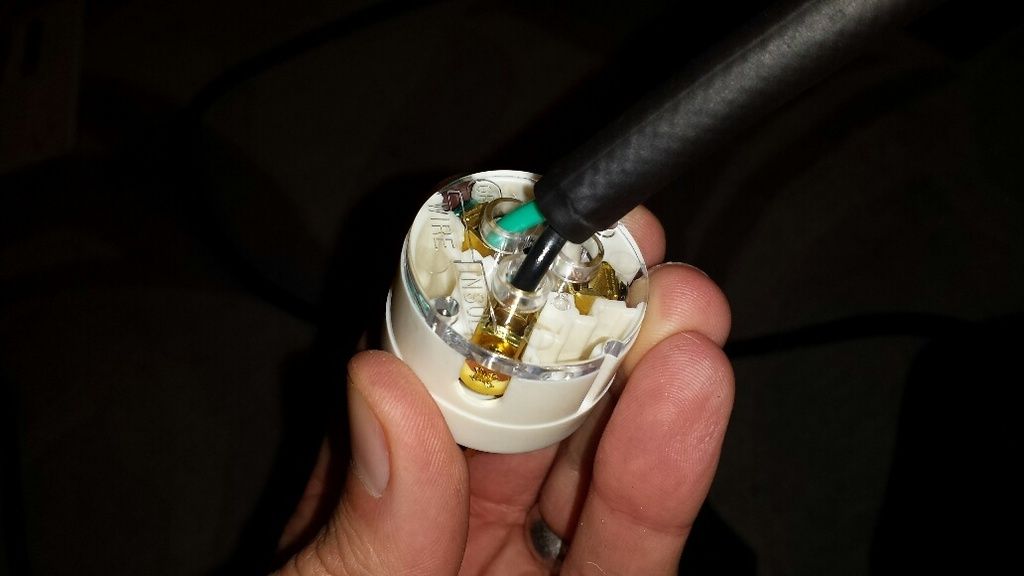
heat shrink shrinked on and conductors terminated in the plug. i got these from ebrew supply, i really like how close together the terminals are, easy to wire:

20160313_172348_resized_zpsh76uq8mw.jpg


ready to slide together:

20160313_114811_resized_zpsk7jnz7n5.jpg


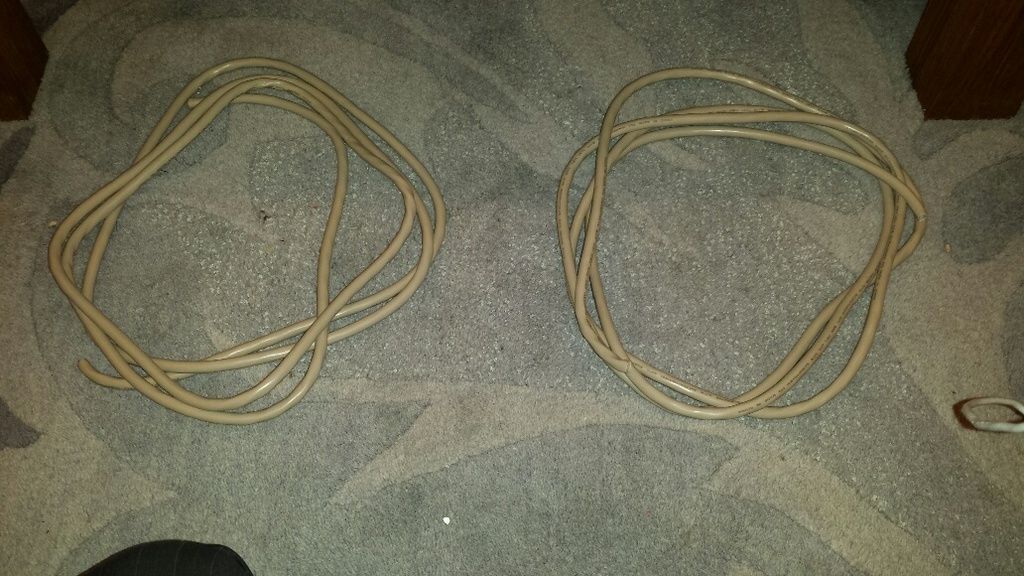
my pump cords are too short so i need to make some pigtails. an old extension cord cut up:

20160313_115513_resized_zpsvkw2g908.jpg


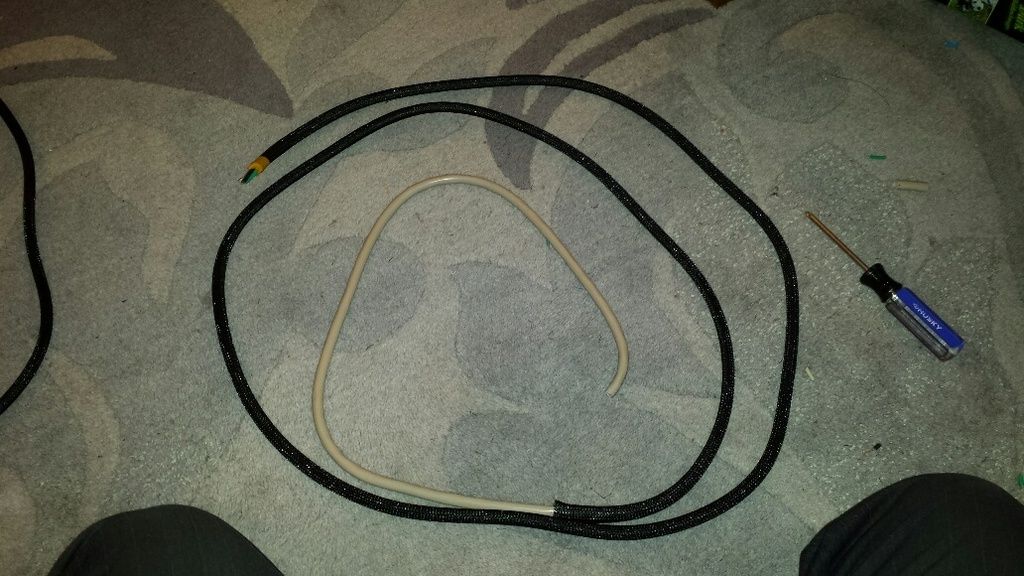
a little more cord than tubing, will need to cut short:

20160313_170525_resized_zps7aoi9z7p.jpg


repeat the process for the other pump and pigtail. need to use female plugs on one end of teh pigtails:

20160313_172626_resized_zpsslkmhwmb.jpg


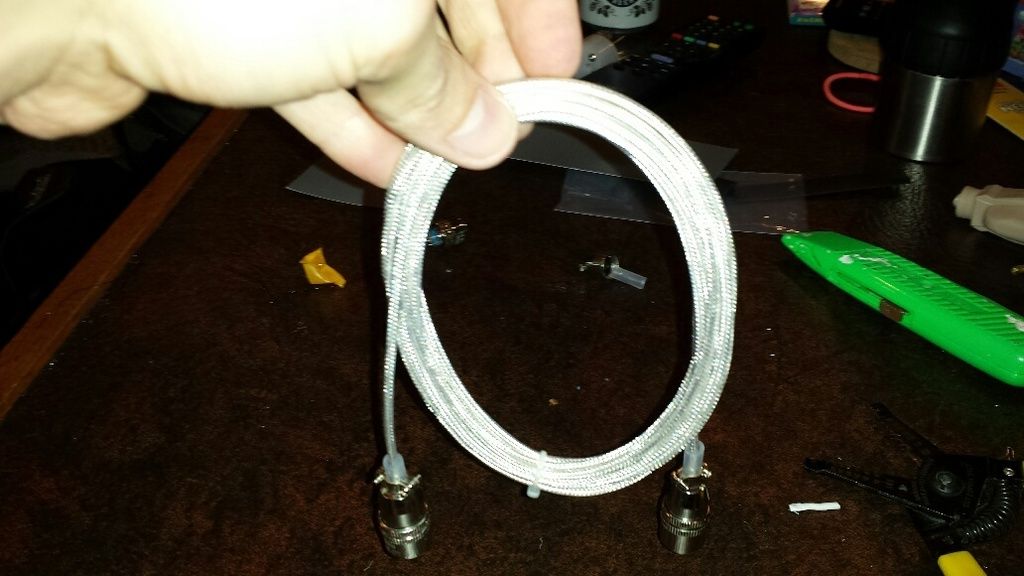
on to the rtd cables:

20160313_132927_resized_zpshejevuie.jpg


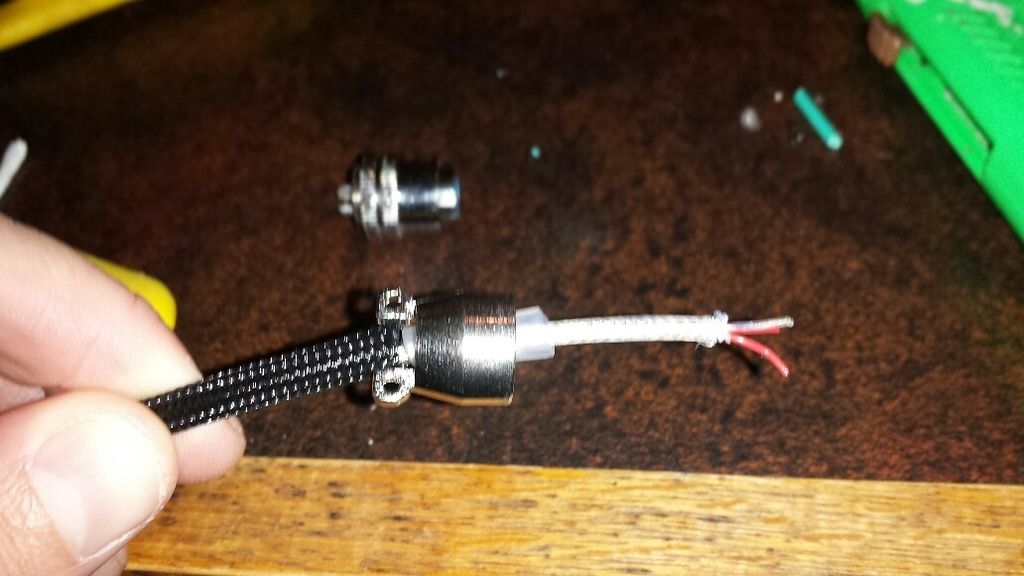
taking apart one end of the cable:

20160313_123806_resized_zpshj6xpf9e.jpg


one end of the cable will be replaced with xlr connectors. mesh tubing slid on, old connector cut off:

20160313_125715_resized_zpsyqau2zif.jpg


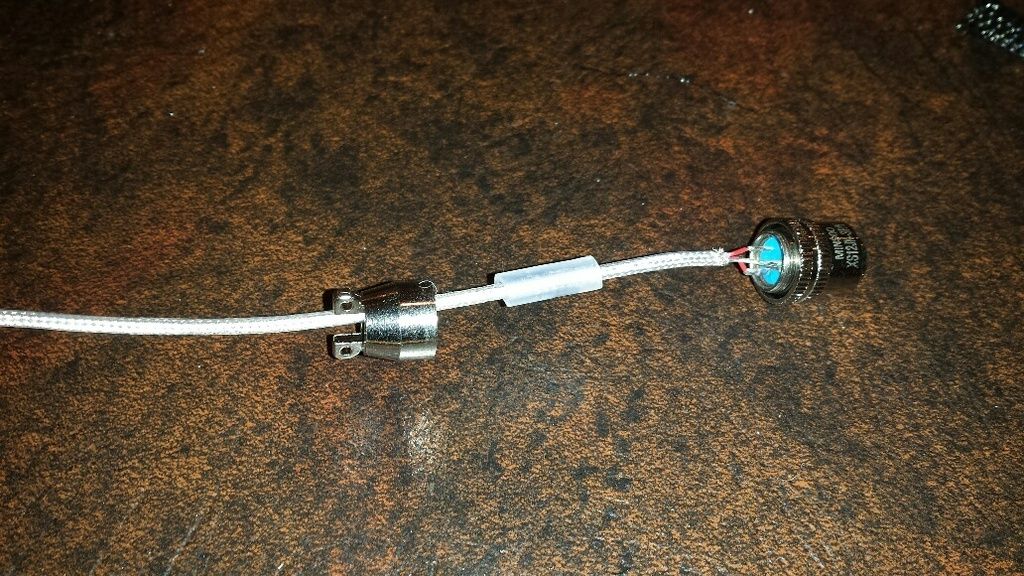
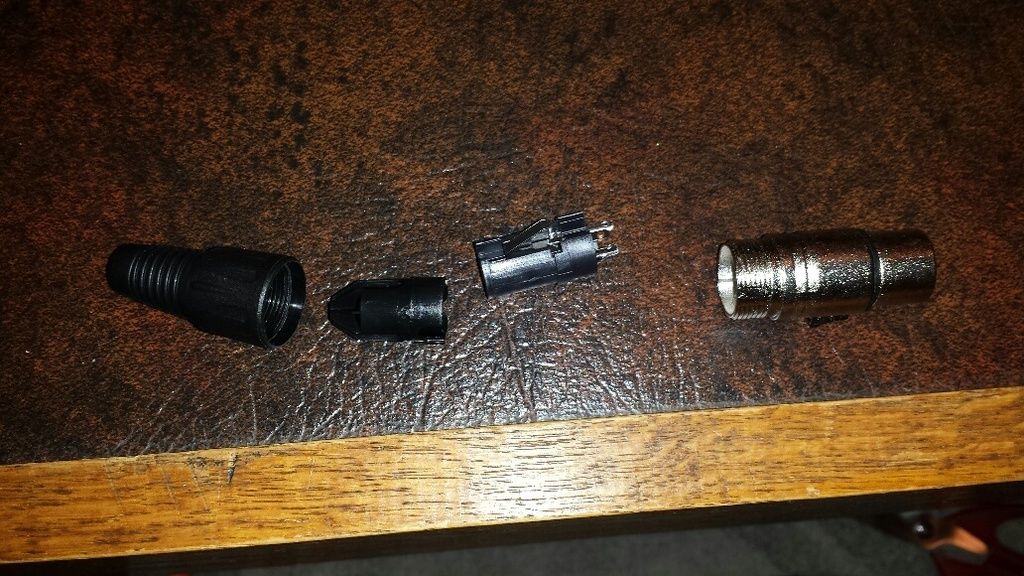
xlr connector disassembled:

20160313_132016_resized_zpsy70vqusy.jpg


similar process as before: shrink tube shrinked on, xlr connector pieces slipped on, ready for soldering:

20160313_135035_resized_zps84rqennf.jpg


got the rtd stuff from ebrew supply, it comes with separate color heat shrink for each rtd cable assembly. had other stuff to do today so this was as far as i got...
 
Looking great! I'm still trying to decide how I want to extend the chugger cords. I'm thinking I'll just splice them and use the expando over them.
 
3/14/2016 update

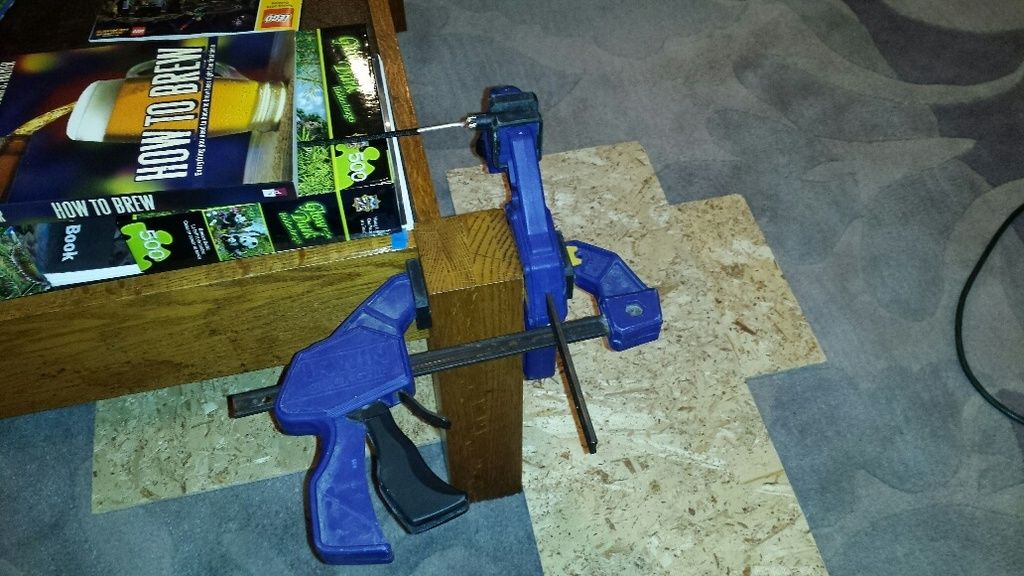
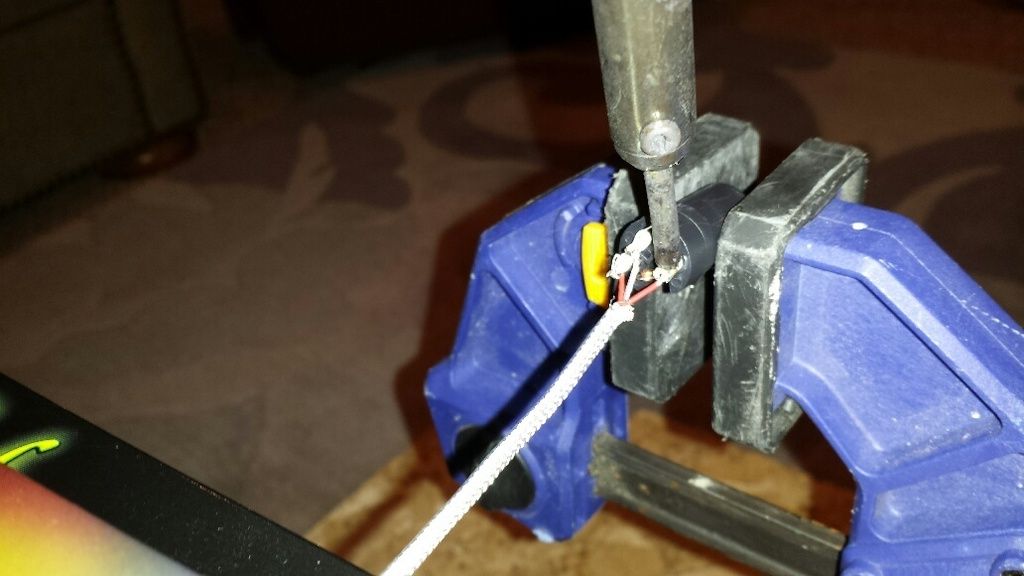
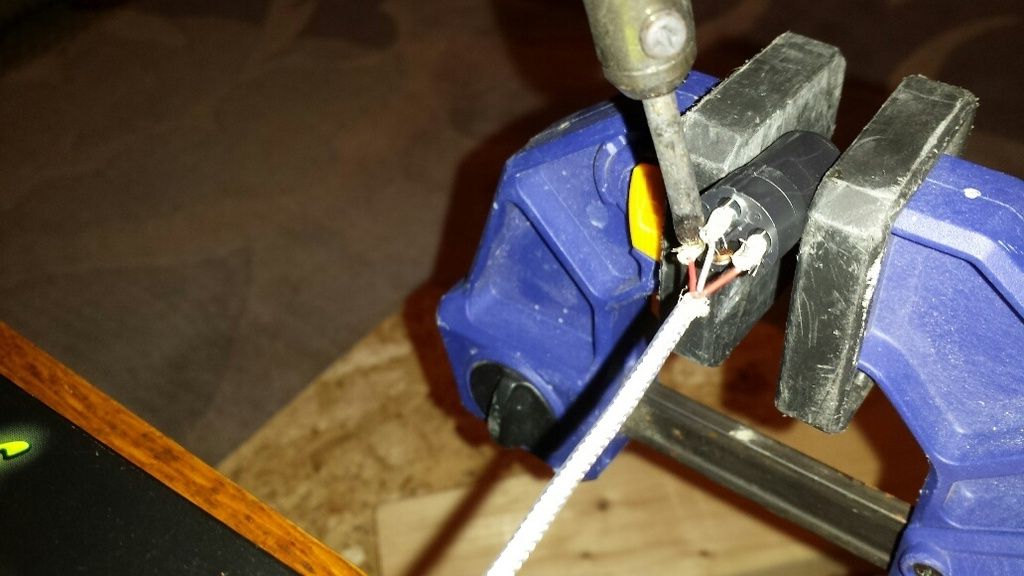
tackled the rtd probes today. i had already got the flex braid and shrink tubing on one end, needed to solder the xlr connector on. my fancy soldering setup:

20160314_180055_resized_zpspi1iuc69.jpg


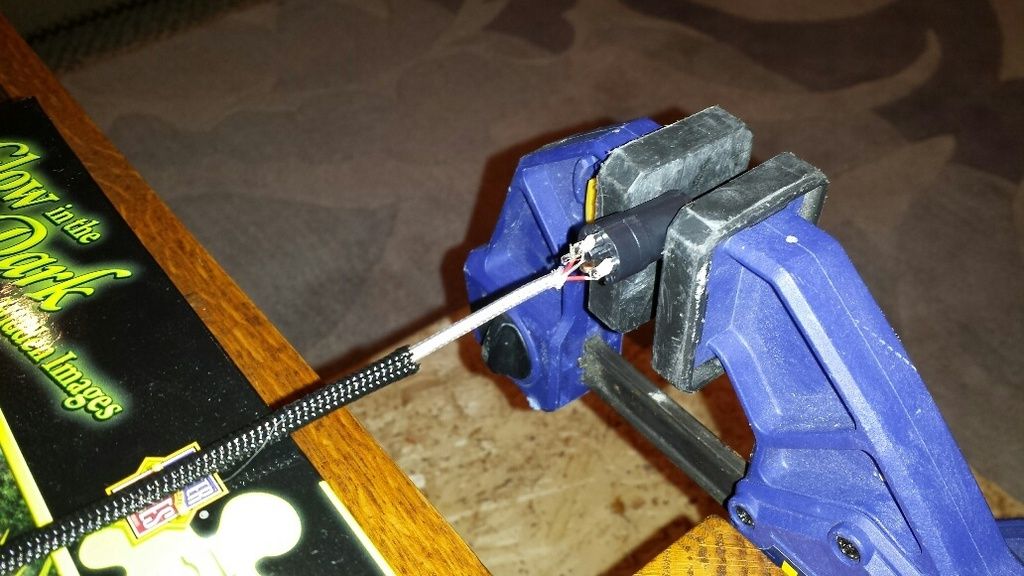
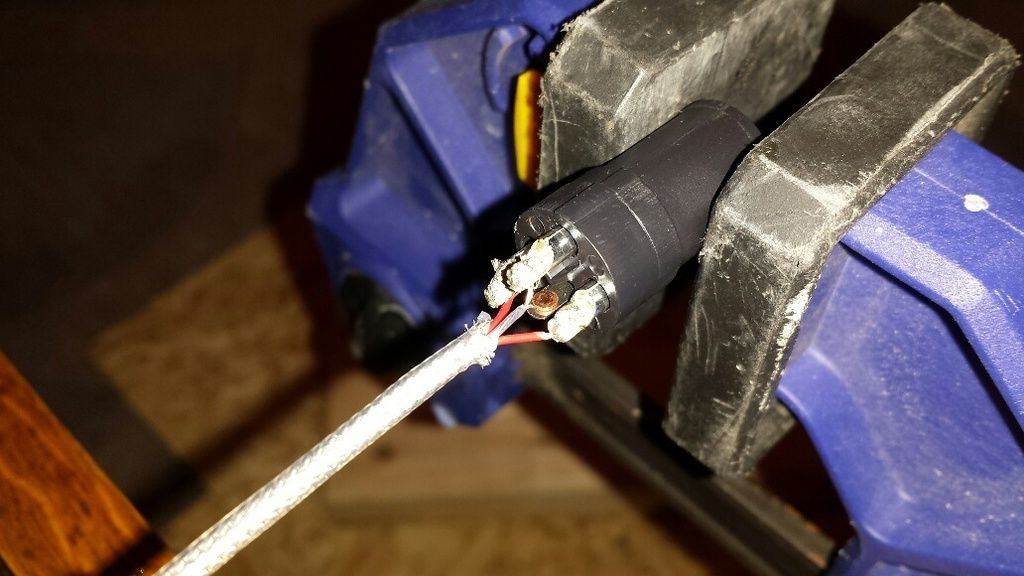
wires in position and ready to be soldered:

20160314_180104_resized_zps0o8osmfr.jpg


heating up the metal:

20160314_182449_resized_zpsr4zcmdjo.jpg


last one:

20160314_182611_resized_zpsvqrybwsy.jpg


and done:

20160314_181251_resized_zpssl0wsqau.jpg


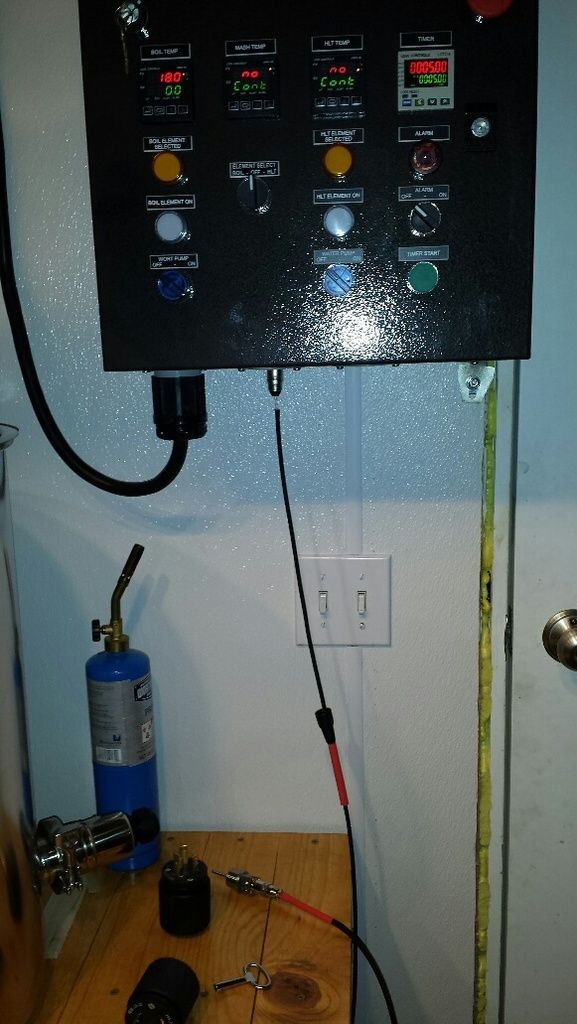
man, those wires are fragile. sort of a crappy shot but i wanted to make sure the thing worked before i put on the shrink tubing. hey, my pid actually shows a value:

20160314_183638_resized_zpsupvcoart.jpg


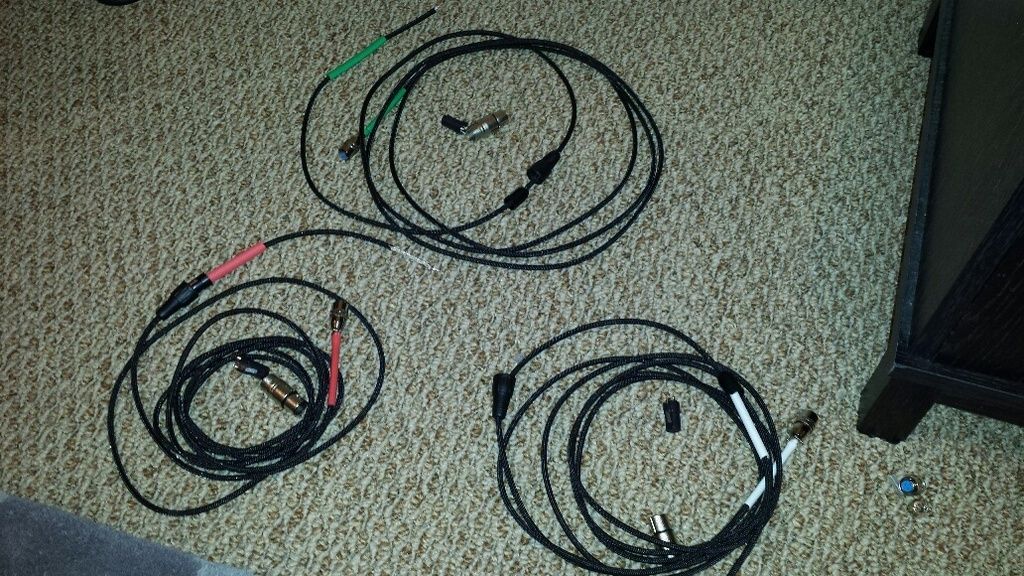
i heat shrinked the tubing and moved on to teh next two cables. got all three done and they were working:

20160314_185943_resized_zpspvqw7hjd.jpg


the hlt and mash temps were both showing around 65 degrees, the temp in the basement. note the boil element says 75 degrees. i thought that maybe the rtd was a little funky so i swapped two of them. no change, the boil pid still read around 75 degrees. maybe the pid is funky so i swapped the cable to another pid. now that one read 75 degrees. hmm. i tried heating up the rtd but the temp wouldn't change on the one that read 75 degrees (but the others would). looks like a cable issue. i took apart the connectors to see if there were any obvious problems (e.g. wires touching, broken connection) but they all looked good. i put the connectors back together and tried again. this time, the pid read something like -450 degrees for a couple seconds and then read as 'over'. turned the panel off and back on, same issue. grrr, time to bust out the multimeter. i checked continuity on all the conductors and sure enough, one conductor was open. i cracked the connectors back open to check directly at the wire, to make sure the connector itself wasn't bad. still no continuity on one wire. i clipped off the connectors and was convinced i was going to have to buy a new cable. before i did, i thought the break might be close to the end of the cable. i found the shrink tubing actually slid on the rtd cable so i pulled it back a bit and clipped off about an inch from one end. checked continuity, nothing. clipped an inch off the other end and blammo, continuity! so i need to re-solder the connectors on that cable. i must have mashed the one end without realizing it. oh well, at least i don't need to get a new cable...
 
3/15/2016 update

my schemes to work on my rtd cable were dashed by a coworker being in town and decided drinking beer was a better plan :mug:. but i did get some goodies in the mail from brewhardware:
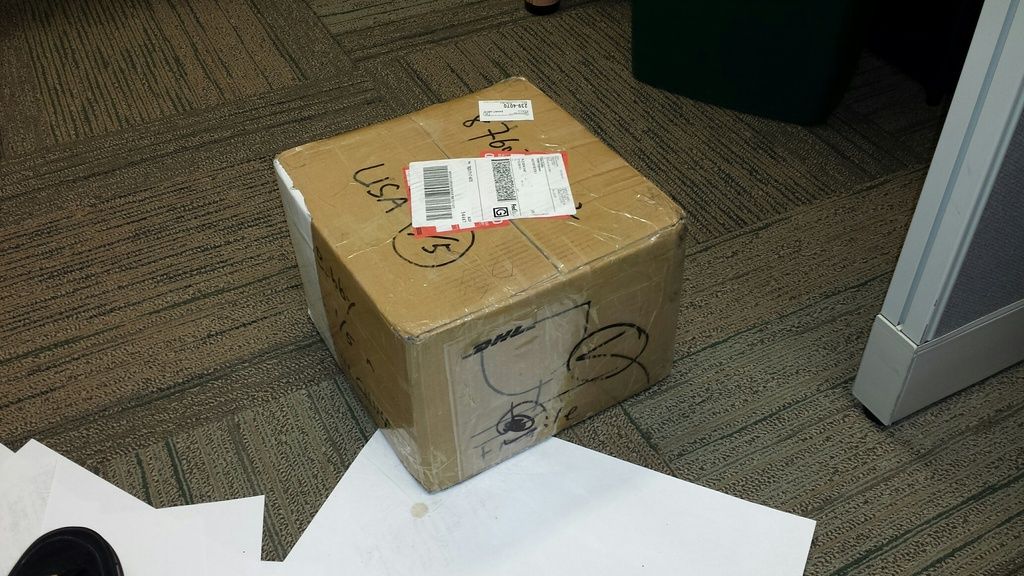
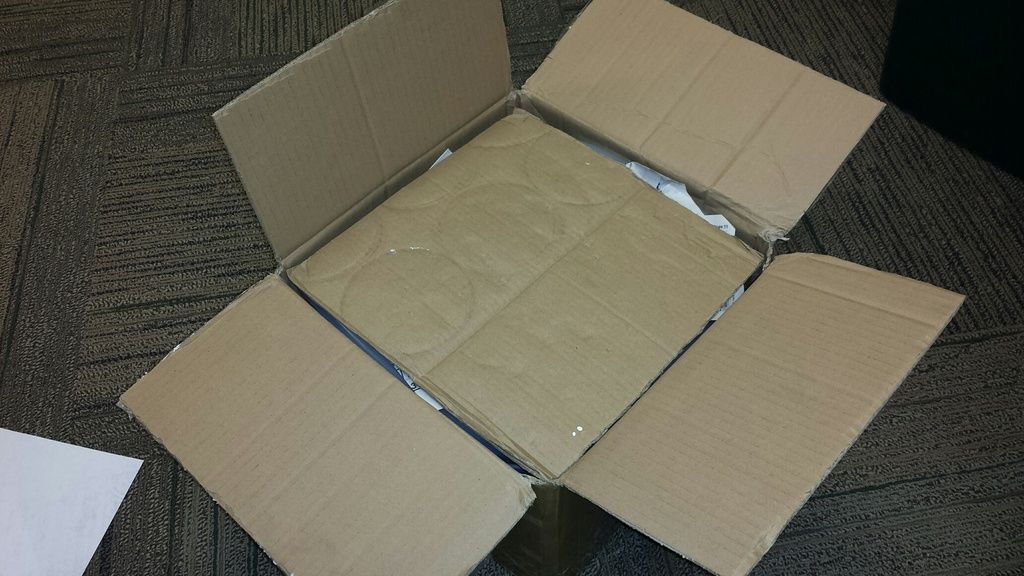
20160315_141944_resized_zps1ukrax3f.jpg


entire box was covered in tape. more packing on the inside:

20160315_142801_resized_zpsdin5fu7z.jpg


pile of stuff:

20160315_142858_resized_zps2gmngr6r.jpg


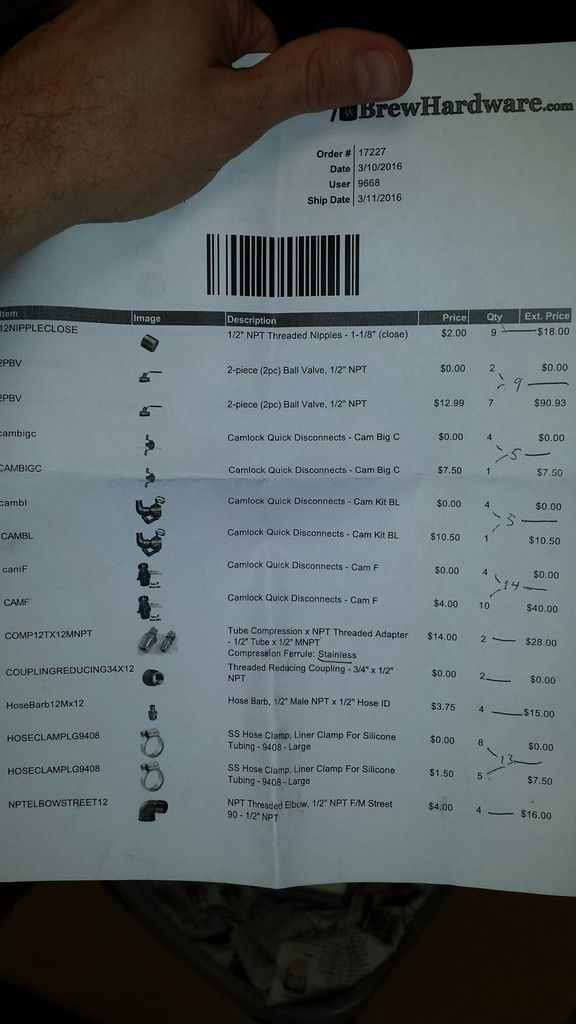
packing list:

20160315_142837_resized_zpsti9i5ems.jpg


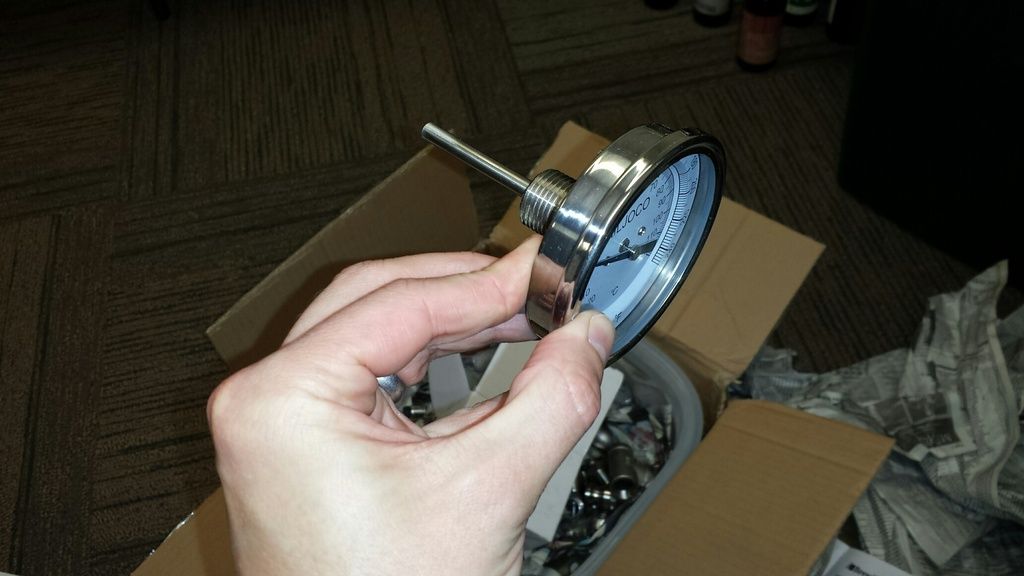
dial thermometer:

20160315_142932_resized_zpsoocgkjzu.jpg


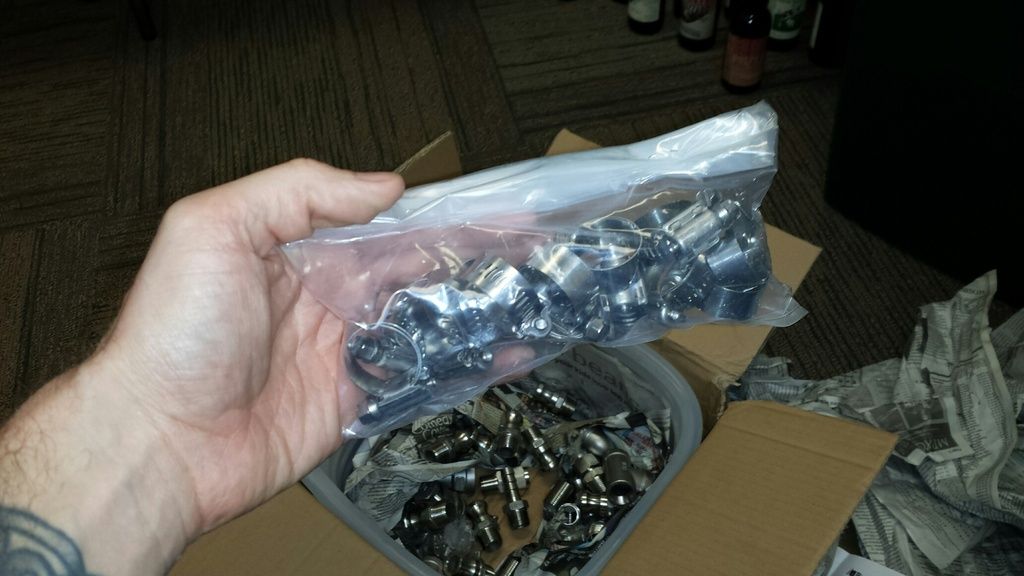
clamps. you can see most of the other goodies in the background:

20160315_142950_resized_zpsfsbqsmq1.jpg


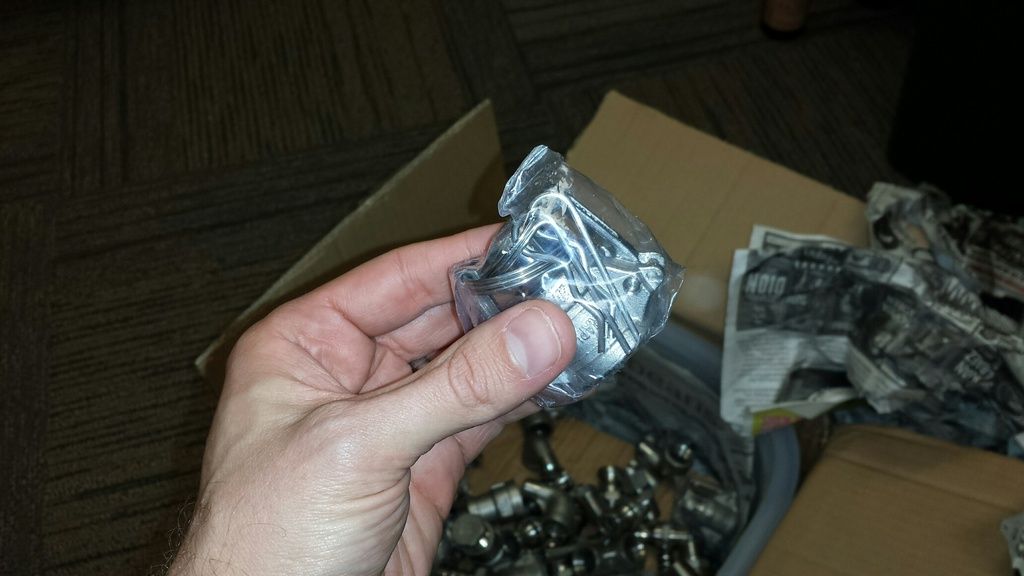
cam fittings got their own wrap:

20160315_143008_resized_zpshbegknqu.jpg


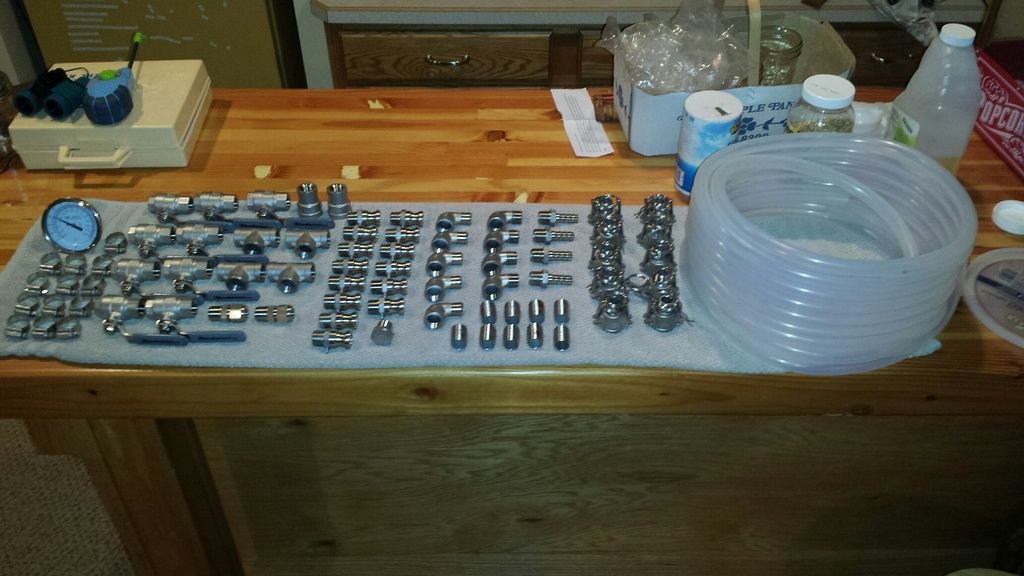
and everything spread out:

20160315_192241_resized_zpsncsgkhaj.jpg
 
3/15/2016 update

my schemes to work on my rtd cable were dashed by a coworker being in town and decided drinking beer was a better plan :mug:. but i did get some goodies in the mail from brewhardware:
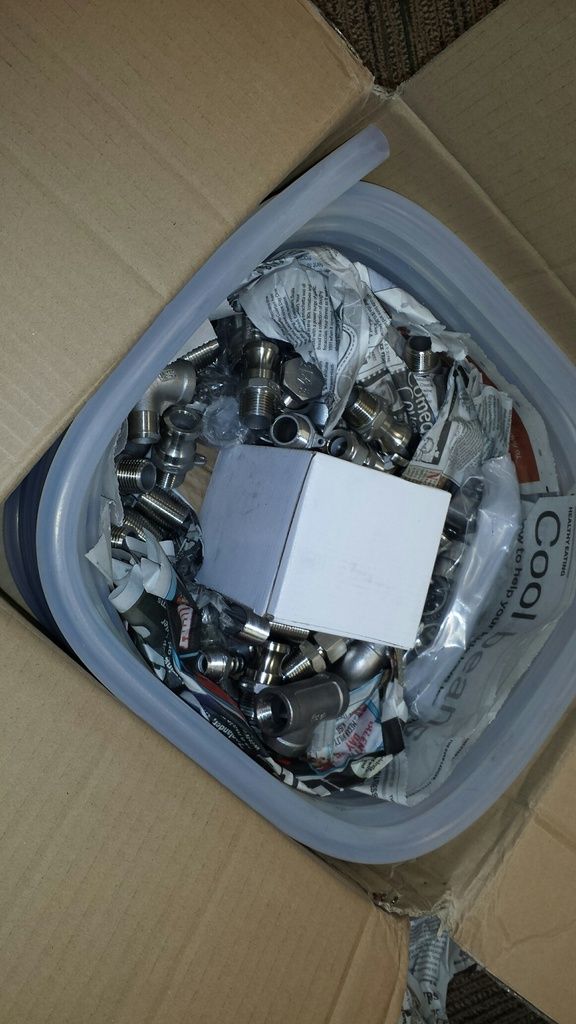
and everything spread out:

20160315_192241_resized_zpsncsgkhaj.jpg

Now I know why when I went to order from Bobby today, he was out of stock of the street elbows. Damn you! :)

My order looks pretty much the same as yours, with the addition of a pump and an extra pump head. I'm about the same place in my brewery build as you are. Including the Spike kettles...
 
Back
Top