3/13/2016 update
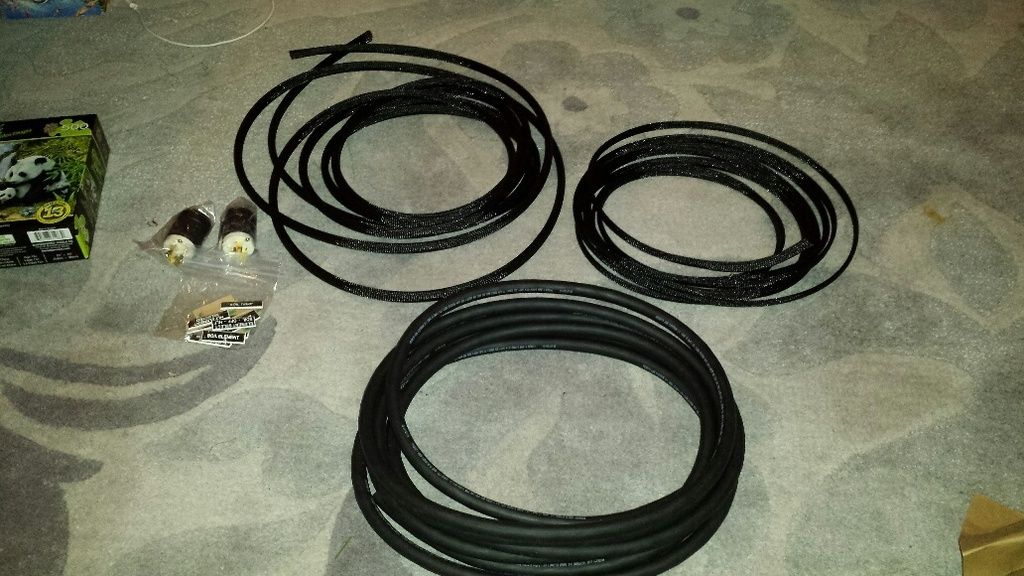
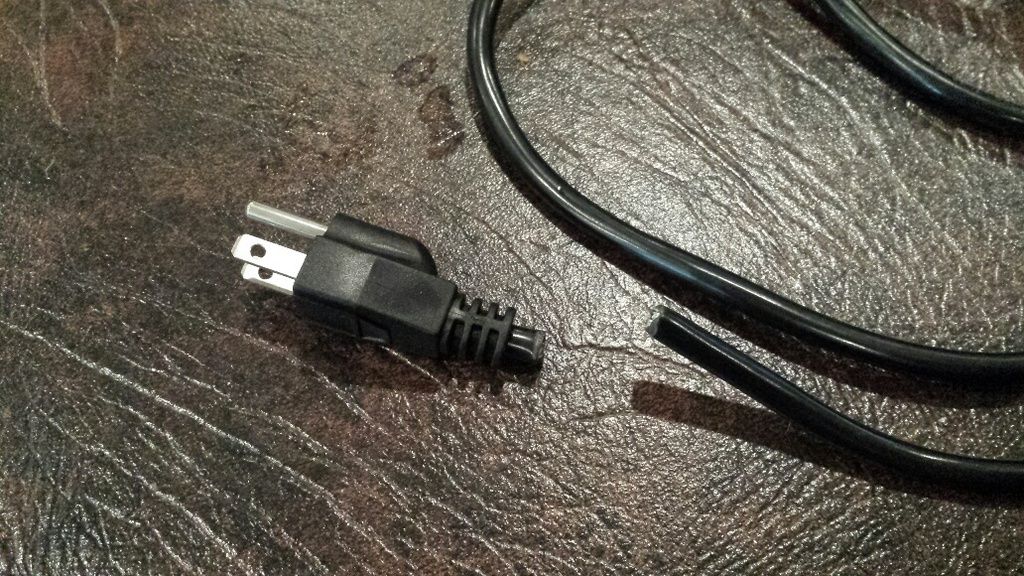
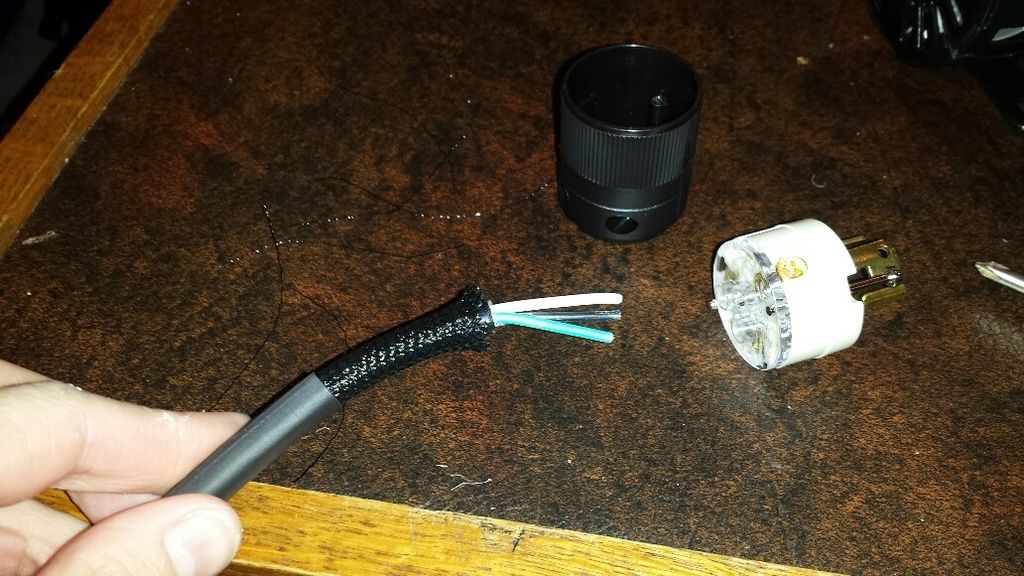
today was 'cord day;, getting mesh tubing, shrink wrap and locking plugs installed. first step is cutting the plug off the chugger pump. yikes:
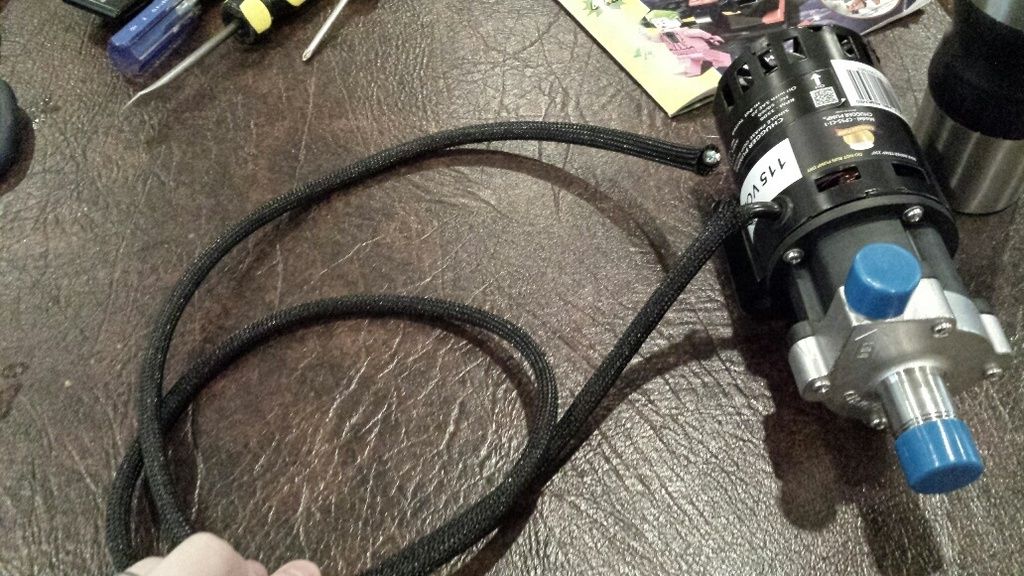
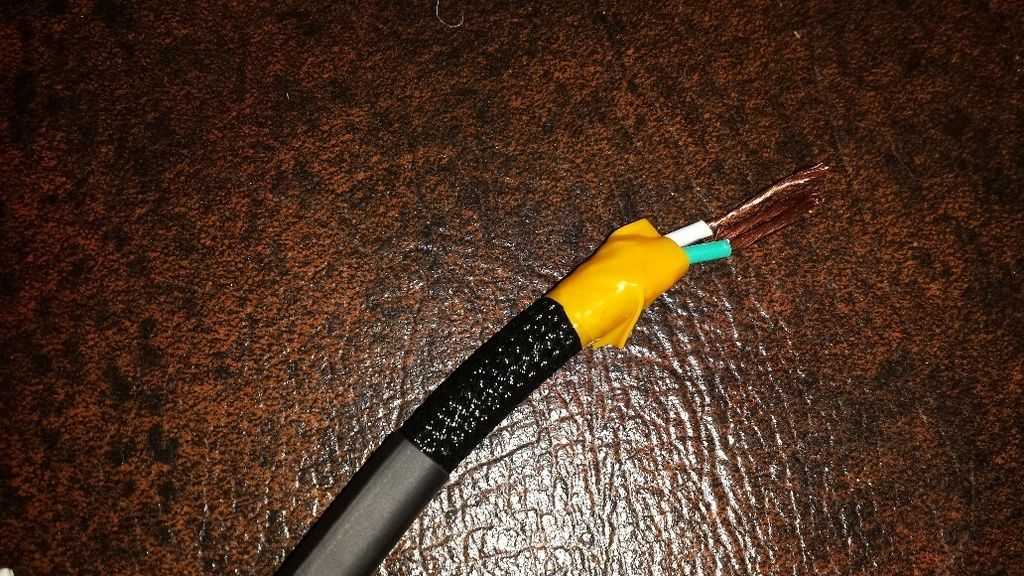
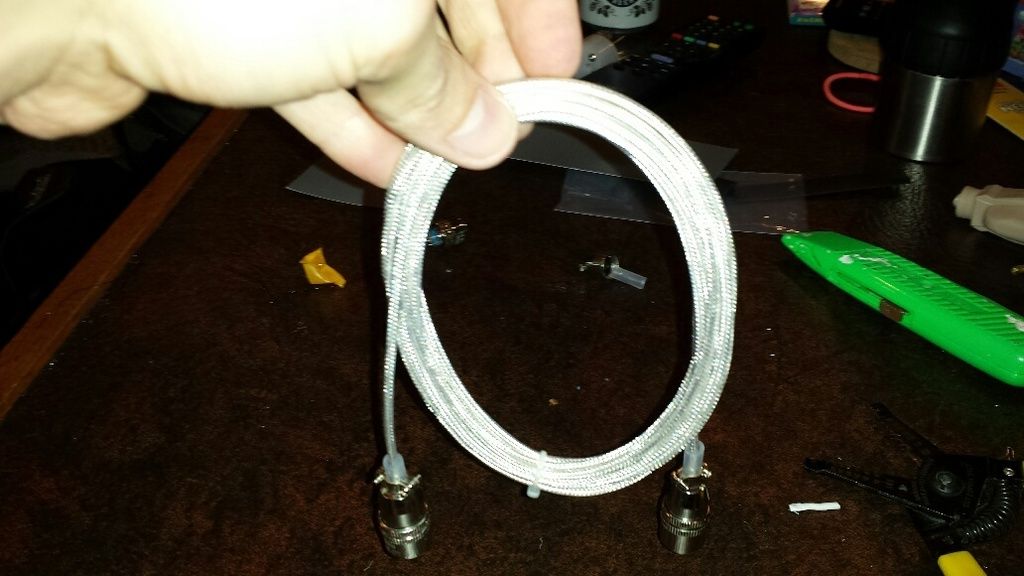
mesh tubing slid onto the pump cord:
high-tech heat gun for the shrink tubing:
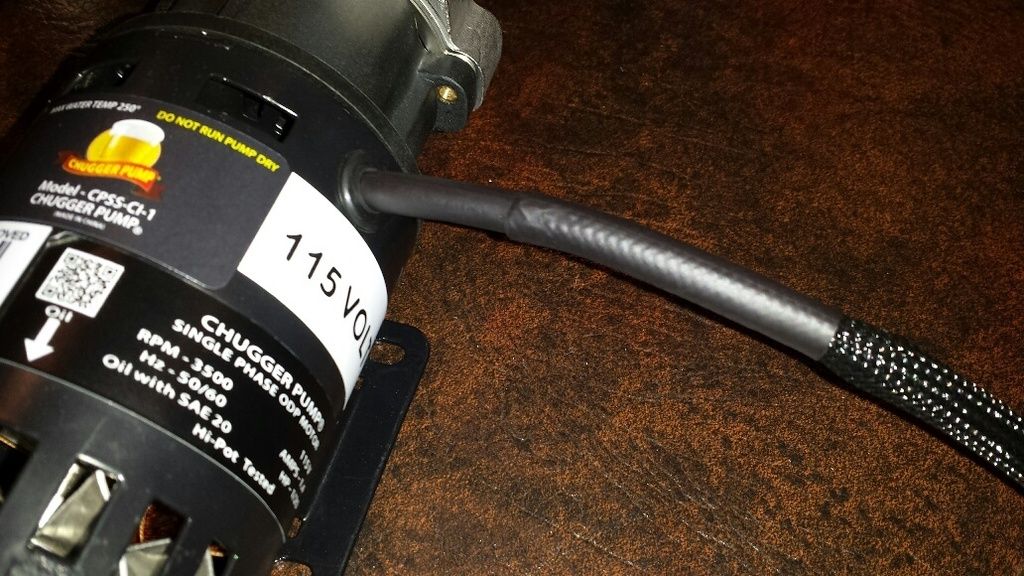
and the final results. not bad:
wiring the plug on. first step is to slid on the tubing:
too hard to slid the plug cover over the mesh tubing without flaying it all over the place. some temporary tape:
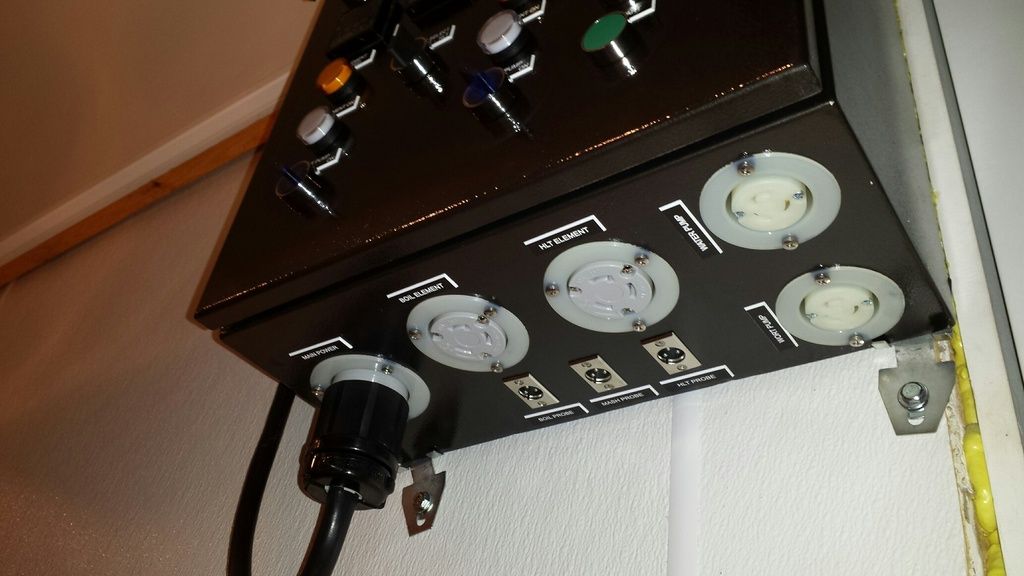
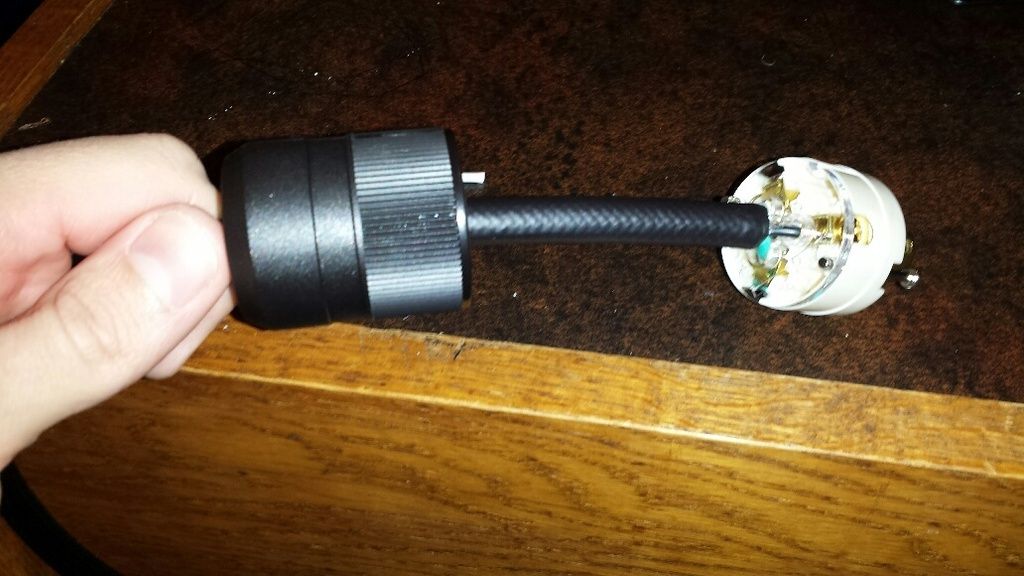
plug cover slid on:
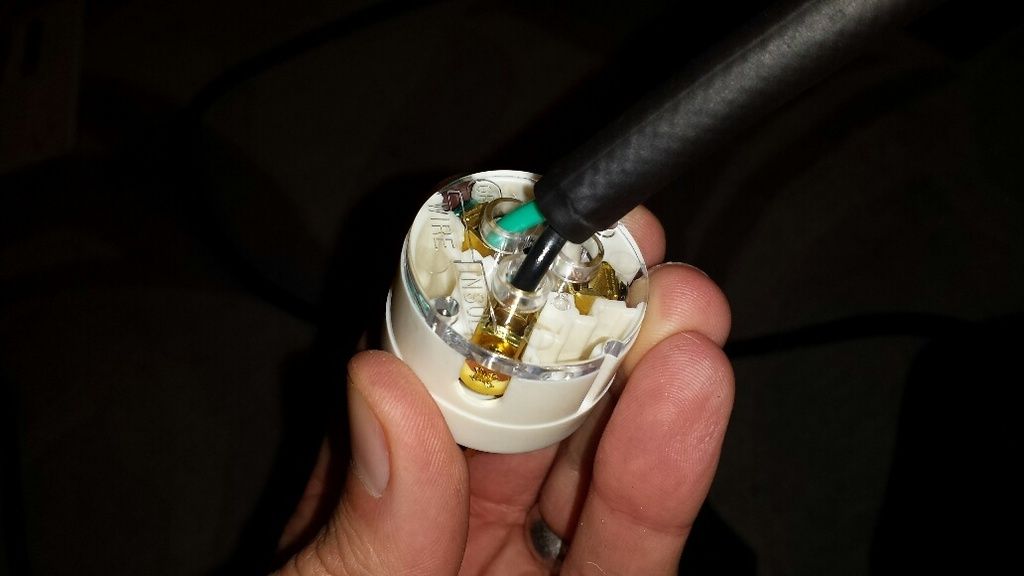
heat shrink shrinked on and conductors terminated in the plug. i got these from ebrew supply, i really like how close together the terminals are, easy to wire:
ready to slide together:
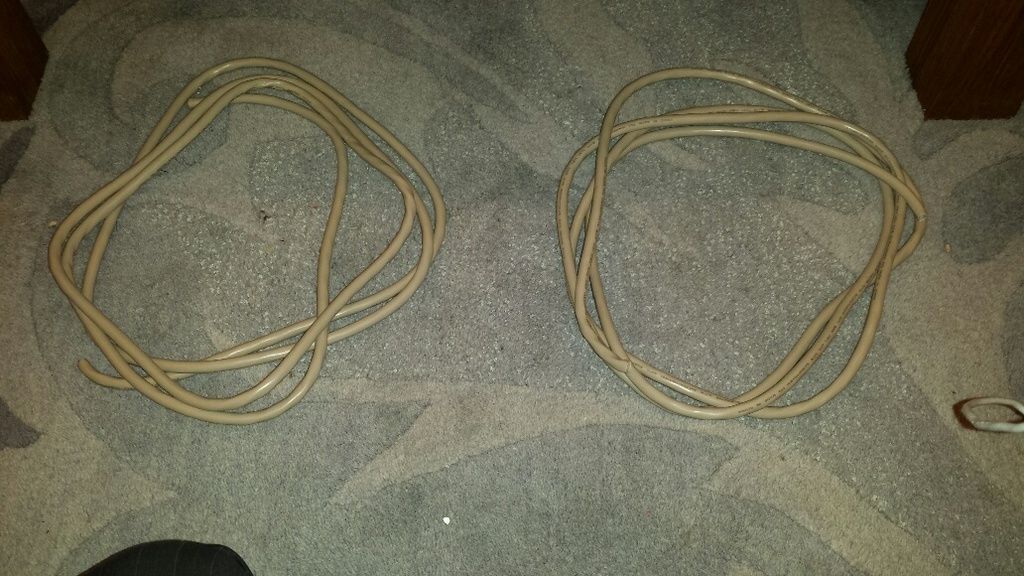
my pump cords are too short so i need to make some pigtails. an old extension cord cut up:
a little more cord than tubing, will need to cut short:
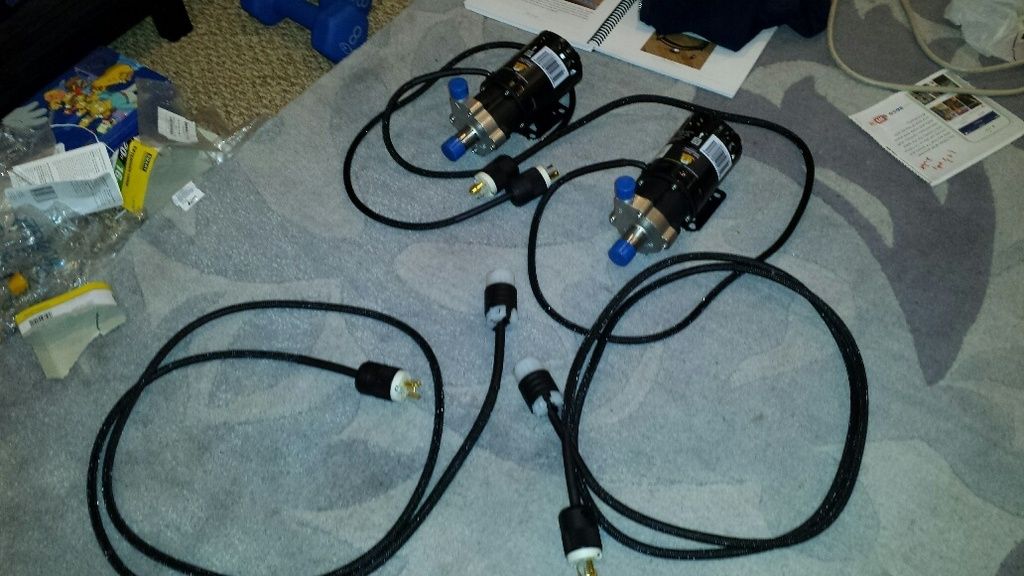
repeat the process for the other pump and pigtail. need to use female plugs on one end of teh pigtails:
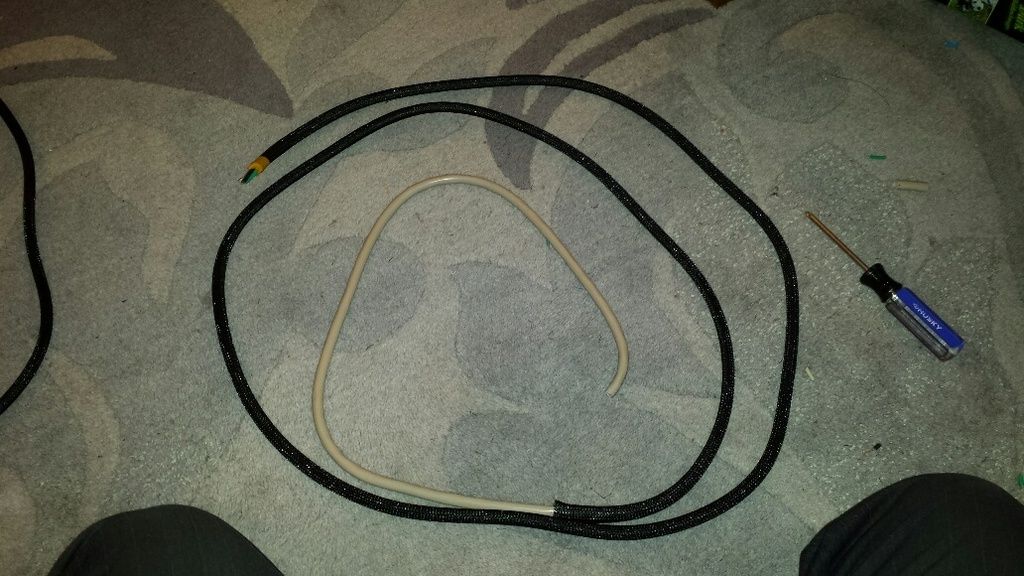
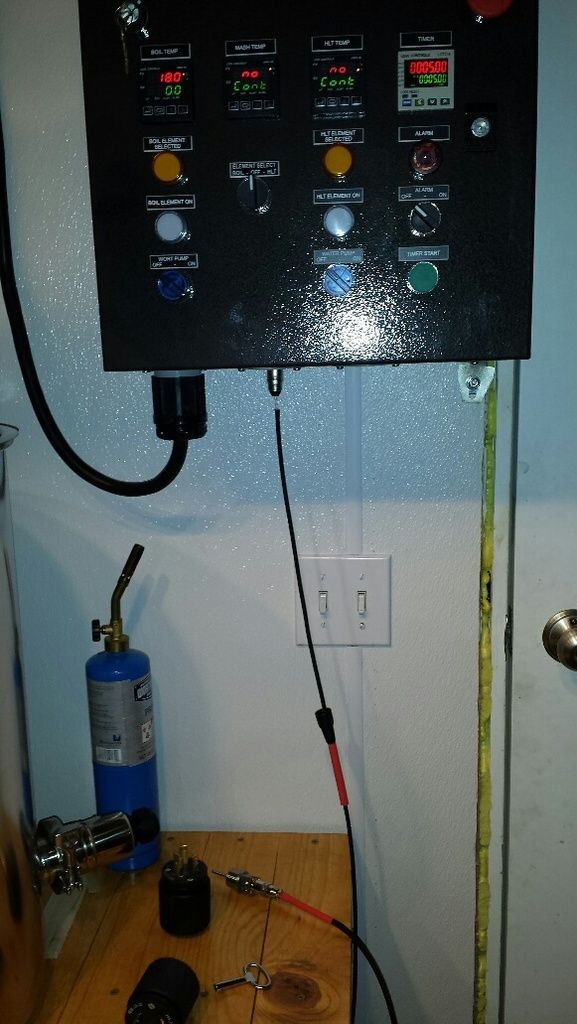
on to the rtd cables:
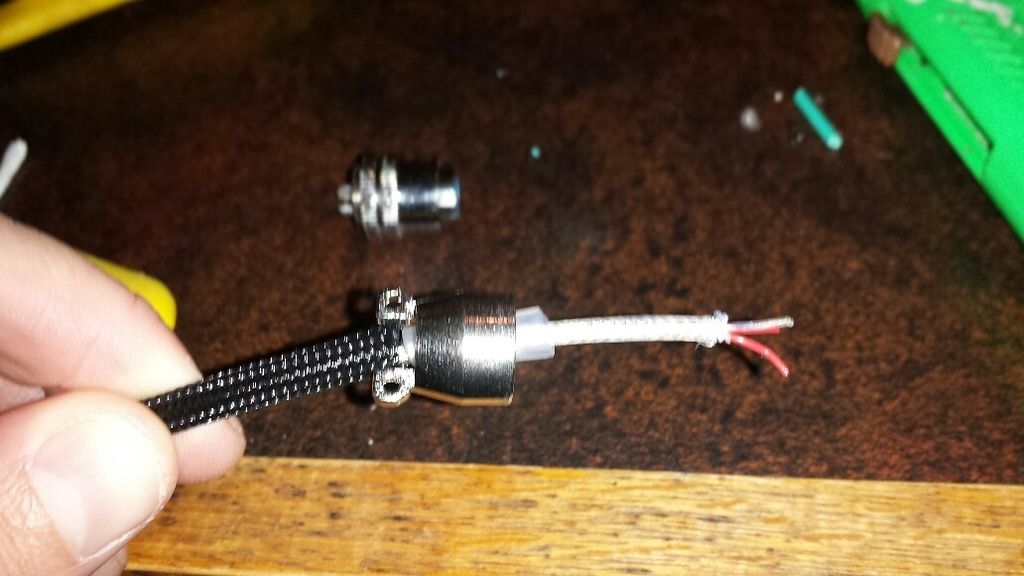
taking apart one end of the cable:
one end of the cable will be replaced with xlr connectors. mesh tubing slid on, old connector cut off:
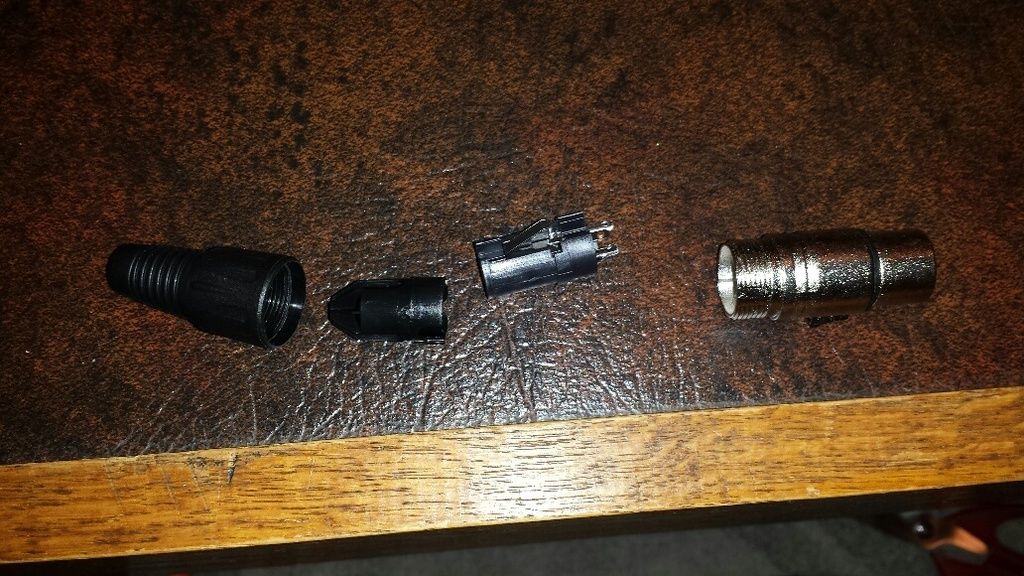
xlr connector disassembled:
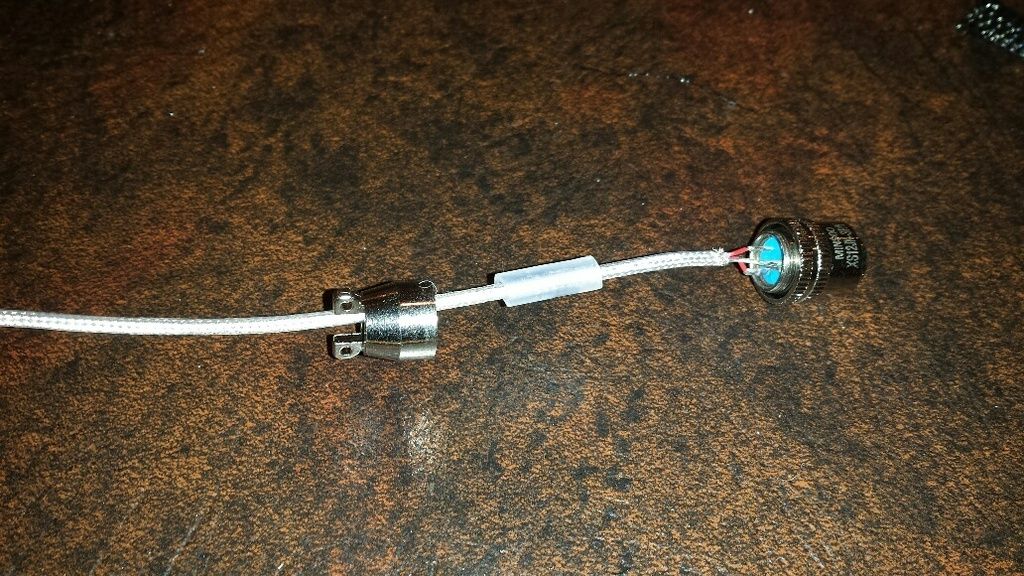
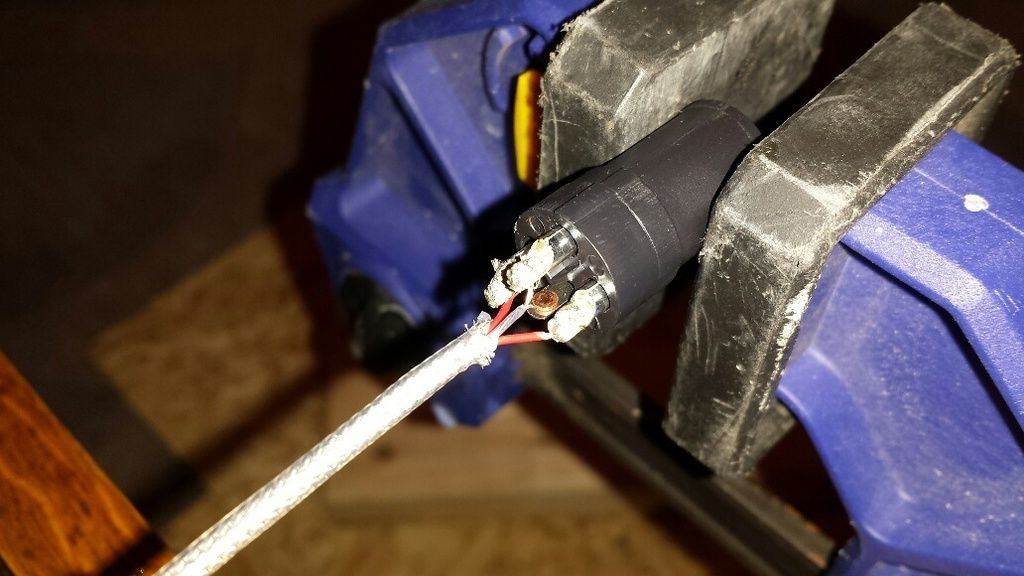
similar process as before: shrink tube shrinked on, xlr connector pieces slipped on, ready for soldering:
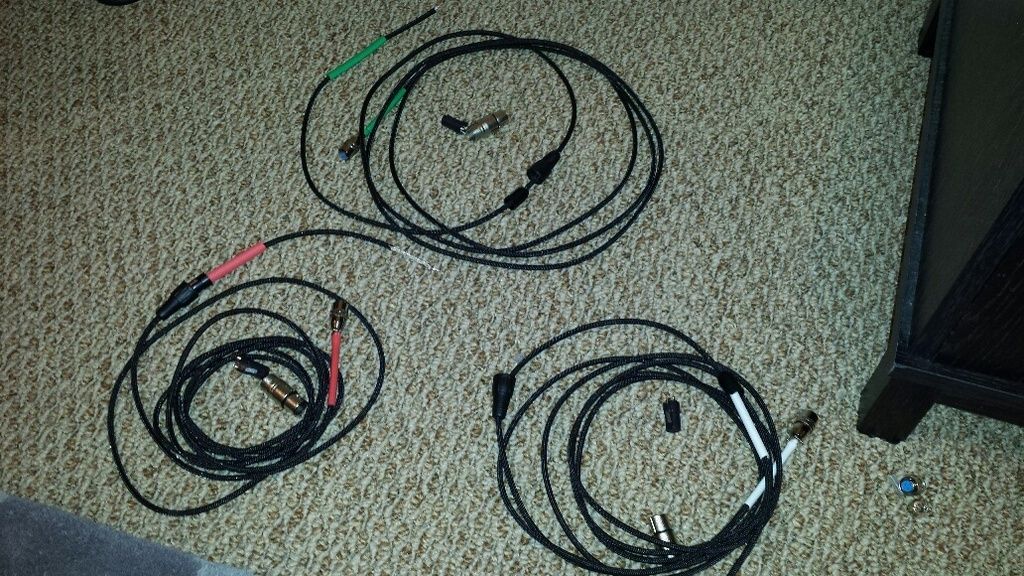
got the rtd stuff from ebrew supply, it comes with separate color heat shrink for each rtd cable assembly. had other stuff to do today so this was as far as i got...


![Craft A Brew - Safale S-04 Dry Yeast - Fermentis - English Ale Dry Yeast - For English and American Ales and Hard Apple Ciders - Ingredients for Home Brewing - Beer Making Supplies - [1 Pack]](https://m.media-amazon.com/images/I/41fVGNh6JfL._SL500_.jpg)


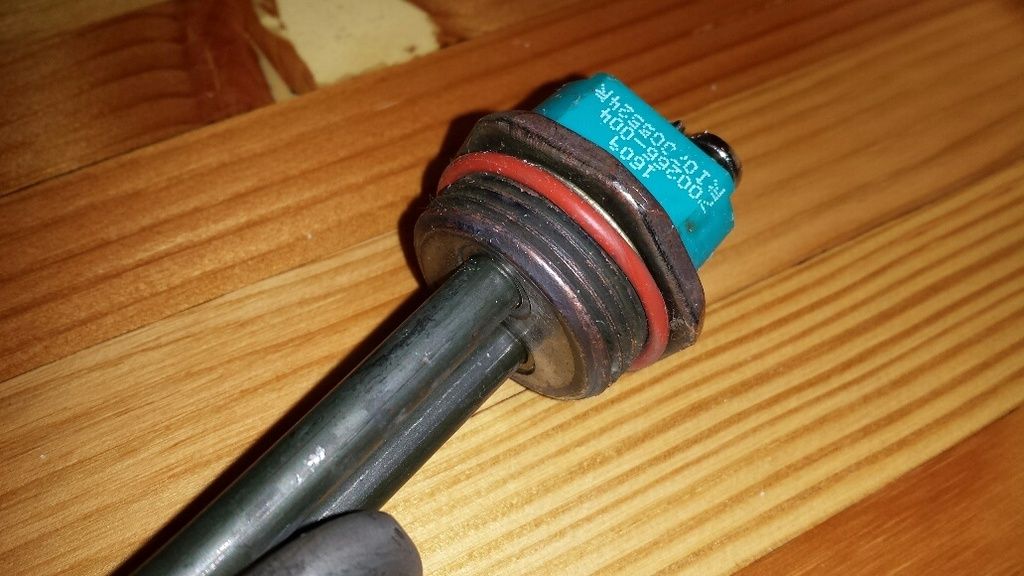
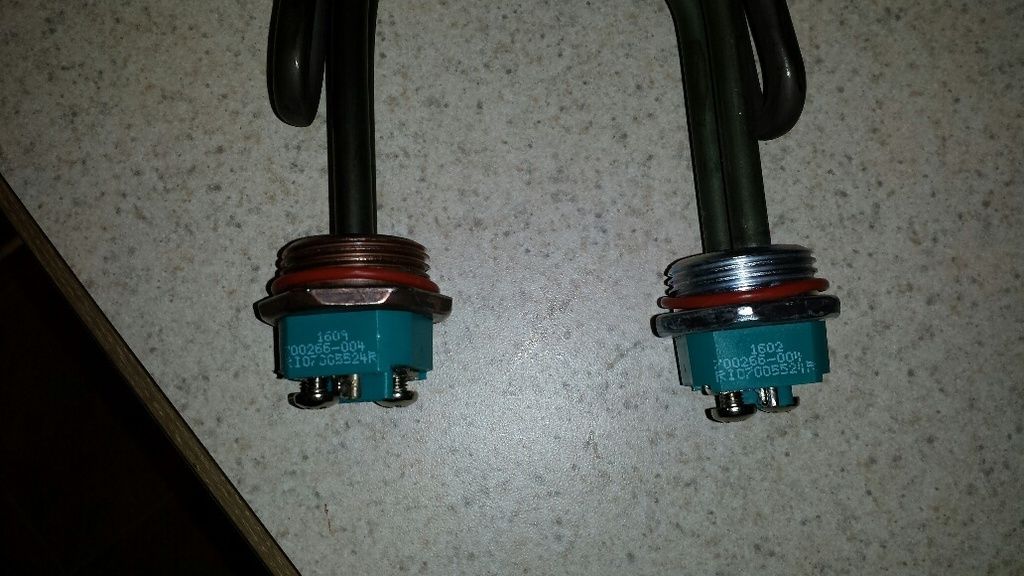
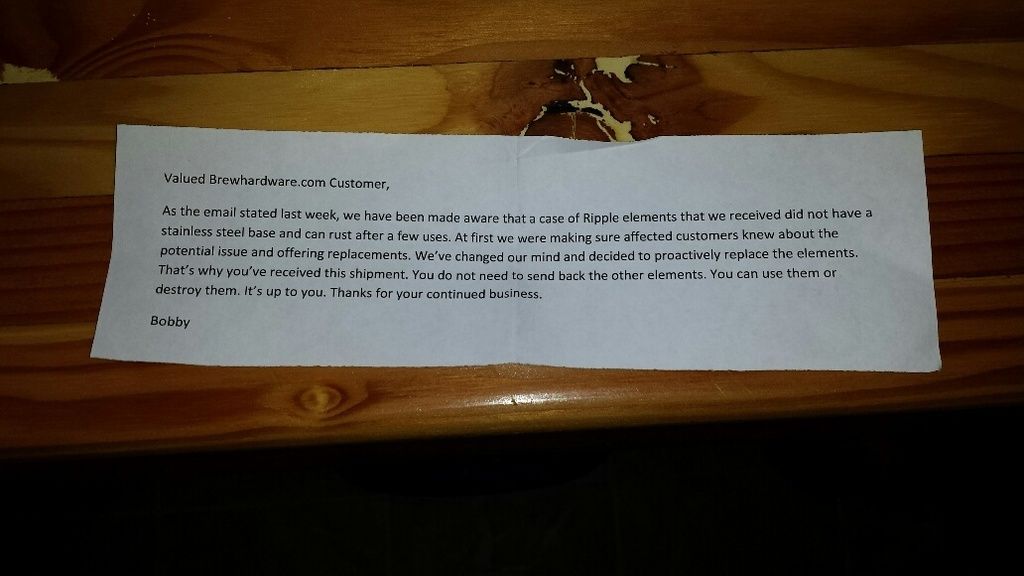

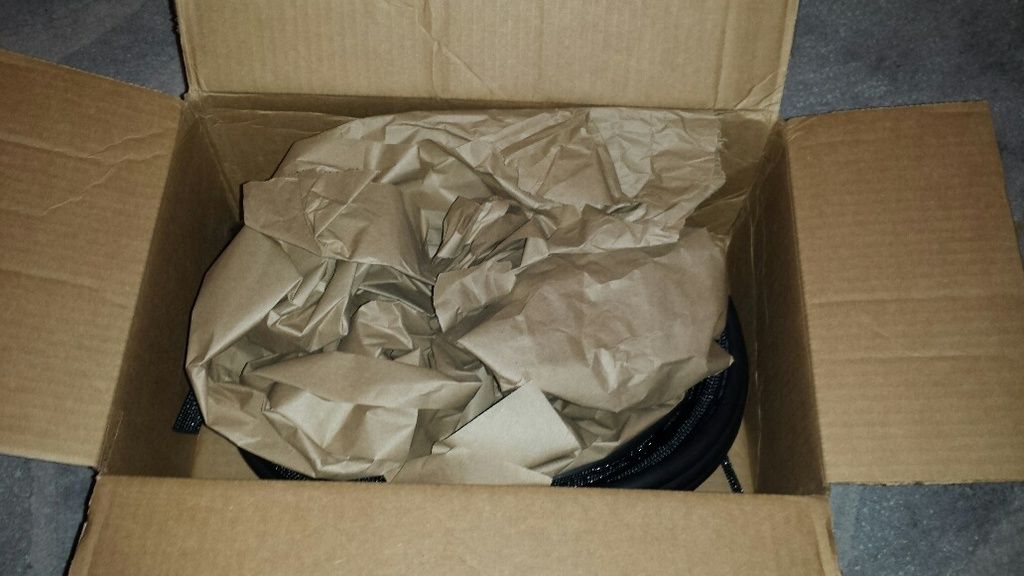
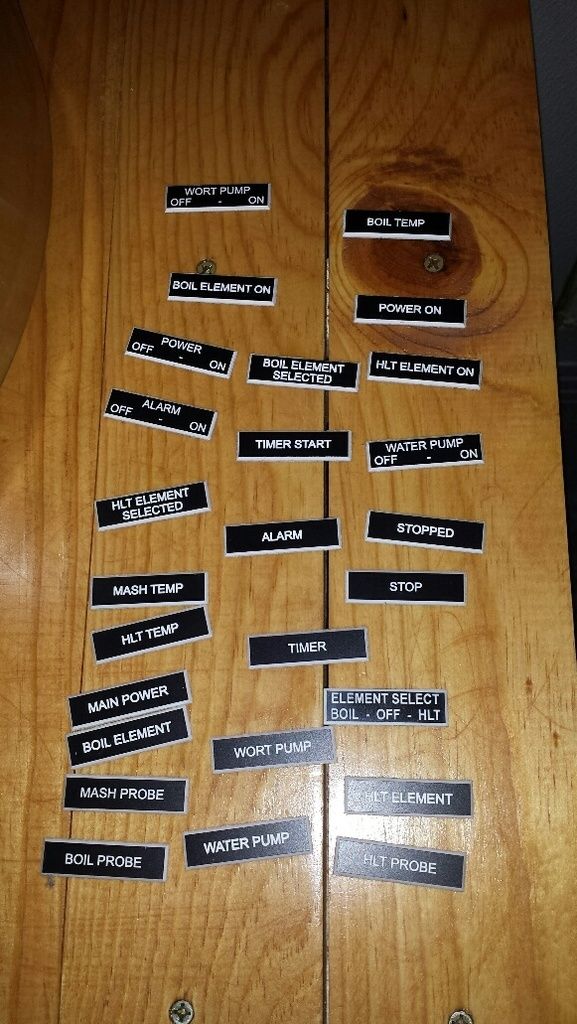


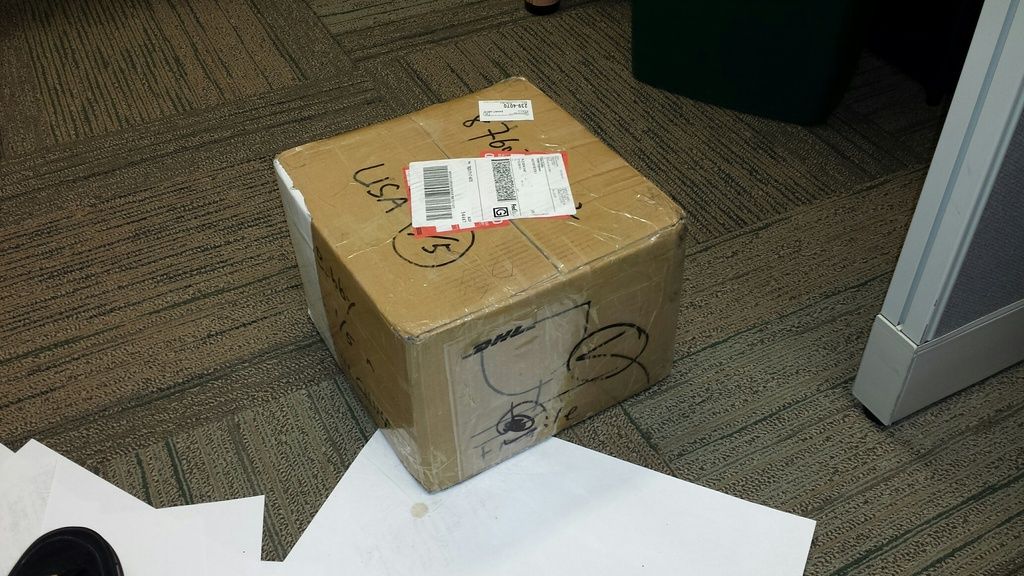
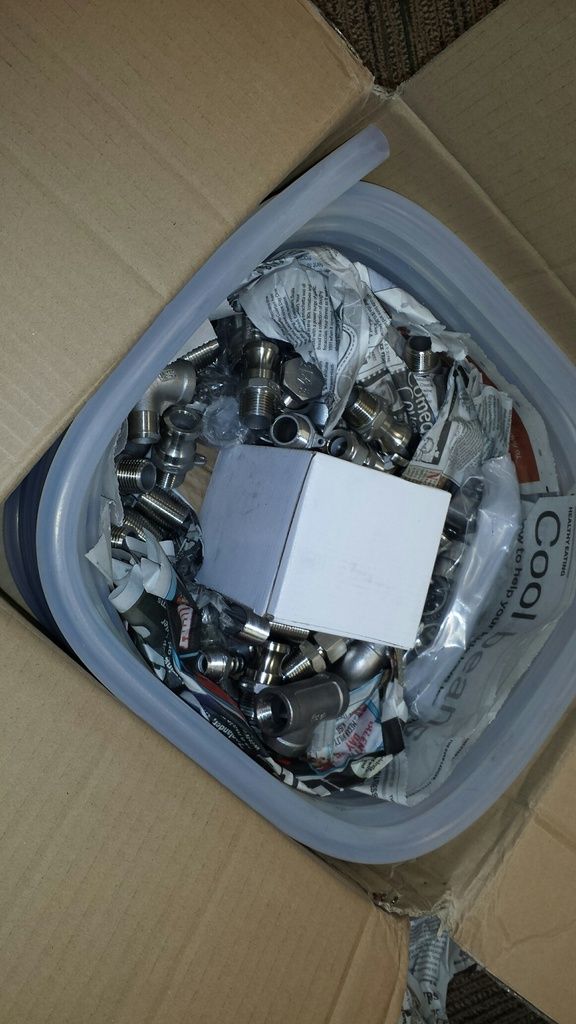
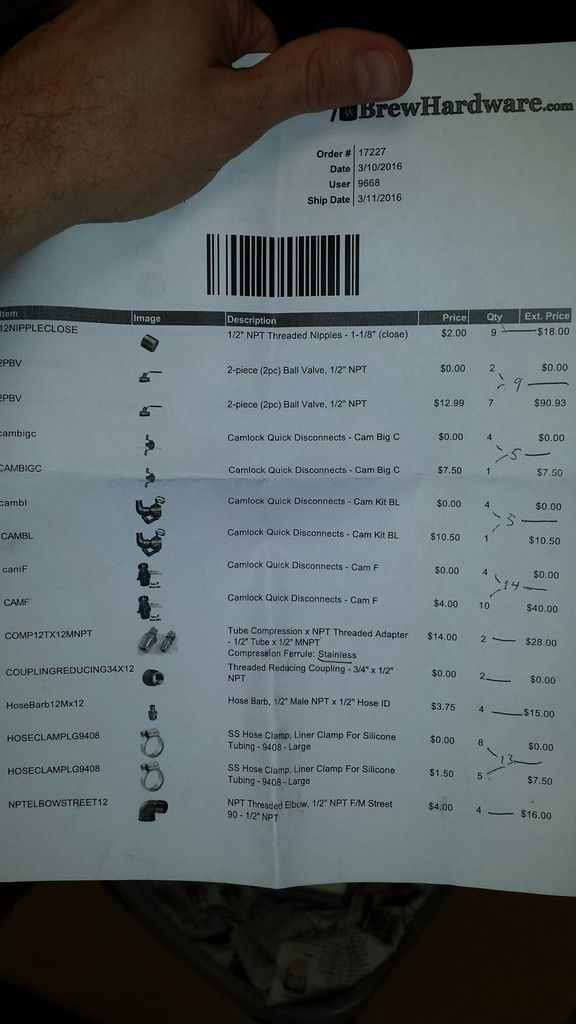
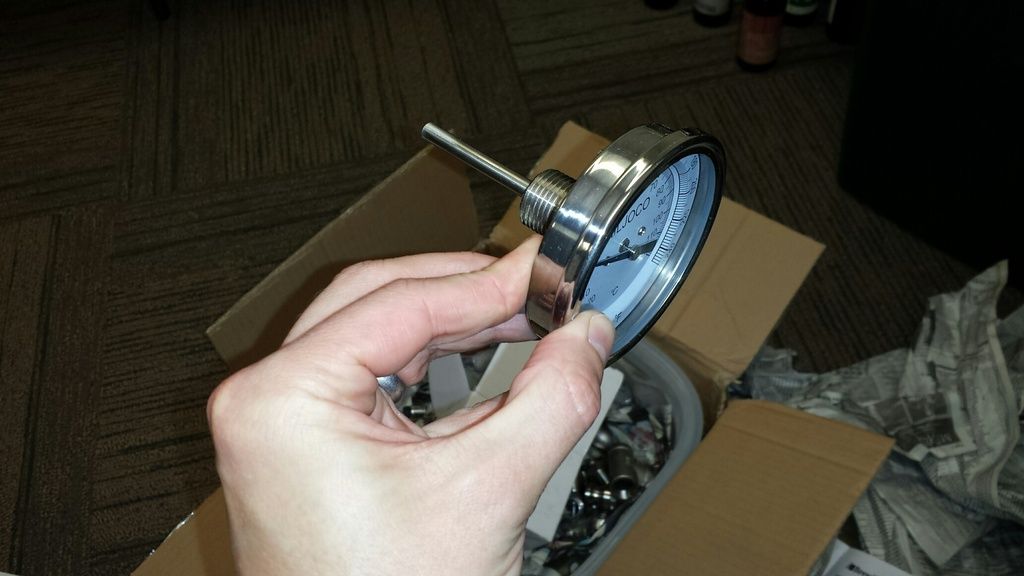
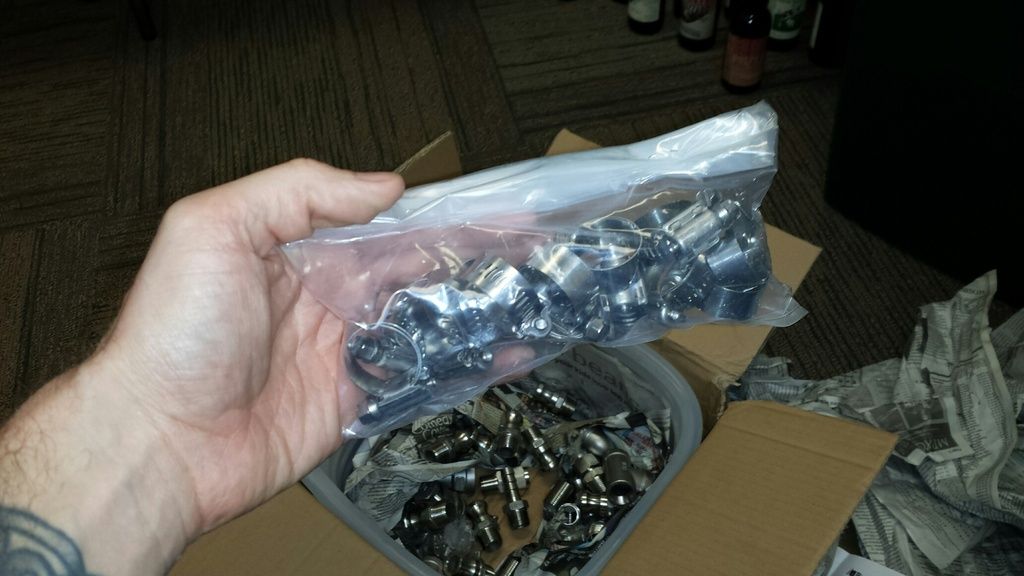
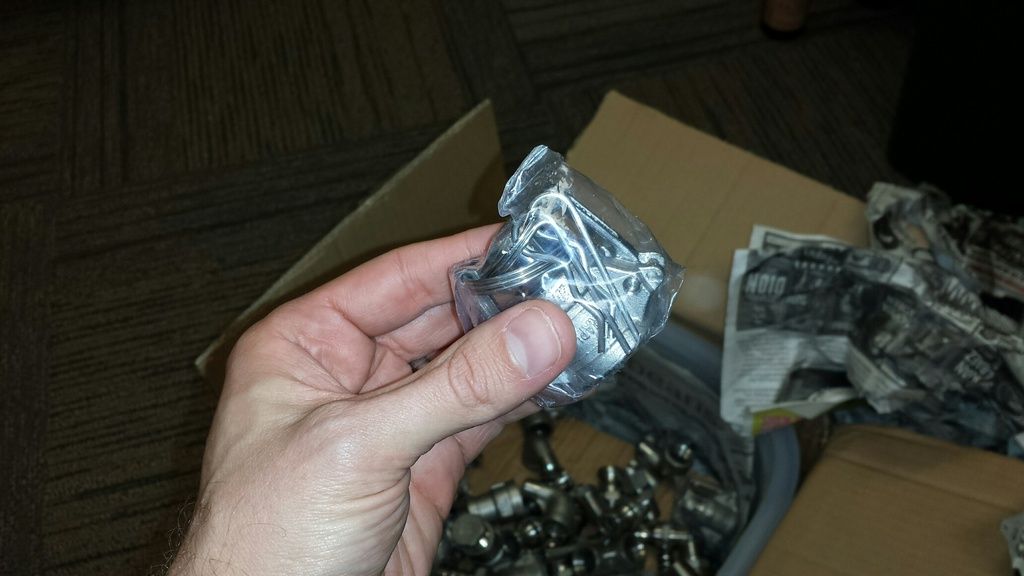
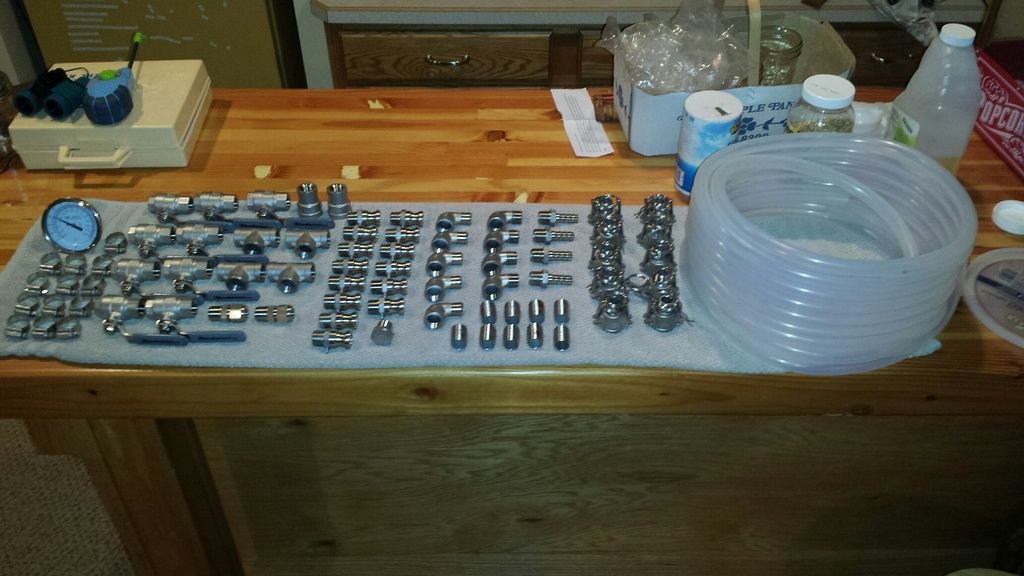
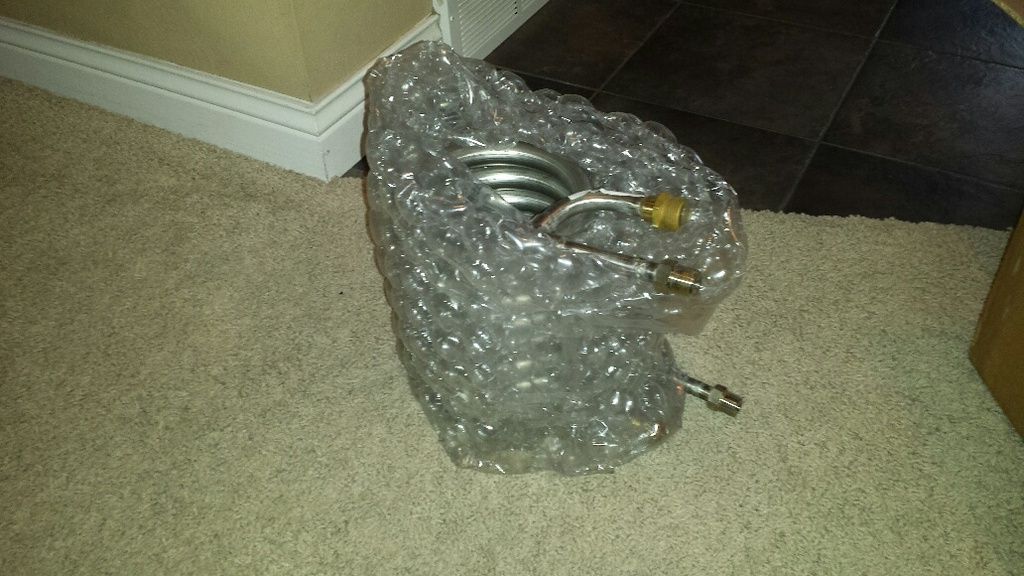
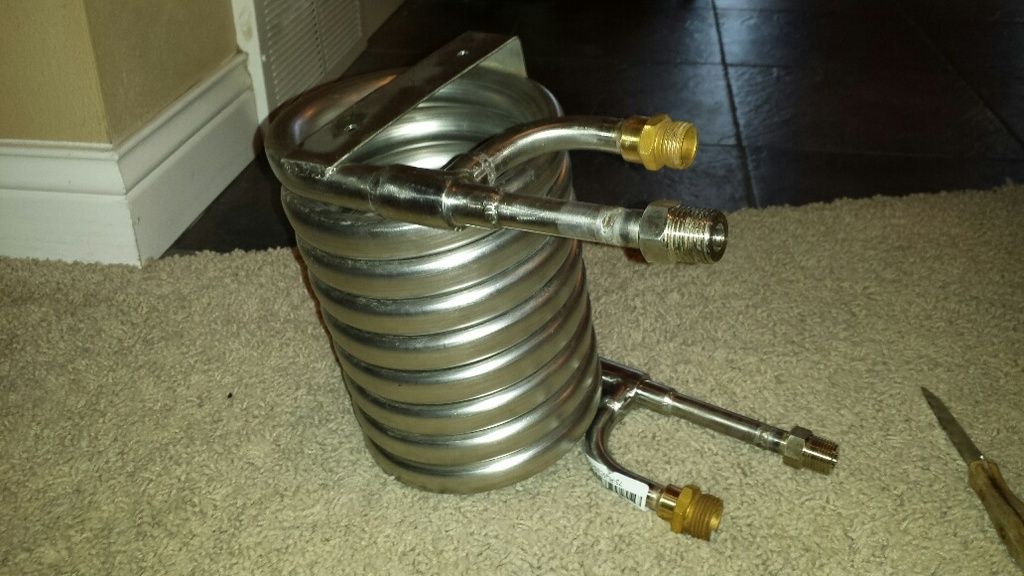
 . but i did get some goodies in the mail from brewhardware: