• Please visit and share your knowledge at our sister communities:
  • If you have not, please join our official Homebrewing Facebook Group!

    Homebrewing Facebook Group

Igloo 7.1 cu ft FRF795 Black Keezer Build

Homebrew Talk

Help Support Homebrew Talk:

This site may earn a commission from merchant affiliate links, including eBay, Amazon, and others.
View attachment 250192
Finally got started. Collar just stained this morning. It's made of 2x8 oak from a sawmill here in Missouri. Since this thread has been my inspiration I'll throw some shots up as I get things movin

Beautiful!

And heavy! ;) Oak is a bad ass wood. I assume you're going to mount it solid and not hinge it? Maybe use some plates in place of the hinges to hold it in place and use some chalk to seal it against the freezer and gravity to hold it in place. Is that your plan?

Very nice!! :mug:
 
The Miters took me and the wife forever to get perfect. Thankfully the boards were super straight. Still had small gaps but we mixed wood glue and the sawdust and filled em in. Gonna put three coats of poly on before I attempt to mount it to the freezer. Any suggestions out there for getting a solid seal to the freezer. I've got plumbers caulk now.
 
The Miters took me and the wife forever to get perfect. Thankfully the boards were super straight. Still had small gaps but we mixed wood glue and the sawdust and filled em in. Gonna put three coats of poly on before I attempt to mount it to the freezer. Any suggestions out there for getting a solid seal to the freezer. I've got plumbers caulk now.

I would use a good silicone caulk. Plumbers putty will harden after exposure over time.
 
So, I'm trying to dig the factory insulation out of the lid to get it to fit on my collar. I gotta say this has got to be the most time consuming part of the project so far
 
Well, since I wanted to preserve the freezer (in case we want to use it for something else), I didn't want to use caulk to adhere the collar to the freezer. I used 3M double sided sticky tape, that is removable. It is kinda like the thing they have for hanging pictures (that sort of sticky "tape", and it appears to be working.

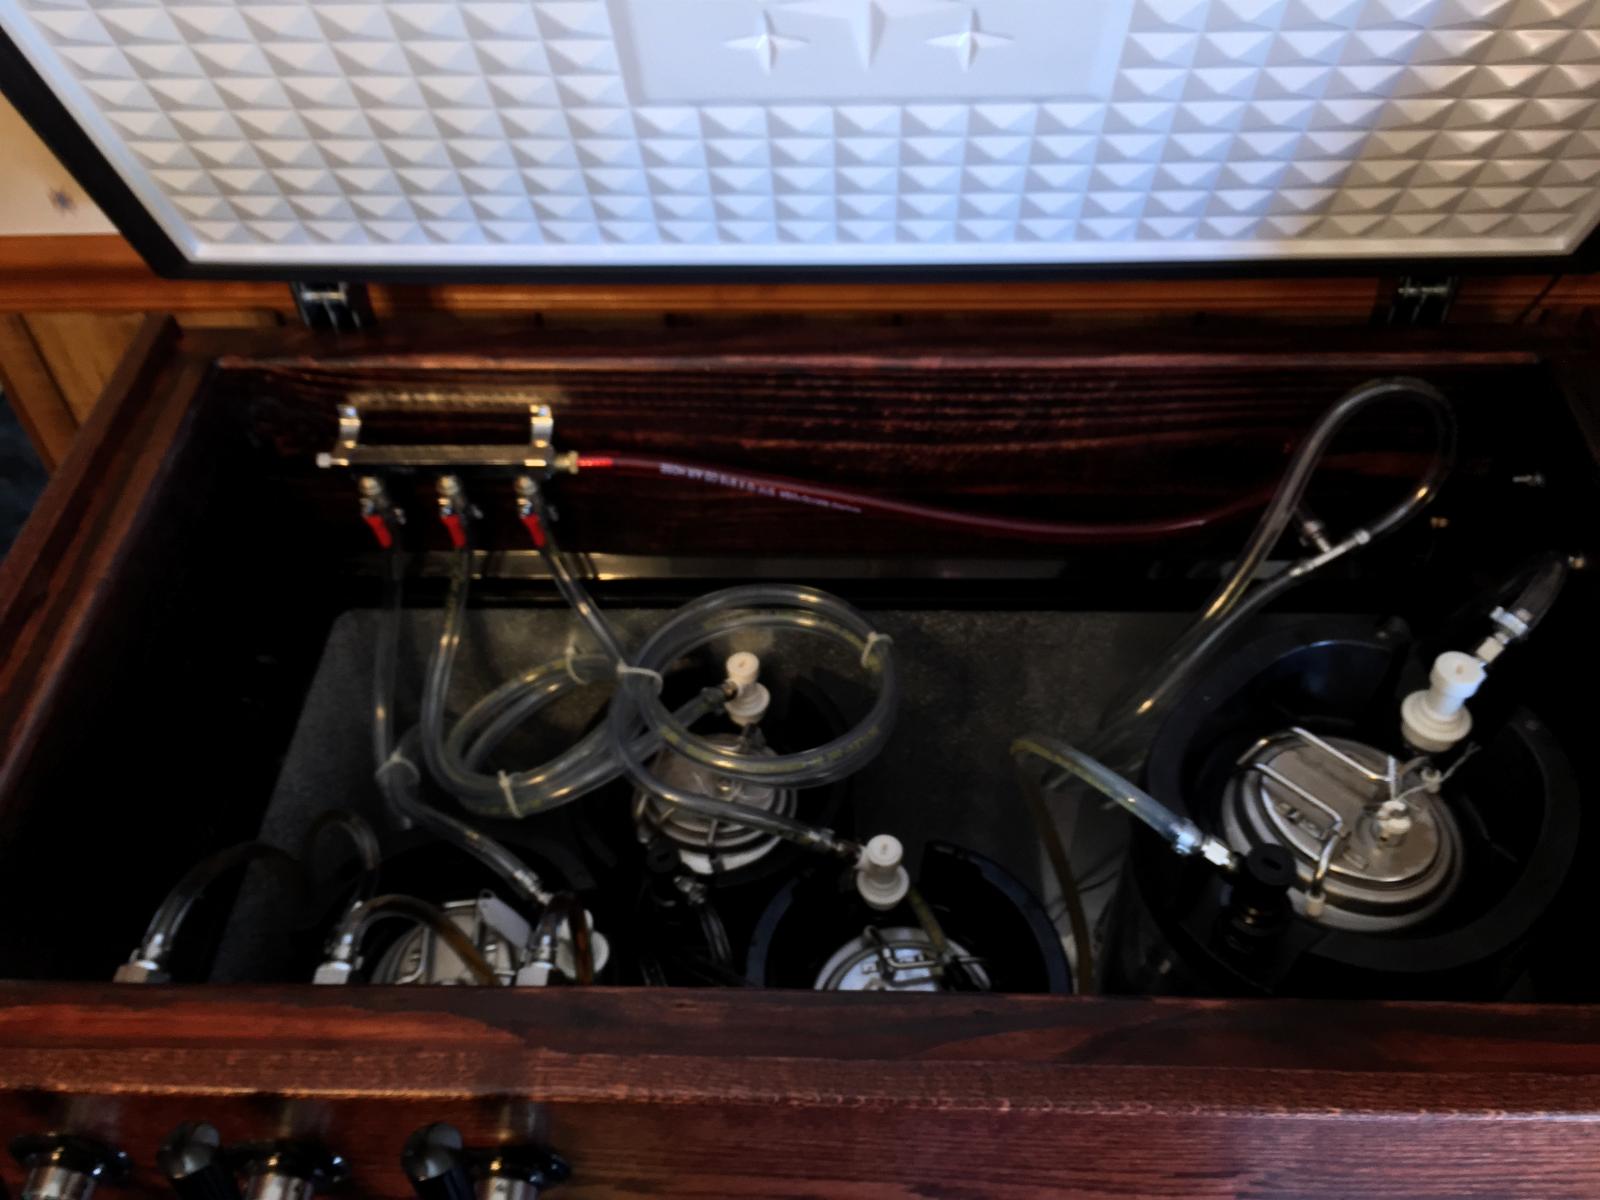
I've redone my tubing (the tubes needed to be shorter) and and I'm going to install the distributors (after I get a couple parts) and hook up my CO2 tank to the freezer and give it a test run.

For non-porous materials like the plastic on the rim of the cooler, as long as it's applied on a clean surface, silicone should peel right off if you decide to remove it later. Yet it holds very well through a suction type grip. That's what makes it so useful in applications like this.

The double sided tape will be a PITA to remove. It'll take a LOT of scrapping and a LOT of Goof Off to remove it completely.

But both solutions should work great for attaching and sealing the collar.

Sounds like you're getting close!
 
The "tape" is designed for easy removal. I didn't know that about the caulk, but too late now.

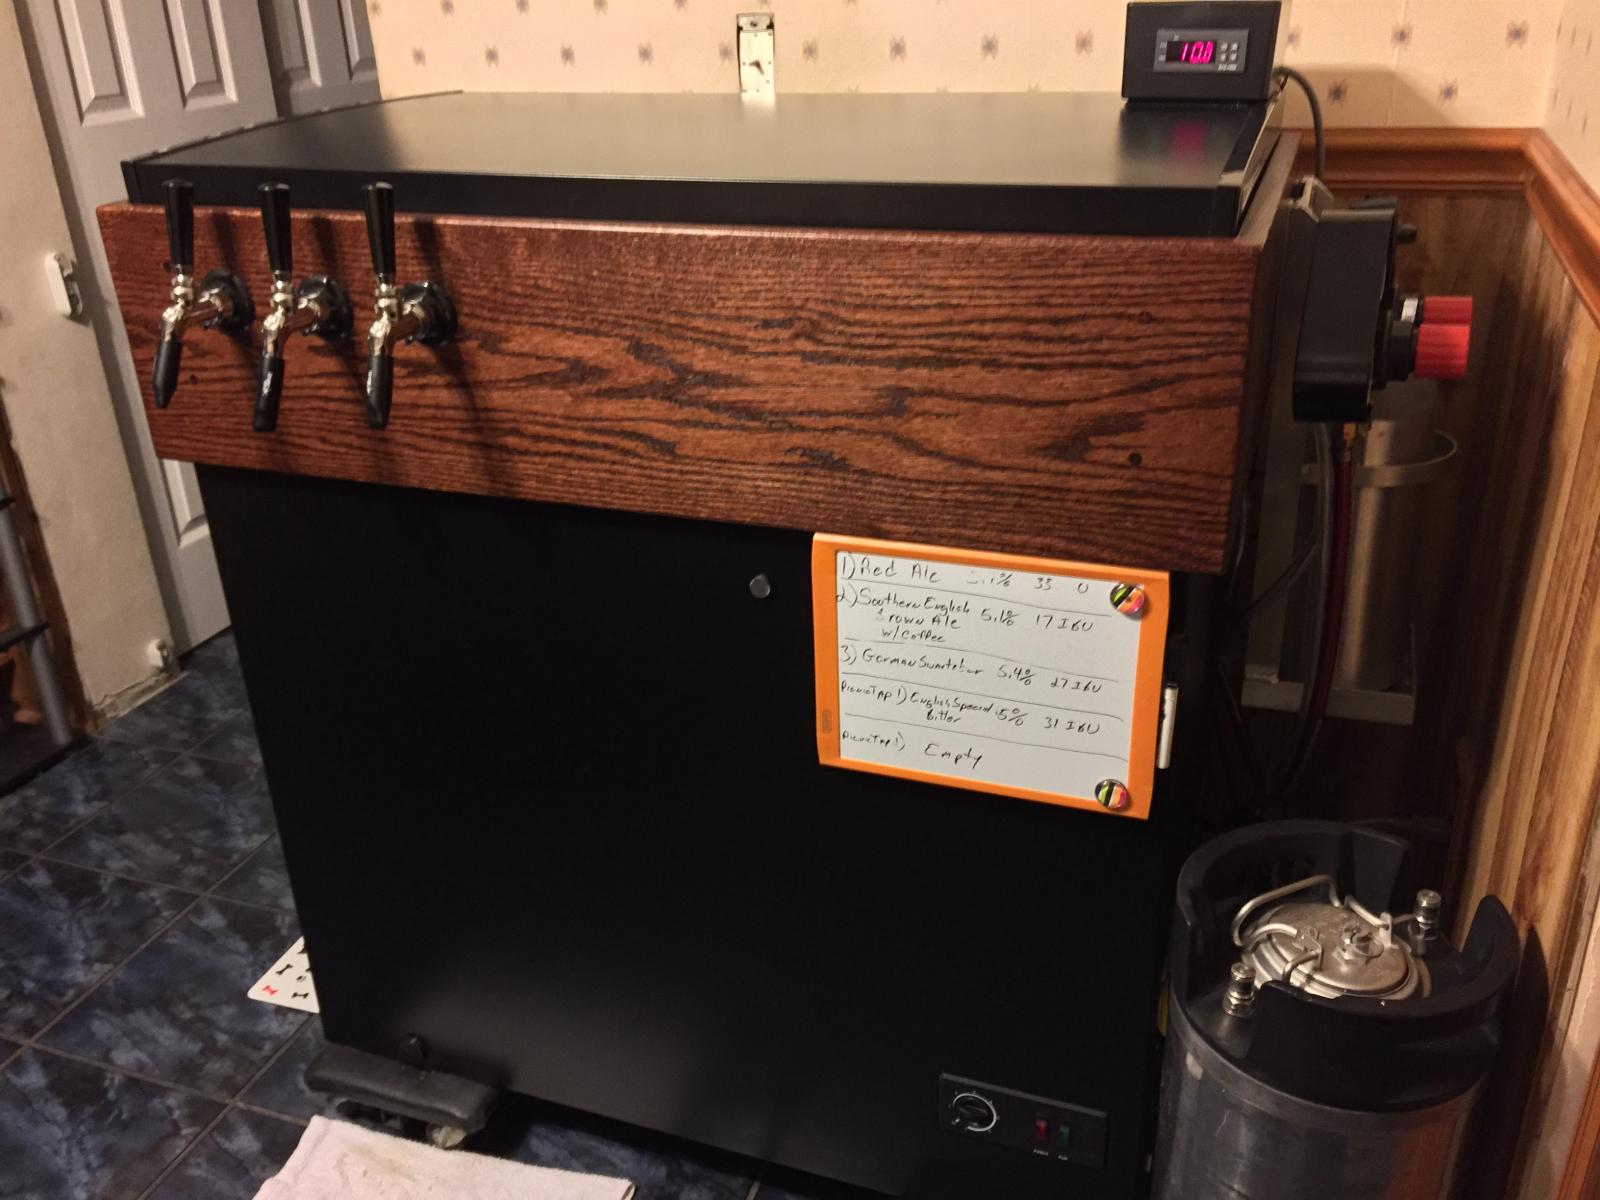
Well, pretty much done. Everything is installed and looks good (not perfect). I just need to leak-check all the tubing. Here are the final pictures:


The "tape" is designed for easy removal. I didn't know that about the caulk, but too late now.

Well, pretty much done. Everything is installed and looks good (not perfect). I just need to leak-check all the tubing. Here are the final pictures:

Congrats! :mug:

I hope to join you soon with my completed build. Maybe another week I hope!?

BTW, That soda will rust your pipes... ;)
 
So, I'm trying to dig the factory insulation out of the lid to get it to fit on my collar. I gotta say this has got to be the most time consuming part of the project so far

Is digging the insulation out of the lid common practice when building a keezer? I guess I haven't read many people doing this and it caught me off guard. Also, do you think it will not keep it as cold by doing this?? I'm planning on starting my build within the next couple weeks so I'm trying to learn all I can and this one surprised me. Thanks!

Tim
 
I had to take the insulation out of mine in order toget the lid to seal with the collar. I don't know if everyone has had to or not. I replaced my insulation with the same foam board I'm using to insulate the collar and I sealed it all off with silicone and aluminum tape. The lid had a hump inside so I cut the hump out with a razor and left the actual seal in place. I'll be mounting it tomorrow or Wednesday so I'll toss some pics up as I move forward
 
I had to take the insulation out of mine in order toget the lid to seal with the collar. I don't know if everyone has had to or not. I replaced my insulation with the same foam board I'm using to insulate the collar and I sealed it all off with silicone and aluminum tape. The lid had a hump inside so I cut the hump out with a razor and left the actual seal in place. I'll be mounting it tomorrow or Wednesday so I'll toss some pics up as I move forward


That makes sense. Thanks for sharing your advice! Looking forward to seeing your build.
 
I seem to remember seeing some used a chamfer bit on a router and routed the inside corner of the 2x collar off. Not sure if that would give you enough room to clear?
 
I didn't want to mess with the collar anymore because it's solid oak and it's killed one saw blade and three drill bits including a spade already. Didn't wanna take a chance on router bits.
 
I didn't want to mess with the collar anymore because it's solid oak and it's killed one saw blade and three drill bits including a spade already. Didn't wanna take a chance on router bits.

Like I said; It's a bad ass wood... ;)
 
I seem to remember seeing some used a chamfer bit on a router and routed the inside corner of the 2x collar off. Not sure if that would give you enough room to clear?

I used a router to knock down the inside corner so the lid would seat. didnt have to take much off to allow it to seat. But I used 2 x 8 pine for the inside and 2 x 10 oak on the outside overlapping the top and bottom. This way I didnt have to glue it to the freezer to keep it secure.

008.jpg
 
I glued mine and put polystyrene on the inside to help keep it insulated.
 
That looks amazing!

I did a leak check, and the relief valve of my regulator is leaking. Going to exchange it today for a new one. Hopefully, that is all that is leaking.
 
Good for you guys!! Yall are soooo close to pulling on that tap handle and BAM beer! :)

I still have at least a week of building left... Then comes assembly... :(
 
I opted to keep the gas on the outside so I could keep 5 kegs. I may build a box to cover it in the future. I am also on the fence as to whether I need to add insulation. 2+ inches of wood is a pretty good insulator.

023.jpg


035.jpg


041.jpg
 
I opted to keep the gas on the outside so I could keep 5 kegs. I may build a box to cover it in the future. I am also on the fence as to whether I need to add insulation. 2+ inches of wood is a pretty good insulator.

an inch of wood is roughly R-1...an inch of EPS foam is roughly R-3.5 an inch of XPS is roughly R-5.

A rather larger difference. Just a half inch of XPS foamboard with a little spray foam to seal the seams could up the insulation quite a bit....
 
I actually just got one of these but in white - plan on painting it black and creating a 2x8 pine collar with a 1x10 oak "skirt". 4 taps, centered.

How are you guys sealing the collar to the bottom part of the freezer? Nothing? I do plan on insulating it and mounting a 140mm fan to stabilize the temperature throughout the freezer. Any other concerns I should be worried about?

It's a shame it won't fit 4 kegs on the floor - there's a similar model that's 7.2 cu ft, but I couldn't find it anywhere locally (it supposedly fits 4 kegs without a collar).
 

Latest posts

Back
Top