BeardedBrews
Well-Known Member
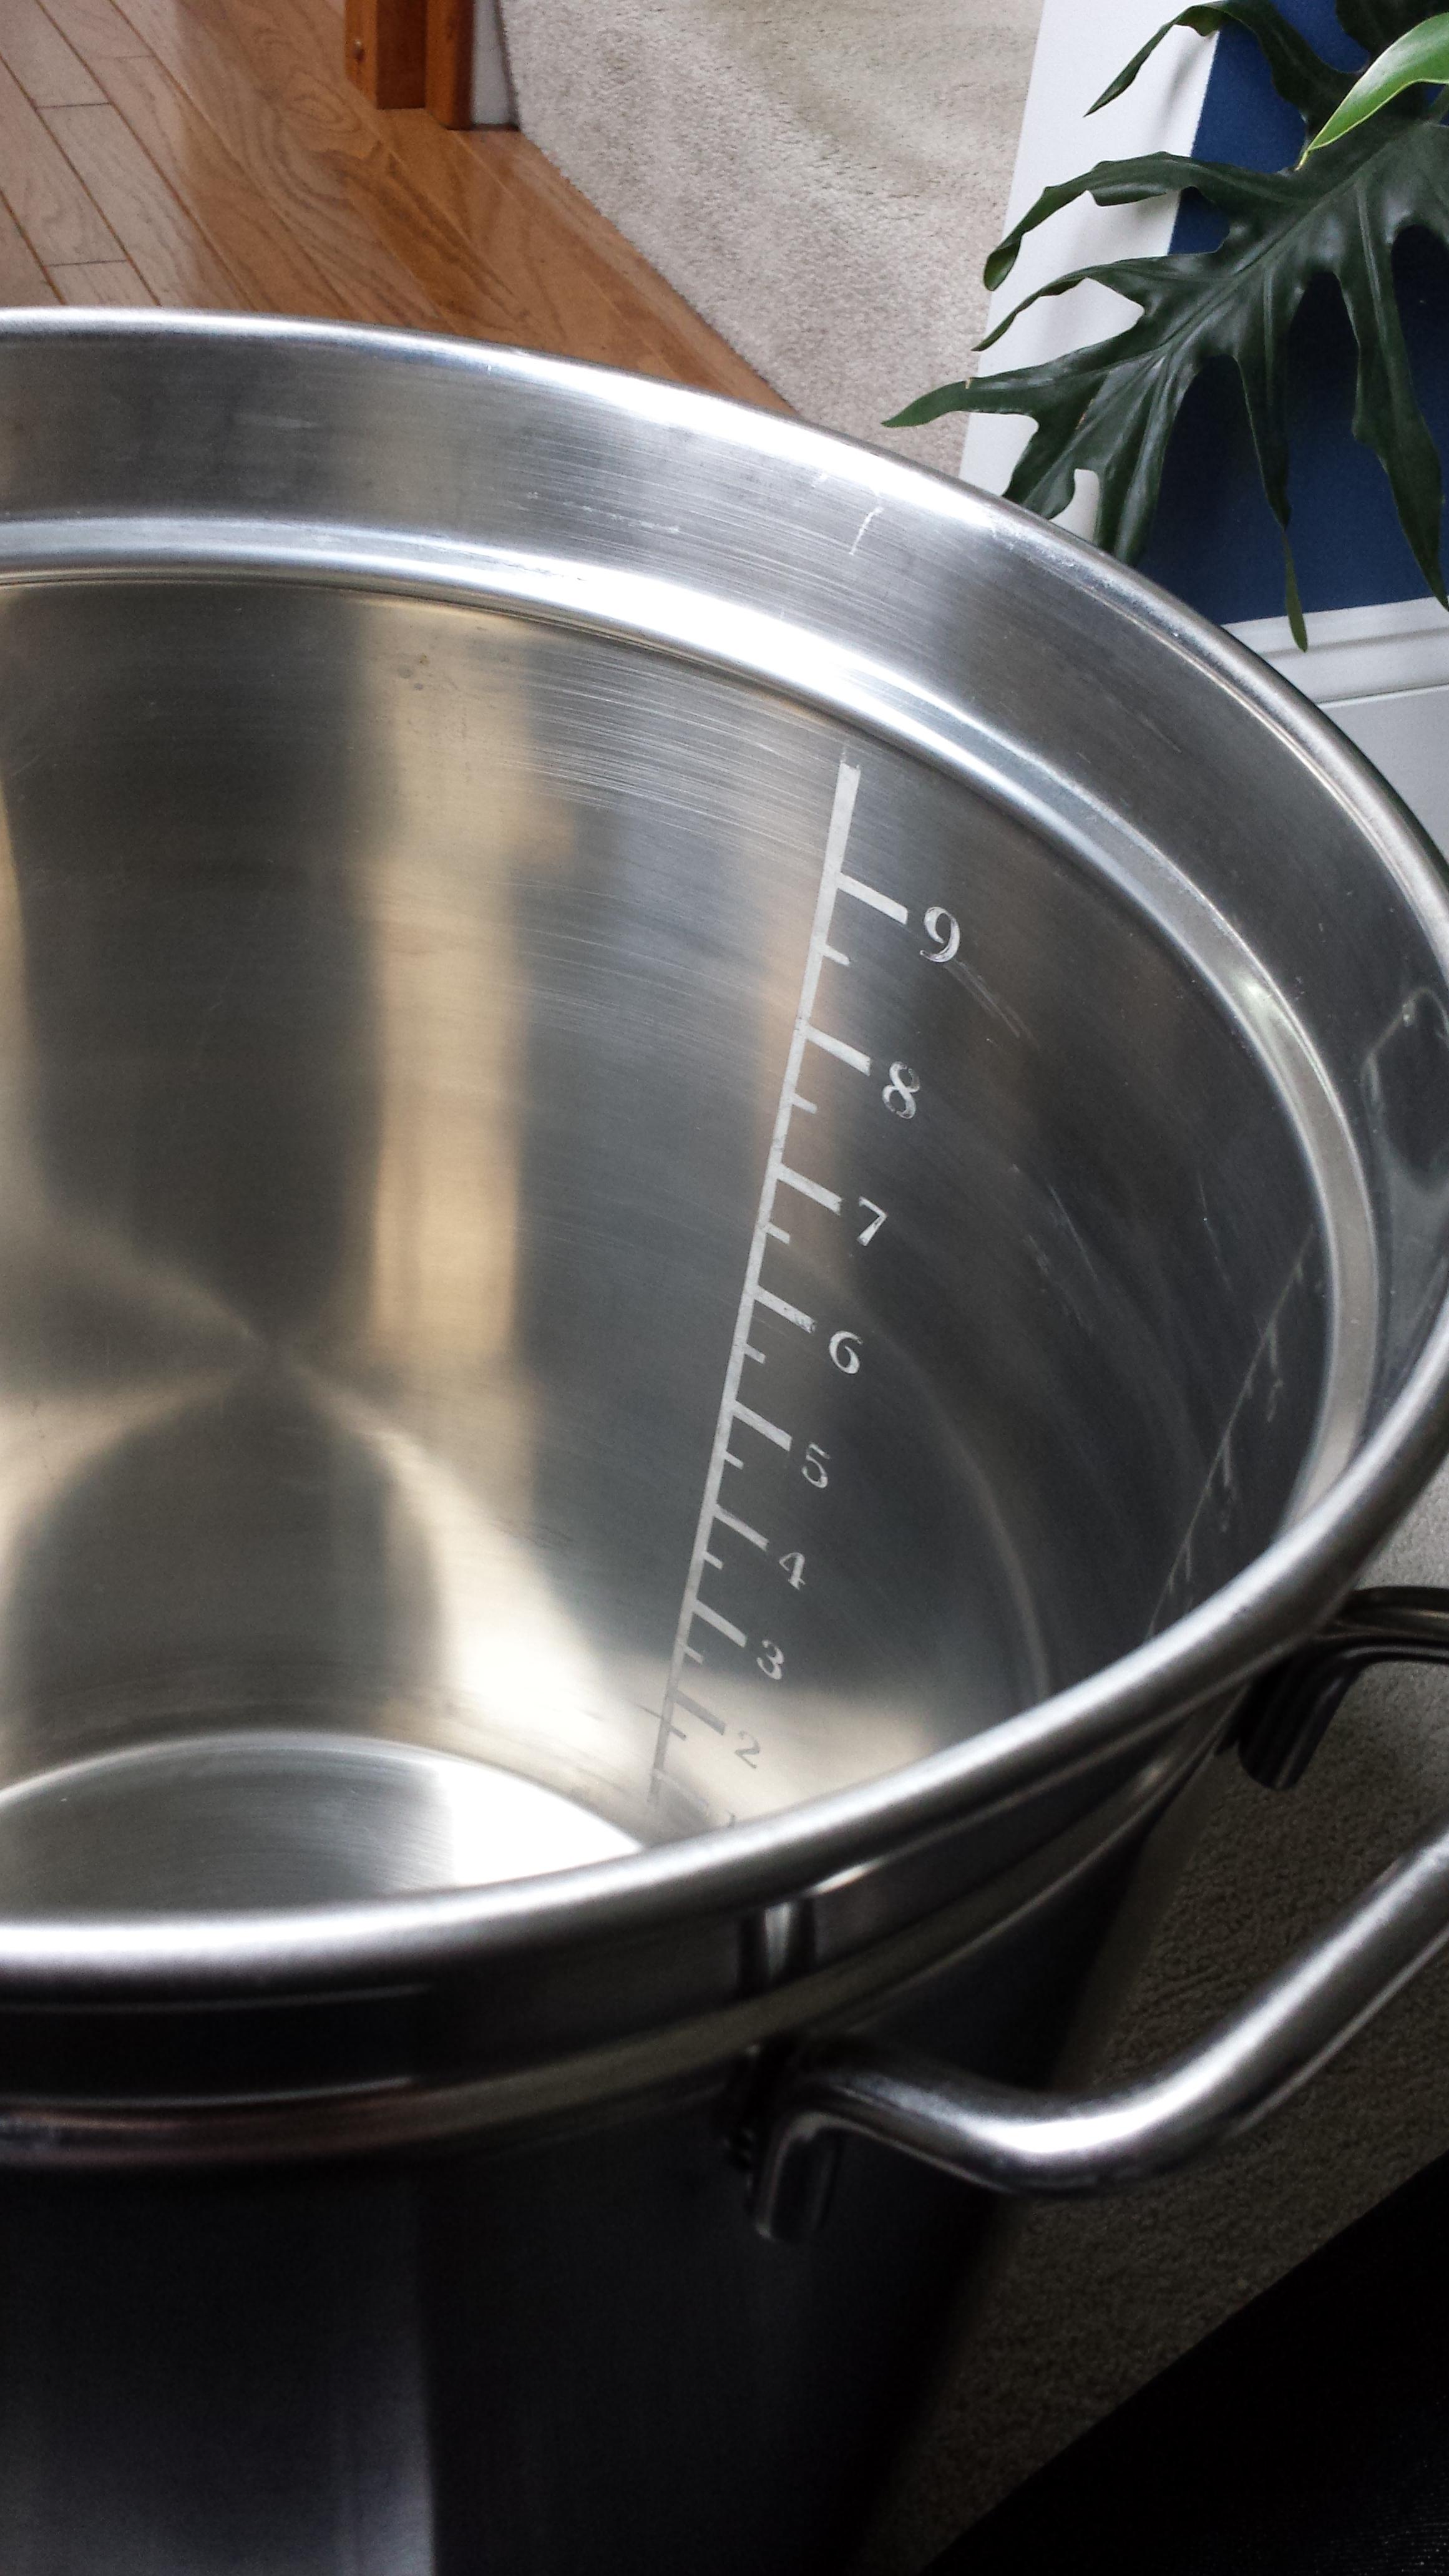
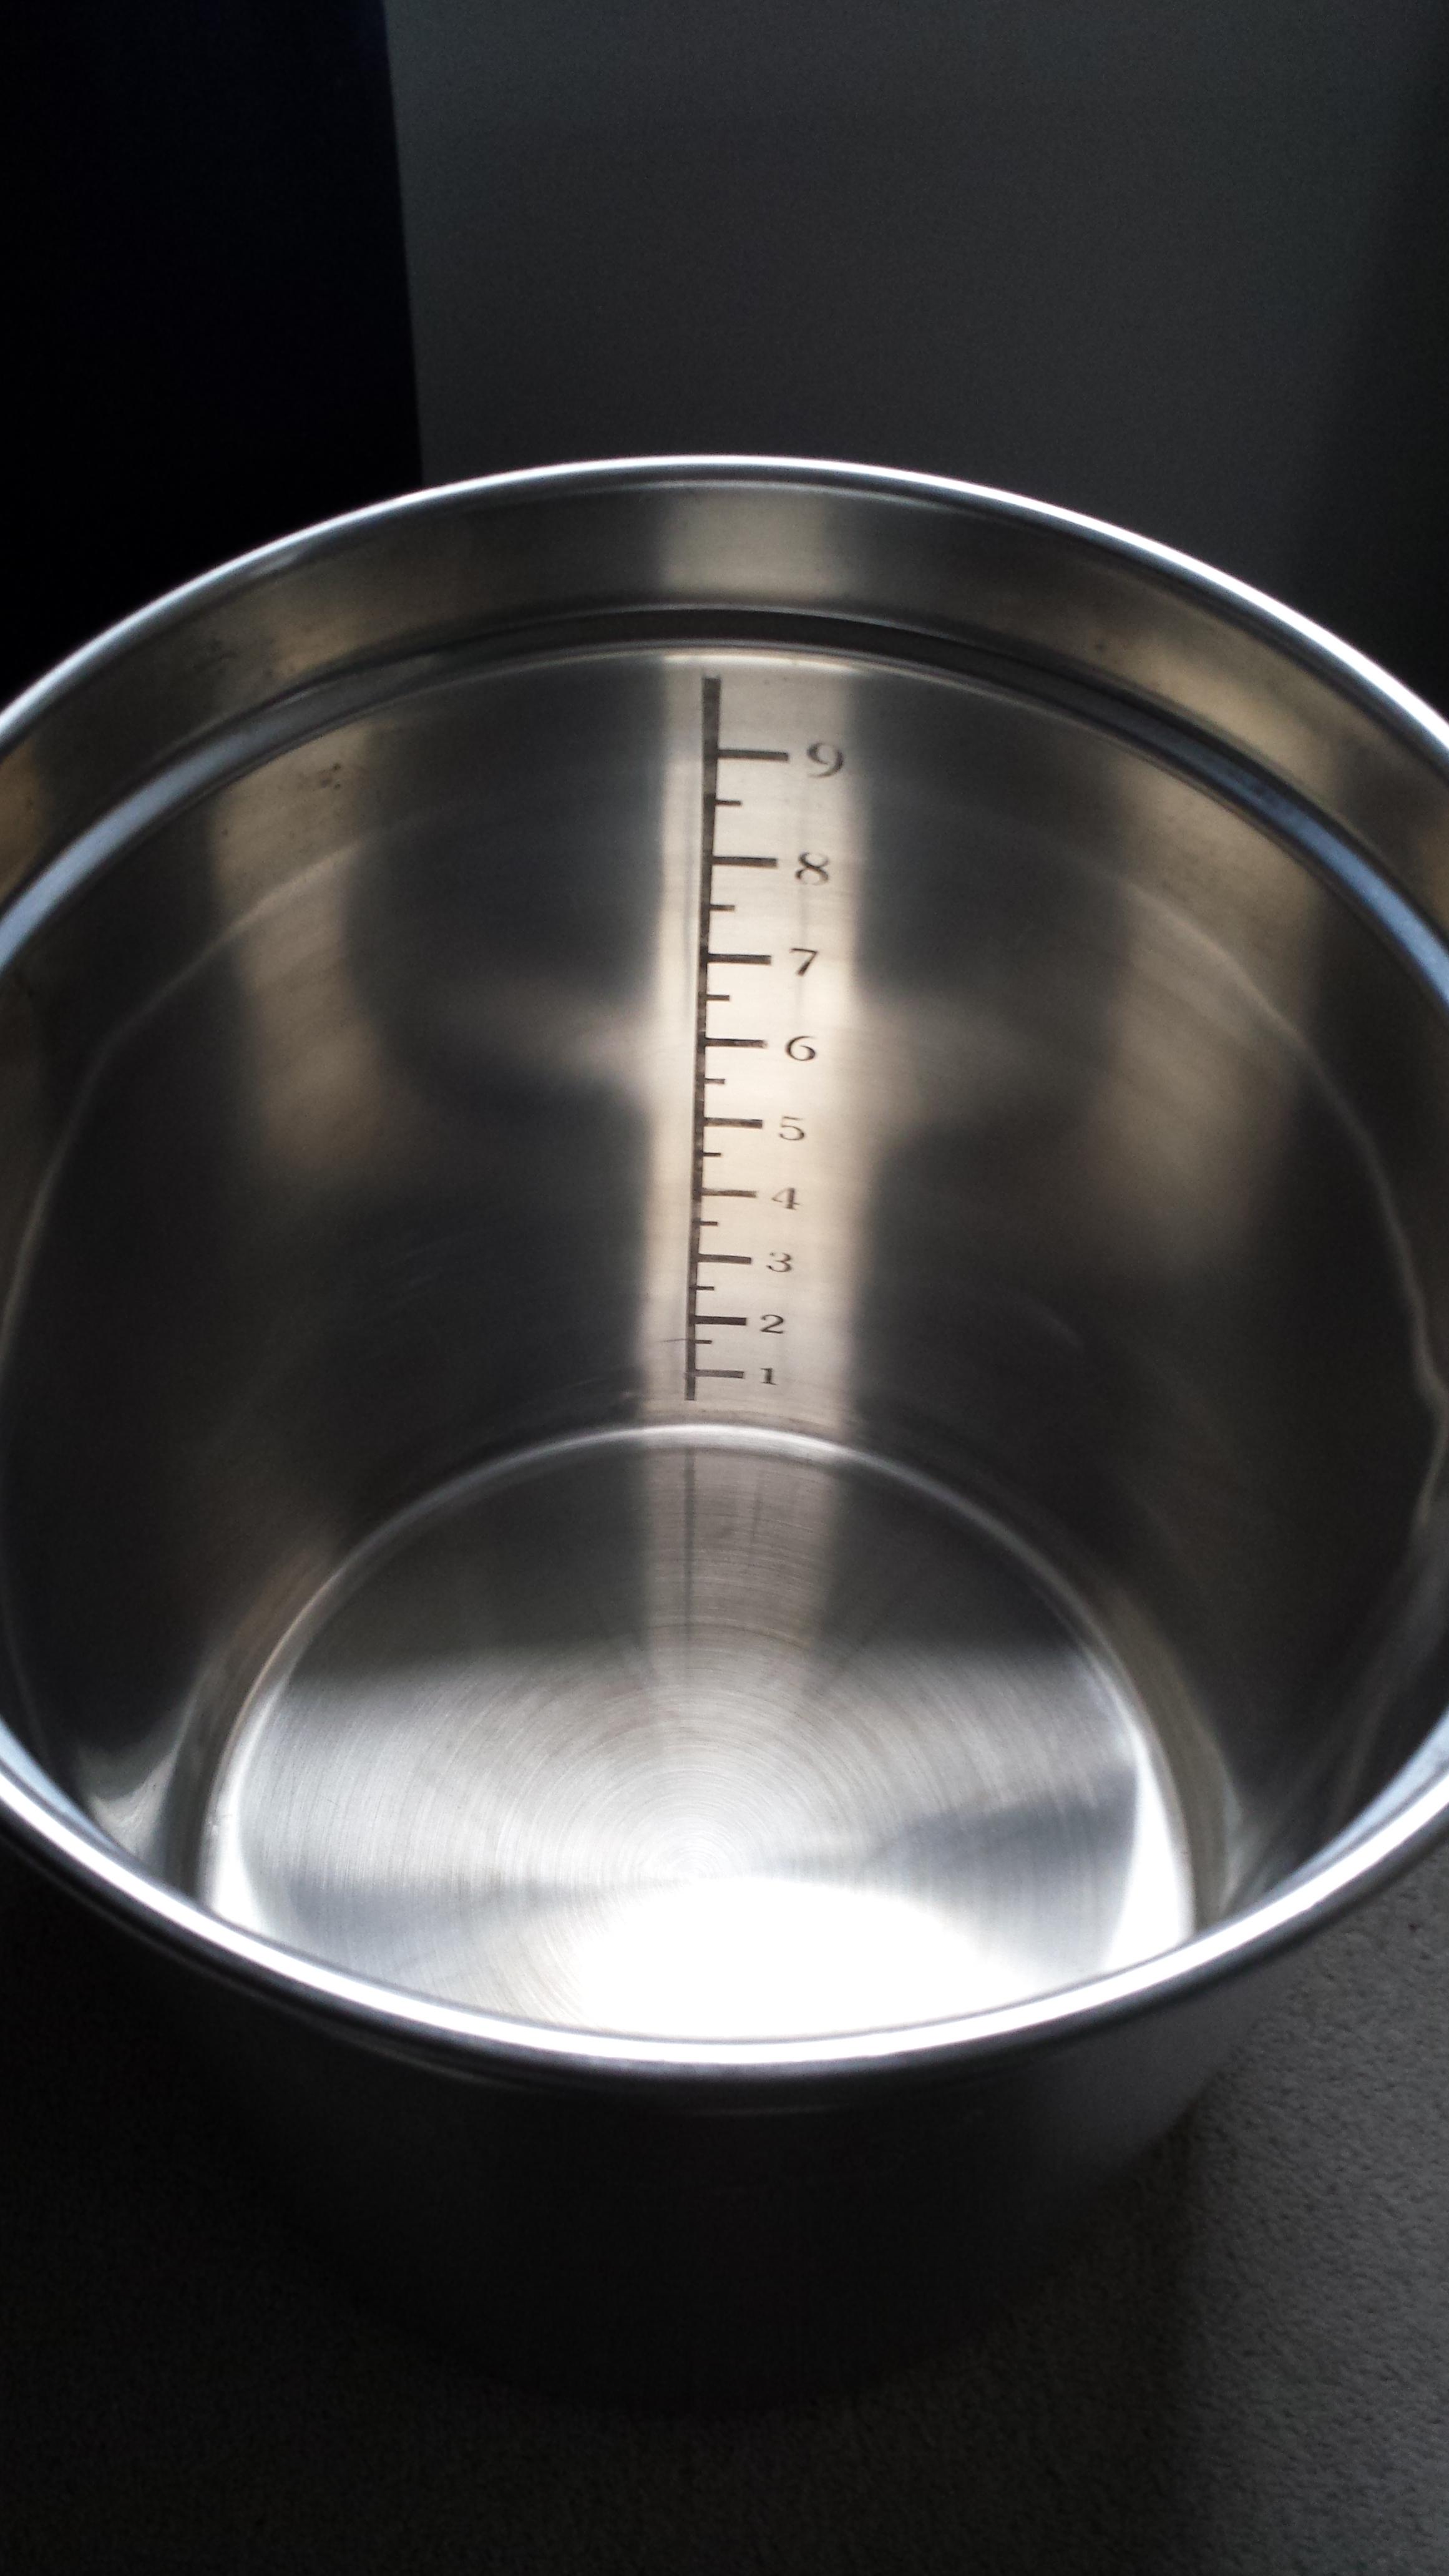
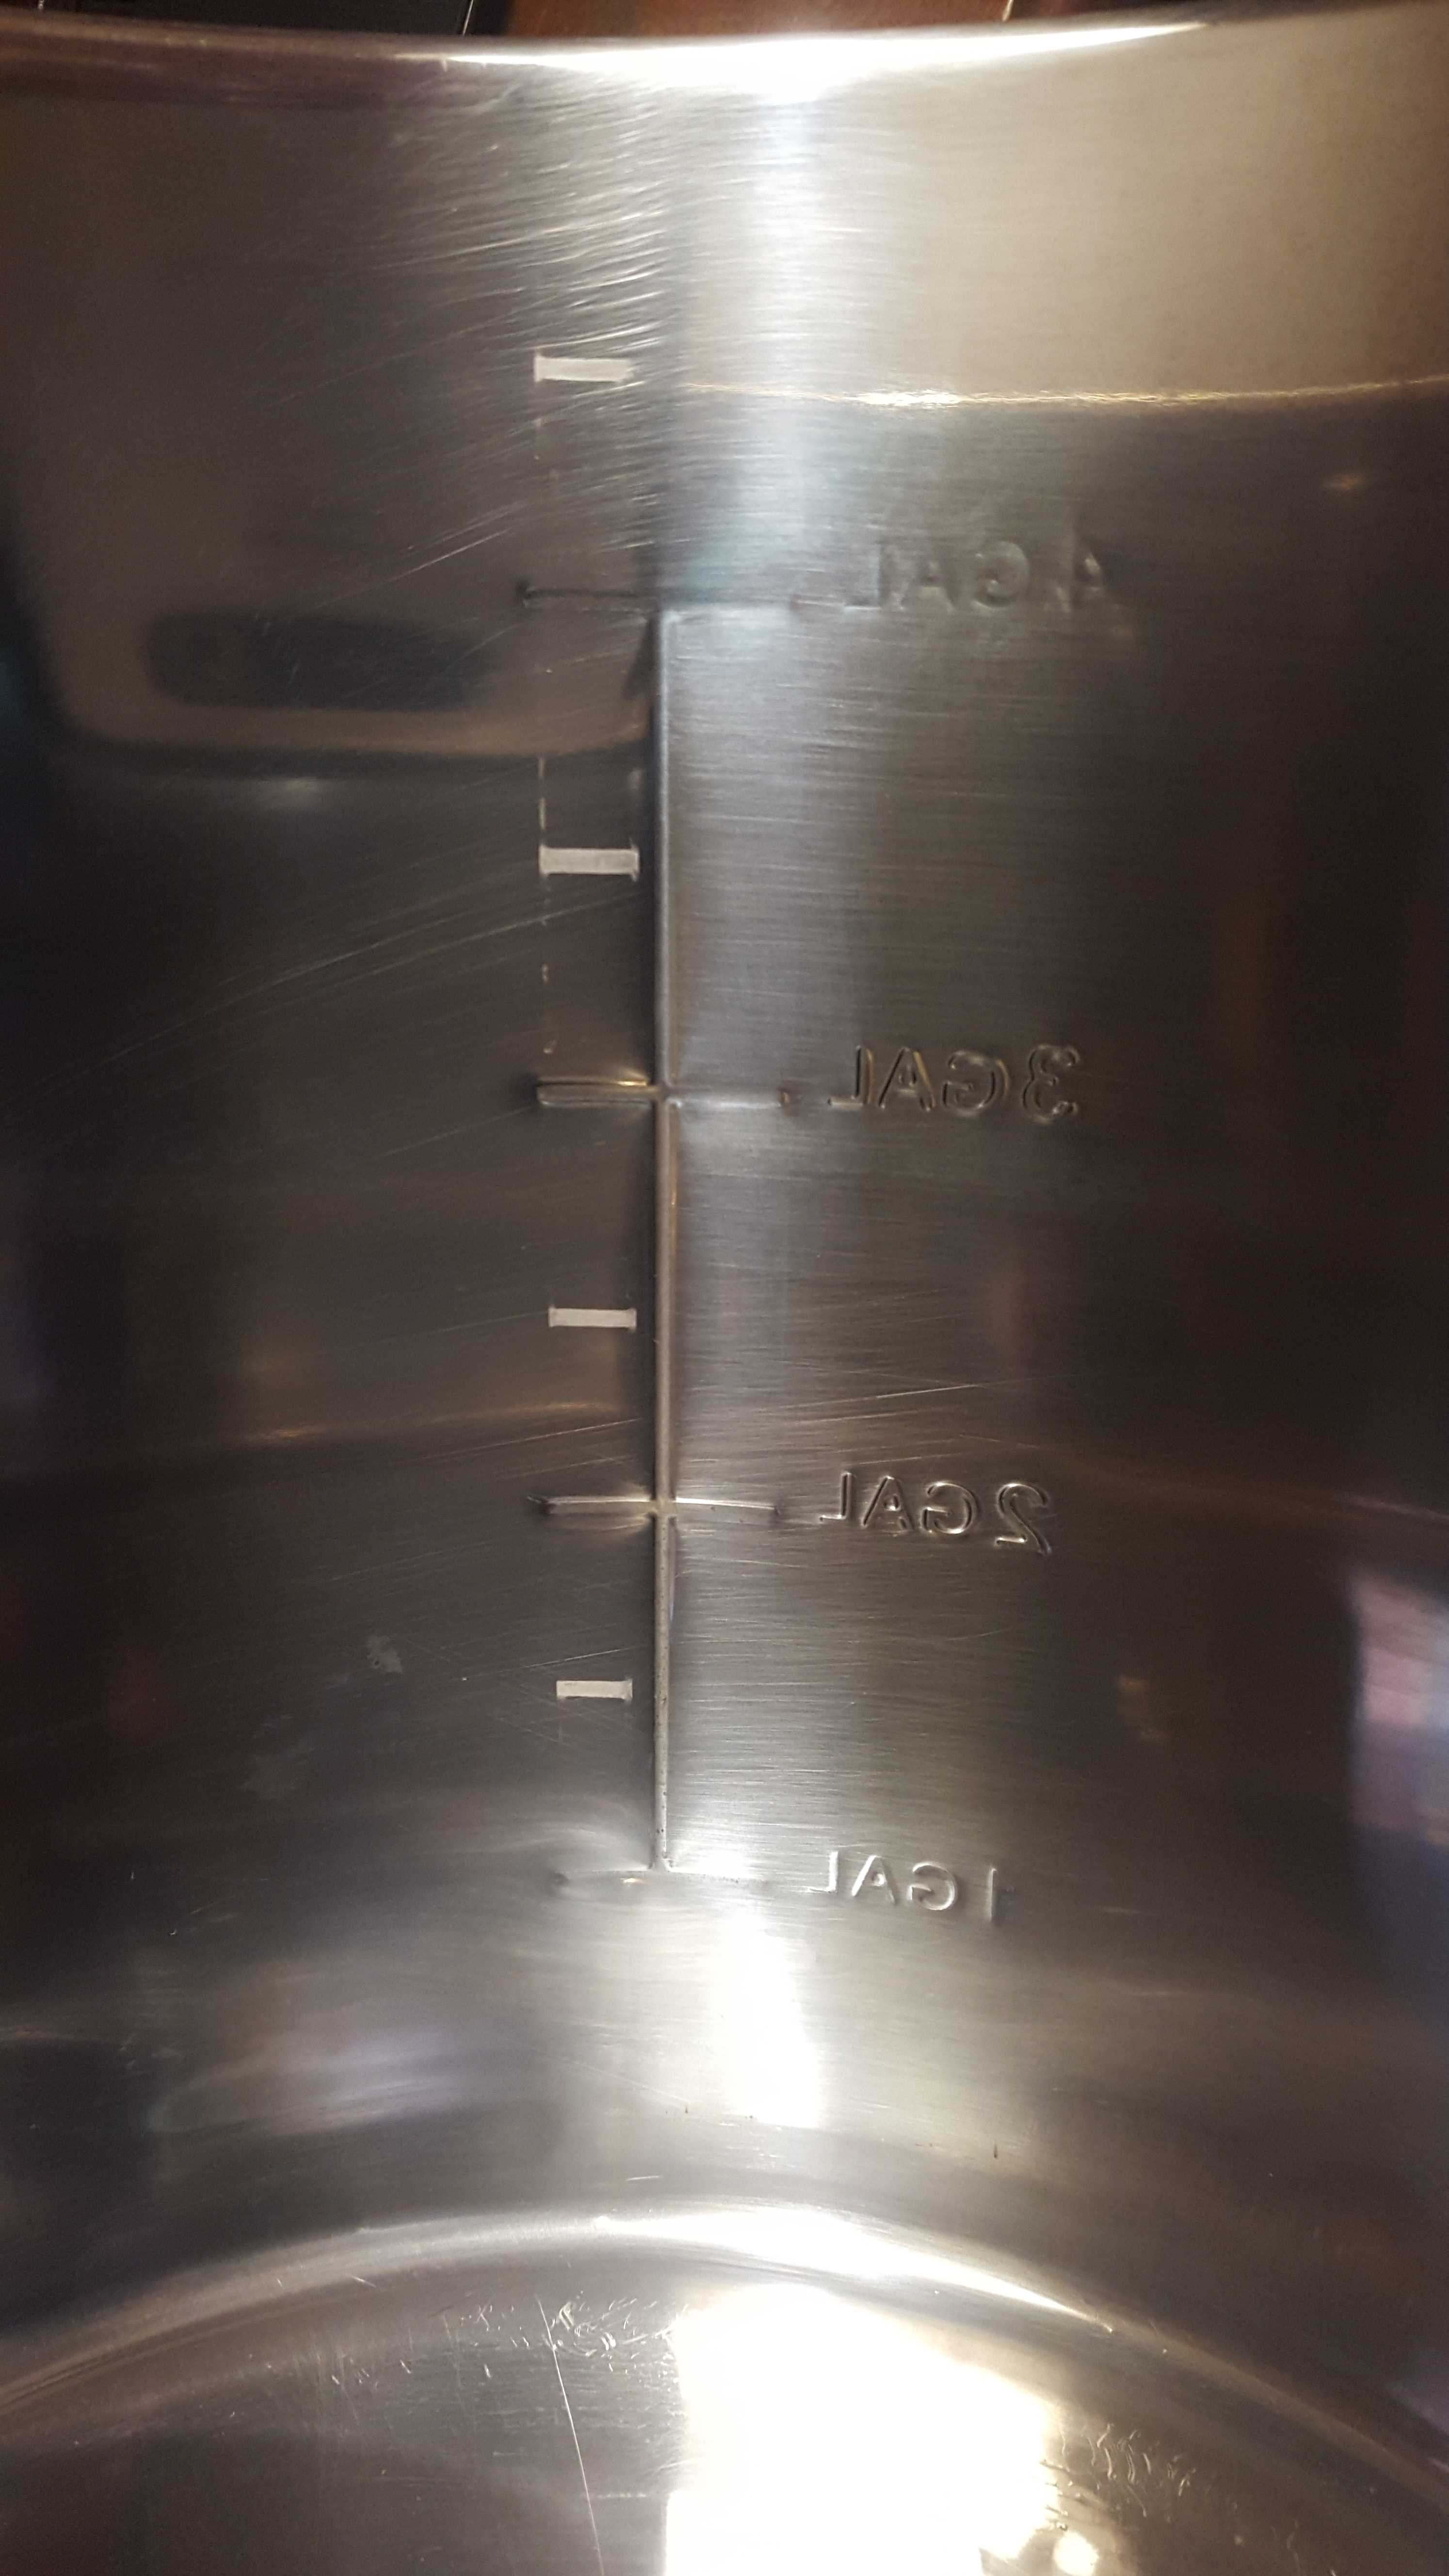
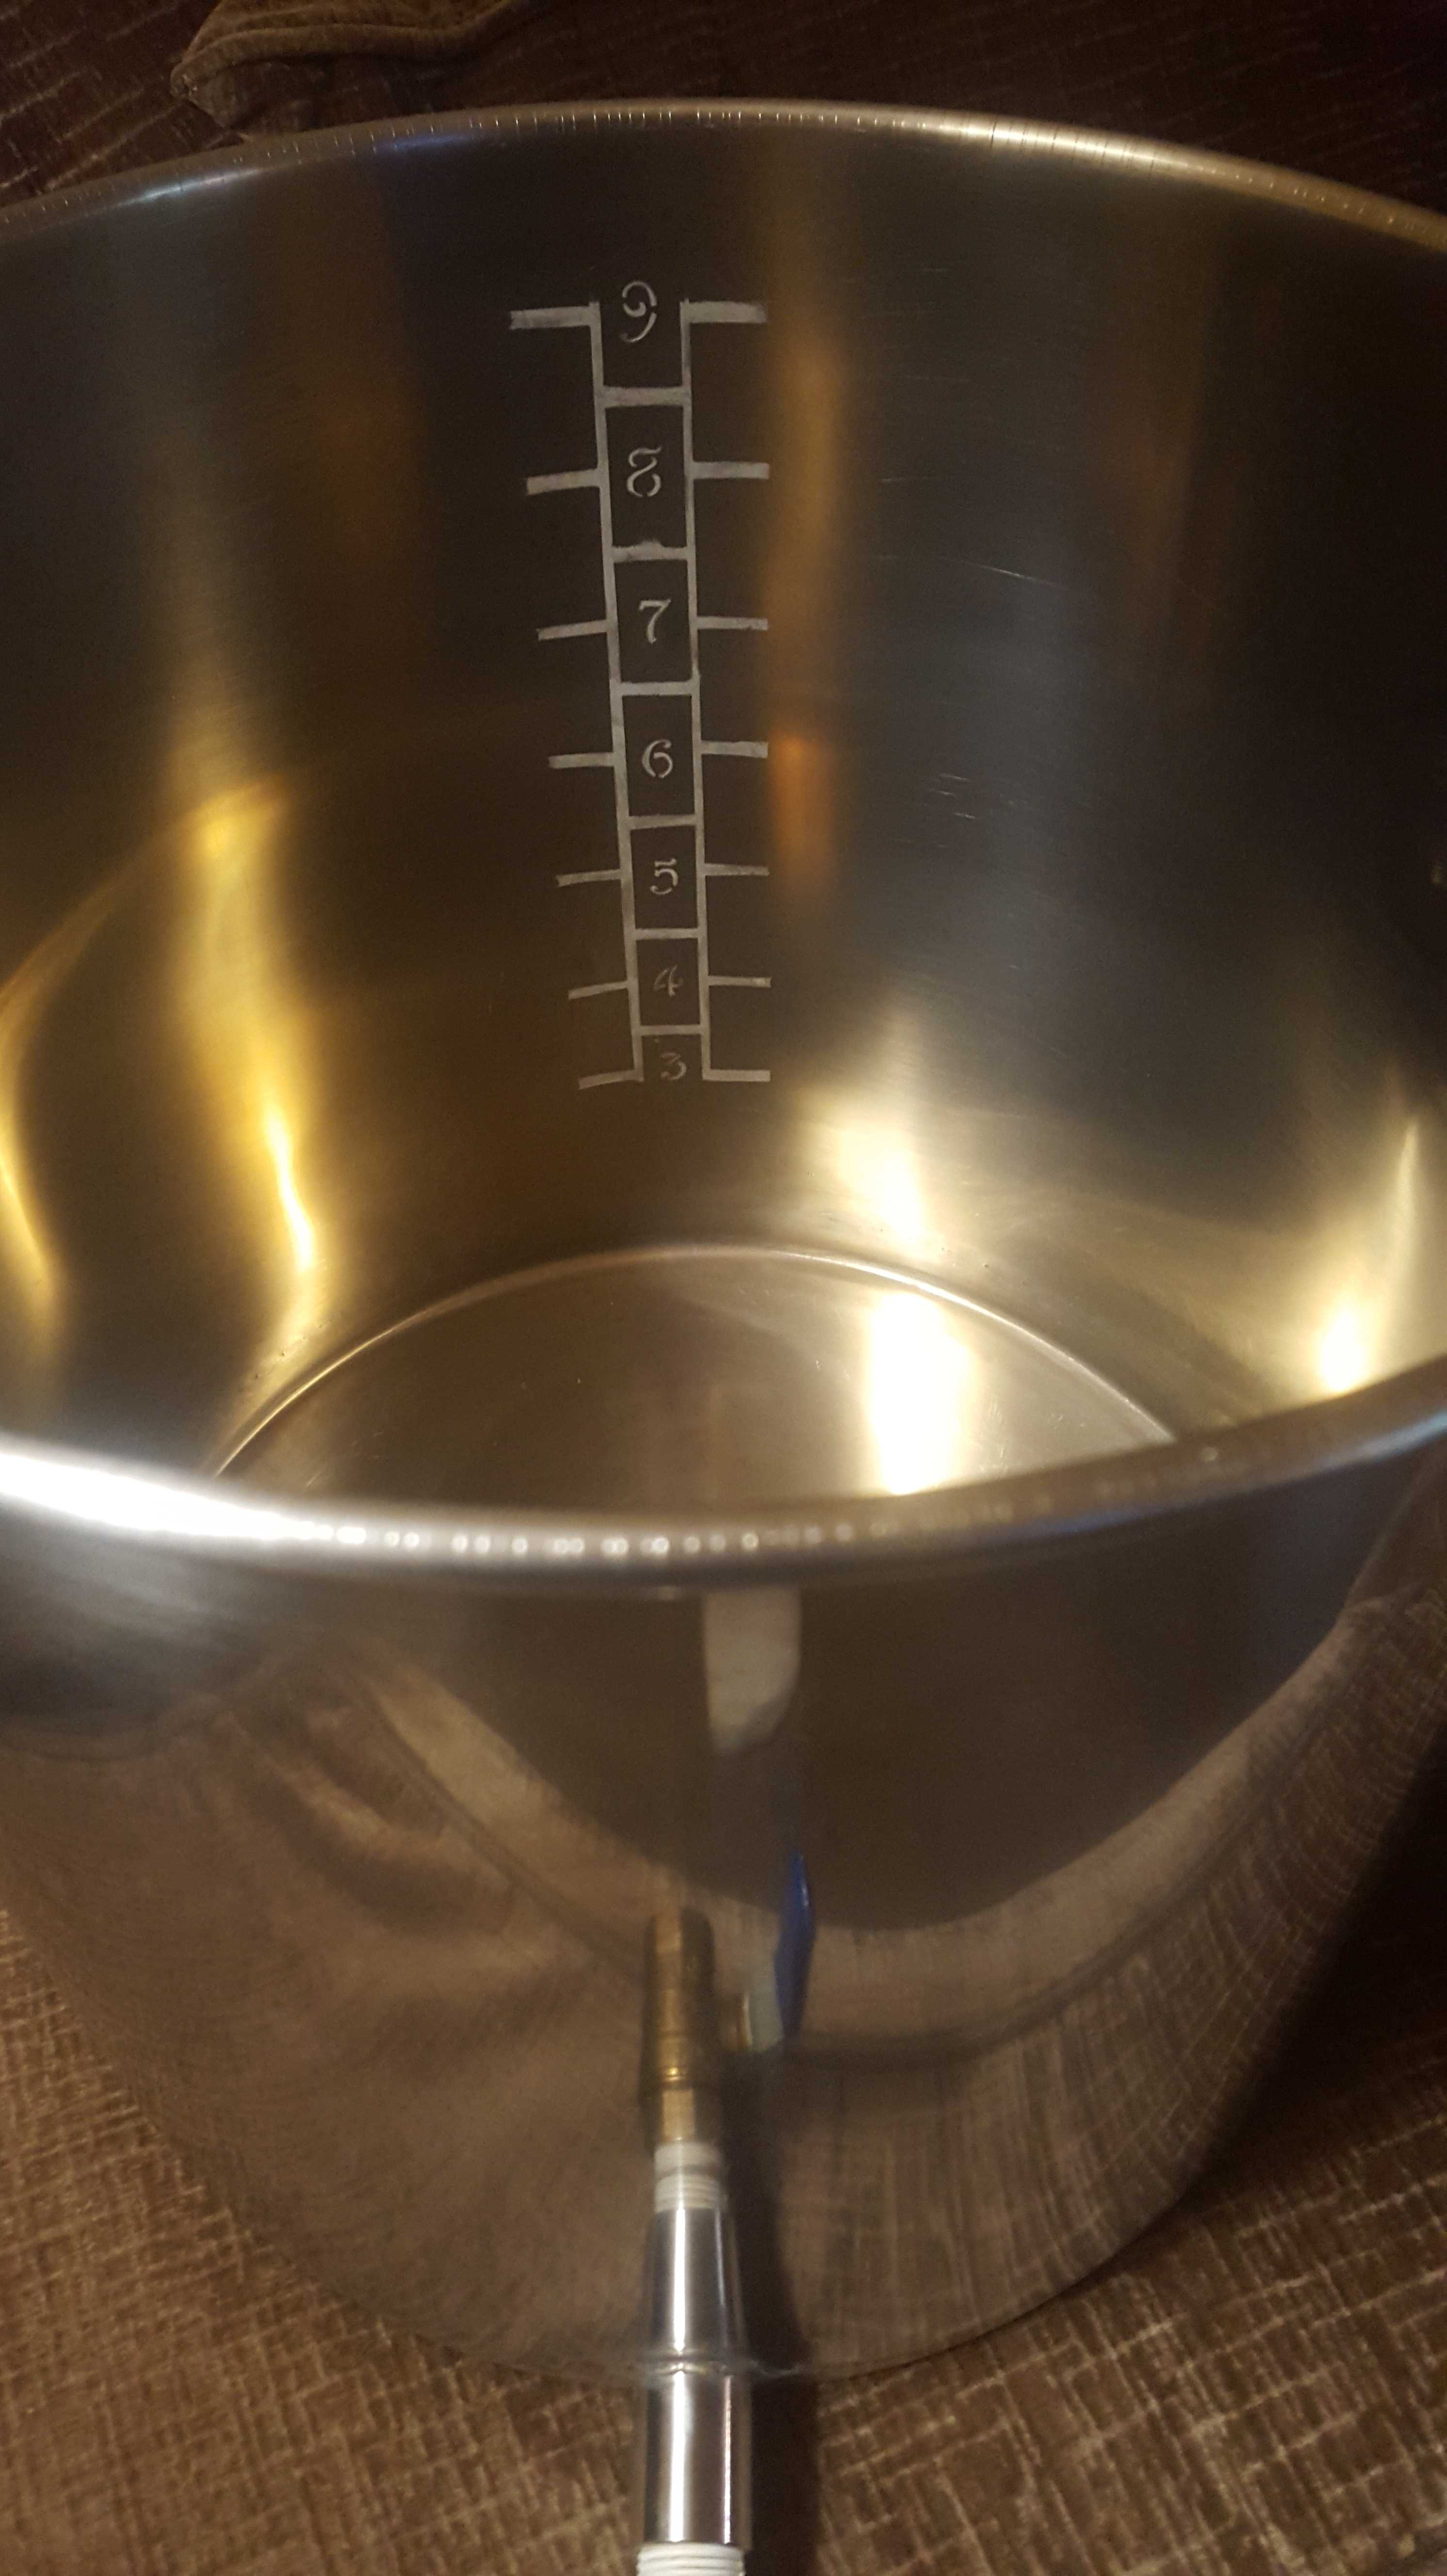
I spent over an hour, carefully measuring and marking my kettle. Mixed the vinegar / salt solution, wired the 9v battery, dipped the Q-tip in the solution, tested it against the underside of the kettle nothing. I tested the wiring with my voltmeter and it reads 9.2v, I even made sure to take the reading from multiple places in the kettle to make sure I had good continuity. Tried again. Nothing.
What gives? I mixed 1/4 cup vinegar with 1/4 tsp of salt. Should I have used more salt?
I go with as much salt as I can get to dissolve in the vinegar. I typically have a few grains too much and they just knock around in the bottom of the little bowl.
For me it's probably 1/4cup vinegar to 1 tablespoon of salt


![Craft A Brew - Safale BE-256 Yeast - Fermentis - Belgian Ale Dry Yeast - For Belgian & Strong Ales - Ingredients for Home Brewing - Beer Making Supplies - [3 Pack]](https://m.media-amazon.com/images/I/51bcKEwQmWL._SL500_.jpg)