• Please visit and share your knowledge at our sister communities:
  • If you have not, please join our official Homebrewing Facebook Group!

    Homebrewing Facebook Group

Homemade RIMS system and water filter build

Homebrew Talk

Help Support Homebrew Talk:

This site may earn a commission from merchant affiliate links, including eBay, Amazon, and others.

JasonO

Well-Known Member
Joined
Apr 19, 2011
Messages
84
Reaction score
5
Location
Darien
After all sorts of mash temperature issues I finally decided to build a RIMS system. To start I went with a cheap Ebay controller. I bought the tri-clamp tube from brewershardware and all I can say is wow!! They have a great product and it only took a few days to get.

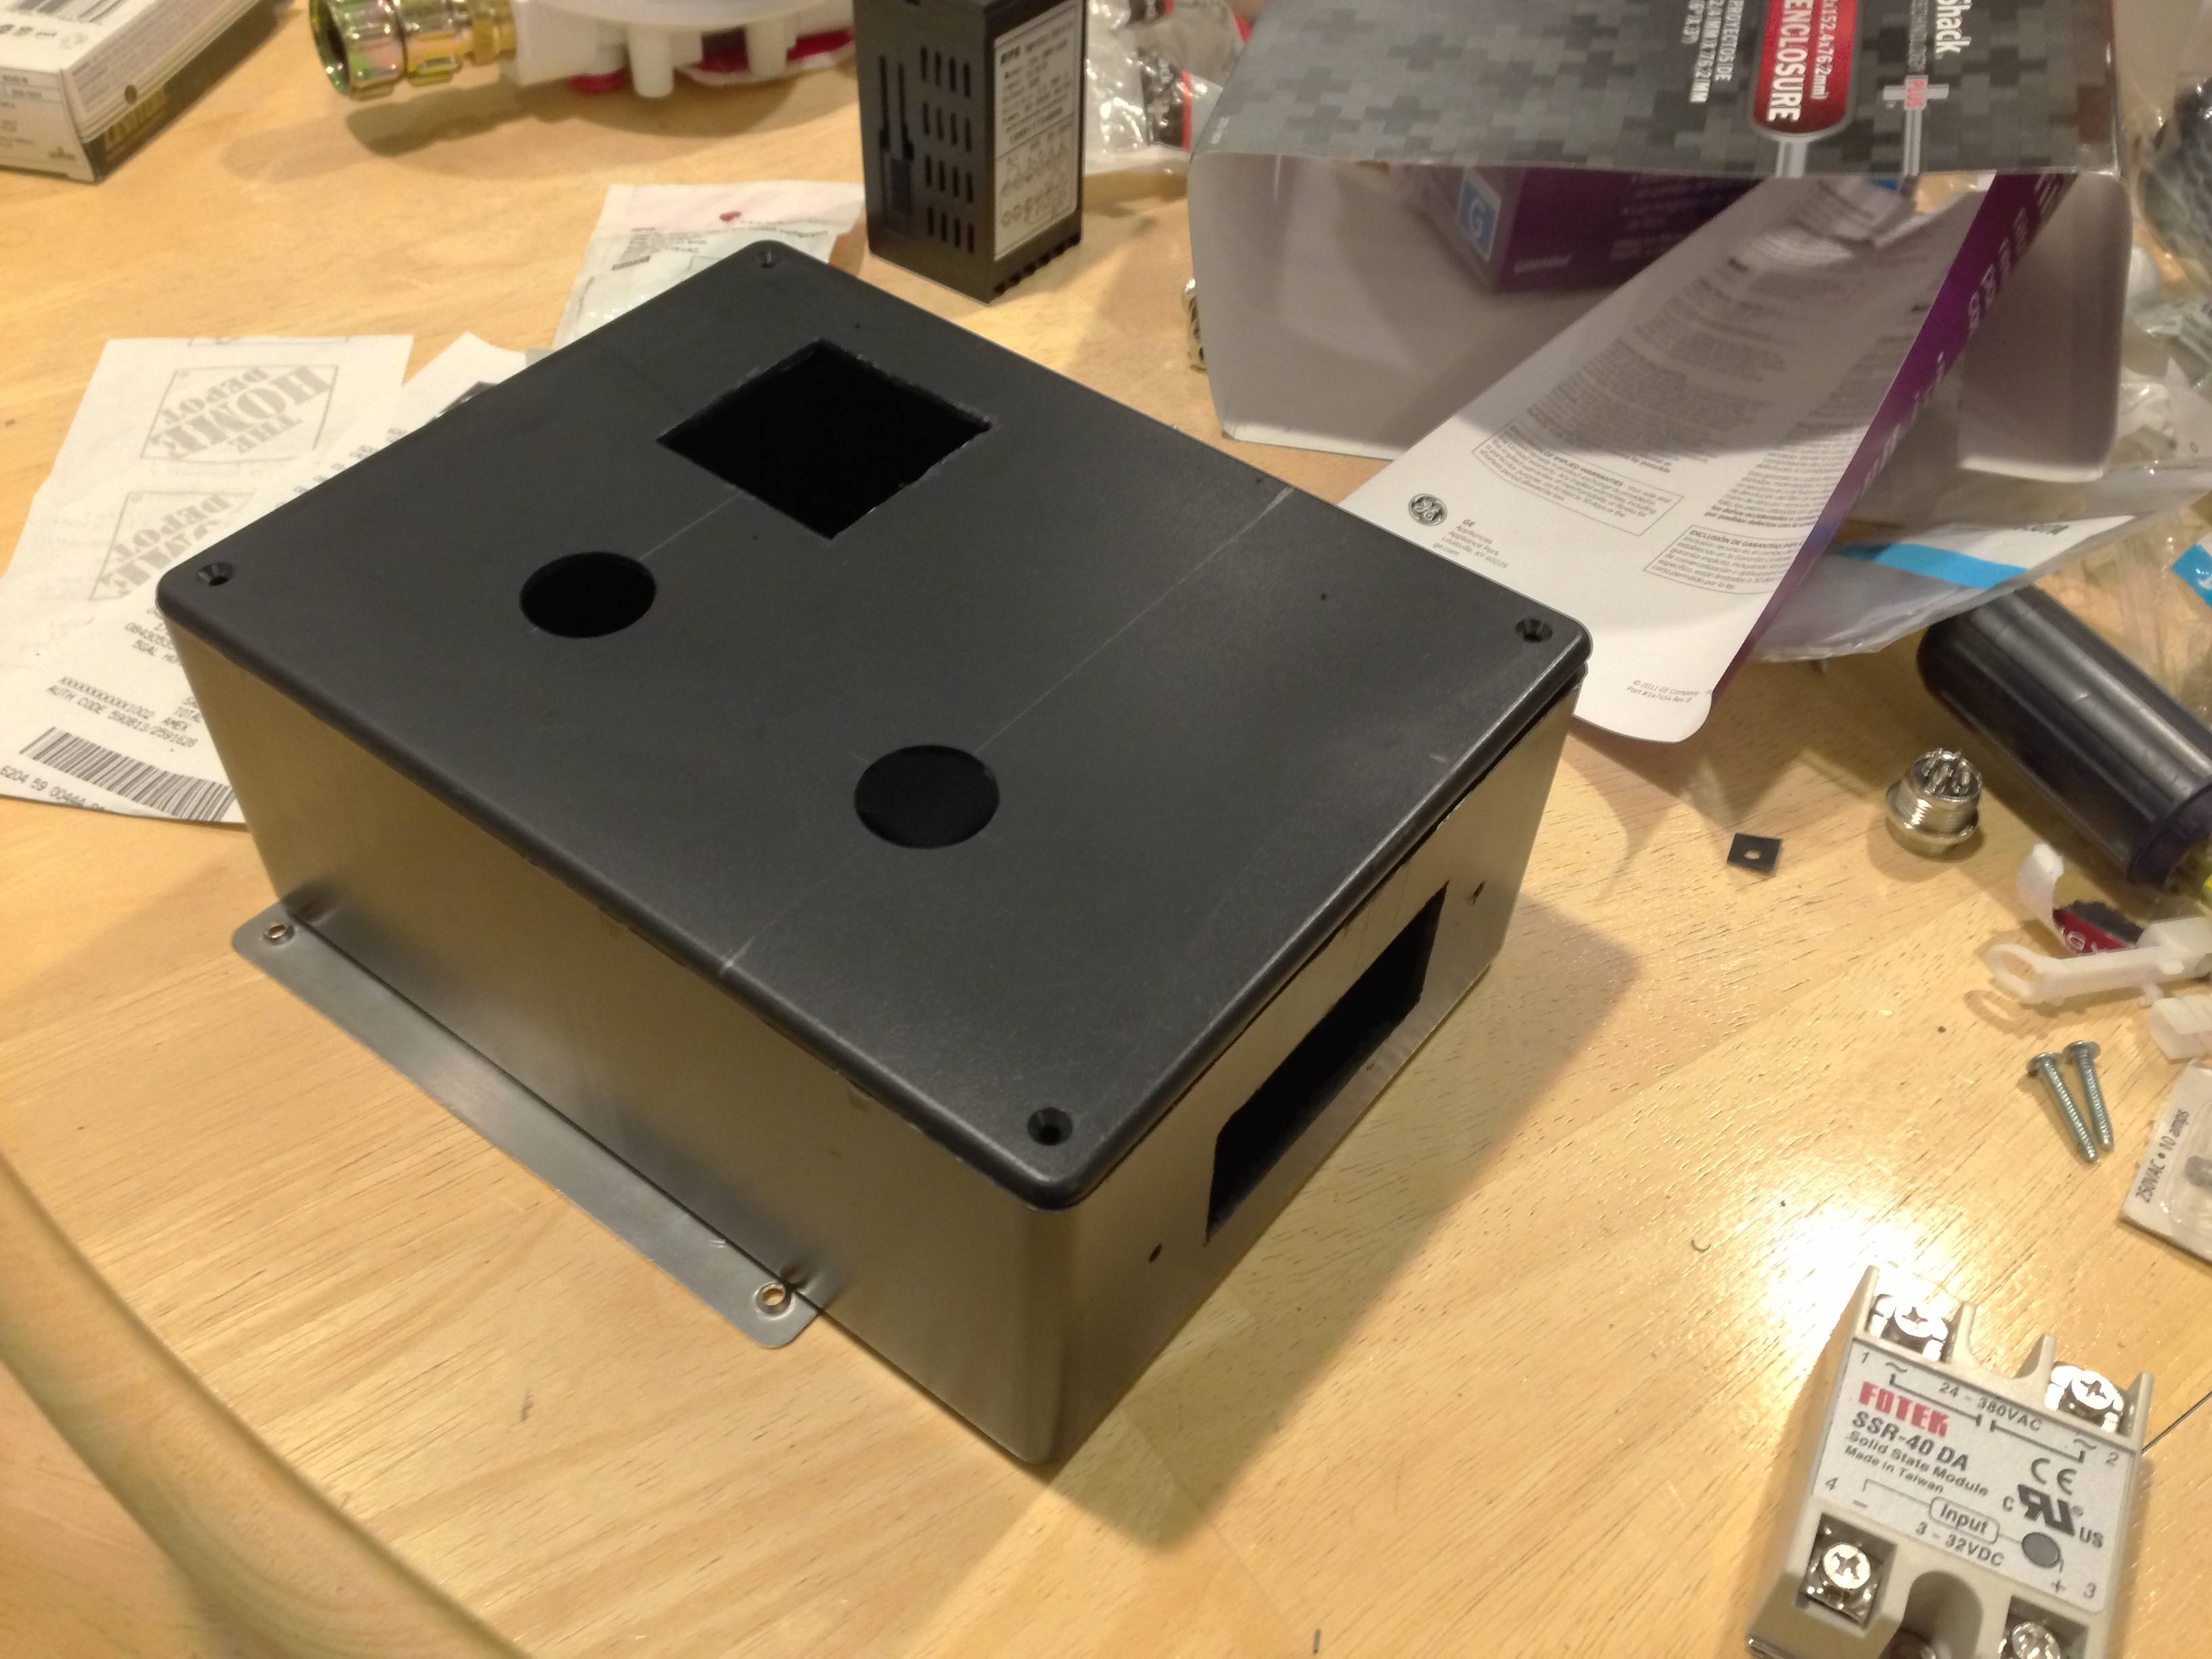
Tonight I went to Radio Shack and got most or the parts I needed for the controller box. I got everything cut out and mounted. Tomorrow I will be wiring things up and hopefully doing a dry run. I wanted to brew tomorrow but being so close to having this done I think I can wait a few more days.

Starting to cut the project box
sIDFk.jpg


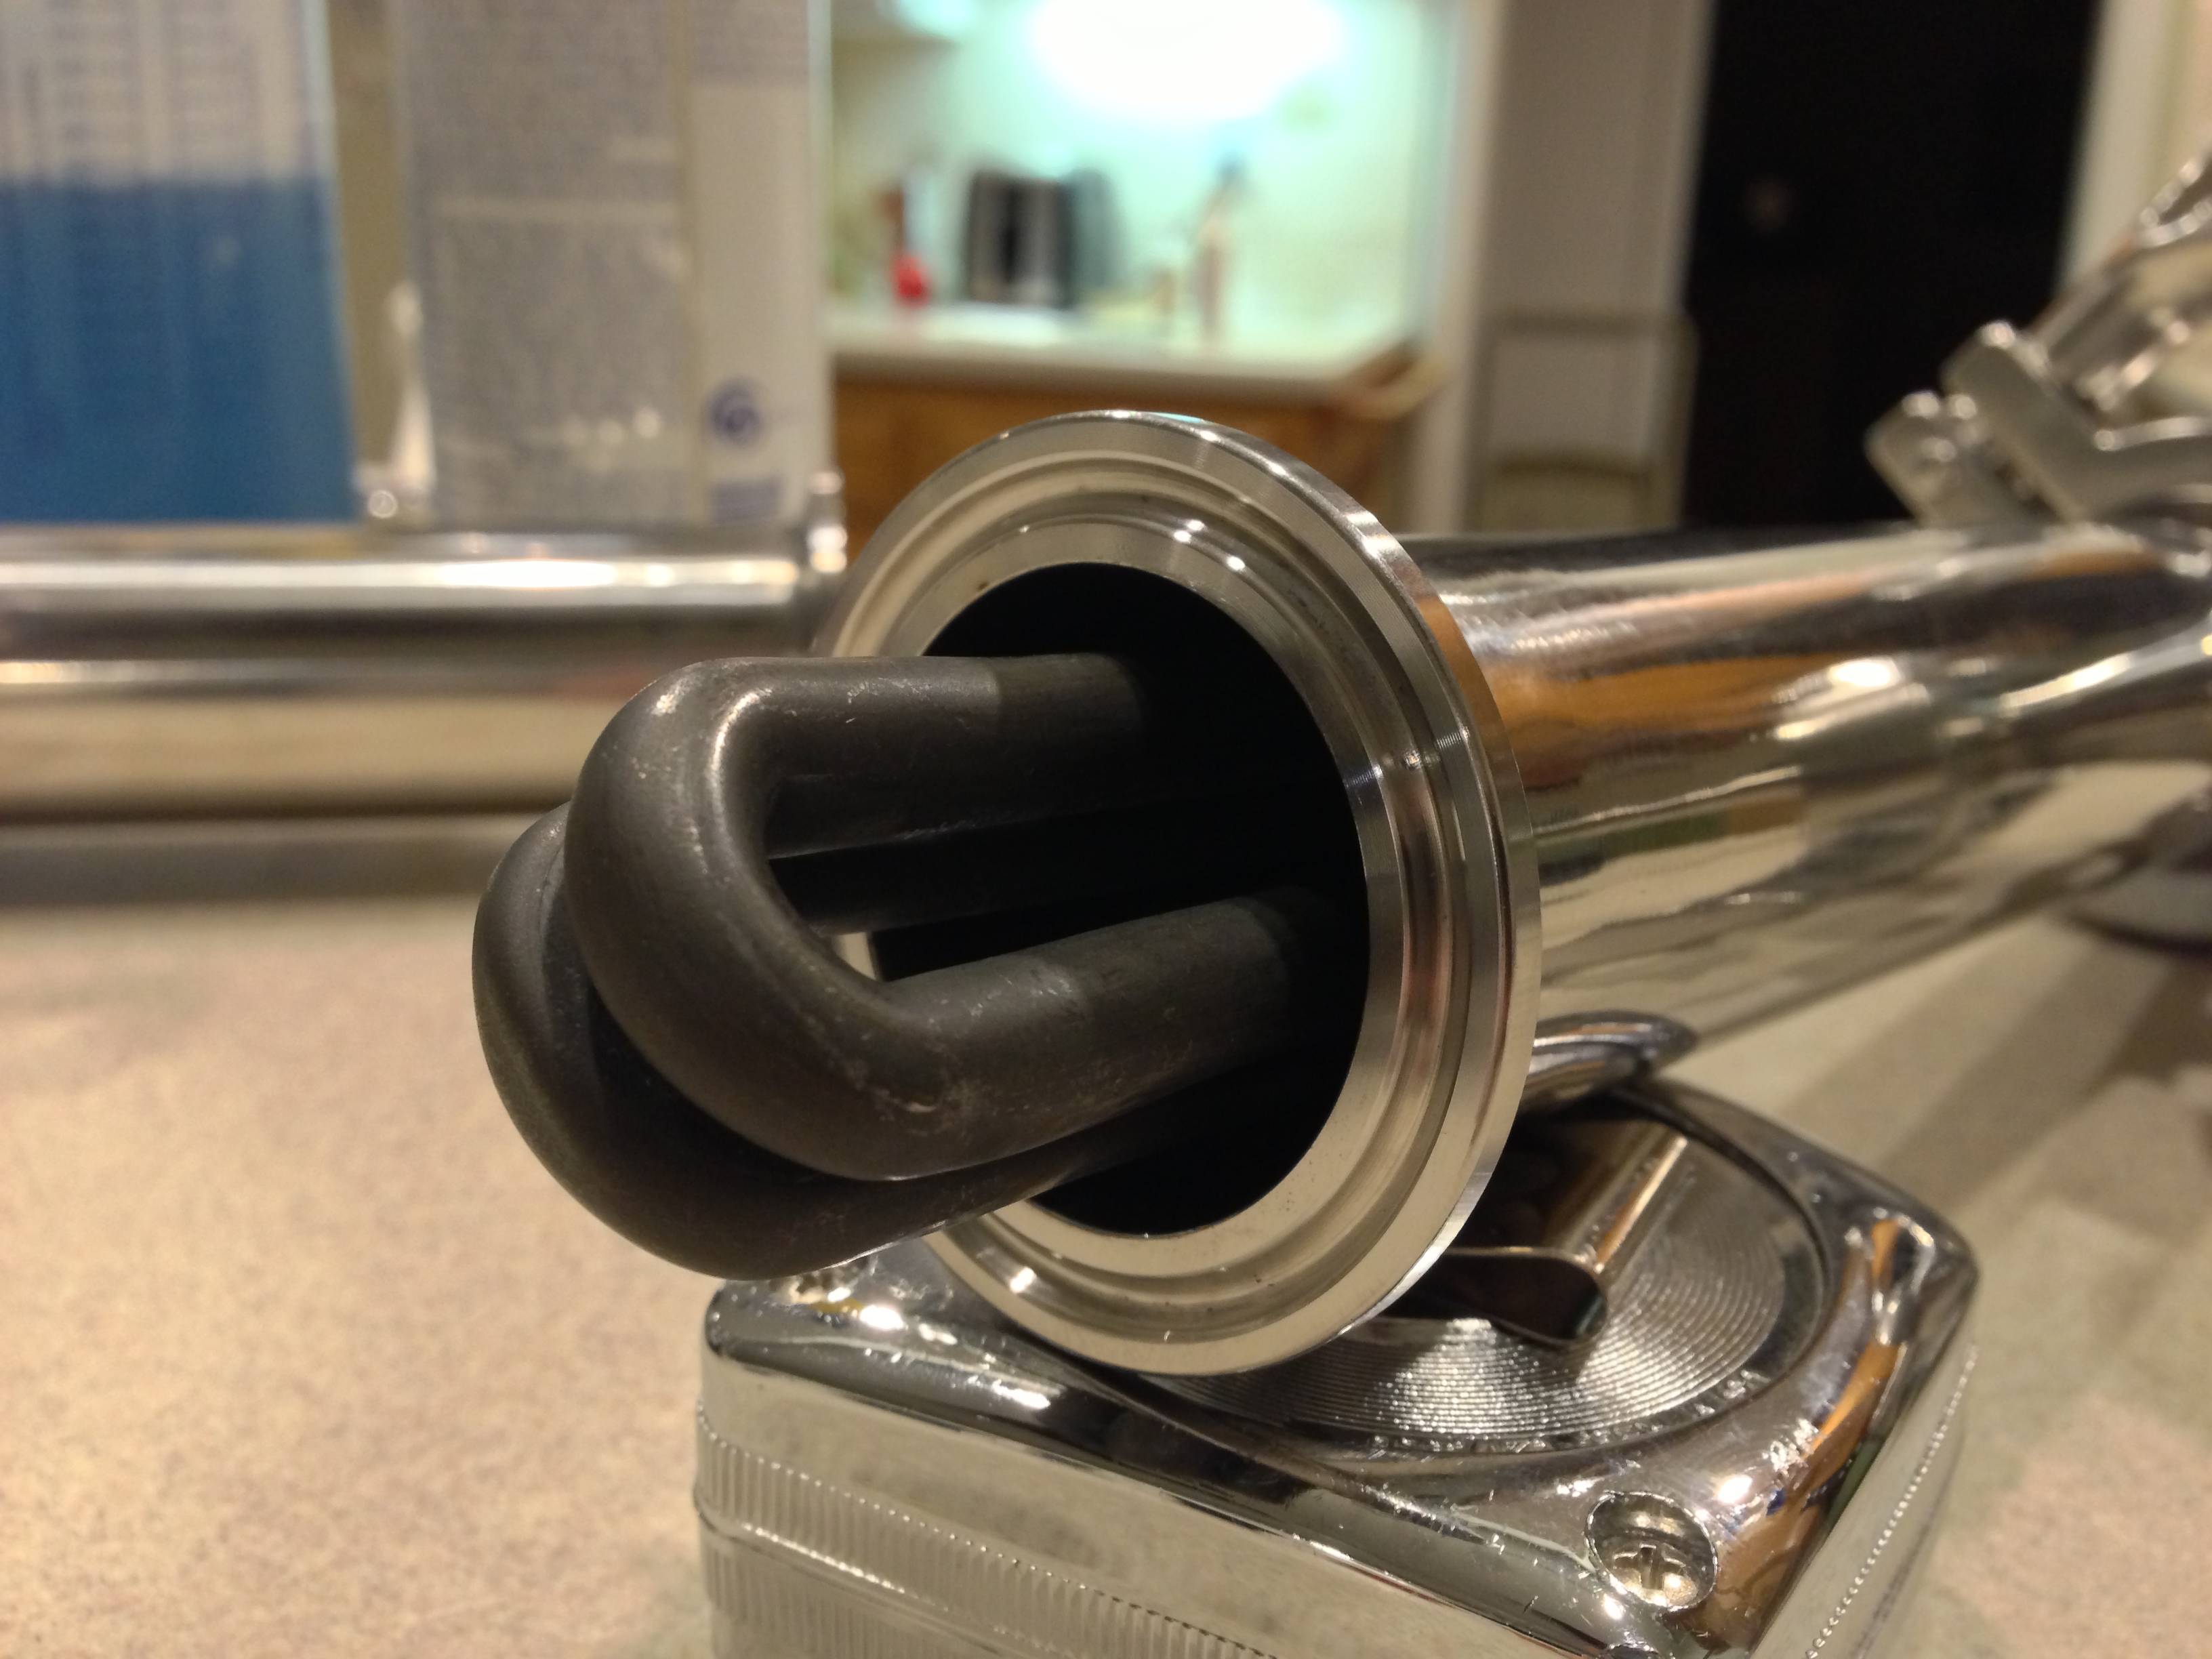
4500 watt 230vac heating element (will be running @ 120vac)
v2u3j.jpg


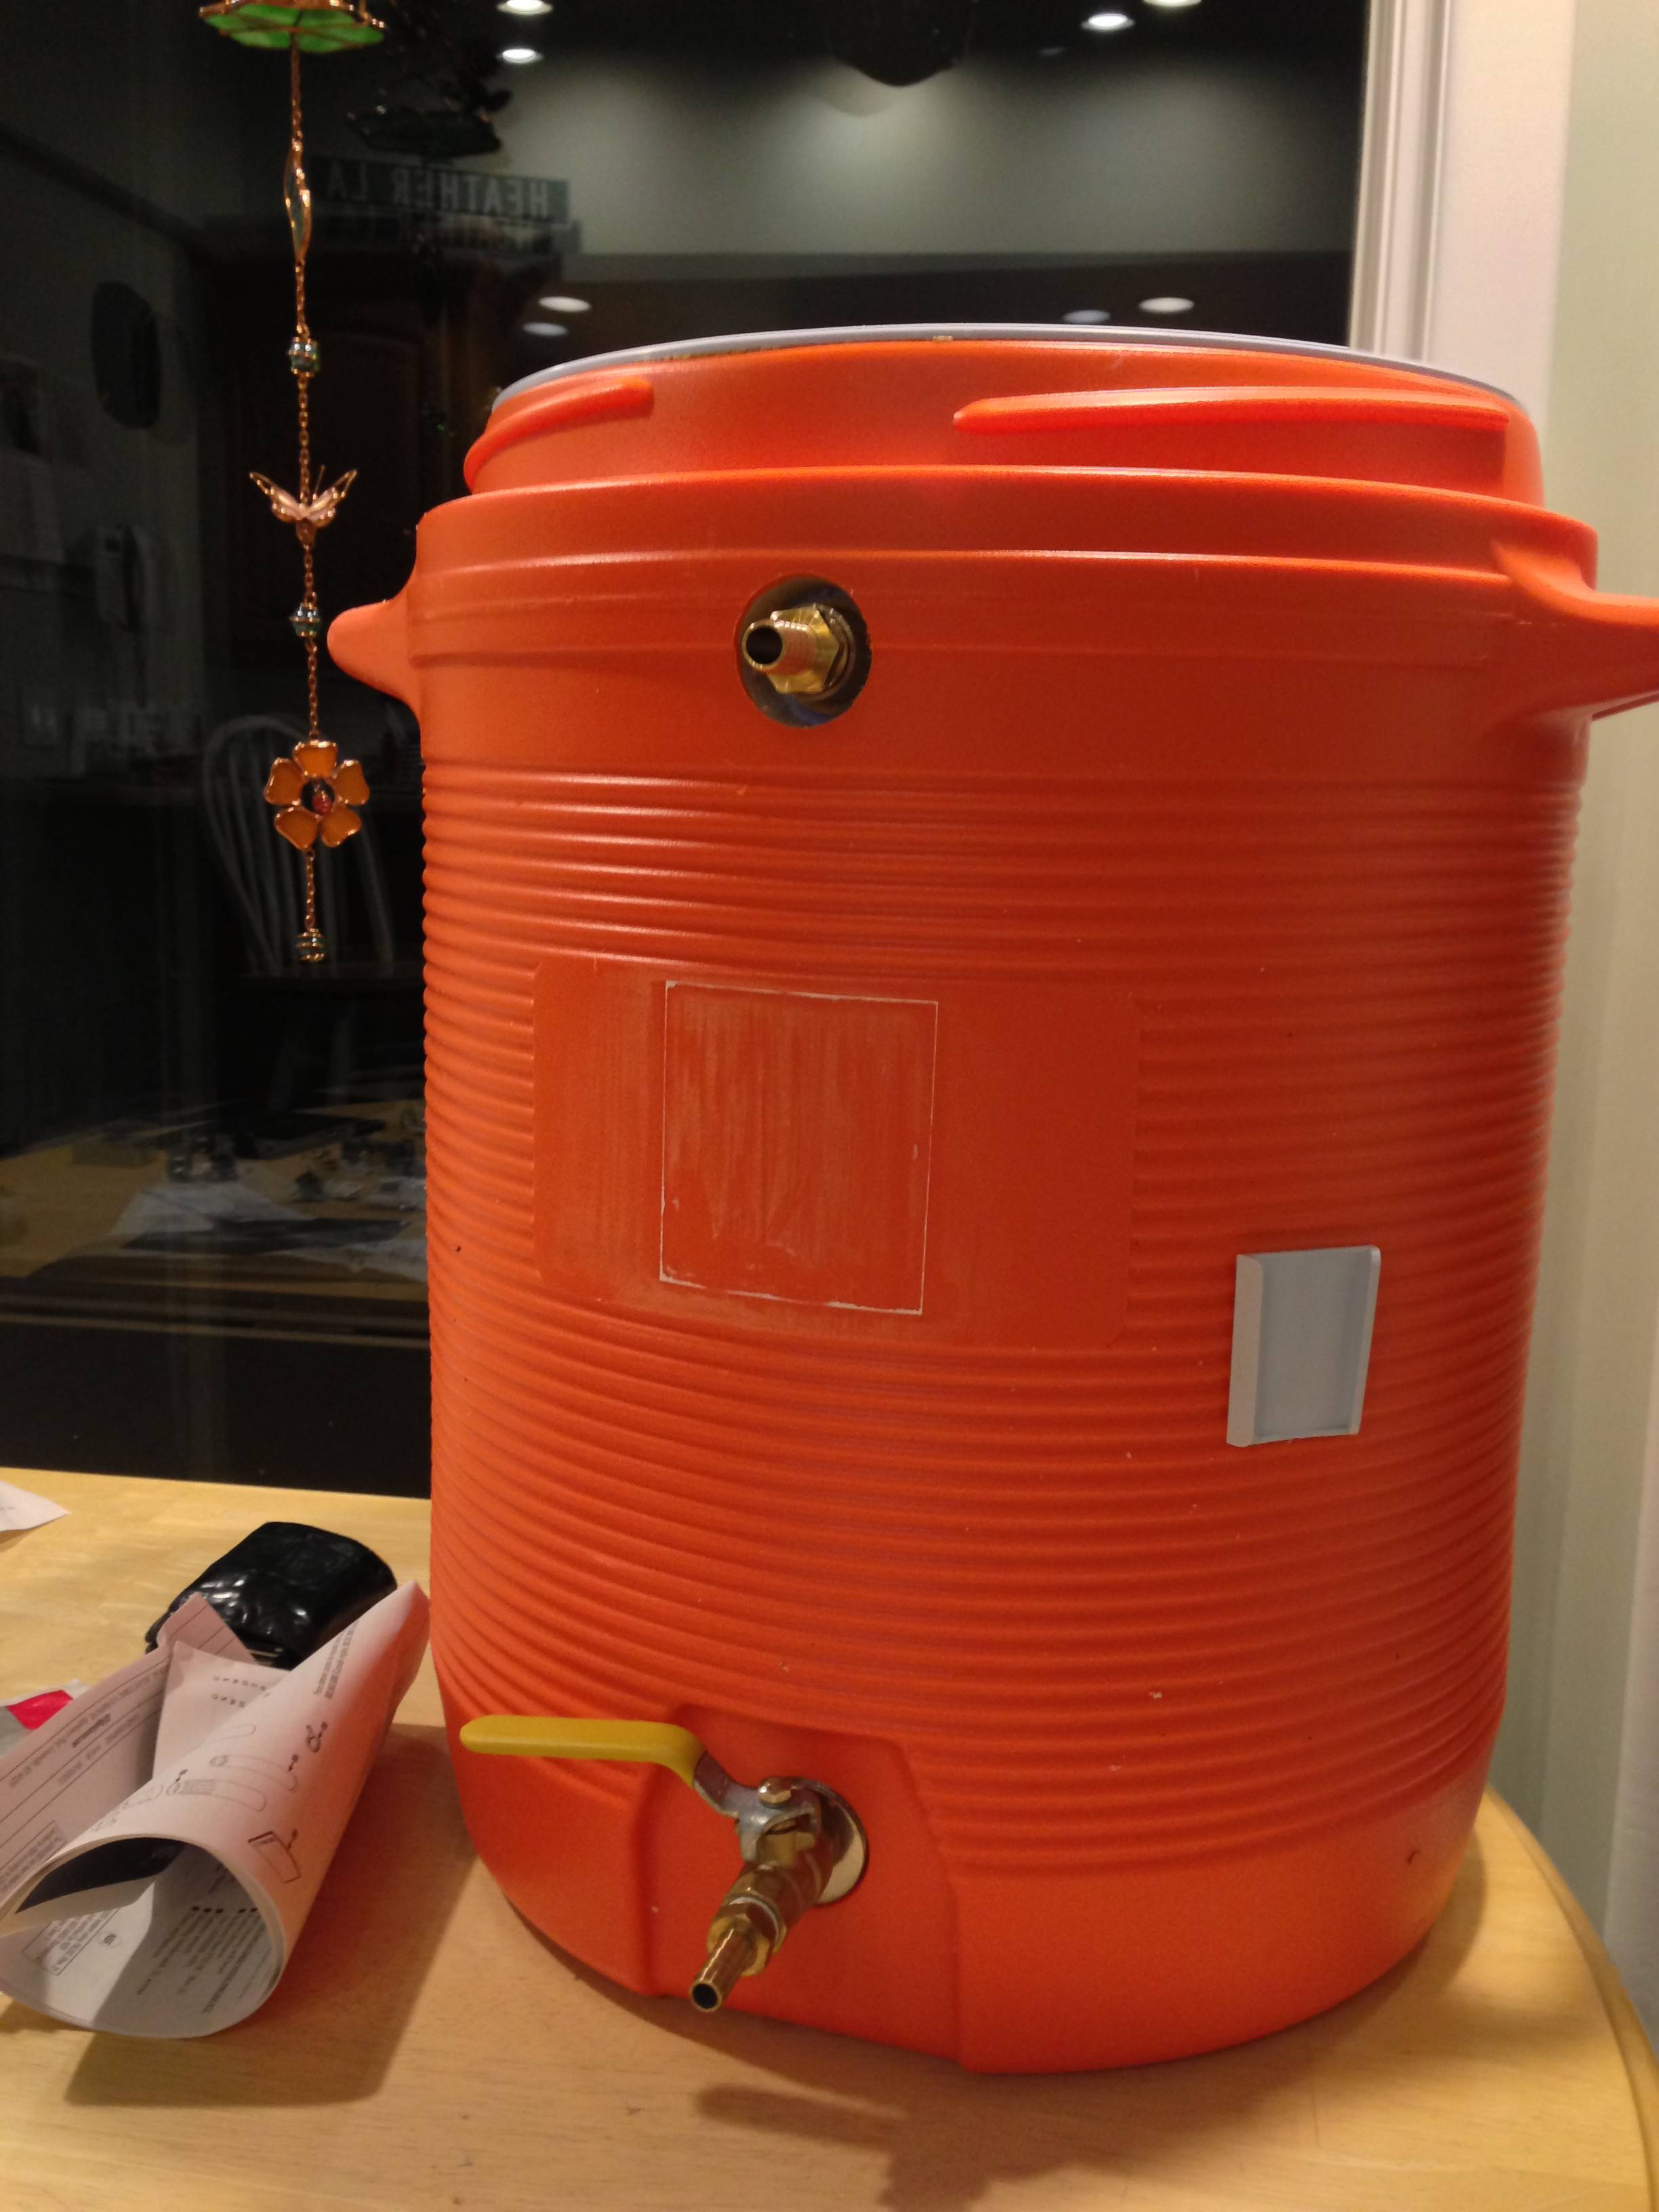
Return added to mash tun
zjqDs.jpg


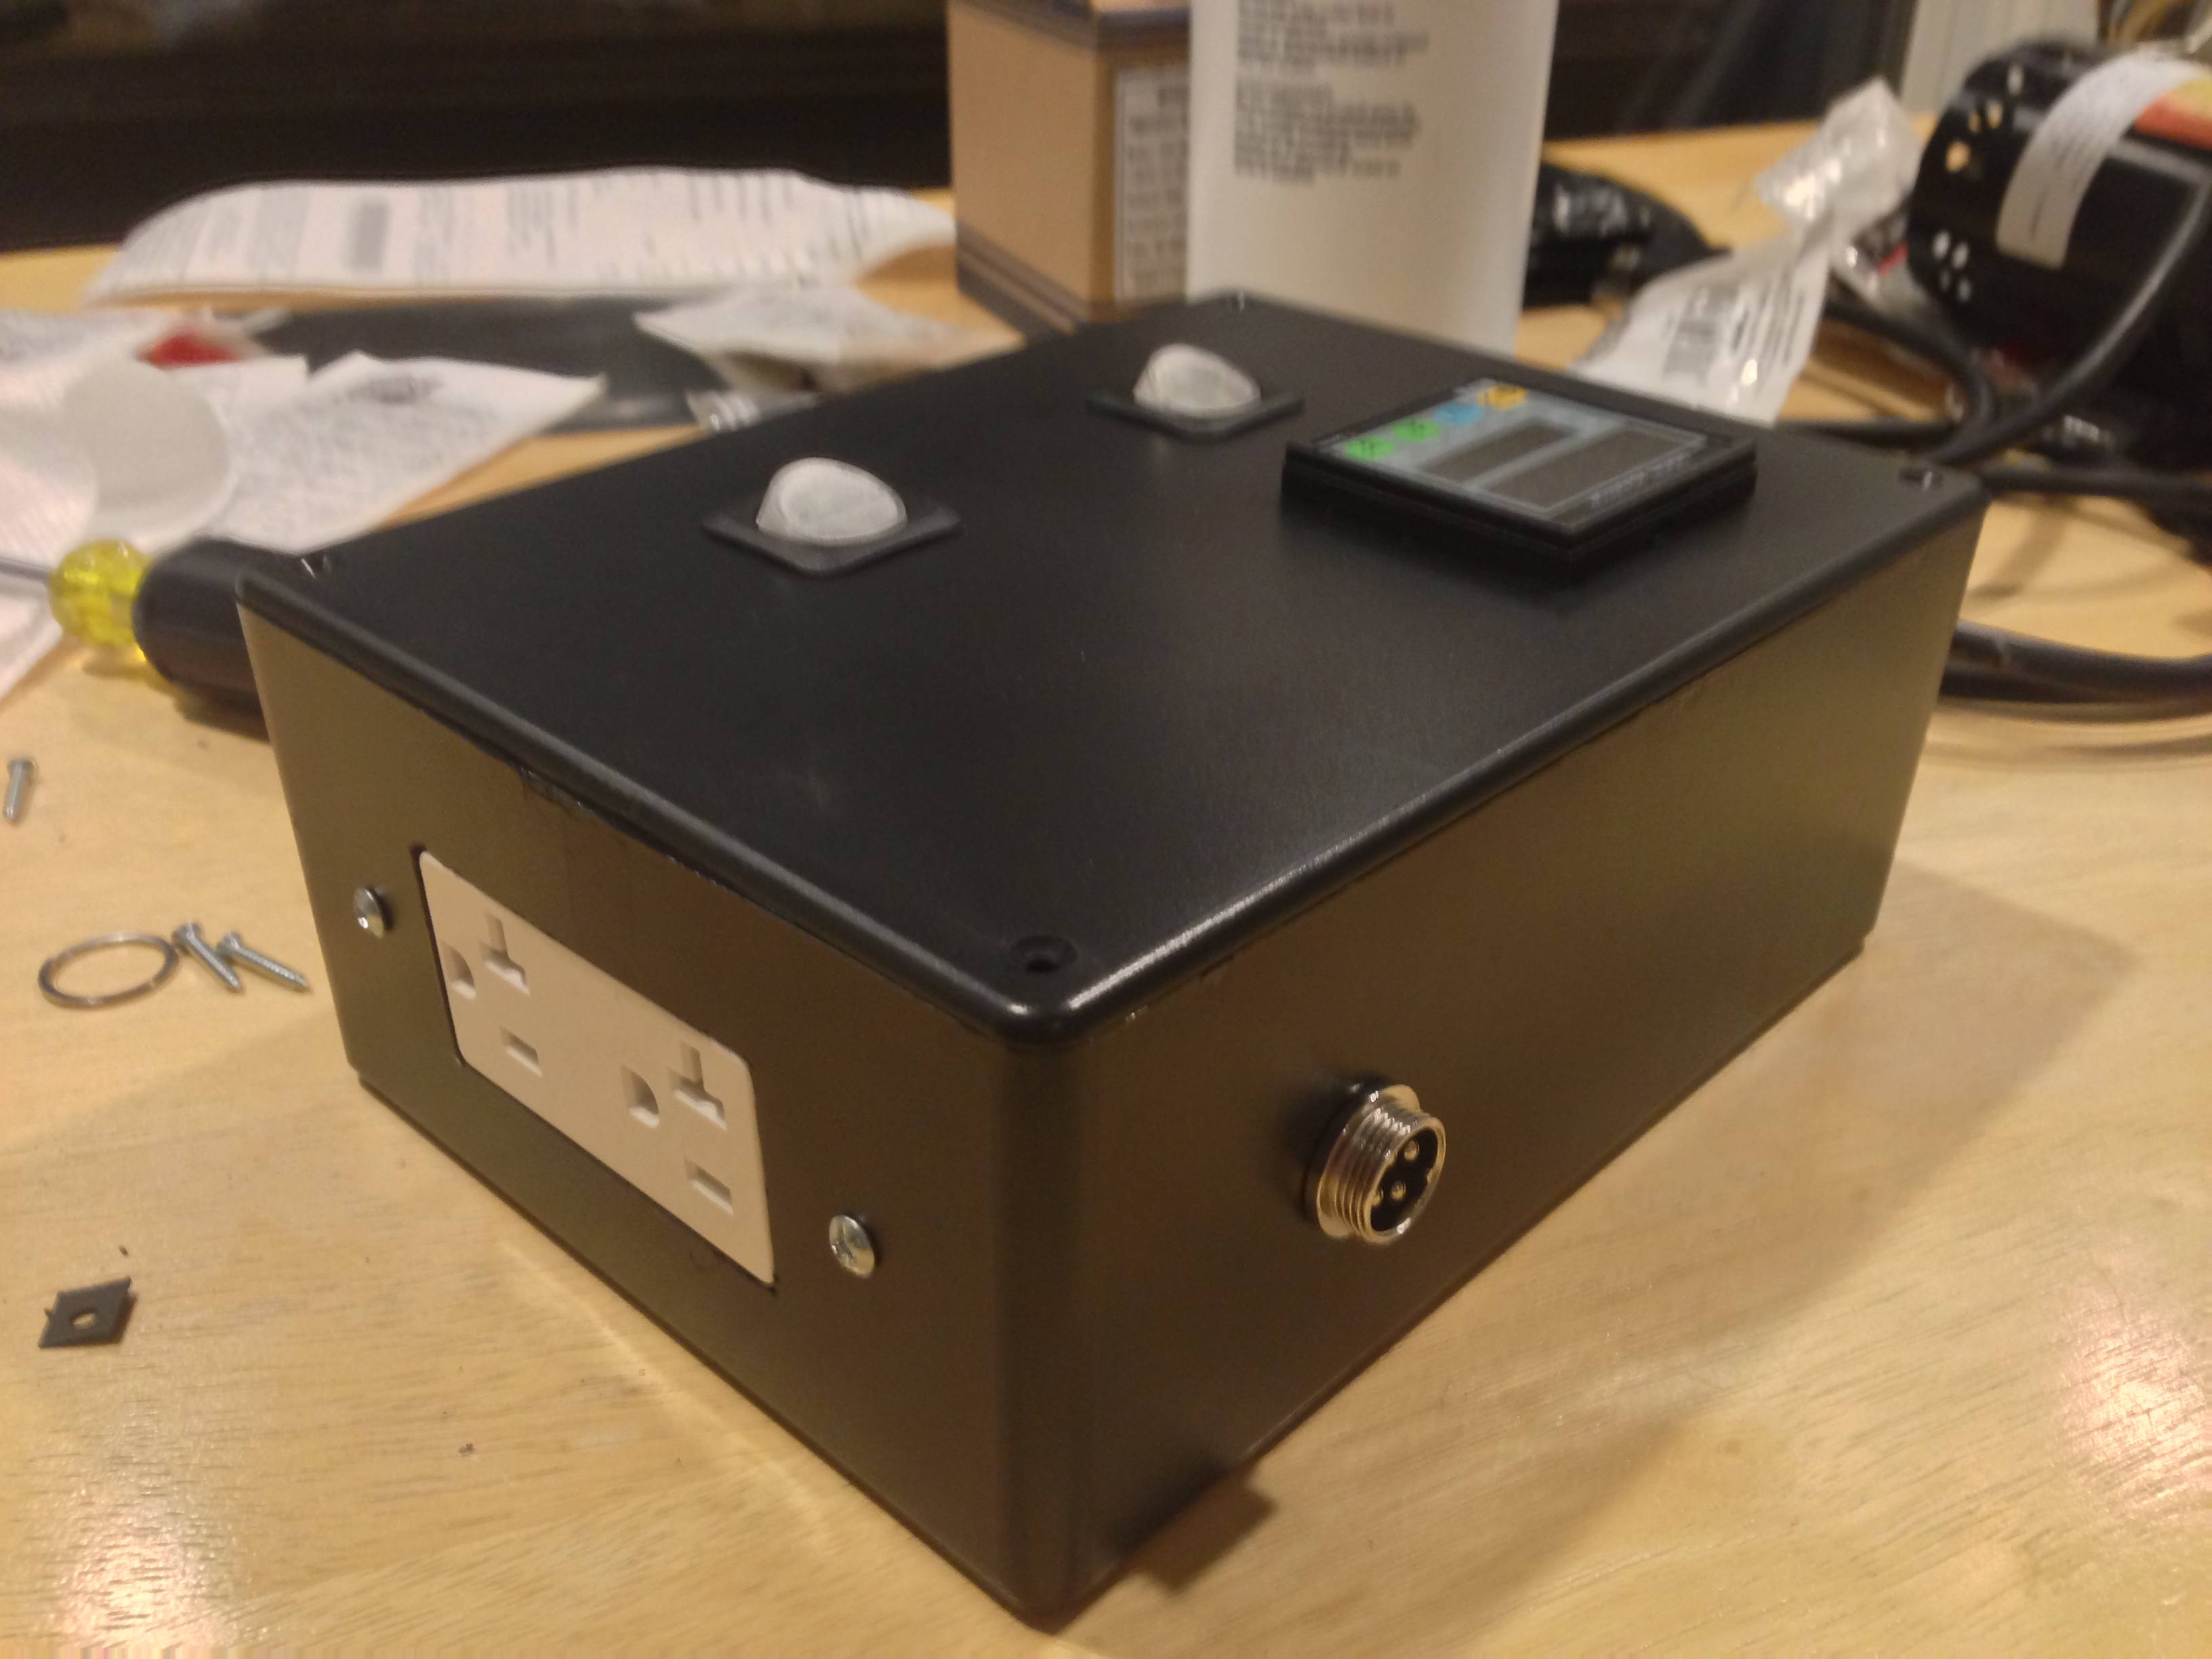
Most parts mounted, top plug is for the sensor. The outlet will be for the pump and heating element.
ihmIv.jpg


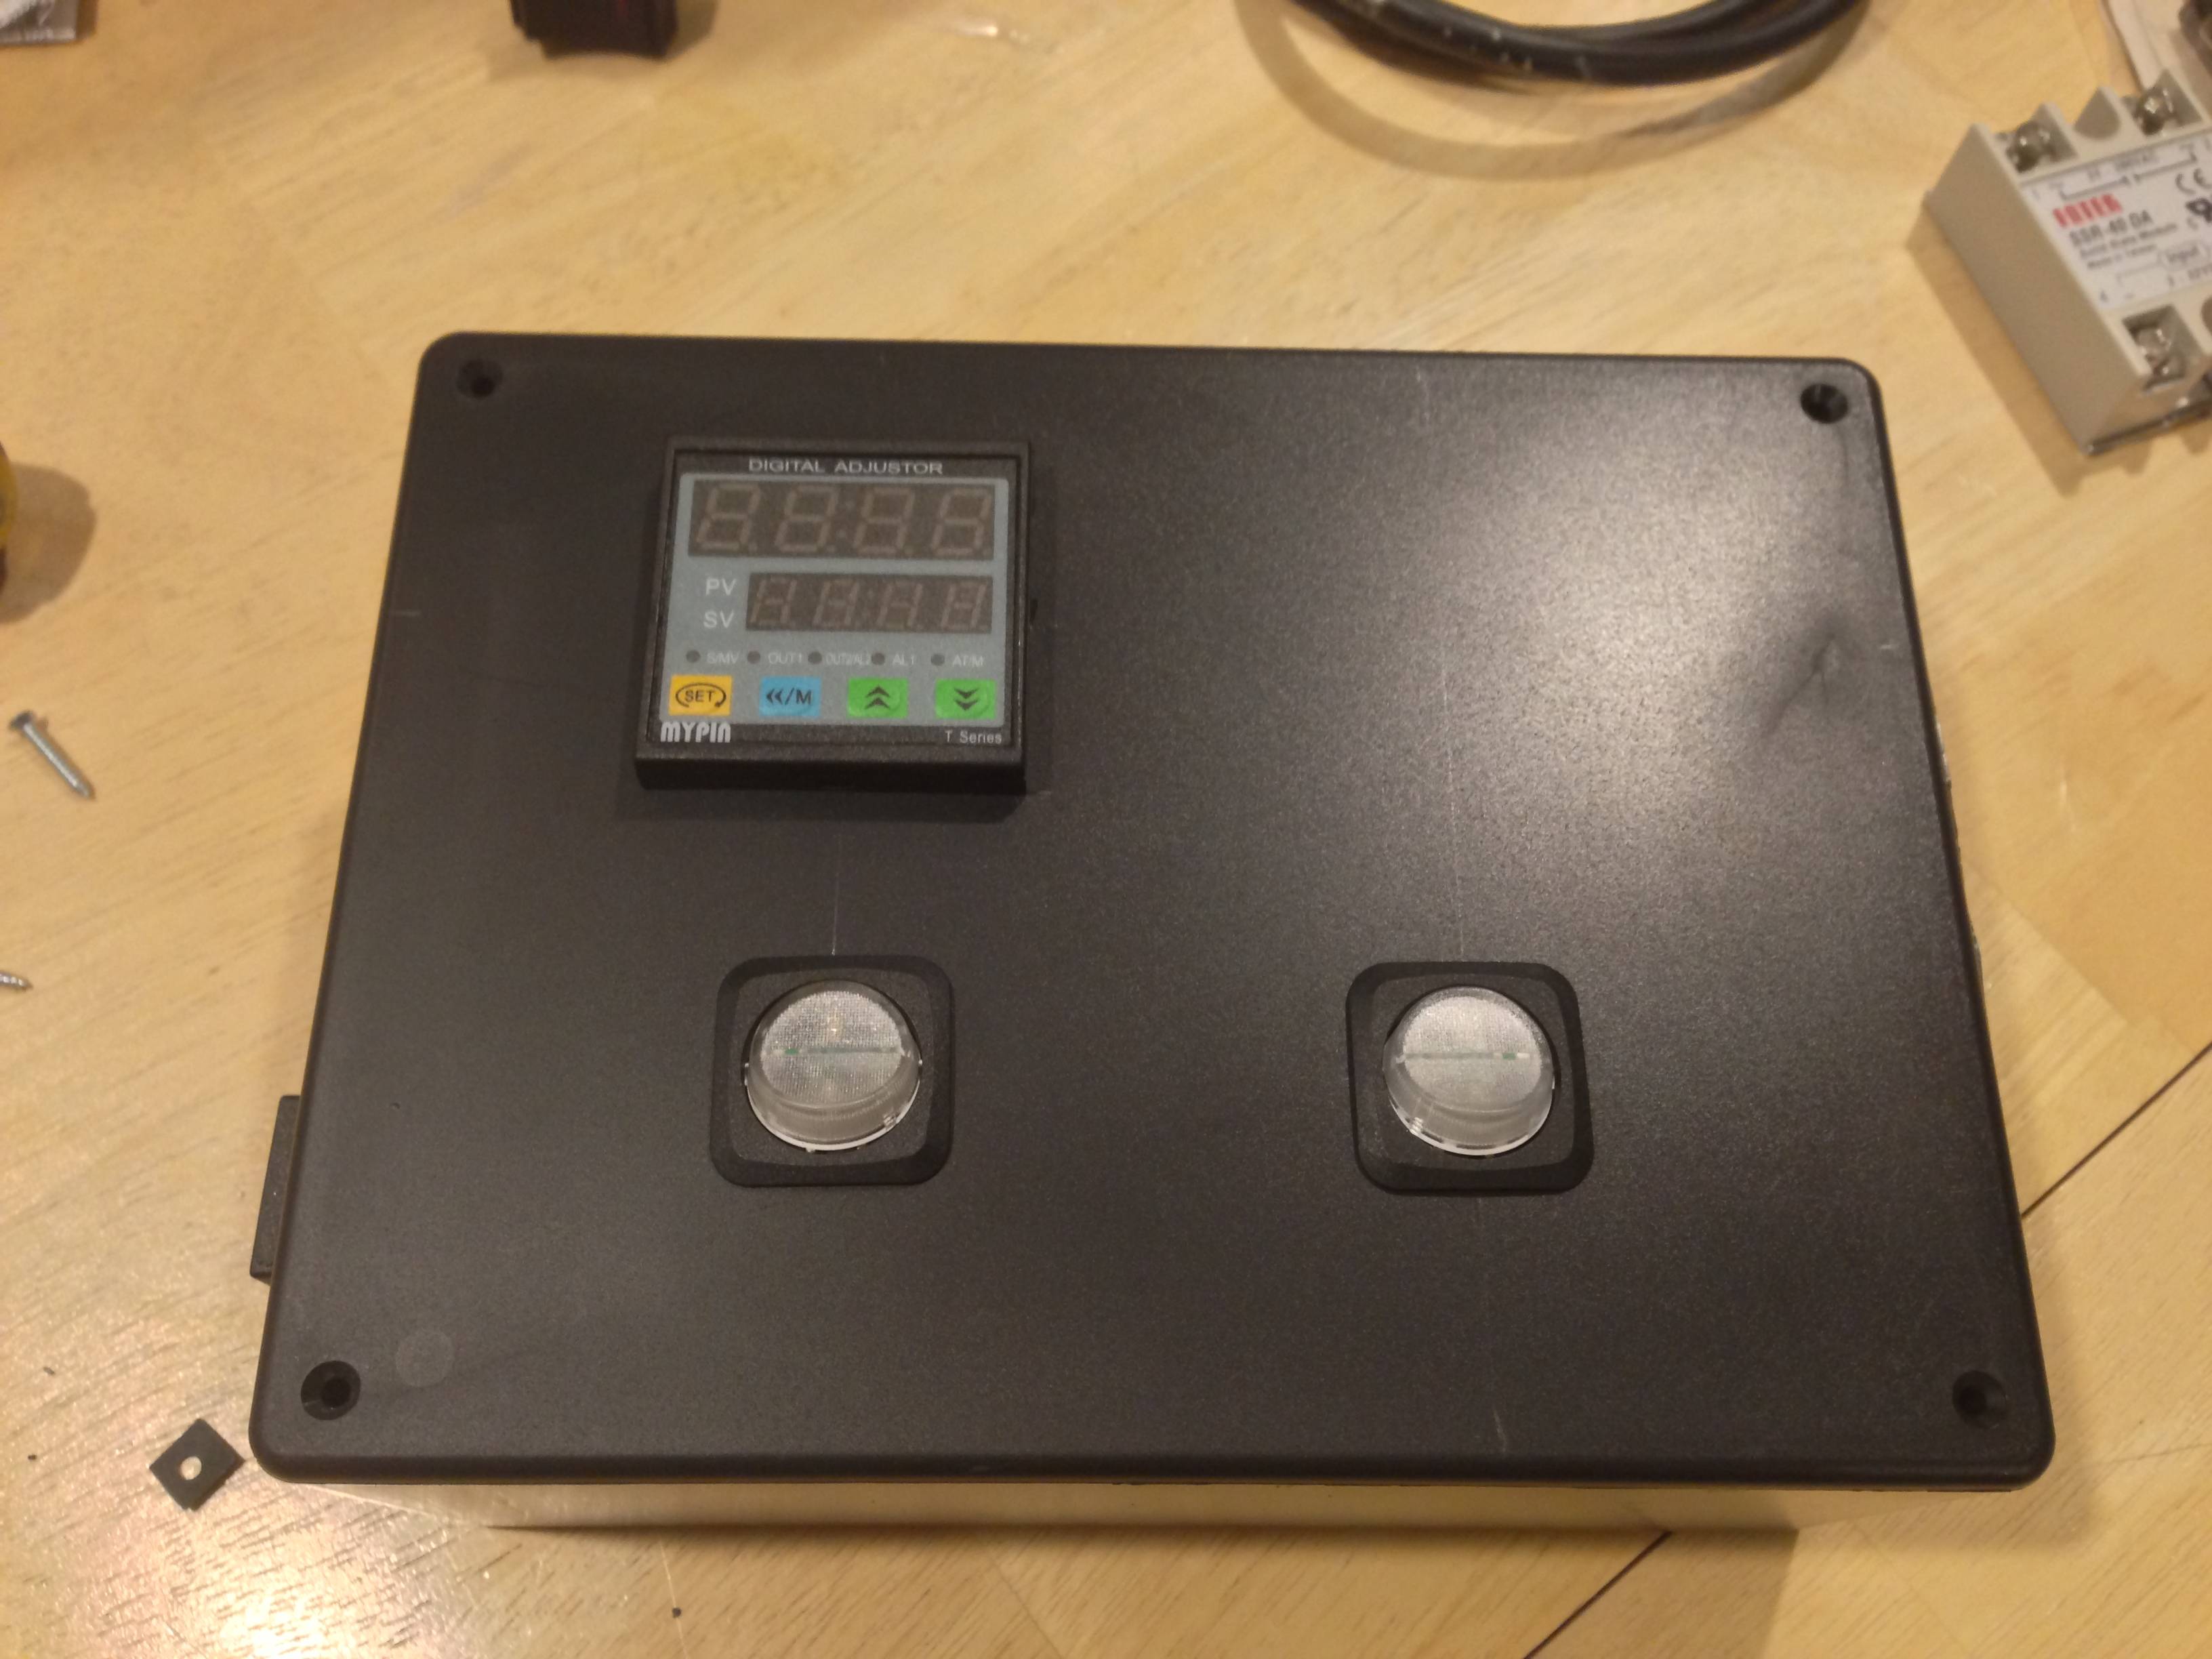
I left room to add a second controller later... Not sure if I need it though...
Xay2p.jpg


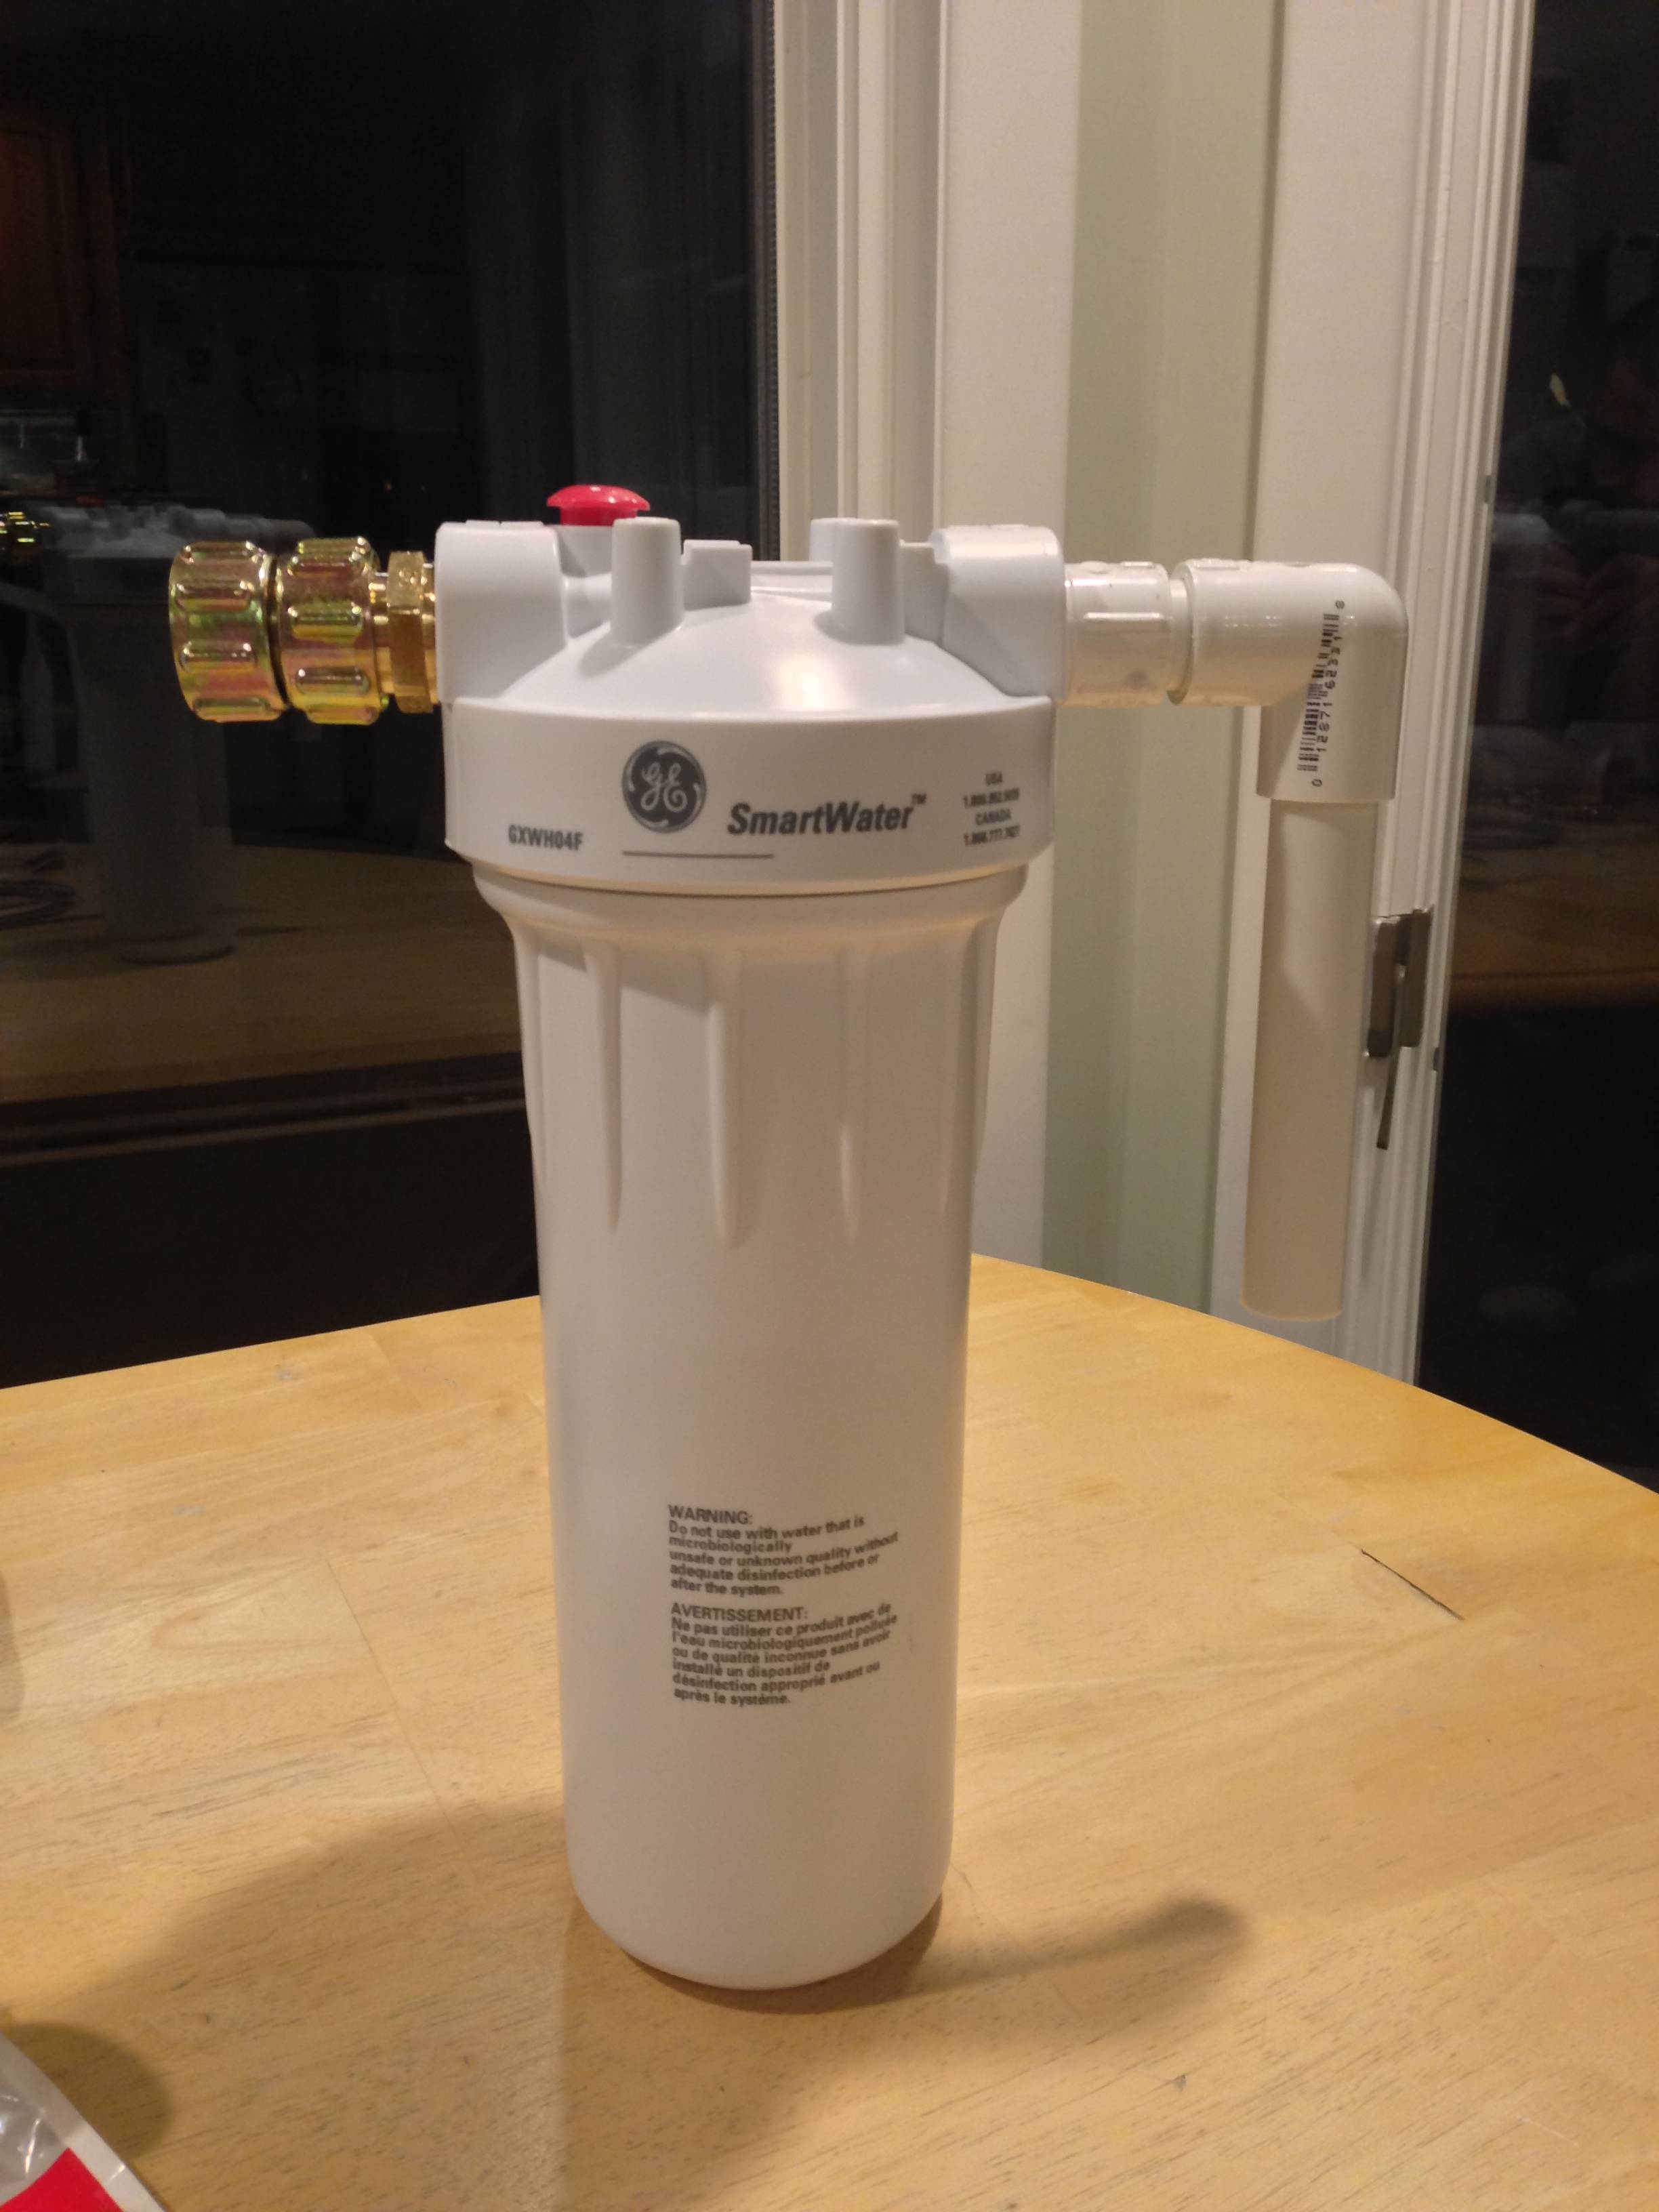
The water filter
Akx8u.jpg


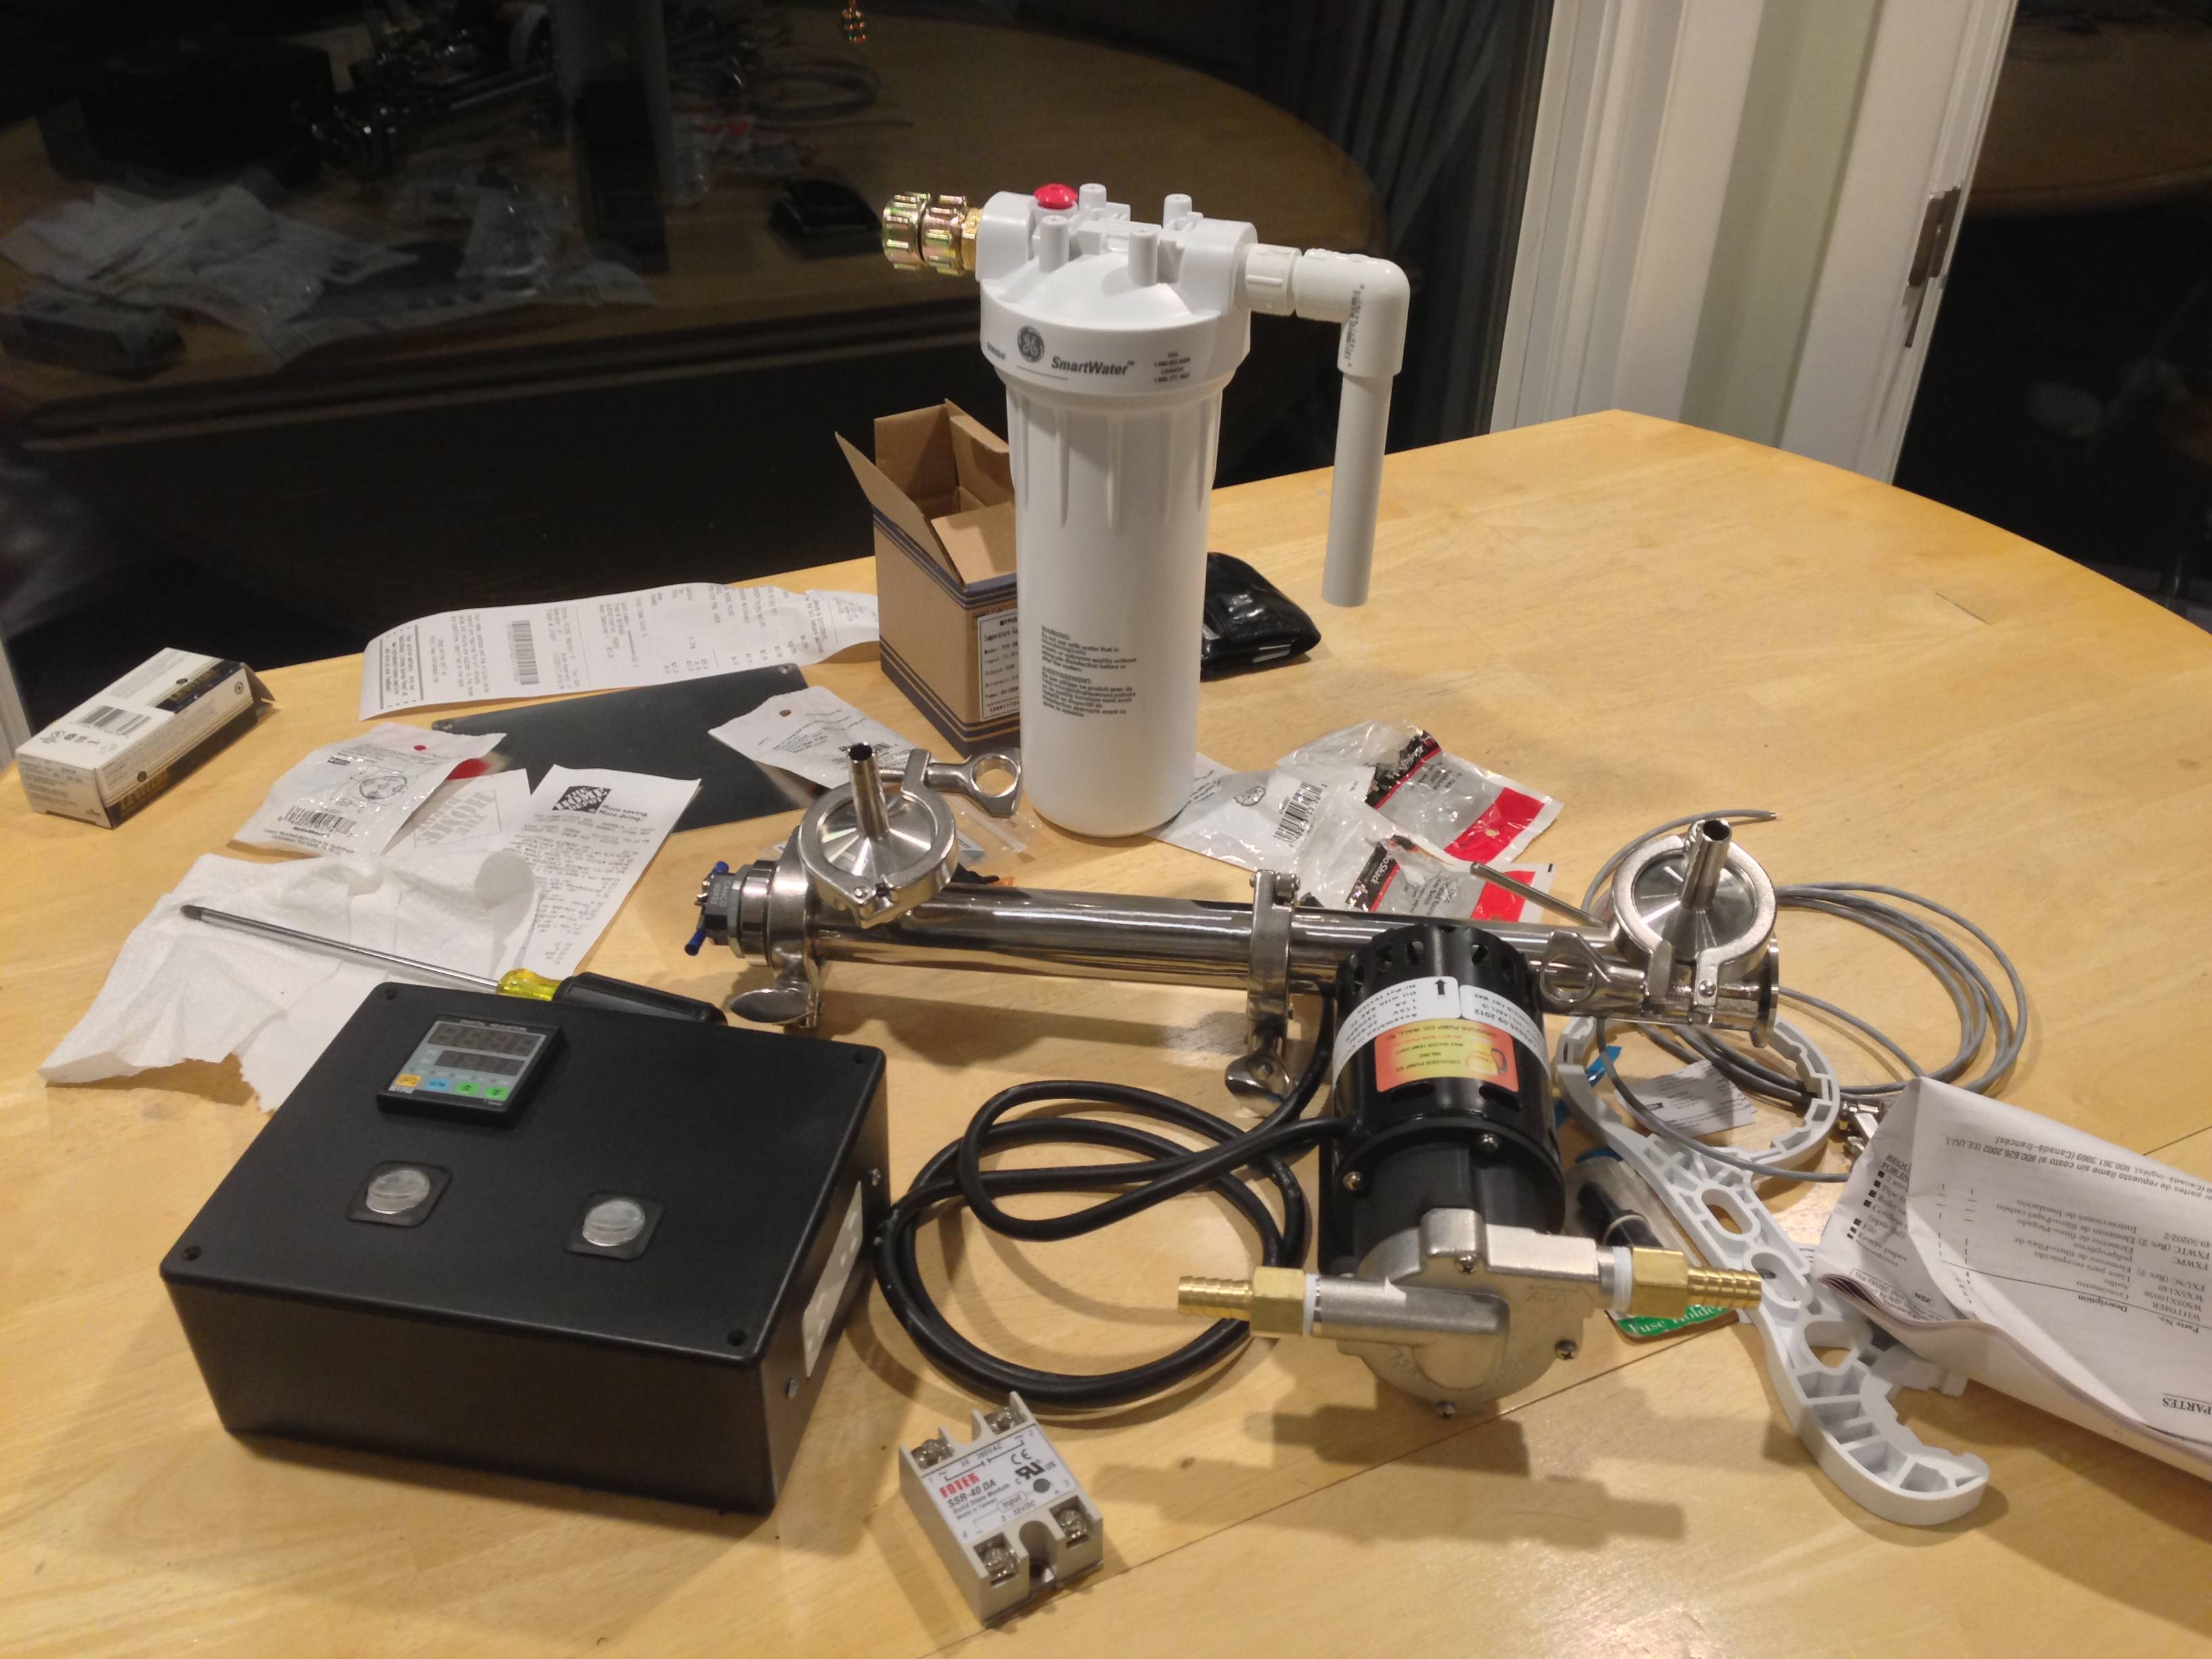
Tonight's mess
eweLx.jpg


-Jason
 
I love how simple the filter is. Just hook up the hose and hang it on the pot.

Nice job on the enclosure. I don't think I could have gotten the wiring don't in a space that small. That's not really my specialty though. Thank goodness I can close the door and hide the rat's nest.
 
I love how simple the filter is. Just hook up the hose and hang it on the pot.

Nice job on the enclosure. I don't think I could have gotten the wiring don't in a space that small. That's not really my specialty though. Thank goodness I can close the door and hide the rat's nest.

I'm looking forward to the wiring challenge tomorrow. I'll post some shots during the build, hopefully I can keep in neat.

Yeah I'm going to love that filter, no more buying water at the store for each brew. I have no idea why I waited so long to do this.

-Jason
 
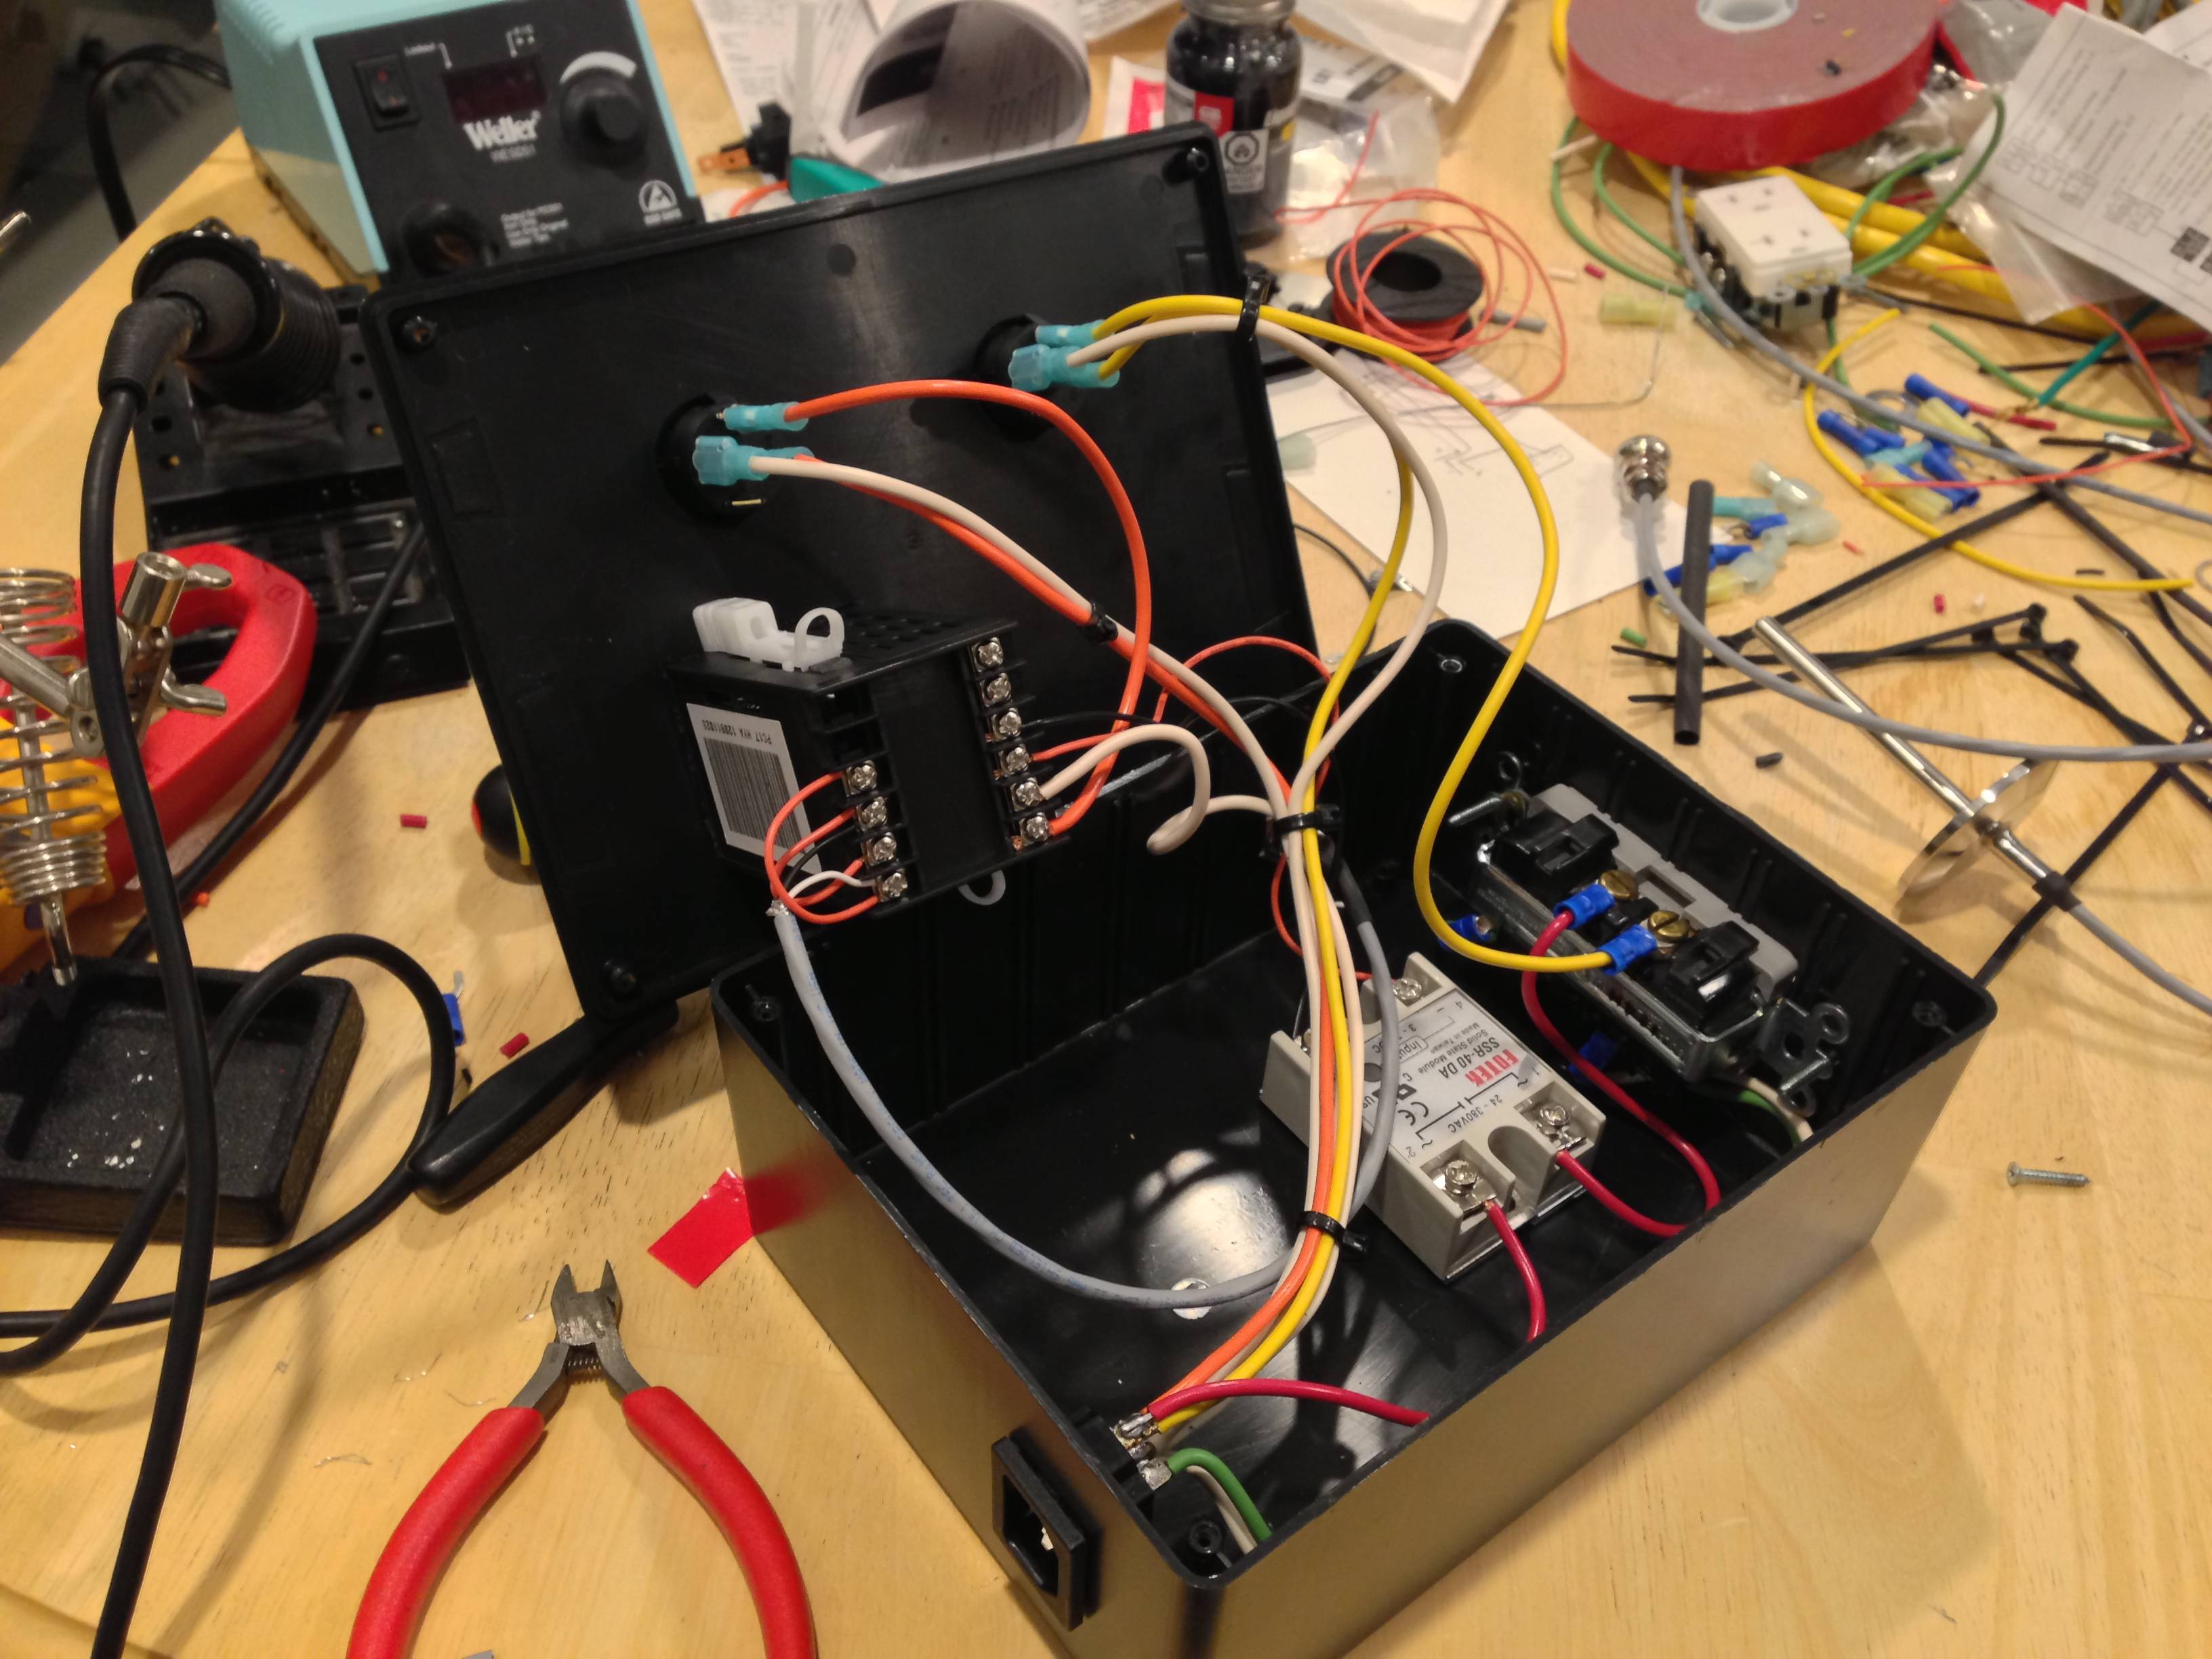
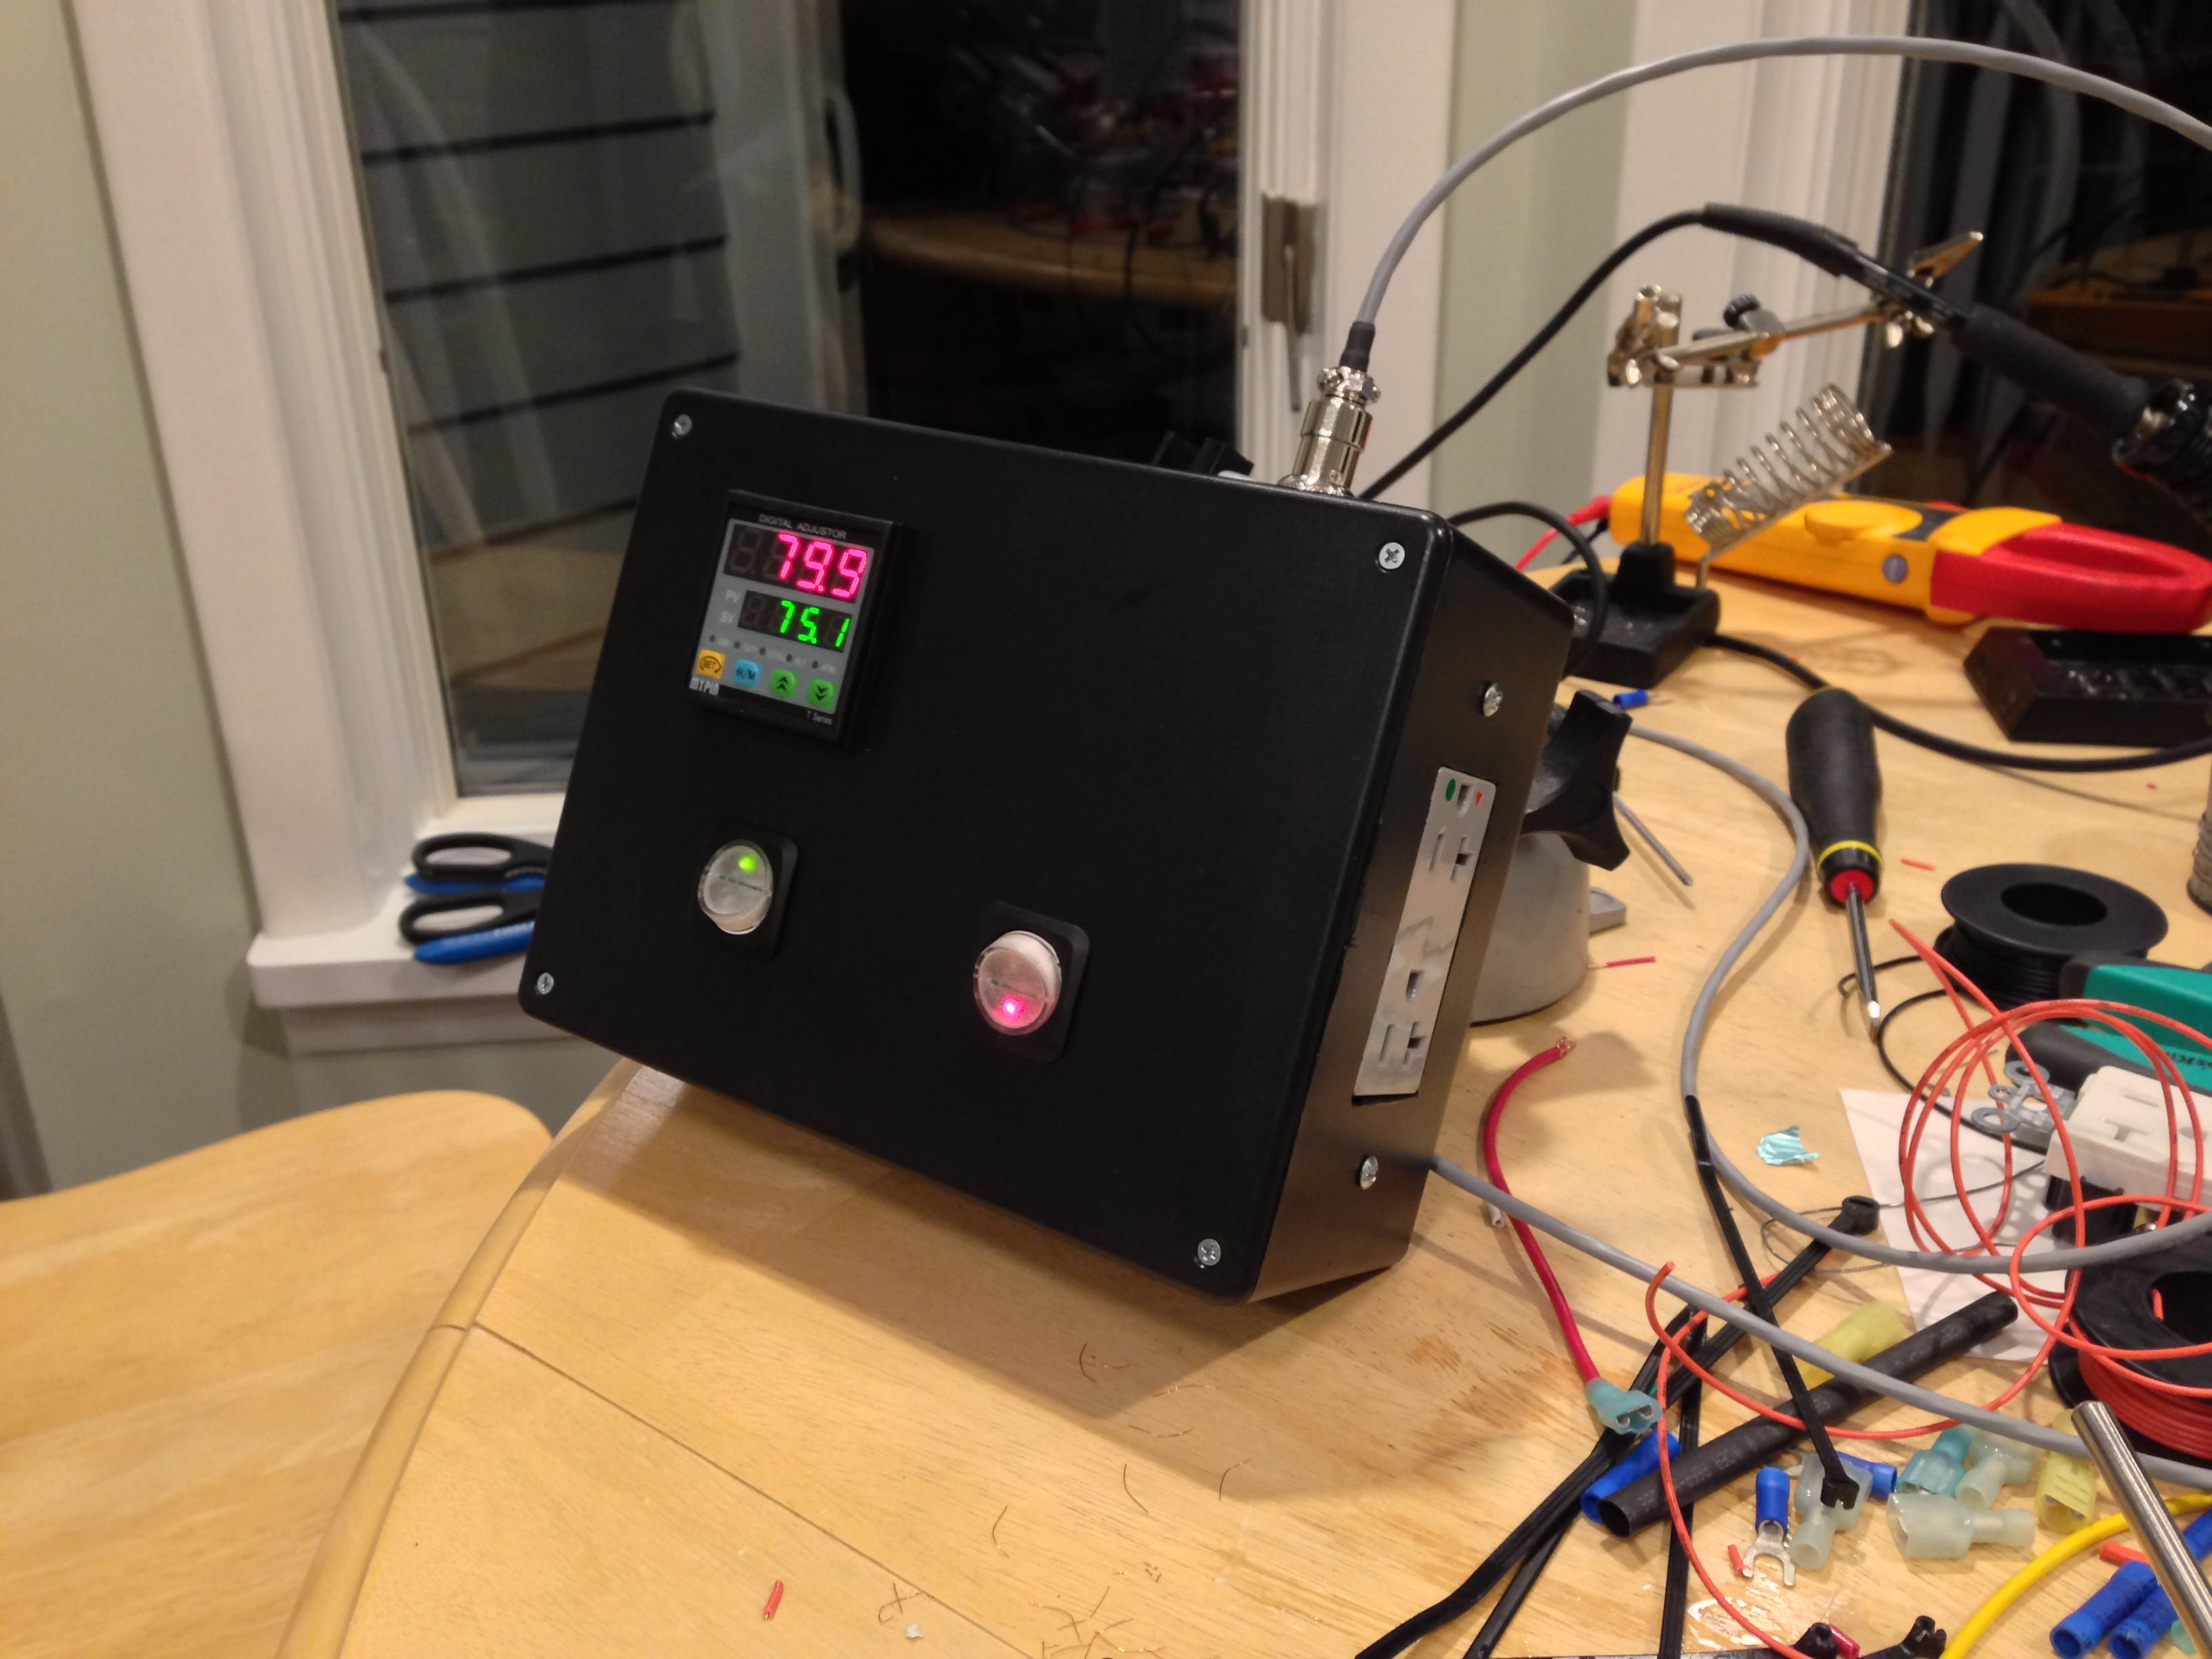
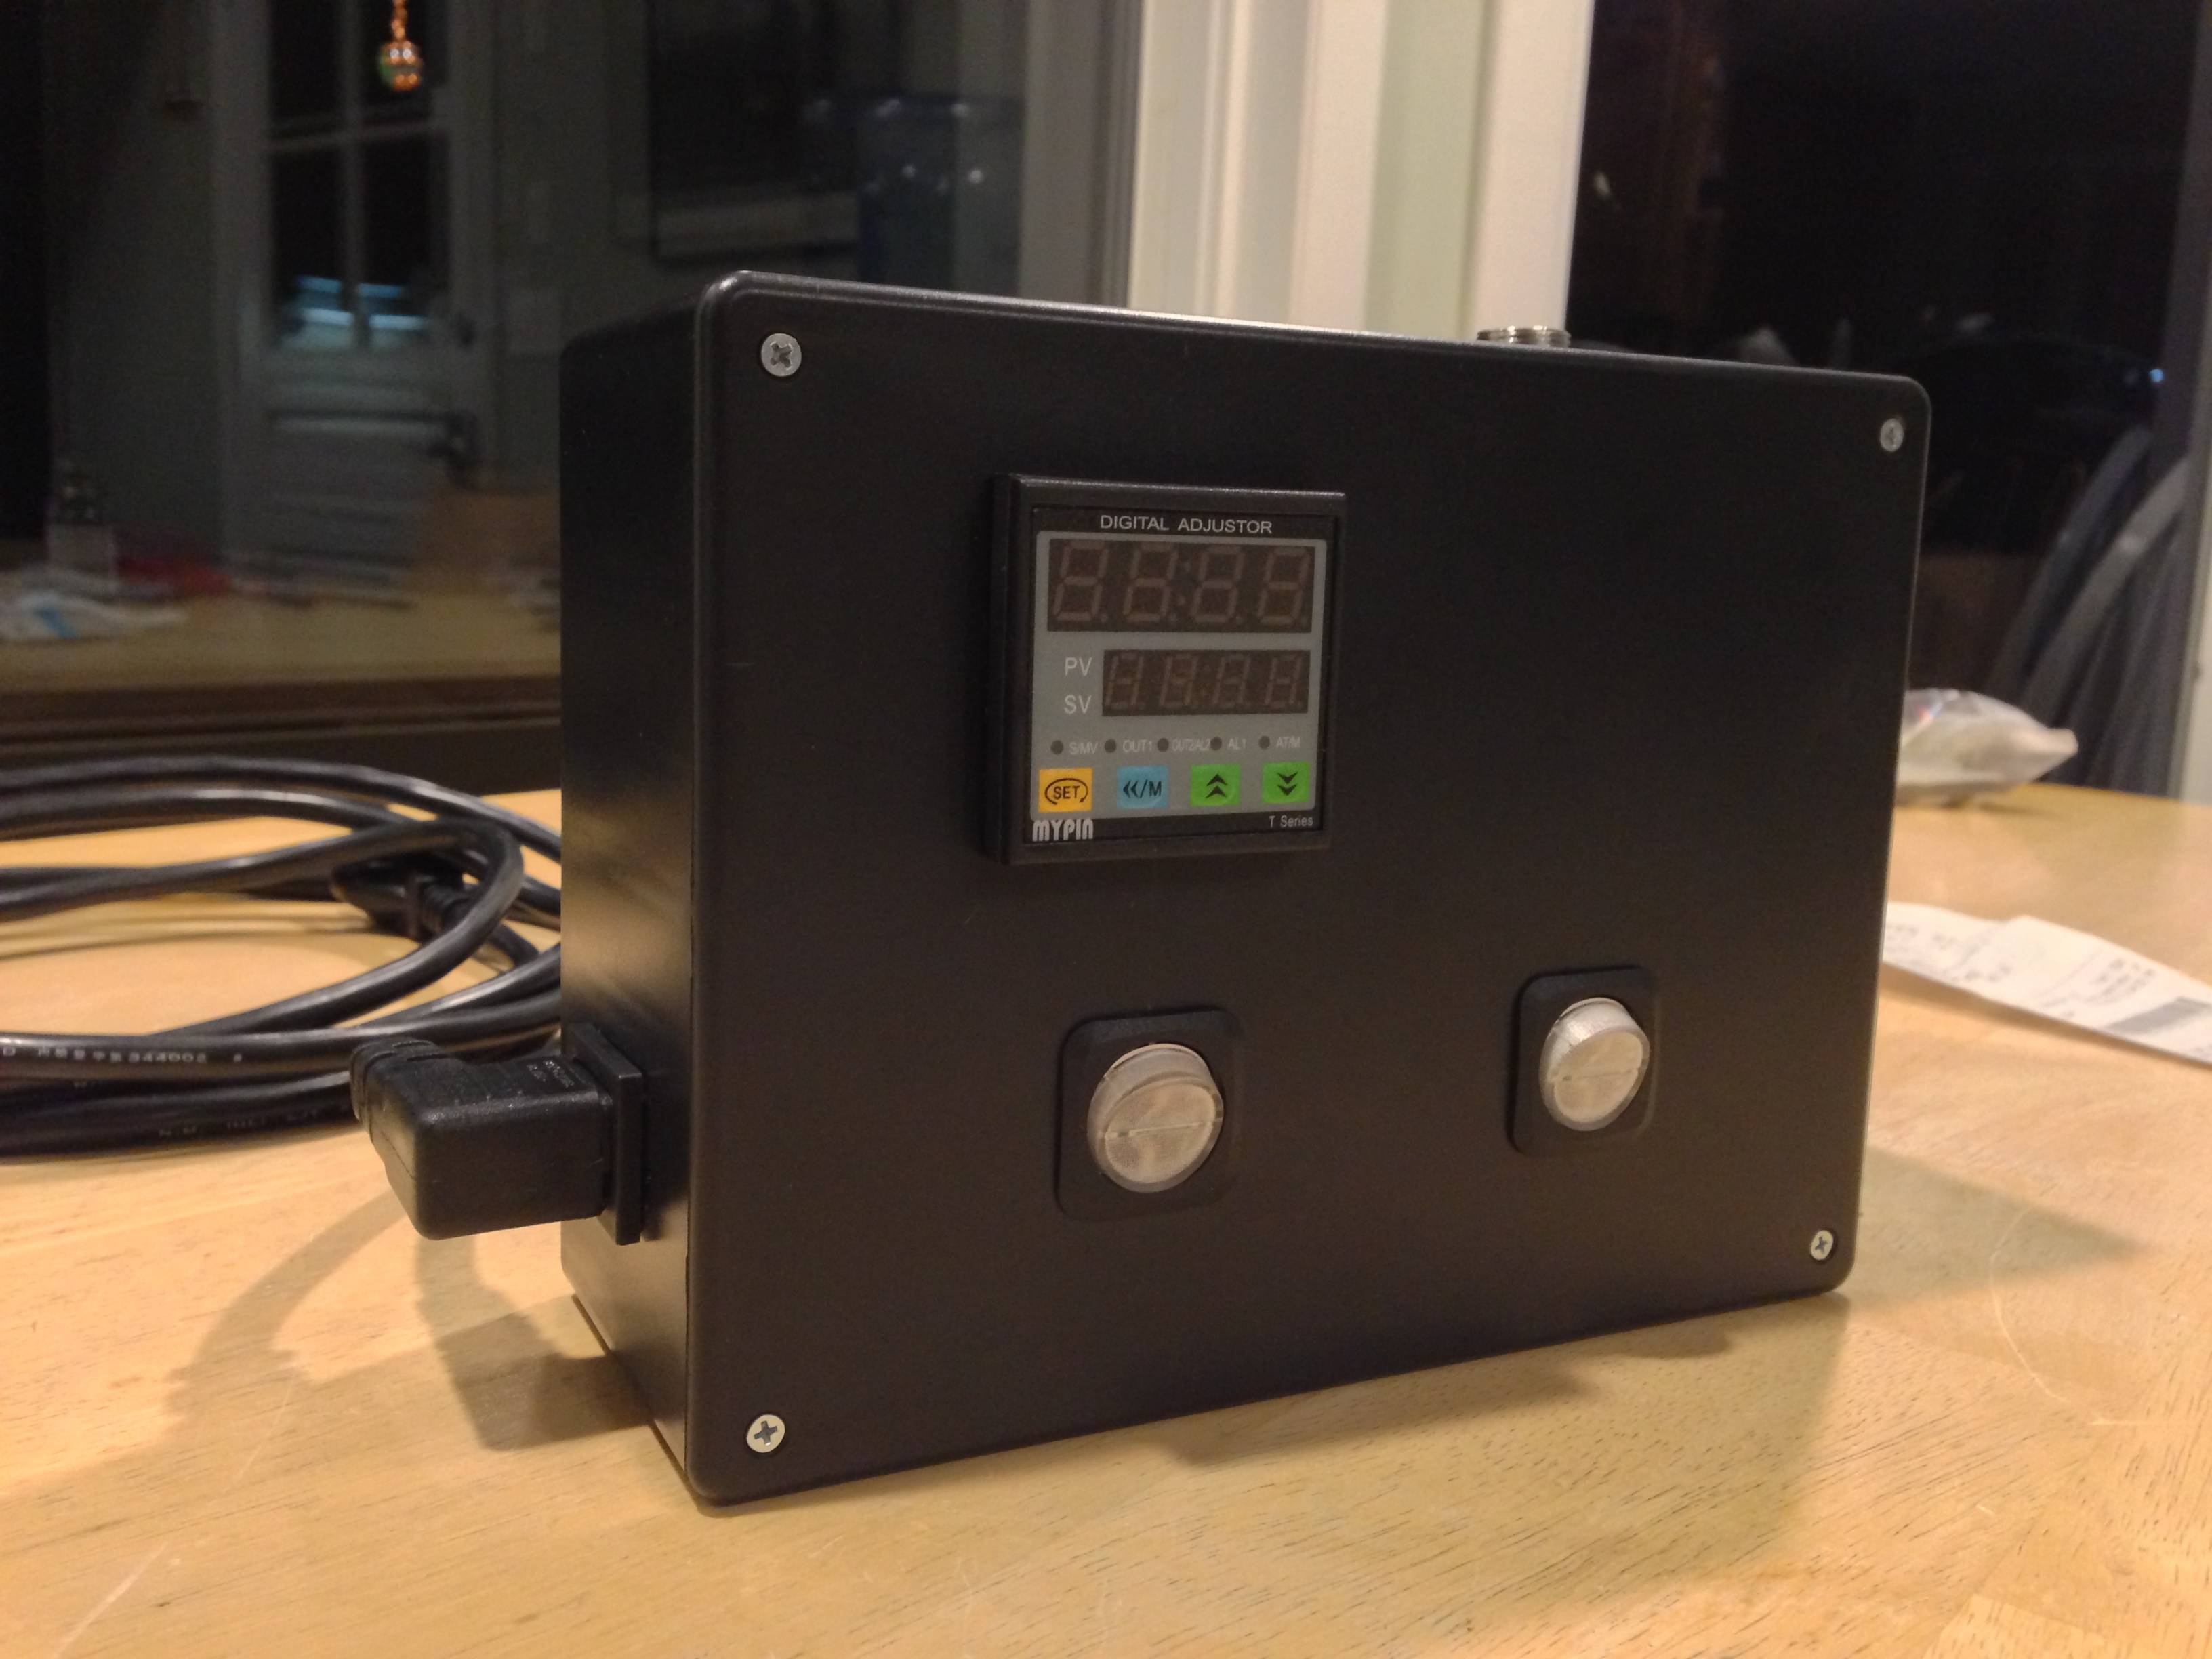
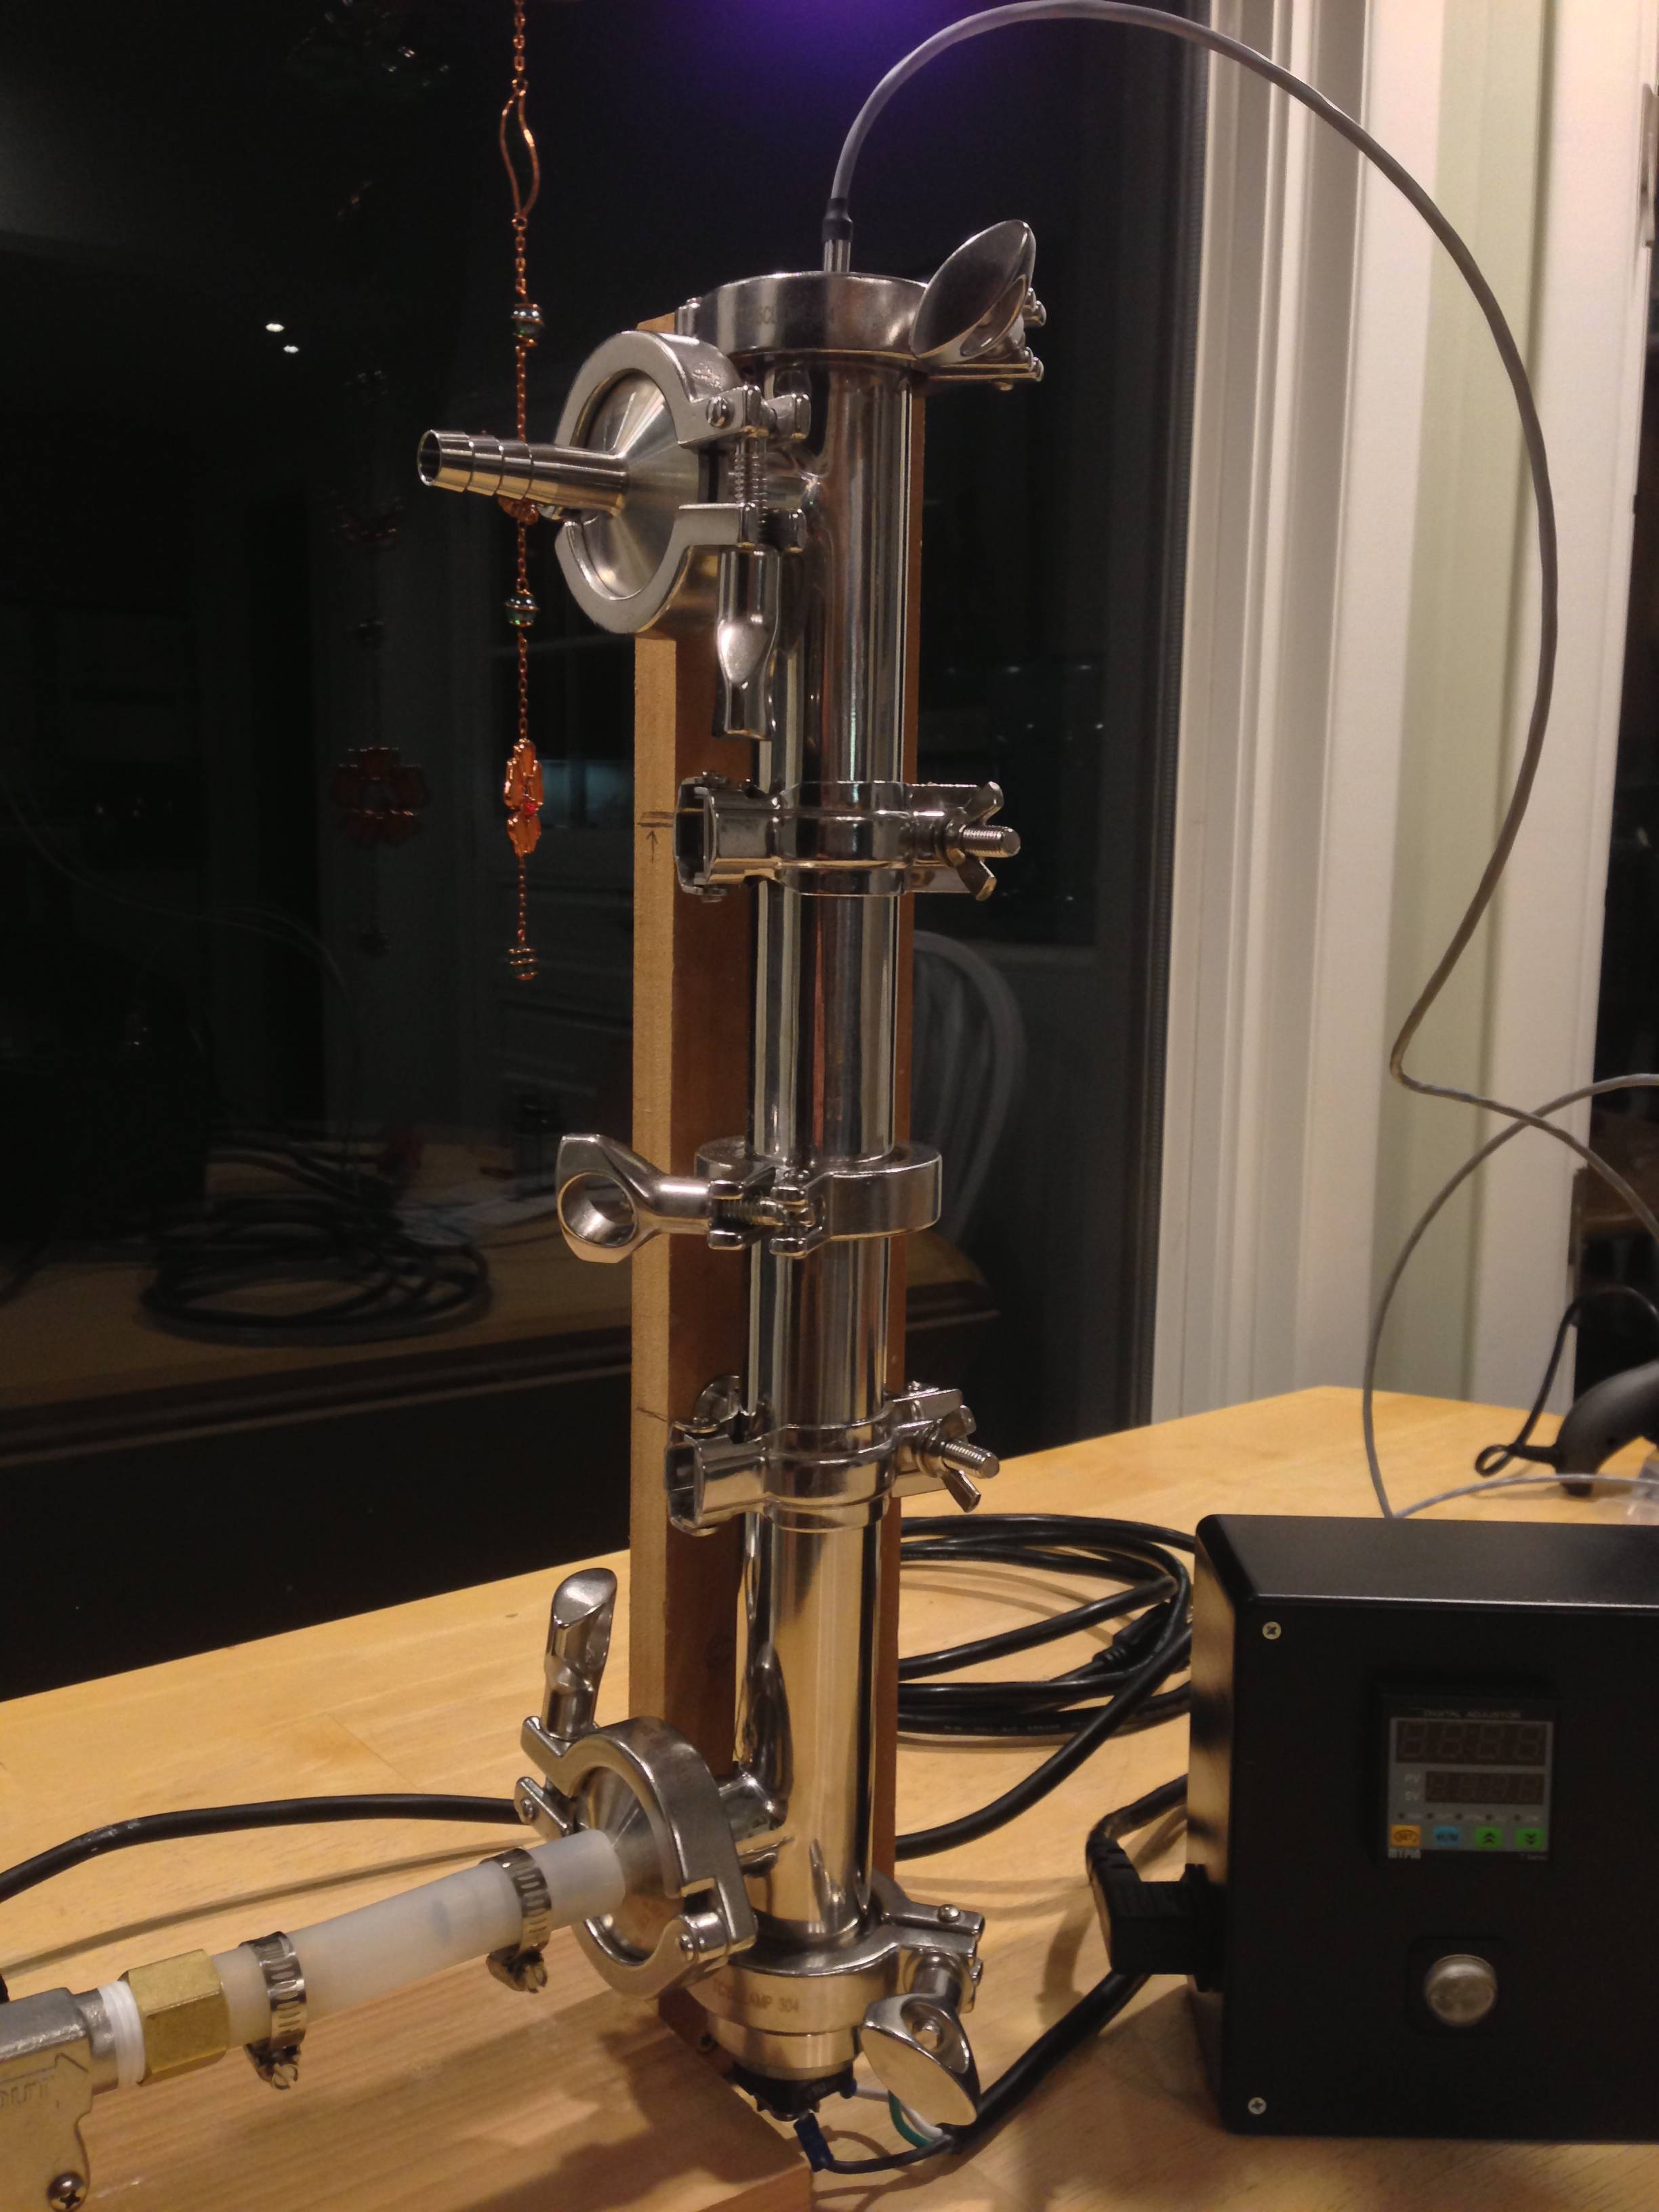
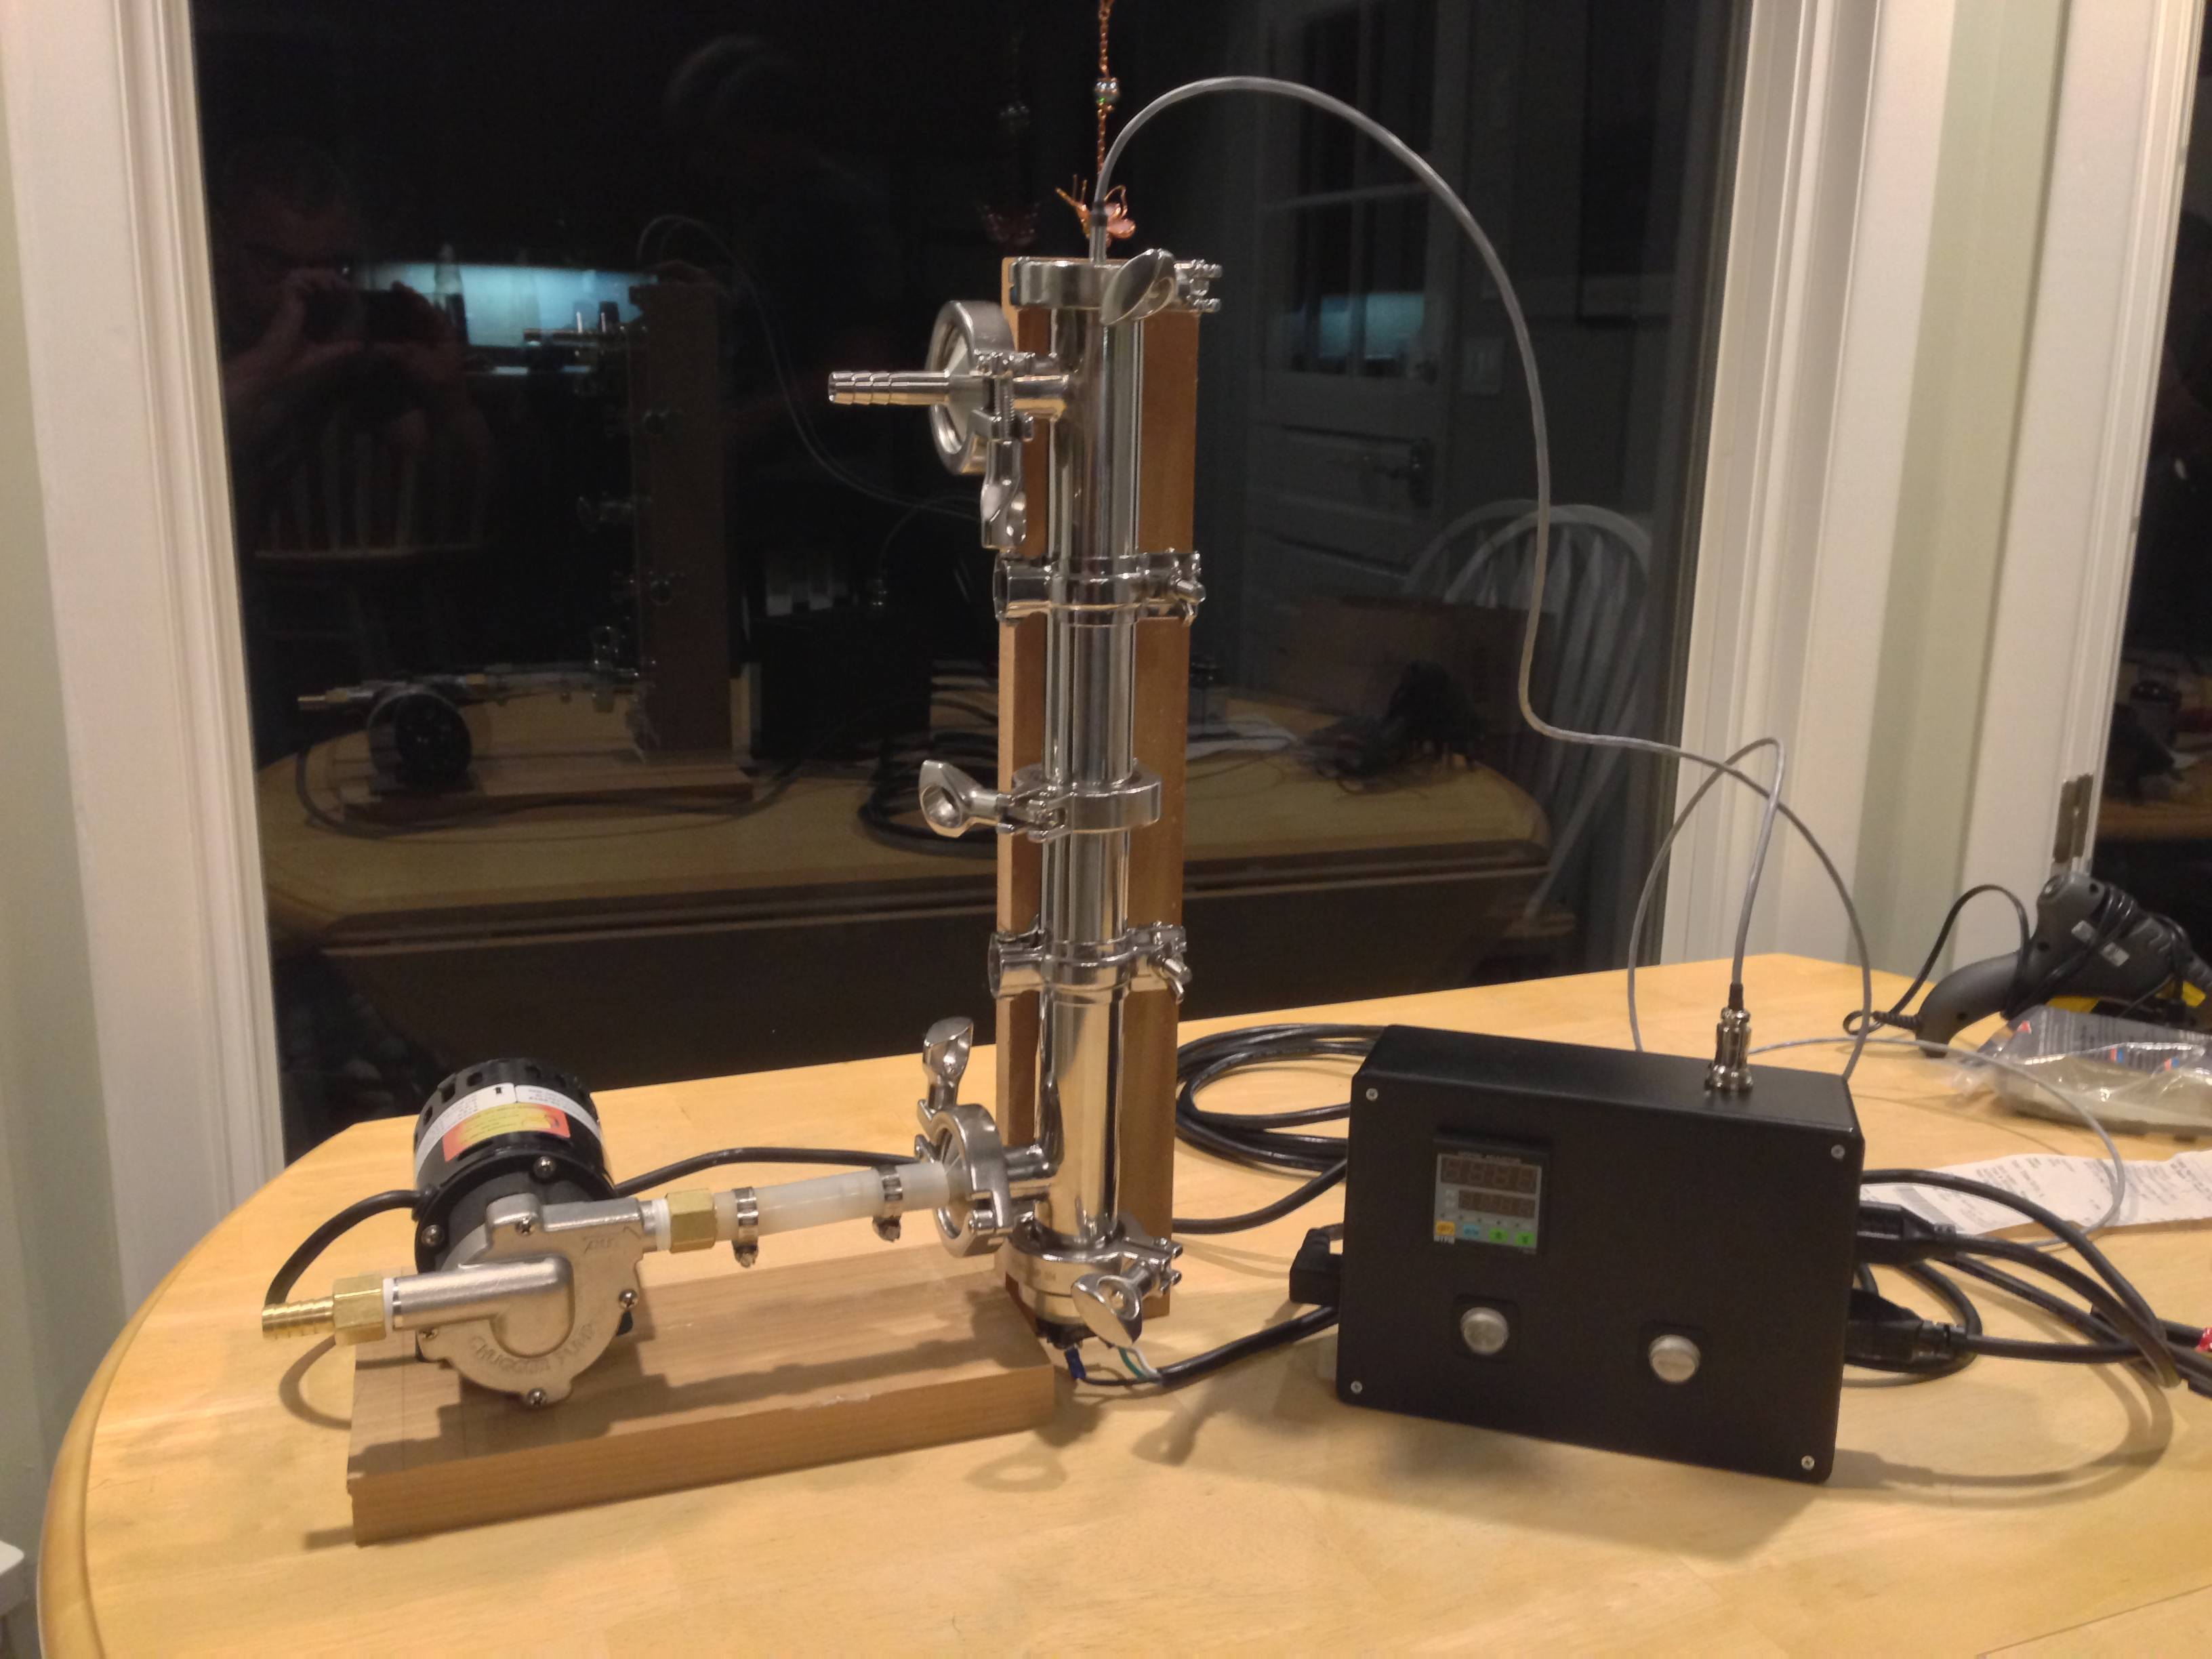
Tonight I completed the controller wiring. Also pretty much finished the mount for the RIMS tube and pump. I'm hoping to do some tests tomorrow. Also I need to make some labels for the plugs and switches.

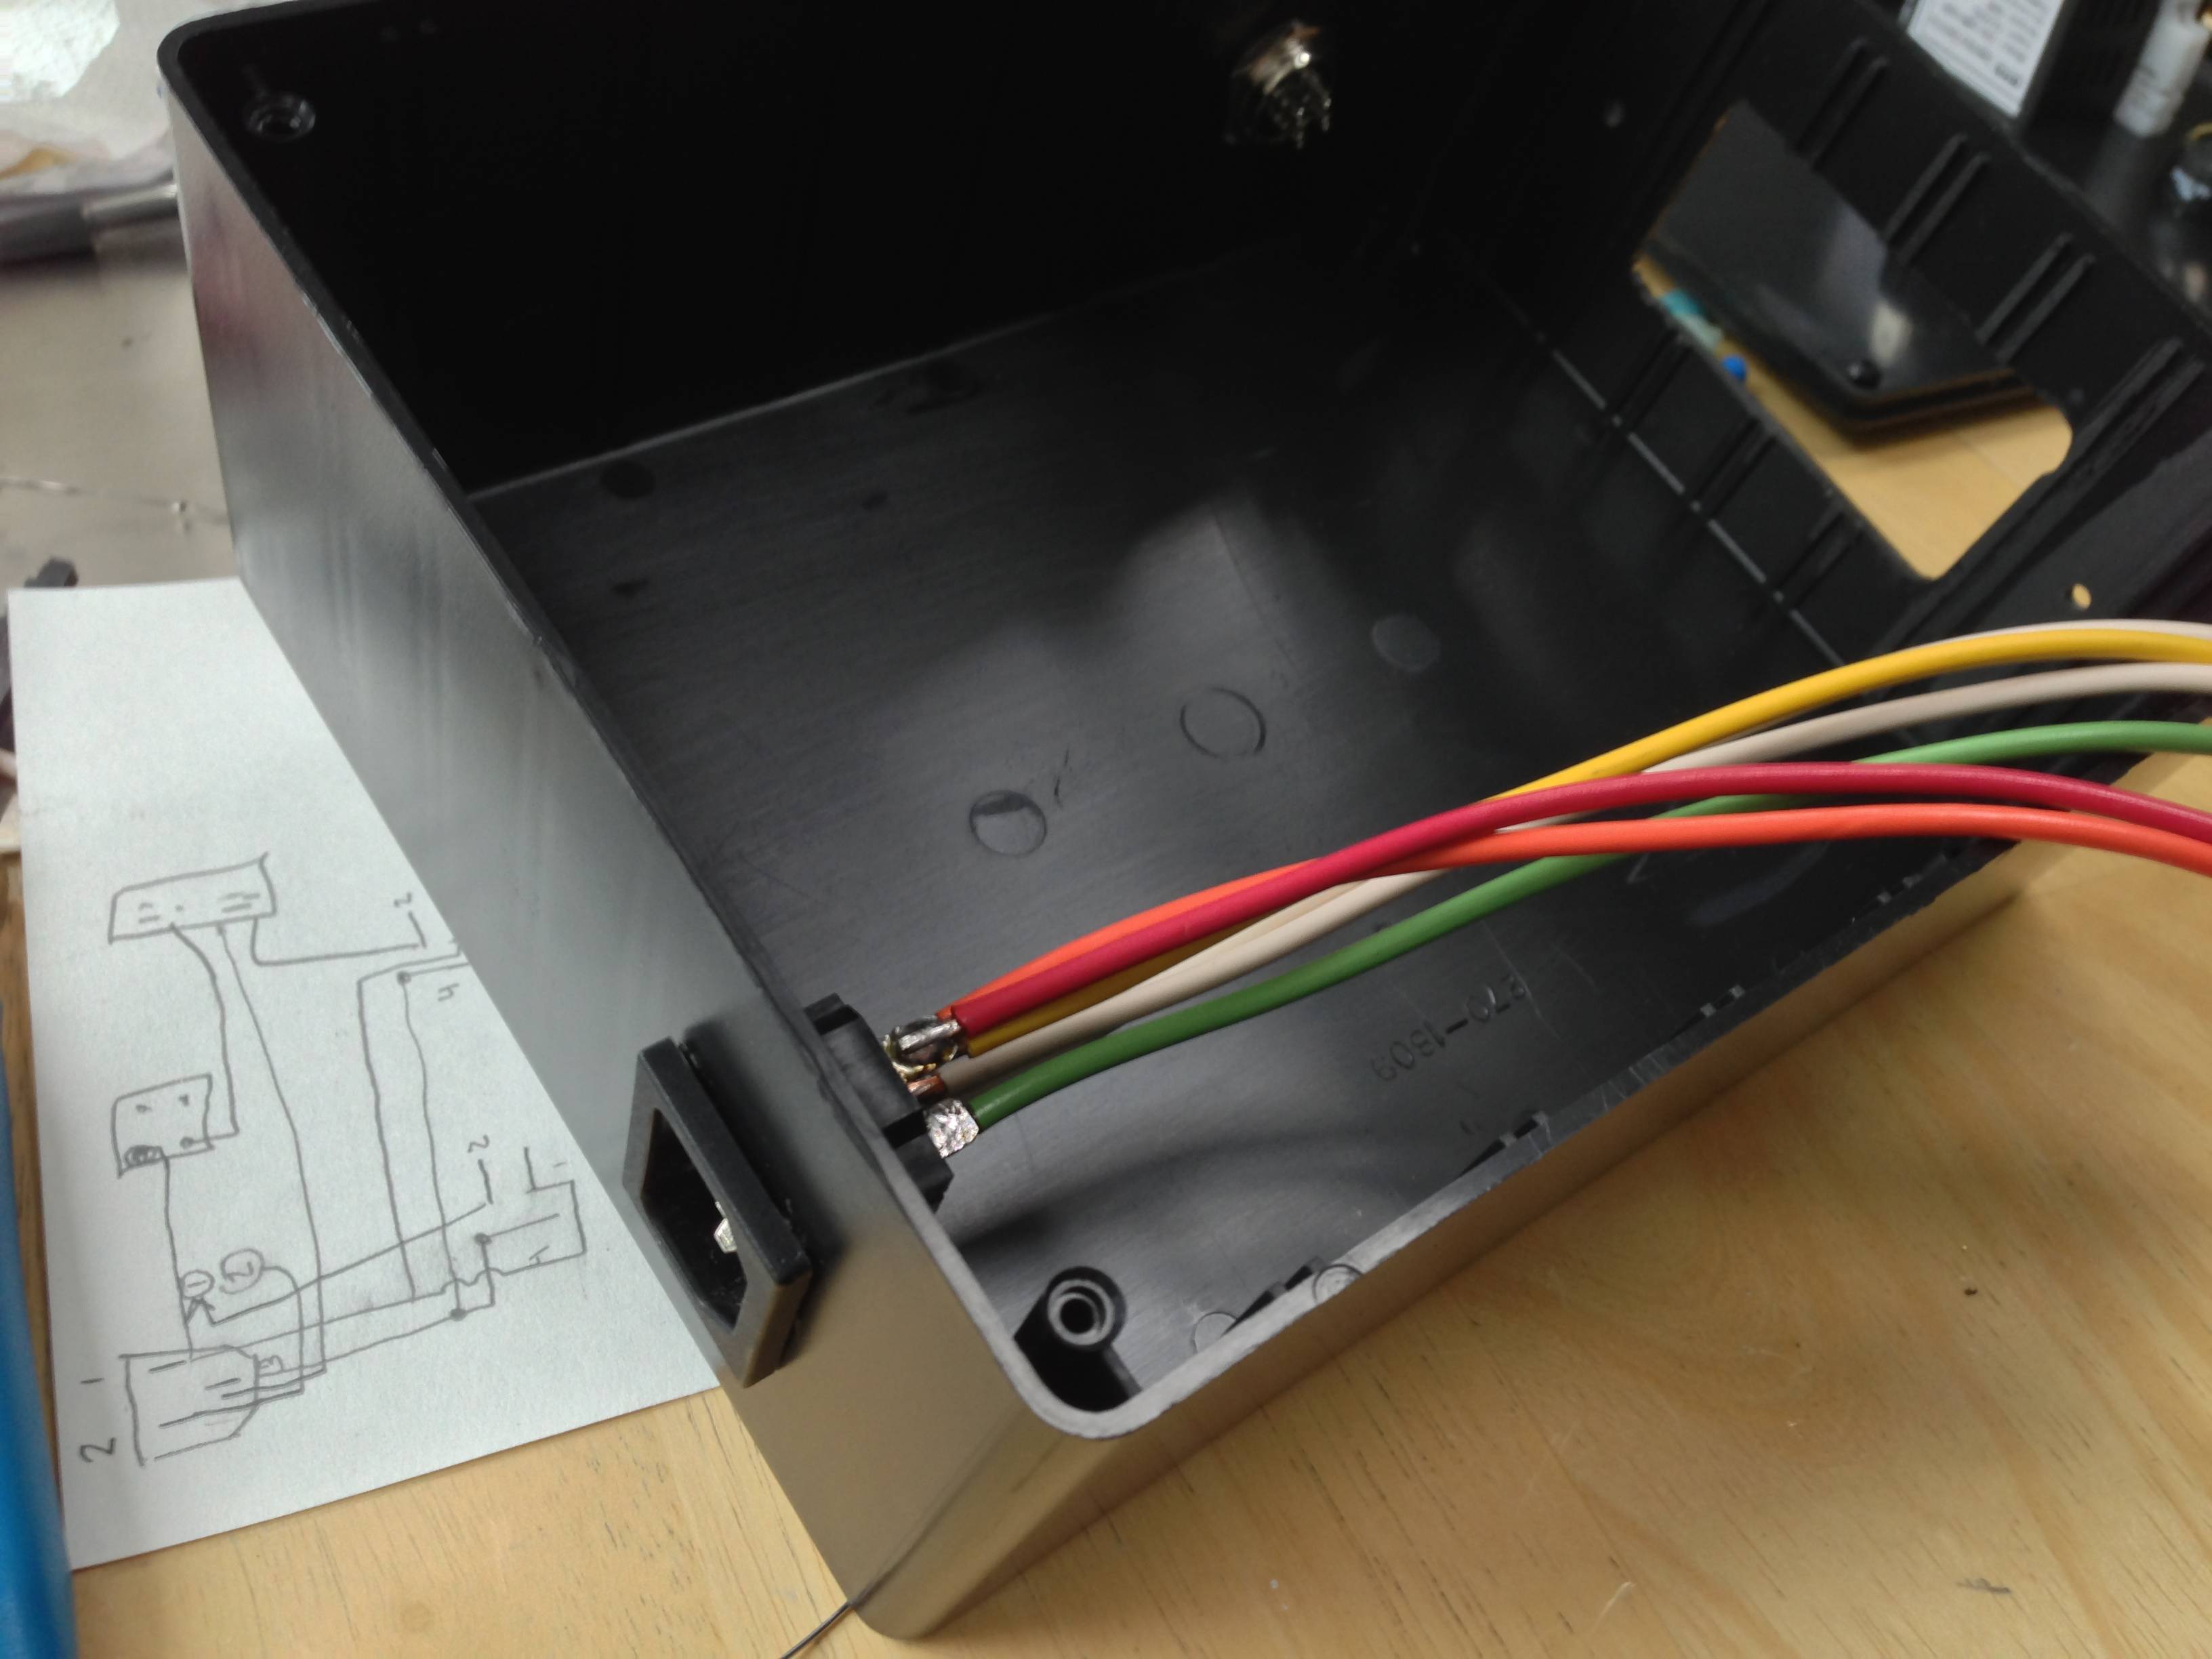
The wiring begins
lUIdO.jpg


Almost done (man I made a mess)
x1GQ0.jpg


It works!!
Fk99B.jpg


Finished controller
wqMXL.jpg


RIMS Tube
11MAv.jpg


Everything so far day 2
bI5cL.jpg
\

-Jason
 
Looks awesome!

I have been toying with the idea of getting a 220v coil and running it at 110v for the time being until I can run the proper electric line to feed it. What do you expect to get out of it running at 110.. Where did you get it and what model is it?

Alex.
 
If you run a 240V heating element at half the voltage (120V) it puts out 1/4 the watts. So his 4500W element will put about about 1125 watts running on 120V.
 
I am intrigued. And also tired of buying propane. I considered tapping into my natural gas lines but this route seems easier. Is this just to heat mash water? What kind of filter is that? My next step is to add a sight glass to my HLT and plumb some water pipes across my garage and right into the HLT. I Never thought of adding an inline filter before now.
 
I am intrigued. And also tired of buying propane. I considered tapping into my natural gas lines but this route seems easier. Is this just to heat mash water? What kind of filter is that? My next step is to add a sight glass to my HLT and plumb some water pipes across my garage and right into the HLT. I Never thought of adding an inline filter before now.

Yep at the moment this is just to maintain the mash and most likely be able to do a step mash. As far as the filter all parts came from Home Depot. It's a GE whole house filter with the charcoal filters. Here is the post I used for the needed parts: https://www.homebrewtalk.com/f51/water-filter-setup-29145/

-Jason
 
Awesome! I already have an inline filter I've been using to filter my beer. Also I never thought of using food grade RV water lines. I was going to solder and hang copper pipes all the way across my garage. Now I may just use the RV water lines to get across the room then 90 it down with a copper pipe and water shut off
 
Awesome! I already have an inline filter I've been using to filter my beer. Also I never thought of using food grade RV water lines. I was going to solder and hang copper pipes all the way across my garage. Now I may just use the RV water lines to get across the room then 90 it down with a copper pipe and water shut off

PEX is the way to go for plumbing. RV tubing would be more appropriate for a hose.
 

I was going to be silly and say "physics". These heating elements are just a big resistor that is fixed. The currently flow is proportional to the voltage applied. If you halve the voltage, you halve the current. Since power is voltage x current, you've halved the voltage, halved the current and therefore have to divide power by 4.

In numbers it goes like this:
4500w / 240 (rated voltage) = 18.75 Amps (current at rated voltage)
240v / 18.75a = 12.8 ohms (this means the element is 12.8 ohms fixed so all other voltages applied can be figured out around this.

120v / 12.8 = 9.375 a given the new voltage.
120v x 9.375a = 1125 watts.

Let's say your grid is actually running 111v:

111v / 12.8 ohms = 8.67a
111v x 8.67a = 962 watts actual

Thanks so much for the explanation.
 
Did the first dry (wet) run tonight. Things went pretty well. Using my Thermapen I had to adjust the controller by about 1.5 degrees. I've attached a quick video. I still need to mess around with the controller a bit I think. Brew day is going to rock this weekend!

[ame]http://youtu.be/fsATBVvf8PY[/ame]

-Jason
 
That is awesome! I sent you a PM to see if you have more detailed pics of the inside to assist me with my build
 
Hey guys, I'll try to get something put together tomorrow. I was planning on doing it today but was way too busy :(

1 thing I have found so far is that I think I'll need a heatsink on the SSR, it did get a bit warm. I'll be getting this done before my weekend brew.

-Jason
 
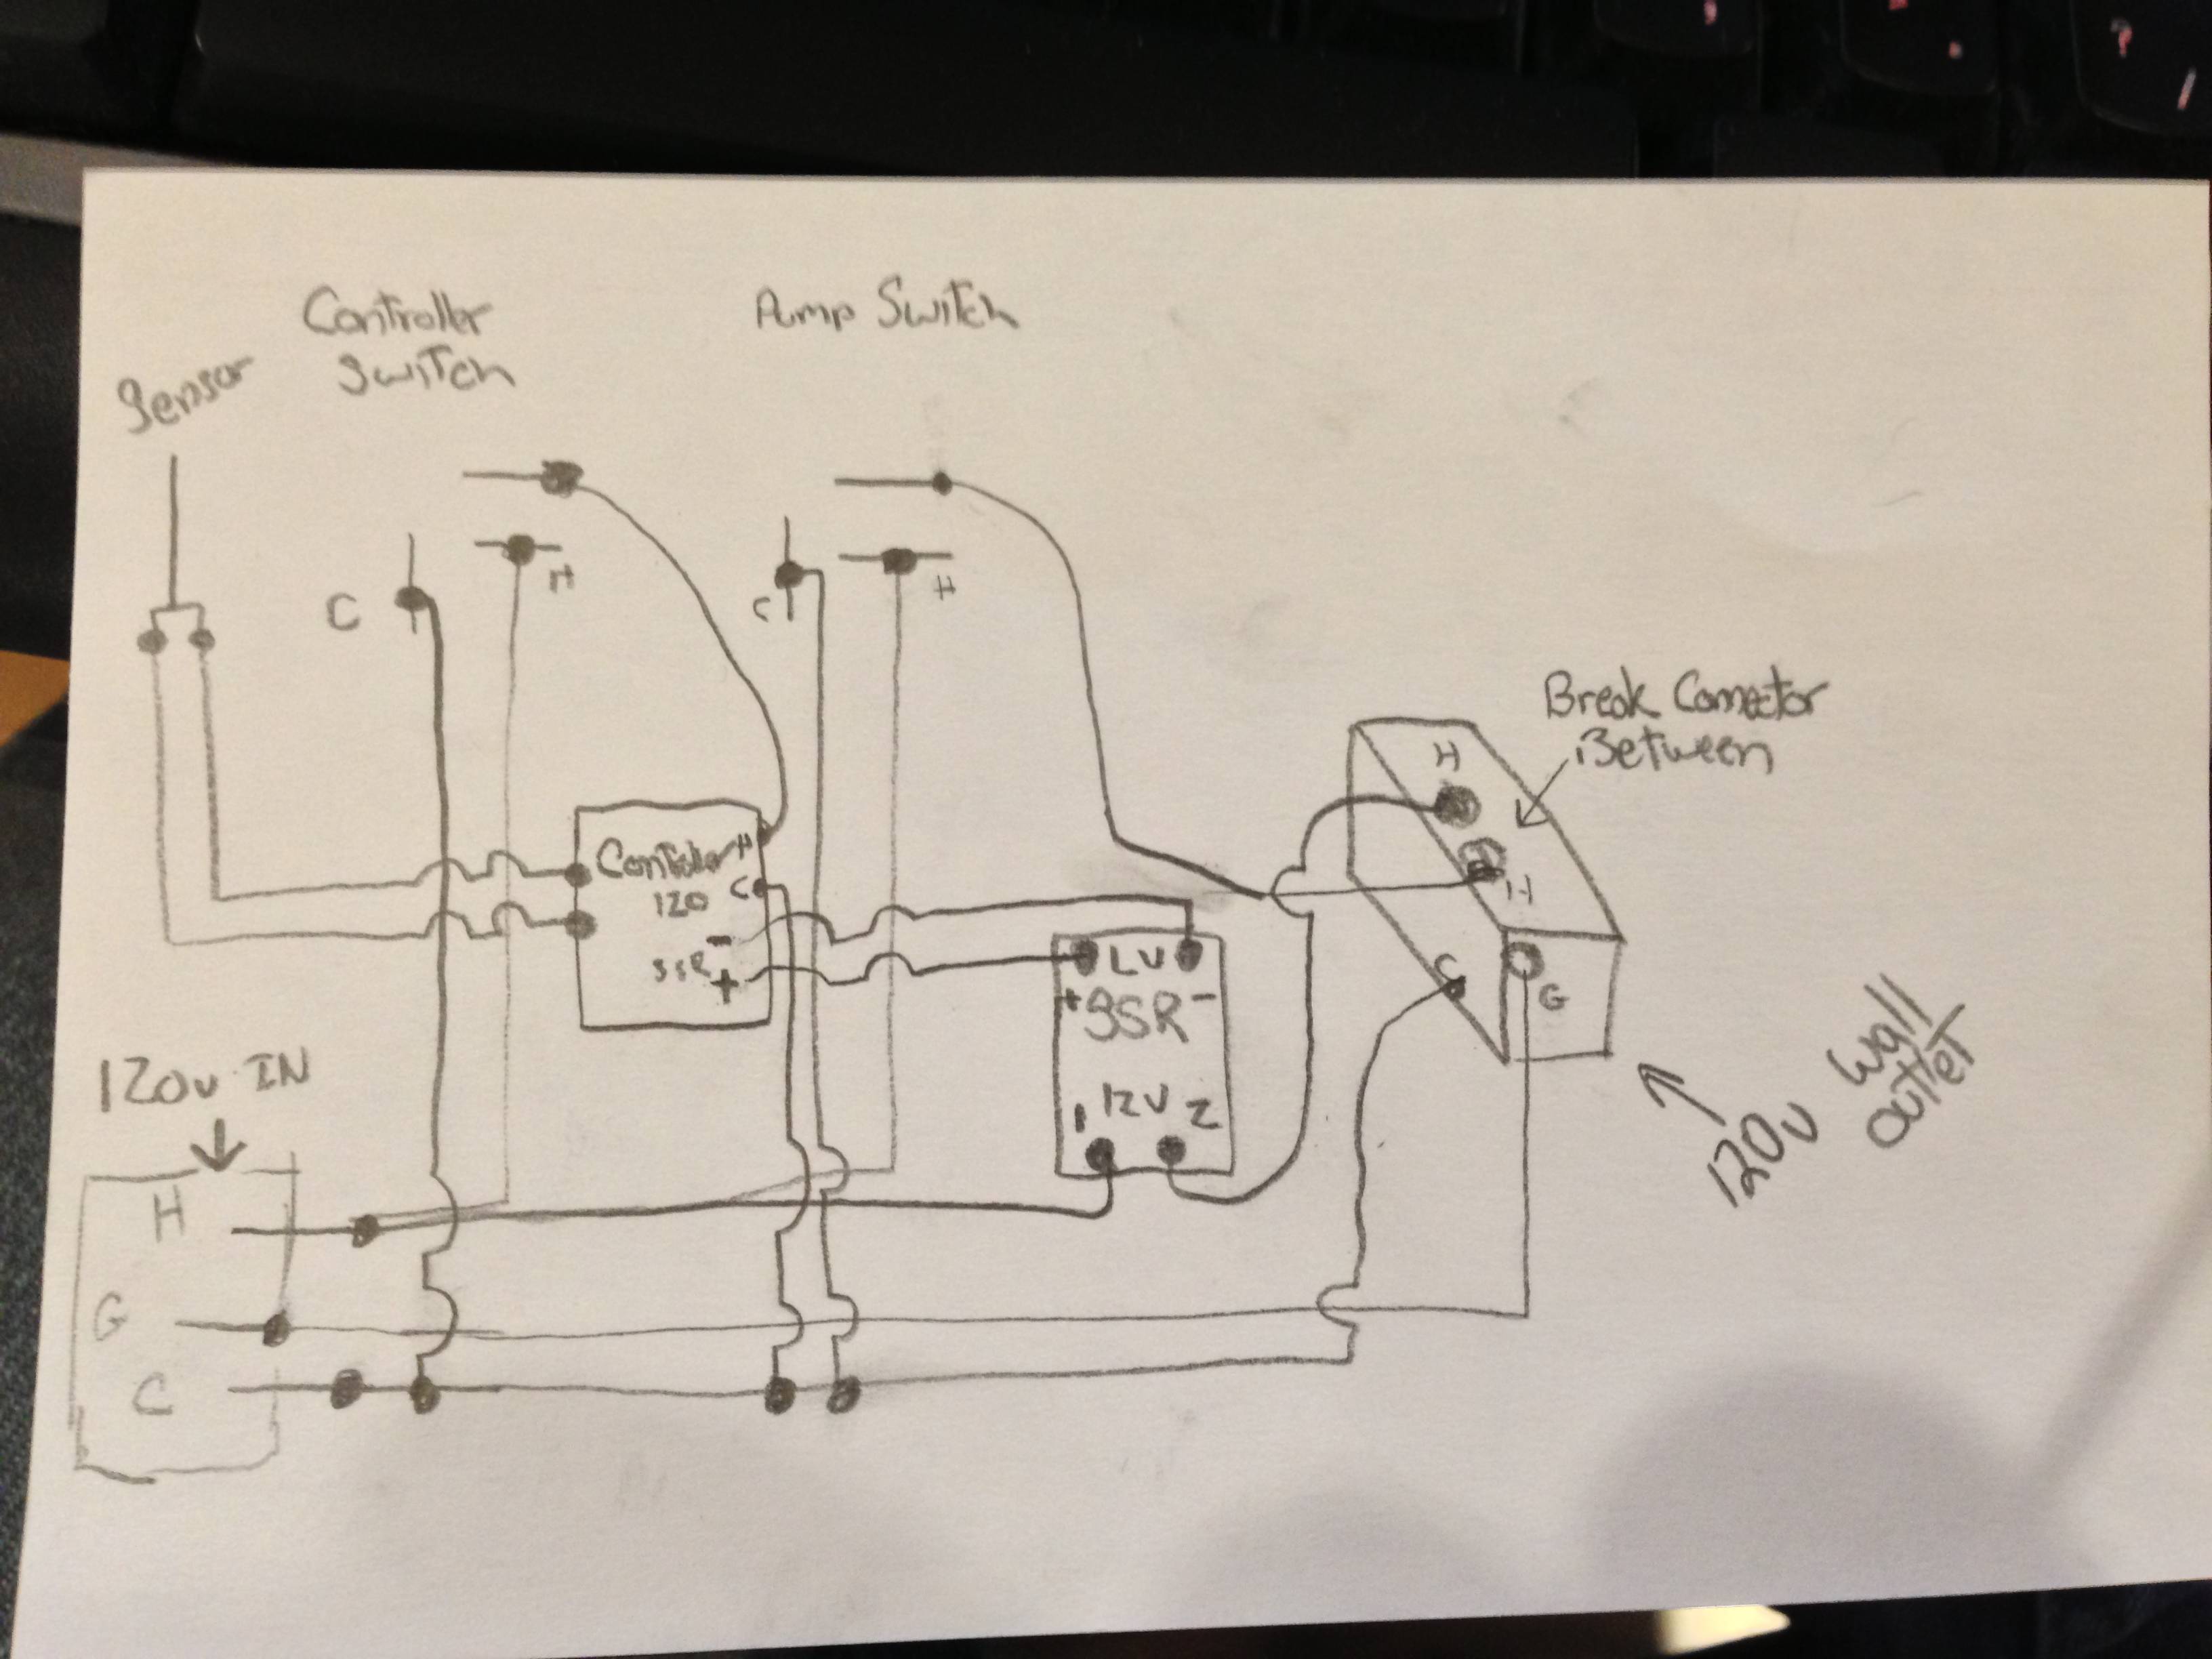
I tried to draw something up, think I got it right. Hope this helps.

gDXmZ.jpg


Also tonight I installed a heatsink on the SSR I was able to keep everything inside still. I'll have to monitor it this weekend to see if I'll need a fan.

-Jason
 
are you using this as a HLT or MLT? I didn't see a false bottom or screen in your cooler. Nice simple setup though, I am hoping to do something very similar to this.
 
That cooler is a mash tun.

RIMS is not simple. It's not rocket science but it will take lots of time and work to build it.
 
are you using this as a HLT or MLT? I didn't see a false bottom or screen in your cooler. Nice simple setup though, I am hoping to do something very similar to this.

This is my MLT, for testing I left the false bottom out.

Small update last night I did some more testing with the PID and played around with the auto tuning a bit. After letting it cycle it seem to keep the temp about .7 degrees too high and would bounce over 1.2 degrees from the set point. I went into the settings manually after and set P and I to .1 but left D around 3 I think. After this I was able to maintain 4 gallons of water @ between 152.0 - 152.2 with the element only turning on for a second here and there. I'm pretty sure I'll be messing with the settings some more this Sunday when I brew.

-Jason
 
pentiumone133 said:
Any advice for working with the mypin TA4 PID? I just bought one also for my DIY RIMS setup.

I'll let you know how things work this weekend. So far it was a pretty simple to wire and program.

-Jason
 
Why don't you just run the auto-tune program? It should set everything perfectly to absolutely nail the temp every time.
 
Why don't you just run the auto-tune program? It should set everything perfectly to absolutely nail the temp every time.

I tried the auto-tune 3 times and each time it kept the temp high by over 1 degree. I manually set things lower from the auto tune setting and I seem to have it working alright at the moment.
 
Had some big issues today with the RIMS system. Maybe I should not have tested with a big beer but my false bottom kept clogging up and cutting the flow to the pump. I had about 15 lb or grain and 1/2lb or rice hulls and still had issues. I have an old manifold that may work better??? What are other people using in the bottom of their 10 gallon coolers??

-Jason
 
JasonO said:
Had some big issues today with the RIMS system. Maybe I should not have tested with a big beer but my false bottom kept clogging up and cutting the flow to the pump. I had about 15 lb or grain and 1/2lb or rice hulls and still had issues. I have an old manifold that may work better??? What are other people using in the bottom of their 10 gallon coolers??

-Jason

I have no problem with my washing machine hose. I just coiled it up with a small soft copper pipe inside it to keep it on the bottom. Works like a charm
 
Back
Top