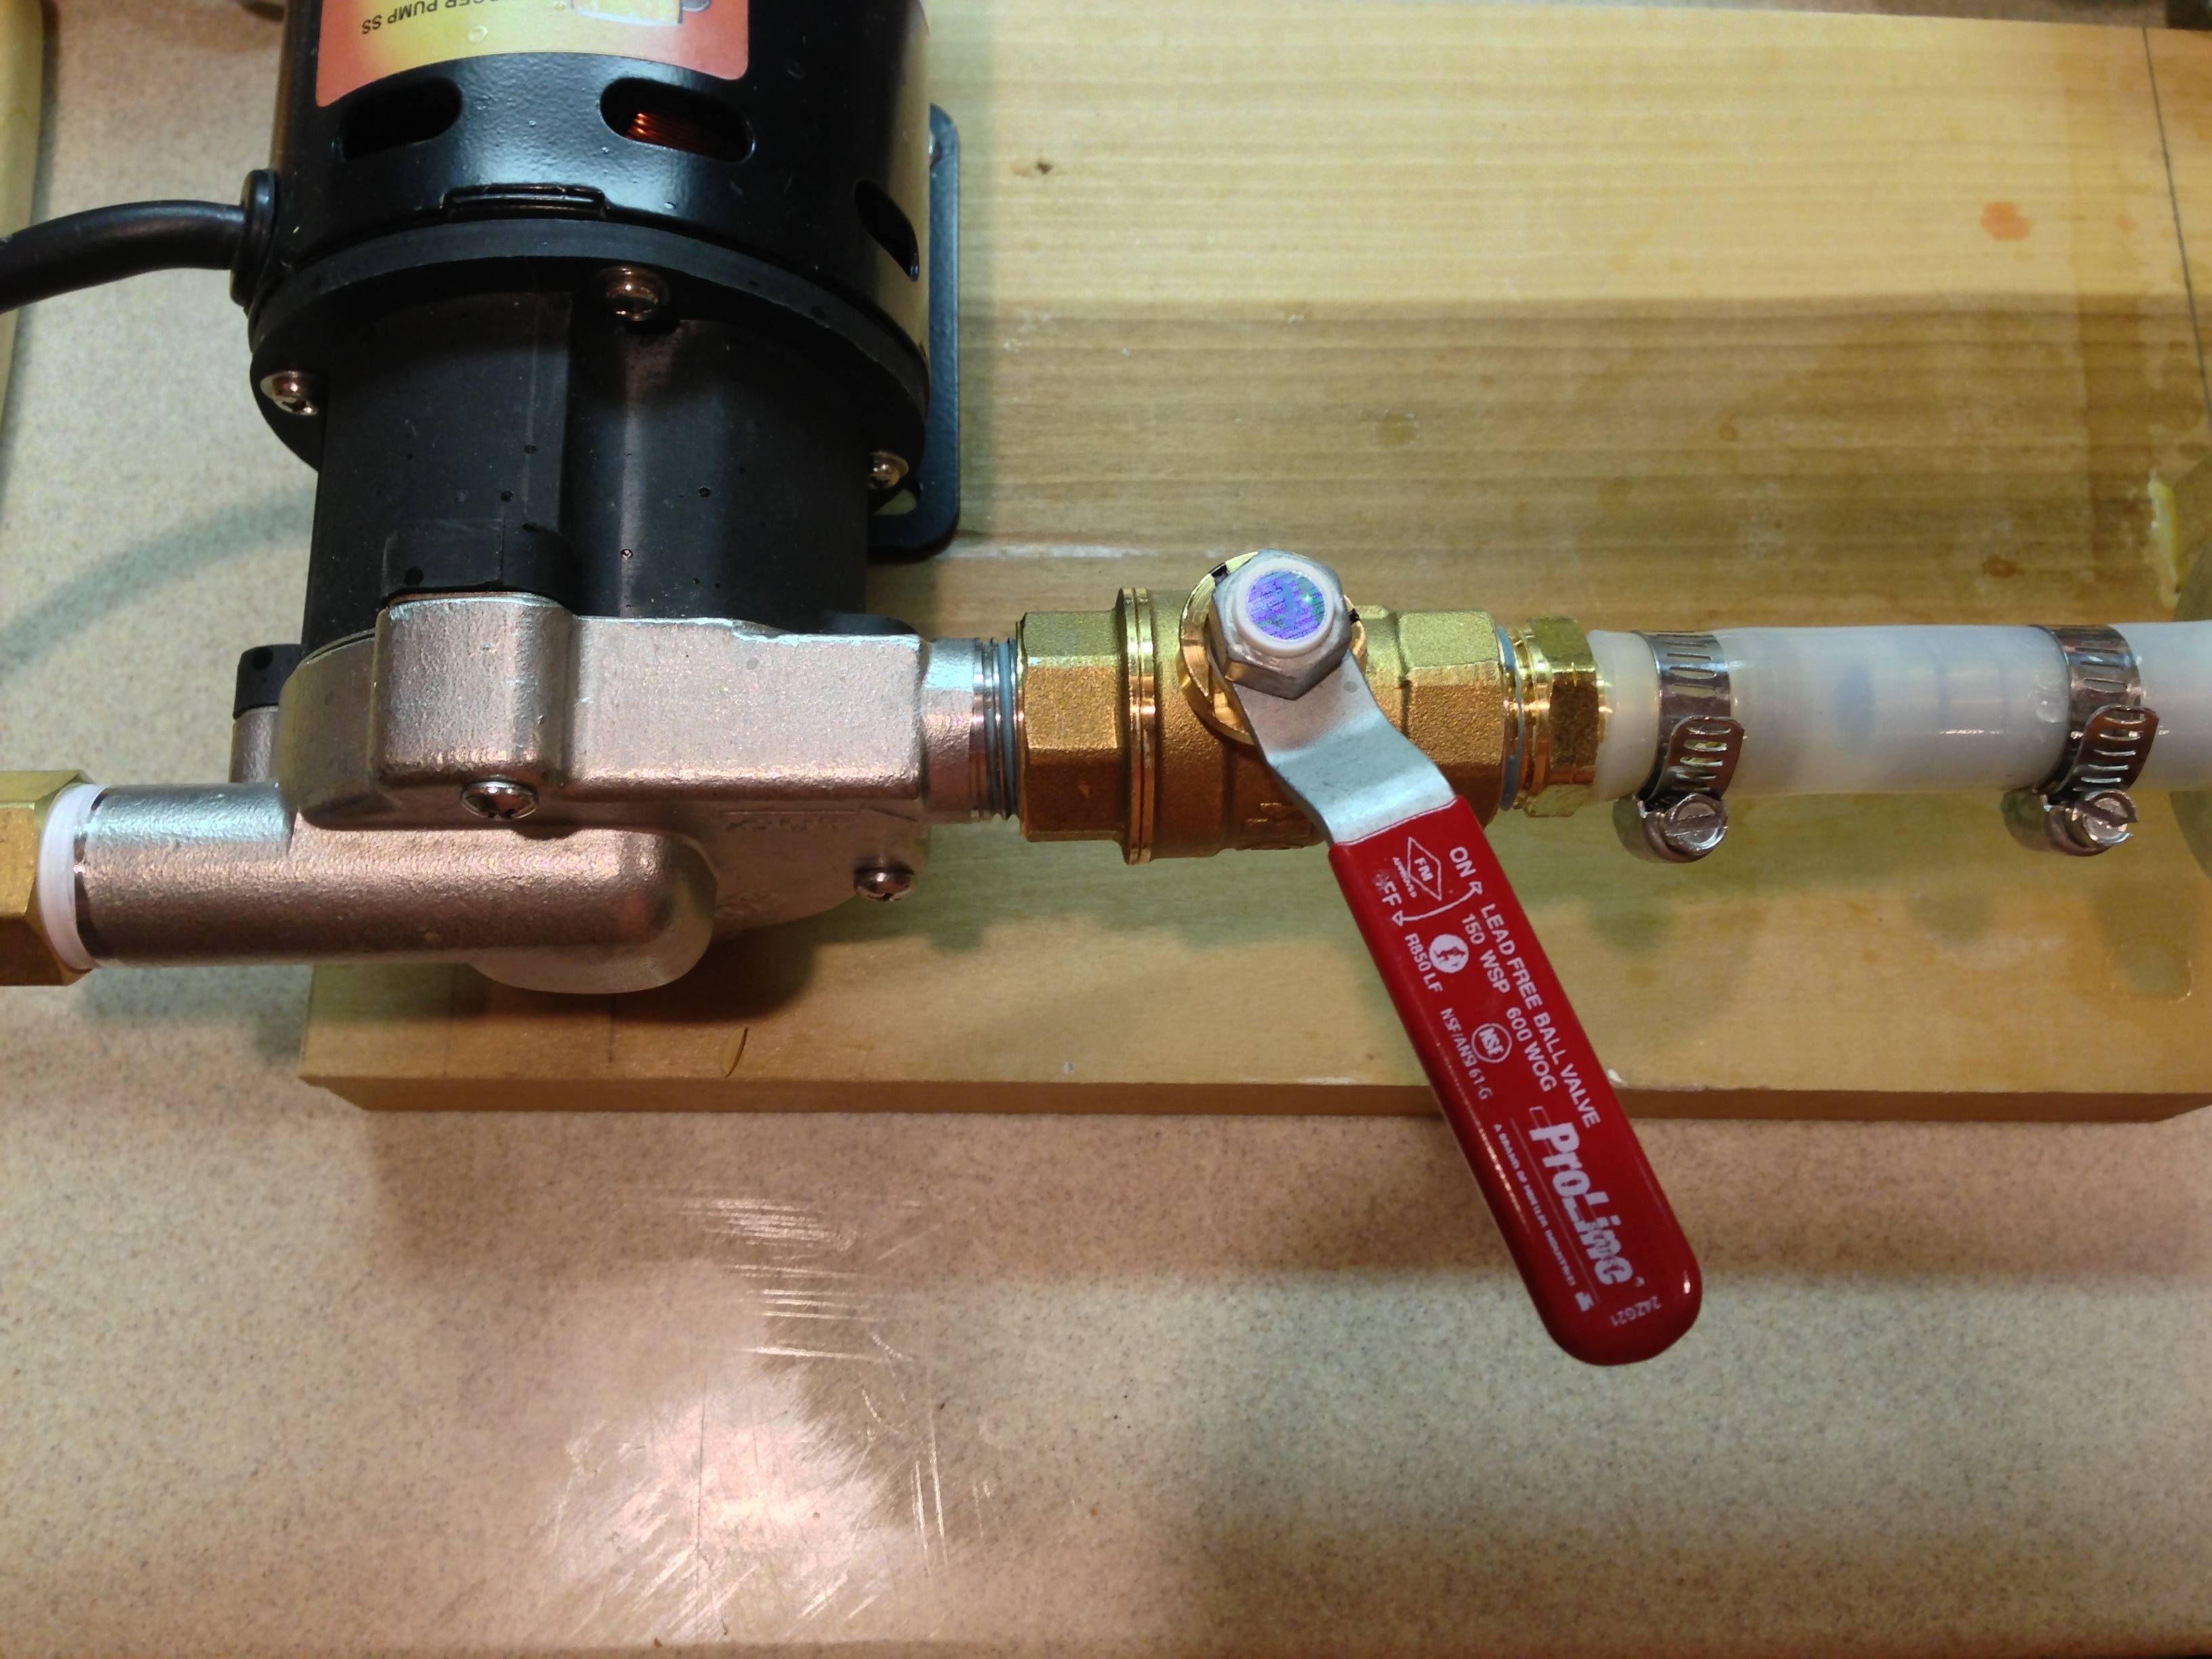
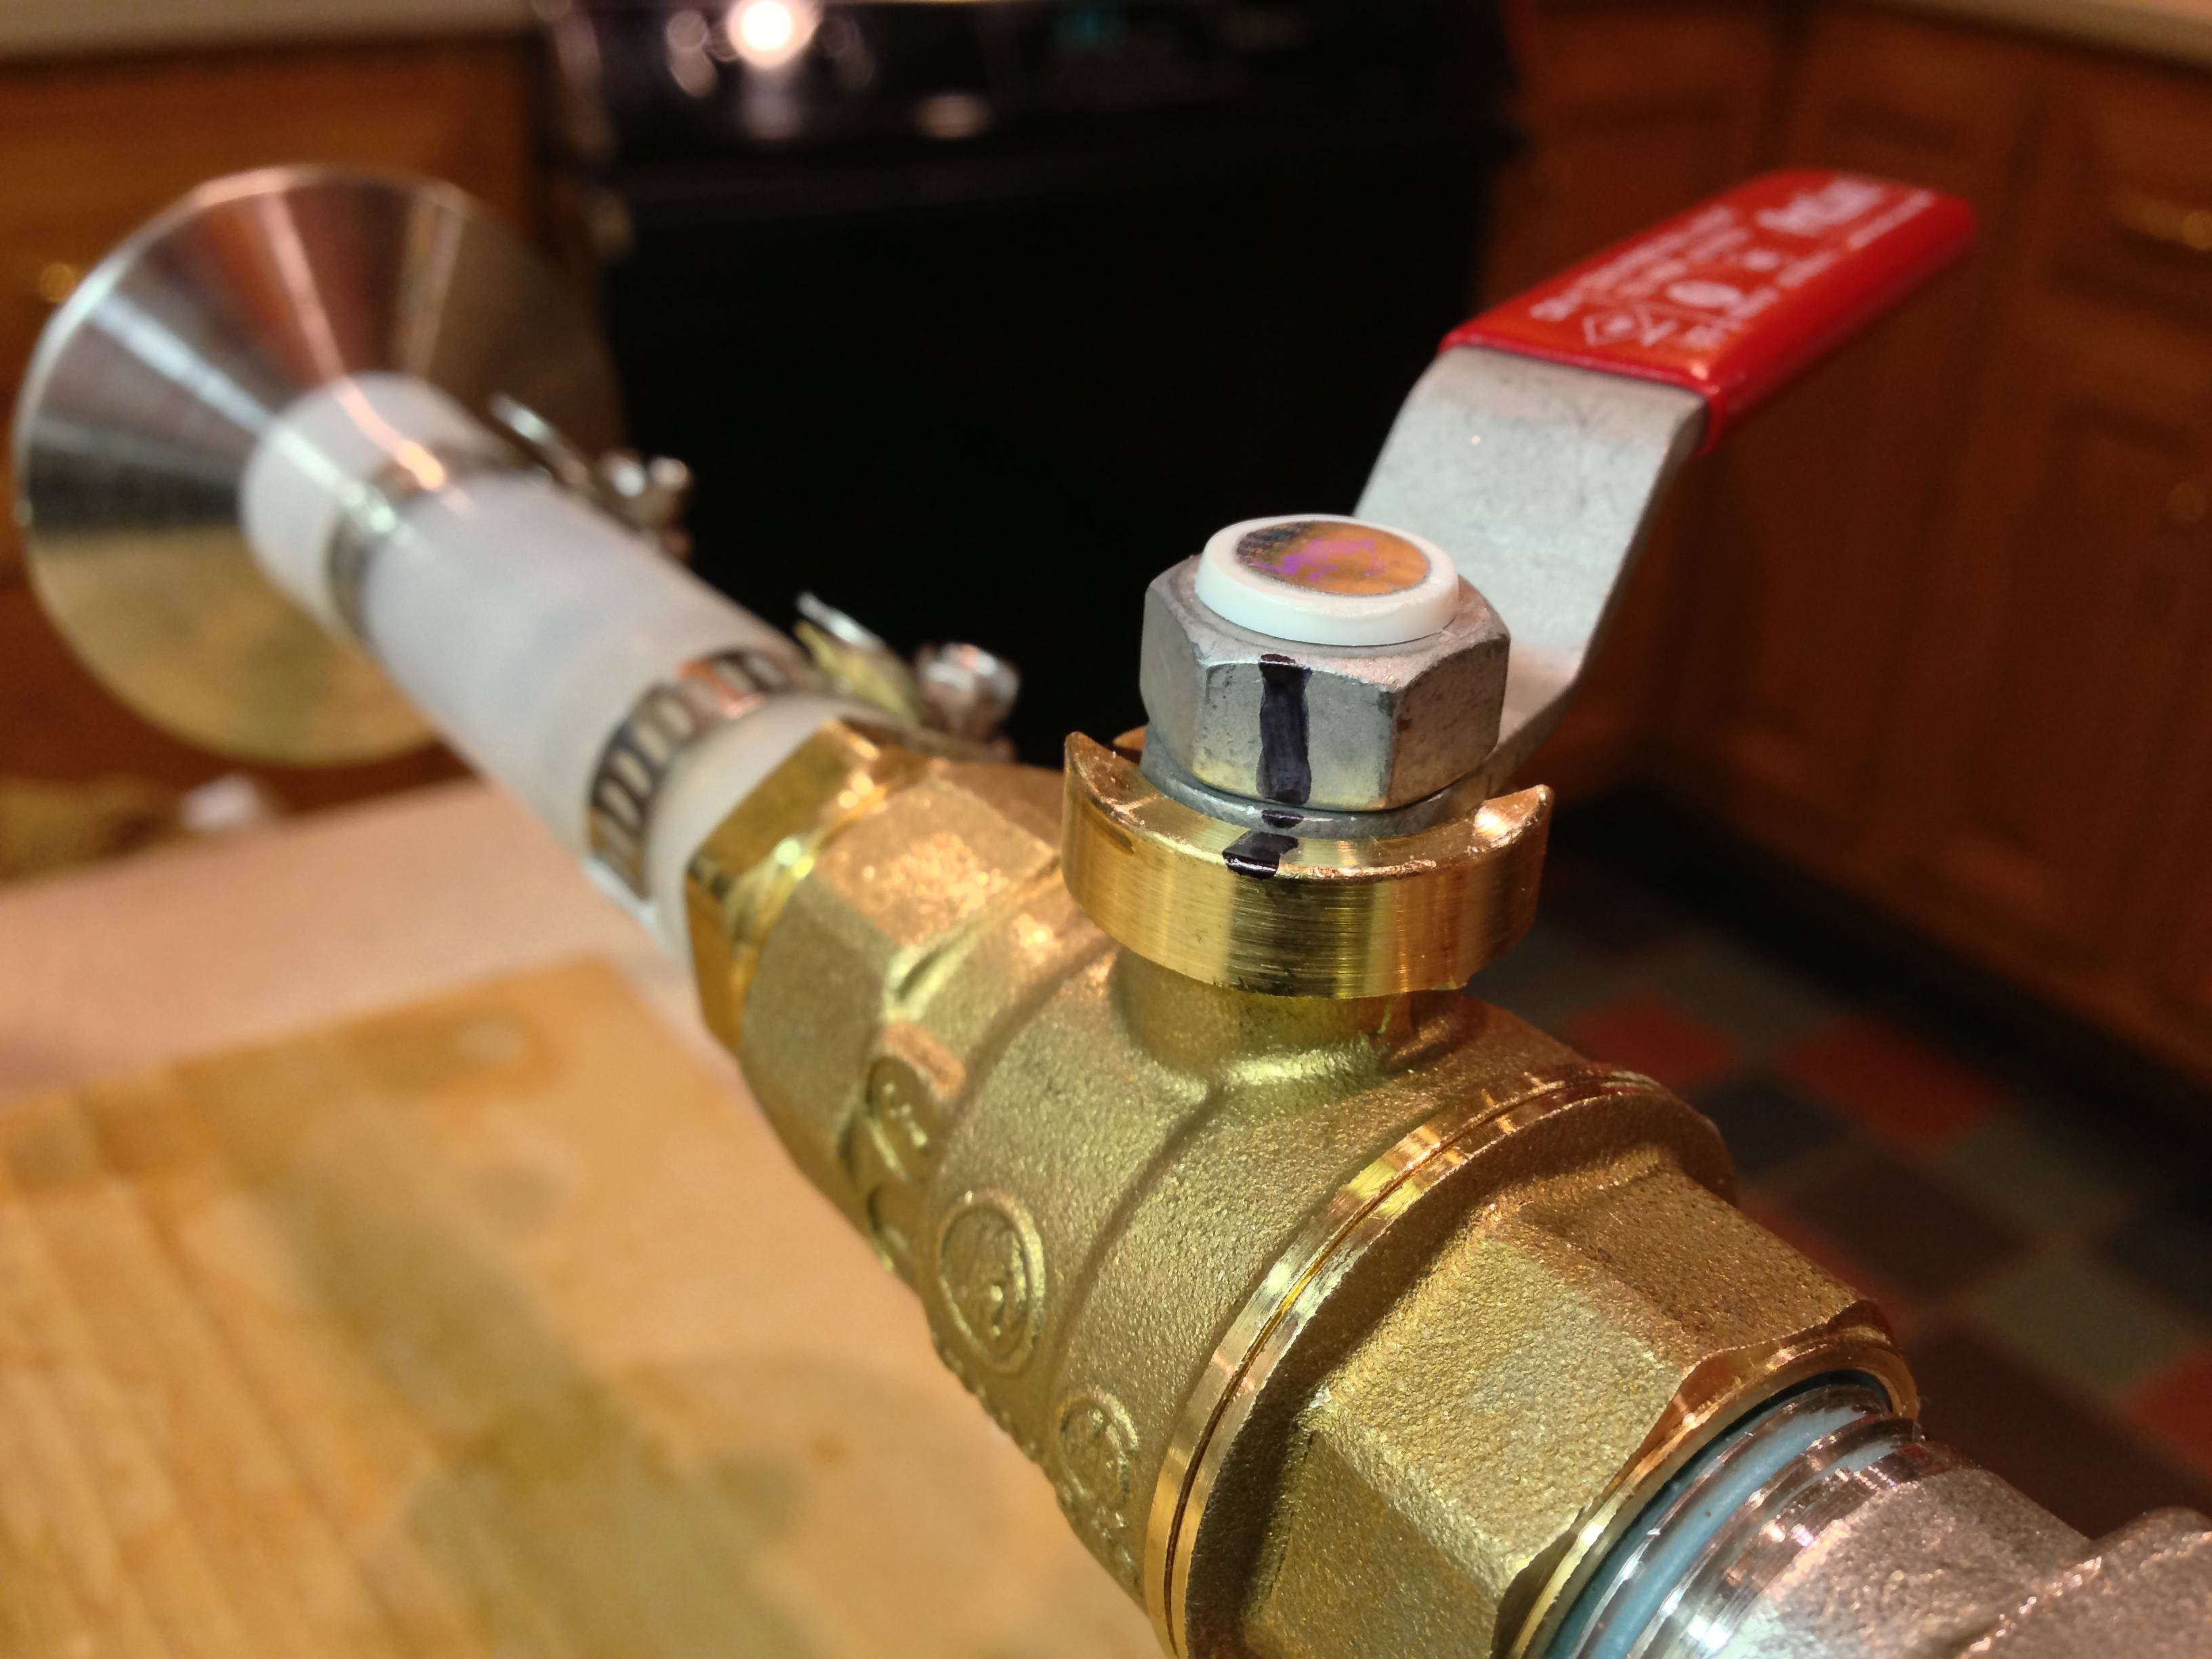
After doing a bunch of reading today I think think my main issues is that I was trying to run the pump wide open right after adding the grain to the mash tun. I should have let things sit for a bit and restricted the flow after the rims system. I am going to add a ball valve to the return and give things another go in a week or 2.
Looking back I had some good results with my cpvc manifold. I don't remember gaining much going to a false bottom. When I cleaned out my mash tun last night it was mostly plugged up with pieces of grain, the small cuts in the cpvc never had the issue.
-Jason
Looking back I had some good results with my cpvc manifold. I don't remember gaining much going to a false bottom. When I cleaned out my mash tun last night it was mostly plugged up with pieces of grain, the small cuts in the cpvc never had the issue.
-Jason


![Craft A Brew - Safale S-04 Dry Yeast - Fermentis - English Ale Dry Yeast - For English and American Ales and Hard Apple Ciders - Ingredients for Home Brewing - Beer Making Supplies - [1 Pack]](https://m.media-amazon.com/images/I/41fVGNh6JfL._SL500_.jpg)