• Please visit and share your knowledge at our sister communities:
  • If you have not, please join our official Homebrewing Facebook Group!

    Homebrewing Facebook Group

Help! Drilled (punched) hole too big in kettle.

Homebrew Talk

Help Support Homebrew Talk:

This site may earn a commission from merchant affiliate links, including eBay, Amazon, and others.

camcdonald1

Member
Joined
Jan 25, 2013
Messages
12
Reaction score
0
Just starting out by saying I'm an idiot for doing this. I was in auto pilot after punching 1-1/4" holes in both my BK and then HLT for my Camco SS 5500 elements. Next up were holes for my ball valves in the HLT. Without thinking I grabbed the same chassis/knockout hole punch size and proceeded to add a hole that fits an electric heater element and is way too large for a standard 1/2" ball valve.
What are my options? I just finished spending hours polishing each keggle to a mirror finish, I would hate to have to scrap a keg. Never have I ever kicked myself so hard for not measuring twice!
 
Is there a next size up from what you intdended tio install in the irst place? Can yiu get a 5/8 or 3/4 ball valve?
 
Weld a Tc ferrule in an use either a adapter to 1/2 NPT to your ball valve or a TC ball valve. If you need a dip tube I believe someone makes one that will work, might have been Stout can't remember offhand.
 
What Deece said, buy an extra ferrule like you were going to use for your Heating elements, weldless or welded doesnt matter just to fit that hole and then buy a Triclover to 1/2" NPT adapter from Bobby for the proper size Triclover you r using at
https://www.brewhardware.com/category_s/1841.htm

Its going to make that one fitting more expensive($5 for Ferrule, $8 for clamp, $10 for triclover->1/2") because you'll need the weld ferrule, triclamp, and then the fitting, but your keg wont be scrapped.
 
I used 2 stainless steel fender washers with an 1/2 inch stainless bolt and nut to patch an 1.75 hole that was supposed to be 1.25. I used a 2 inch washer in the inside with an 2.5" on the outside. I used a sheet of FDA approved high heat silicone plus a tube of FDA silicone between the outside washer and the pot to seal the hole. I then sealed the hole by tightening the bolt. Then I punched the proper 1.25" hole for my heating element in another spot. If there is enough interest I'll post the pictures I took.
 
I had to move an element in my keggle and I patched it with a 1" NPT stainless steel hex plug which I bought on eBay and heater element nut and o ring from BrewHardware.com. The heater element nut is 1" NPT as well.

I have a dozen or so batches through the system with no problems.

Chris
 
Thanks for all the great advice guys. The hole itself is actually 1-3/8" since I used a one inch chassis punch. I guess next steps will be to find a coupler or spud with an outside diameter that matches the hole size and learn how to silver solder. When you mention "weld" could I get by with silver soldering?

@snackson, I have a pickup tube going on the inside that reaches through to the center of the keg

@idiotsinc, I'd be interested to see the pictures of your patch job.

This is what you need https://www.brewhardware.com/SearchResults.asp?Search=tc+solder+flange&Submit=

I converted a keg which had been using a electric element setup based on the Kal design over to a soldered on ferrule with Bobby's hardware and couldn't be happier. I pull my heating element out after every brew for cleaning. Takes all of about 30 seconds. The recommended hole size is 1-1/2" but 1-3/8" works just fine. In fact, I have been considering replacing my current 1/2" ball valve with some type of TC based valve for ease of cleaning and disassembly but just haven't gotten around to it yet.
 
Thanks @srice, I think I'll go with the option you've laid out. Although, will I be able to connect anything to the inside of the keg (dip tube) with this fitting?

https://www.brewhardware.com/product_p/tc15rsf.htm

Also, what would I need to buy to add a 1/2" ball valve on the exterior of the kettle?

Take a look here for a TC dip tube - http://www.norcalbrewingsolutions.com/store/Tri_Clover_Dip_Tube_1.5_Inch.html

You can then add a TC valve on the end of the dip tube with this-
http://www.norcalbrewingsolutions.com/store/Tri_Clover_1.5_Inch_x_.5_Inch_NPT_Male.html
and any 1/2" NPT valve you may already have.

This setup will allow you to pull the dip tube and valve assembly out of your kettle in seconds.

I've got a DIY hop screen on my dip tube. Once I figure out a means for a quick connect on that, I am converting my keggle over to TC.
 
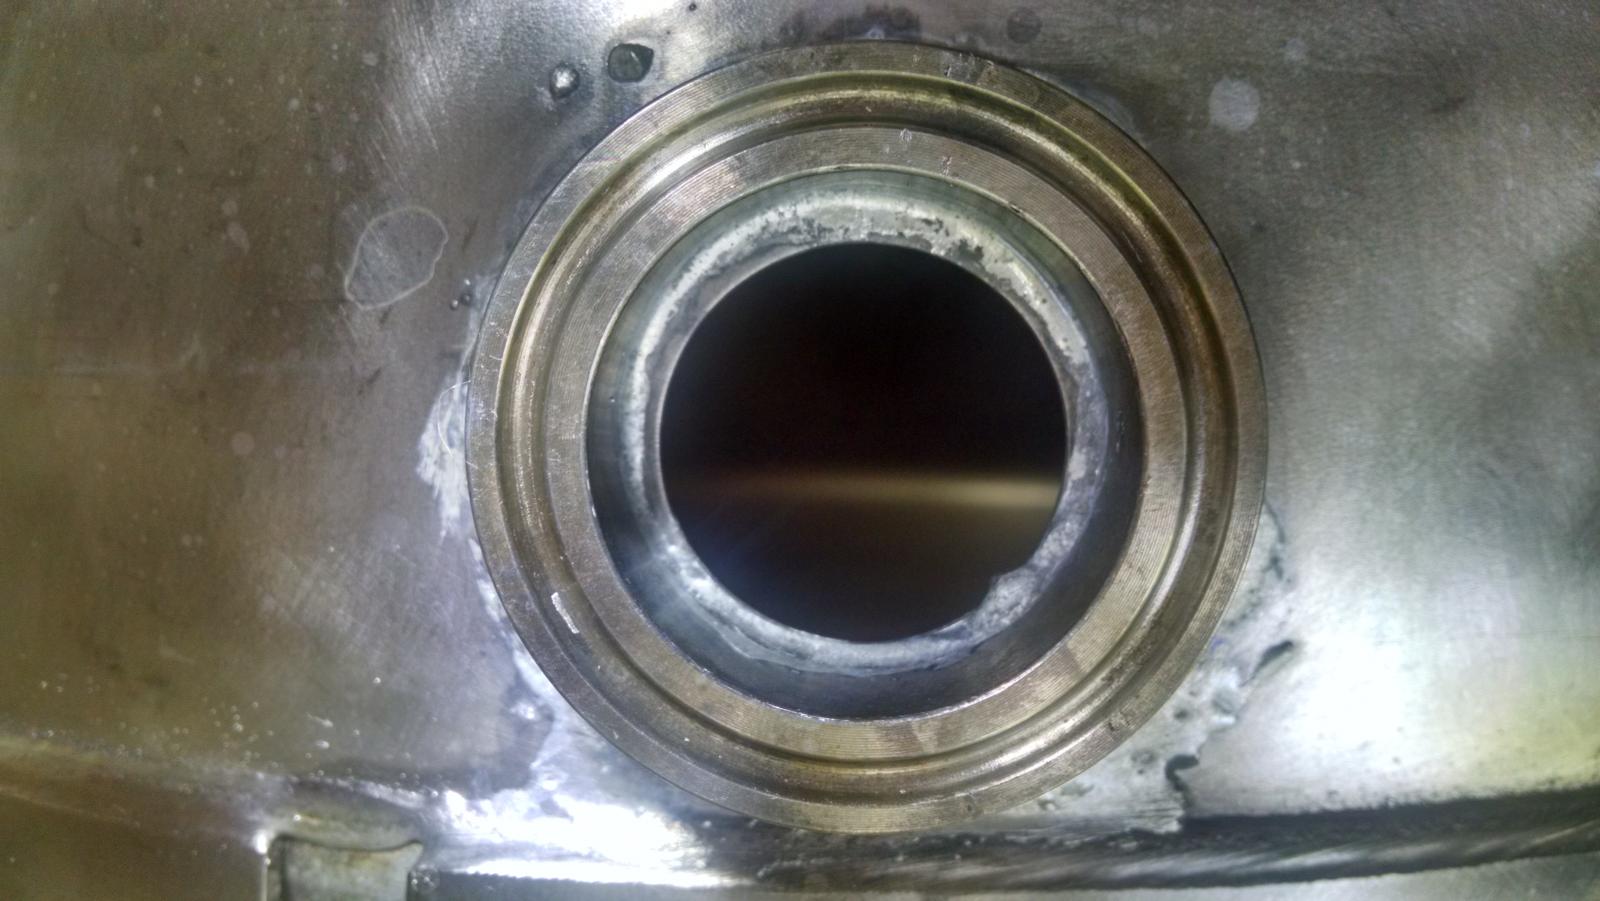
Here's my 1 1/4" hole with one of Bobby's radiused flanges.

MS

IMG_20150523_145202684_HDR.jpg
 
Thanks everyone for the help. I ordered the 1.5" TC radius flange, a clamp, o-ring, 1/2" NPT male adapter and silver solder kit from Bobby. Hoping to get those items soon so I can assemble and then post back an update.
I'm still unclear on my options for an interior dip tube. I'm thinking I might just find a tight fitting copper tube and shove it inside the flange. Not perfect but cheap and I think will get the job done.

Expensive, but you could try this. http://www.morebeer.com/products/15-triclamp-rotating-racking-arm.html?site_id=5

Or this. http://www.morebeer.com/products/conical-racking-arm-sample-valve-assembly.html
 
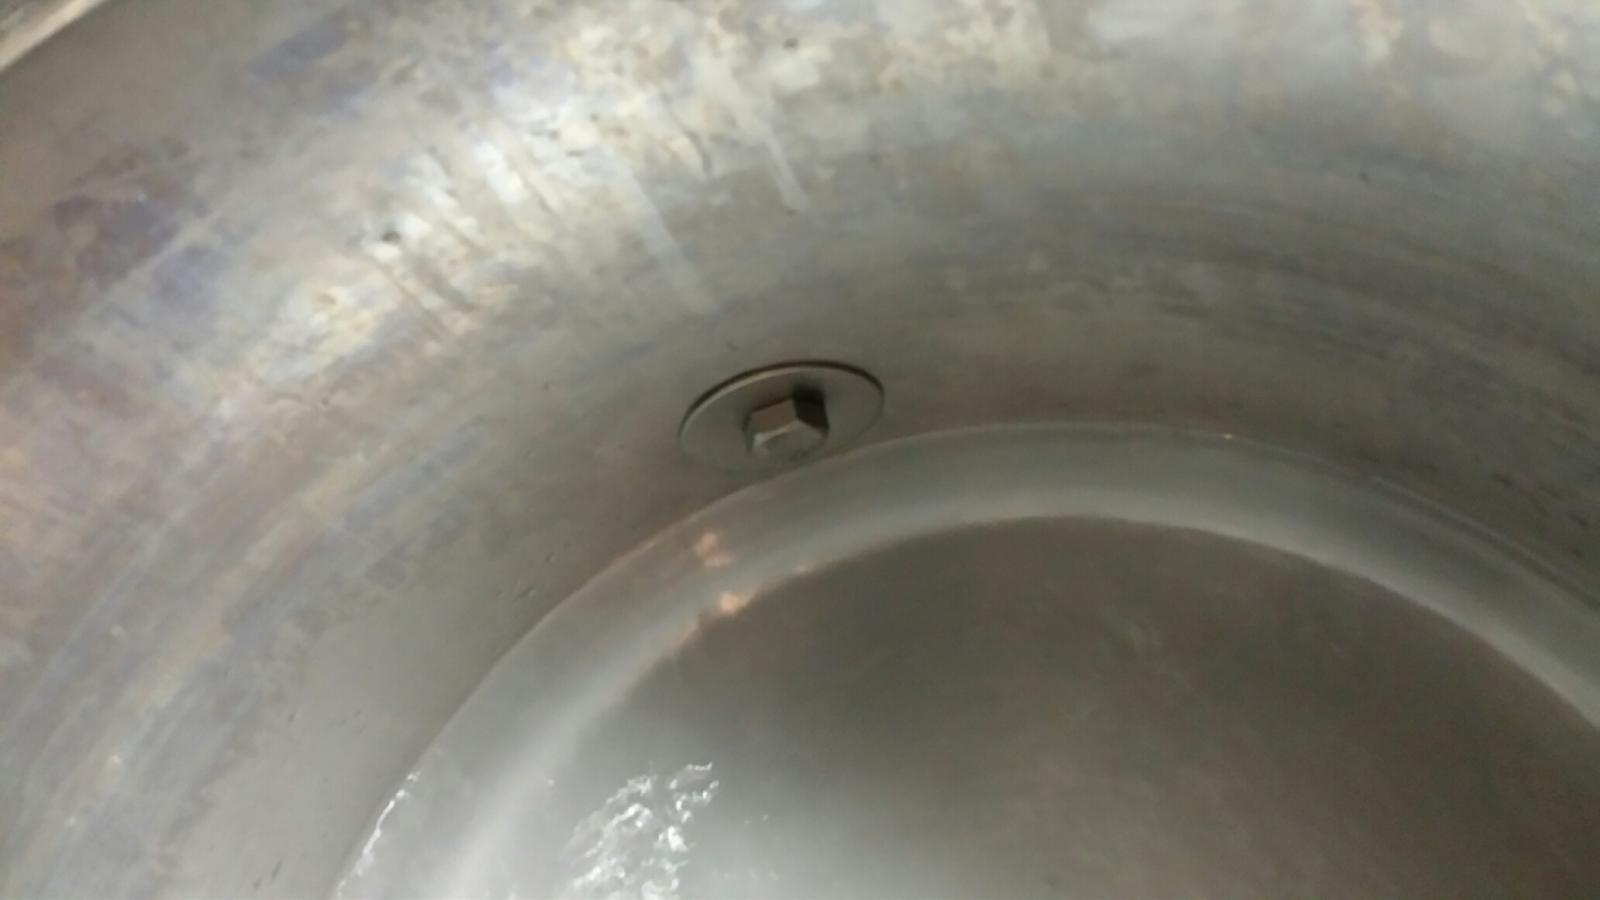
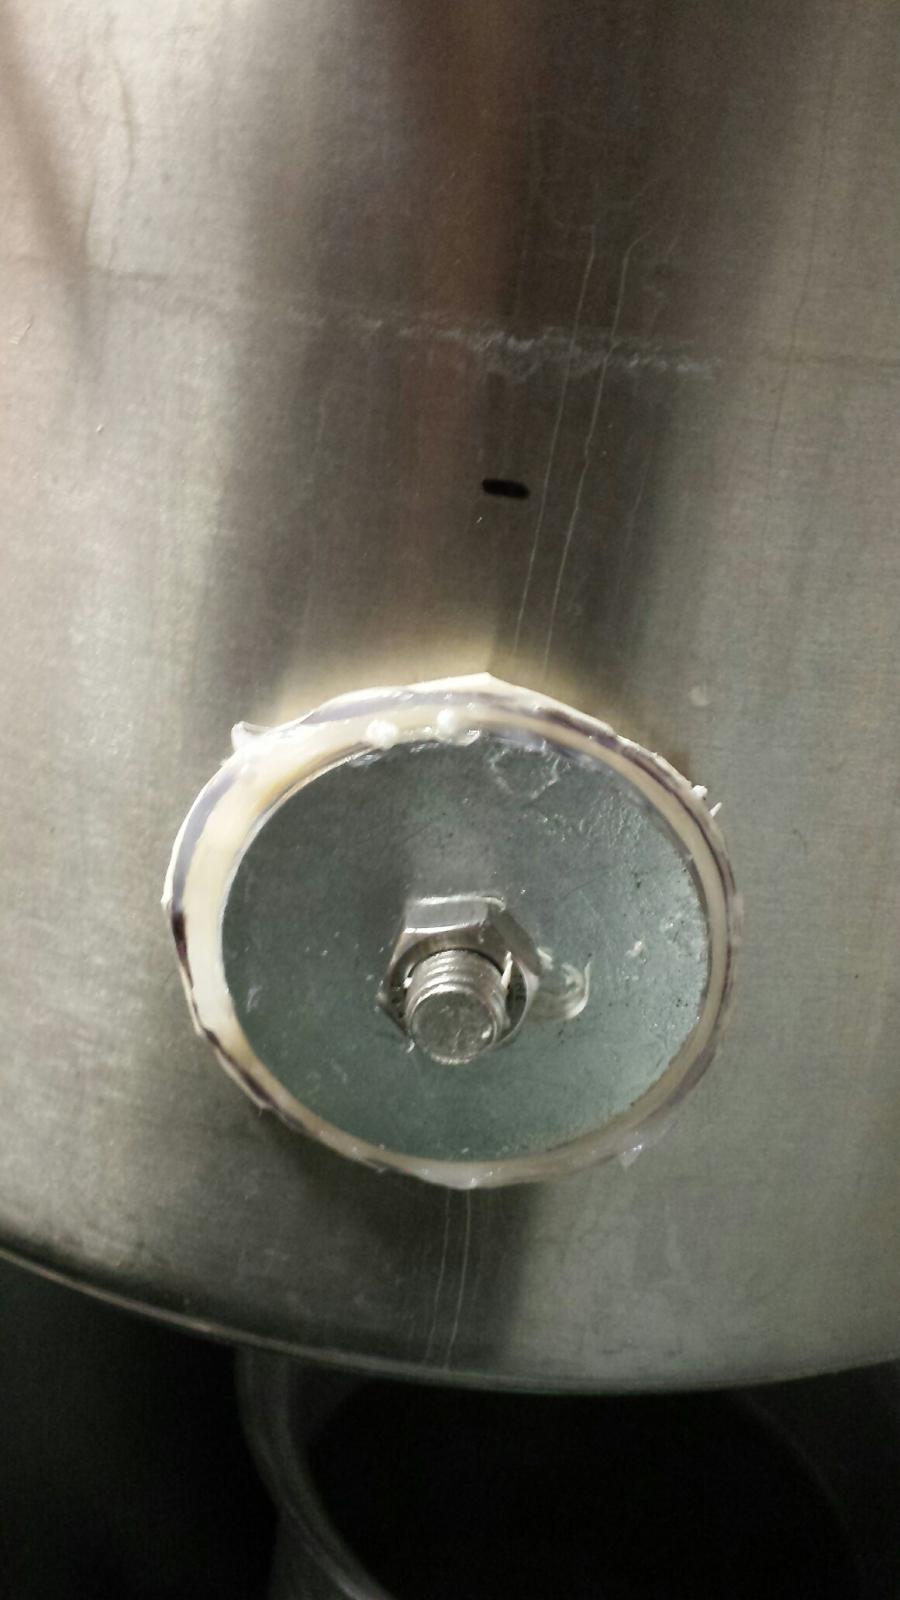
I'm a little late getting back. Here's a couple pictures of my hole repair. The inner washer is a 1/2x2" stainless fender washer (the original hole was 1 3/4"). The outer is 1/2x2.5". Between the outer washer and the pot is a piece from a sheet of 3/16" high temp FDA silicone coated with high temp FDA silicone sealant. Holding it all together is an 1/2 stainless bolt. I then punched out a 1 1/4" hole for my element.

20150622_152928_resized.jpg


20150622_152939_2_resized.jpg
 
Back
Top