• Please visit and share your knowledge at our sister communities:
  • If you have not, please join our official Homebrewing Facebook Group!

    Homebrewing Facebook Group

Gly-Coil for Kegmenter

Homebrew Talk

Help Support Homebrew Talk:

This site may earn a commission from merchant affiliate links, including eBay, Amazon, and others.
This may be a bit of a stretch for pressure fermentation/transfers but have you thought about trying a Uniseal? They are sort of like a bulkhead but typically used for pipes out of water vessels. They are flexible and water tight just not sure about how much gas pressure they might hold.

https://external-content.duckduckgo...cts/i/138877/uniseal_hydroflow.jpg&f=1&nofb=1
They make them pretty small, I think down to 1/4" and they are pretty inexpensive, might be worth a try.

https://www.aussieglobe.com/uniseal1.htm
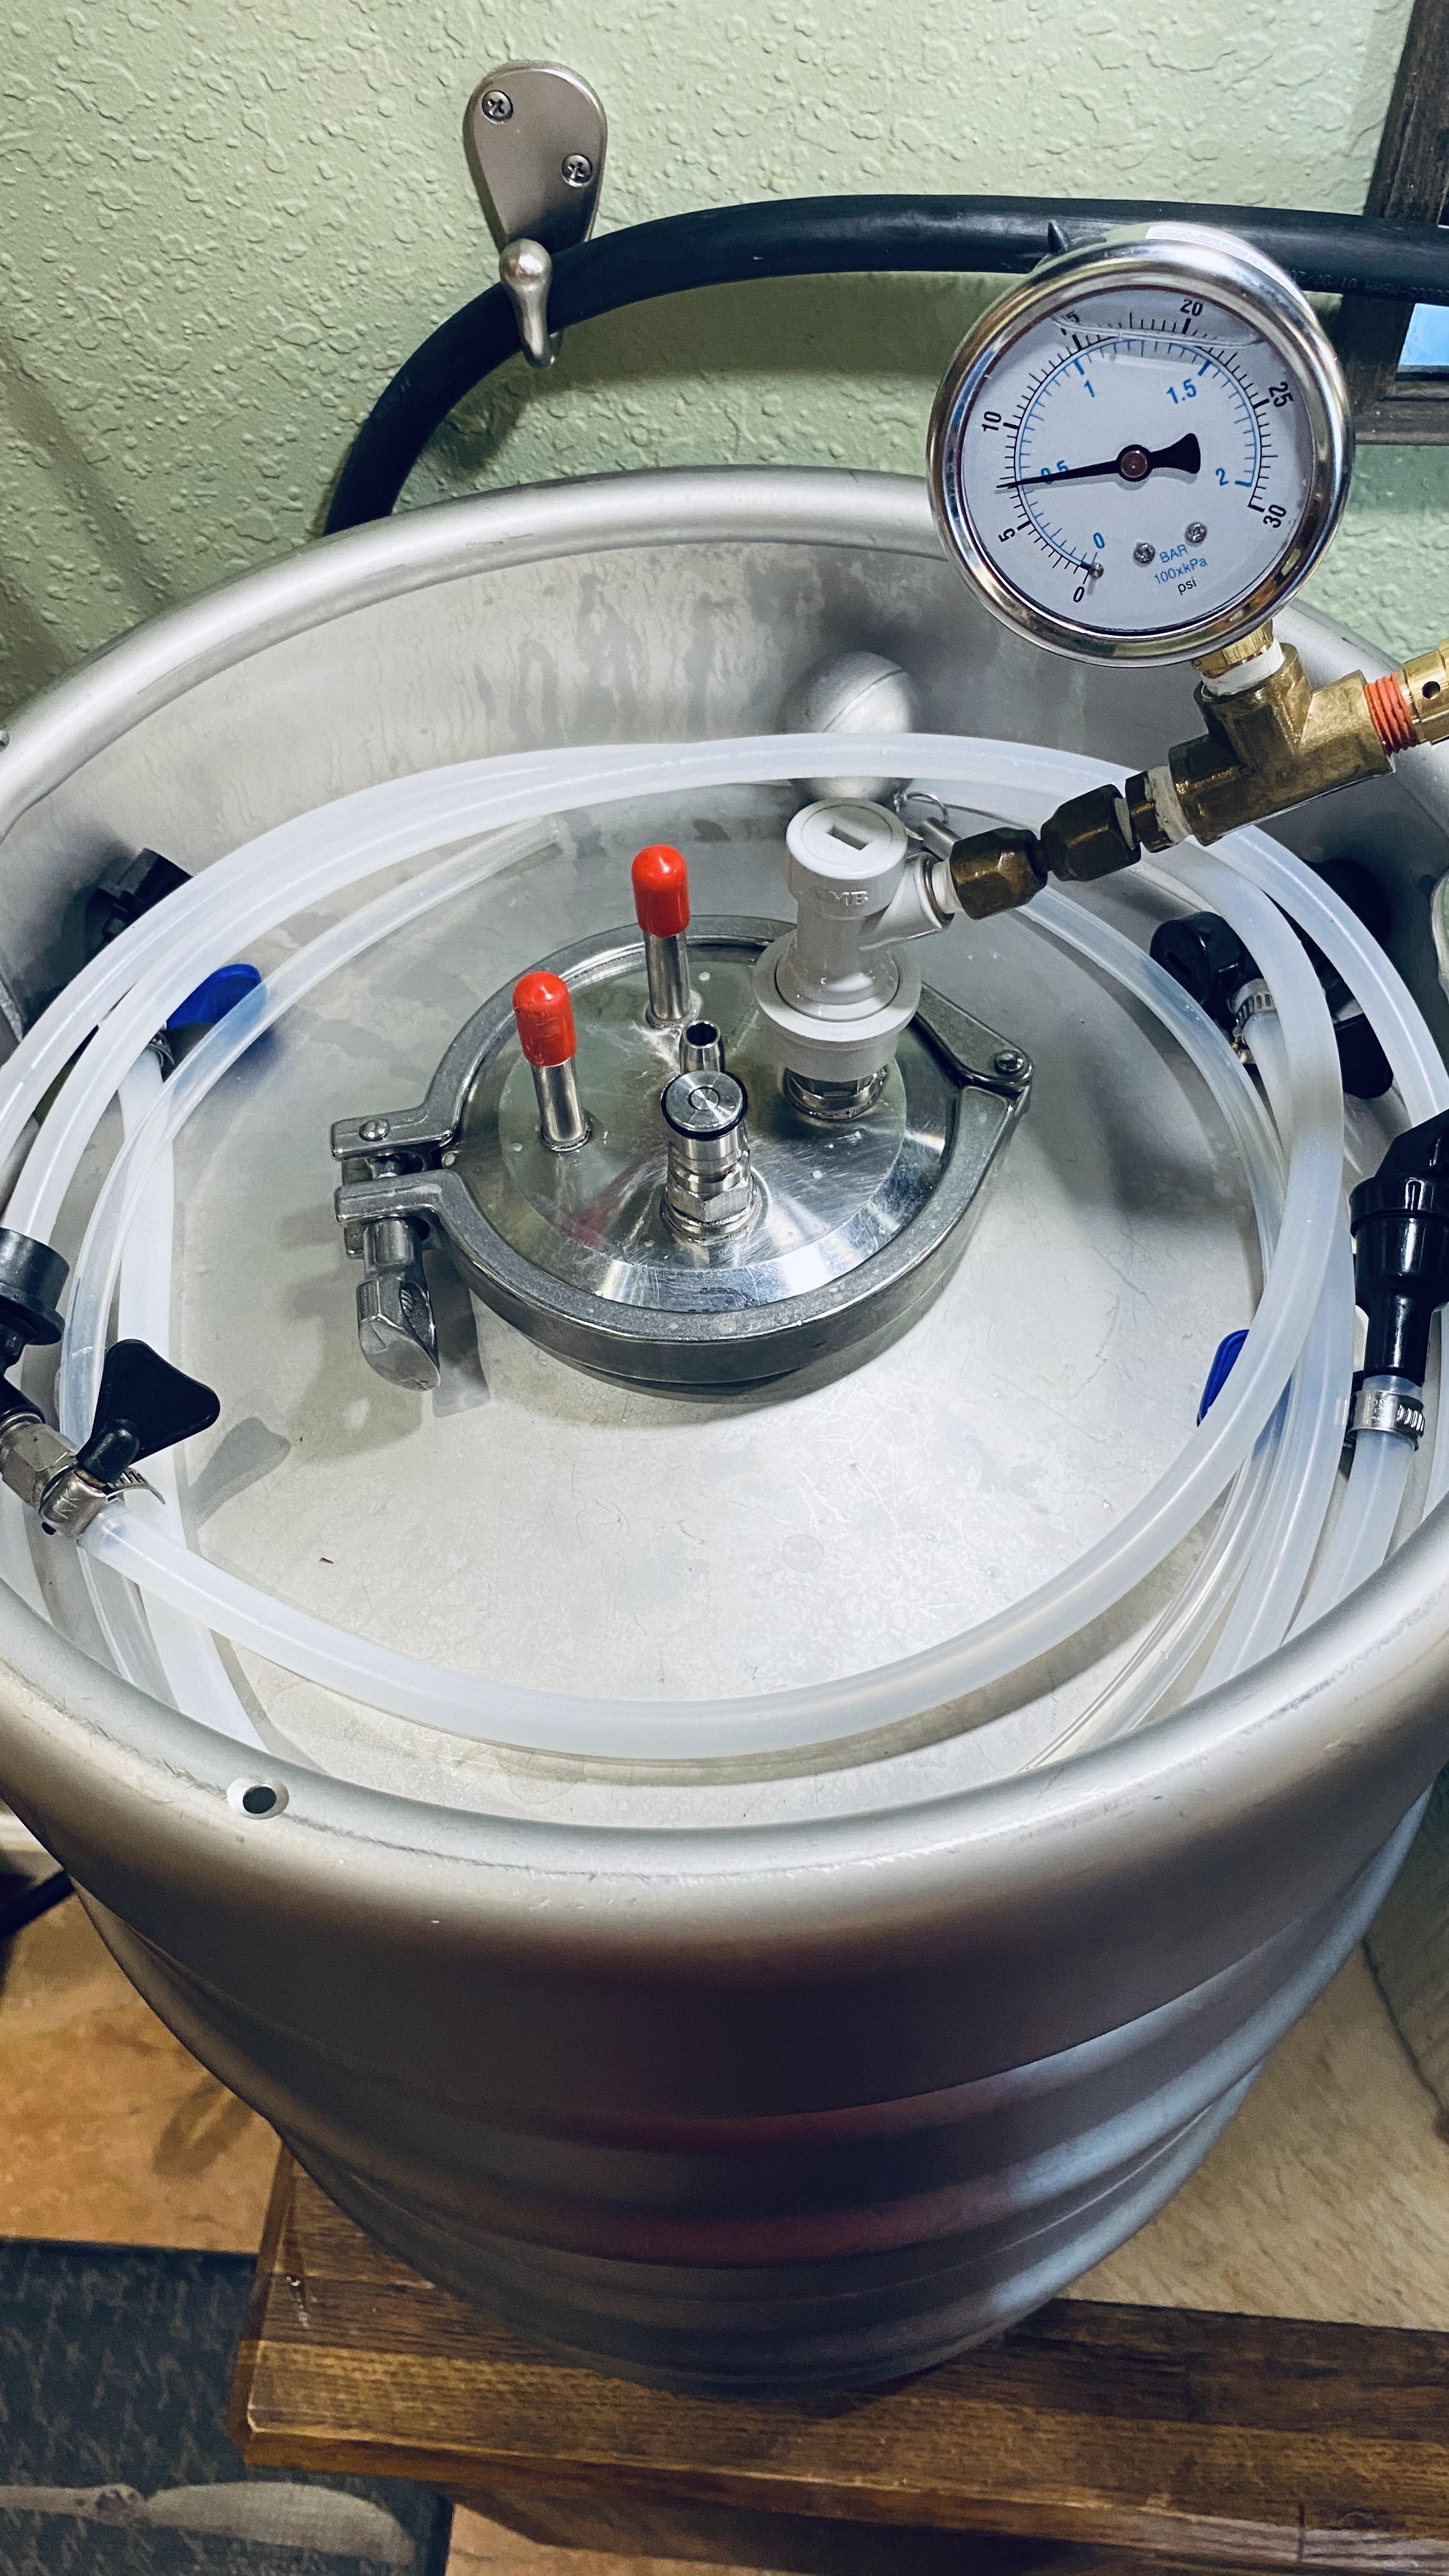
I have ordered from this site in the past and they come pretty quick. My project was water related so I can't say if this will work, just trying to think outside the box. I can't think of another solution unless you can find a weldless bulkhead thermowell that will fit that thickness of stainless steel.
 
Here is a pic of the coil Installed on the kegmenter without the thermowell.
 

Attachments

  • FA40A458-5B23-4907-9576-98AFEF43A108.jpeg
    FA40A458-5B23-4907-9576-98AFEF43A108.jpeg
    2.1 MB
Now I see it. It appears those style of thermowells are geared toward sheet metal to allow enough tapered thread to be engaged with the lock nut. A TC lid is more welcome to drilling and tapping to size (like the thread of the locknut itself). I think it will be tricky to salvage that thermowell/TC lid combination. I think the ideal way would be to have it TIG welded in place from the inside.

A last ditch effort could be to epoxy it in place and pray.
 
Last edited:
I agree with apache_brew, welding may be the best way to salvage what you have and guarantee no leaks. I have tried epoxy in a similar manner and it held for a while but always failed eventually.

I had some welding done last year and think I paid $75/hr. I also think based off that experience that your project would be about 15-30 minutes of prep and welding.

Let us know what direction you end up going. I planned on buying a kegmenter to use as a brite tank and maybe for pressure fermentation. I was trying to figure out how to connect to my glycol chiller when I stumbled on this thread.
 
thanks for taking a look. I'll see if I can find someone to do this kind of work. if I'm having the thermowell welded, maybe I should have the keg posts welded as well-eliminate all of the extra pieces inside the fermentor- heres a pic of a blank next to the spike
.
F7F22D1F-E760-4167-BDBD-D664BBB9A8D1.jpeg
 
Last edited:
thanks for taking a look. I'll see if I can find someone to do this kind of work. if I'm having the thermowell welded, maybe I should have the keg posts welded as well-eliminate all of the extra pieces inside the fermentor.

Welding the corny posts would be ideal but not necessary since they're more so designed for the application to hold pressure. I'd say leave them if they work and allow for easy cleaning/sanitation. Depending on how you have the existing ones welded in, it could be a non-sanitary connection that may be difficult to ensure cleanliness and sanitation.

If you do so however, consider these Weld or Solder On Keg Post Adapter 19/32'' -18 or these if you're not in a hurry US $1.68 6% OFF|Keg Post Adapter 19/32 Make sure to get the keg post thread that matches your existing keg posts. That way you can use normal keg posts and not the ones that need a gasket and adapter. Make sure to have them welded from the inside, ideally with little to no filler rod, so that the bead lays flat without protrusions or boogers so bacteria isn't easily harbored. The outside weld can be a nice and fat fillet given the material thickness and not requiring sanitary finishing. Given the TC lid thickness, getting a weld on the inside of the keg post inserts I suggested will require some aggressive countersinking in order to fill all crevices between the insert and the TC lid.
 
Finally found someone to do this. Had to drive. Was $75 but looks good. Nice and flat. Didnt interfere with orings or washers for keg posts. Holds pressure overnight. Ready to roll finally !
 

Attachments

  • EE4BF89C-7F68-4897-A5E1-B8BD92D0E7F3.jpeg
    EE4BF89C-7F68-4897-A5E1-B8BD92D0E7F3.jpeg
    2.5 MB
  • A670274A-4E0A-452E-9451-4A96D2756ADC.jpeg
    A670274A-4E0A-452E-9451-4A96D2756ADC.jpeg
    229.6 KB
No, I'm using a spunding valve, it was cut off in the above picture.

Pressure vessels typically having their own dedicated pressure relief device. My guess is the kegmenter PRV is probably similar to a corny keg PRV (50~55psi). One concern is the spunding valve or even ball lock post can fail closed if it gets clogged from something like high krausen. You could potentially drill and tap some 1/4" threads into the lid and add one of these Adjustable Stainless Gas Pressure Relief - 1/4 in. MPT | MoreBeer Consider though that it's likely to get clogged in the same manner. In the mean time, closely monitor it when in use, as well as only pressurize it full of liquid.
 
this one is for low to no pressure fermenting. the keg posts are for sampling and transfer only >5psi . I have another lid with a relief valve if I want to pressure ferment or something like a Kviek yeast that doesn't need temp control.
if clogging becomes an issue, I can always add a 4" connector and raise the lid a bit. I can't stomach drilling another hole.
 
Got it full of Alt Friday, brewed a stout today to get those kegs filled
 

Attachments

  • 72806DFF-1631-478B-87BB-4CF00EA01339.jpeg
    72806DFF-1631-478B-87BB-4CF00EA01339.jpeg
    2.2 MB
  • 5DFD826E-87B9-4B55-B060-6821FC3C0022.jpeg
    5DFD826E-87B9-4B55-B060-6821FC3C0022.jpeg
    2.7 MB
  • B66B516B-0697-4703-BA0F-36FA91DF9345.jpeg
    B66B516B-0697-4703-BA0F-36FA91DF9345.jpeg
    2.7 MB
I searched high and low for my parts until I found exactly what I wanted - I hope this helps someone else.

Here's my setup:
  • 7.6 gal Kegmenter - (Link)
  • Temp Twister (ordered in April 2021 - I believe this must be the newer version, as it easily fits through the 4" hole. - (Link)
  • 4" x 1.5" TC Endcap w/ 1/4" FNPT - (Link)
  • FermZilla Thermowell - (Link)
I wanted the ability to dry hop without oxidation, I wanted temp control and I wanted a thermowell - so I arrived at the 4"x1.5" TC endcap. This endcap connected to the existing 4" hole and reduced my TC fittings down to a more manageable (cost wise $$$) 1.5". On this endcap, I attached a 1.5" butterfly valve, then into the 1/4" FNPT - I threaded the Fermzilla thermowell (which fit perfectly - I did not cut it, I left it long up top), and then finally on each side of the 1/4" FNPT fitting I very carefully drilled two 7/8" holes (this took forever) and installed the Temp Twister (the coil did need to be compressed downward slightly to fit the entire coil inside - I just carefully sat it on a level surface and pushed downward until it was the right height). Pretty happy with this setup and it works really well. Not a cheap solution, but much, much cheaper than other custom builds I've seen.

I also built out a dry hopping rig in the last pic, but that's a whole other story and ridiculous part list - if interested I can link out the parts for this as well.
 

Attachments

  • 20210421_124119.jpg
    20210421_124119.jpg
    517.3 KB
  • 20210504_091201.jpg
    20210504_091201.jpg
    1.9 MB
  • 20210510_092452.jpg
    20210510_092452.jpg
    606.3 KB
Nice job. It’s a lot of work but worth it to get it the way you want it.
I’m trying to figure out how to get my older version temp twister to work in this anvil bucket fermenter. I’d like to not have to force this into the rubber stopper
D5E5E997-45F1-46B8-8EA0-498982653A83.jpeg
 
What about cutting the straight sections down to fit and run soft lines out of the Anvil?

I just picked up the Anvil cooling coil and thermowell. With the diameter and lack of coils I'm wondering if it's going to be capable of keeping a fermentation temp of ~55 degs. I have a stainless coil that came with my Robobrew that I might cut down if the smaller coil doesn't do the job.
 
Cutting the straight sections down is a pretty good solution. If the coiled part is too tall, you can carefully press down on them to compress them.
 
I was Thinking of using some duo tight bulkheads but there’s no way I can do that with the slant on the lid. Cutting the straights down and bridging with some vinyl tubing, as suggested might be a good solution
I’d like to avoid the center all together and drill through the lid for some fittings
 
Last edited:
You could dent the lid so that it makes a flat surface. I had to do that to mount coils into a racetrack corny lid, which was domed.
 
Curious, how does that dry hop rig work?

I have a 4" to 1.5" TC reducer that attaches to the kegmenter - this just downsizes all the TC down to a more cost effective size.

On the 1.5" TC is a butterfly valve - which basically controls the entire process.

When I'm fermenting, the butterfly valve is open, and I attach my custom made gas manifold with a gas post and prv. I attach my spunding valve to this gas post.

When it's time to dry hop, I close the butterfly valve (this traps pressure inside and prevents any oxygen ingress), purge the tiny amount of pressure in the gas manifold through the prv, then remove just the gas manifold. I then add the dry hopper on top of the butterfly valve, fill with hops, then put the gas manifold on top of the dry hopper. I then pressurize the dry hopper and purge the oxygen (I do this about 10 times) - I'm not sure you can remove 100% of the oxygen from the dry hopping chamber, but this will be damn close). The next step is to open the butterfly valve and watch the hops drop into the fermenter - the bigger the TC fittings the easier this part is - I have 1.5" TC fittings so I have to move the butterfly valve lever back and forth a few times to get all the hops to drop in, and sometimes add a bit of gas to push them through. At this point you could leave the dry hopper on, but I typically close the butterfly valve and go back to just the gas manifold, then re-open the butterfly valve.

For my specific setup, my dry hopper can hold about 3 oz of pellet hops, so if I have a huge charge, say 10oz, I would need to repeat this process 4 times. A bit of a pain, but I've never had any oxidation using this method.
 

Latest posts

Back
Top