I've read these forums quite extensively to get a good idea of the steps I need to take to do a conversion.
I purchased a conversion kit in 2006 and was using it in a very ghetto way. I had a keg jammed into my food fridge and packed food all around the keg. It was an apartment fridge that I didn't own so I didn't want to drill it
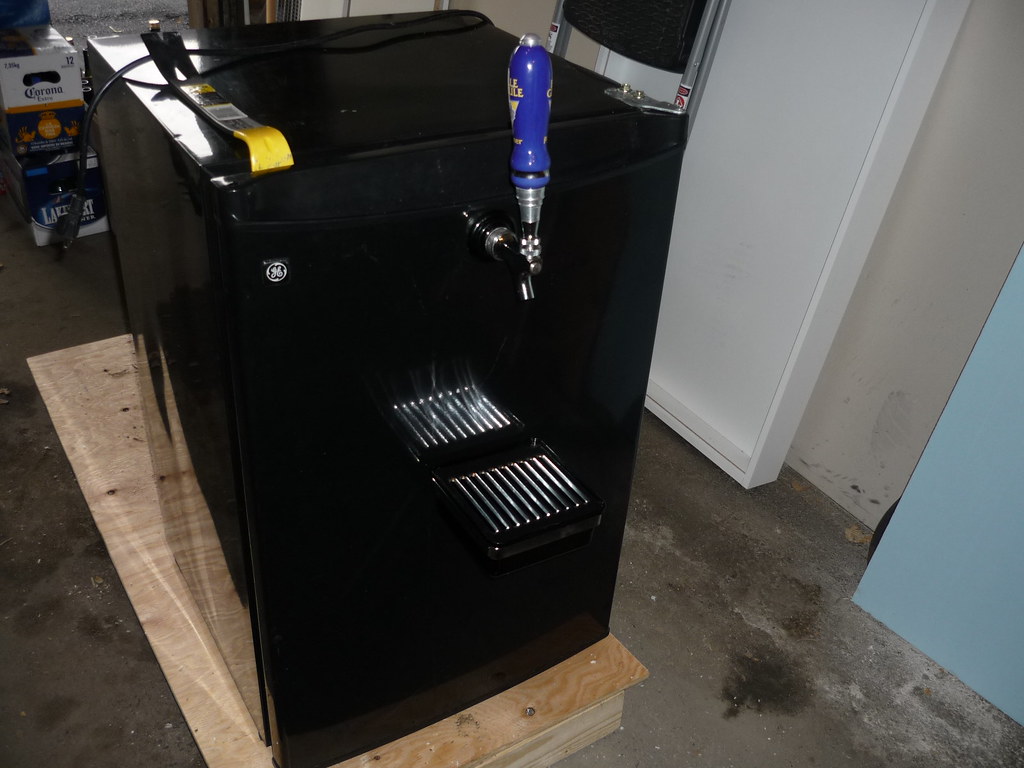
I decided it's time to reawaken the beast and install a proper setup.
I found a used GE model identical to the one used in this post
https://www.homebrewtalk.com/f51/kegerator-conversion-ge-smr04dasbcs-143712/
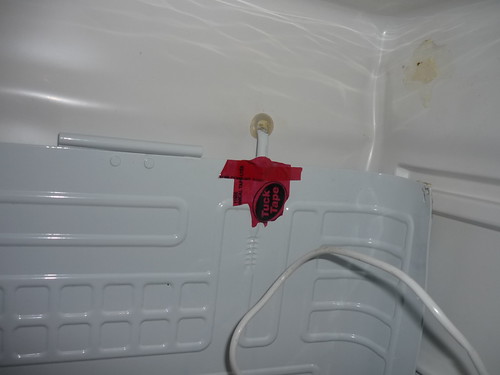
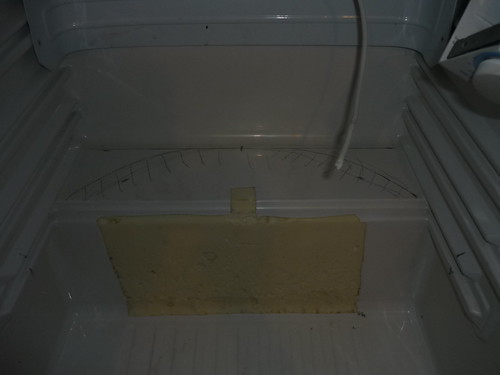
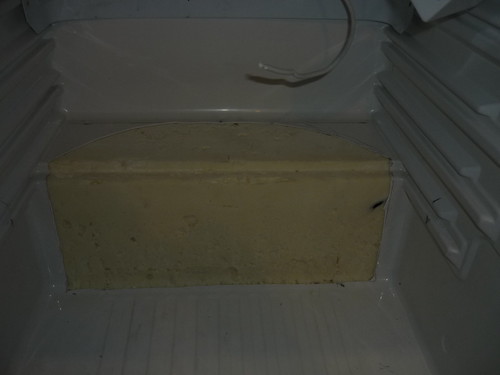
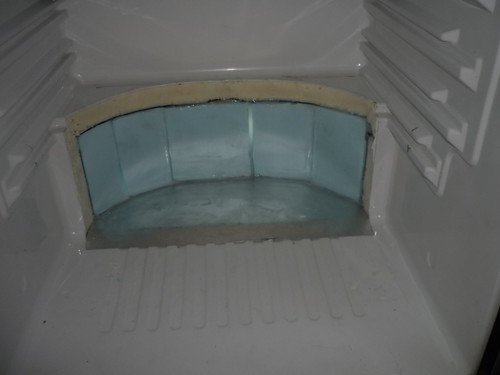
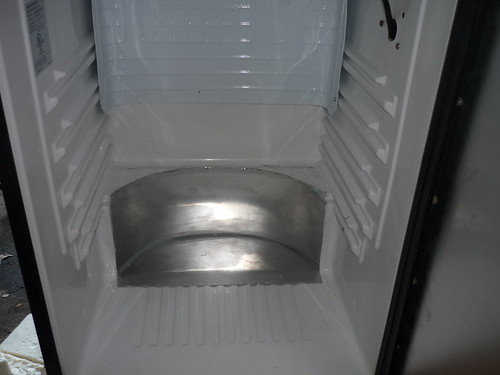
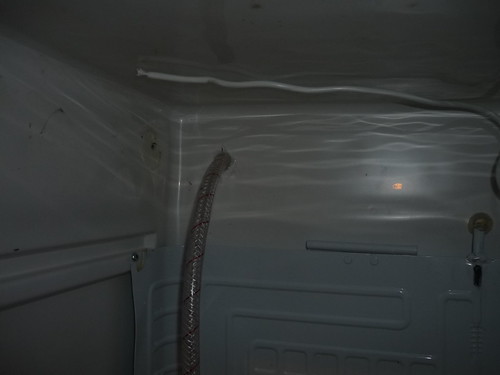
I began bending down the freezer carefully and when it was at about 45 degrees the worst thing that could happen happened... I heard gas leaking!
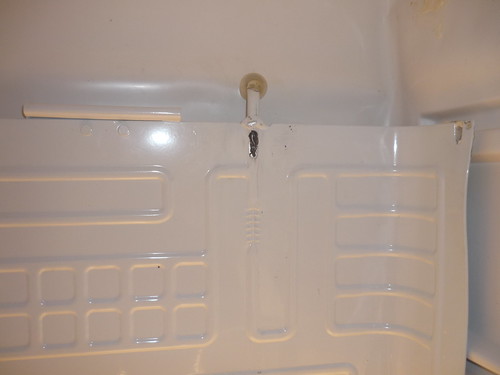
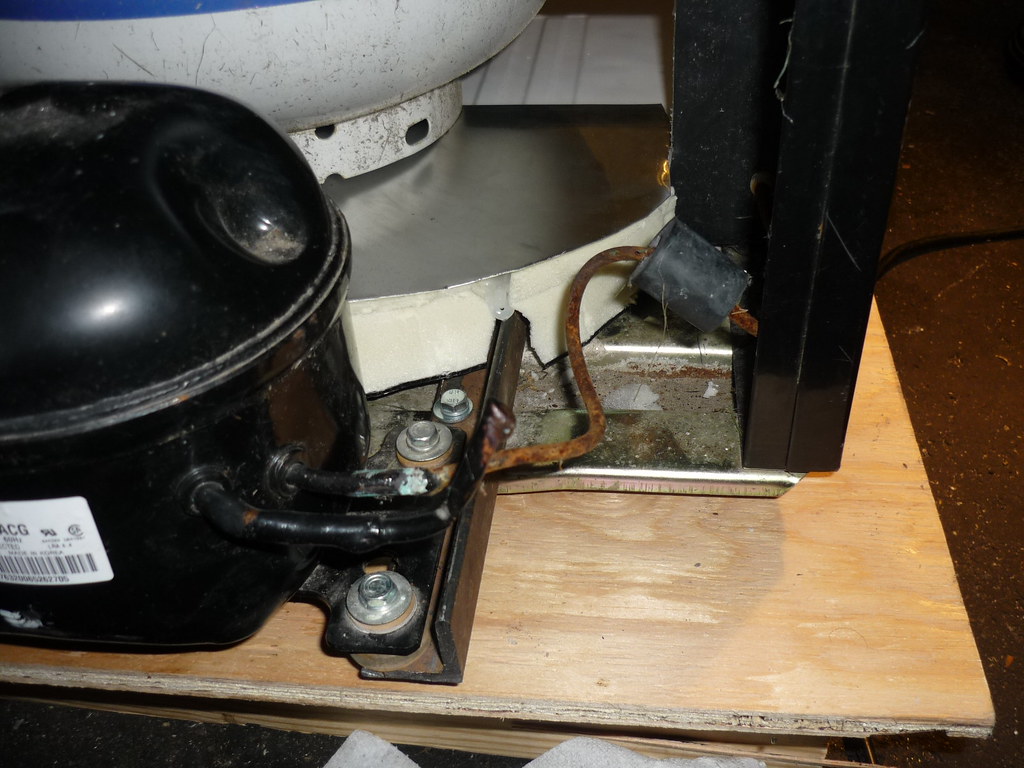
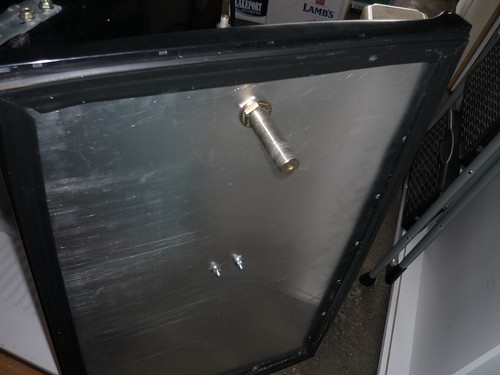
It was leaking from the brazed connection between the pipe that feeds through the back wall and the freezer shelf.
I don't remember reading about the freezer bending step going wrong for anyone so I was fairly confident that it wouldn't be problem.
The general consensus I have heard about a leaking fridge is that it's more trouble than it's worth to fix. I plan to try anyway.
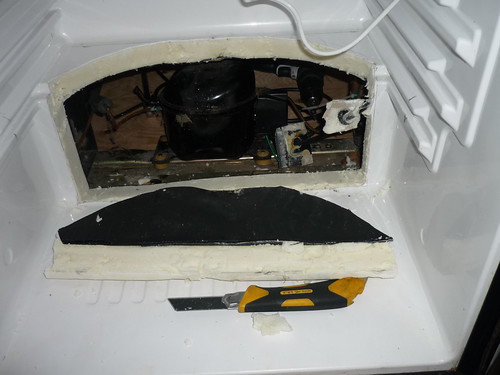
Luckily I know an HVAC guy with the tools to potentially save this fridge with little to no cost.
We r going to rebraze the connection, vacuum the system and add new gas.
If anyone has experience with recharging refrigerant please comment.
A few things that need to be considered.
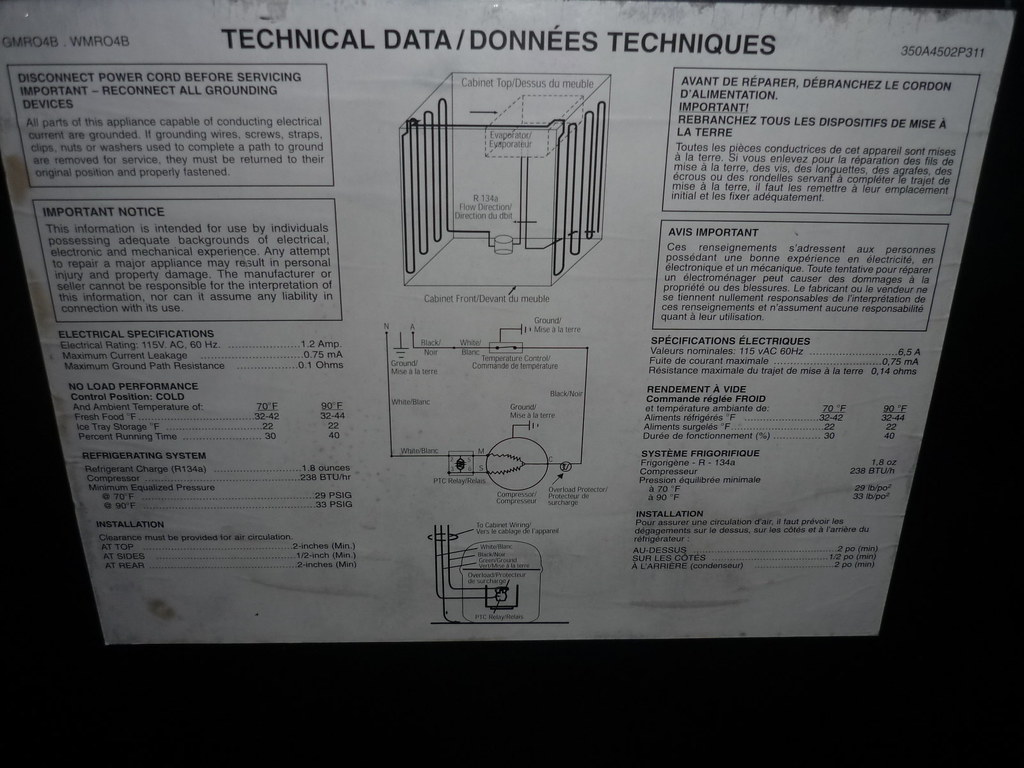
1. The GE mini fridge uses R134a gas. R134a cannot be purchased without a license in Canada. However, R12a is legal, available in Canadian Tire and is a direct replacement for R134a.
2. There are normally no access valves on fridge cooling systems. I will need to install a saddle valve to tap into the lines to add new gas.
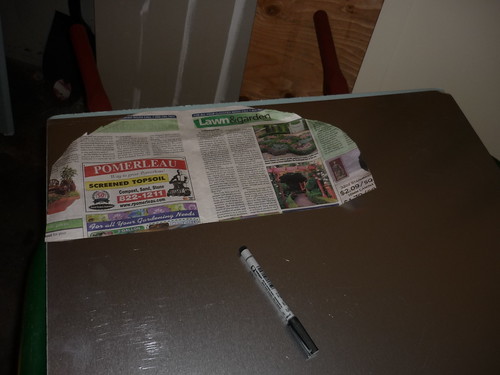
I will post some pics tonight of my progress so far.
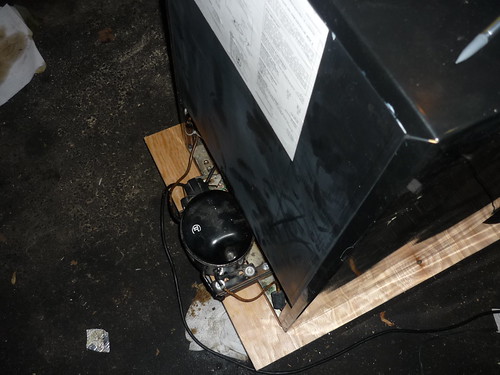
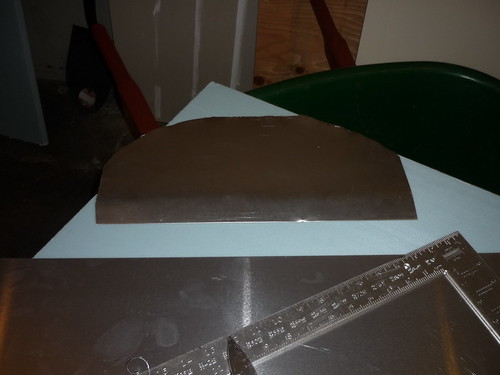
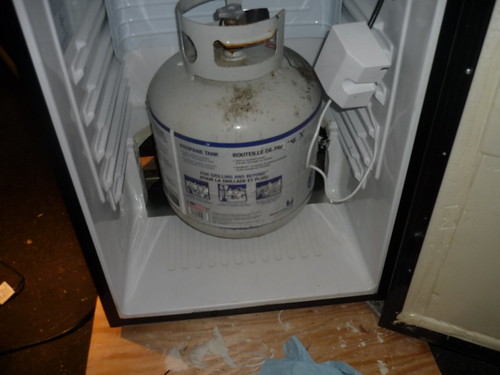
BTW, For those interested, I am also modifying the fridge to host a 1/2 barrel by re-framing and insulating the compressor shelf similar to these posts.
https://www.homebrewtalk.com/f51/frigidaire-model-frc445gb-mini-fridge-kegerator-conversion-89013/index44.html
https://www.homebrewtalk.com/f51/frigidaire-model-frc445gb-mini-fridge-kegerator-conversion-89013/index50.html
I'll try to document the process and post as many pics as possible.
Cheers!
I purchased a conversion kit in 2006 and was using it in a very ghetto way. I had a keg jammed into my food fridge and packed food all around the keg. It was an apartment fridge that I didn't own so I didn't want to drill it
I decided it's time to reawaken the beast and install a proper setup.
I found a used GE model identical to the one used in this post
https://www.homebrewtalk.com/f51/kegerator-conversion-ge-smr04dasbcs-143712/
I began bending down the freezer carefully and when it was at about 45 degrees the worst thing that could happen happened... I heard gas leaking!
It was leaking from the brazed connection between the pipe that feeds through the back wall and the freezer shelf.
I don't remember reading about the freezer bending step going wrong for anyone so I was fairly confident that it wouldn't be problem.
The general consensus I have heard about a leaking fridge is that it's more trouble than it's worth to fix. I plan to try anyway.
Luckily I know an HVAC guy with the tools to potentially save this fridge with little to no cost.
We r going to rebraze the connection, vacuum the system and add new gas.
If anyone has experience with recharging refrigerant please comment.
A few things that need to be considered.
1. The GE mini fridge uses R134a gas. R134a cannot be purchased without a license in Canada. However, R12a is legal, available in Canadian Tire and is a direct replacement for R134a.
2. There are normally no access valves on fridge cooling systems. I will need to install a saddle valve to tap into the lines to add new gas.
I will post some pics tonight of my progress so far.
BTW, For those interested, I am also modifying the fridge to host a 1/2 barrel by re-framing and insulating the compressor shelf similar to these posts.
https://www.homebrewtalk.com/f51/frigidaire-model-frc445gb-mini-fridge-kegerator-conversion-89013/index44.html
https://www.homebrewtalk.com/f51/frigidaire-model-frc445gb-mini-fridge-kegerator-conversion-89013/index50.html
I'll try to document the process and post as many pics as possible.
Cheers!


![Craft A Brew - Safale S-04 Dry Yeast - Fermentis - English Ale Dry Yeast - For English and American Ales and Hard Apple Ciders - Ingredients for Home Brewing - Beer Making Supplies - [1 Pack]](https://m.media-amazon.com/images/I/41fVGNh6JfL._SL500_.jpg)