reed1099
Well-Known Member
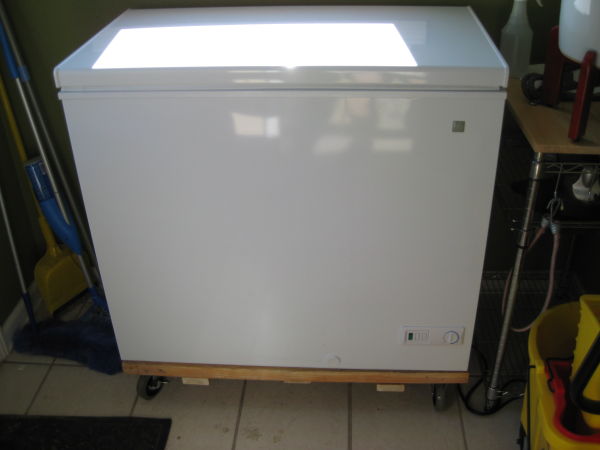
Thinking about selling my keezer but cant figure out a fair price to even consider. 7 cu ft GE, 7 ball lock cornys, 5lb co2 tank....regulators lines faucets shanks everything. What you see is why you'd get.


reed1099 said:Thinking about selling my keezer but cant figure out a fair price to even consider. 7 cu ft GE, 7 ball lock cornys, 5lb co2 tank....regulators lines faucets shanks everything. What you see is why you'd get.
nickmv said:Why on Earth would you sell that keezer? Please tell me you're going bigger, and not just getting rid of it for other reasons?
Carlscan26 said:Why not take the top back off? Did you glue it in addition to those angle brackets?
What dimension did you size the top too if not the outside? The inside then? I was going to duplicate the dimensions of the top itself...
")


Yup, the top was siliconed to the wood in addition to those brackets. I was able to get the insulation in, it really wasnt to bad, but definately could have been easier.
I used the top as a template for the collar, just turned it upside down and lined up the boards and it came together pretty naturally. I think my dimensions for the top were very similar to TomSD's.
Im so happy that i did the trim work, it really makes it look great and the wife has no issues with it being in the house now.
Share some pics of yours once you get it done.
jabobs said:For any of you that have had your keezer up and running for awhile now, how is the moisture level inside where the collar is?
I'm trying to decide how many coats of polyurethane is enough.
I'm using a Minwax Fast Drying Oil Based one. I have 3 coats on already, I was contemplating that being enough for the outside of the collar, but I am considering doing 3 more coats on the inside.
Carlscan26 said:Jabobs - is that one moulding or did you put three together to make that?
jabobs said:On the collar for the top? Its one piece of trim. I got it at home depot.
I dont want to hijack the thread but I purchased a powersupply for my bilge blower from amazon. It outputs 12v @ 5amps. When I put the wires from the bilge to the powersupply the bilge blower "pulses" its not constantly on. I have no clue why this is happening. Does anyone know more about DC power than I do that can explain how I can fix this?
This is what I got.
Thank you.
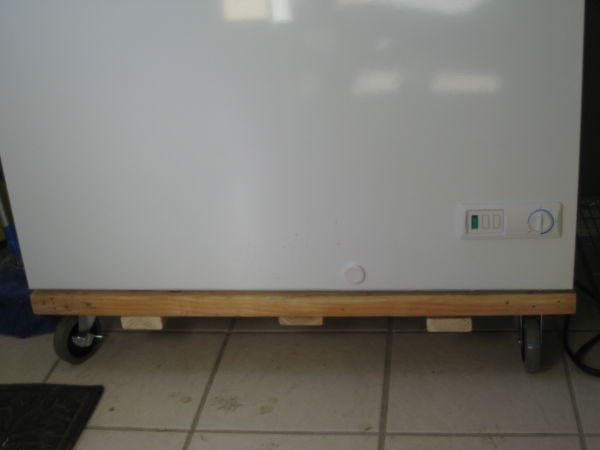
If you mean between the boards and the freezer then that is an illusion caused by the rounded edges of the boards. It sits pretty flat. In all this time there have been no issues and it rolls around like a champ.
gjabball said:What kind of fan do you guys use in your keezers? How do you wire it up? I am putting together a parts list. Thanks!!!
What kind of fan do you guys use in your keezers? How do you wire it up? I am putting together a parts list. Thanks!!!
I'm using a spare CPU cooler fan I had lying around. It's about 4" across and just fits into the end of a section of dryer hose. I have the dryer hose running from the bottom back corner of the keezer to the fan which is mounted just under the lid of the keezer. I power it with an old, spare AC adapter from who knows what that I also had laying around.
It doesn't push tons or air compared to some but it only has to keep the air moving around inside the keezer to eliminate warm/cold spots. It seems to be good enough for that.
gjabball said:Can you send me a link or tell me where you bought it? Thanks for the reply!
gjabball said:Also, how often do you switch it on?
Do you run it all of the time or have it on a switch?


![Craft A Brew - Safale BE-256 Yeast - Fermentis - Belgian Ale Dry Yeast - For Belgian & Strong Ales - Ingredients for Home Brewing - Beer Making Supplies - [3 Pack]](https://m.media-amazon.com/images/I/51bcKEwQmWL._SL500_.jpg)