reed1099
Well-Known Member
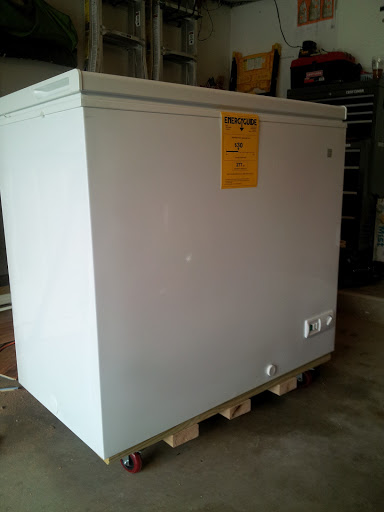
lion1750 said:I just bought this since its an excellent deal, and I had a question.
I would like to put a tap tower on top of the freezer instead of making a collar. Would I be able to fit 4 ball lock kegs on the floor, and have a 5lb co2 tank on the ledge without adding a collar? I wasn't sure if there was enough room on that shelf for a co2 tank without the added room from the collar.
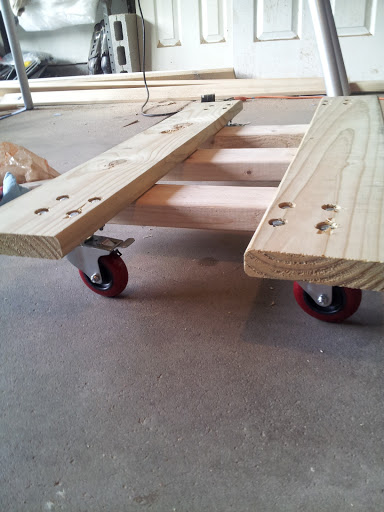
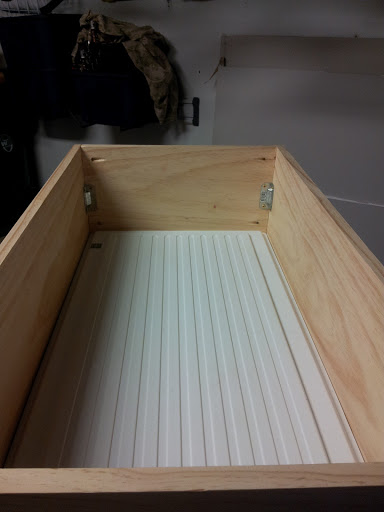
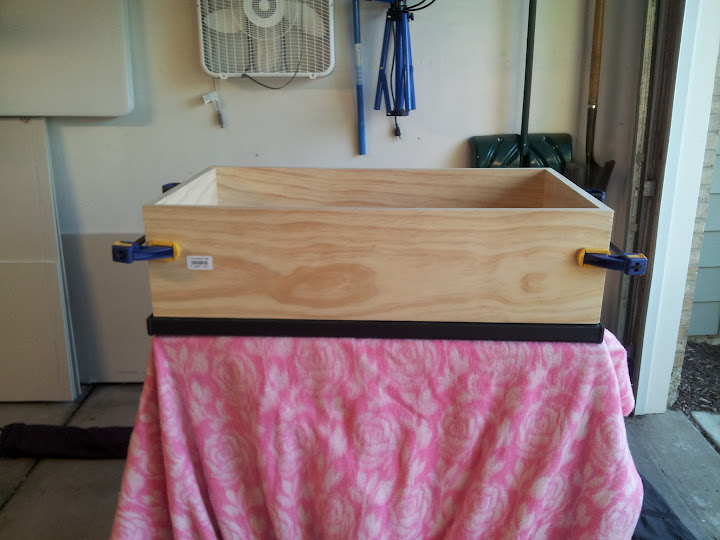
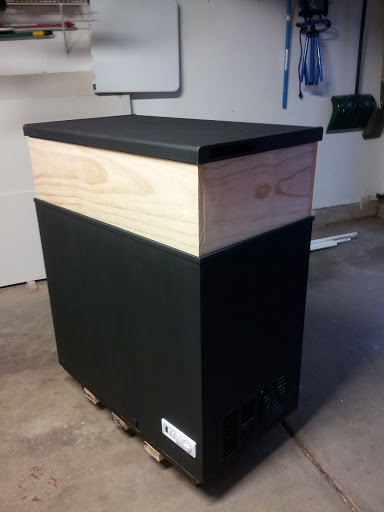
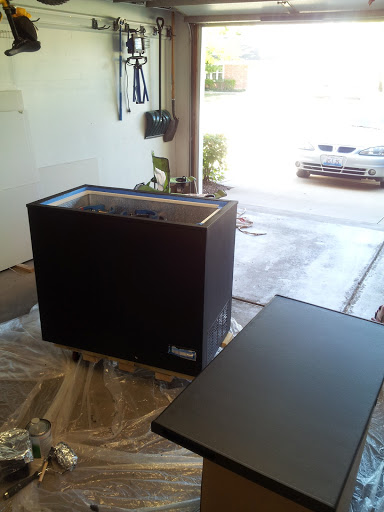
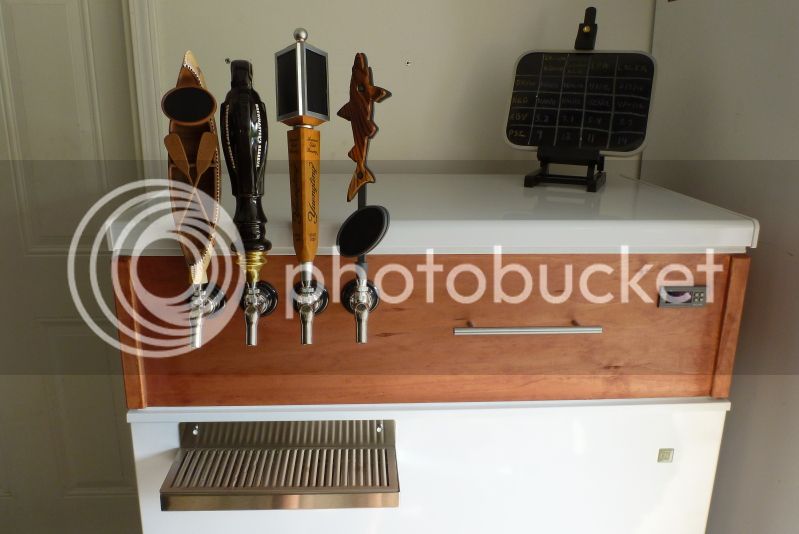
Yes you can. Look at my DIY for pics
")


![Craft A Brew - Safale S-04 Dry Yeast - Fermentis - English Ale Dry Yeast - For English and American Ales and Hard Apple Ciders - Ingredients for Home Brewing - Beer Making Supplies - [1 Pack]](https://m.media-amazon.com/images/I/41fVGNh6JfL._SL500_.jpg)