• Please visit and share your knowledge at our sister communities:
  • If you have not, please join our official Homebrewing Facebook Group!

    Homebrewing Facebook Group

Finally...Wooden Single Tier Underway

Homebrew Talk

Help Support Homebrew Talk:

This site may earn a commission from merchant affiliate links, including eBay, Amazon, and others.
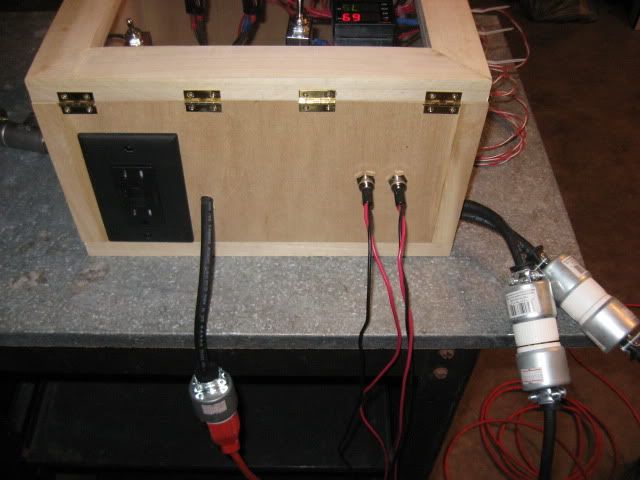
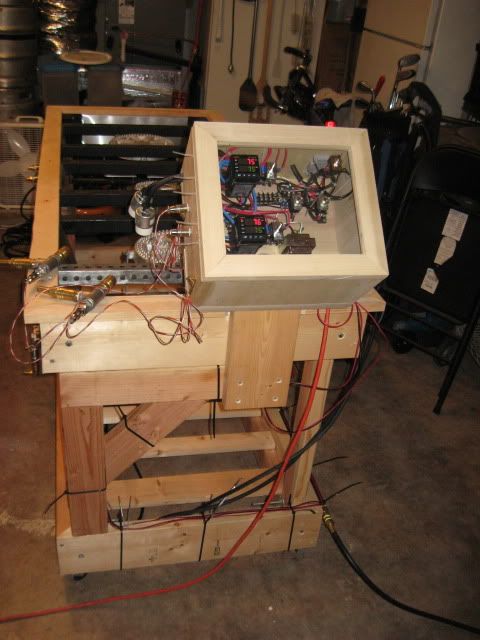
Mounted the control box tonight. I wanted it to be able to fold out of the way so I put it on hinges and oriented the control box so that it would take up no more than the actual footprint of the brewstand.

IMG_1841.jpg


IMG_1842.jpg


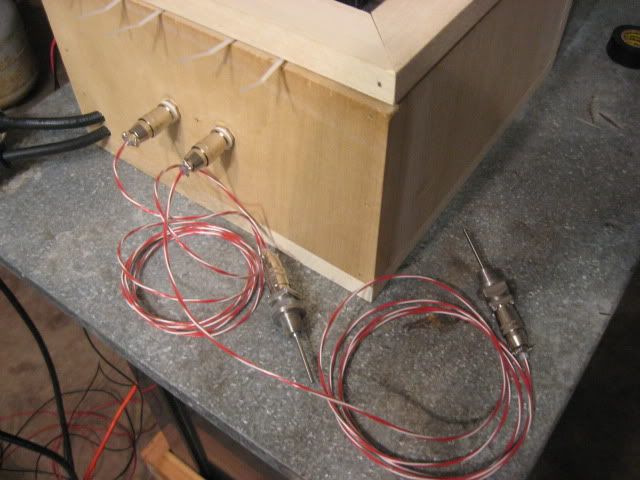
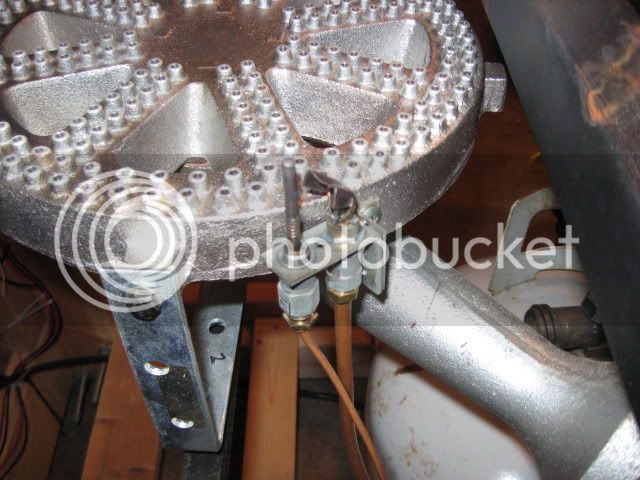
The Temperature probes:
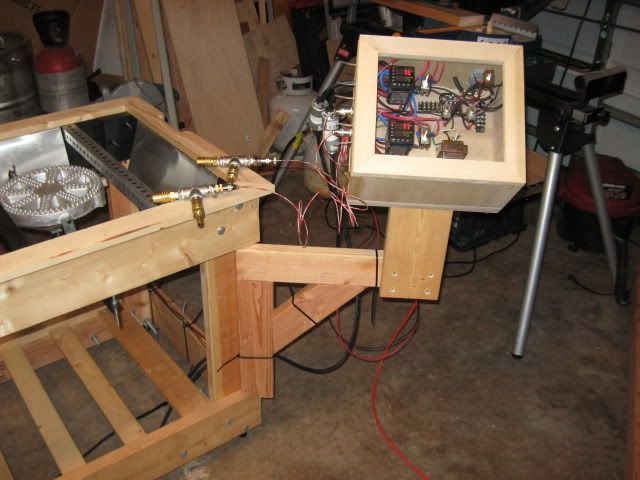
IMG_1843.jpg


Control box lit up:

IMG_1844.jpg


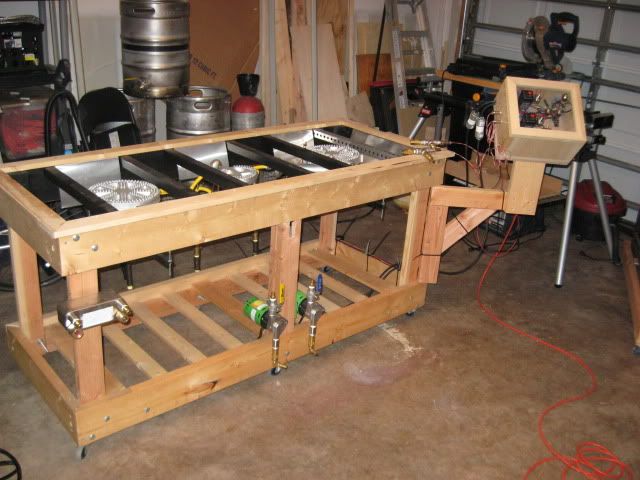
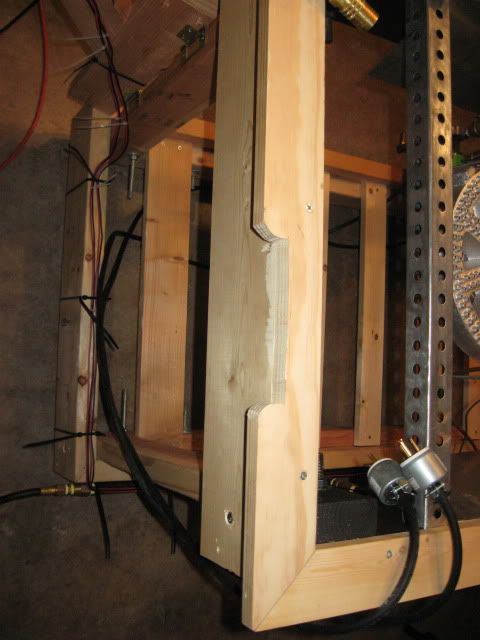
With the control box stowed away:

IMG_1846.jpg


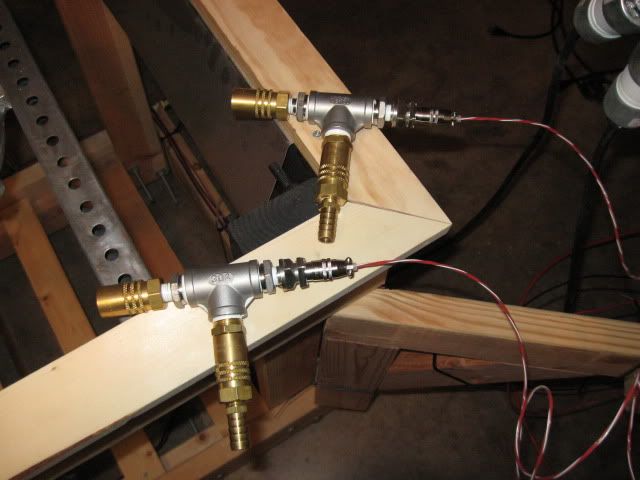
Had to cut out the top a little to have it fit flush:

IMG_1848.jpg
 
I was able to get my hands on some aluminum lids yesterday at a really sweet restaurant supply store. When I got them home I mounted a stainless T fitting on one with a quick disconnect on one side, a hose barb on the other going to a fly sparger and the down side going through the lid with a plug all Lonnie Mac style. The other lid just has a 90* elbow fitting with a quick disconnect on the outside and a flex tube on the inside for mash recirculation...also, Lonnie Mac style. Now all I have to do to transition from mash to sparge is move the lids over to the next kettle.
 
First batch brewed today on the new stand! My brew days are going to be so much easier.

After some small pump priming issues, things went really smooth. I also sparged more than I wanted to so I boiled a little longer to get down to the volume I needed. I ended up with a gravity of 1.050 on an American Pale Ale which was a little bit lower than I was aiming for but in the end, I'll still have beer.
 
You need to put some blue LED lighting or maybe a cold cathode tube or two in that control box. Rice it out! hah

BTW, I say blue because it'll contrast with the red from the PID's.

All in all, I think it looks awesome. Though I am curious as to how that wood if going to hold up to the heat. I can foresee some definite scorching there.
 
The charring is something I was thinking about throughout the whole process. Based on others who have done single-tier wood stands, I spaced things out accordingly. I also used aluminum flashing on the inside perimeter to reflect some of the heat. Although, during this brew I was feeling for it and the wood never really got that warm. The low pressure of the propane probably helps some as well.

To finish things up, I'm going to clean up the wiring more, put on a couple coats of stain and then finish with some sort of water-proofing laquer or an epoxy...non-flammable of course.
 
Sorry about not getting back sooner about the pilot lights. I've had another project going on in my garage and the brewstand has been pushed into the corner...I know, "no one puts baby in a corner.". However, I only had one power outlet in my garage and had nowhere to plug in my kegerator, refrigerator, lagerator, power tools etc. Now, I have four extra outlets on two 20A breakers...gfci of course.

I'll try to get a couple pics tomorrow to post for you.
 
I drilled and tapped the burners to mount the pilot lights. I would have mounted them towards the interior of the burner but the copper leads to the thermocouples I bought were just a little too short. After the first brew, the placement of these was just fine.

Here they are:

IMG_1849.jpg


IMG_1852.jpg


and the connection to the valve:

IMG_1854.jpg
 
Congrats on the new Brewer. . . rugrats are a lot of fun and when thay get a little older make good gofers :)
 
Brandon,

It's been awhile! Your stand looks great!! Really dig the wood:) I am a 1/3 done with primary (bad WX and poor scheduling) but if things go my way should be back in JAX by the end of the year!! Keep up the good work and, let's see some more pics!!

Nick
 
Cool man! You'll be here right at about the same time I leave on another deployment. Supposed to be 7th Fleet this time so life will be quite a bit better and thanks for the compliments! You'll have to get involved with the local brewclub here. You'll have time while at 30...trust me.
 
I finally got the electrical issue figured out thanks to the guys who chimed in the this thread I started. It was a terribly simple fix that I just couldn't see for some reason. Here is the final result of the fix:

IMG_1838-1.jpg


The PID's and Switches:

IMG_1840-1.jpg


All that's left is to mount the control box to my stand on a swing arm and stain everything. I've gotten so impatient that I'll probably brew before I get that part done!

Here are the valves all wired up:

IMG_1836.jpg


GFCI and DC connectors to valves:

IMG_1834.jpg


RTD Temp Sensor connectors:

IMG_1832.jpg

Collinsbrew, do you have a part list for all the components in your enclosure? You system does everything I want mine to do (same Auber PIDs and same Honeywell Valves) and I would like to recreate it. I think that I can, but the thing that is stopping me is acquiring the parts. Do you have parts list with the specs of everything in there? Even down to the gauge of the wire and names of the strips everything plugs into and the screw connectors used to attach the wire to the strip. I just don't know the first thing to search for to find those things.
 
Post #255 on this thread has almost the exact same parts I used. The difference...someone gave me a bunch of spare components he had laying around. The terminal strips come with the screws in them already and I used 16 gauge wire for all of the internals of the box with the exception of the pump wiring and the connection to the GFCI.

EDIT: For the RTD sensors I used some left over microphone cable I had laying around. It's three conductor shielded wire and the voltage passed through for this use is lower than line level signal coming from an audio console.
 
This system makes my day so much easier. Basically, I get to drink more while brewing without screwing up my brew. It's almost a set it and forget it type of deal. Since this system came online I've gotten an American Pale Ale, Leinenkugels Sunset What Clone, a Belgian Tripel and after today, a Honey Brown Ale made with local galberry honey. I love it.
 
Back
Top