OP
OP
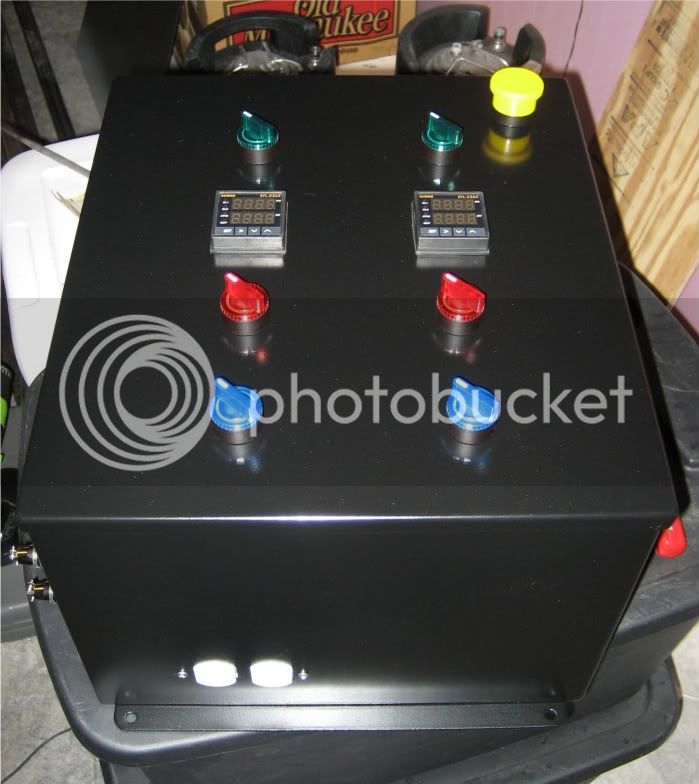
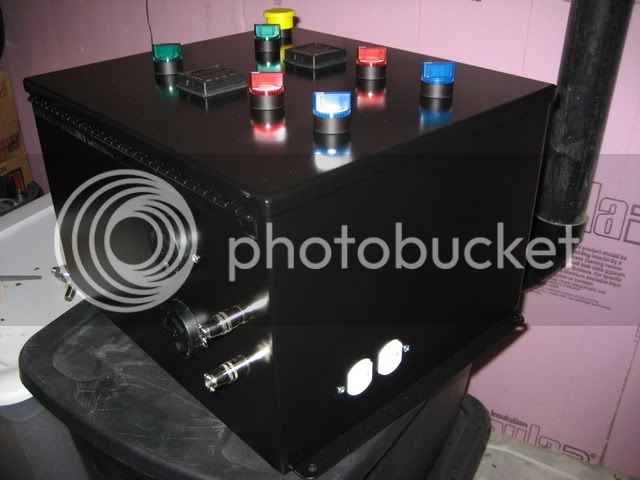
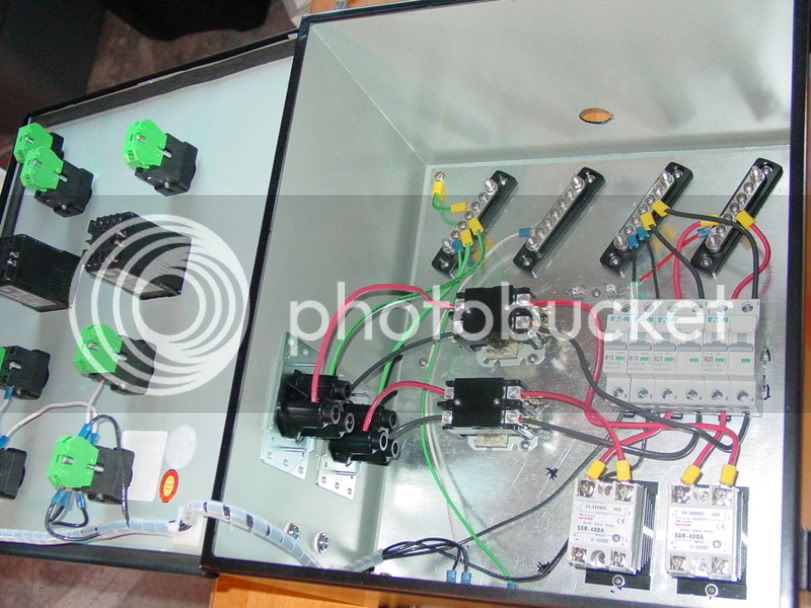
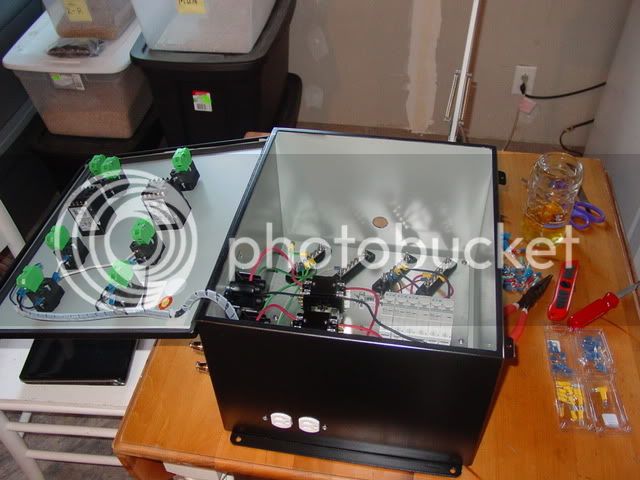
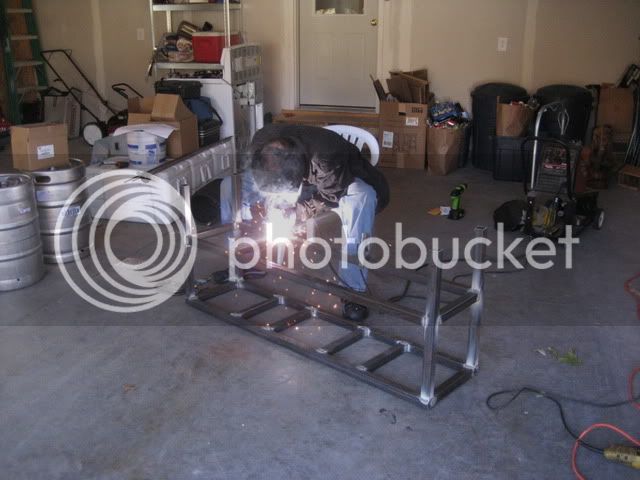
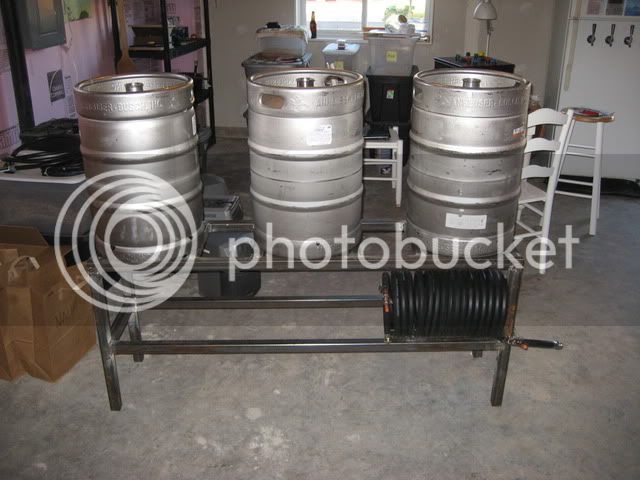
yup the kettles. i wanted to test the pumps and elements. so i was recircing water. so i figured i would kill 2 birds with 1 stone. turn 1 pump on. check all the connections. then go to the next step. worked really well. start with the herms coil if you do. did you get a backplate with you enclosure?
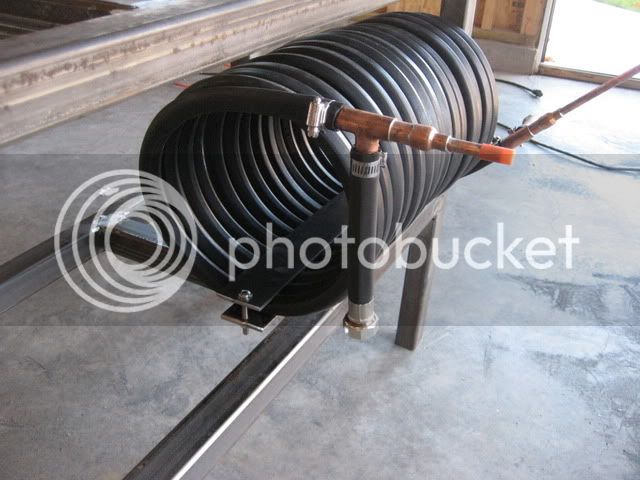
I won't have a HERMS at first. For the first couple months (while I recouperate my bank account), I'll use my old igloo cooler, then I'll impliment a HERMS coil. I have three nice and shiny kegs now, I'll just need to buy fittings and some SS tubing when I get some financial breathing room. (Try buying and sprucing up a new home and building a brewery at the same time!)
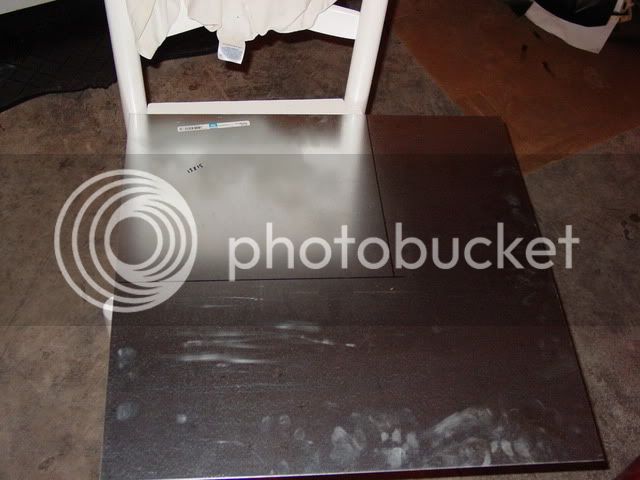
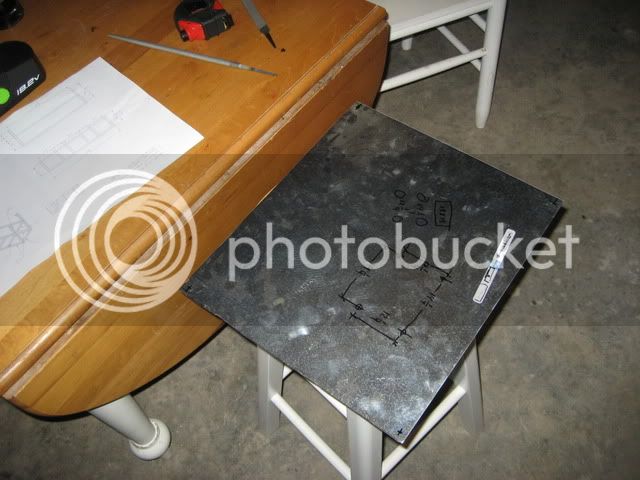
No, my enclosure did not come with a backplate, unfortunately. I'm going to buy some sheet steel from the hardware store and slap in on the CNC to square it up, cut it to size, and get some holes in it. I might have to paint it to prevent rust...
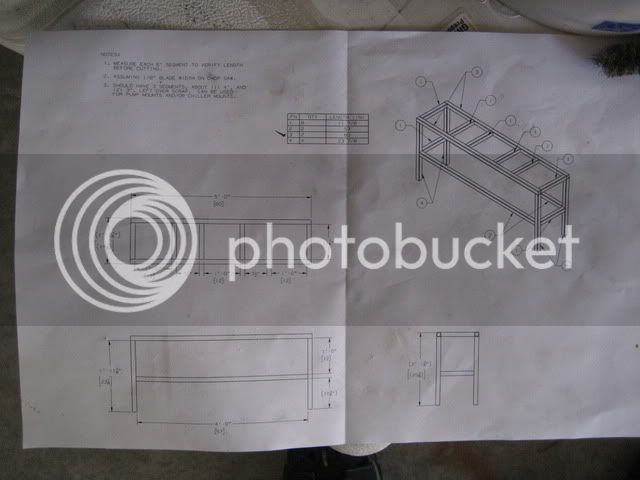
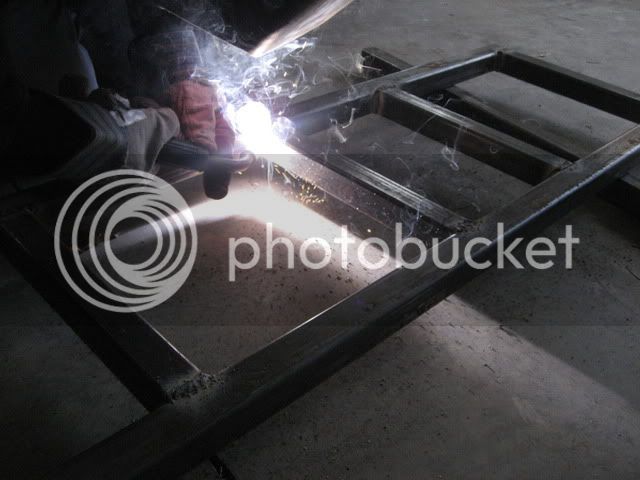
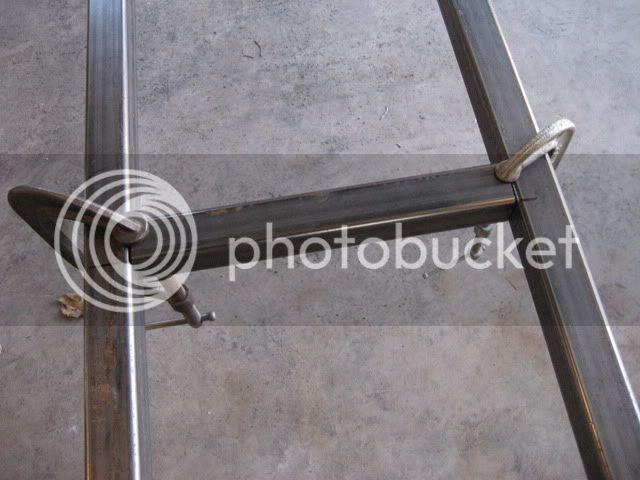
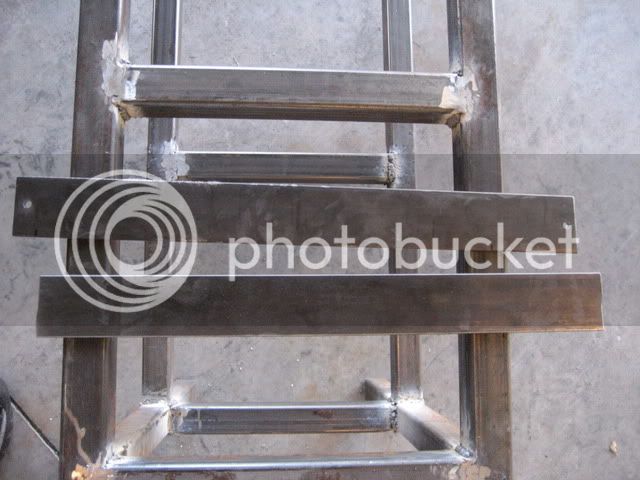
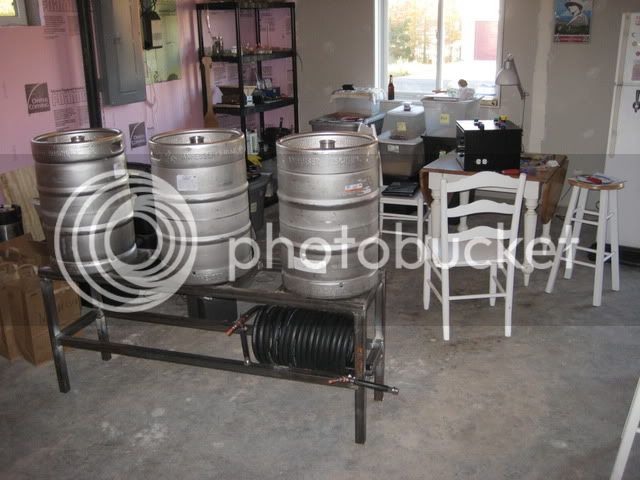
Got any more pictures of your system? Kettles? HERMS coil? Stand?
TB


![Craft A Brew - Safale S-04 Dry Yeast - Fermentis - English Ale Dry Yeast - For English and American Ales and Hard Apple Ciders - Ingredients for Home Brewing - Beer Making Supplies - [1 Pack]](https://m.media-amazon.com/images/I/41fVGNh6JfL._SL500_.jpg)