BrewBeemer
Well-Known Member
Joe,
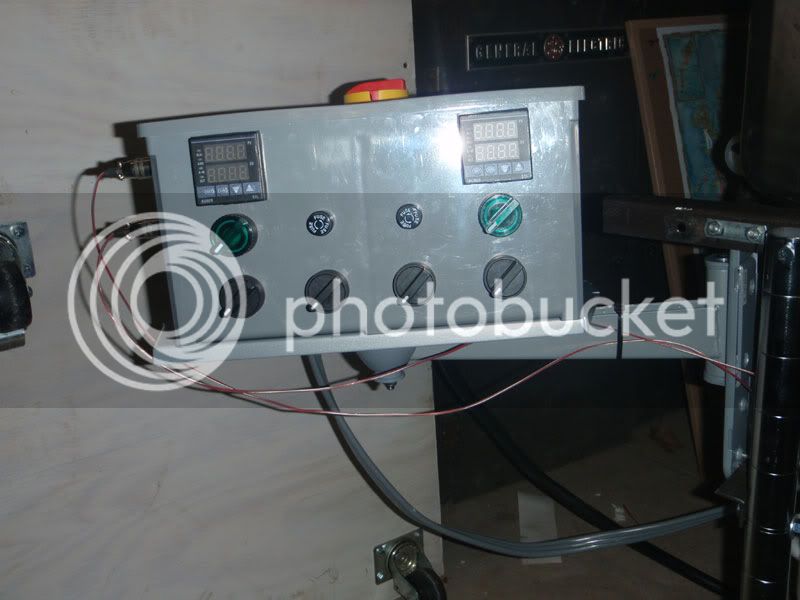
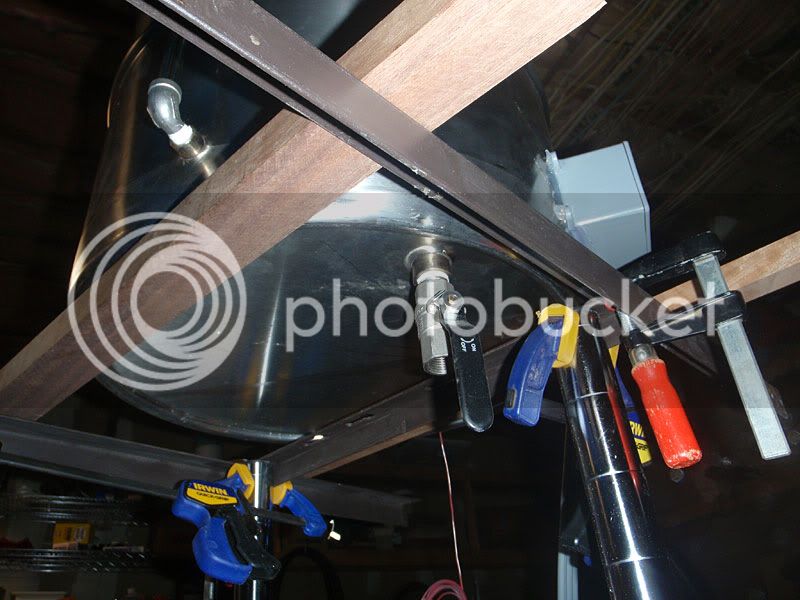
how is that PVC bell box holding up mounted against your pots?
Before water hits boiling temp PVC pipe is like boiled spaghetti you can tie it in knot.
how is that PVC bell box holding up mounted against your pots?
Before water hits boiling temp PVC pipe is like boiled spaghetti you can tie it in knot.

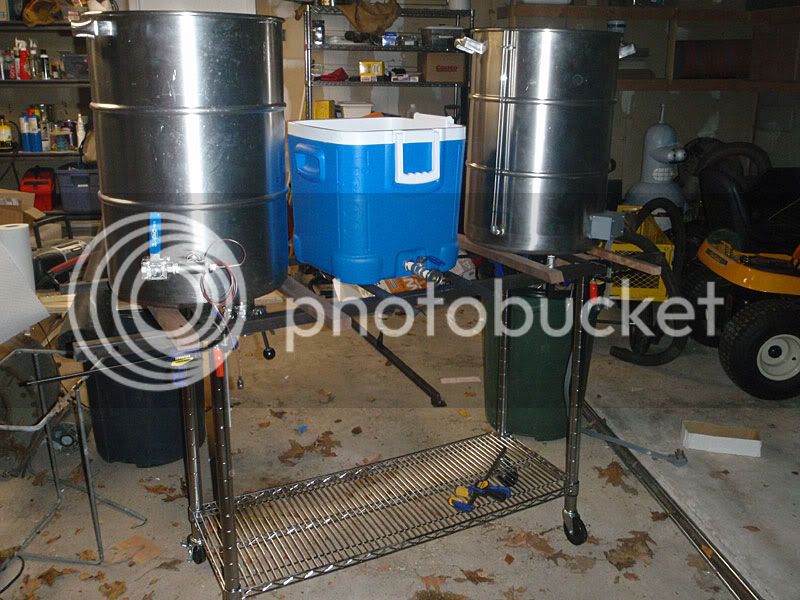
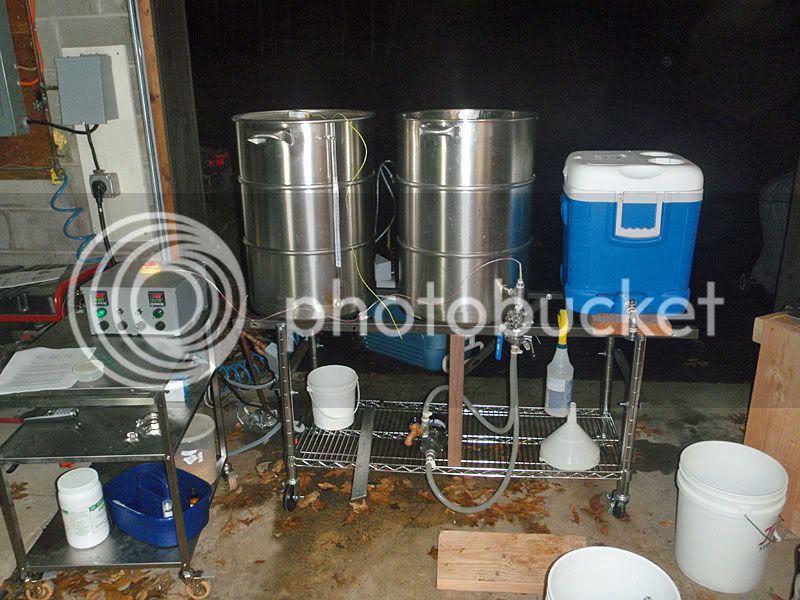
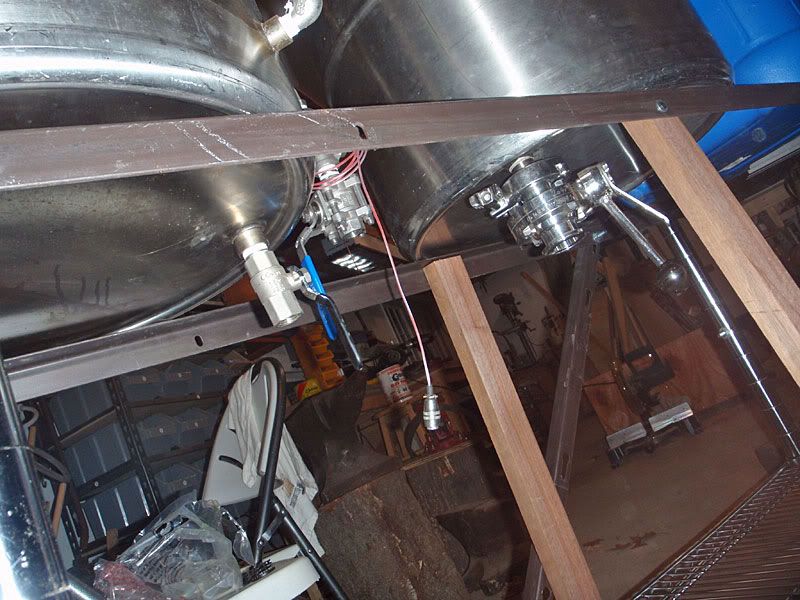
") That's actually why we bought these - they were cheaper than stainless countertops, even with the legs and wheels. It's a solid stainless shelf, so I couldn't use it anyway with the bottom drains.
That's actually why we bought these - they were cheaper than stainless countertops, even with the legs and wheels. It's a solid stainless shelf, so I couldn't use it anyway with the bottom drains.

![Craft A Brew - Safale BE-256 Yeast - Fermentis - Belgian Ale Dry Yeast - For Belgian & Strong Ales - Ingredients for Home Brewing - Beer Making Supplies - [3 Pack]](https://m.media-amazon.com/images/I/51bcKEwQmWL._SL500_.jpg)