GreatBeerTour
Well-Known Member
If this has been covered in other places on the forum, feel free to ignore and allow this to trickle into home-brewing oblivion...
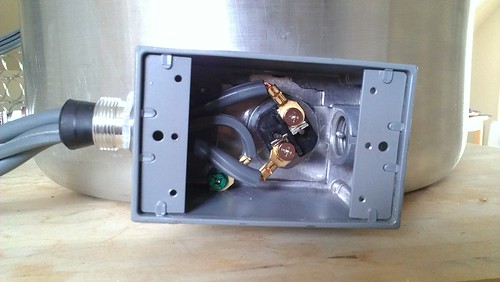
Kettle grounding seems to be a serious concern- electricity and water (wort) could be dangerous. So when planning my build several grounding ideas flowed through my mind. Most seemed either clumsy- clamp on handle, solder wire to the pot, etc- potentially leak points- drill a hole and shove a bolt through- and if the hole is above the water line it will be a distance from the element and require yet another wire dangling off the already cluttered kettle- or expensive. I want something cheap, simple, sexy, and easy. (insert Jr. High humor here)
The solution, once reached, seemed fairly obvious- solder a bolt near the element 'port', this simple method satisfies all my requirements and most people with skills of a trained baboon, and a few simple tools, should be able to complete the work. So how does one complete this little project? thanks for asking, I shall explain.
Step first; select and procure the hardware. A 1/4-20, 1/2' stainless bolt, lock washer, and nut is really all that is needed. The other materials needed are, silver solder, acid flux and brush, and a torch. Even the cheap butane torch such as the type found at harbor freight will work as this is a very small job. A piece of sandpaper may be a good idea as well.
Step B; Prepare the bolt and kettle. The bolt may have raised letters indicating the grade (or whatever those are indicating) on top. These raised letters can be sanded, or filed off. This is likely not completely necessary but should make the bond a bit better. Also rough up the kettle in the spot you intend to attach the bolt.
Step B.a- "tin" the bolt head and kettle- This my friends is key. To "tin" a surface is simply flowing a bit of solder on that surface. One pain in the proverbial 'butt' when soldering is when the two surfaces heat at different rates. In this case the bolt will take a lot more heat before it will melt the solder- the kettle much less as it is relatively thin. If you try to heat both at the same time and then apply solder you might warp the kettle before the bold accepts solder. The result will look like poo and make a poor joint.
Secure the bolt in some fashion- I had an old metal spring clamp that worked well. Don't use your fingers- use your ingenuity to find a solution here. we don't want the bolt flopping around tempting us to grab it or catch it as it falls toward the floor. Heat the bolt until IT is hot enough to melt solder, around 400*. Do not melt the solder with the torch. Use your brush to dab a bit of flux and melt a bit of solder over the top of the bolt. It might be poor form, but I brushed acid right over the solder to help it flow to the edge of the bolt head.
Guess whats next. correct! do the same thing to the kettle. The kettle will likely heat much quicker- be prepared to go. This entire project only needs a very small amount of solder so take it easy.
*Tip of the day- Solder does not 'flow' like water- it makes a lump like mercury. This lump of solder can make balancing the bolt on the kettle tricky. However, one can 'wick' the excess solder away from the surface with a piece of stranded copper wire. Add a touch of flux to the copper wire and heat it while touching to the solder blob. Like magic the solder will get sucked up by the wire. What you will have left is a nice flat tinned surface.
What step are we on? At this point you have a tinned bolt, and a tinned spot on your kettle. Now, simply place the bolt on the kettle and re-heat. Another touch of flux is a good idea here as well. Most of the heat should be applied to the bolt- same reason we discussed earlier. Once the solder melts you are done- that easy. Since the parts are tinned, they already have a good bond established. You do not need a big bead of solder.
Clean the acid off of everything- that stuff is nasty.
That's it. This is not structural but it is plenty strong as long as you don't try to torque the nut beyond reason.
Questions?