cheez
Well-Known Member
I need to order some tags too. Did you upload a list of all the tags you want or did you add them individually?
I just e-mailed them a spreadsheet list.

I need to order some tags too. Did you upload a list of all the tags you want or did you add them individually?
I just e-mailed them a spreadsheet list.
Cool thanks, will have to get on top of that this week. 6 week old colicky son is making it hard to get the brew stand parts cut and welded so I have time yet. We will have to compare notes on Stout Tanks when we get an actual brew in.
I've had everything almost ready to go for a couple of weeks now. Self-employment and two kids takes up some timeAll I need to do is calibrate the sight gauges and then I can do a test run. That better happen this weekend!
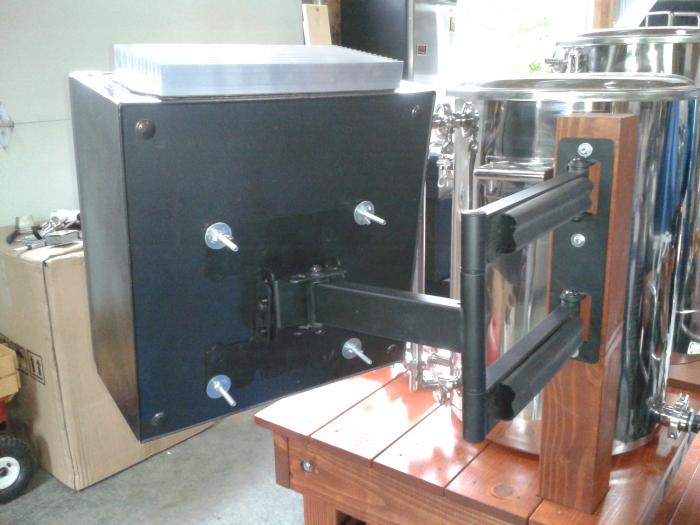
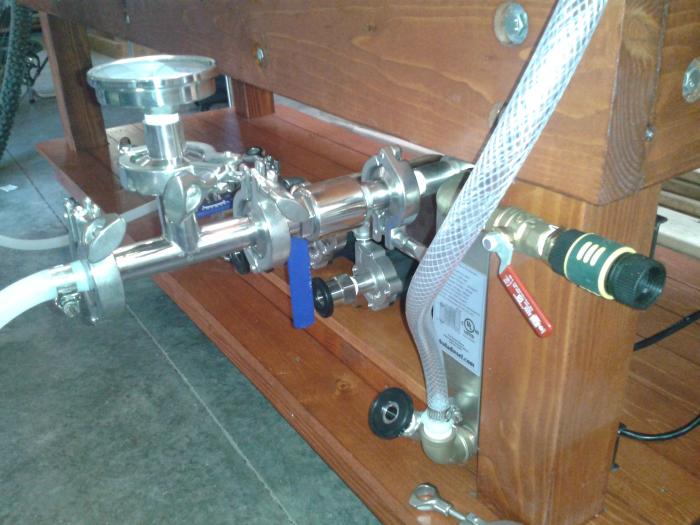
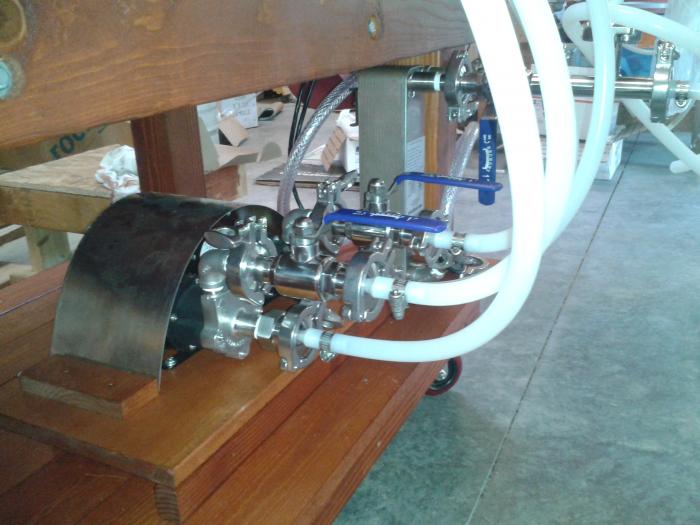
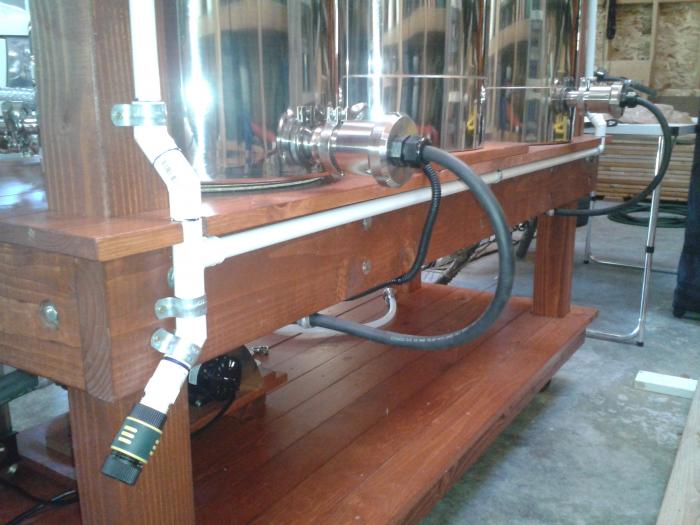
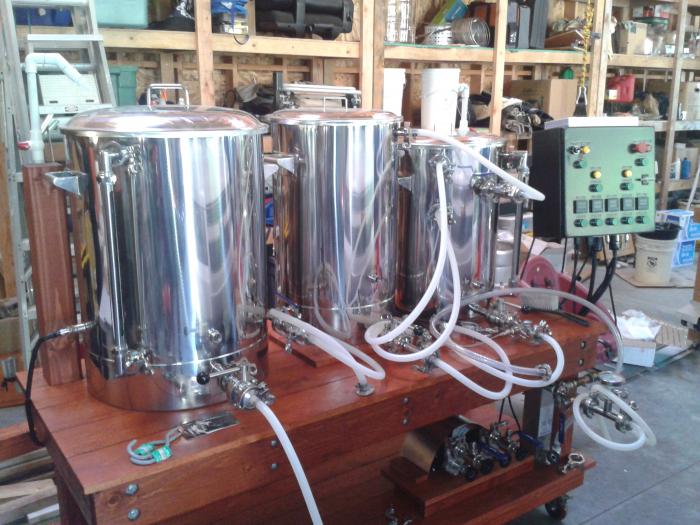


Good feedback on your trial runs...I didn't think about the lids, I will have to add a lid rack of sorts to my brewstand. Too bad about the tangential not working, I hope it is better in the 20 gallon as I was looking forward to that feature and would rather not have paid for something that is functionally useless, that means it was just added as a gimick to entice the sale. If you ever jump onto the probrewer forum and read what they have to say about whirlpooling, plenty of them argue that it is better hand whirlpool on small systems (to them that means 7-10 barrel systems) for a number of reasons. At least on the homebrew scale we don't need a boat paddle to get the whirlpool going.
I noticed the same thing you did with the butterfly valves, on the 20 gallon kettles they too do not clear, something I would find highly annoying if my valving did not overhang the edge of the stand making it a non-issue for me.
What is your strategy for cleaning and clearing grain from the MLT?
It sounds like your pump isn't powerful enough to whirlpool. You can also try running your two pumps in tandem.
13) The EPDM tri-clover gaskets from brewershardware really stick to the tri-clovers. There were a couple of times I really had to pry to get the connection apart. They are supposed to have a heat range up to 300 deg so I'm not sure what is going on. I may see if brewershardware will switch these out for the silicone ones.
It sounds like your pump isn't powerful enough to whirlpool. You can also try running your two pumps in tandem.

It's not the heat, because the EDPM rings can really stick on my conical as well. The 4" ring sometimes takes a large flathead screwdriver to pop free.
I was thinking about adding a few hooks from the stand to hang the lids from. I was also thinking about mounting a multi. garden tool (shovel, rake) hook thingy to the wall to hang hoses from.
I plan on using an ice machine scoop or a small bucket to scoop the grains out of the MLT.
I forgot to attach my brewing process guide so here it is. I know I will be tweaking it after a few brew sessions.
Any reason why you are pumping into the bottom of the herms coil? I originally mapped my process like that than I realized I would be asking my pump to push uphill through around 25' (or however long it is) of coil so I changed it to pump into the top and let gravity take it down the coil. But, I won't get to fire up the system for some time, so it is all ideas in my head and not yet practical knowledge.
Any reason why you are pumping into the bottom of the herms coil? I originally mapped my process like that than I realized I would be asking my pump to push uphill through around 25' (or however long it is) of coil so I changed it to pump into the top and let gravity take it down the coil. But, I won't get to fire up the system for some time, so it is all ideas in my head and not yet practical knowledge.
I don't think it will matter much at all to the pump. The length of the coil isn't changing no mater what end you pump into, so that loss won't change. The added head pressure by pumping into the bottom will be very small since it's based on height at not the length of tube traveled. So, If the HERMS coil is only, say 1 foot, then the added head pressure is only an additional 0.434 PSI I think a March 809 or chugger could handle that unless the coil itself is really high in relation to the pump. Would you concur sir?
Bensiff said:Any reason why you are pumping into the bottom of the herms coil? I originally mapped my process like that than I realized I would be asking my pump to push uphill through around 25' (or however long it is) of coil so I changed it to pump into the top and let gravity take it down the coil. But, I won't get to fire up the system for some time, so it is all ideas in my head and not yet practical knowledge.
jeffmeh said:The head pressure created by gravity is the same whether pumping to the top or the bottom of the HERMS coil, as it is indeed based upon height. The liquid flowing through the coil creates friction, so additional head pressure, whether traveling up or down. The liquid either flowing up or flowing down through the line from the top of the HERMS coil also creates friction, so additional head pressure.
While I'm sure that it doesn't matter in practical terms, and because it is a closed system I don't think it is even different in theoretical terms, I'm far enough away from my physics classes that I cannot be certain on the latter. Any physics guys want to answer definitively?
Fluid dynamics is a more accurate class that would cover this subject matter, but I'm about 12 years removed from that class, but design closed loop recirculating cooling systems at work. So I'm pretty certain that this is correct.
Fluid dynamics is a more accurate class that would cover this subject matter, but I'm about 12 years removed from that class, but design closed loop recirculating cooling systems at work. So I'm pretty certain that this is correct.
If you pump bottom to top wouldn't you reduce air bubbles as the air is pushed up and out? I know the discharge on the pump should be higher then the intake for this reason, not sure if that is an issue here.


cheez said:I brewed another batch on Sunday and got a lot closer to hitting my target mash temperature right off the bat. After my first batch I realized I didn't account for the initial heat losses in the stainless steel mash tun in my spreadsheet or in beersmith. I had a rubbermaid cooler for my old mash tun so it didn't lose as much heat up front as the new tun.
On this batch I got just over a 90% mash efficiency, I was over my target OG by 2 points, I collected the exact volume I wanted in the fermenter, and I shaved about 1/2 hour off the first brew day. So, I'm back to about where I was with the old system but am much happier with this one! It will be nice to have consistent mash temps. Now I'm saving some dough for a conical and freezer.
Thanks again to everyone who helped make this happen
That's good progress...imagine when you have your process down perfect. Do you think jacketing the mash tun would be worthwhile or is it simply a matter to factor for initial heat loss on the strike calculation? How many degrees did you factor for temp loss?
That's good progress...imagine when you have your process down perfect. Do you think jacketing the mash tun would be worthwhile or is it simply a matter to factor for initial heat loss on the strike calculation? How many degrees did you factor for temp loss?