OP
OP
I am insanely jealous of your collection
Thanks but you should see Fat Jeffrey's wifes collection. She has over 2500 bottles. They really need a cooler themselves...

I am insanely jealous of your collection
Thanks but you should see Fat Jeffrey's wifes collection. She has over 2500 bottles. They really need a cooler themselves...
Sorry to do that to you guys. That is not my intention. I did this to a house I've lived in for that past 12 years. I think that's the best way to go instead of buying a newer/bigger house and taking on more debt.
Just tell them it's a money saver as you'll be getting rid of the chest freezers and they can put the leftover turkey in there after they clean up on Thanskgiving. It's a win/win.


![Craft A Brew - Safale S-04 Dry Yeast - Fermentis - English Ale Dry Yeast - For English and American Ales and Hard Apple Ciders - Ingredients for Home Brewing - Beer Making Supplies - [1 Pack]](https://m.media-amazon.com/images/I/41fVGNh6JfL._SL500_.jpg)


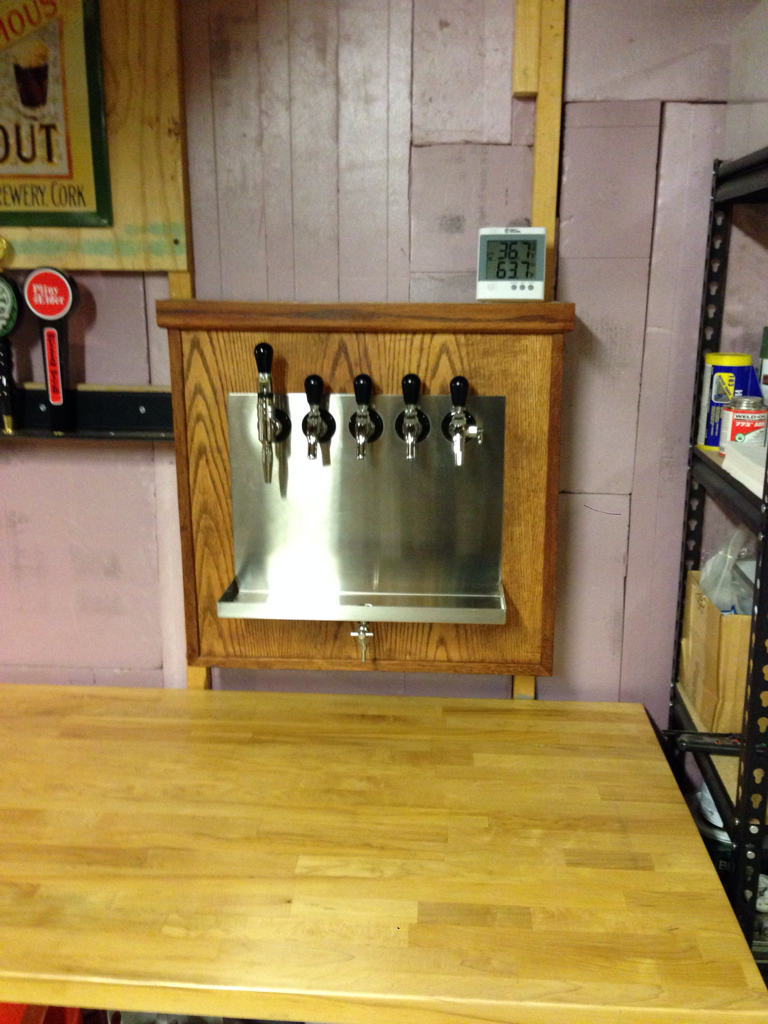
I think we did it right.
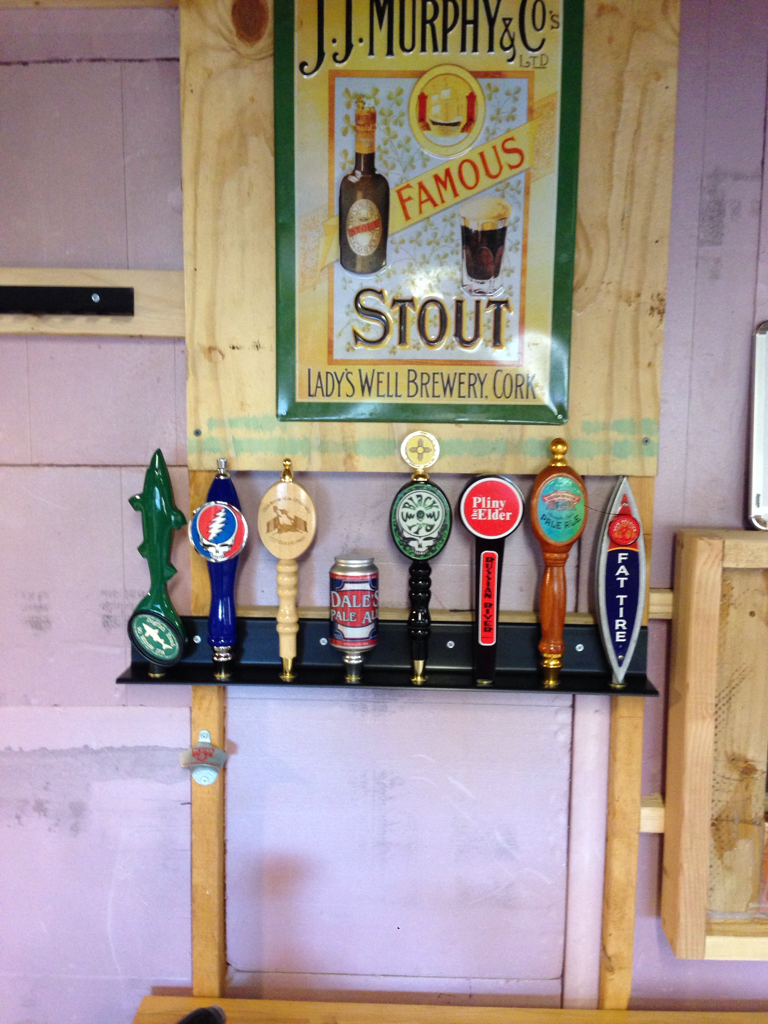
Greg is coming over demanding that we finish the taps. Right now.
Sure, why not? There are many examples of this in the real world.
I went with a Coolbot as my plan was to have only two outlets in the cooler. If I used a heat tape, I'd have both outlets full all the time. With the Coolbot, I can have a free outlet for something else I may need to plug in, just in case. I think the Coolbot is more efficient as well. If you have a heat tape, you are adding extra heat all the time the AC will have to be working against. That and heat tapes are probably energy hogs themselves.
You're gonna pay for it somehow. With the Coolbot, I'm just paying more upfront. If you are going into a cooler build with your eye on lowest possible component costs, you will be paying later in terms of utility bills. Of this I am absolutely sure.
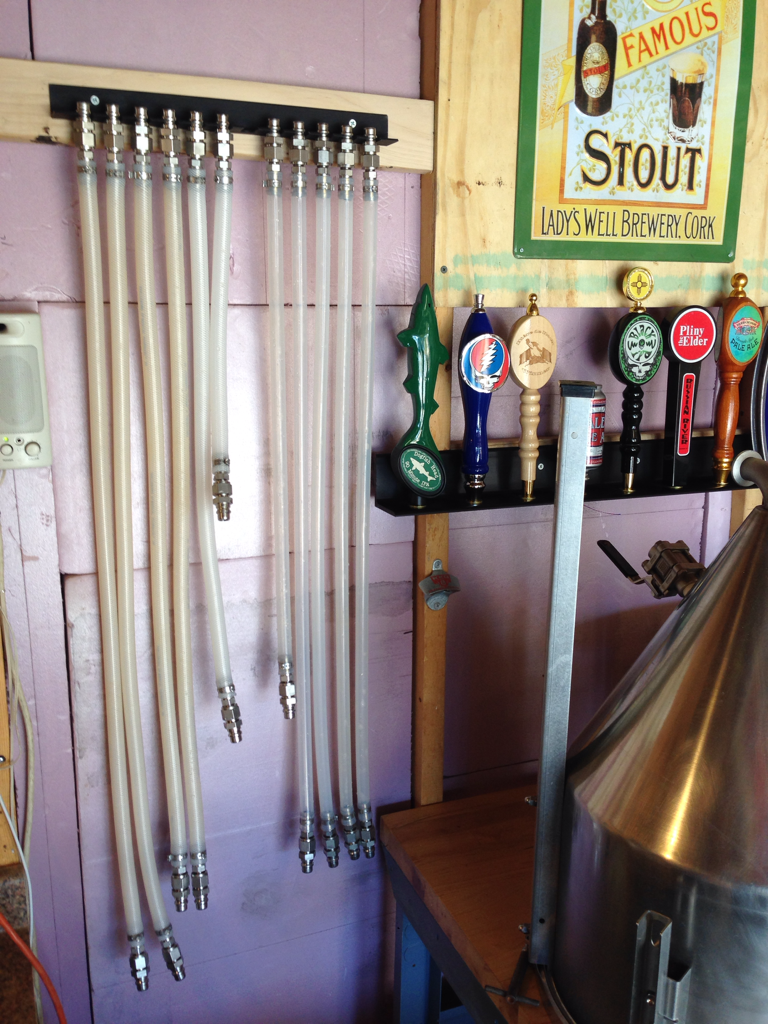

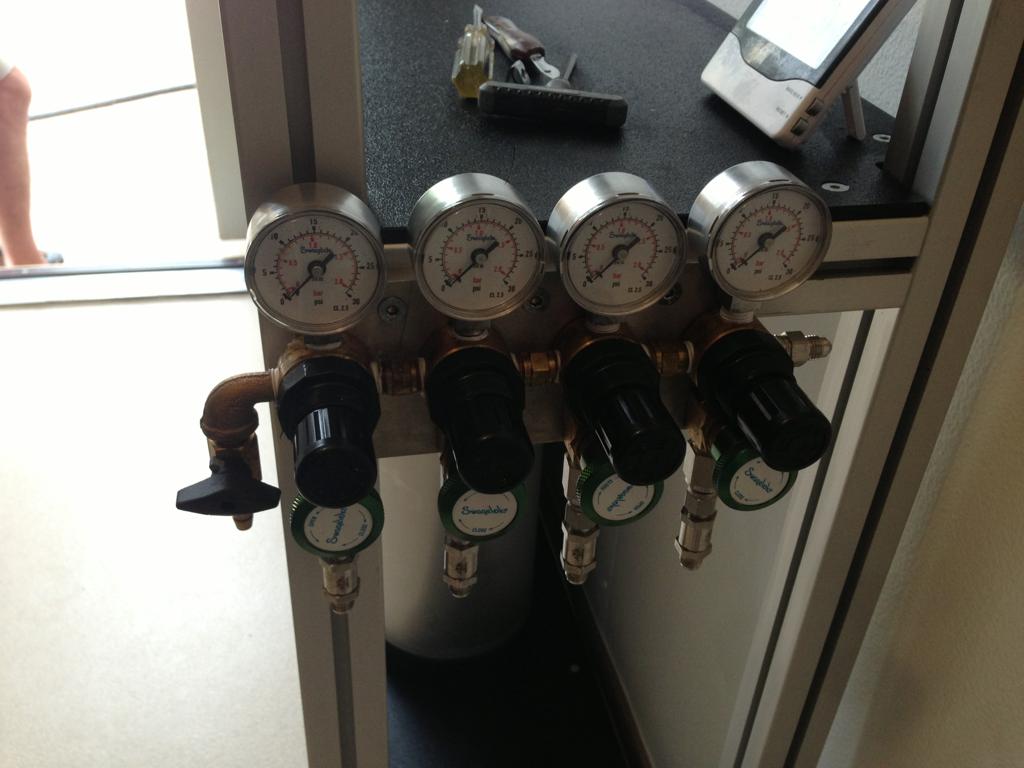
Regulator gang for carbonating/serving:
 I'm sure I'm not the only one here waiting for an update. I hope everything is okay. This has been one of the most enjoyable threads that I have come across.


