Trouble-Brewing
Well-Known Member
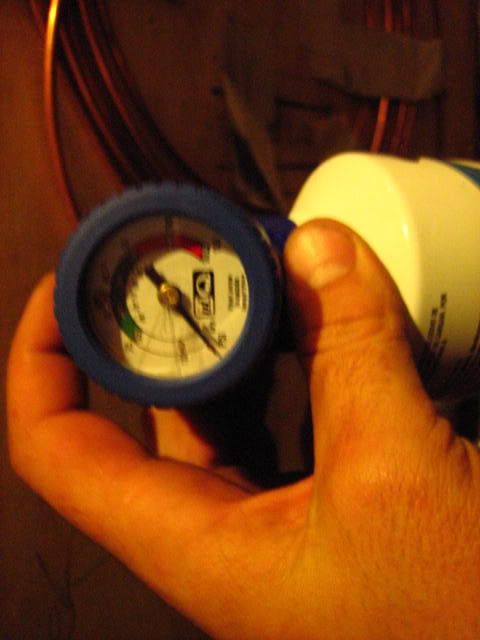
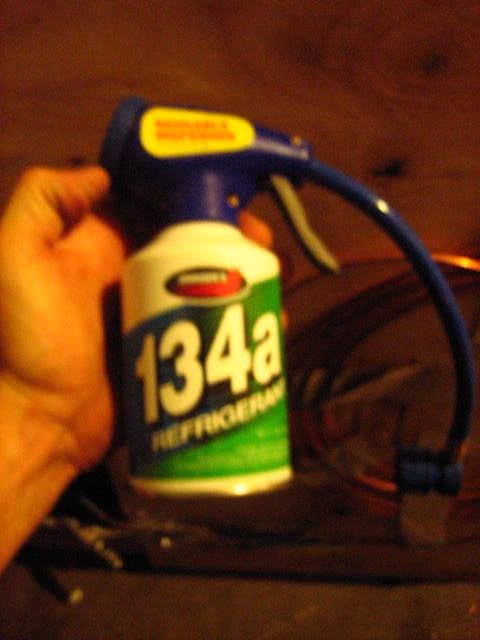
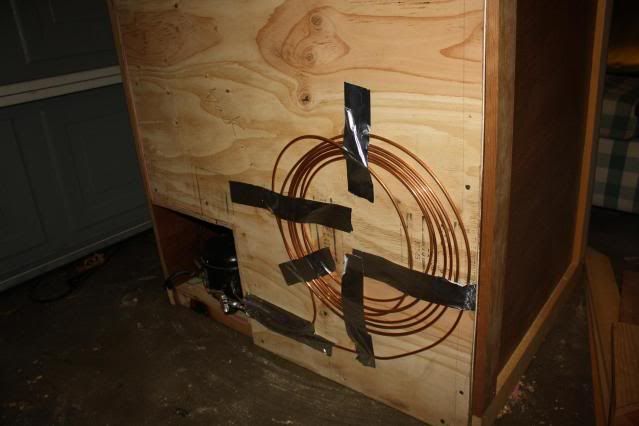
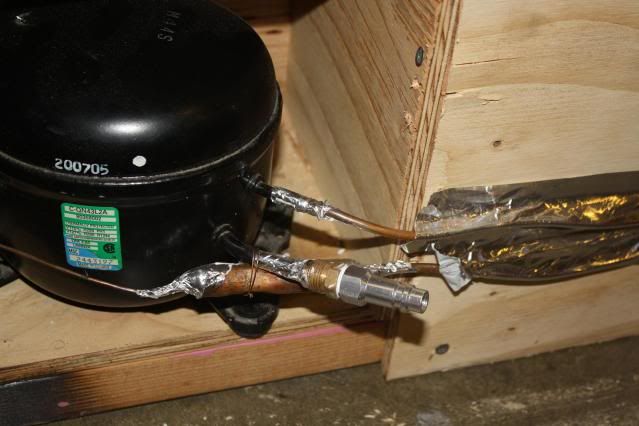
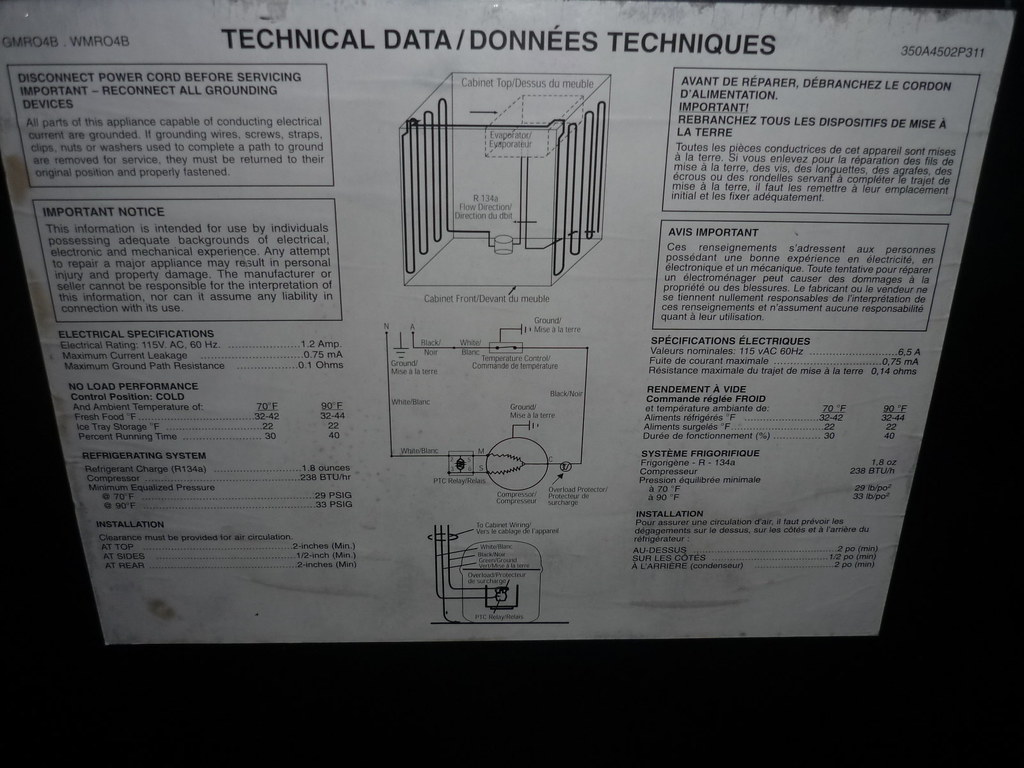
So I was pulling apart a SANYO 4433 to use the guts to make a bigger fermentation chamber/kegerator and right before I got it all out I bent and cracked a coolant line. Am I screwed and out a fridge or is there a way to fix it? I was reading a thread on here that someone mentioned you could fix it with stuff from Home Depot or Lowes but never explained it, is that true? If so what all do I need? Everything else I am reading is telling me I am **** out of luck, any help would be great.


![Craft A Brew - Safale BE-256 Yeast - Fermentis - Belgian Ale Dry Yeast - For Belgian & Strong Ales - Ingredients for Home Brewing - Beer Making Supplies - [3 Pack]](https://m.media-amazon.com/images/I/51bcKEwQmWL._SL500_.jpg)