sarink
Member
- Joined
- Apr 19, 2013
- Messages
- 23
- Reaction score
- 3
First pic - The original pigtail wire for connecting the tank to the motor (I'm not going to use this, see second pic)
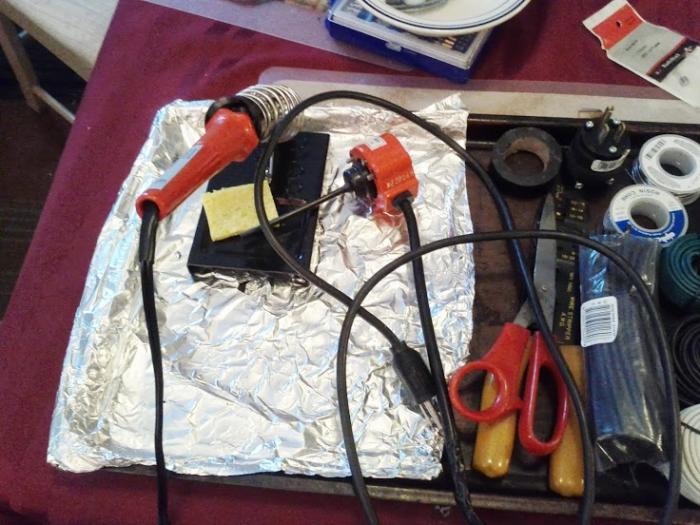
Second pic - Rewired the carbonator tank float to a PC power cord so it is standalone and does not need to connect to the motor to get power (also, my ghetto soldering station )
)
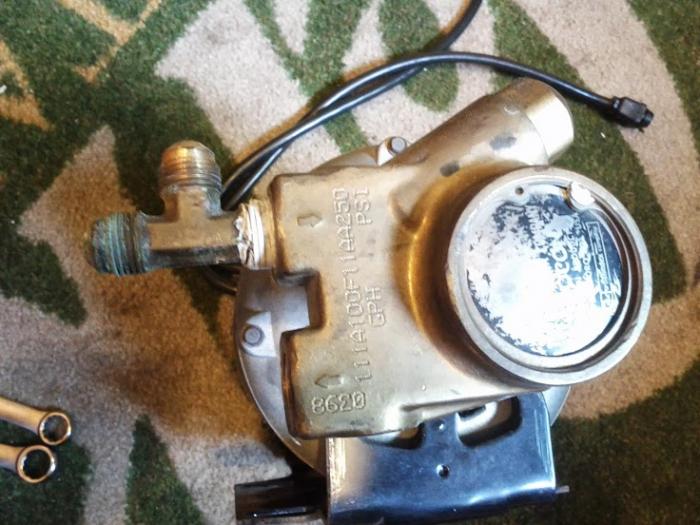
Third pic - The T on the motor. Are you sure this needs to just remain open? It is on the inlet.. Although, how would I even get that off if I wanted? (didn't notice it until this pic - what's 250 PSI?!)
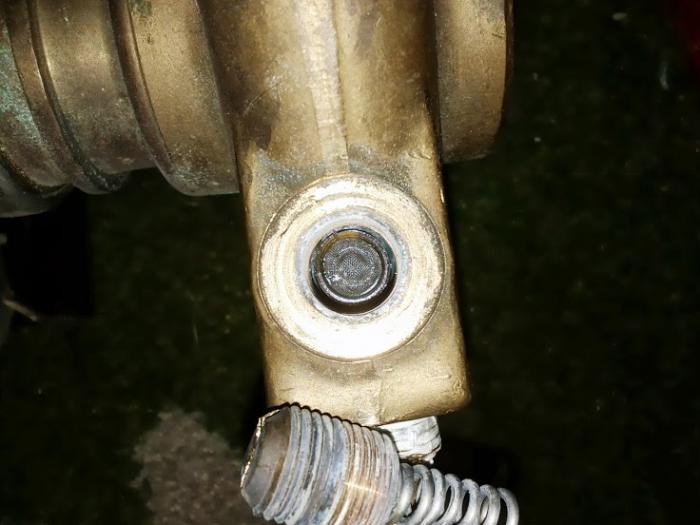
Fourth pic - What's inside that big (the smaller of the two big ones) brass nut on top of the carbonator motor (I was curious)
Fifth pic - Cleaning of the carbonator tank's float and all valves/fittings (also, it looks like I lied, there are screws on the bottom holding the the base on - it IS welded, but to a separate plate which this base is then screwed to)


Second pic - Rewired the carbonator tank float to a PC power cord so it is standalone and does not need to connect to the motor to get power (also, my ghetto soldering station
Third pic - The T on the motor. Are you sure this needs to just remain open? It is on the inlet.. Although, how would I even get that off if I wanted? (didn't notice it until this pic - what's 250 PSI?!)
Fourth pic - What's inside that big (the smaller of the two big ones) brass nut on top of the carbonator motor (I was curious)
Fifth pic - Cleaning of the carbonator tank's float and all valves/fittings (also, it looks like I lied, there are screws on the bottom holding the the base on - it IS welded, but to a separate plate which this base is then screwed to)


![Craft A Brew - Safale S-04 Dry Yeast - Fermentis - English Ale Dry Yeast - For English and American Ales and Hard Apple Ciders - Ingredients for Home Brewing - Beer Making Supplies - [1 Pack]](https://m.media-amazon.com/images/I/41fVGNh6JfL._SL500_.jpg)


