Unknown99
Member
- Joined
- Sep 7, 2016
- Messages
- 15
- Reaction score
- 4
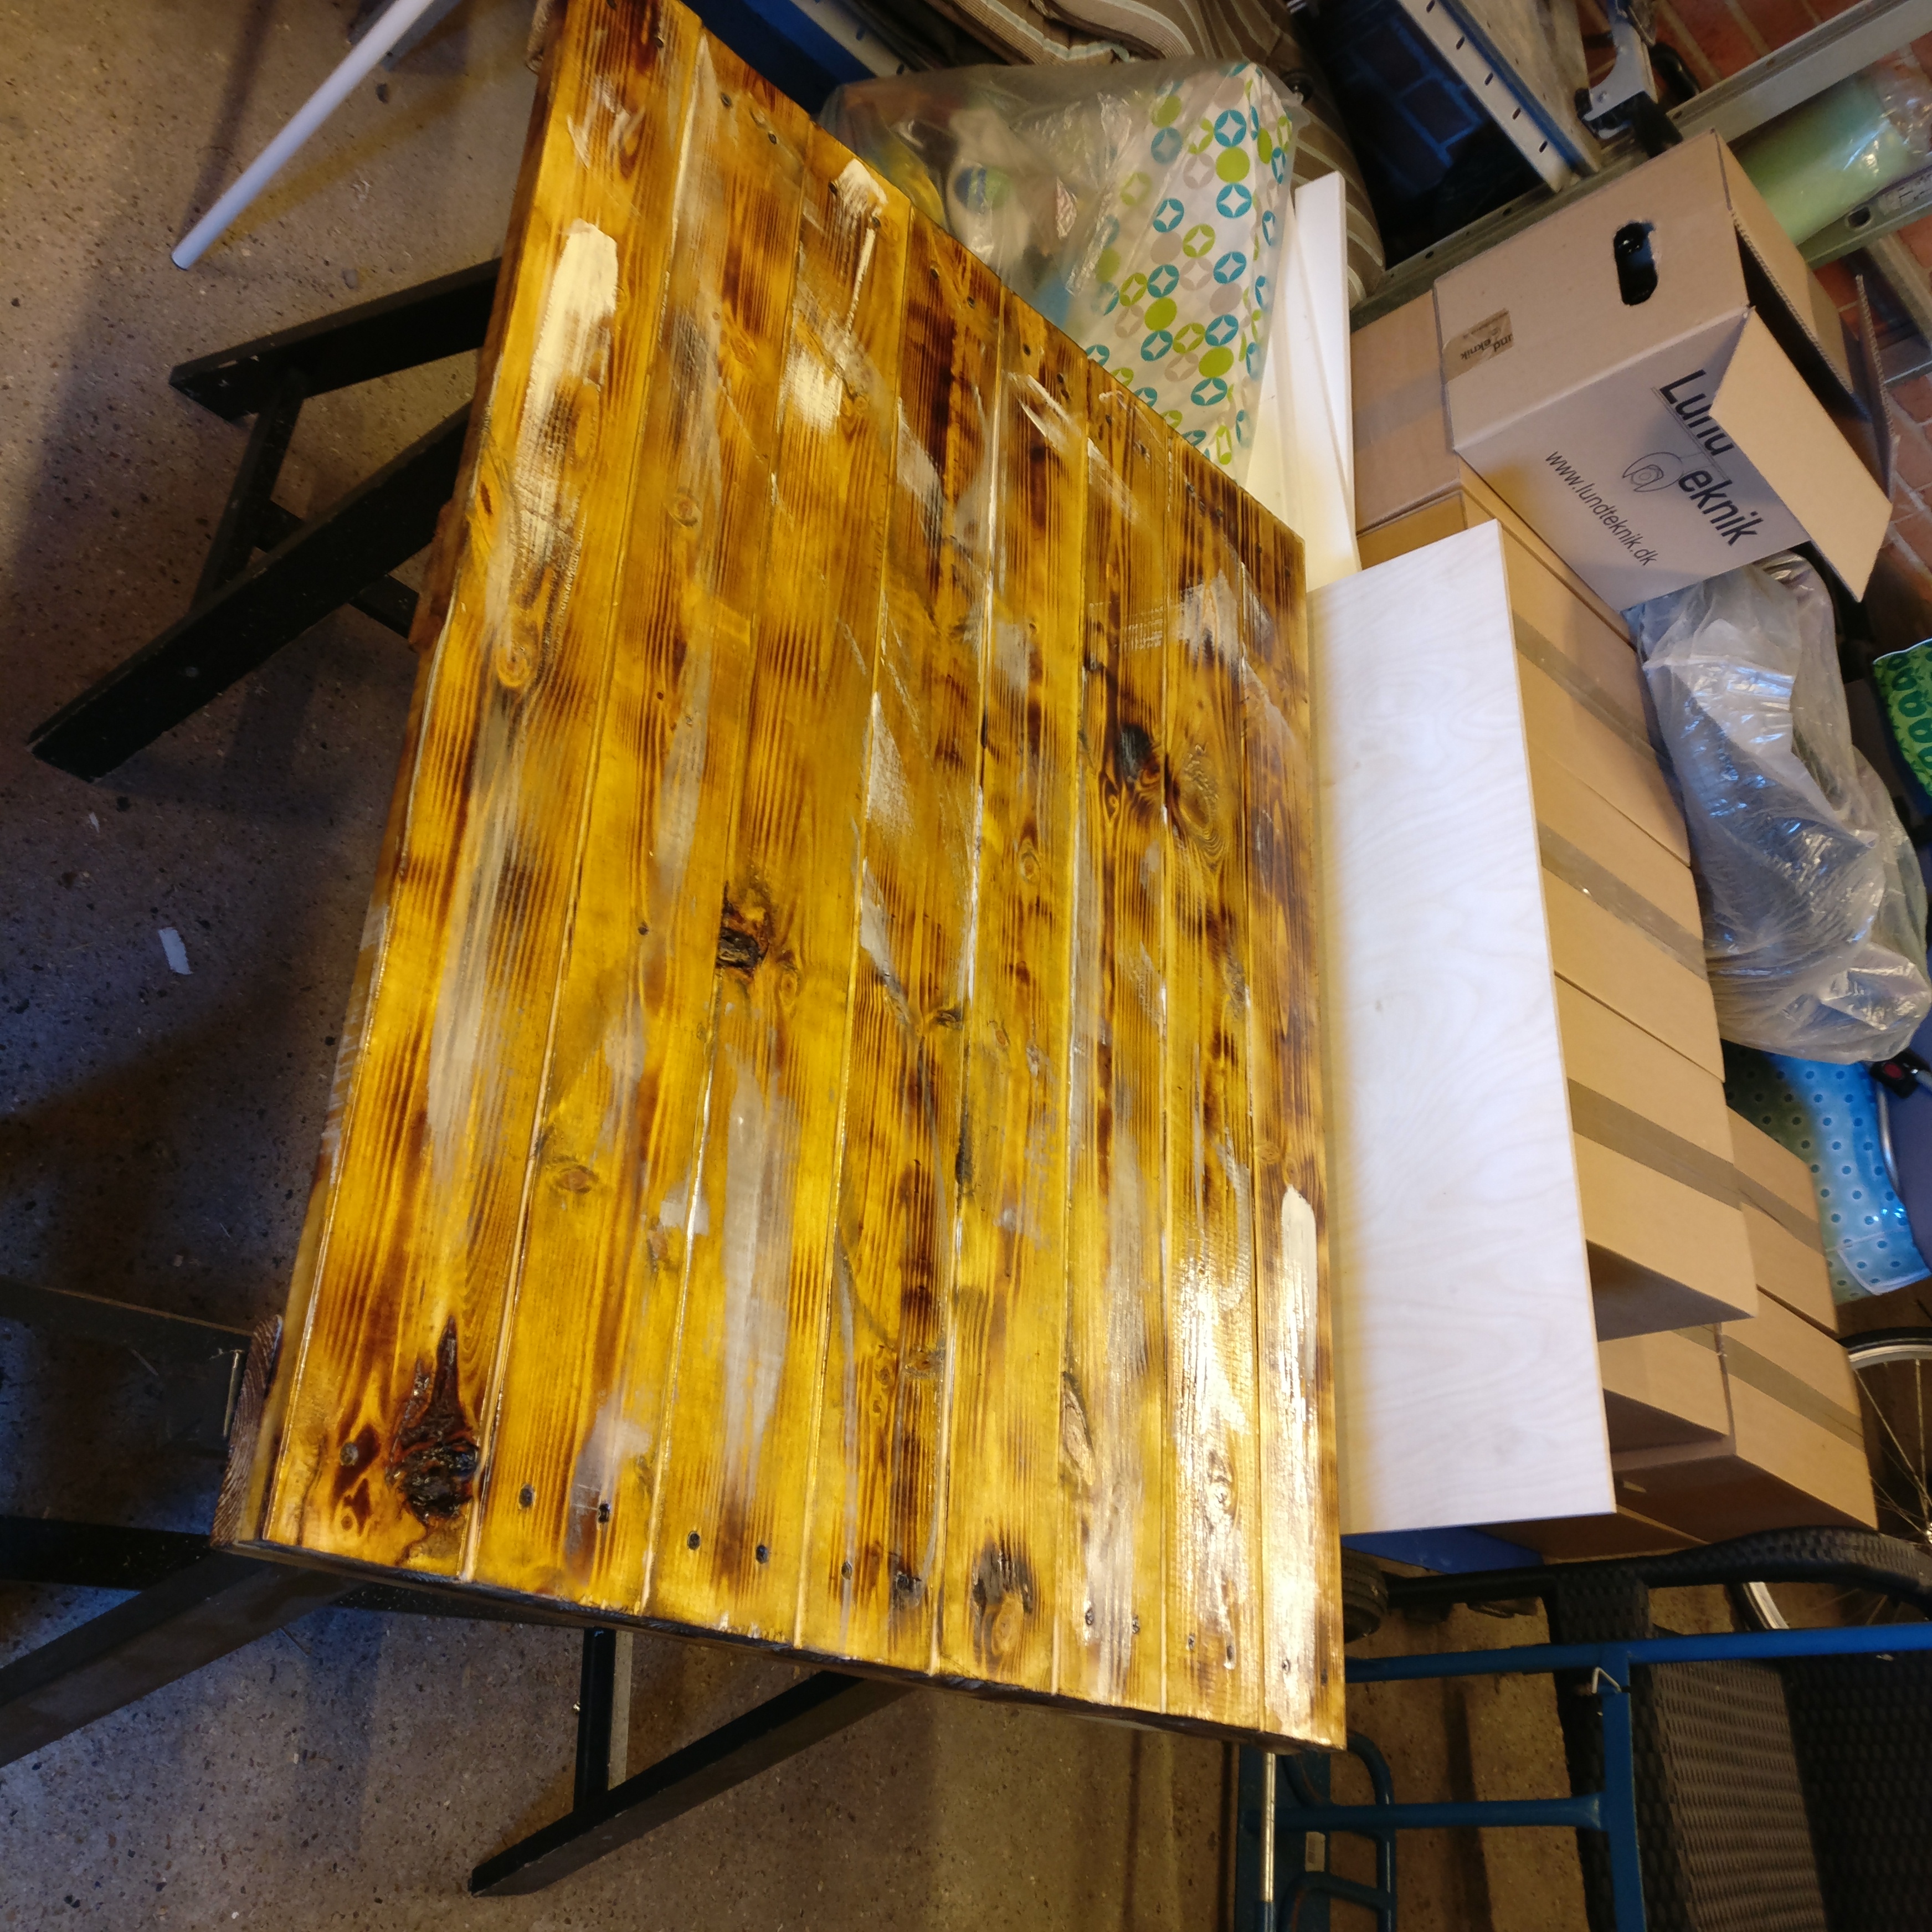
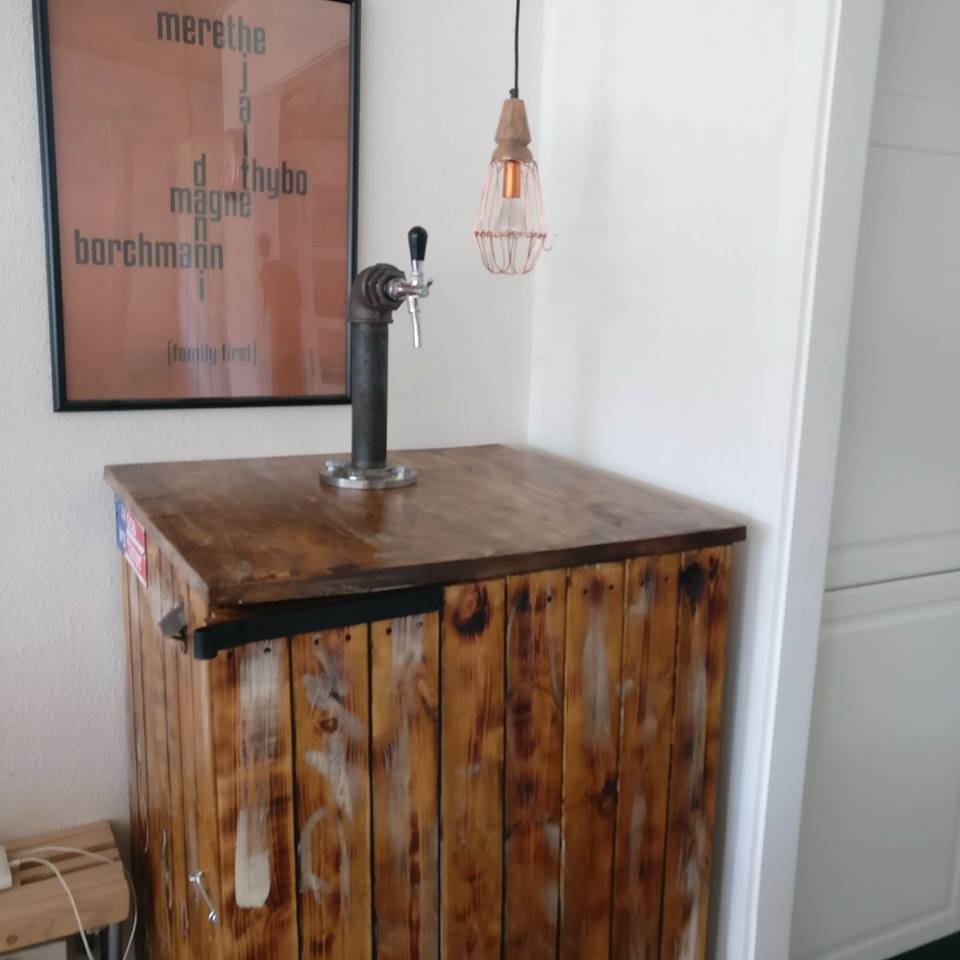
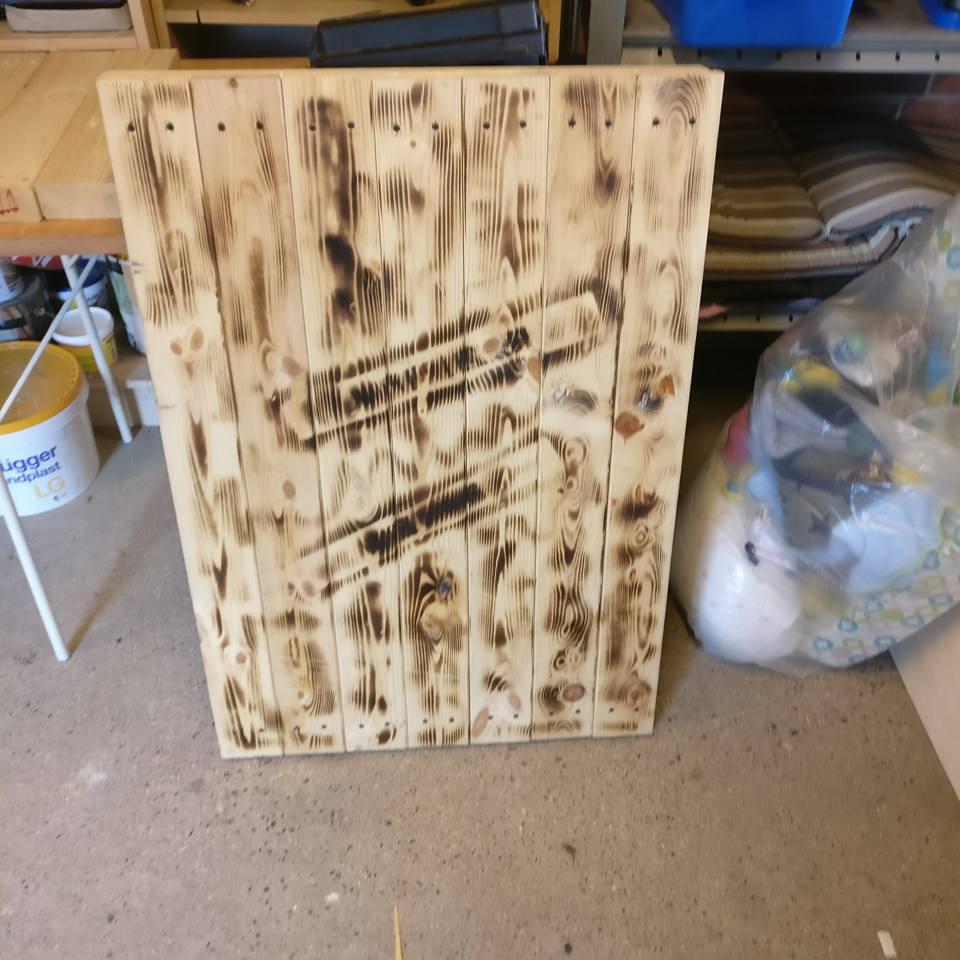
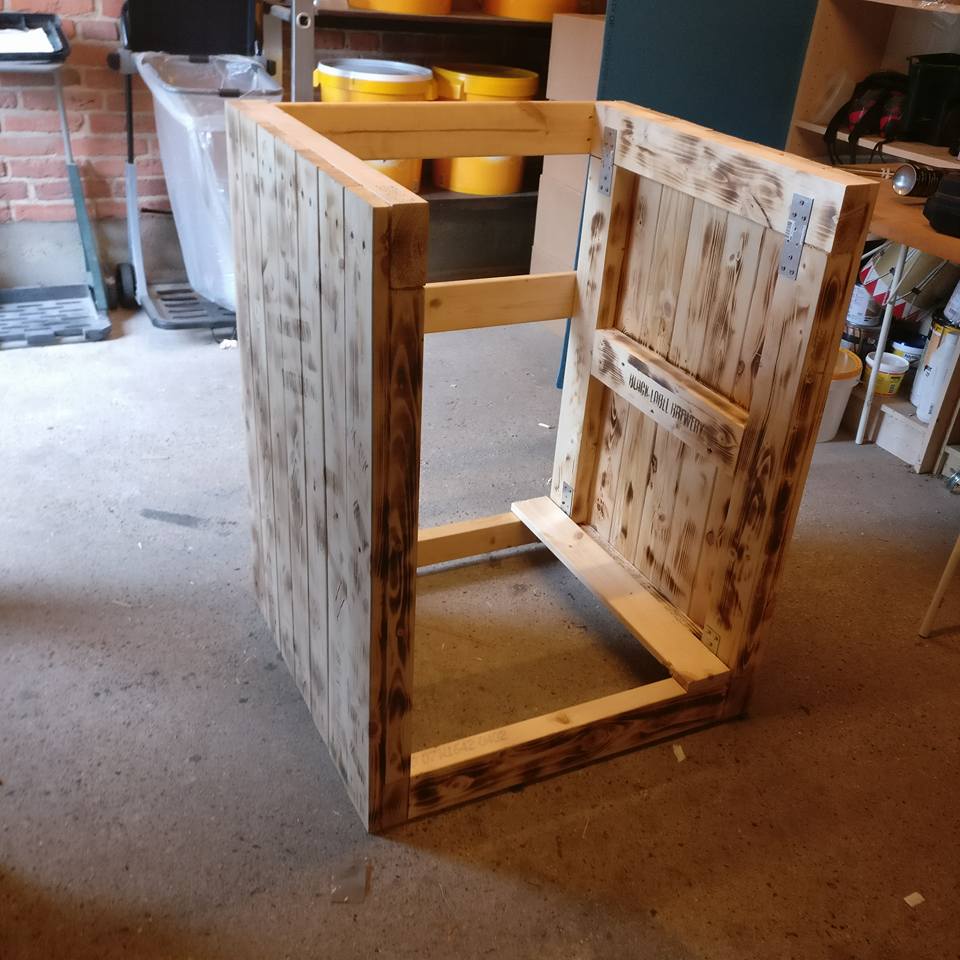
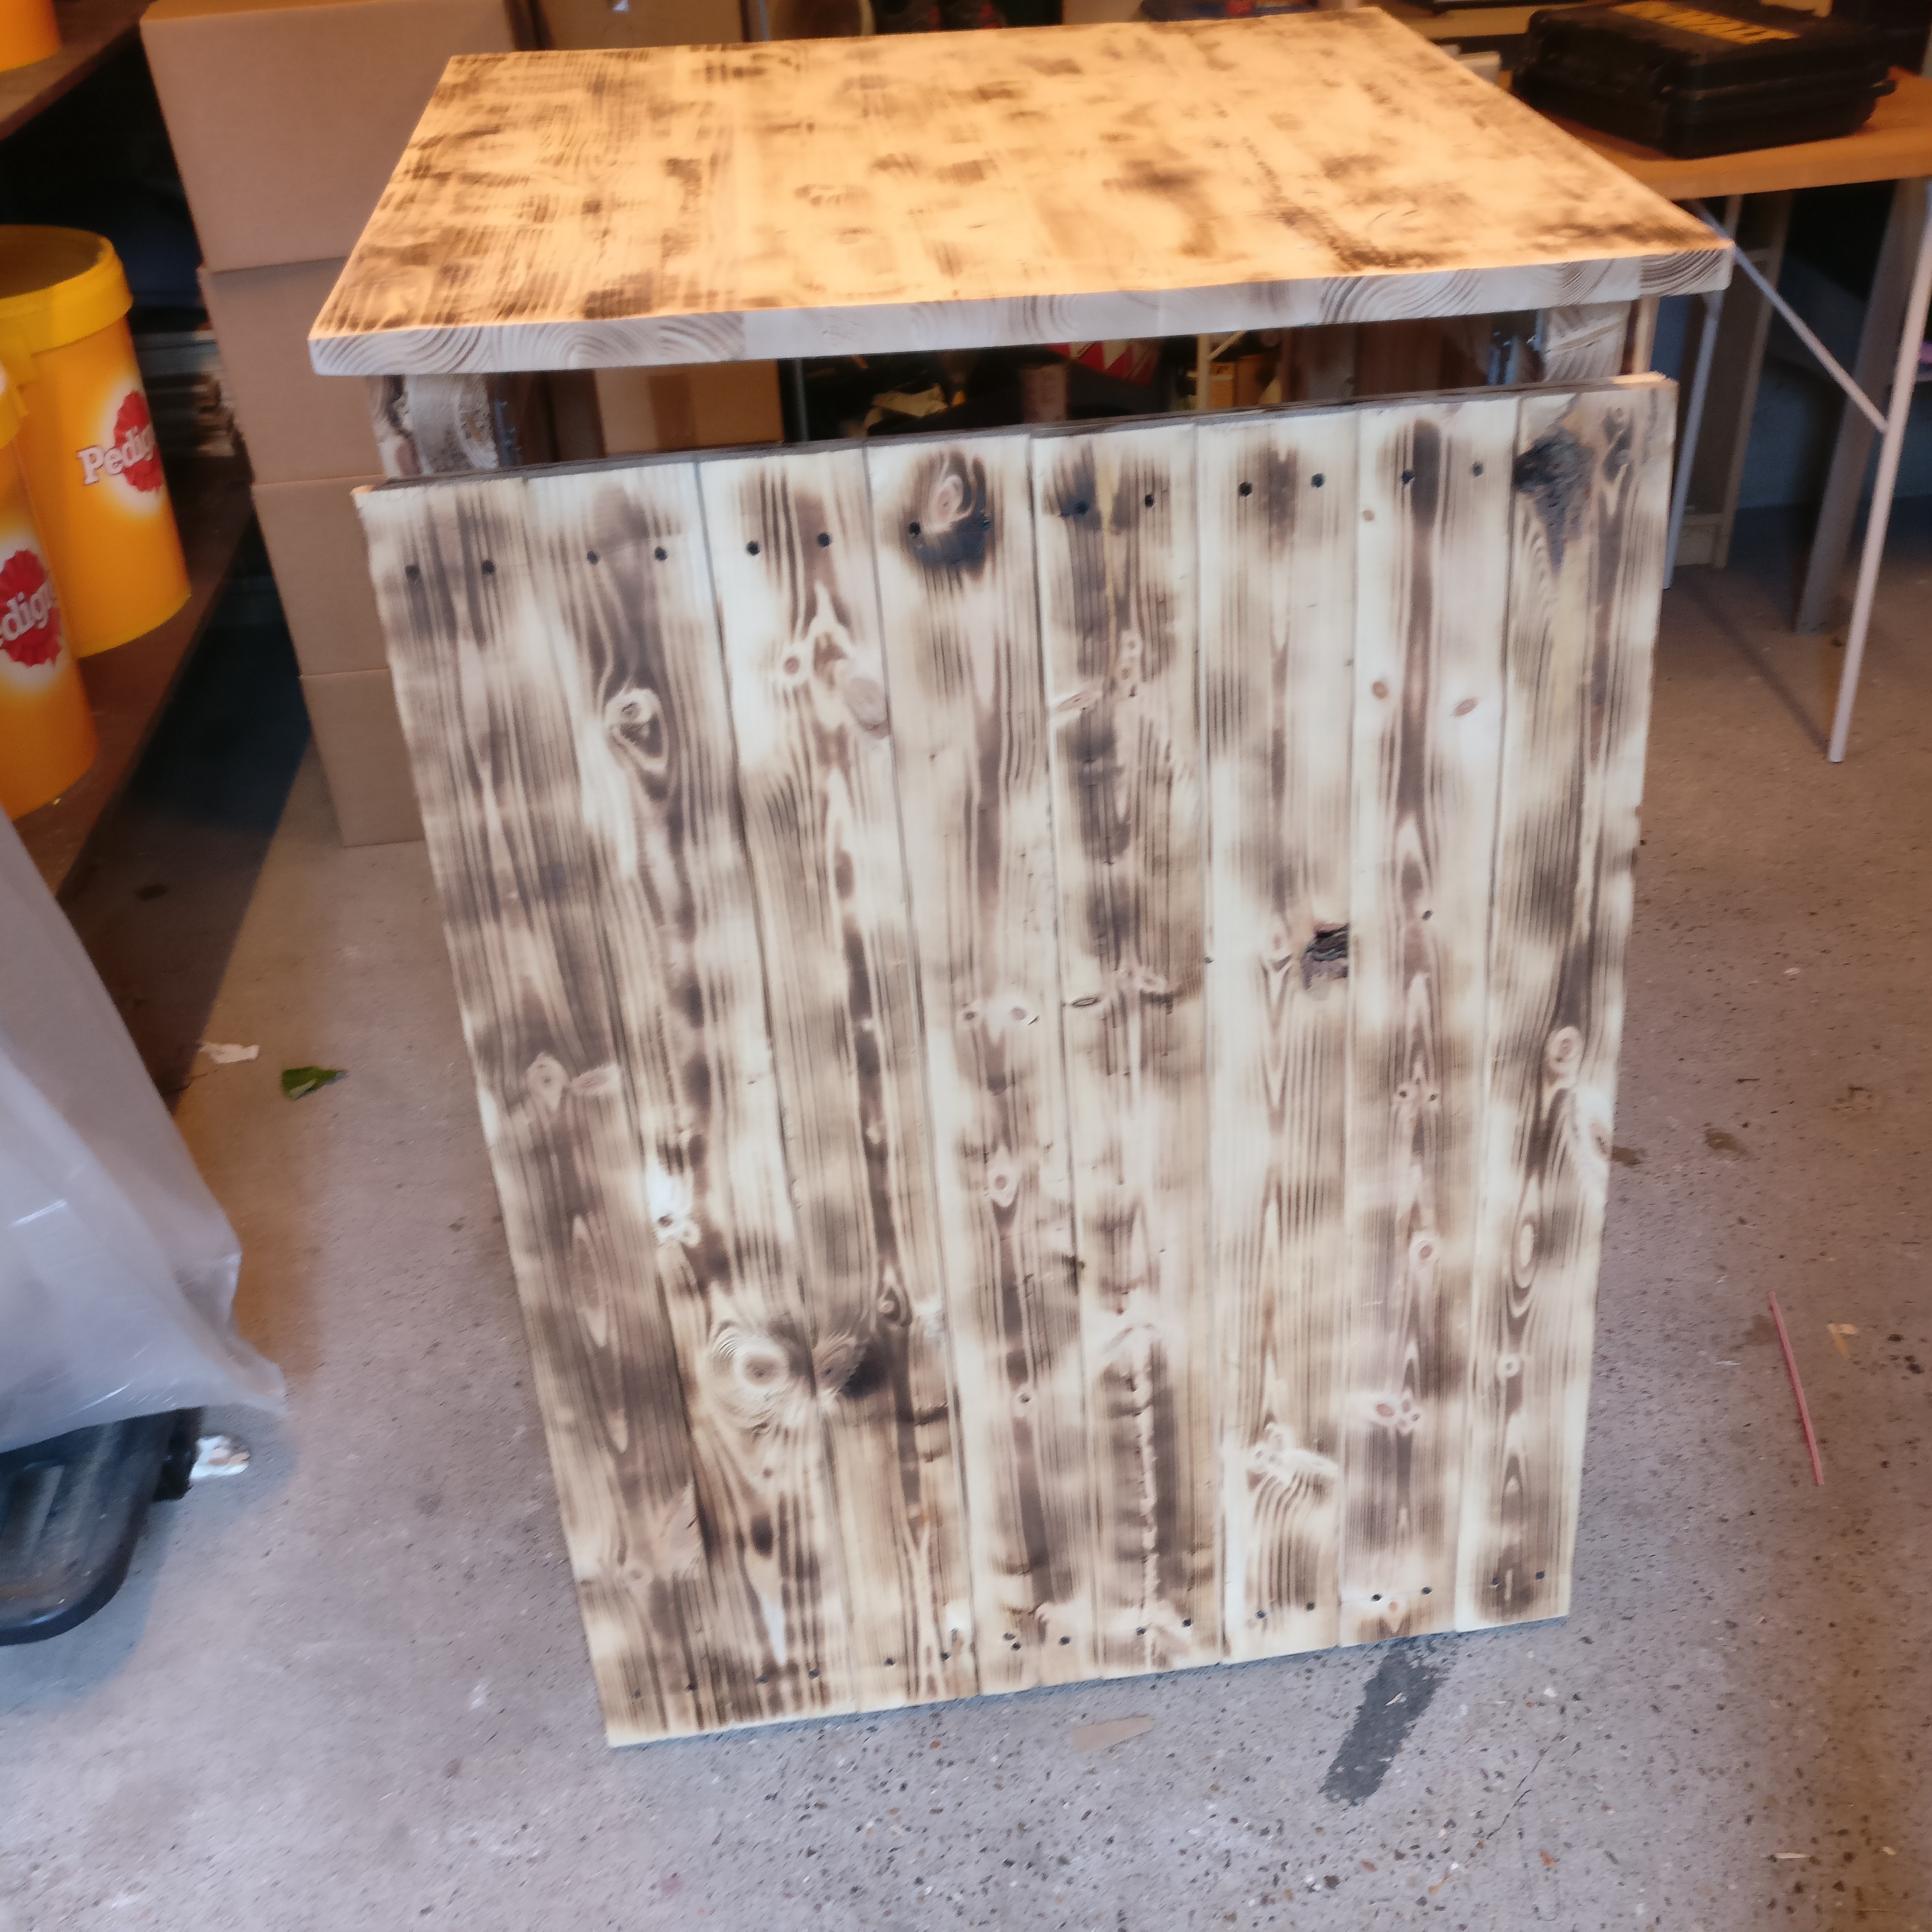
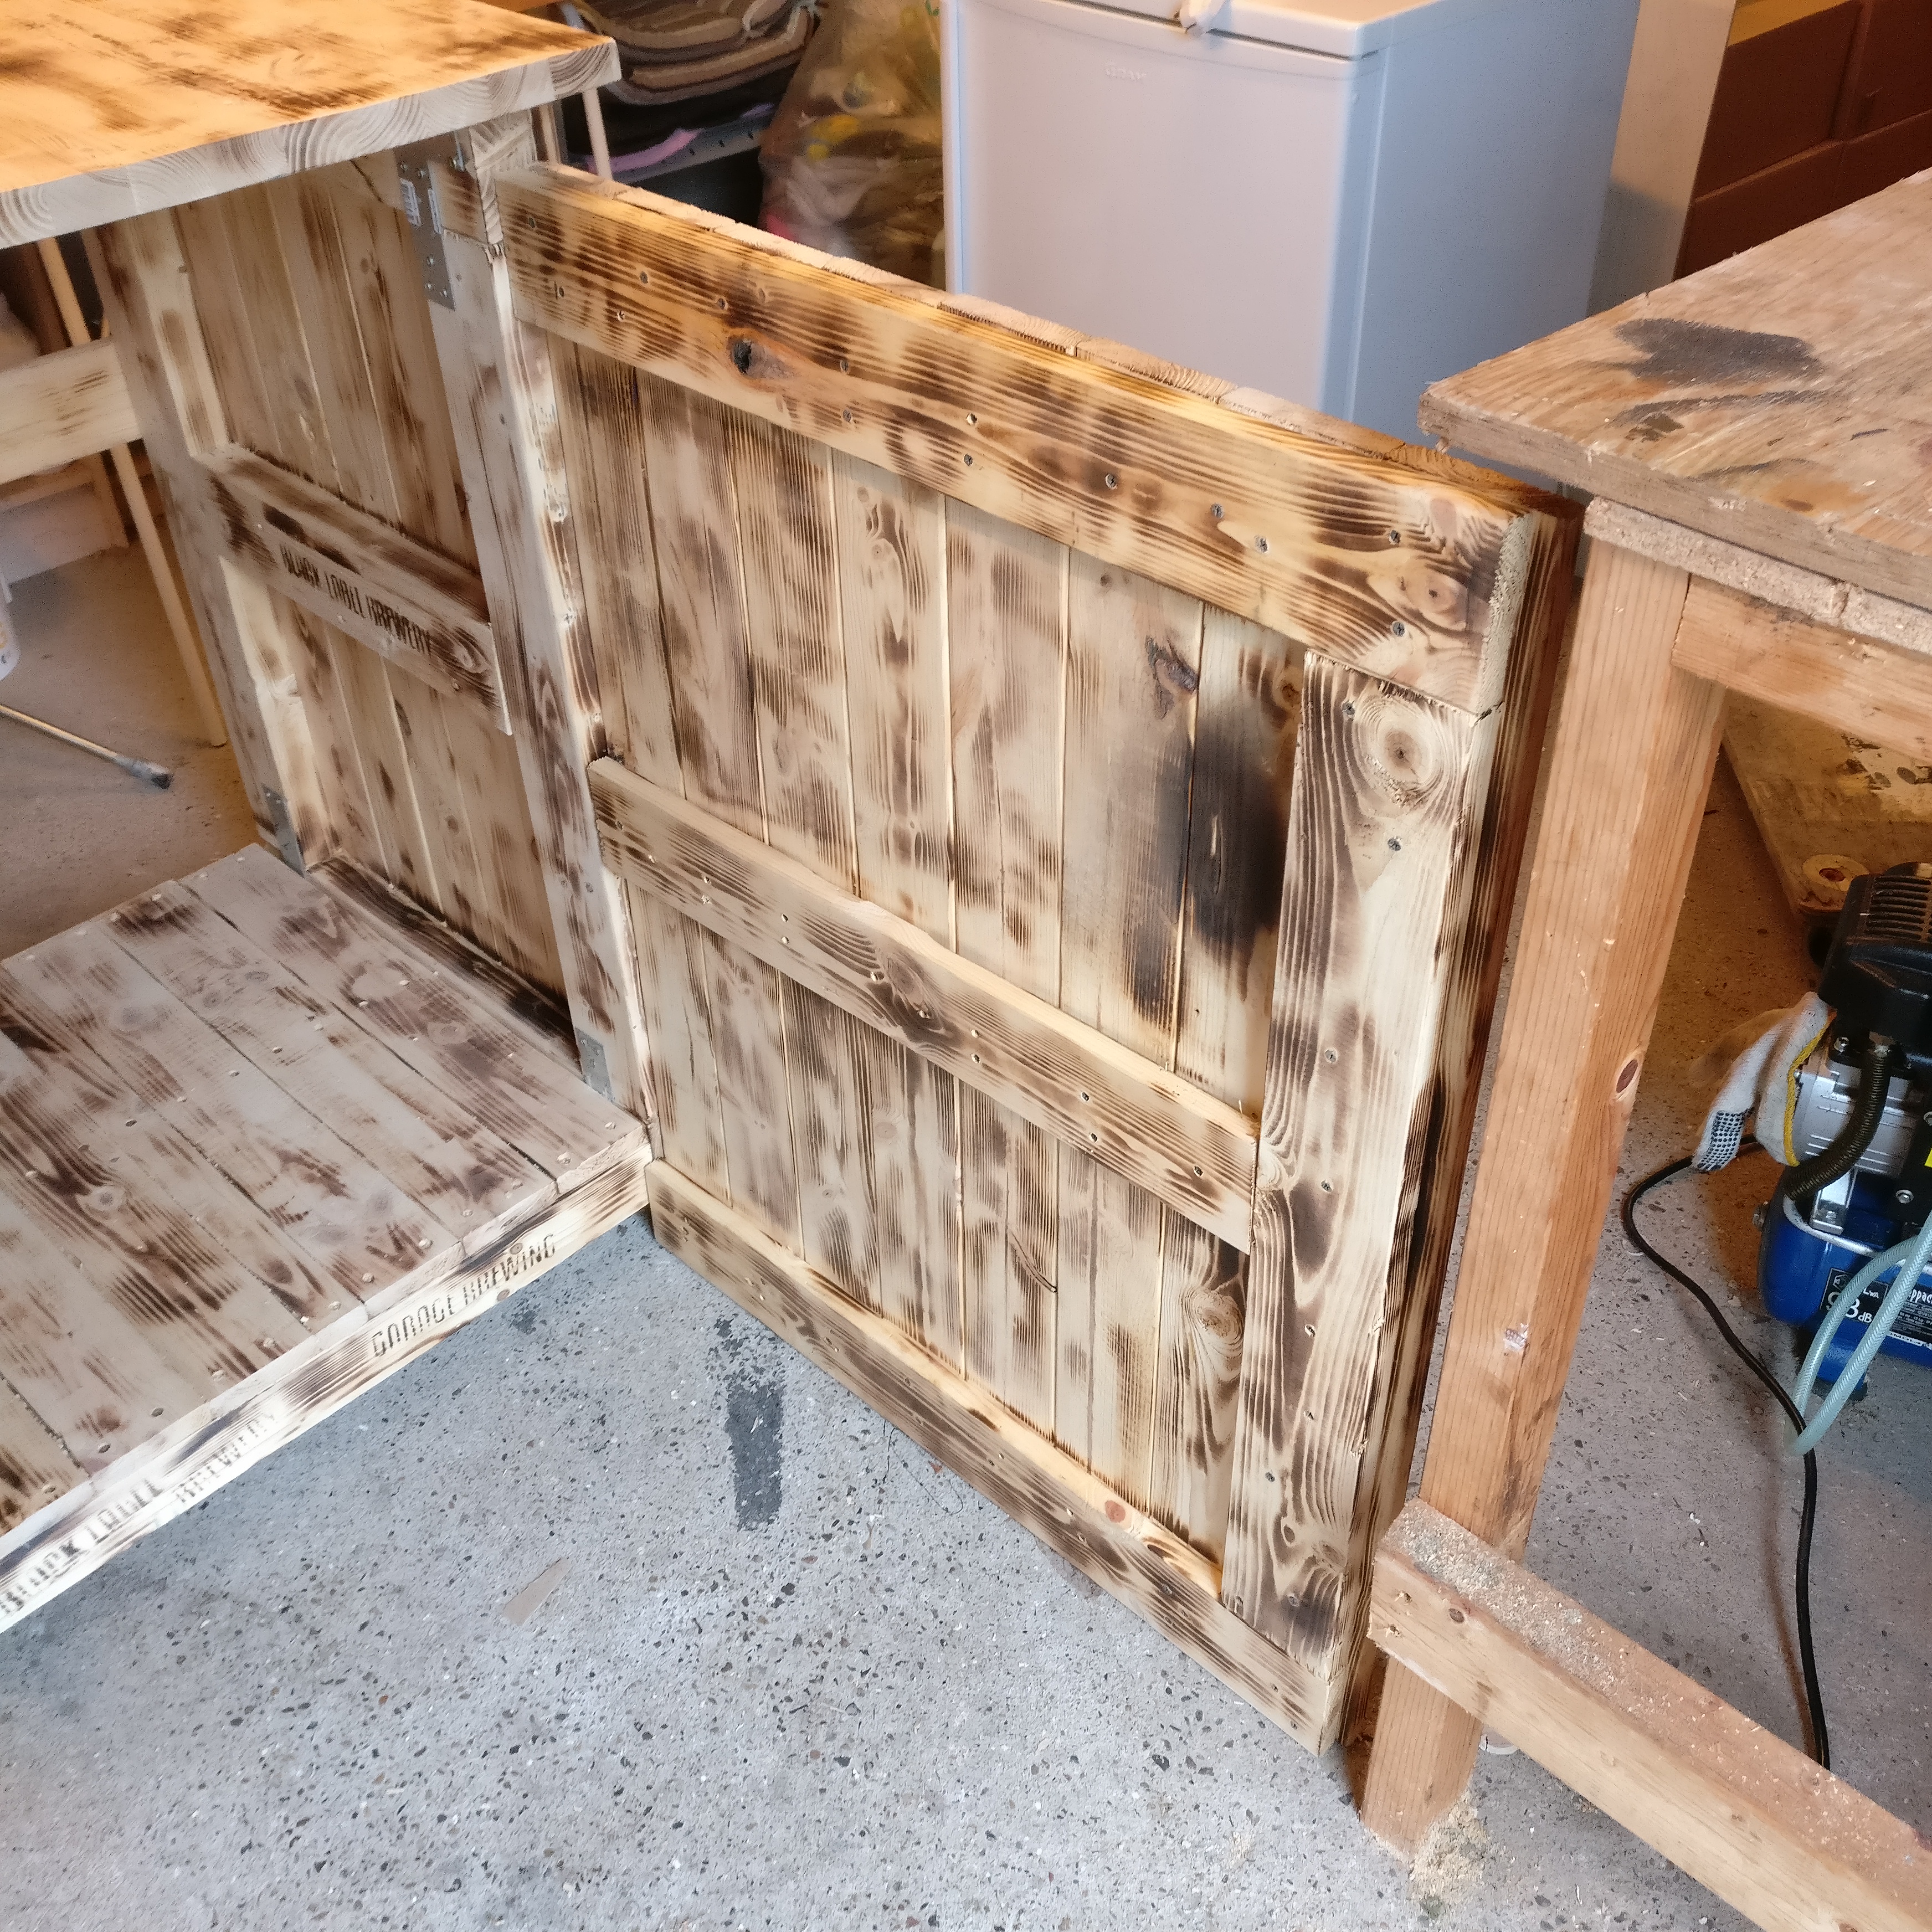
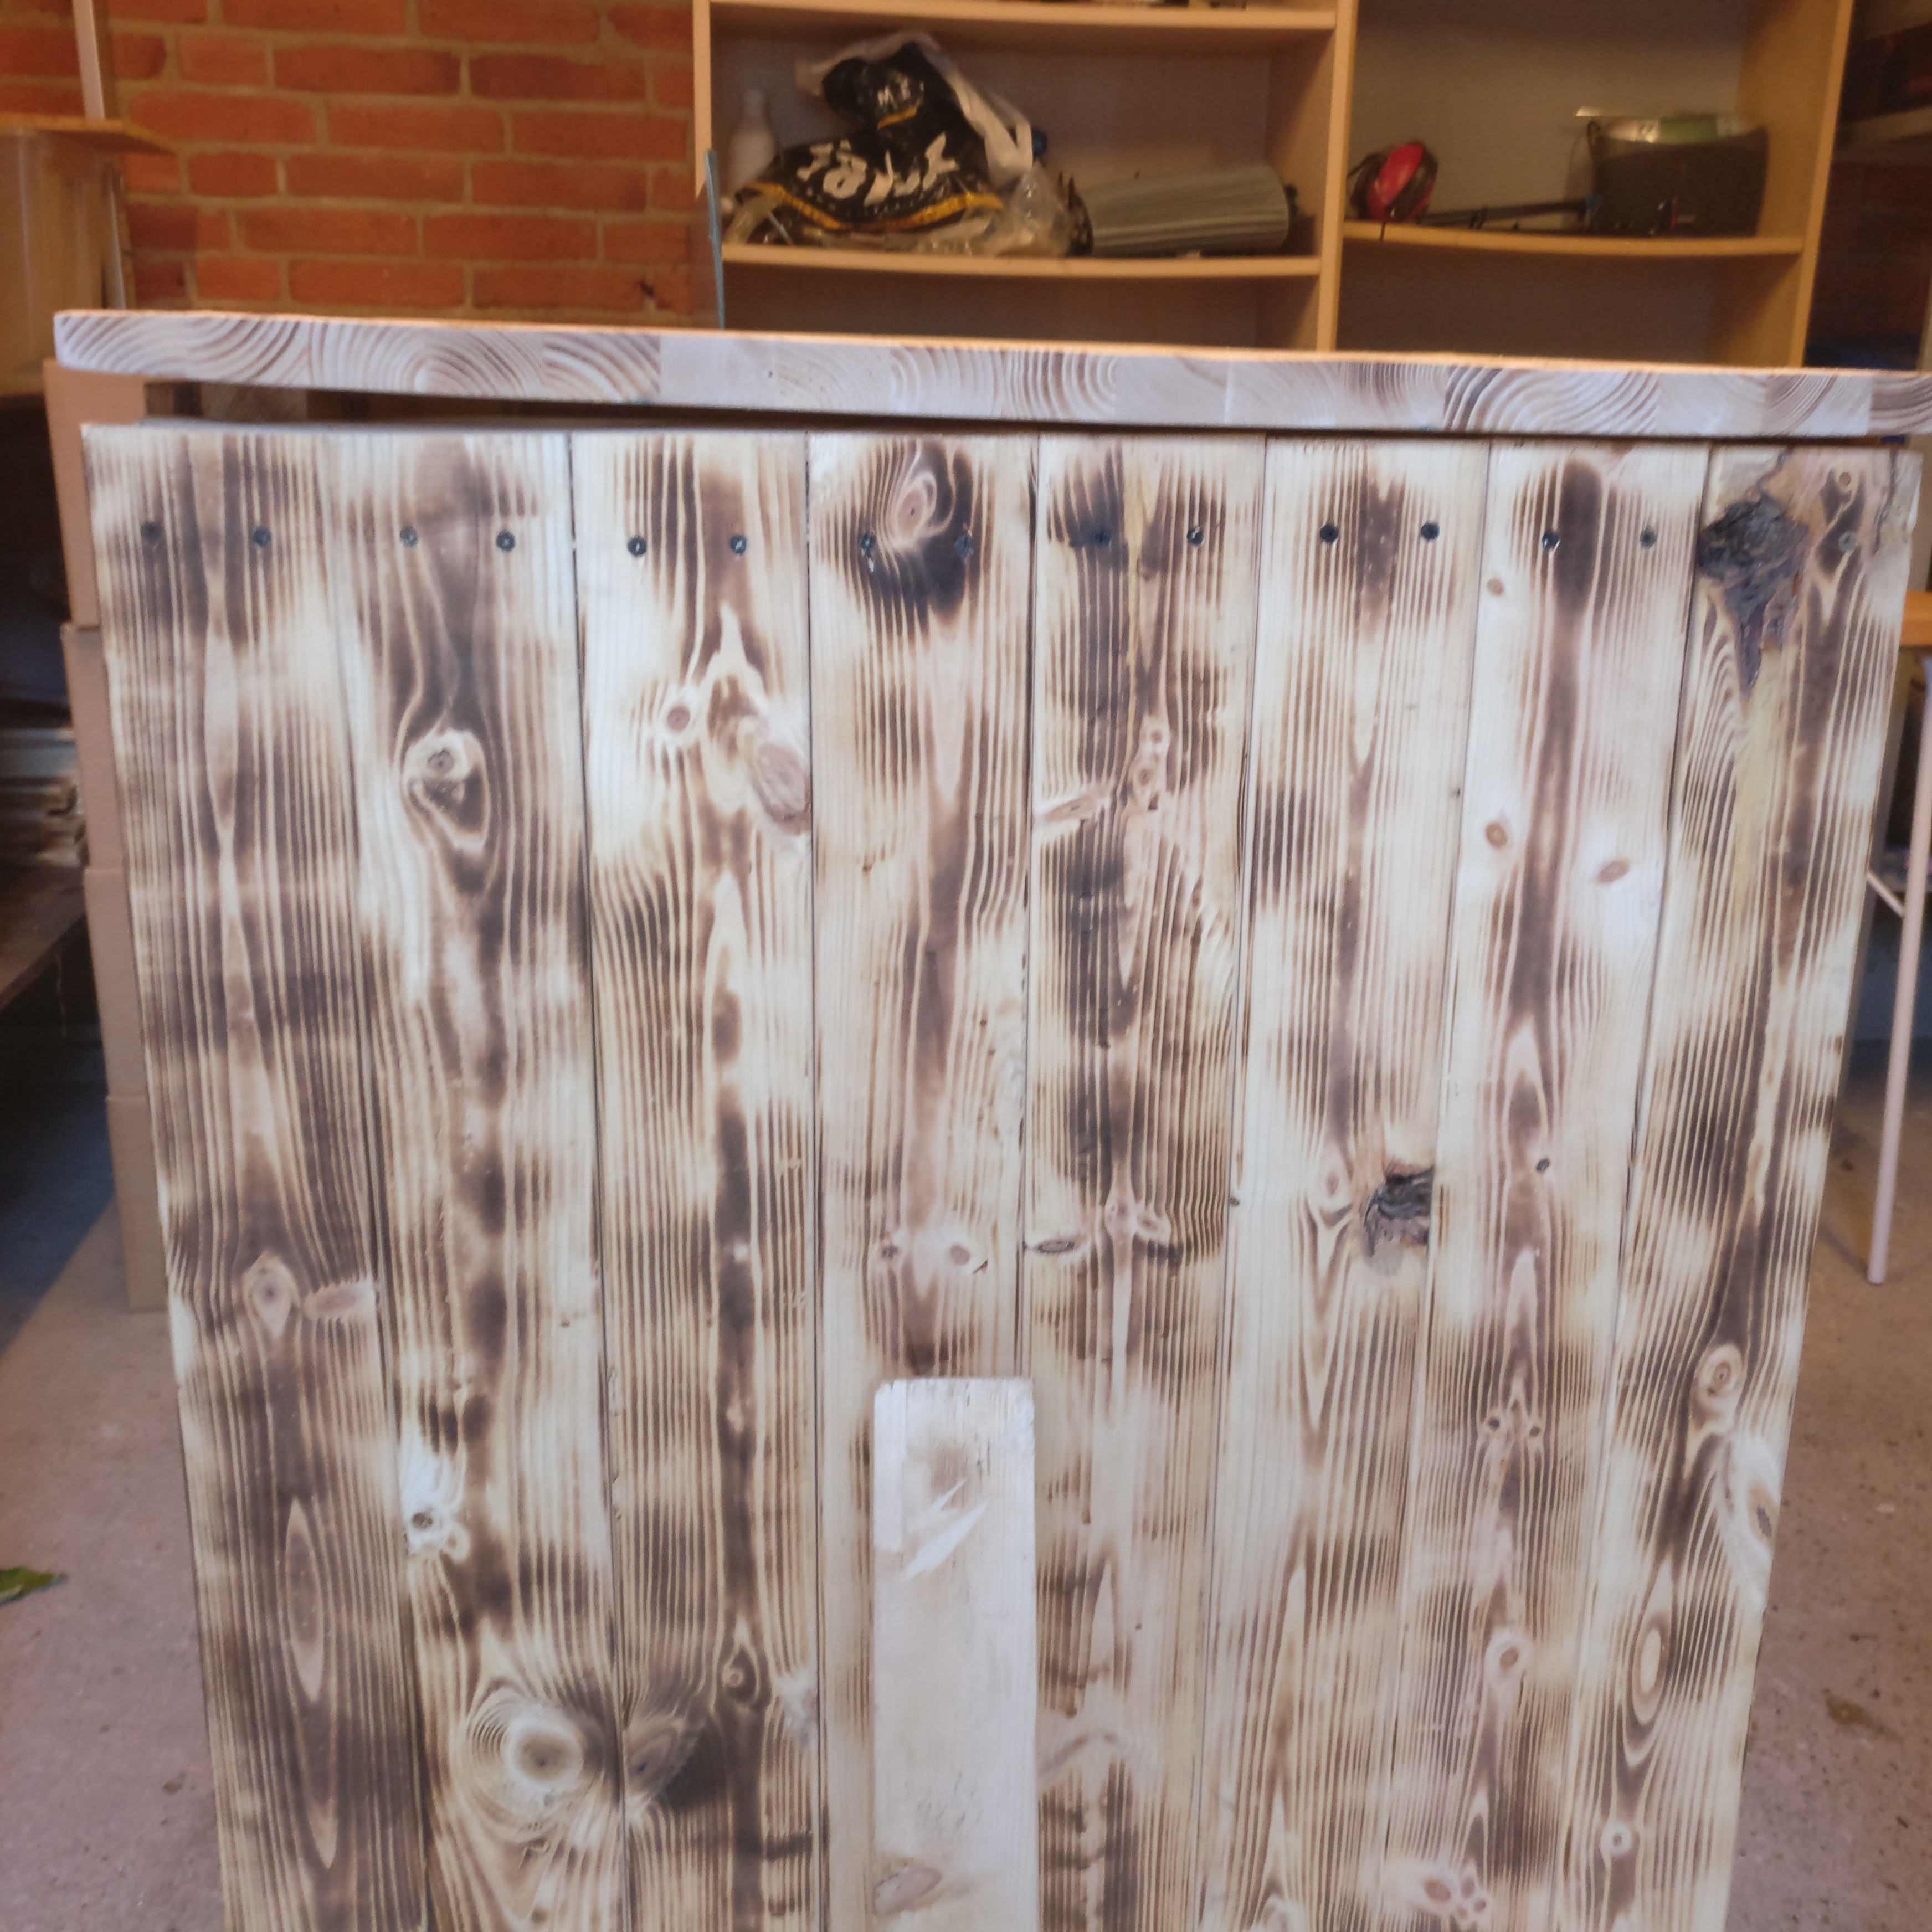
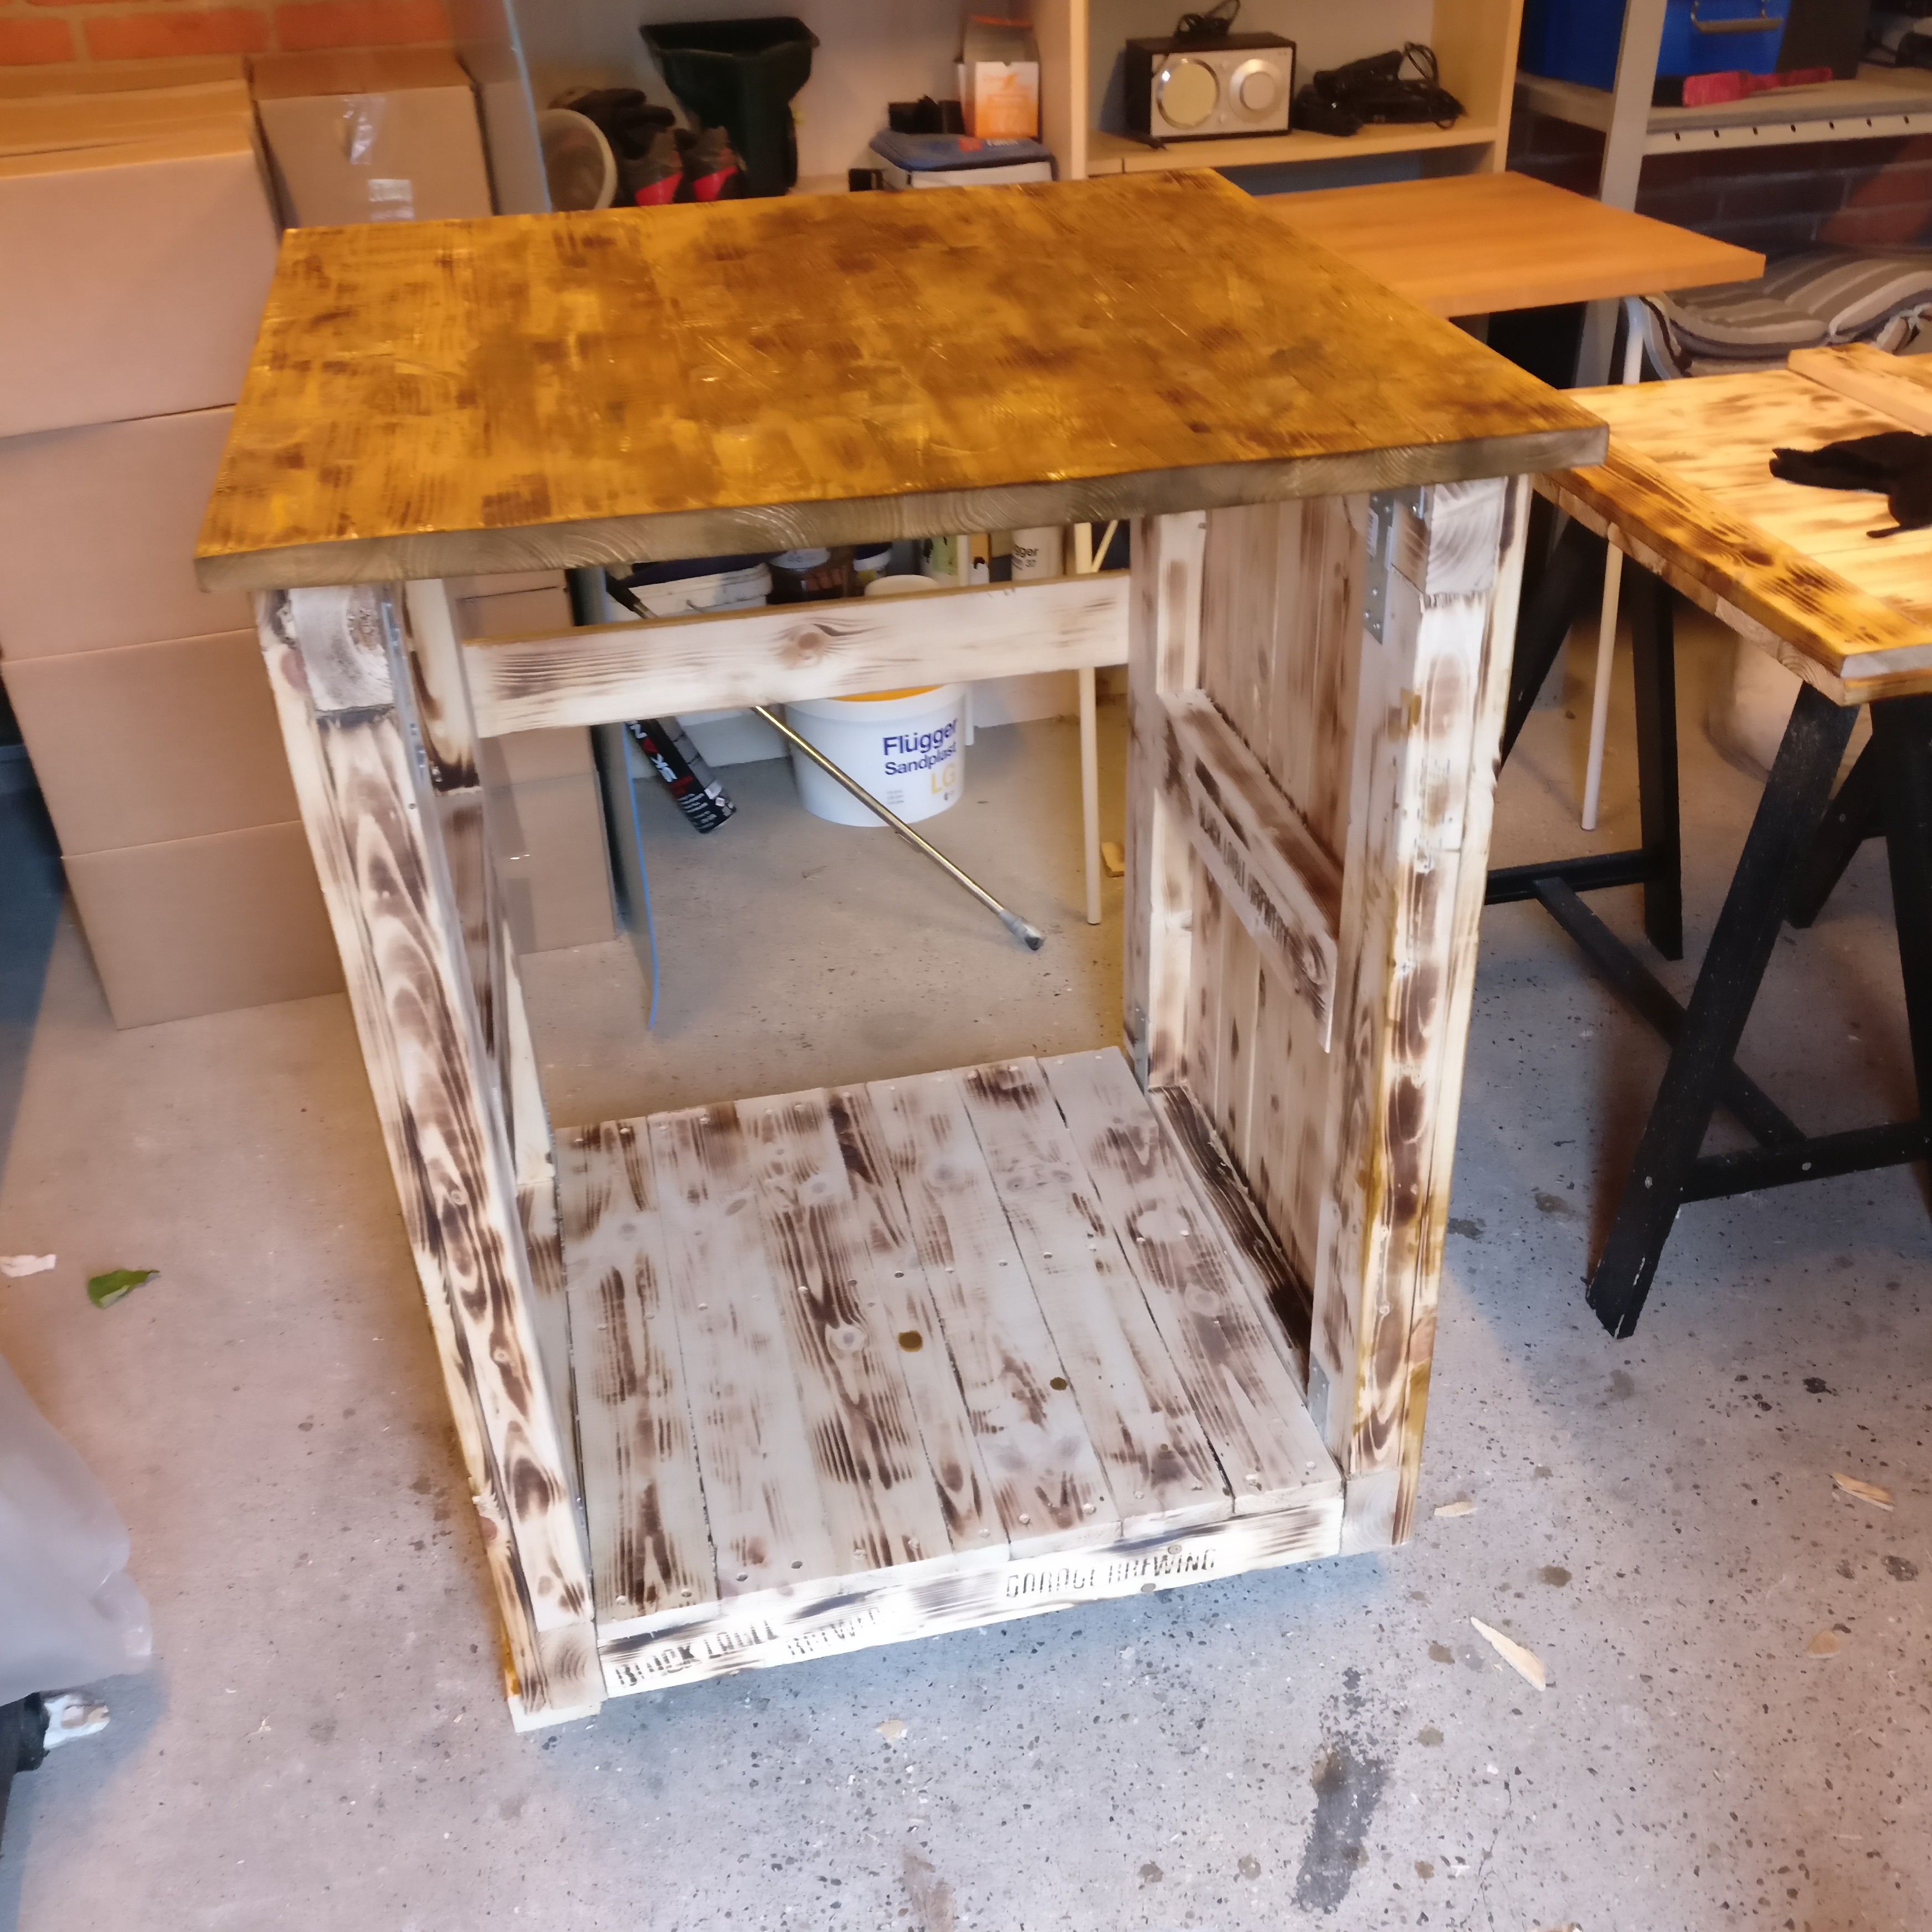
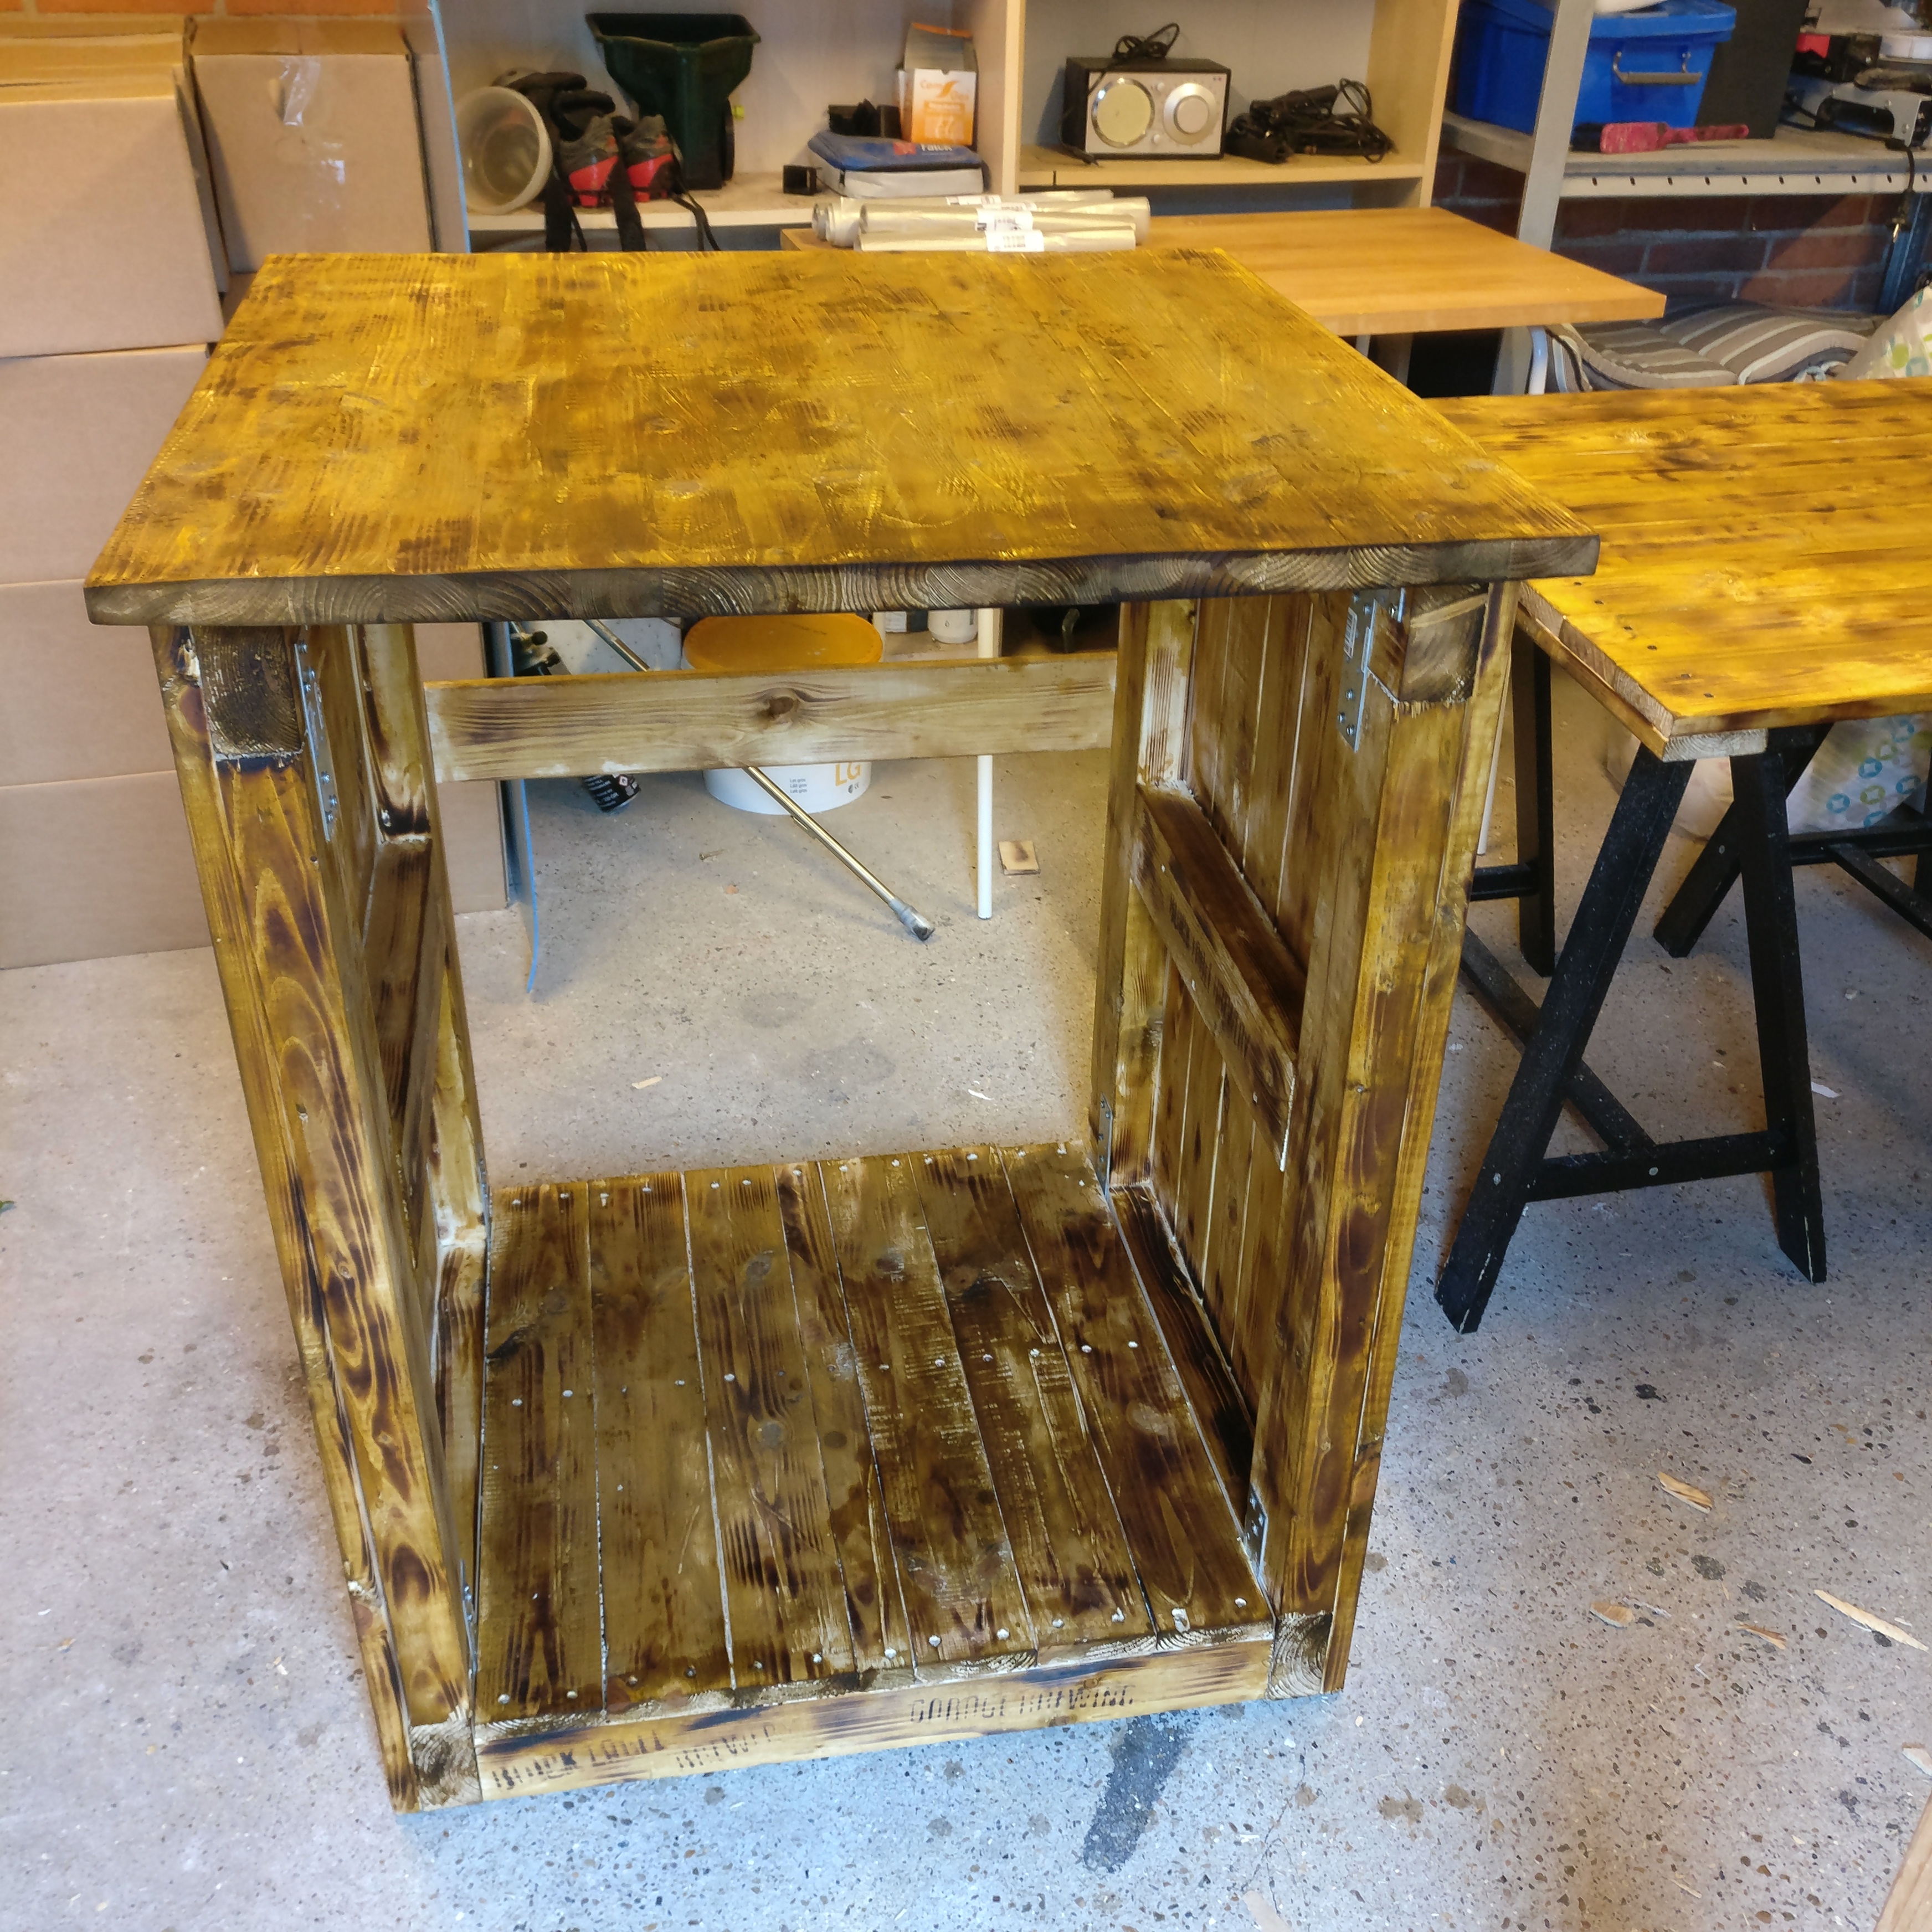
This is just an awesome piece of job, and im gonna do one of my own. but instead of tower fan, im gonna build a water cooling system with pump, and hoses attached to the beer line. One question though. what kind of stain did you use? it looks kinda scoorched. My paint guy gave me a walnut water stain, but im not sure it will bring out the burned rucked look like yours. Whats your secret. ")


![Craft A Brew - Safale BE-256 Yeast - Fermentis - Belgian Ale Dry Yeast - For Belgian & Strong Ales - Ingredients for Home Brewing - Beer Making Supplies - [3 Pack]](https://m.media-amazon.com/images/I/51bcKEwQmWL._SL500_.jpg)