johnodon
Well-Known Member
I used the 7/8" bit and the shanks fit tight and perfect.
Let me know how that other Rustoleum paint works!
Mike,
Read my reply #56. That paint is pure gold!
")
John

I used the 7/8" bit and the shanks fit tight and perfect.
Let me know how that other Rustoleum paint works!
Mike,
Read my reply #56. That paint is pure gold!
John
Did you have to sand it down, or did you paint right over the factory paint?
The family had a yard sale and put a price of $50 and nobody took it. So, they just put it on craigslist for free and I was the first to call...within the hour. Just good timing I guess.

Pics as promised. ...
The chest freezer is a 2001 Frigidaire that I got off of CL completely free.
The free freezer was a great find.I have 2 kegs in there right now force carbing...a Boddington clone and BM's Centennial Blonde. I just took a sample of the blonde after only one day of froce carbing. I gotta say...that is a damn fine and extremely drinkable brew! I highly recommend it to everyone who wants to have a lighter beer on tap.
Johnodon, your keezer looks great!
How did you mount the temp controller? It looks like a switch plate and perhaps an electrical box behind it? Looks nice whatever it is.
I think I will have to give that BM Blonde a try. My beers tend to overshoot an already high SG target, so I am ready for a lighter beer. Easy quaffing without (some of) the next-day penalty.:cross:


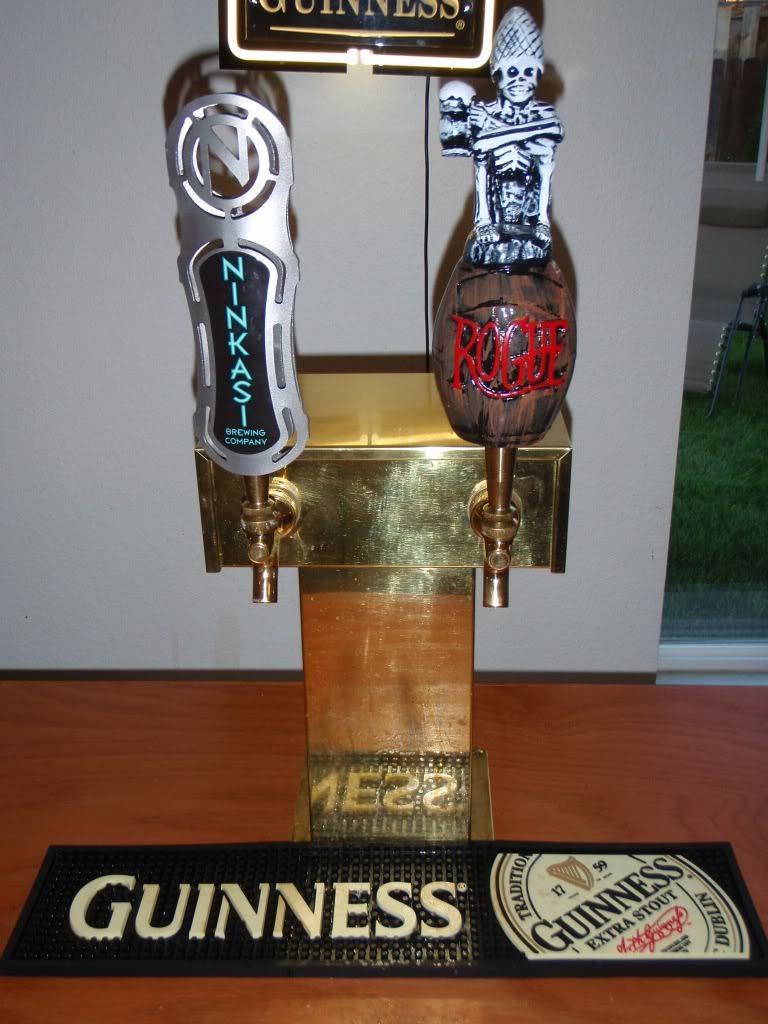
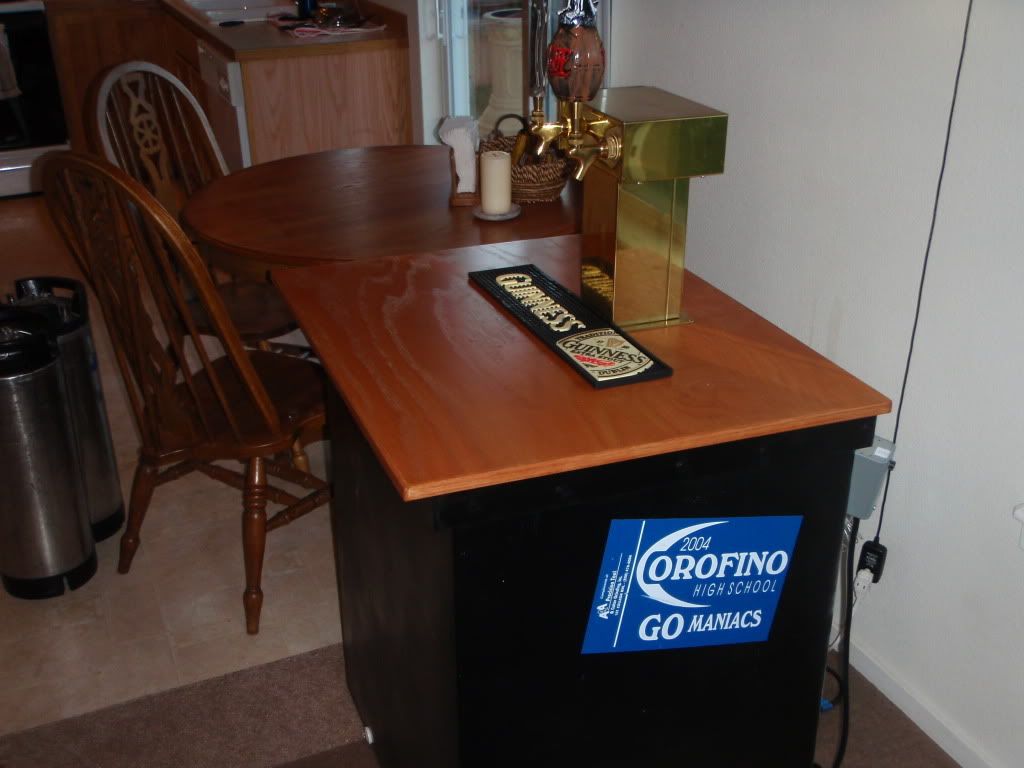
Here's mine, finally. Been using it for the past few weeks, but finally got the last two shanks i needed today. I chose a slightly darker stain with more brown (looks lighter in the pics than in person). I'm pretty pleased with the results.


so how many cornys can you get in this if i read the post right 3 and 2 or 3 and 1 or 6 it it is less then 6 do you use all 4 taps or just 3 thanks for the info i really like your keezer
New member here, and just thought i would chime in on the Keezer. I thought about doing the collar set-up but seemed like the taps would be a little low for my preference. I went with drilling the top and putting a tower on the top. I basically did the same prep to the freezer as mentioned before, sand, wipe, paint. I have figured i can put 4 kegs in mine and waiting to buy two single tap towers to complement the dual tap tower. The one benefit of the collar is the outside mount for the CO2, i am not brave enough to put a hole threw the side of mine.
Lowes Freezer - $100
Perlick Brass Tower - $66
Spray Paint - $7
Cold draft beer after work - drunken happiness


Last thing is to add a diptray but I really don't feel like forking out $80 - $120...
If you change your mind check out http://www.barproducts.com/, search for DTS-419.
hate to ask but what do you figure you spent on the project?
...but was curious as to which probe you went with since you are keeping it in a glass of water. Did you go w/ a metal one (stainless or brass) or pvc?
Can you tell me what the height of the CO2 tank including the dual gauge regulator is? I plan to put it inside the freezer and need that info to figure out how tall the collar should be before buying the wood.
Just finishing my Kenmore black 8.8 cf build. Looks awesome and I too decided on this because of this thread and one other that showed a black keezer. I went with a 3 faucet stainless steel perlicks and am at the point to add a stainless steel bottle opener and a drip tray to finish it off. Actually just did my first keg today and it's in there carbin' up!
I'm glad I went the $ and did black. Looks really nice despite a rookie first timer build.
Just a keg of lemon water and Edwort's Apfelwein. I have four batches of beer in the pipeline, though, the first to be kegged next weekend.Just finishing my Kenmore black 8.8 cf build. Looks awesome and I too decided on this because of this thread and one other that showed a black keezer. I went with a 3 faucet stainless steel perlicks and am at the point to add a stainless steel bottle opener and a drip tray to finish it off. Actually just did my first keg today and it's in there carbin' up!
I'm glad I went the $ and did black. Looks really nice despite a rookie first timer build.
INDYKING.
Just saw your note. I have a 5lb CO2 with the regulator straight up it measures about 19-19.5 inches high.
Glad to hear it!
I have no beers in mine right now!
By the way Quaffer, why do you keep lemon water in the keg? To clean it?
LOL! To drink! It is like flavored carbonated water that you can buy at the grocery store. I drink it with dinner and it can serve as a mixer too.


![Craft A Brew - Safale BE-256 Yeast - Fermentis - Belgian Ale Dry Yeast - For Belgian & Strong Ales - Ingredients for Home Brewing - Beer Making Supplies - [3 Pack]](https://m.media-amazon.com/images/I/51bcKEwQmWL._SL500_.jpg)


