Are you doing a full volume mash or are you sparging? 87.6 seems unrealistically high, unless you've got a very good sparge going on.Post boil Gravity reading was 1.042 - right where the Beersmith recipe was telling me I should hit.
It says my measured mash efficiency was 87.6% - that seems really high.
You are using an out of date browser. It may not display this or other websites correctly.
You should upgrade or use an alternative browser.
You should upgrade or use an alternative browser.
Condensed Steps for Brew Day Measurements
- Thread starter Monmouth00
- Start date

Help Support Homebrew Talk:
This site may earn a commission from merchant affiliate
links, including eBay, Amazon, and others.
OP
OP
Monmouth00
Well-Known Member
- Joined
- Jun 26, 2019
- Messages
- 171
- Reaction score
- 99
2-cups per minutes is really slow.
Wilser suggests I replace my false bottom to one of these Stainless Steel False Bottom for Brew In a Bag (BIAB) - 17.5'' Diameter but I like my Norcal false bottom and my dip tube is cut to fit that.
So, the 2 cups per minute is a total estimation. It's probably more than that. It's much more than a trickle, so maybe double that estimation? I don't know - I'll try to be more precise next time. I don't think recirculation rate is the problem.
I do have a wilser bag, and a false bottom from Brewhardware.com. I'm going to defer to Bobby, who built the system. I'm sure he didn't give me something that wouldn't work. Any error is likely on the user's part.
Are you doing a full volume mash or are you sparging? 87.6 seems unrealistically high, unless you've got a very good sparge going on.
I am doing a full volume mash. Also draining and squeezing the hell out of the bag. Plus, all the stirring during the mash.
I agree that 87.6% still seems unrealistic. Keep in mind, though, that I'm new to the Beersmith program, and this was the first time I was using a refractometer. There's a definite possibility that my sample came from a concentrated pocket of wort, I read it wrong, put the wrong values in the program, or all three. I'll dial it in and maybe see more realistic numbers on future brews.
Thanks!!
yeah makes sense. you can get 100% conversion efficiency from a good mash, which you are likely getting (or very close). However that would still require a 87% lautter efficiency (removing the liquid from the grain) which does seem a bit of feat. I let drain and usually get around 75%. A good squeeze can get you in the low 80s. 85+ typically requires sparging.So, the 2 cups per minute is a total estimation. It's probably more than that. It's much more than a trickle, so maybe double that estimation? I don't know - I'll try to be more precise next time. I don't think recirculation rate is the problem.
I do have a wilser bag, and a false bottom from Brewhardware.com. I'm going to defer to Bobby, who built the system. I'm sure he didn't give me something that wouldn't work. Any error is likely on the user's part.
I am doing a full volume mash. Also draining and squeezing the hell out of the bag. Plus, all the stirring during the mash.
I agree that 87.6% still seems unrealistic. Keep in mind, though, that I'm new to the Beersmith program, and this was the first time I was using a refractometer. There's a definite possibility that my sample came from a concentrated pocket of wort, I read it wrong, put the wrong values in the program, or all three. I'll dial it in and maybe see more realistic numbers on future brews.
Thanks!!
but in any case, I'm sure the beer will be good!
On flow rate I think this chart and explanation from Blichmann is pretty applicable to any recirculating mash system. High flow is especially important if you are doing step mashing.

wilserbrewer
BIAB Expert Tailor
[/QUOTE]Wilser suggests I replace my false bottom to one of these Stainless Steel False Bottom for Brew In a Bag (BIAB) - 17.5'' Diameter but I like my Norcal false bottom and my dip tube is cut to fit
For the record, Wilser suggests a full volume mash single infusion, insulate the kettle and take a nap.
But if you enjoy watching your pid display, taking hand held temps and monitoring your pump, knock yourself out! LOL jk
A standard FB, or a strainer basket is typically too restrictive for recirculating BIAB in my opinion, and also documented repeatedly here on the board.
happy brewing regardless!
If you chose to do recirc, it's critical to match flow rate of your pump with the gravity flow rate of your system/setup. Numerous factors will affect the static/gravity flow rate.
There seems to be no "typical" setup so to say recirc is not for BIAB is a rather broad statement. If my basic setup was propane I might agree. But mine is electric, which usually means an internal element and dead space to contend with...thus the desire to recirc.
Current set up:
*15 gal kettle with spigot
*sight tube/glass
*reflectix wrap
*1650 watt 110v element 1" below basket bottom
*steamer basket with 1/4" side clearance 2" bottom clearance
*digital controller, temperature probe at bottom of basket centered 1" above heating element
*basket side insert, flashing covers all basket side holes preventing wort "side flow"
*basket bottom insert, raised coarse mesh insert, exposes entire bottom of grain bed/bag to wort flow vice only thru the basket holes
*Wilser bag
*very small 12v magnetic pump, 1amp, $10 ebay special, 260L/H (1.08gal/min) max rate but never actually timed it.
*mechanical lamp timer
What I have found is that having the bag sit on the bottom of the steamer basket, the only grain that is exposed to flow is over few dozen small holes in the basket bottom. the sight tube slowly drops until the basket is very full and the wort level in the kettle is below the element. Not good. A mechanical timer on the pump helps with this issue.
By placing a mesh panel to raise the bag bottom allowed the entire bottom of the bag to flow, the same as if I used a custom basket with a screened or mesh bottom. Usually the gravity flow can keep up with the pump so that the wort level remains constant and the element does not run dry. I can now run the pump constantly.
The larger the grain bill, the slower the natural flow rate. Even with a fully exposed bag bottom the wort level would slowly drop. With that I've had to incorporate a mechanical lamp timer. It cycles every 30 minutes (I would prefer 15), shutting off before the wort level drops too far. Then the gravity flow levels everything out again.
Also, by having the temp probe near the element I think ensures the wort temp never exceeds the set point, especially when the pump cycles off, so I don't have to worry about denaturing the enzymes or scorching the wort. Even with the pump cycling, the wort temps seem to even out and hold pretty well though the entire kettle & bag.
But these are just my observations and conclusions from my electric current set up...
If I never had a propane tank go out during a brew session, I probably would not have gone electric...
If I stuck with propane, I would do as Wilser suggests...
But with electric, I can mash all day while at work and have a much quicker brewing session once I get home...
there is a plus and minus to everything...if I was to do it all over again it would look totally different every time...


$479.00
$559.00
EdgeStar KC1000SS Craft Brew Kegerator for 1/6 Barrel and Cornelius Kegs
Amazon.com


$20.94
$29.99
The Brew Your Own Big Book of Clone Recipes: Featuring 300 Homebrew Recipes from Your Favorite Breweries
Amazon.com


$28.98
Five Star - 6022b_ - Star San - 32 Ounce - High Foaming Sanitizer
Great Fermentations of Indiana

$22.00 ($623.23 / Ounce)
AMZLMPKNTW Ball Lock Sample Faucet 30cm Reinforced Silicone Hose Secondary Fermentation Homebrew Kegging joyful
无为中南商贸有限公司

$719.00
$799.00
EdgeStar KC2000TWIN Full Size Dual Tap Kegerator & Draft Beer Dispenser - Black
Amazon.com
![Craft A Brew - Safale BE-256 Yeast - Fermentis - Belgian Ale Dry Yeast - For Belgian & Strong Ales - Ingredients for Home Brewing - Beer Making Supplies - [3 Pack]](https://m.media-amazon.com/images/I/51bcKEwQmWL._SL500_.jpg)


$76.92 ($2,179.04 / Ounce)
Brewing accessories 1.5" Tri Clamp to Ball Lock Post Liquid Gas Homebrew Kegging Fermentation Parts Brewer Hardware SUS304 Brewing accessories(Gas Hose Barb)
chuhanhandianzishangwu


$53.24
1pc Hose Barb/MFL 1.5" Tri Clamp to Ball Lock Post Liquid Gas Homebrew Kegging Fermentation Parts Brewer Hardware SUS304(Liquid Hose Barb)
yunchengshiyanhuqucuichendianzishangwuyouxiangongsi


$44.99
$49.95
Craft A Brew - Mead Making Kit – Reusable Make Your Own Mead Kit – Yields 1 Gallon of Mead
Craft a Brew


$7.79 ($7.79 / Count)
Craft A Brew - LalBrew Voss™ - Kveik Ale Yeast - For Craft Lagers - Ingredients for Home Brewing - Beer Making Supplies - (1 Pack)
Craft a Brew

$33.99 ($17.00 / Count)
$41.99 ($21.00 / Count)
2 Pack 1 Gallon Large Fermentation Jars with 3 Airlocks and 2 SCREW Lids(100% Airtight Heavy Duty Lid w Silicone) - Wide Mouth Glass Jars w Scale Mark - Pickle Jars for Sauerkraut, Sourdough Starter
Qianfenie Direct


$10.99 ($31.16 / Ounce)
Hornindal Kveik Yeast for Homebrewing - Mead, Cider, Wine, Beer - 10g Packet - Saccharomyces Cerevisiae - Sold by Shadowhive.com
Shadowhive

$176.97
1pc Commercial Keg Manifold 2" Tri Clamp,Ball Lock Tapping Head,Pressure Gauge/Adjustable PRV for Kegging,Fermentation Control
hanhanbaihuoxiaoshoudian


$53.24
1pc Hose Barb/MFL 1.5" Tri Clamp to Ball Lock Post Liquid Gas Homebrew Kegging Fermentation Parts Brewer Hardware SUS304(Liquid Hose Barb)
Guangshui Weilu You Trading Co., Ltd


$58.16
HUIZHUGS Brewing Equipment Keg Ball Lock Faucet 30cm Reinforced Silicone Hose Secondary Fermentation Homebrew Kegging Brewing Equipment
xiangshuizhenzhanglingfengshop


$159.50 ($26.58 / Count)
3M High Flow Series System BREW120-MS, 5616001, For Brewed Coffee and Hot Tea, Valve-in-Head Design
Amazon.com


I've added a blichmann autosparge to my BIAB recirculating setup. No more flow control tweaking. Pump is going full tilt and the autosparge takes care of the rest.If you chose to do recirc, it's critical to match flow rate of your pump with the gravity flow rate of your system/setup.
I've added a blichmann autosparge to my BIAB recirculating setup. No more flow control tweaking. Pump is going full tilt and the autosparge takes care of the rest.
I use the autosparge too but unscrew the float ball during mash. I don't want the flow to stop for any reason during the mash. I then use the float ball when I am ready to fly sparge.
The reason you DO want the flow to stop is to avoid dry frying your heating element or avoid overflowing your kettle.I use the autosparge too but unscrew the float ball during mash. I don't want the flow to stop for any reason during the mash. I then use the float ball when I am ready to fly sparge.
It's basically a device that floats on top of your mash and open/closes a valve as the level of the mashes changes. Reminiscent of how the water tank of your toilet workswhat is "autosparge"? can it be used with many setups or is it proprietary and usable only with blichmann?
")
My brew setup is not Blichmann, it can be used with any setup, but will likely require a new hole in your kettle. I've written up my installation of it here:
http://electricbrewinabag.com/brew-pot-2-0-with-blichmann-autosparge/
I have found it to be a nice addition for a set and forget recirculating setup.
The reason you DO want the flow to stop is to avoid dry frying your heating element or avoid overflowing your kettle.
nah I disagree I don't want flow to stop in my system. I use a manometer sight glass to keep an eye on pressure under the false bottom and do something about it before the mash sticks.
I initially did it this way but kept snagging the grain bag on the autosparge. Finally mounted the autosparge to the kettle lid and no more issues with snagging the grain bag when I hoisted it out. Another happy autosparge user that doesn't have a Blichmann kettle.It's basically a device that floats on top of your mash and open/closes a valve as the level of the mashes changes. Reminiscent of how the water tank of your toilet works
My brew setup is not Blichmann, it can be used with any setup, but will likely require a new hole in your kettle. I've written up my installation of it here:
http://electricbrewinabag.com/brew-pot-2-0-with-blichmann-autosparge/
I have found it to be a nice addition for a set and forget recirculating setup.
Fair enough. I want to be able to walk away so will accept stoppage.nah I disagree I don't want flow to stop in my system. I use a manometer sight glass to keep an eye on pressure under the false bottom and do something about it before the mash sticks.
It's basically a device that floats on top of your mash and open/closes a valve as the level of the mashes changes. Reminiscent of how the water tank of your toilet works
ok, I get it. sounds like really more for a traditional 3V mash tun when you hold back water for sparging...not really for a full mash BIAB application?
It was designed for sparging in 2/3V setups as you point out. However I use it in my 1V eBIAB to control recirculation flow. So that’s another application of it.ok, I get it. sounds like really more for a traditional 3V mash tun when you hold back water for sparging...not really for a full mash BIAB application?
Fair enough. I want to be able to walk away so will accept stoppage.
I am not electric...direct fire under the mash tun so dry fire is not quite the same catastrophe as in your case...but still bad. I've never had an overflow in the mash tun though. Maybe this is because I have less space under my false bottom? My false bottom sits about 1.5" off the bottom of the kettle so even if the mash completely stuck there is only about 1.25 inches of water that could be pulled from the bottom and added to the top...Now I do push my mash tun pretty hard and sometimes have it full to within 1/2 inch of the rim, but still I have never (over 100 batches as rigged) seen this issue.
Where do you measure temp to control the burner? My temp probe is after the pump on it's return to the mash tun. So if flow stops my system will not get a signal to kill the burner and I could be boiling the wort below the stuck mash...seems that could be dangerous.
The sight glass works well. I get plenty of warning when mash is starting to compact. I am normally kegging a batch while the mash is running so am not very far away for more than a few minutes.
Thanks, interesting. Indeed gas brings different challenges. I never really had the overflow problem (though I came close) but the real killer is dry frying the element. Brew day is done if that happens. I came very close where my whole false bottom was emptied. Thankfully I noticed and the element was not on at that particular moment. My false bottom space is more than double yours so that's significant volume in my caseI am not electric...direct fire under the mash tun so dry fire is not quite the same catastrophe as in your case...but still bad. I've never had an overflow in the mash tun though. Maybe this is because I have less space under my false bottom? My false bottom sits about 1.5" off the bottom of the kettle so even if the mash completely stuck there is only about 1.25 inches of water that could be pulled from the bottom and added to the top...Now I do push my mash tun pretty hard and sometimes have it full to within 1/2 inch of the rim, but still I have never (over 100 batches as rigged) seen this issue.
Where do you measure temp to control the burner? My temp probe is after the pump on it's return to the mash tun. So if flow stops my system will not get a signal to kill the burner and I could be boiling the wort below the stuck mash...seems that could be dangerous.
The sight glass works well. I get plenty of warning when mash is starting to compact. I am normally kegging a batch while the mash is running so am not very far away for more than a few minutes.
OP
OP
Monmouth00
Well-Known Member
- Joined
- Jun 26, 2019
- Messages
- 171
- Reaction score
- 99
Quick update, if any of you care:
The batch ended up being a lot larger than I expected. I started with 9 gallons in the kettle, expecting much more loss from the grain, and the boil off. Turns out I didn’t lose nearly as much as I thought I would to boiling in 27 degree ambient temps.
I think I probably got about 6 gallons into the BMB, and pitched. It took a day or two to get started on the Belgian Abbey yeast, but then it took off. Holding steady at 68 degrees with a healthy krausen and swimming yeast. It seems to have slowed down after three days of active fermentation, but I’m still getting the occasional burp in the bucket.
I’ll give it at least another week- probably about 13 days total, before I keg it up.
I was hoping to do a closed transfer, but I don’t want to overflow the keg while I can’t see how full it is. Truthfully I’ve never had oxidation problems with my ambers. They get drunk quick anyway.
More updates to follow!
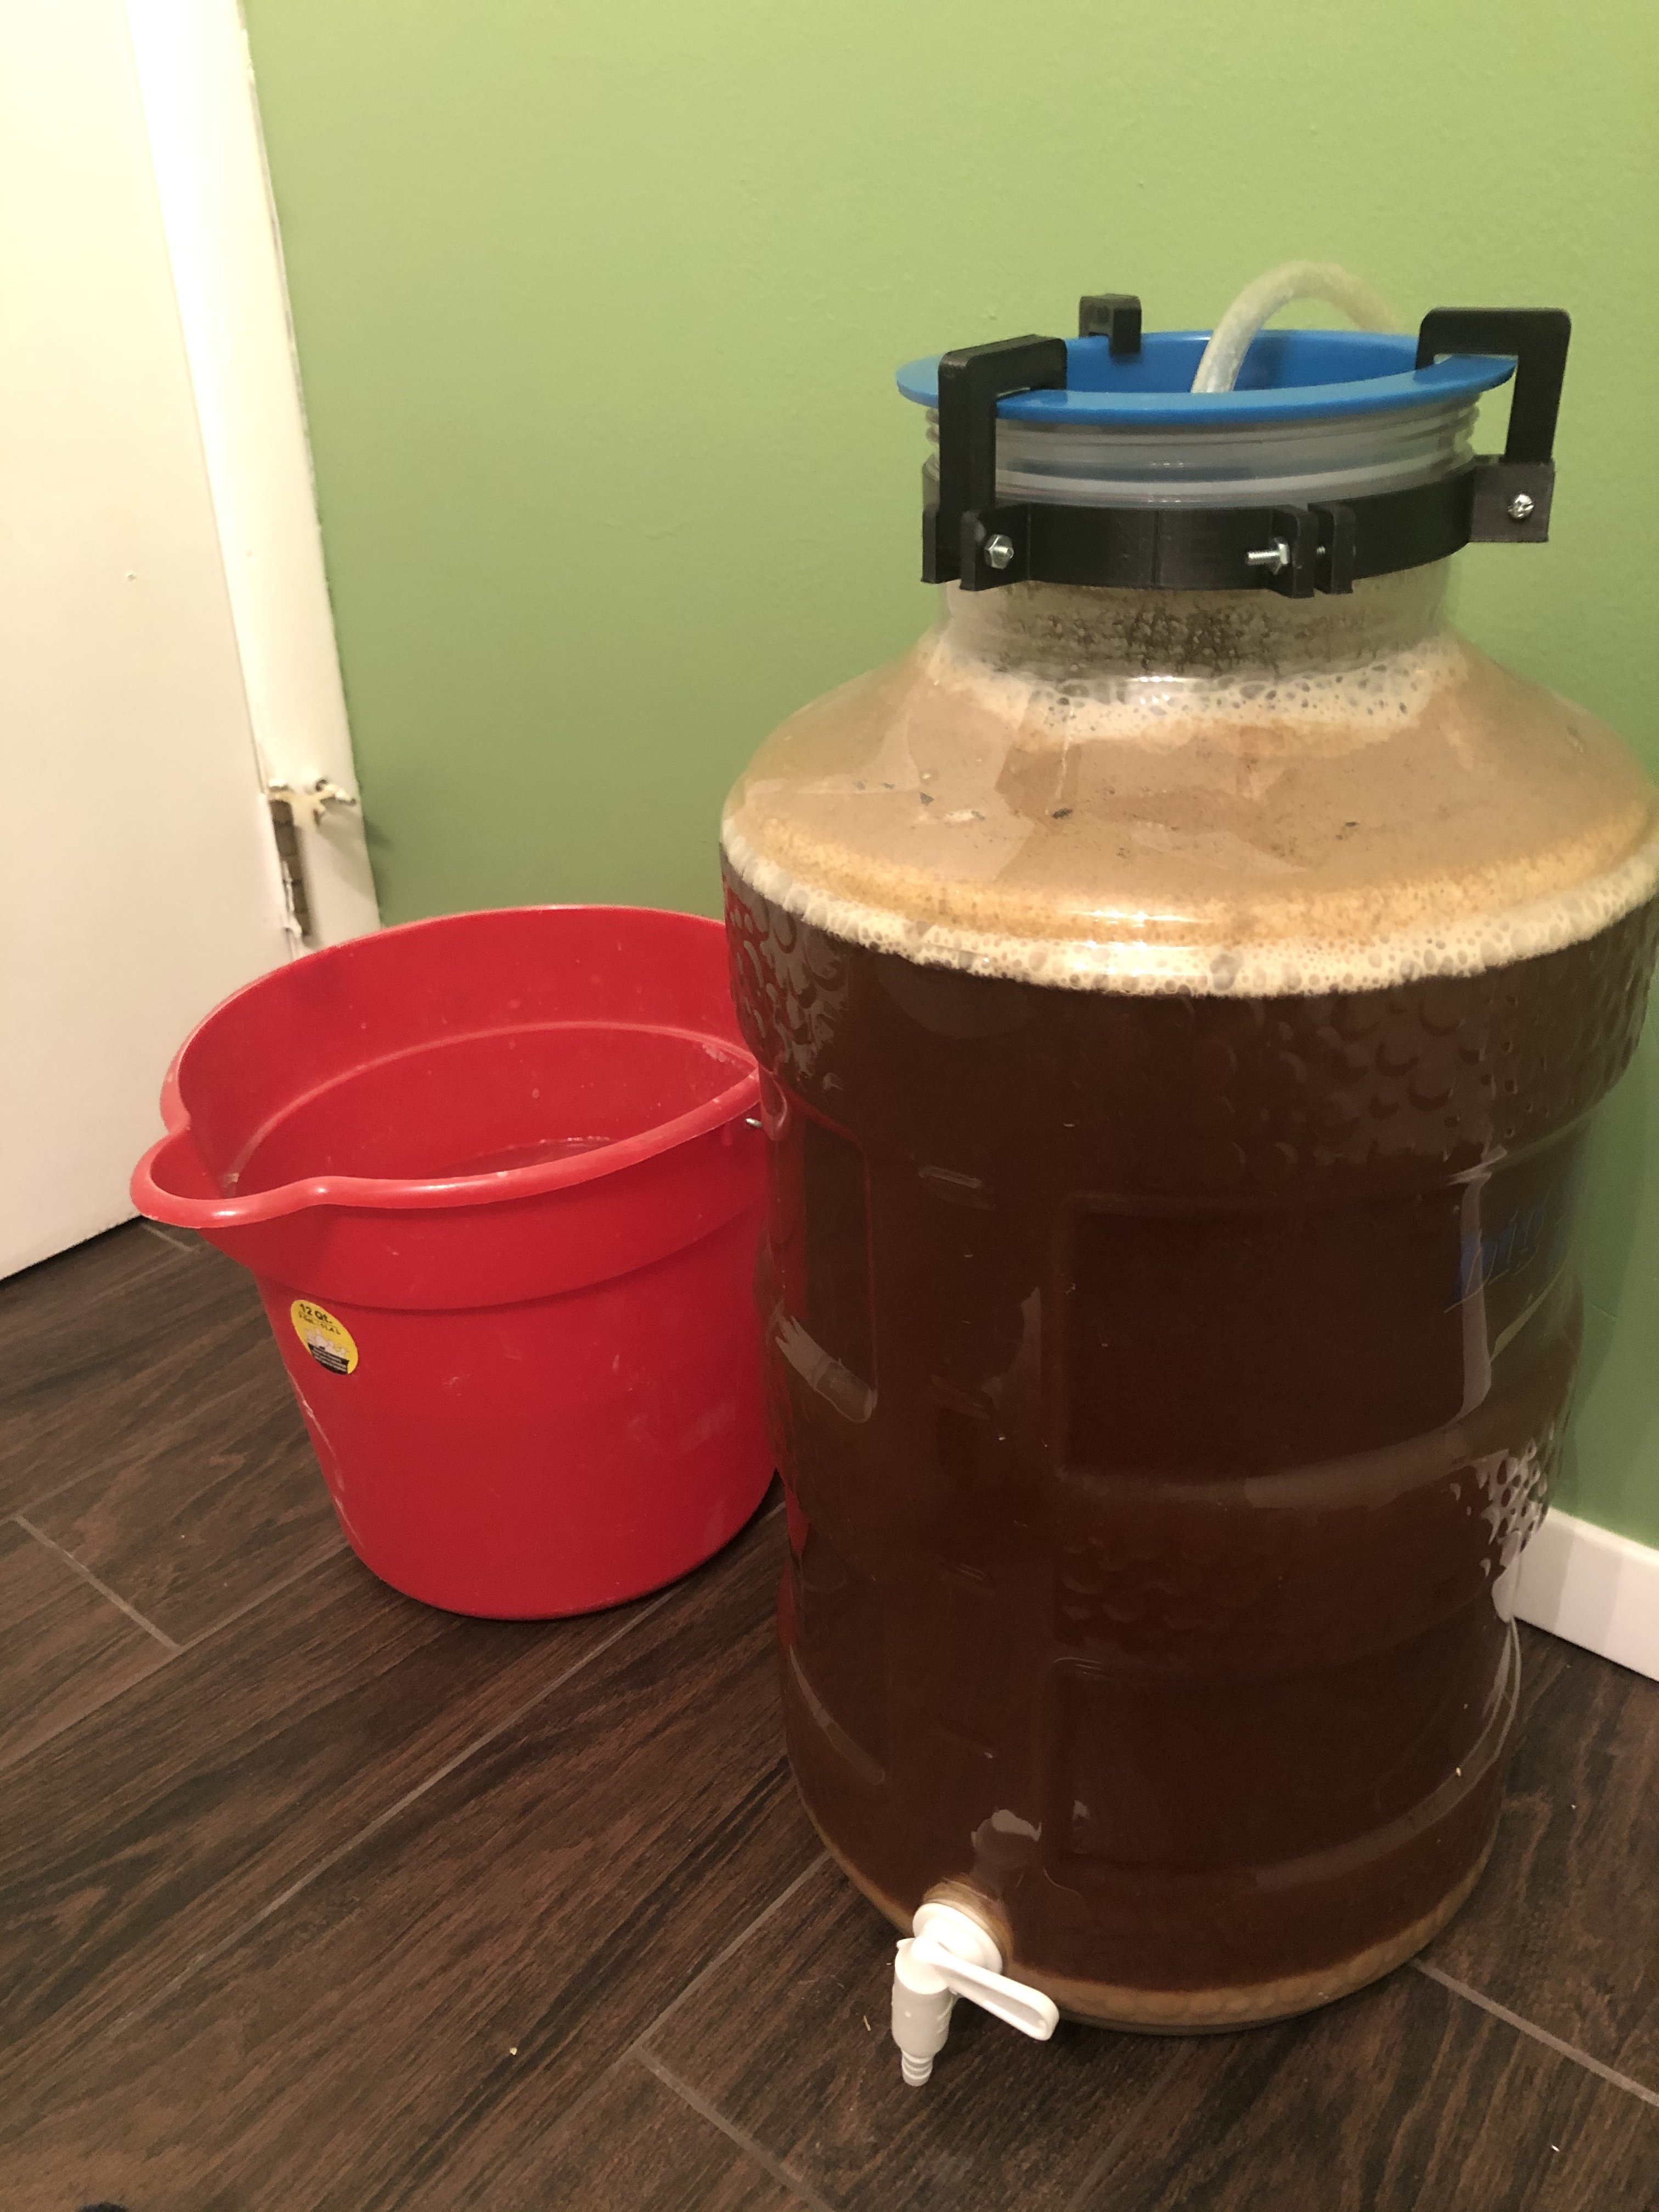
Attachments
Shortening your hoses will shed less heat in the lines.
wilserbrewer
BIAB Expert Tailor
Fwiw, I’ll offer my simple snarky reply to “Condensed Steps for Brew Day Measurements”
Mash in somewhat slightly south of total volume, hoist the bag of grain, then continue to throw water at the grain bag until you reach pre boil volume...we don’t need no stinking measurements LOL jk but also serious
Mash in somewhat slightly south of total volume, hoist the bag of grain, then continue to throw water at the grain bag until you reach pre boil volume...we don’t need no stinking measurements LOL jk but also serious
I agree that will make beer.Fwiw, I’ll offer my simple snarky reply to “Condensed Steps for Brew Day Measurements”
Mash in somewhat slightly south of total volume, hoist the bag of grain, then continue to throw water at the grain bag until you reach pre boil volume...we don’t need no stinking measurements LOL jk but also serious
OP
OP
Monmouth00
Well-Known Member
- Joined
- Jun 26, 2019
- Messages
- 171
- Reaction score
- 99
Alright, I'm not happy right now.
My gravity reading after my boil and cooling (about 70 degrees) was 1.042
I let the primary go for about 11 days at 68 degrees, and bumped it up to 70 for the last 2.5 days. Fermentation appeared completely normal - good krausen, plenty of airlock activity, and it petered out when I expected.
If you remember, my post-boil volume was higher than I expected. I ended up putting about 6 gallons into the carboy, when I was aiming for 5.5
I cold crashed to about 38 degrees. After kegging with a closed transfer, I had about a gallon left over, so I filled 5 bottles with the leftover.
I took my final gravity reading with the small amount left over, which had some kicked up trub/yeast in it. It measured only 1.026 - which is putting my ABV at about 2.1%
How the hell did I miss by so much? Was it the added volume that dropped the ABV? Is the trub in the sample, or the low temperature affecting the refractometer reading? Is there something else I missed?
It tasted like beer - not too sweet for an amber. The mouthfeel was a bit thin, but that's to be expected because I had a lower than expected mash temp (about 150) and it wasn't carbonated.
I thought my first batch with eBIAB was going so well, and now I'm disappointed.
It's carbonating at 30psi for the next few days, and I'll give a test on Tuesday. But I'm not expecting a miracle.
Any advice to avoid this for the next batch would be appreciated.
It measured only 1.026
How are you measuring? Hydrometer or refractometer with a calculator?
OP
OP
Monmouth00
Well-Known Member
- Joined
- Jun 26, 2019
- Messages
- 171
- Reaction score
- 99
Refractometer, and plugging the OG and FG into Brewersfriend and my Beersmith mobile app. Both say 2.1% ABV.How are you measuring? Hydrometer or refractometer with a calculator?
Refractometer, and plugging the OG and FG into Brewersfriend and my Beersmith mobile app. Both say 2.1% ABV.
What are your numbers in Brix?
OP
OP
Monmouth00
Well-Known Member
- Joined
- Jun 26, 2019
- Messages
- 171
- Reaction score
- 99
No idea. Didn’t record them. Does it make a difference? Wouldn’t it be the same result?What are your numbers in Brix?
No idea. Didn’t record them. Does it make a difference? Wouldn’t it be the same result?
When you plugged your OG and FG into the calculator, was that an ABV calculator?
Refractometers need to be used in conjunction with a refractometer calculator. It will convert Brix into specific gravity AND properly correct the FG to take into account the presence of alcohol.
The 1.02ish FG is sort of the telltale. Good news, your beer's probably just fine.
https://www.brewersfriend.com/refractometer-calculator/
OP
OP
Monmouth00
Well-Known Member
- Joined
- Jun 26, 2019
- Messages
- 171
- Reaction score
- 99
I found the problem!!!
I was accidentally using my pre-boil gravity of 1.042
I should have been using my post-boil gravity of 1.05!!!
The difference between the 1.05 and the 1.026 measurement means the ABV is 5.1%
Stupid oversight, and unfamiliarity with new brewing software is to blame.
I’m happy again. Hope that the mouthfeel improves with a little carbonation.
Thank you for making me look at my data again!!
1.026 still seems pretty high for a 1.05 OG. That's only about 50% attenuation.
Similar threads
- Replies
- 18
- Views
- 772
- Replies
- 10
- Views
- 1K

Latest posts
-

-
-
 The Dysfunctional-Palooza Obnoxious Masshole BS Thread
- Latest: Hoppy2bmerry
-

-
-

-