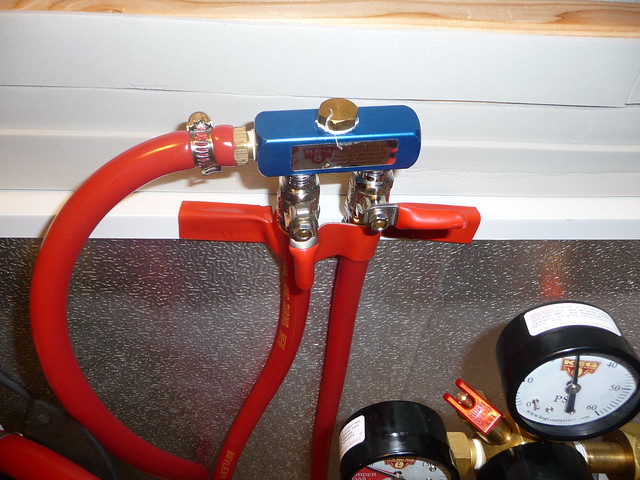
I have about a 10 foot total rise, but 15 feet of (EDIT) 1/4'' beer tubing. I set the regulator at 11.5-13.5 depending on the brew and leave it like that.
I wrapped the two beer tubing lines in 3-4 (can't recall) of the cheap foam pipe insulation at HD. At the top part (which would potentially get sunlight) I wrapped it in reflective aluminum furnace tape so the dark foam wouldn't absorb as much heat.
The system works great with the following caveats.
1. Never had a foam issue with ciders.
2. If I over carb the beer, it foams at the spout (it would in any system). If I don't overcarb there aren't any problems.
3. If i don't drink a beer for a week, I usually purge the first 3-4oz of beer to clear the lines (figure the beer may be a little stagnant). I sometimes pour that beer into a frozen mug and drink it.
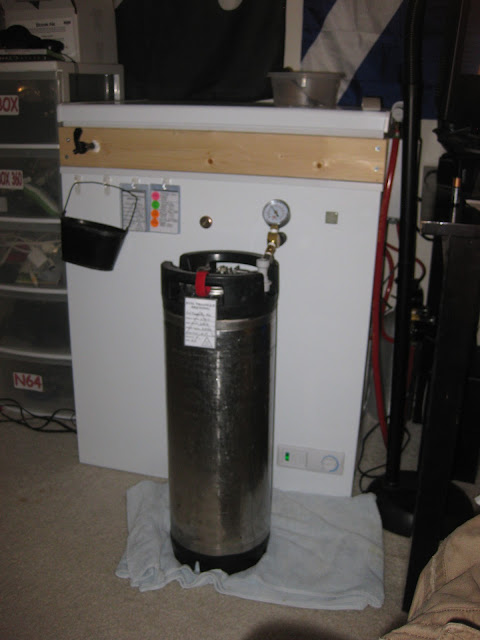
4. If I pour say 5-6 beers right in a row, sometimes I get some extra foam (1.5-2inches) on the last couple beers. I believe the reason for this is my keezer is colder on the bottom and warmer on the top (no circulating fan). So as you drain the keg, the slightly warmer beer comes out for dispensing (we are talking beer that is a few degrees warmer, but still cold beer). This difference in temperature change of even a few degrees causes the CO2 to come out of solution and thus, the extra foaming (if you let the brew sit a minute, the foam turns back into beer!
")
).
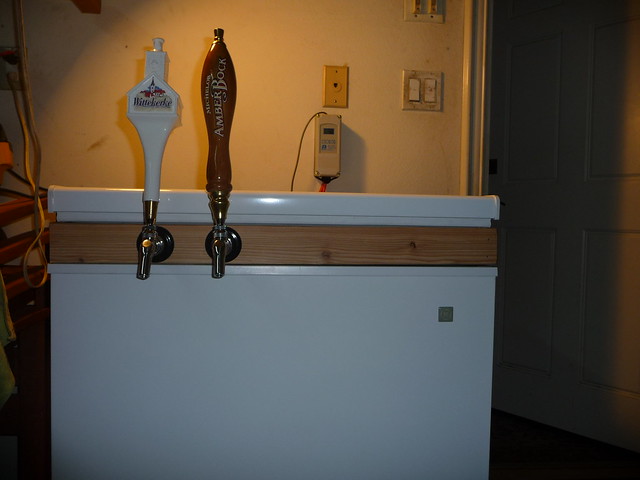
Am I happy with it? Definitely. It was extremely inexpensive to buy the foam and install vs. the coolant for the lines, etc. For the minor inconvenience of losing a couple ounces of beer here and there I am ok with that for now. My brews cost me somewhere around .25 cents for 12oz of the big grain bill brews. That makes 3oz about .08 cents, and that is for something that has a huge grain bill. I can toss out .08 cents here and there and still revel in the coolness of a tap at my bar (see profile pictures for the bar pics).
Things I would change?
1. Might put a circulating fan in there (but there isn't much room) - by circulating fan I mean a circulating fan inside my keezer to circulate to cold air on the bottom to the top of the keezer.
I posted some details on temps from pours etc on a past thread but I can't find the darn thing...
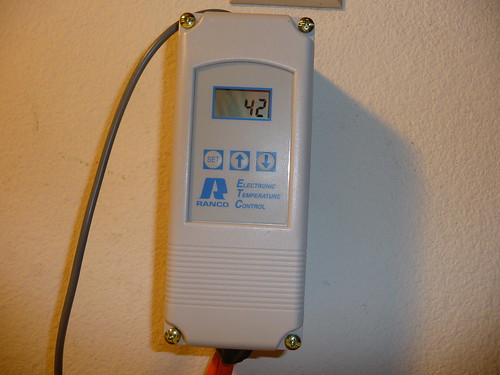
Well anyway, it was pouring out at like 42-45F the way I set it, it was perfect temp for a dispense. I can't recall the lower keg temp though...


![Craft A Brew - Safale BE-256 Yeast - Fermentis - Belgian Ale Dry Yeast - For Belgian & Strong Ales - Ingredients for Home Brewing - Beer Making Supplies - [3 Pack]](https://m.media-amazon.com/images/I/51bcKEwQmWL._SL500_.jpg)


 . I'll make a thread once i start on the project. Thanks again!