brew2enjoy
Well-Known Member
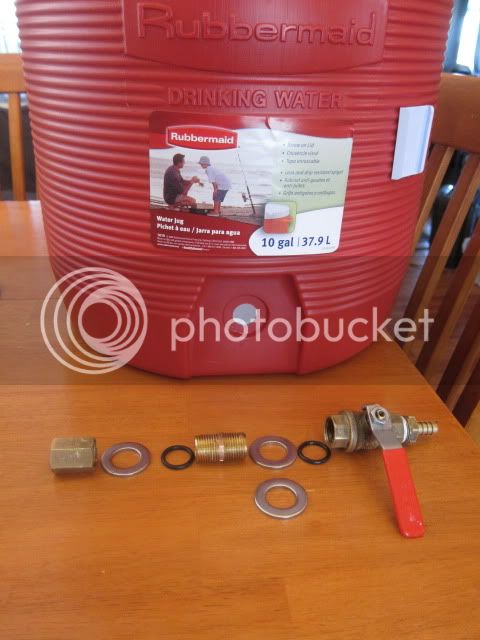
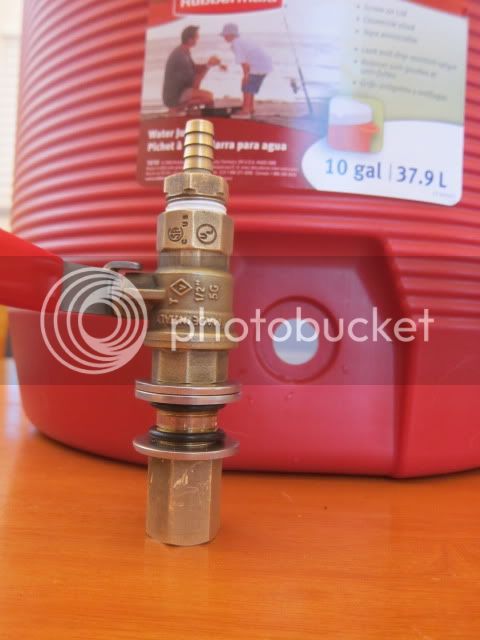
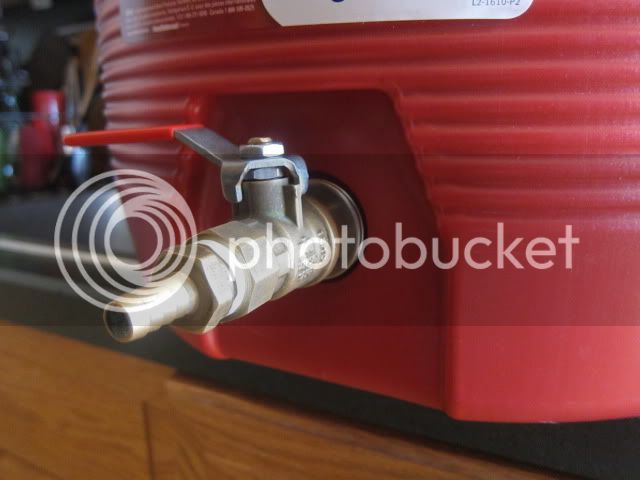
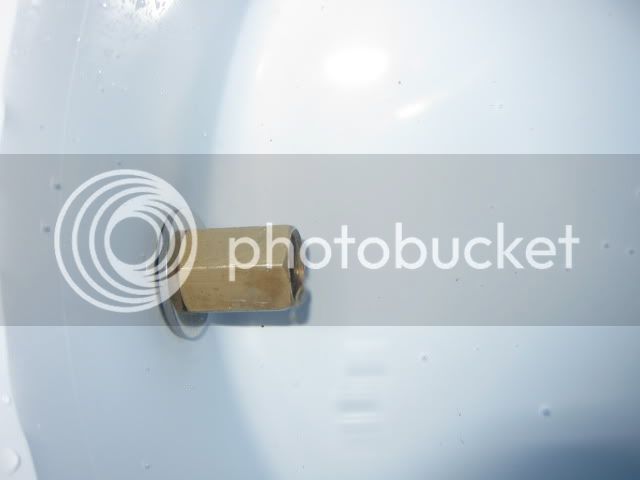
I called out local ace hardware and the lady said they had them. So I get there and couldn't find it. I ask the lady and she says "oh I thought you said 5/16" ugggggh! Long story short they did have a 5/8 washer but its not a fender washer. I also picked up a nylon washer while I was there. I figure between the two I can figure something out. Man, all this for one friggin washer!!


![Craft A Brew - Safale S-04 Dry Yeast - Fermentis - English Ale Dry Yeast - For English and American Ales and Hard Apple Ciders - Ingredients for Home Brewing - Beer Making Supplies - [1 Pack]](https://m.media-amazon.com/images/I/41fVGNh6JfL._SL500_.jpg)


")