You are using an out of date browser. It may not display this or other websites correctly.
You should upgrade or use an alternative browser.
You should upgrade or use an alternative browser.
Building a mini fridge kegerator
- Thread starter odie
- Start date

Help Support Homebrew Talk:
This site may earn a commission from merchant affiliate
links, including eBay, Amazon, and others.
odie
Well-Known Member
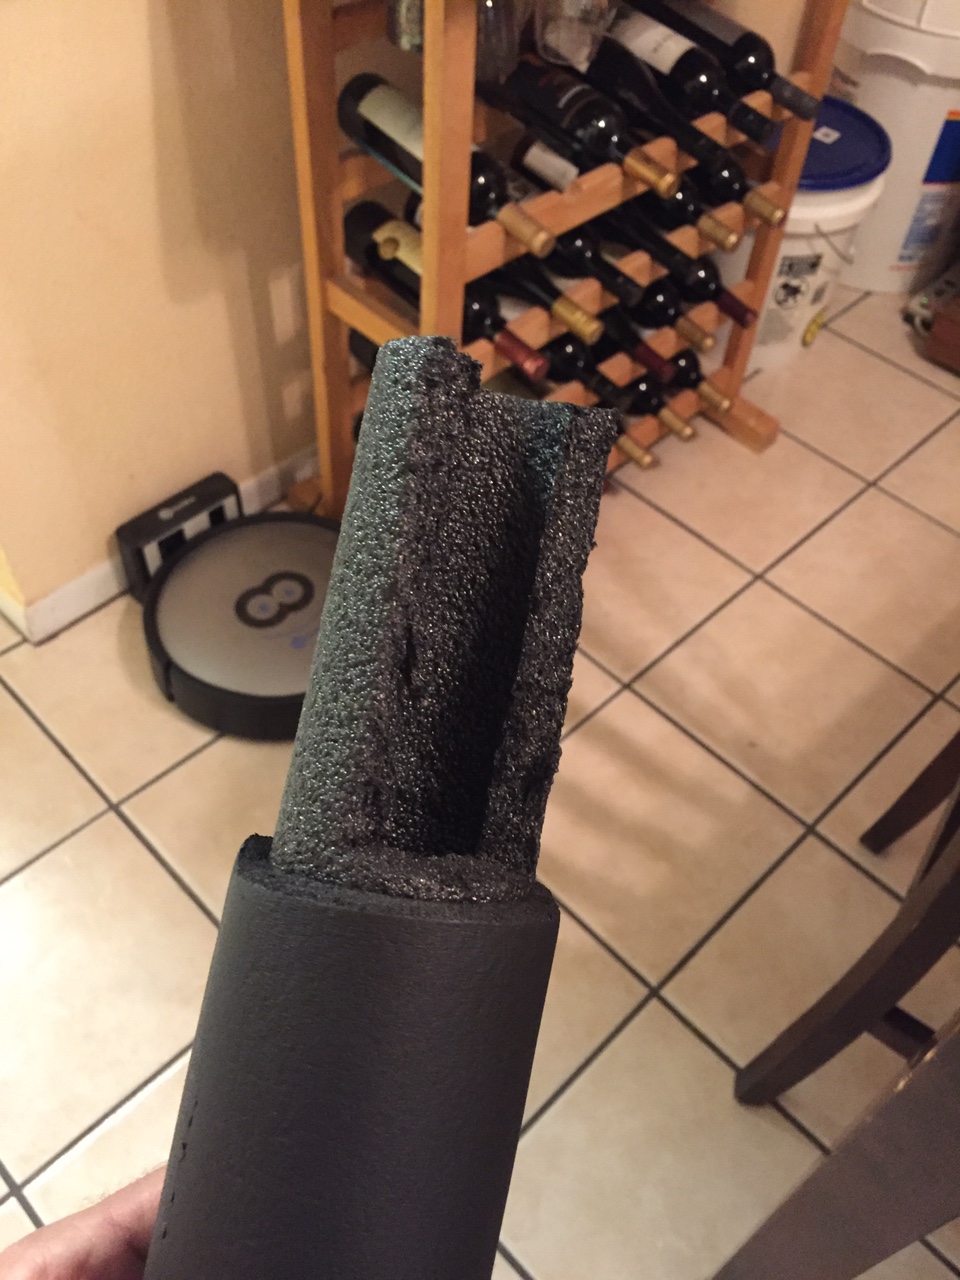
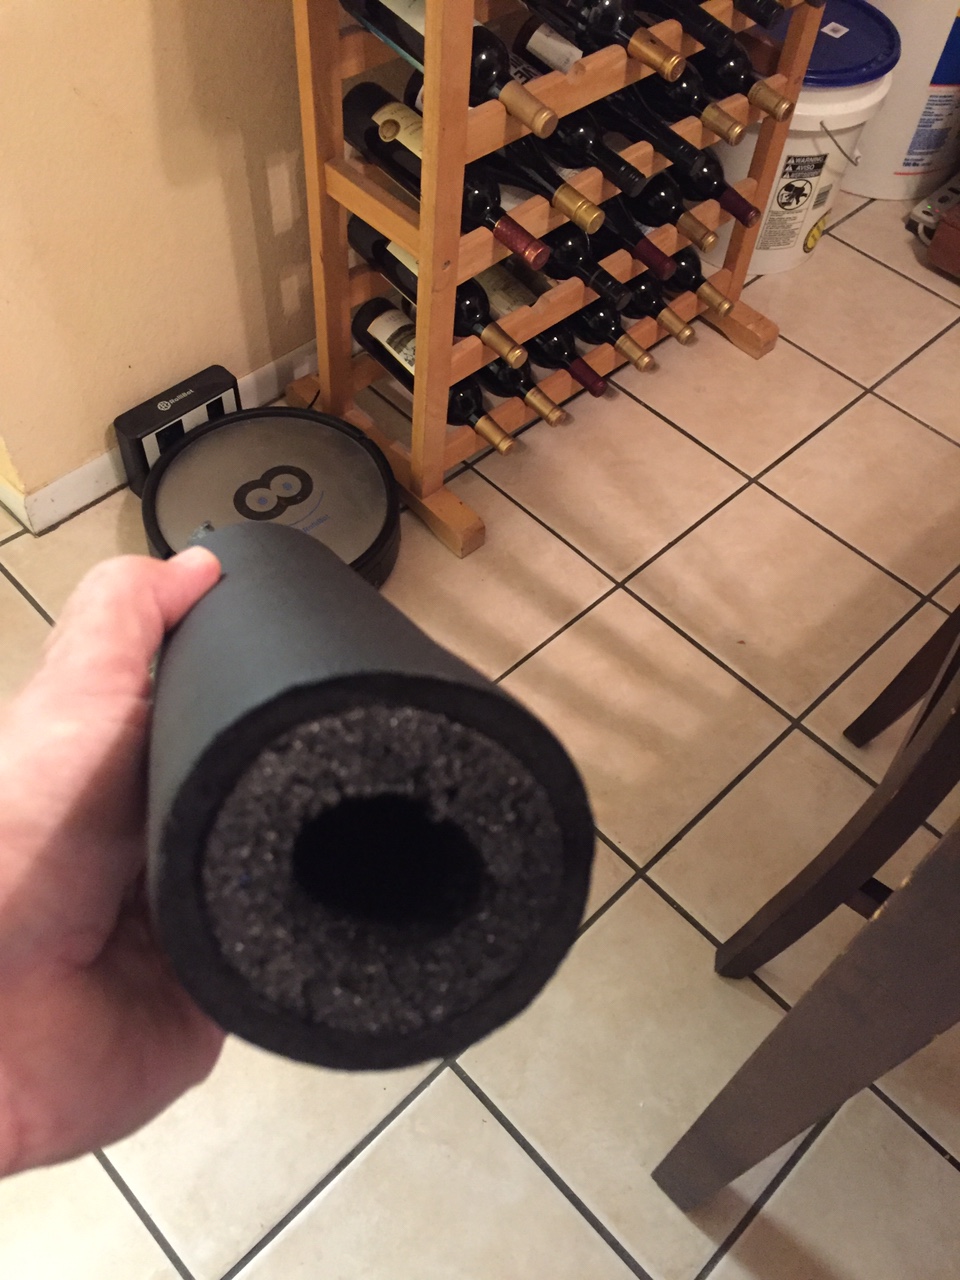
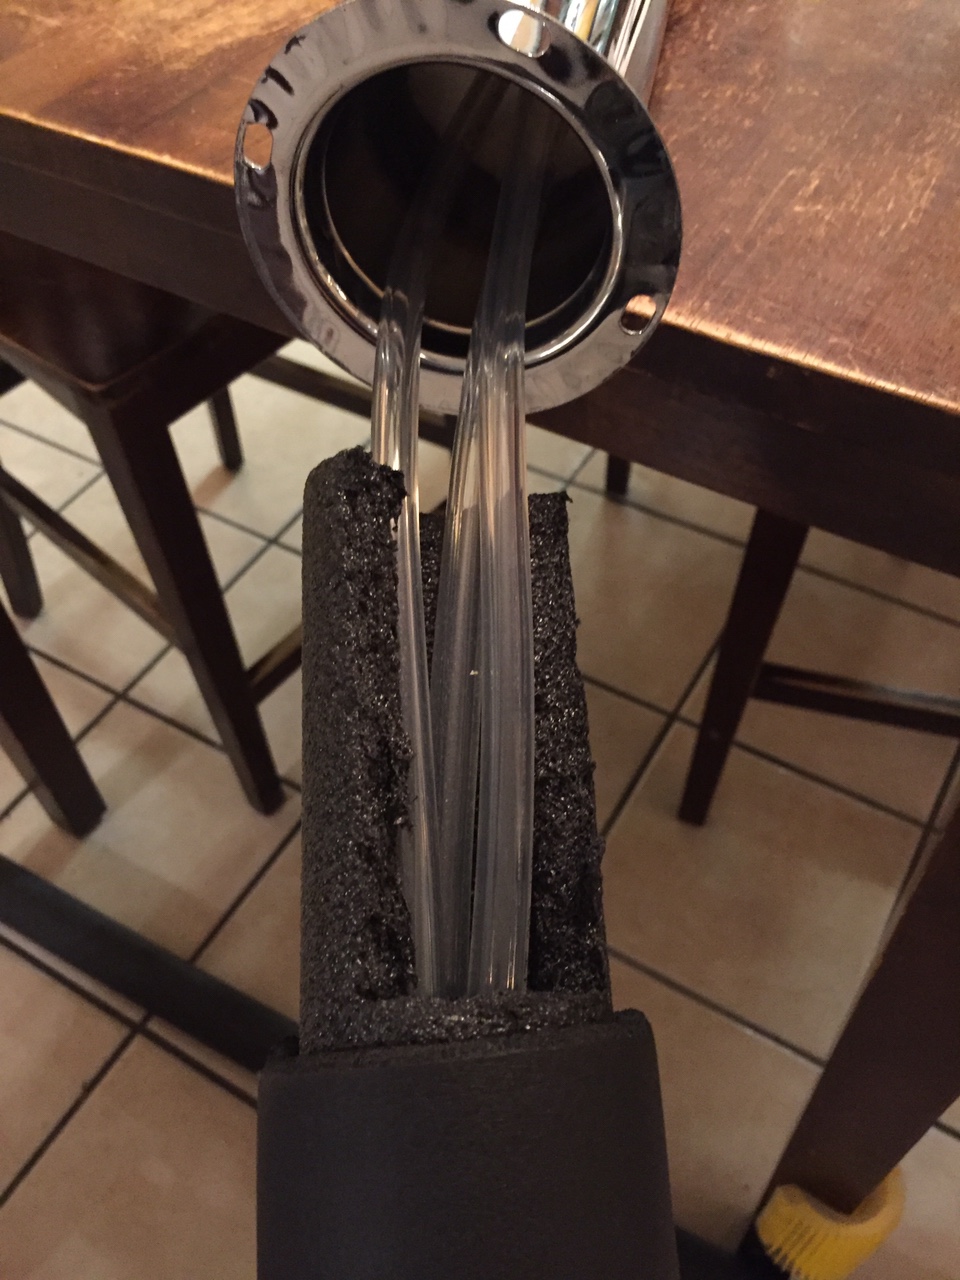
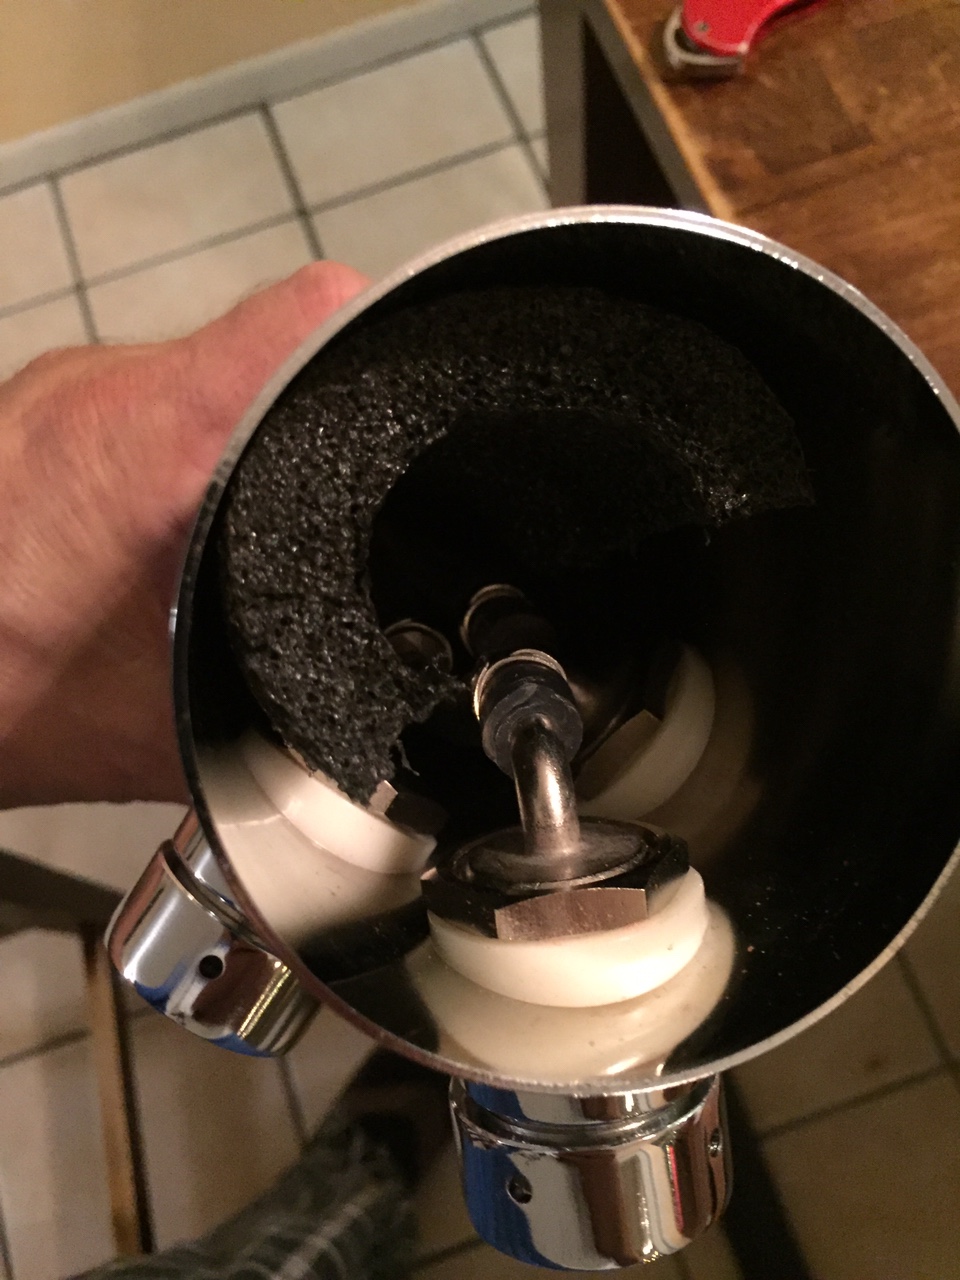
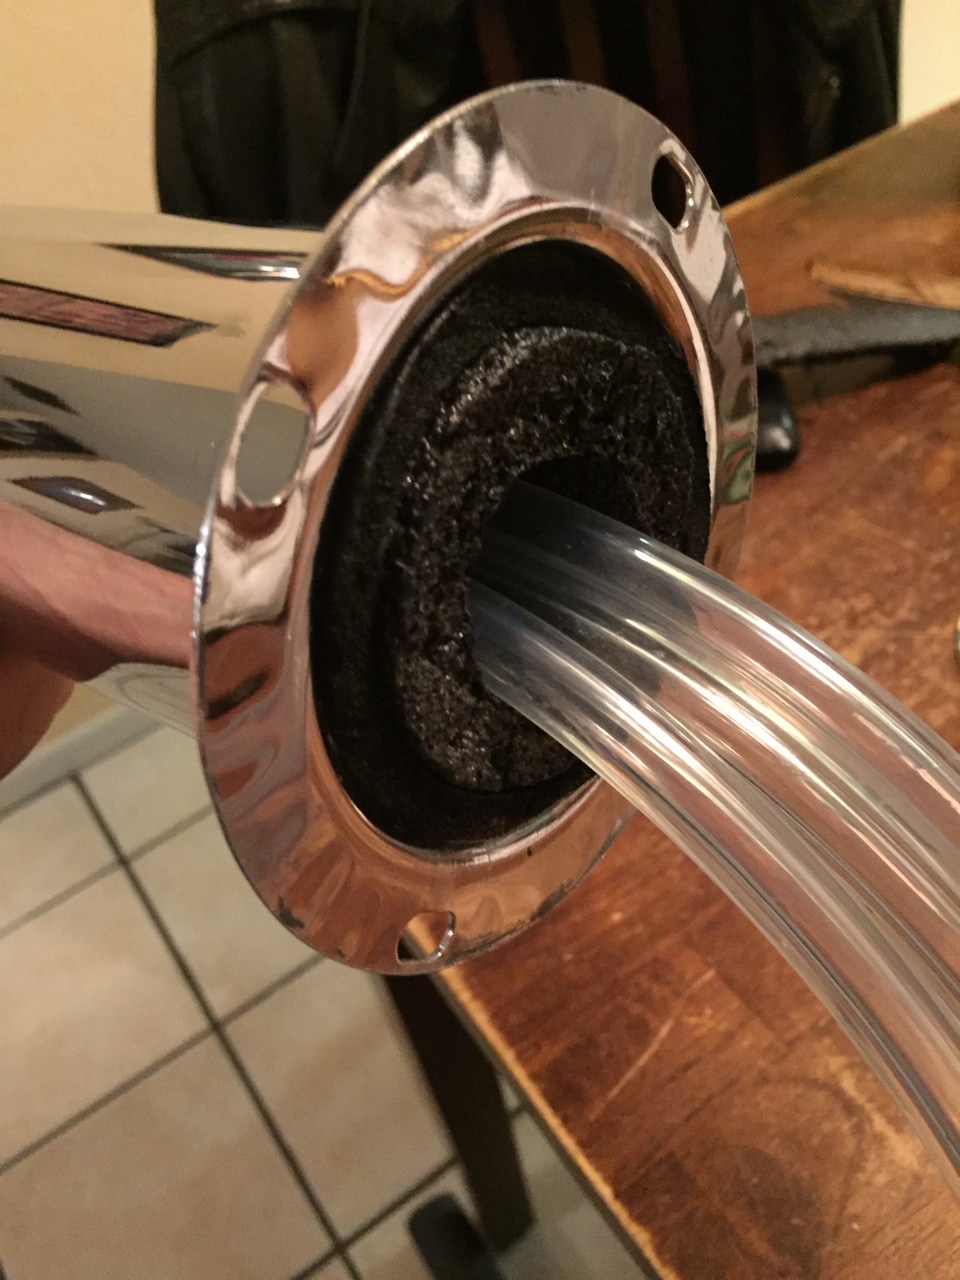
3” draft tower came with a thin insulation sleeve. I got a foam pipe insulation to go inside and notched the top to fit around the faucets. I had to spray the insulation with 409 type cleaner to get it to slide together and then spray again to insert into the tower
odie
Well-Known Member
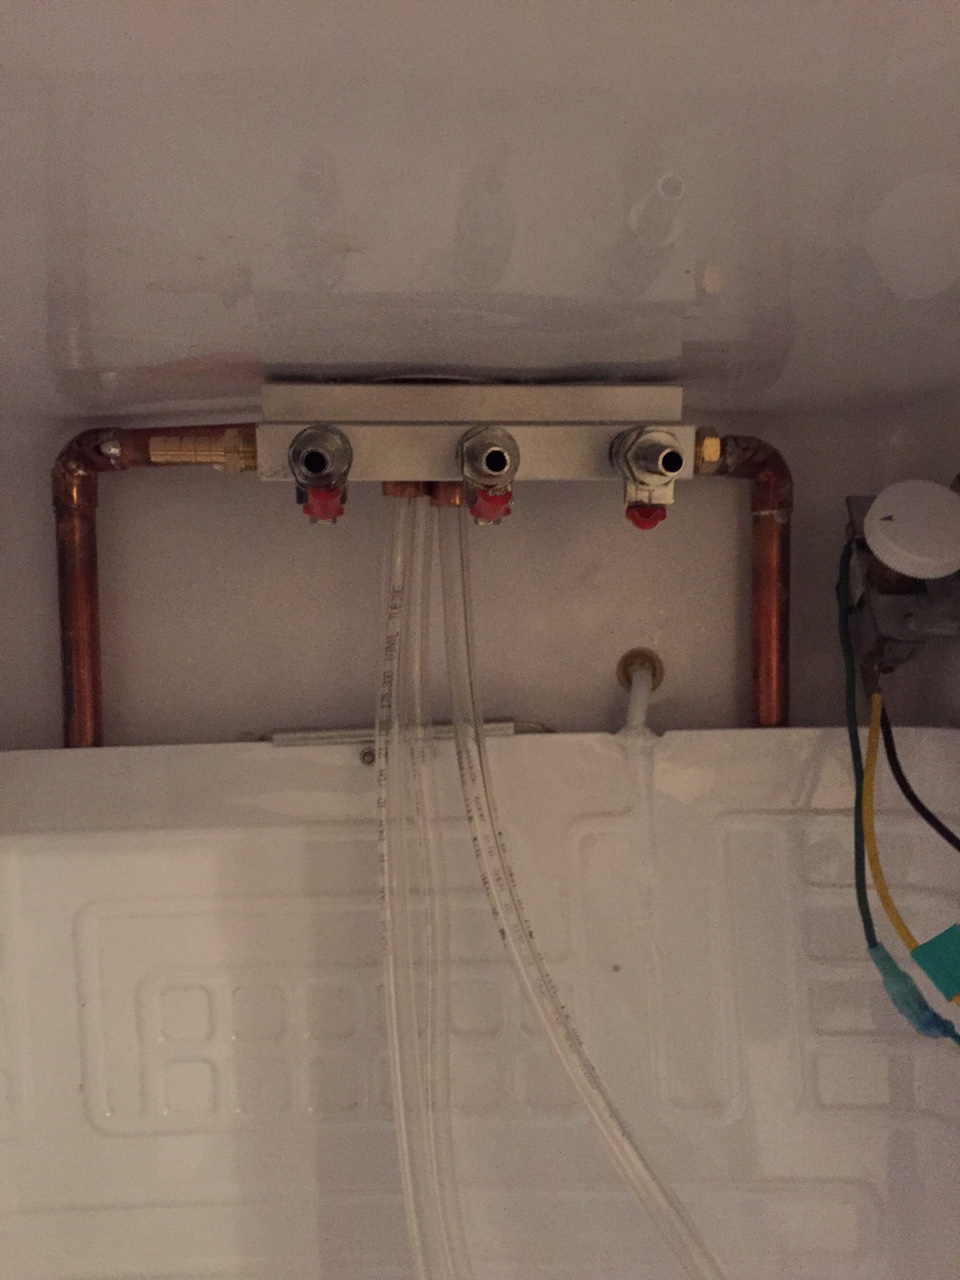
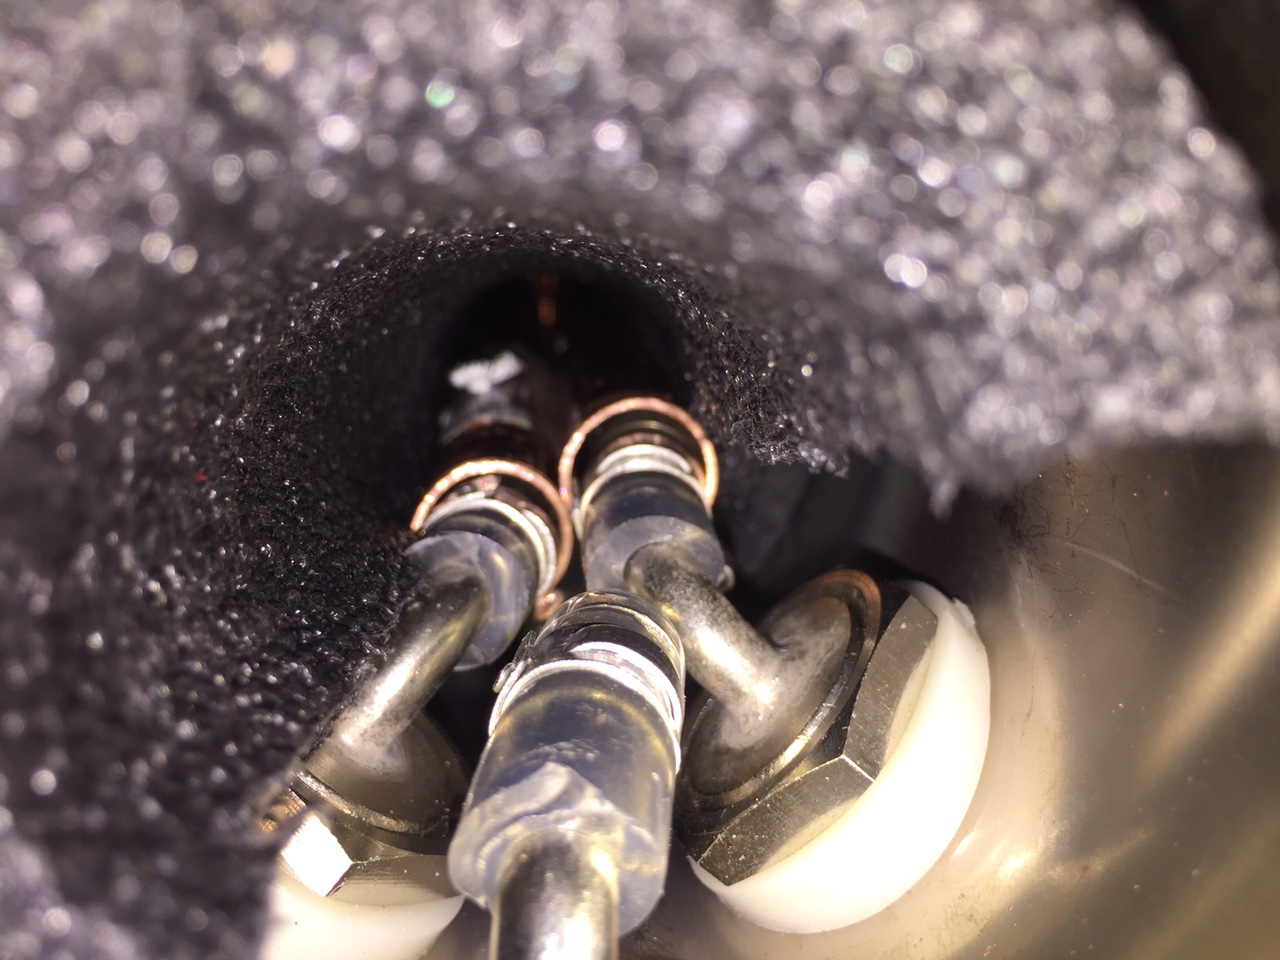
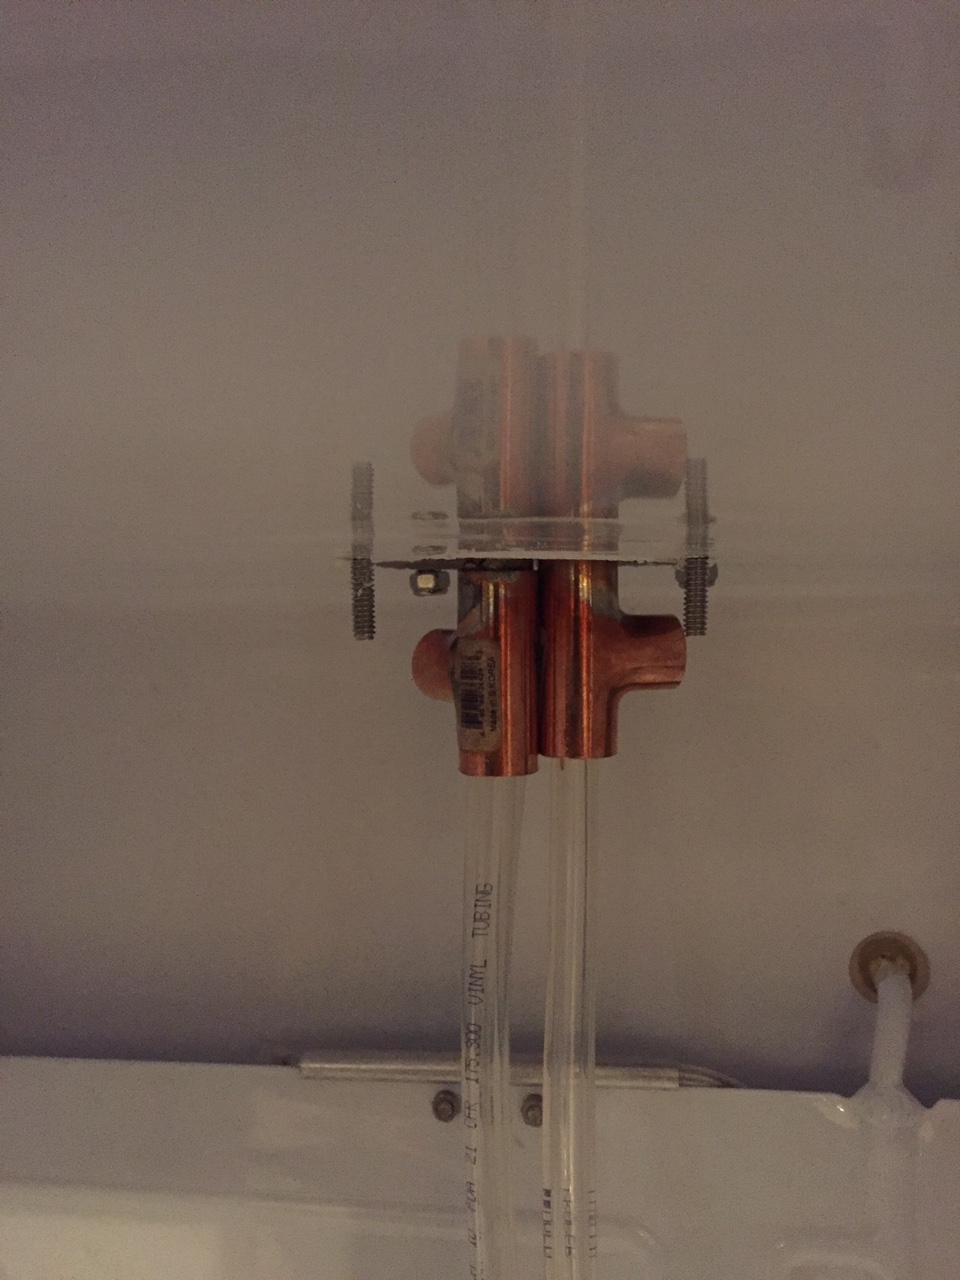
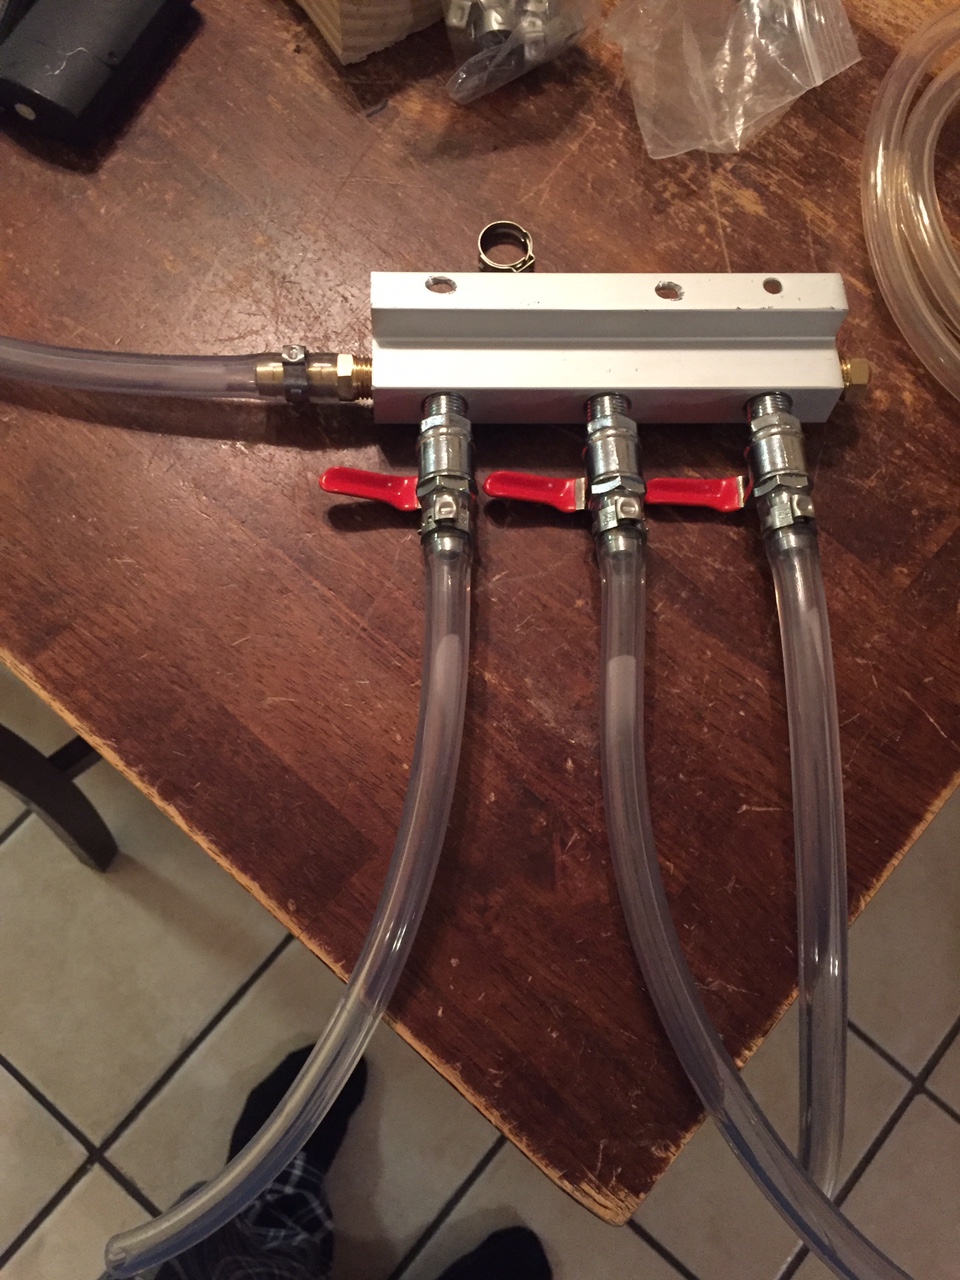
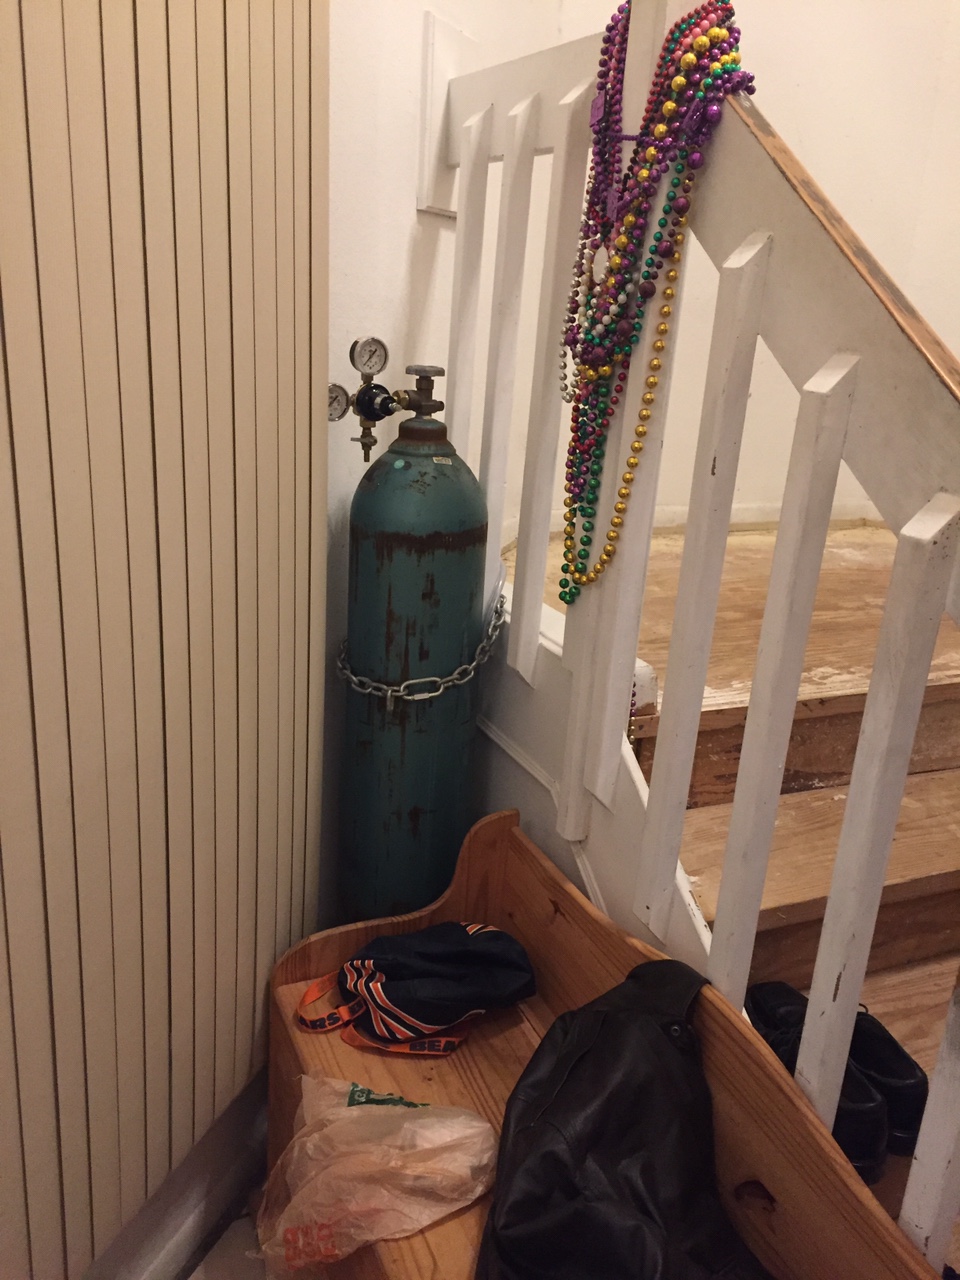
Mounting the CO2 distribution to the tower mounting bolts.
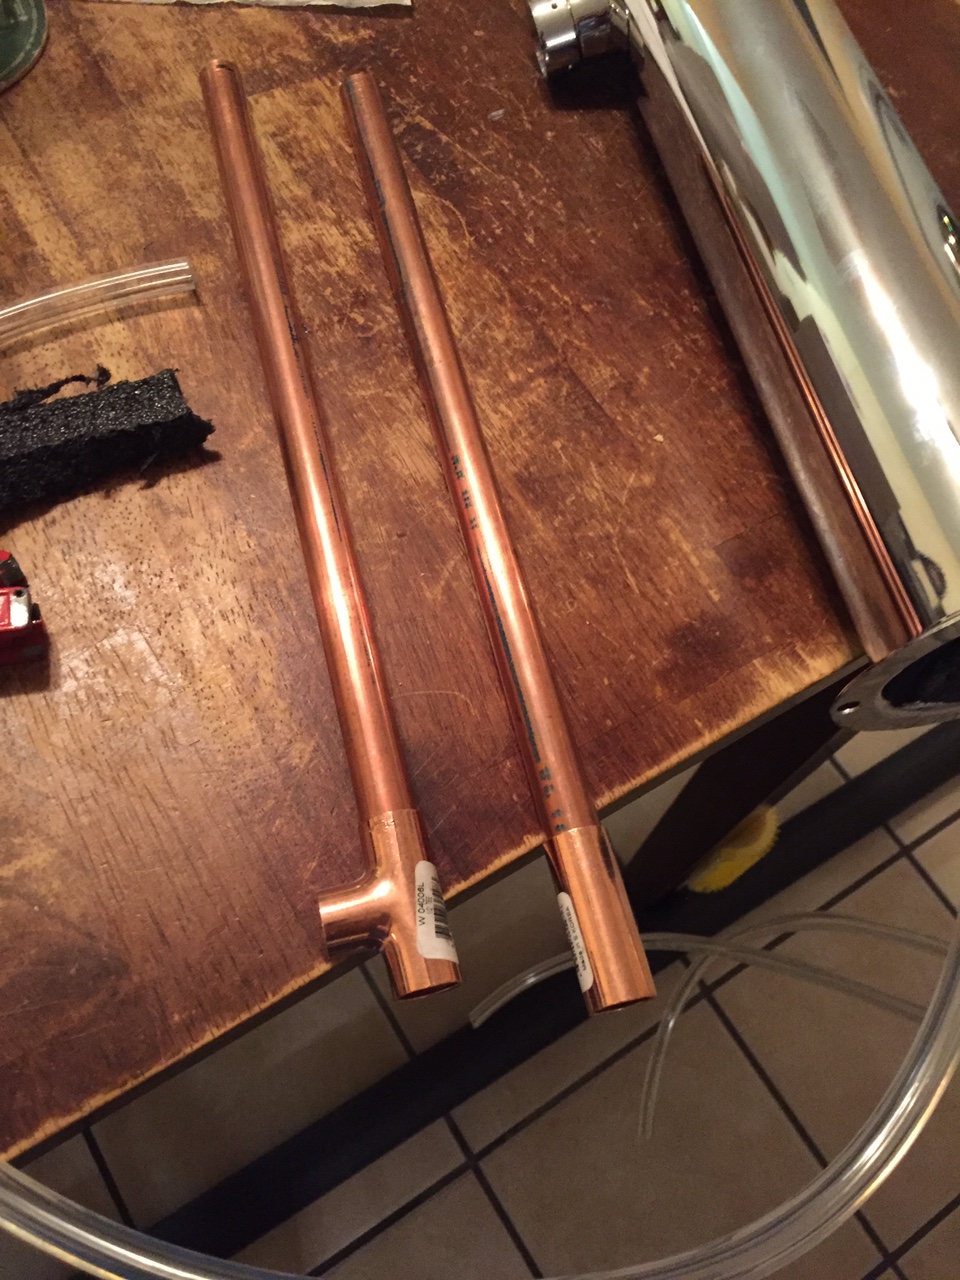
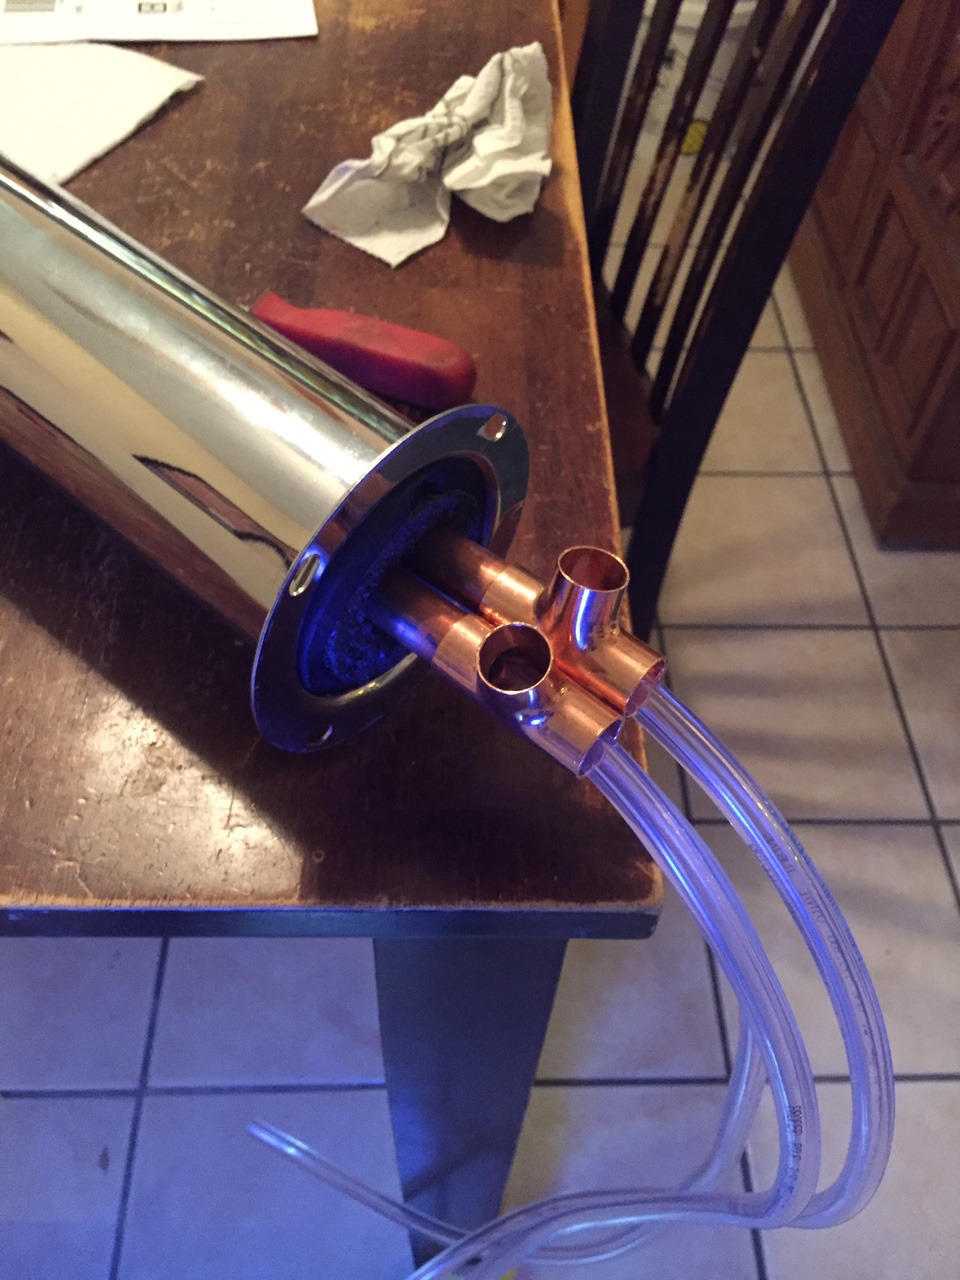
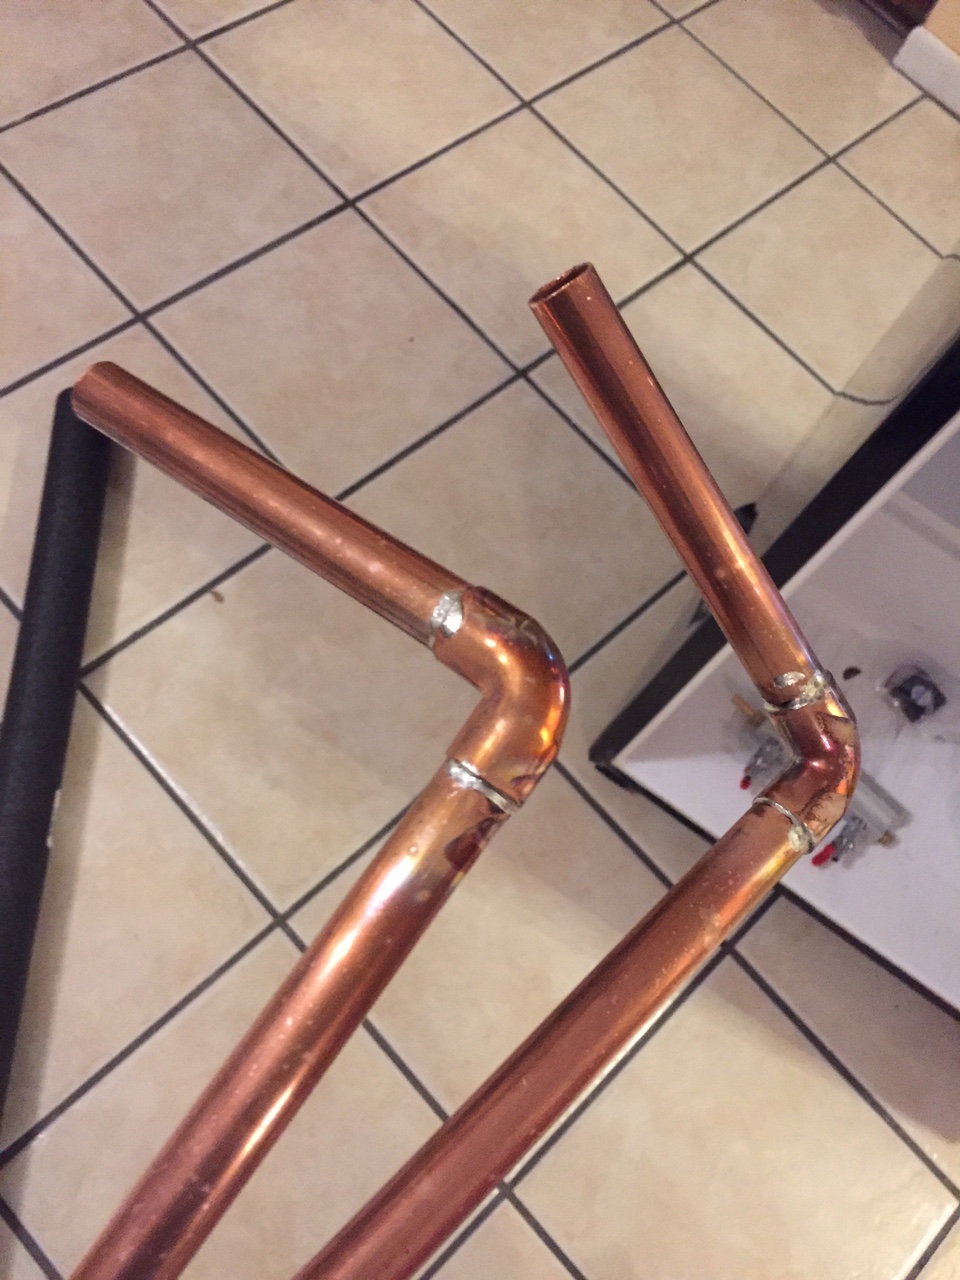
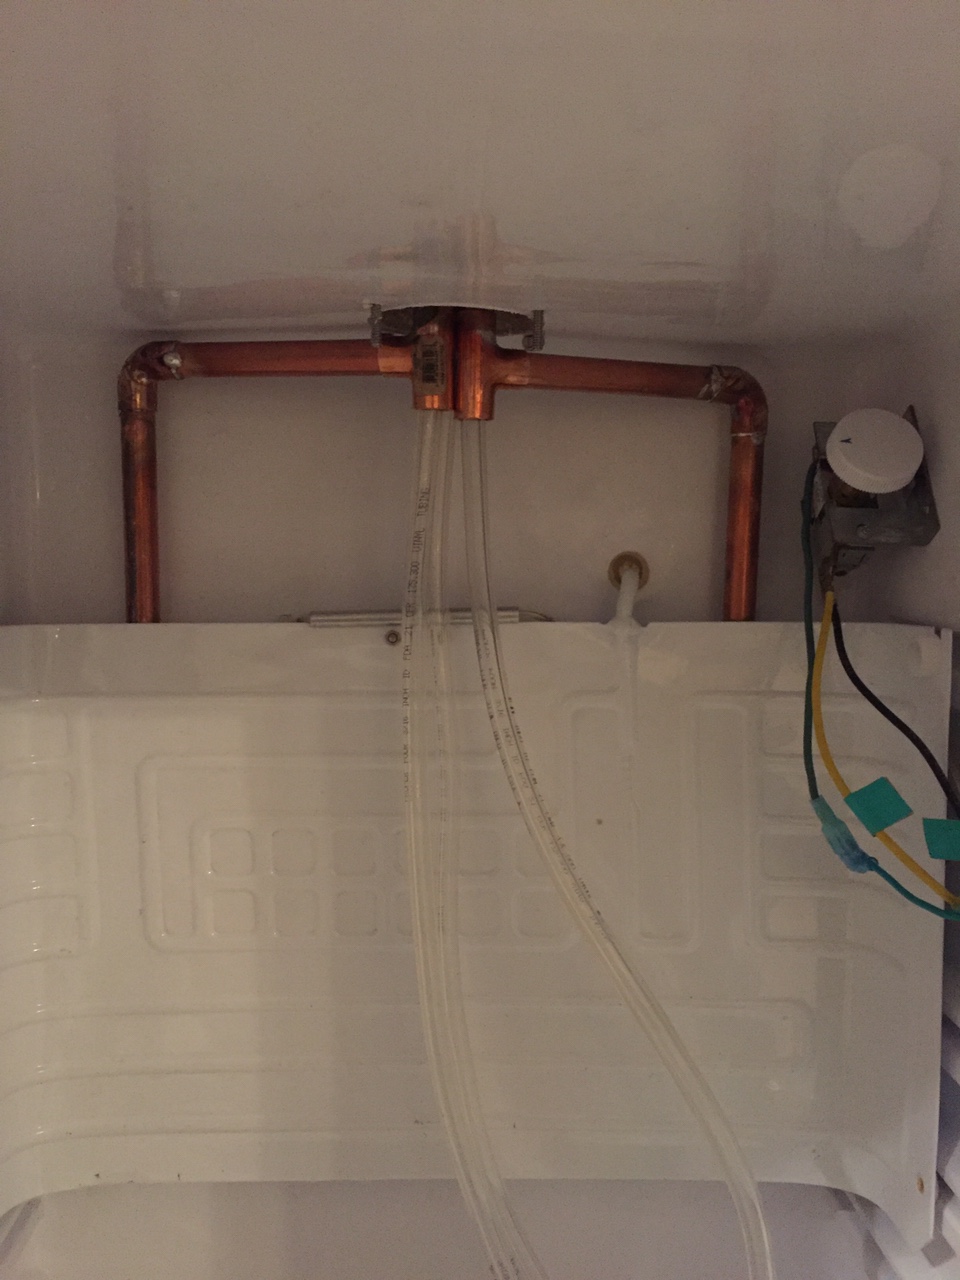
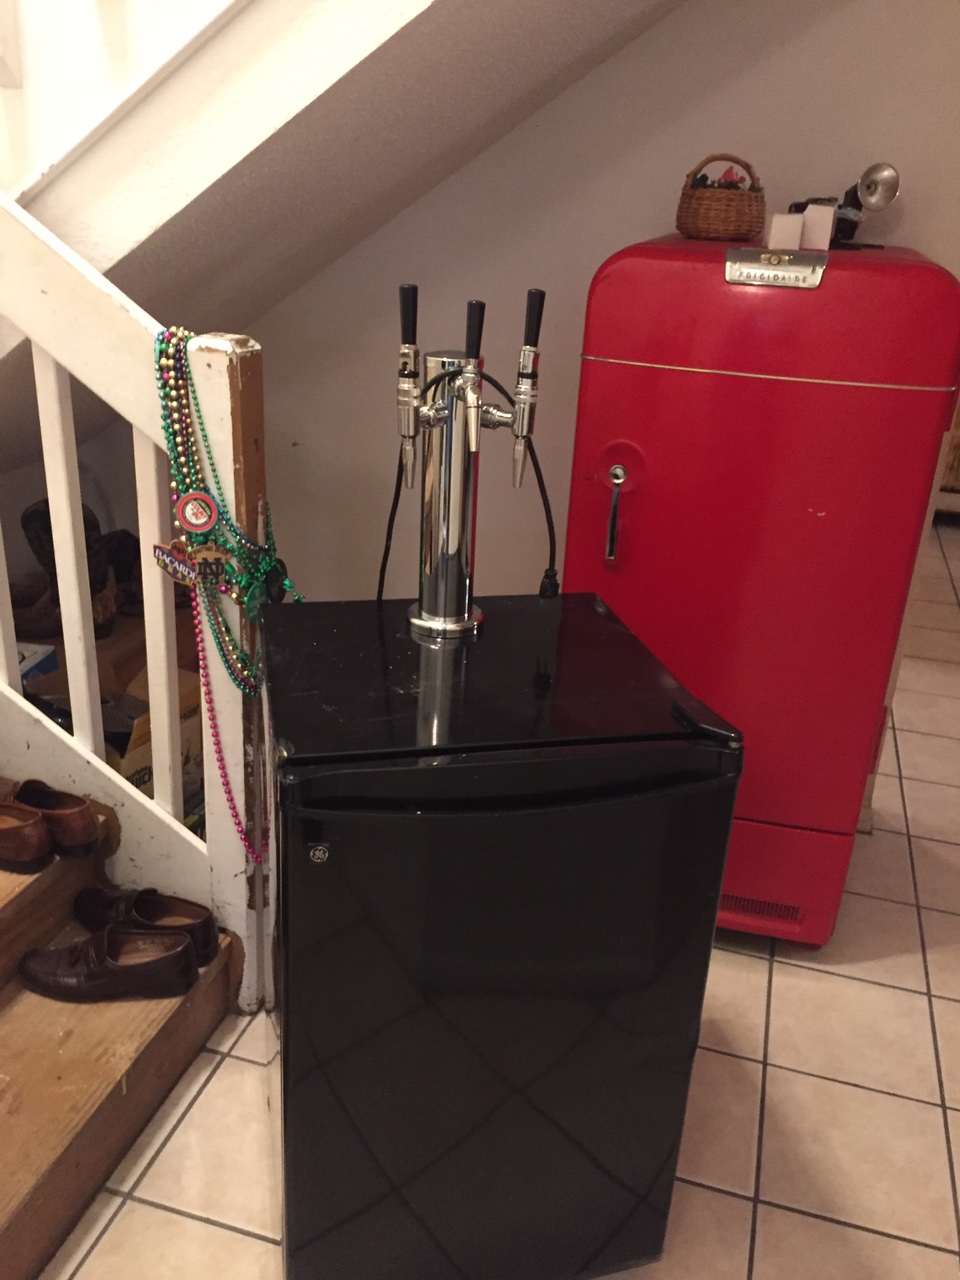
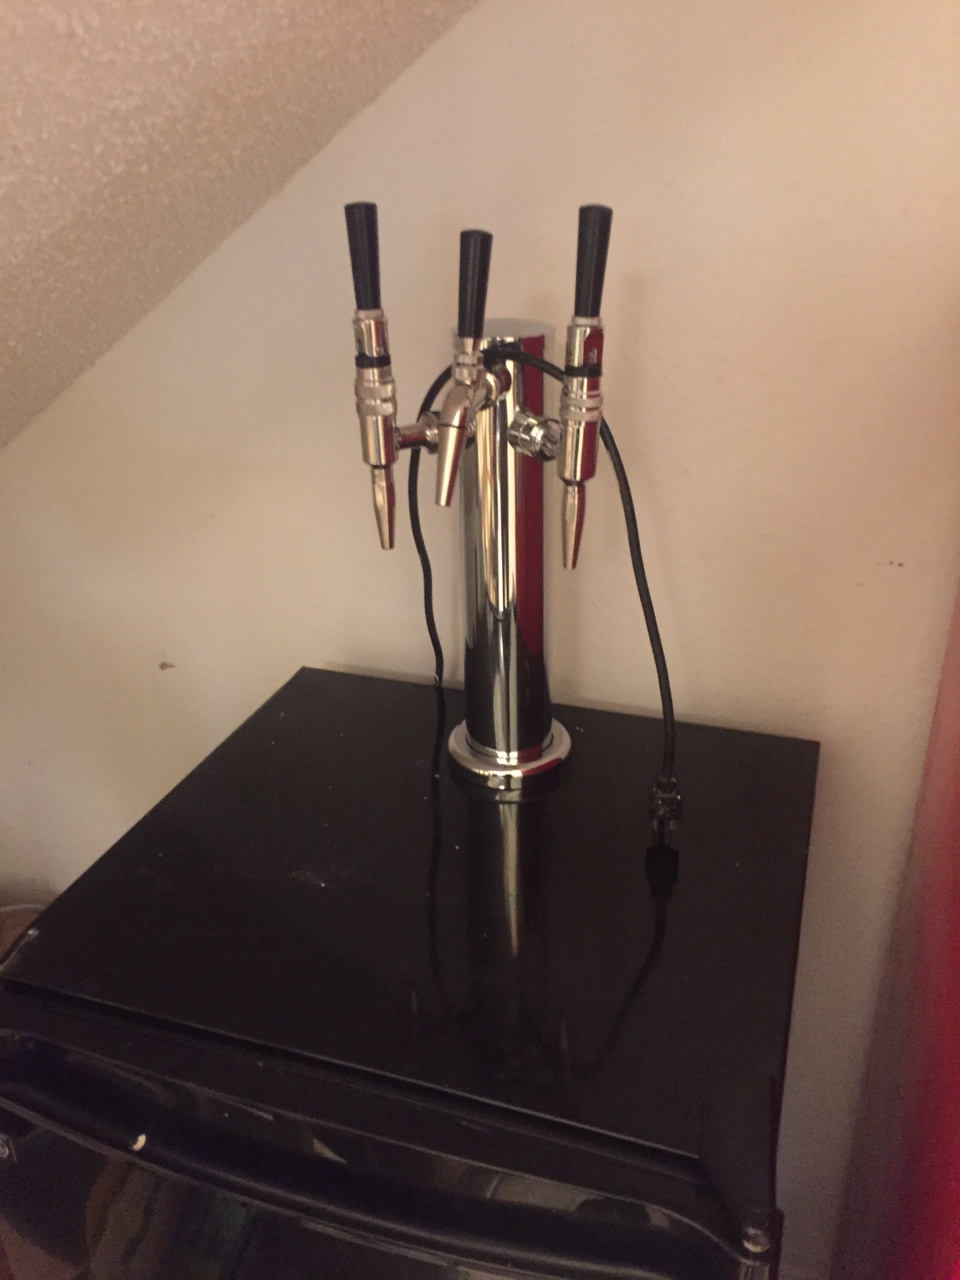
The tower is a triple but the fridge only holds two. It’s a temporary replacement since the real kegerator I was gonna use suddenly died. It held 3. I will eventually find another and use this stuff for it. That’s why there is not a copper pipe yet for the third beer line. More pics to follow

$22.00 ($623.23 / Ounce)
AMZLMPKNTW Ball Lock Sample Faucet 30cm Reinforced Silicone Hose Secondary Fermentation Homebrew Kegging joyful
无为中南商贸有限公司

$719.00
$799.00
EdgeStar KC2000TWIN Full Size Dual Tap Kegerator & Draft Beer Dispenser - Black
Amazon.com

$53.24
1pc Hose Barb/MFL 1.5" Tri Clamp to Ball Lock Post Liquid Gas Homebrew Kegging Fermentation Parts Brewer Hardware SUS304(Liquid Hose Barb)
yunchengshiyanhuqucuichendianzishangwuyouxiangongsi

$28.98
Five Star - 6022b_ - Star San - 32 Ounce - High Foaming Sanitizer
Great Fermentations of Indiana

$159.99 ($26.66 / Count)
3M High Flow Series System BREW120-MS, 5616001, For Brewed Coffee and Hot Tea, Valve-in-Head Design
SpaceCityProviders

$7.79 ($7.79 / Count)
Craft A Brew - LalBrew Voss™ - Kveik Ale Yeast - For Craft Lagers - Ingredients for Home Brewing - Beer Making Supplies - (1 Pack)
Craft a Brew

$53.24
1pc Hose Barb/MFL 1.5" Tri Clamp to Ball Lock Post Liquid Gas Homebrew Kegging Fermentation Parts Brewer Hardware SUS304(Gas MFL)
Guangshui Weilu You Trading Co., Ltd

$1.91
$29.95
Mastering Homebrew: The Complete Guide to Brewing Delicious Beer (Beer Brewing Bible, Homebrewing Book)
Goodwill Retail Services, Inc.
![Craft A Brew - Safale S-04 Dry Yeast - Fermentis - English Ale Dry Yeast - For English and American Ales and Hard Apple Ciders - Ingredients for Home Brewing - Beer Making Supplies - [1 Pack]](https://m.media-amazon.com/images/I/41fVGNh6JfL._SL500_.jpg)
$6.95 ($17.38 / Ounce)
$7.47 ($18.68 / Ounce)
Craft A Brew - Safale S-04 Dry Yeast - Fermentis - English Ale Dry Yeast - For English and American Ales and Hard Apple Ciders - Ingredients for Home Brewing - Beer Making Supplies - [1 Pack]
Hobby Homebrew

$76.92 ($2,179.04 / Ounce)
Brewing accessories 1.5" Tri Clamp to Ball Lock Post Liquid Gas Homebrew Kegging Fermentation Parts Brewer Hardware SUS304 Brewing accessories(Gas Hose Barb)
chuhanhandianzishangwu

$33.99 ($17.00 / Count)
$41.99 ($21.00 / Count)
2 Pack 1 Gallon Large Fermentation Jars with 3 Airlocks and 2 SCREW Lids(100% Airtight Heavy Duty Lid w Silicone) - Wide Mouth Glass Jars w Scale Mark - Pickle Jars for Sauerkraut, Sourdough Starter
Qianfenie Direct

$176.97
1pc Commercial Keg Manifold 2" Tri Clamp,Ball Lock Tapping Head,Pressure Gauge/Adjustable PRV for Kegging,Fermentation Control
hanhanbaihuoxiaoshoudian

$58.16
HUIZHUGS Brewing Equipment Keg Ball Lock Faucet 30cm Reinforced Silicone Hose Secondary Fermentation Homebrew Kegging Brewing Equipment
xiangshuizhenzhanglingfengshop

$44.99
$49.95
Craft A Brew - Mead Making Kit – Reusable Make Your Own Mead Kit – Yields 1 Gallon of Mead
Craft a Brew

$20.94
$29.99
The Brew Your Own Big Book of Clone Recipes: Featuring 300 Homebrew Recipes from Your Favorite Breweries
Amazon.com

$10.99 ($31.16 / Ounce)
Hornindal Kveik Yeast for Homebrewing - Mead, Cider, Wine, Beer - 10g Packet - Saccharomyces Cerevisiae - Sold by Shadowhive.com
Shadowhive

$479.00
$559.00
EdgeStar KC1000SS Craft Brew Kegerator for 1/6 Barrel and Cornelius Kegs
Amazon.com
Positronic_Matrix
Well-Known Member
I assume your copper pipes are a heat sink to move heat from the outside of the tower that makes it through the insulation down into the cooler. I have to tell you, that is absolutely inspired.
I have a three-tap tower as well, which I heavily insulated. The quantity of beer in the lines is small relative to a full pour, so I never notice a temperature issue. However, I do have a burst of foam with the first beer from the tap and wondered if cooling the line might solve that issue.
Glycol lines are too much work but a copper pipe is easy. I’ll give it a try on one of my lines and see if I notice a difference in temperature or foam. Thanks!
odie
Well-Known Member
Yes a heat sink. Not as effective as a tower fan but requires no power or ducting. The copper cost about $10-12 bucks. There was 2 kinds of pipe. Thin and thick wall. I choose the thick walled for a couple bucks more. I think “thermal mass” will help
odie
Well-Known Member
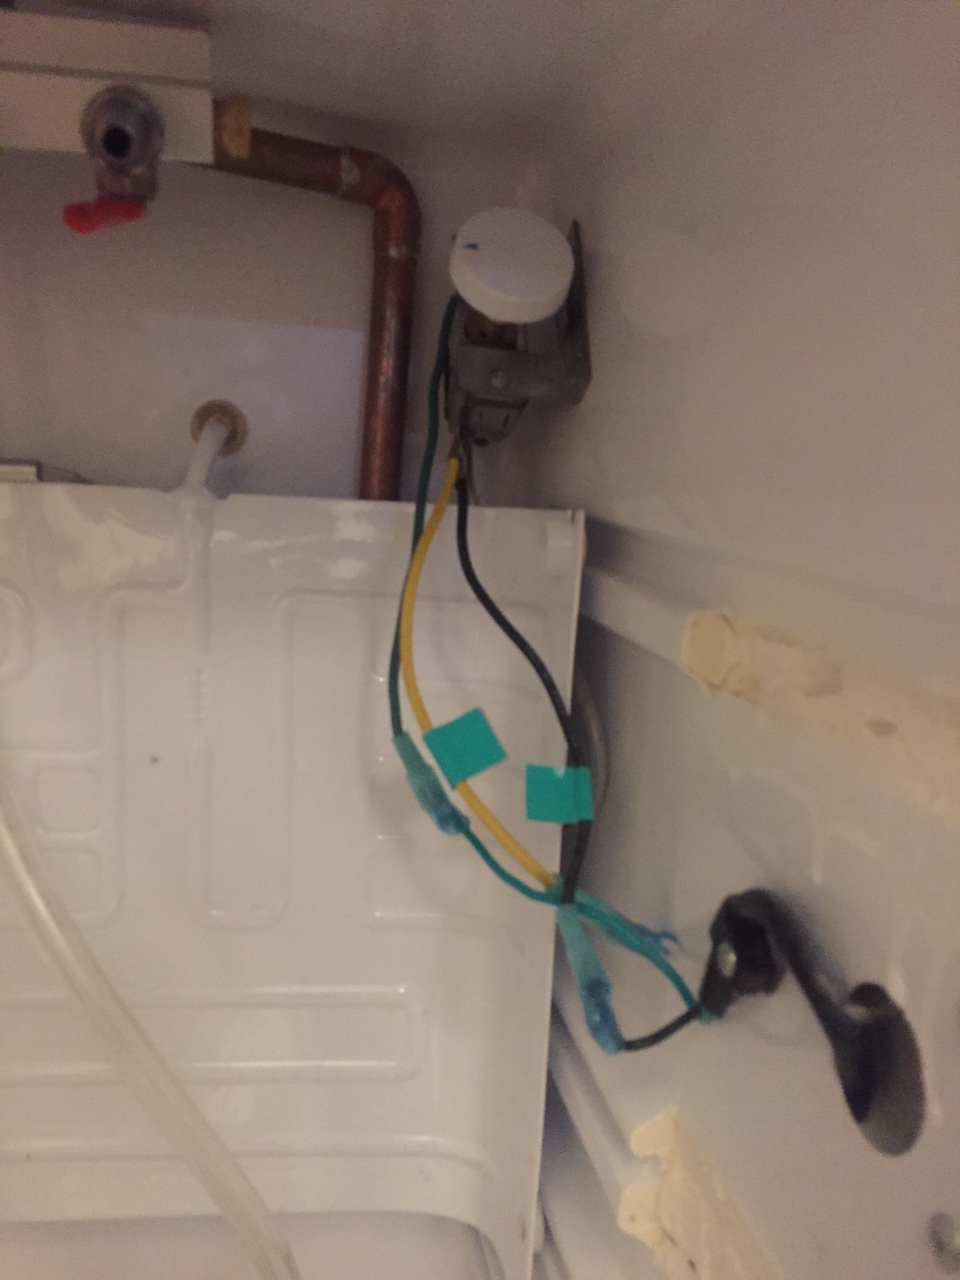
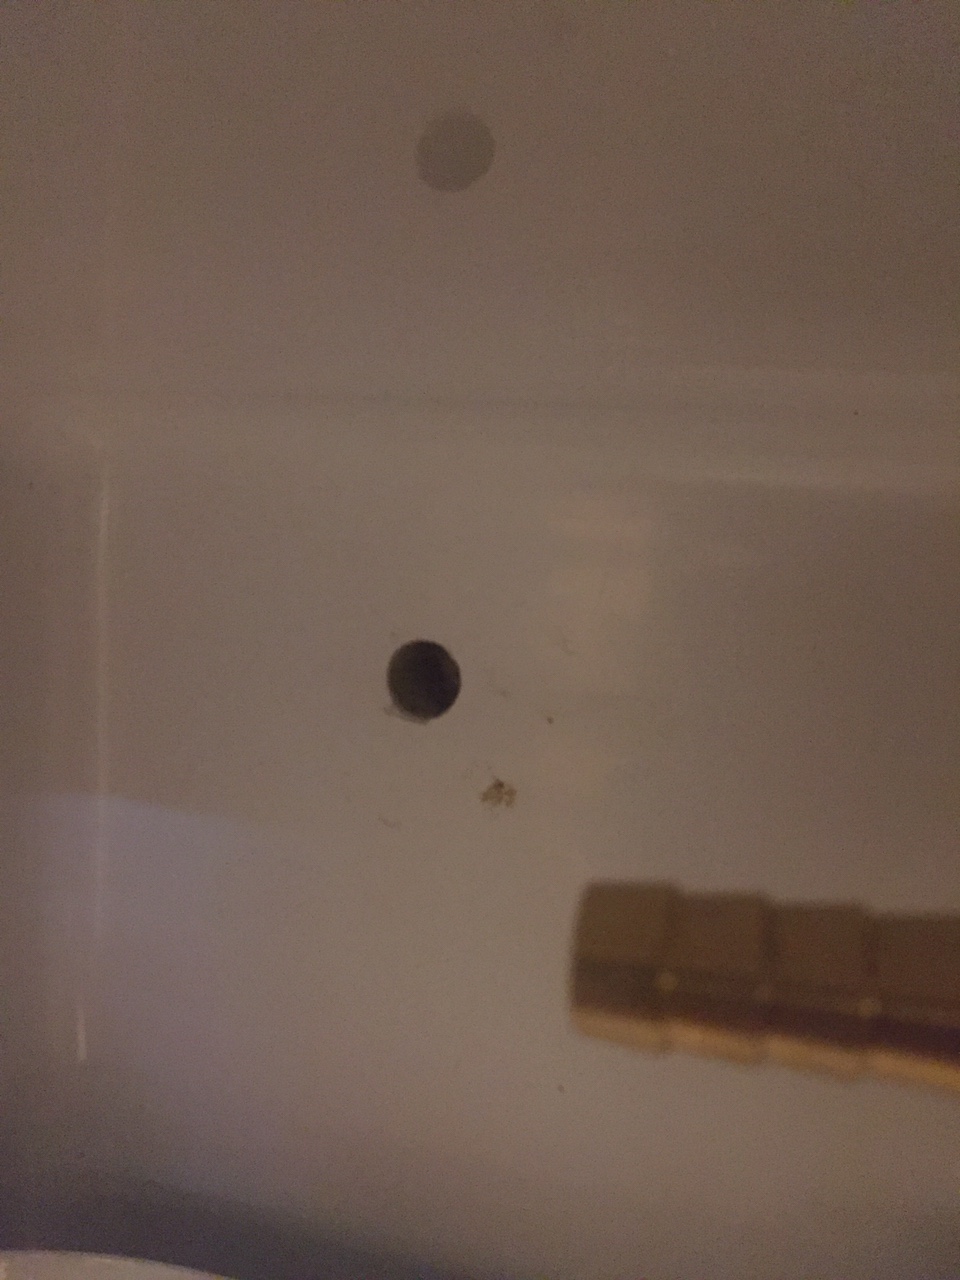
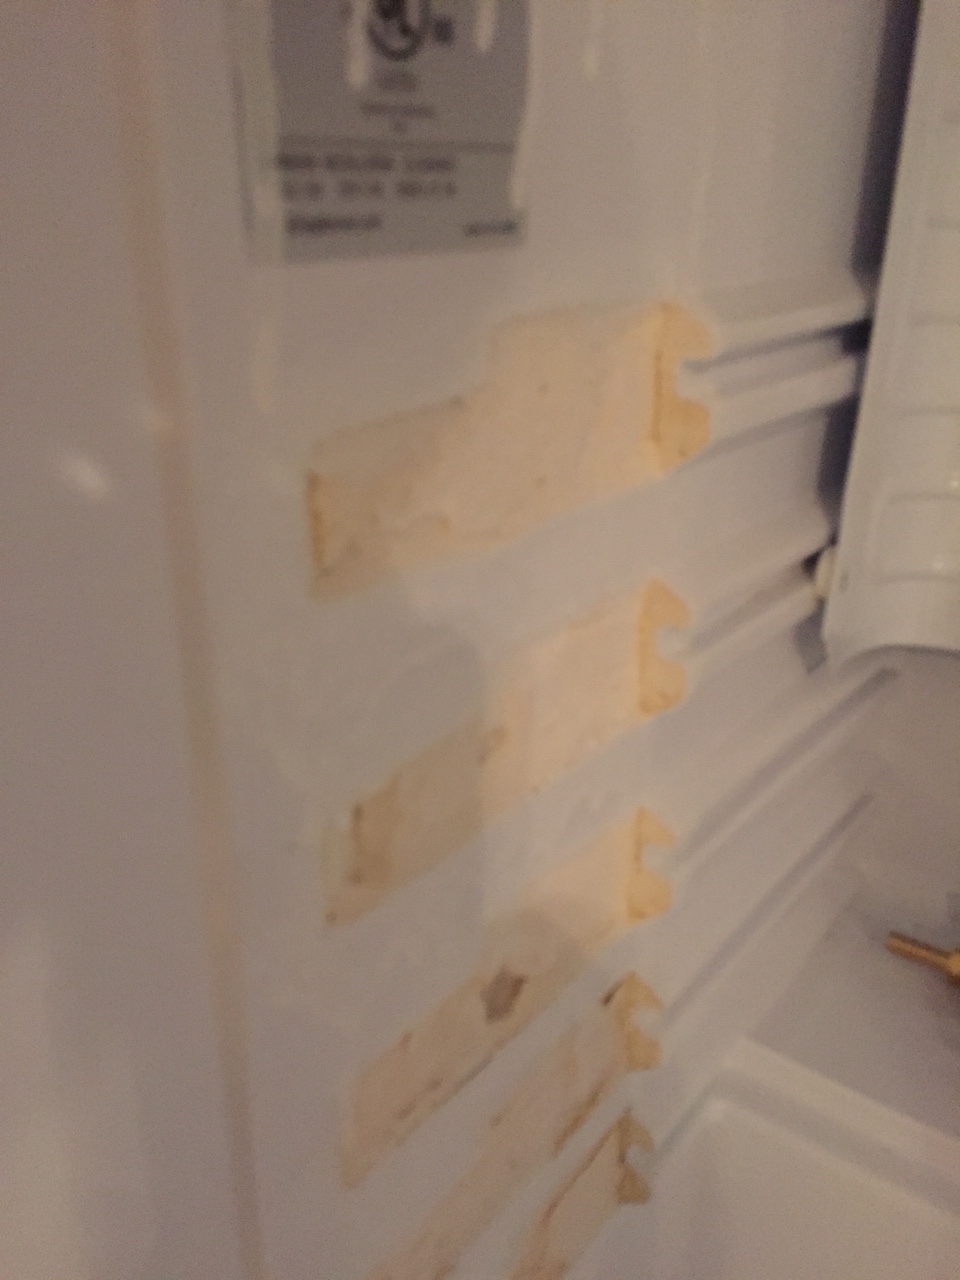
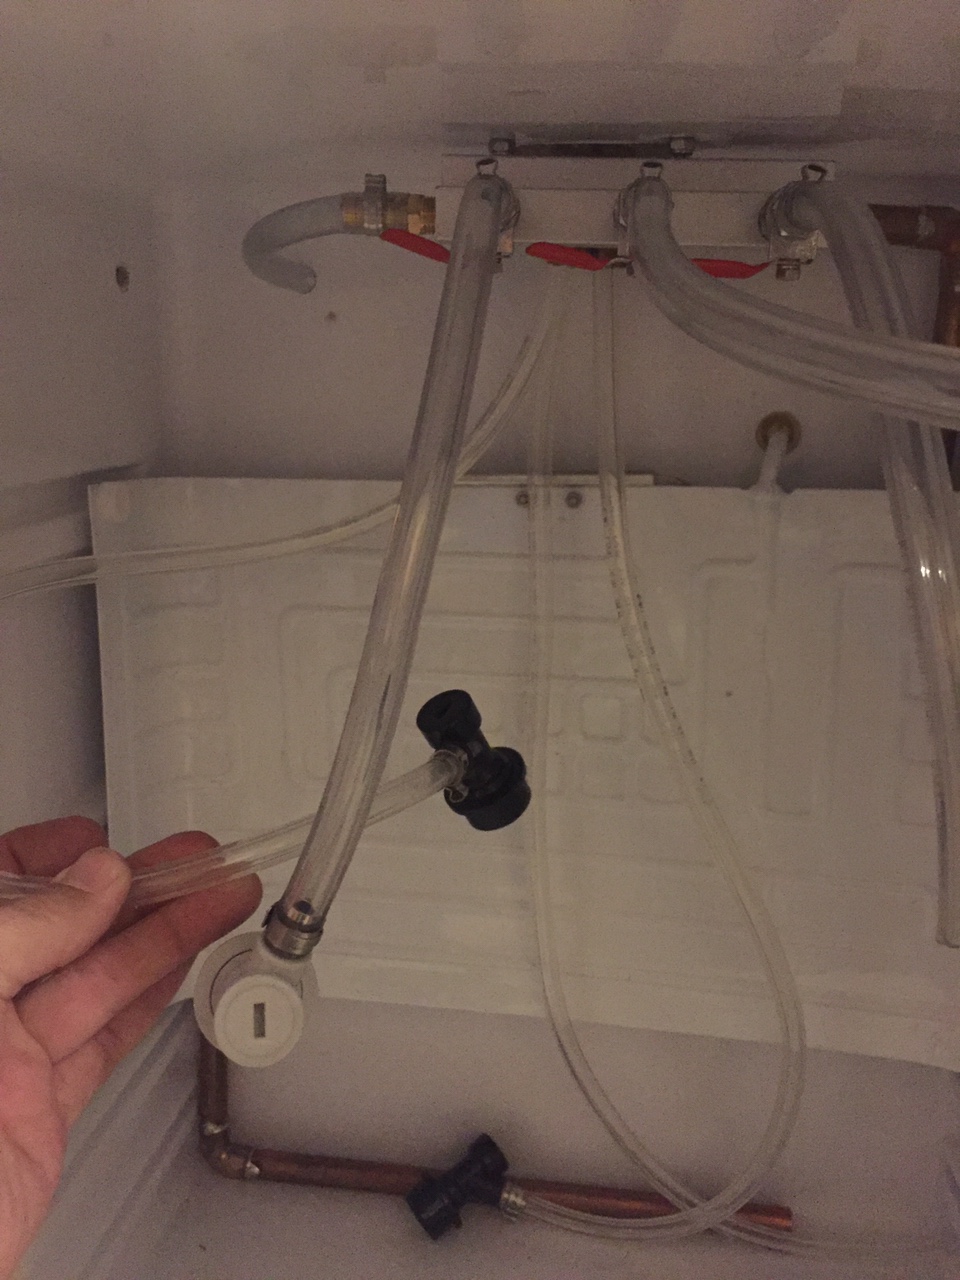
As you can see, I had to relocate the thermostat and use some jumper wires. The chiller plate was pushed down and against the back wall. Done outside in the sun with a heat gun to get the freon tubing soft to avoid kinks or breakage. If u find a mini fridge with the plate already on the back wall that would obviously be better.
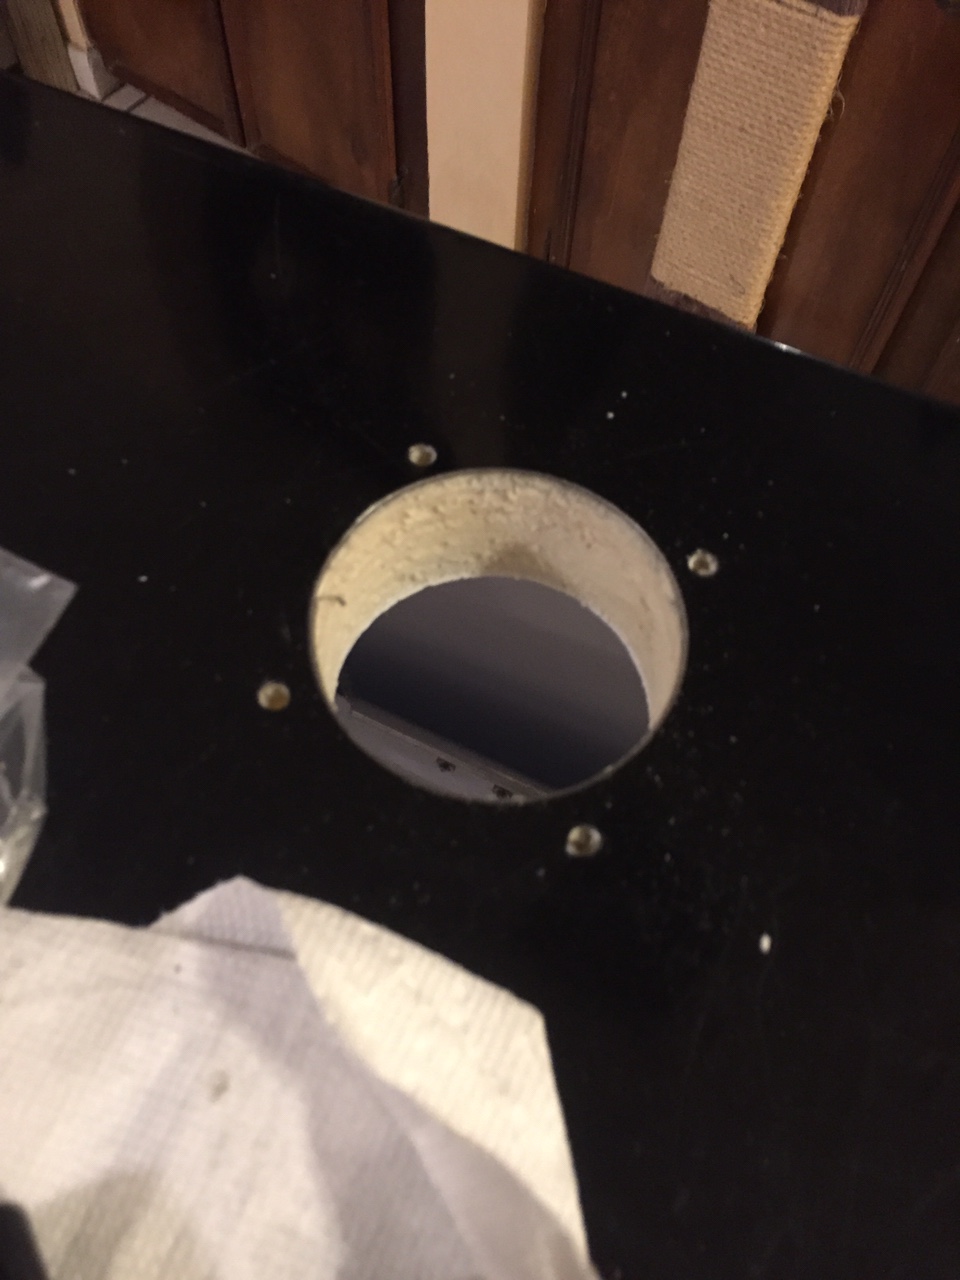
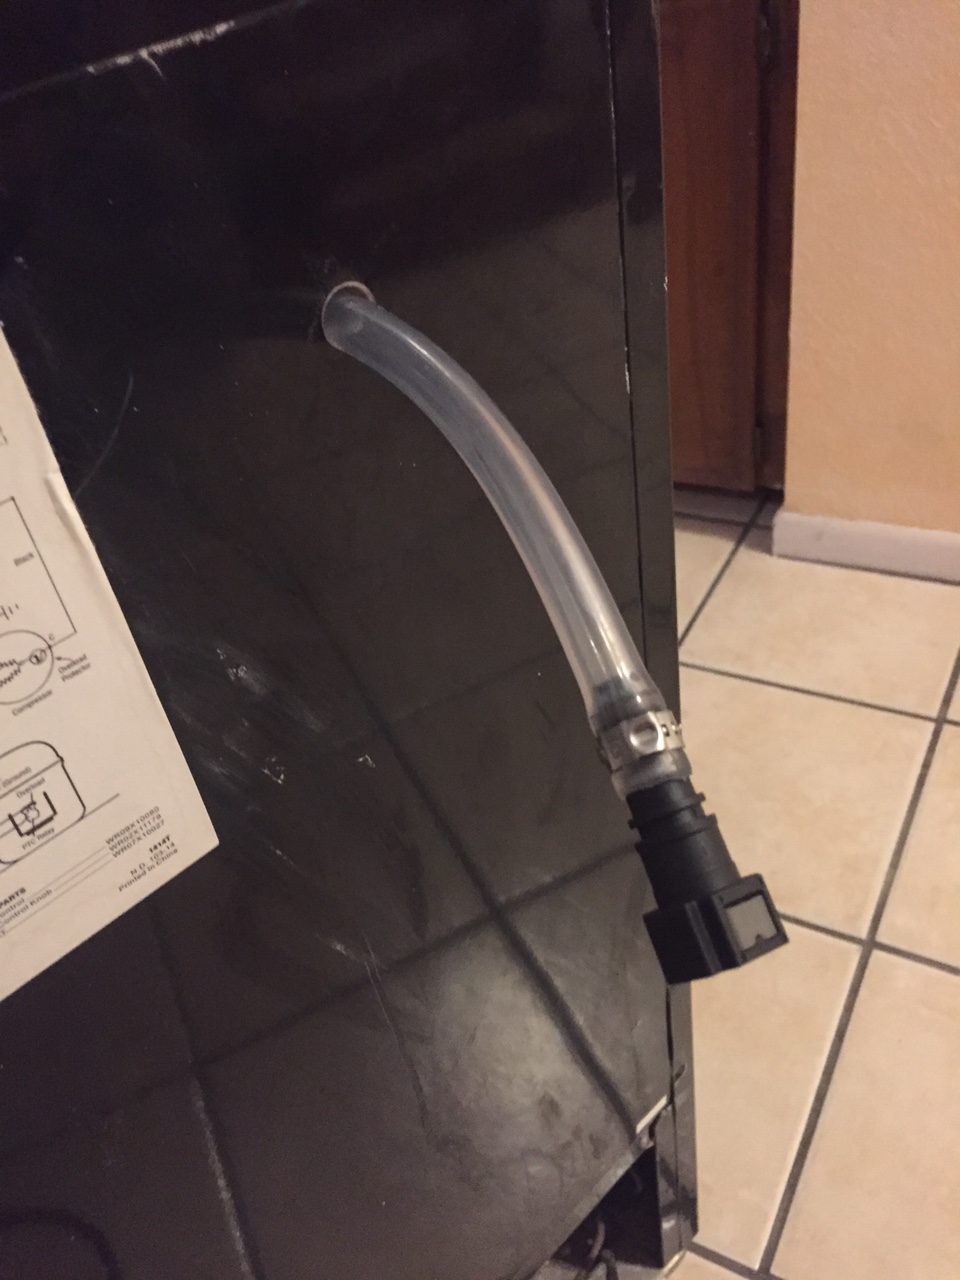
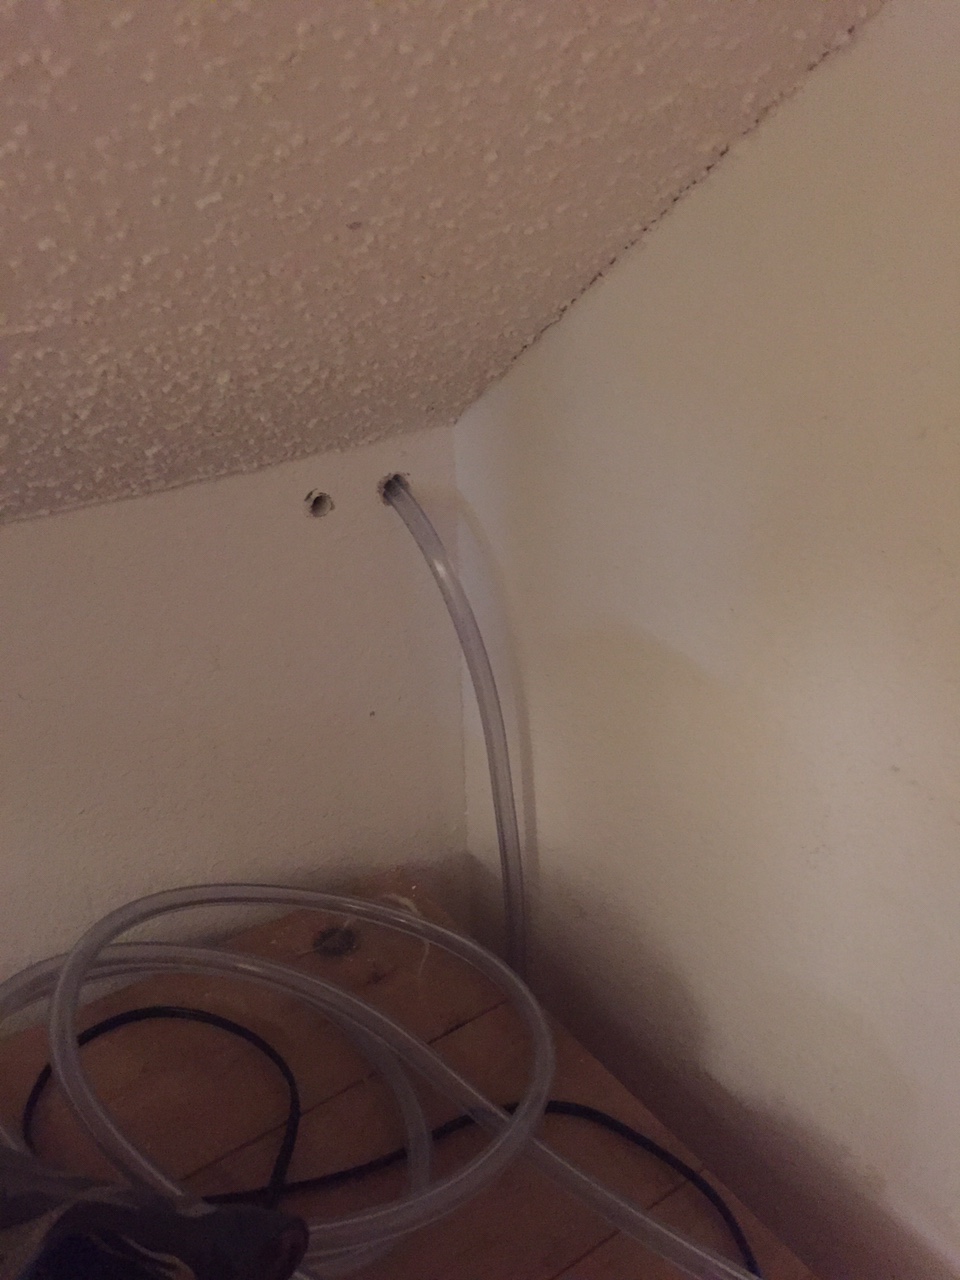
CO2 access is thru the back. Tiny exploratory hole looking for freon tubes before going big.
It is intended for nitro so tower cooling not that critical I think.
NickTheGreat
Well-Known Member
- Joined
- Apr 17, 2012
- Messages
- 1,291
- Reaction score
- 531
I also like the copper pipe idea 
Timothy Woodard
Member
- Joined
- Dec 16, 2019
- Messages
- 12
- Reaction score
- 2
All the magic of Nitro coffee is in 1.) Temp 37 or under, 2.) pressure 45psi or over, and 3.) a sparkler.
And a carbing stone in the keg helps too.
And a carbing stone in the keg helps too.
Similar threads
- Replies
- 0
- Views
- 447
- Replies
- 10
- Views
- 8K
- Replies
- 3
- Views
- 869
- Replies
- 2
- Views
- 1K

