BruControl: Brewery control & automation software

Homebrew Talk - Beer, Wine, Mead, & Cider Brewing Discussion Forum

Help Support Homebrew Talk - Beer, Wine, Mead, & Cider Brewing Discussion Forum:

This site may earn a commission from merchant affiliate links, including eBay, Amazon, and others.
I have a BrewBuilt IceMaster Max 4 glycol chiller and I was wondering if anyone has tied into the built in controllers with BruControl or if you have to bypass the built in controller all together to tie into BruControl?

1631104886337.png
The Max 4 glycol chiller has a main temperature controller (much like an STC-1000) for the glycol tank and an individual controllers for each of four pumps that manage each glycol loop.

I had an STC-1000 go bad on me once so I was wanting to use BruControl so that I can add some safeguards to avoid another surprise STC-1000 failure.
 
Still having issues with random Mega disconnects after adding the third RP 3 board. @BrunDog this is the same issue we tried to diagnose a while back to no avail, you recommended having various interfaces as to not rely too heavily on any one. I currently have Mega 3560 controlling/monitoring hot side and cold side..that is HLT, MLT, Kettle, CLT, Glycol loop and Fermenters 1 thru 4. I also have ESP32 controlling the cold storage.

I've been able to get by with the two RP3 boards on the Mega but with our grand opening soon I'm thinking about adding a third.

Any suggestions on an interface? Thinking about keeping FV-1 thru 4, CLT and Glycol loop monitor on the Mega (utilizing 2 RP3s) and add the new interface for the hotside with one RP3. Keep the ESP32 solely for cold storage.

Also considering phasing out the PT100s and eliminating the amplifier boards..thoughts?

Since the MEGA's are so cheap, I'd consider just adding another one of those. If you would like to revisit the disconnects, please email me and we can try to tackle it again there.
 
I have a BrewBuilt IceMaster Max 4 glycol chiller and I was wondering if anyone has tied into the built in controllers with BruControl or if you have to bypass the built in controller all together to tie into BruControl?

View attachment 741719
The Max 4 glycol chiller has a main temperature controller (much like an STC-1000) for the glycol tank and an individual controllers for each of four pumps that manage each glycol loop.

I had an STC-1000 go bad on me once so I was wanting to use BruControl so that I can add some safeguards to avoid another surprise STC-1000 failure.

You could add a single interface into the unit but would have to bypass the STC units. Not plug and play and would likely void the warranty... but possible.
 
For extending the wires of your motorized valves (hot side), what is the easiest/fastest (and water tight) way of doing this? Thinking thermostat cable w/ heat shrink tubing to cover the soldered connection point.

Previously built XLR cables (w/ nylon sheaths) for cold side automation; however, this time, trying to avoid the time required to go to this extent.
A problem with Thermostat wire is that it is solid (at least the stuff at Home Deport). That can cause issues after some time. We use stranded cable.

Depending on where your valves are, you could use something like this.
https://www.ebay.com/itm/3247757925...%2B3lH8ZP7j2vDhtbUTi|ampid:PL_CLK|clp:2334524
 
What wire crimp connectors do you use?

I use ratcheting style tools for both ferrules and crimp on connectors. If you are asking about brands specifically, I use Klein tools and Panduit connectors, but all the ones I see on Amazon look nearly identical, so get whatever fits your budget.
 
I’ve been trying to think of a way to write this post. So I’ll start by thanking @BrunDog for creating an awesome platform for Brewery automation. There are so many others to thank for inspiration, but also the informative discussions on the forum.

Since beginning to brew with my Step-dad 5-6 years ago, I’ve had the automation bug in my head. It started out slow with lots of learning, mistakes, and baby steps. My set up has morphed many many times over the years too.

I did a first fully automated brew day this past weekend and I can’t wait for more. I sat back and watched for 6 hours start to finish to clean up. I only added/removed ingredients and vaccumed a little trub. There was only one small code error that was easily remedied. I would say DREAM complete!

I’m left wondering what is next… I’m sure there will be something.

Thanks @BrunDog @TenaCJed @RiverCityBrewer
Turns out I had a couple wires swapped on the two Relays in question. All is well now! I did testing with all valves plugged in and everything is working the way it should.

Now it’s time to finalize my script’s and working on my new plumbing. I’ll hopefully have a start to finish Automatic brew in soon. Buying a new house might slow me down a little bit😀.
 

Attachments

  • 52753CB5-929E-4F67-B248-CCABDAA3B5E1.jpeg
    52753CB5-929E-4F67-B248-CCABDAA3B5E1.jpeg
    937.6 KB · Views: 62
I’ve been trying to think of a way to write this post. So I’ll start by thanking @BrunDog for creating an awesome platform for Brewery automation. There are so many others to thank for inspiration, but also the informative discussions on the forum.

Since beginning to brew with my Step-dad 5-6 years ago, I’ve had the automation bug in my head. It started out slow with lots of learning, mistakes, and baby steps. My set up has morphed many many times over the years too.

I did a first fully automated brew day this past weekend and I can’t wait for more. I sat back and watched for 6 hours start to finish to clean up. I only added/removed ingredients and vaccumed a little trub. There was only one small code error that was easily remedied. I would say DREAM complete!

I’m left wondering what is next… I’m sure there will be something.
Nice job- very cool! Out of curiosity- do you have a bleed valve on your pump? I have the same pump and building with the same head orientation. Debating whether to add a bleed valve.
 
Just fired up the Olimex ESP32-EVB-EA as I noted in post BruControl: Brewery control & automation software.

Dang... for $45 (a bit more now than when I paid for it) this is a pretty easy fermenter controller (1x heating and 1x cooling relay). You would have to solder in 3 wires and a resistor to get 1-wire sensor integration, but that's not too hard. Needs a 5V power supply, but with wire terminals, a LiPo battery plug, box and external antenna, it's a very easy & quick option.

Just sayin!
Any idea where to solder the three wires to get 1 wire integration?
 
Any idea where to solder the three wires to get 1 wire integration?

If you look at the bottom of the board, there is a pin key for a 40-pin header. Ground is pin 34, 35, or 36. +3V is pin 37 or 38. For Data, you can select any of the lower numbered GPIO... I usually like 5, so that is pin 6. Remember to add a 2.2k resistor between +3 and the data line as well.
 
Nice job- very cool! Out of curiosity- do you have a bleed valve on your pump? I have the same pump and building with the same head orientation. Debating whether to add a bleed valve.
I had bleed valves (and have gone to Riptide with built in bleed. One thing we did do "bleed" was to back flow water into all our pumps. We do not move pumps, but if you do, you can still back flow a small amount of water.
 
Adding 3x motorized valves (2x 3 way, 1x 1way) to a 1.5" TC weld (Spike solo)...are there any standard weight limits for TC welds? Not sure if this is too heavy
 
I had a Stout Mash Tun that I hung a butterfly valve, a bleed Tee with valve and a 90 degree elbow. I noticed after some time that the welded fitting was drooping.
In the past we had a Blickman 10 gal that we hung the same on and being weldless, we had to take it off was the pot bent
 
Adding 3x motorized valves (2x 3 way, 1x 1way) to a 1.5" TC weld (Spike solo)...are there any standard weight limits for TC welds? Not sure if this is too heavy
I'm a metal worker by occupation. This is highly dependant on the gauge of the tank, positioning/location and size of the TC ferrule. A proper weld will allow for quiet a bit of deformation but repeated bending back and forth will actually harden the stainless and cause it to crack.

Check out stauff clamps if you want to add a sanitary support. It sounds like your fine with out a support with what your describing, a picture would allow me to take a better guess
Thanks so much for your thoughts. Any suggestions how best I can support the pipe/valves outlined in red (weight ~15-20lb)? The big red blob in this image will be the kettle which this valve line will connect. Was thinking i could use a stauff clamp to bolt around the leg of the stand and attach to the piping. Any thoughts/other options?

Also tank gauge (not sure- its a spike custom kettle, 20gallon), position/location (~2" from the bottom of the kettle, welded), TC size of 1.5".
 

Attachments

  • IMG_9858.jpg
    IMG_9858.jpg
    916.4 KB · Views: 47
Stauff clamps are great but they may be a bit pricey. You can use the triclamp as a support by welding a 3/8-1/2" round rod in between the clamp (just under the 90deg elbow or the next one down) and the leg of the table. It's not done commercially that I've seen but I've done it at my brewery and it works pretty well. You could also utilize a SS rod coupler (welded to table leg) and thread in a bolt that is welded to the clamp. This would give you a length adjustment. Let me know if that makes sense, I could draw you a picture
 
Couldve sworn I clicked on a graph element once (without going into properties) and was able to change to time span. Cant seem to replicate this...? On a side note, is data manager or predictive hysteresis working in 1.1.19?
 
I'm using 1.1.22 and I can change graph time span as you describe...I can't remember where what was implemented though. Make sure you have user control turned on in the graph to be able to change it without unlocking.
 
IMG_20210718_125238.jpg
IMG_20210716_130235.jpg
IMG_20210719_124050.jpg
IMG_20210716_130245.jpg


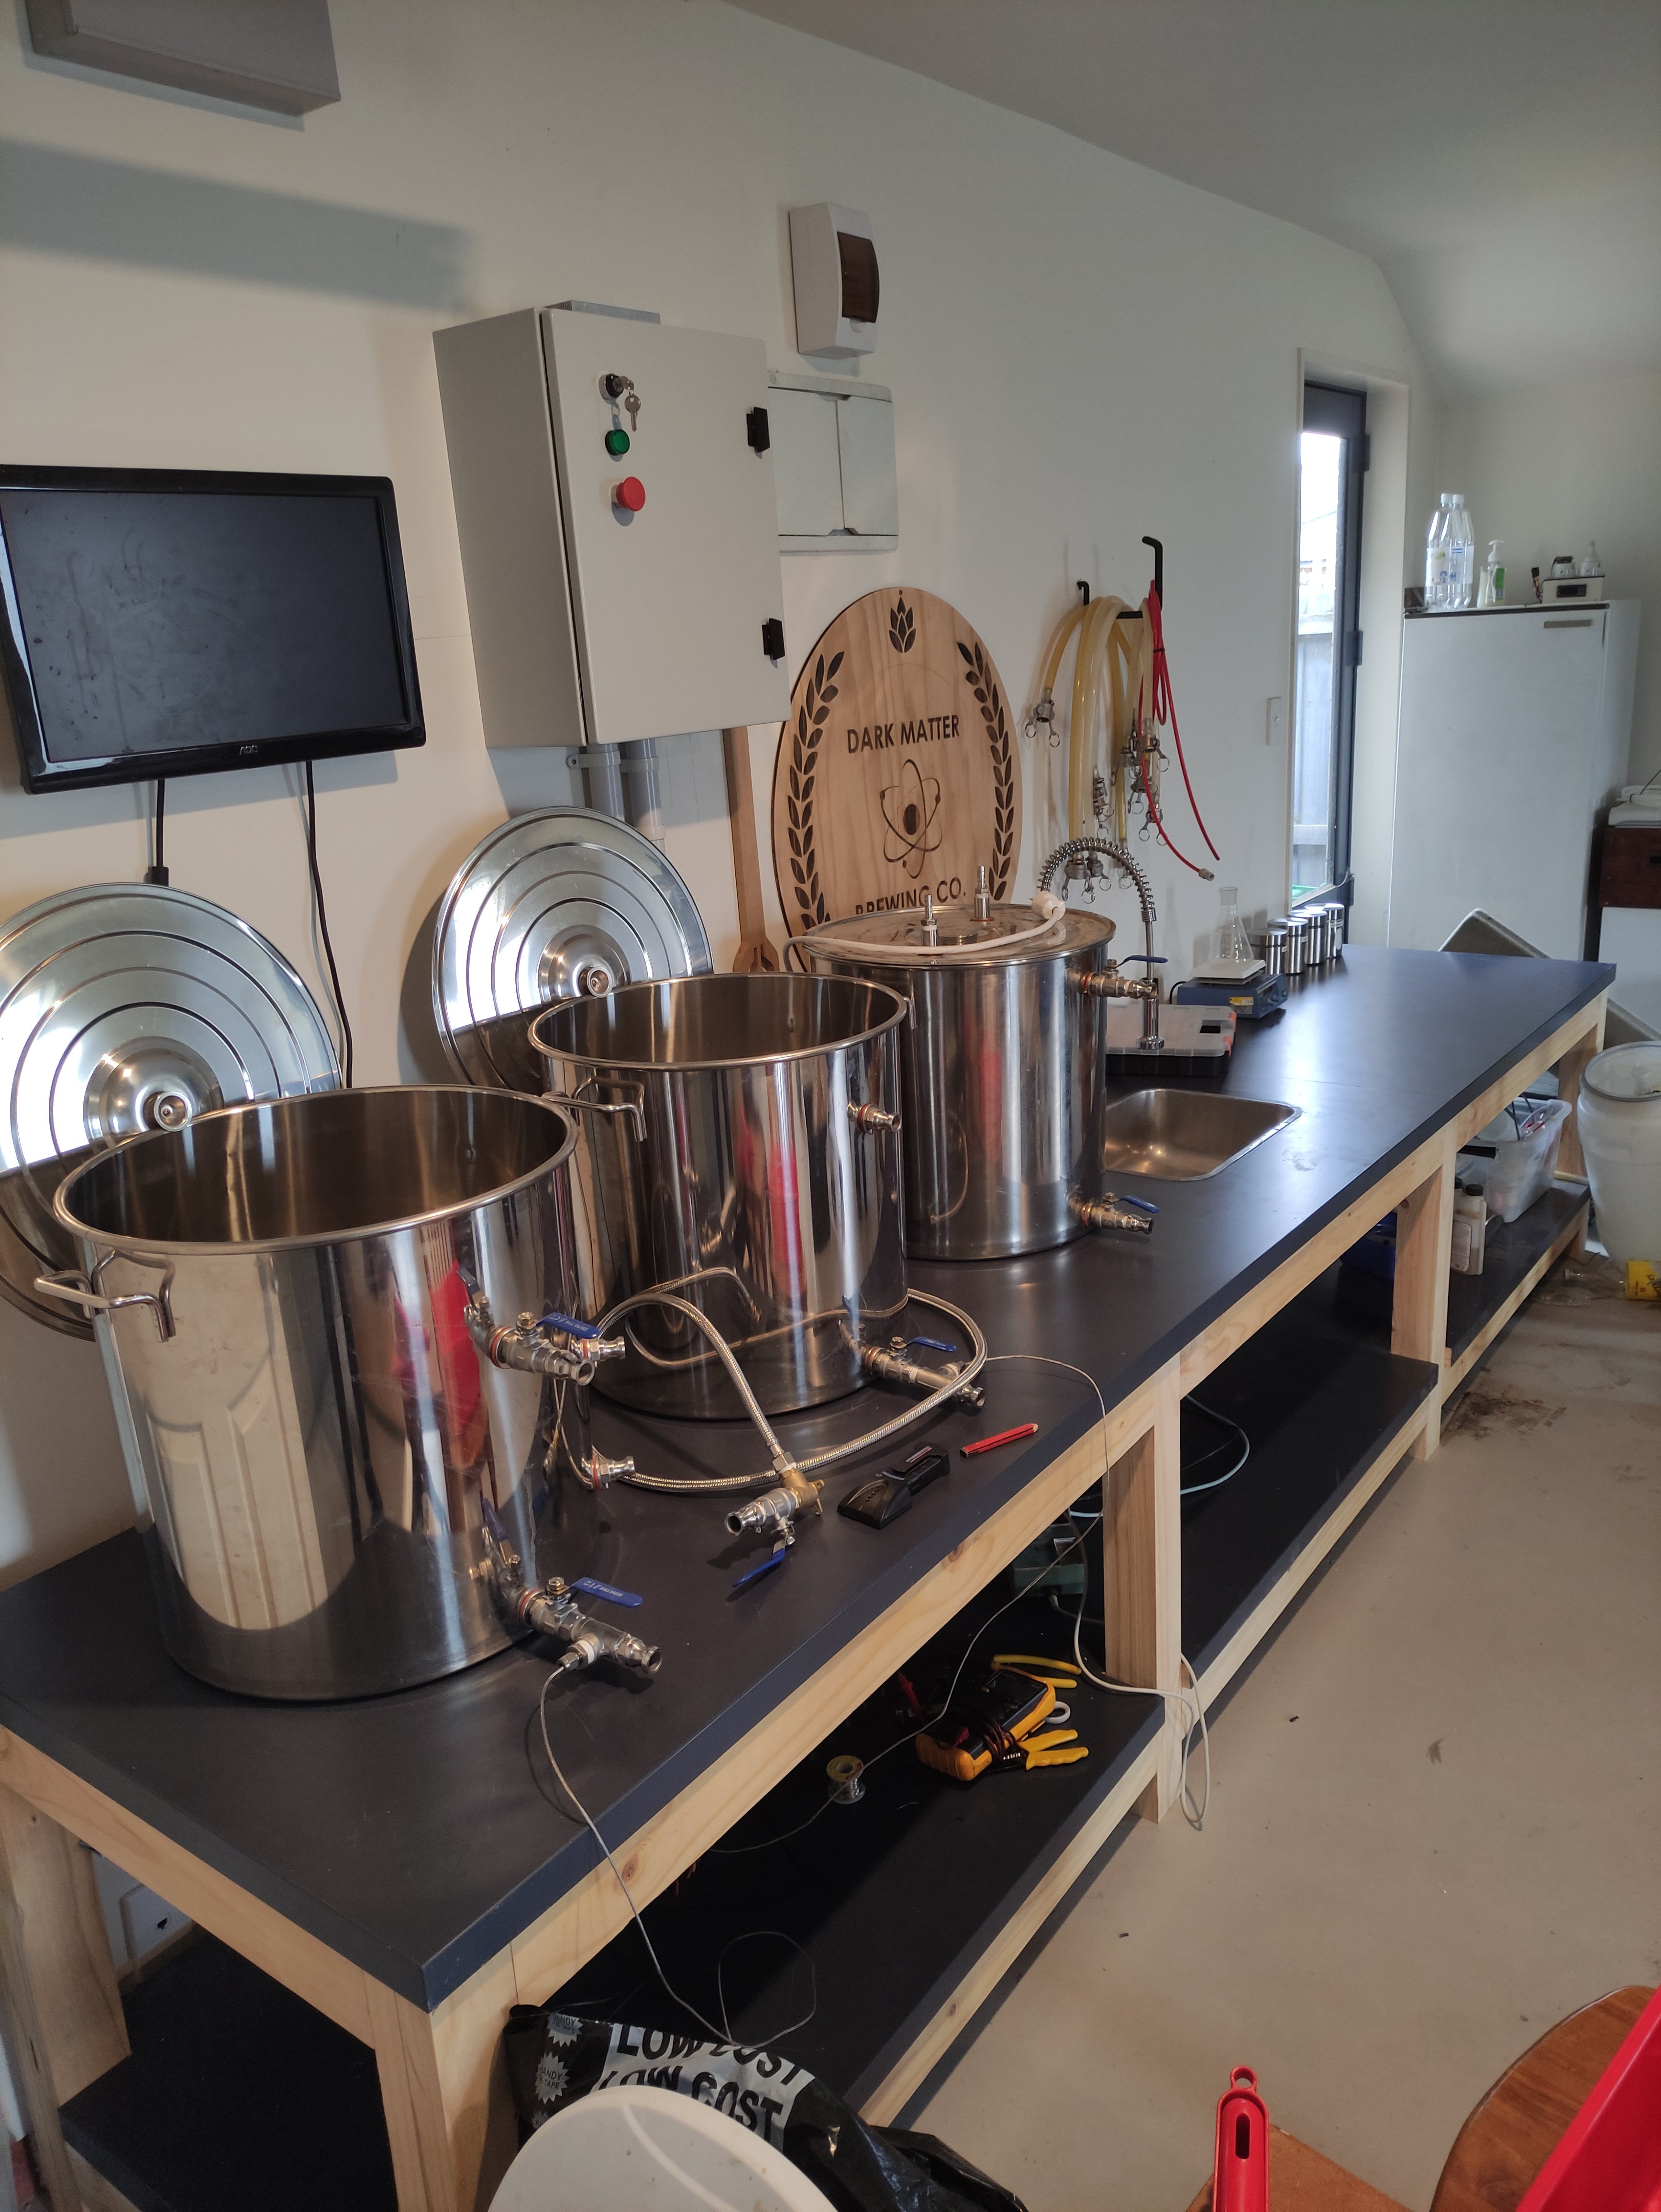
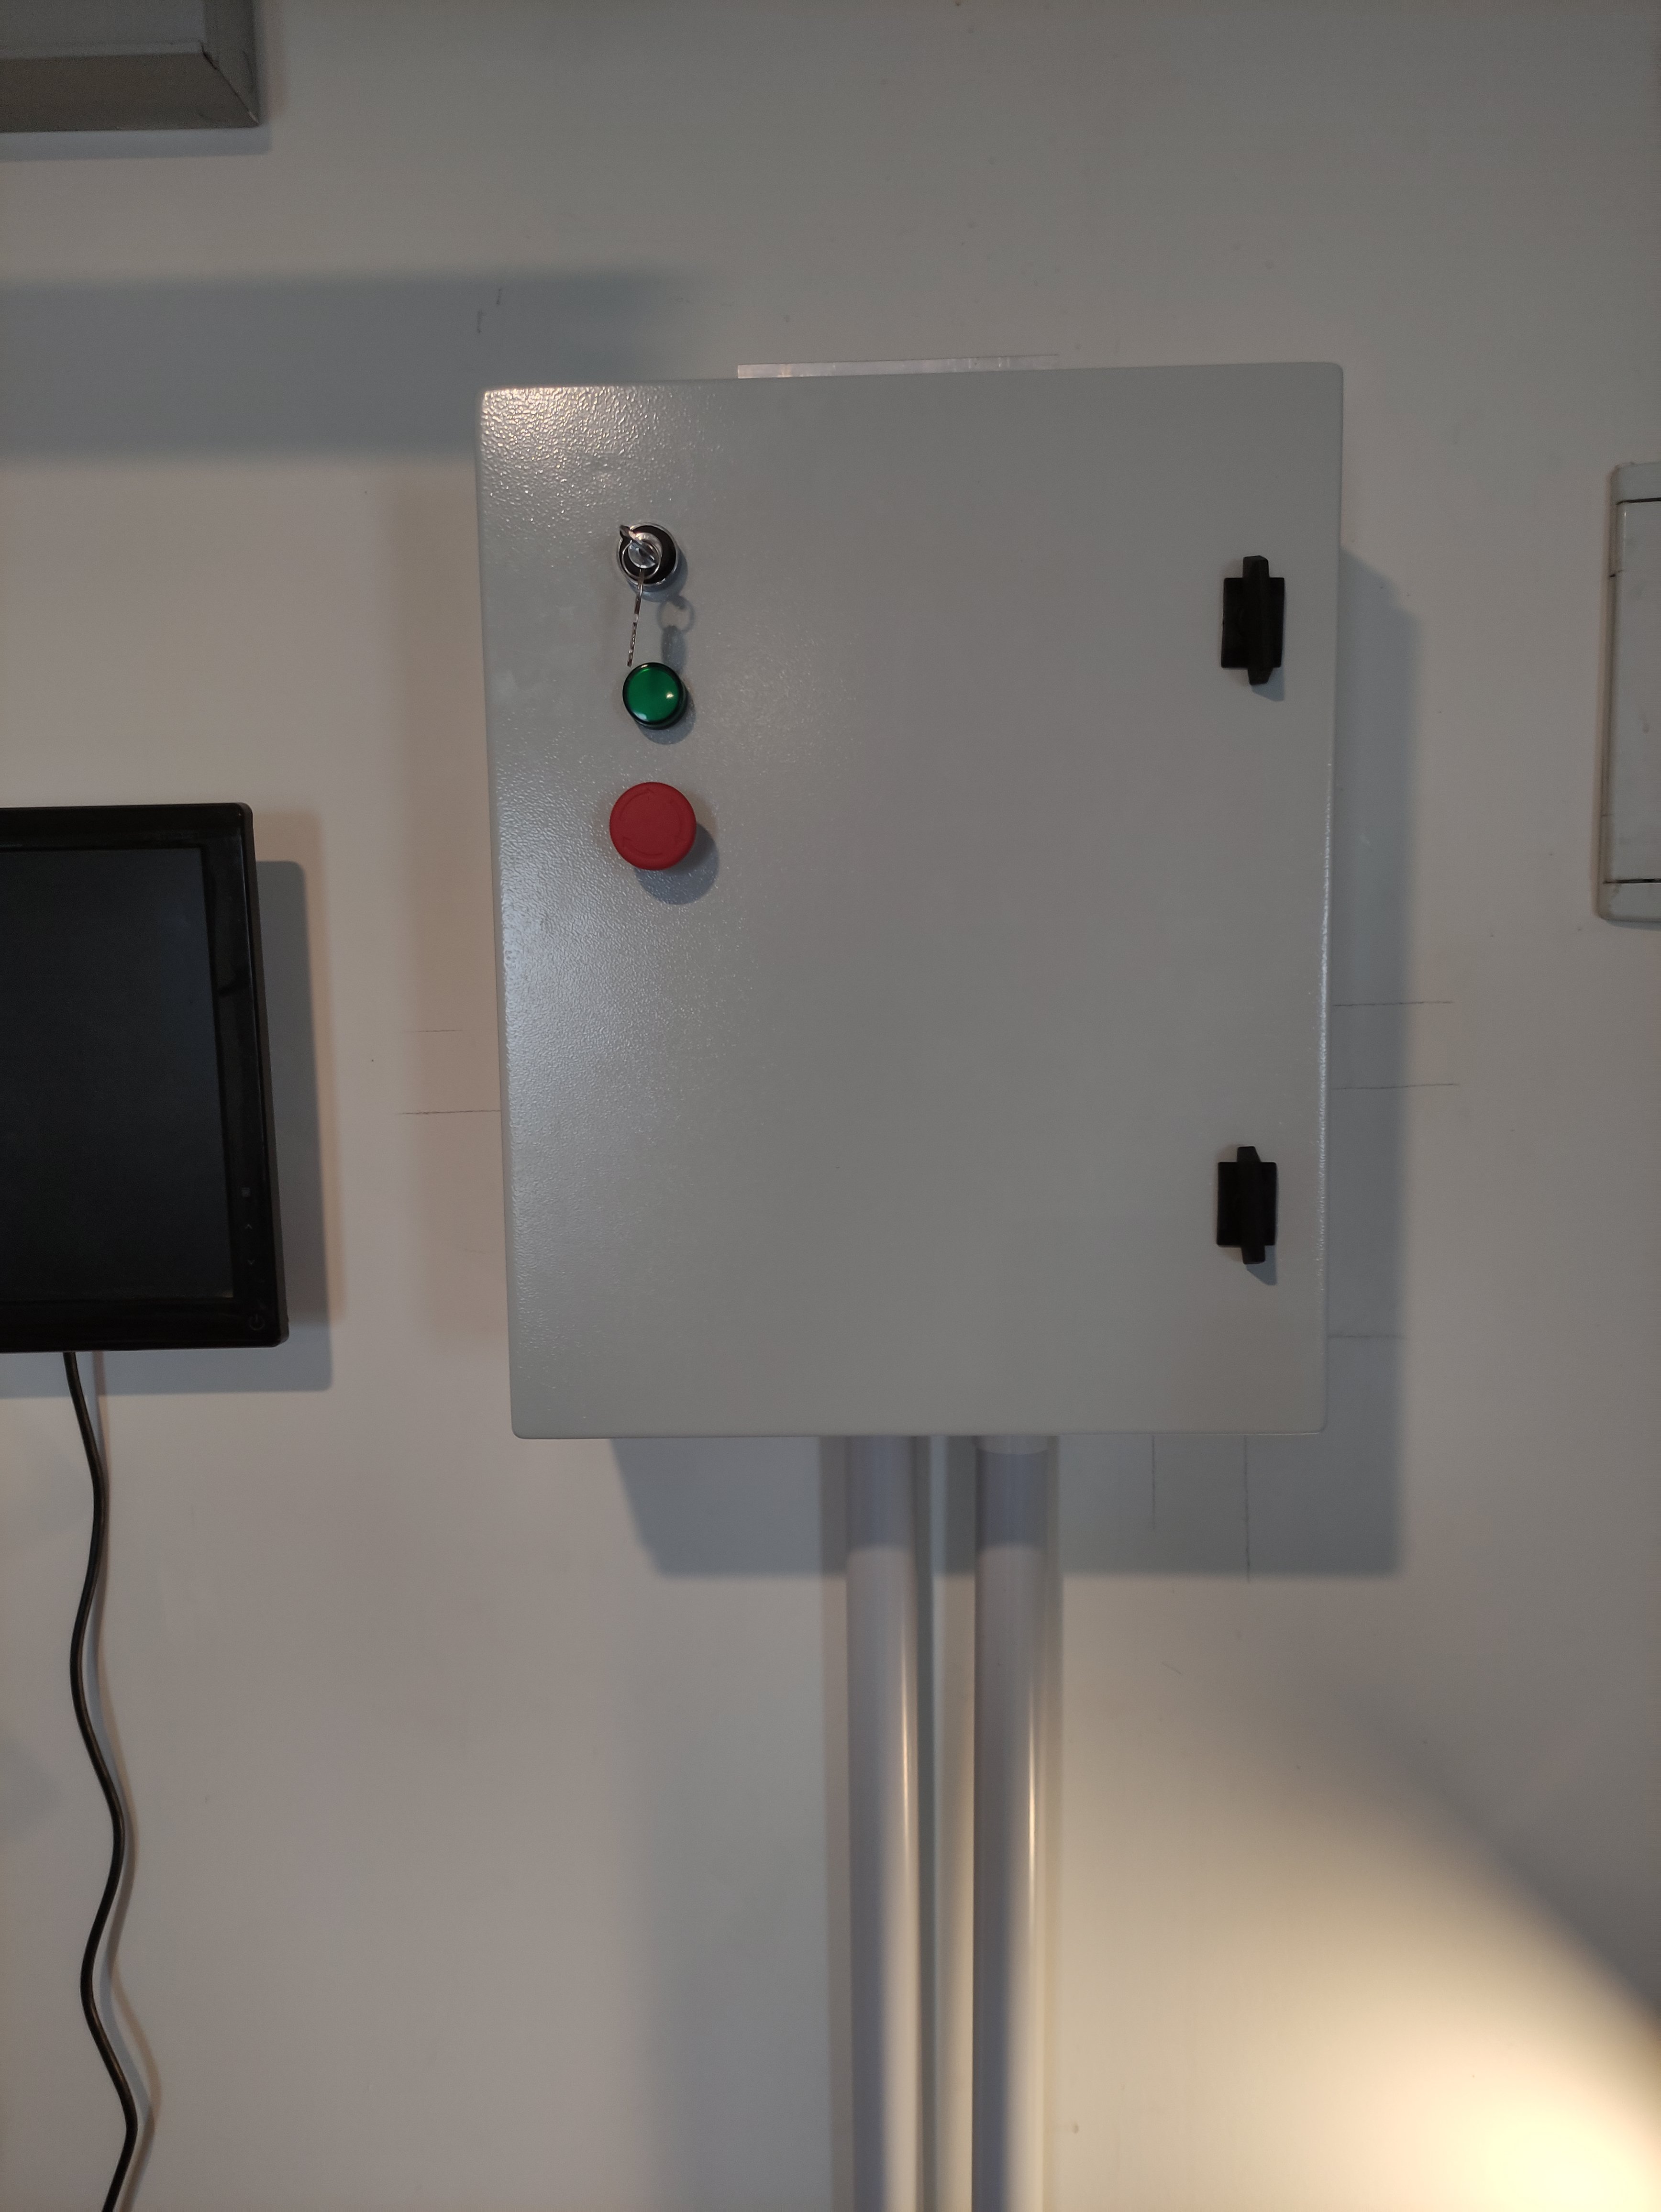
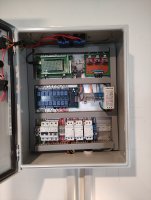
Hi All, new user of BruControl here with a couple of pics of my nearly finished setup and a question. I've recently installed BruControl after previously using CBPi and NodeRed.

I've got an issue with my RTD sensors not showing up any temperature values. I've added the SPI Sensor with the Interface Port set to the pins that I am using for the CS outputs of my 3 RTD probes (D2, D17, D18). I've double checked the wiring and it seems to be okay. 2 Ohm pair of wires from the PT100 are on the F+ side of the MAX31865 amp board.

Any suggestions?

Cheers
 

Attachments

  • IMG_20210716_130235.jpg
    IMG_20210716_130235.jpg
    2.4 MB · Views: 15
Beautiful build!!

To debug these sotuatikns, we usually have to back up and undo items one at a time to find out where the issue is. I would suggest wiring up just one amplifier directly to the MEGA screw shield to make sure that one communicates before bringing in the others and your custom amplifier platform.
Also, some typical things to improve success:
1. Make sure all grounds are brought together, ideally to one point.
2. Power the MEGAwith 9V, or if 12V must be used, via the barrel Jack to drop the input voltage a bit. Lower voltage will prevent the MEGA regulator from overheating on some models.
3.Twist or shield your SPI wires, and also keep them as short as possible.
4. Power the RTD amplifiers off the MEGA 5V.
5. Make sure you have the amplifier config set up correctly. This requires some jumper soldering and cutting depending on which wire config you are using.

Hope this helps a bit.

Thank you. Had soldered the amplifiers for 3wire but hadn't cut the traces. Even then, after much swapping and testing 2 out of 3 boards appear to be duds. Got one working and showing temperature correctly so am very happy about that. Will order some more amplifier boards. Too bad they aren't available locally in New Zealand (at least not at a reasonable price) so AliExpress it is.
 
Solenoids throw a lot of EMI, so it can't hurt, but a flyback diode is better protection.
I'm running flyback diodes directly at the valve most are working great but for some reason the one at CLT causes thermometer to mess up when it's triggered
 
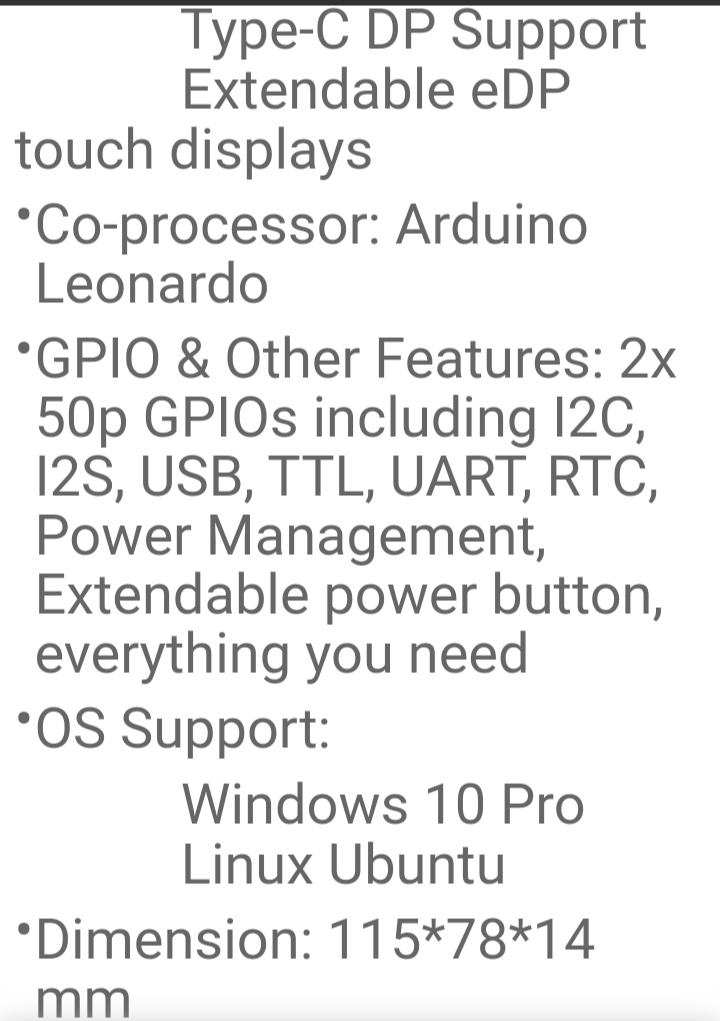
First, let me apologize if this has been answered, a search didn't show anything, but has the Latte Panda been considered for an all in one solution?
I may be late to the party but seems interesting.

https://www.dfrobot.com/product-2092.htmlView attachment 743980

Dont get me started… this is a cool board, but for some reason they chose an outdated microcontroller…. The Leonardo doesn’t have much memory, so won’t fit BruControl firmware. SMH considering the SAMD21 is a much better modern chip.
 
Yeah, that might do it. These boards have both MOVs and R-C circuits. The MOV (metal oxide varistor) will conduct electricity above a certain voltage. That voltage spike is dependent on the inductive coil (voltage, number of windings, etc), and it’s possible the MOV threshold is above the spike voltage, rendering it ineffective. But the R-C (resistor/capacitor) should help. The capacitor is a direct short during the voltage spike, whereas the resistor limits the current flow. So with small energy spikes, it can damp them a lot.
 
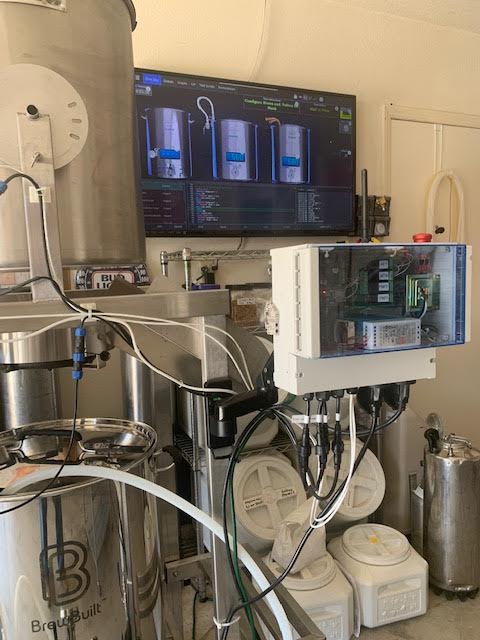
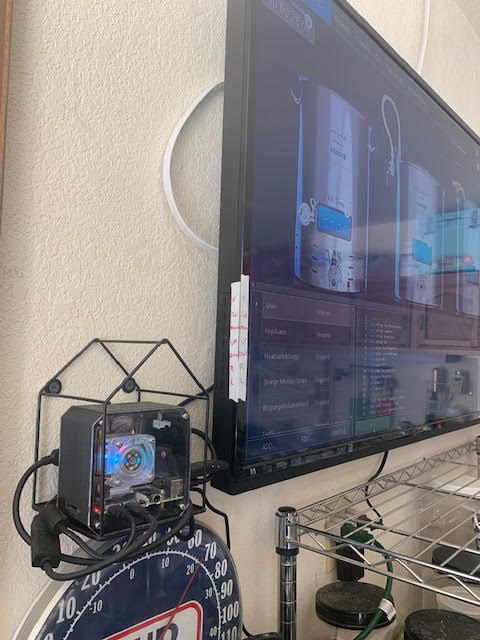
Thought I'd post a quick pic of how I am using BruControl and ESP32 UniShield.
I have only done three brews to date with all the equipment updates and being new to writing my scripts, but plan to expand and update as time permits. Currently I just control gas burners, flow meters, switches and 1-wire temp probes.
Yes, I know most everyone here is electric. I am happy with NG and have been using it for years with great results. Because I use gas, my control box is small and mounted to the brew sculpture. I have a raspberry pi to remote access my brew computer in the house using linux app called Remmina (works great).
0.jpg

1.jpg
 

Latest posts

Back
Top