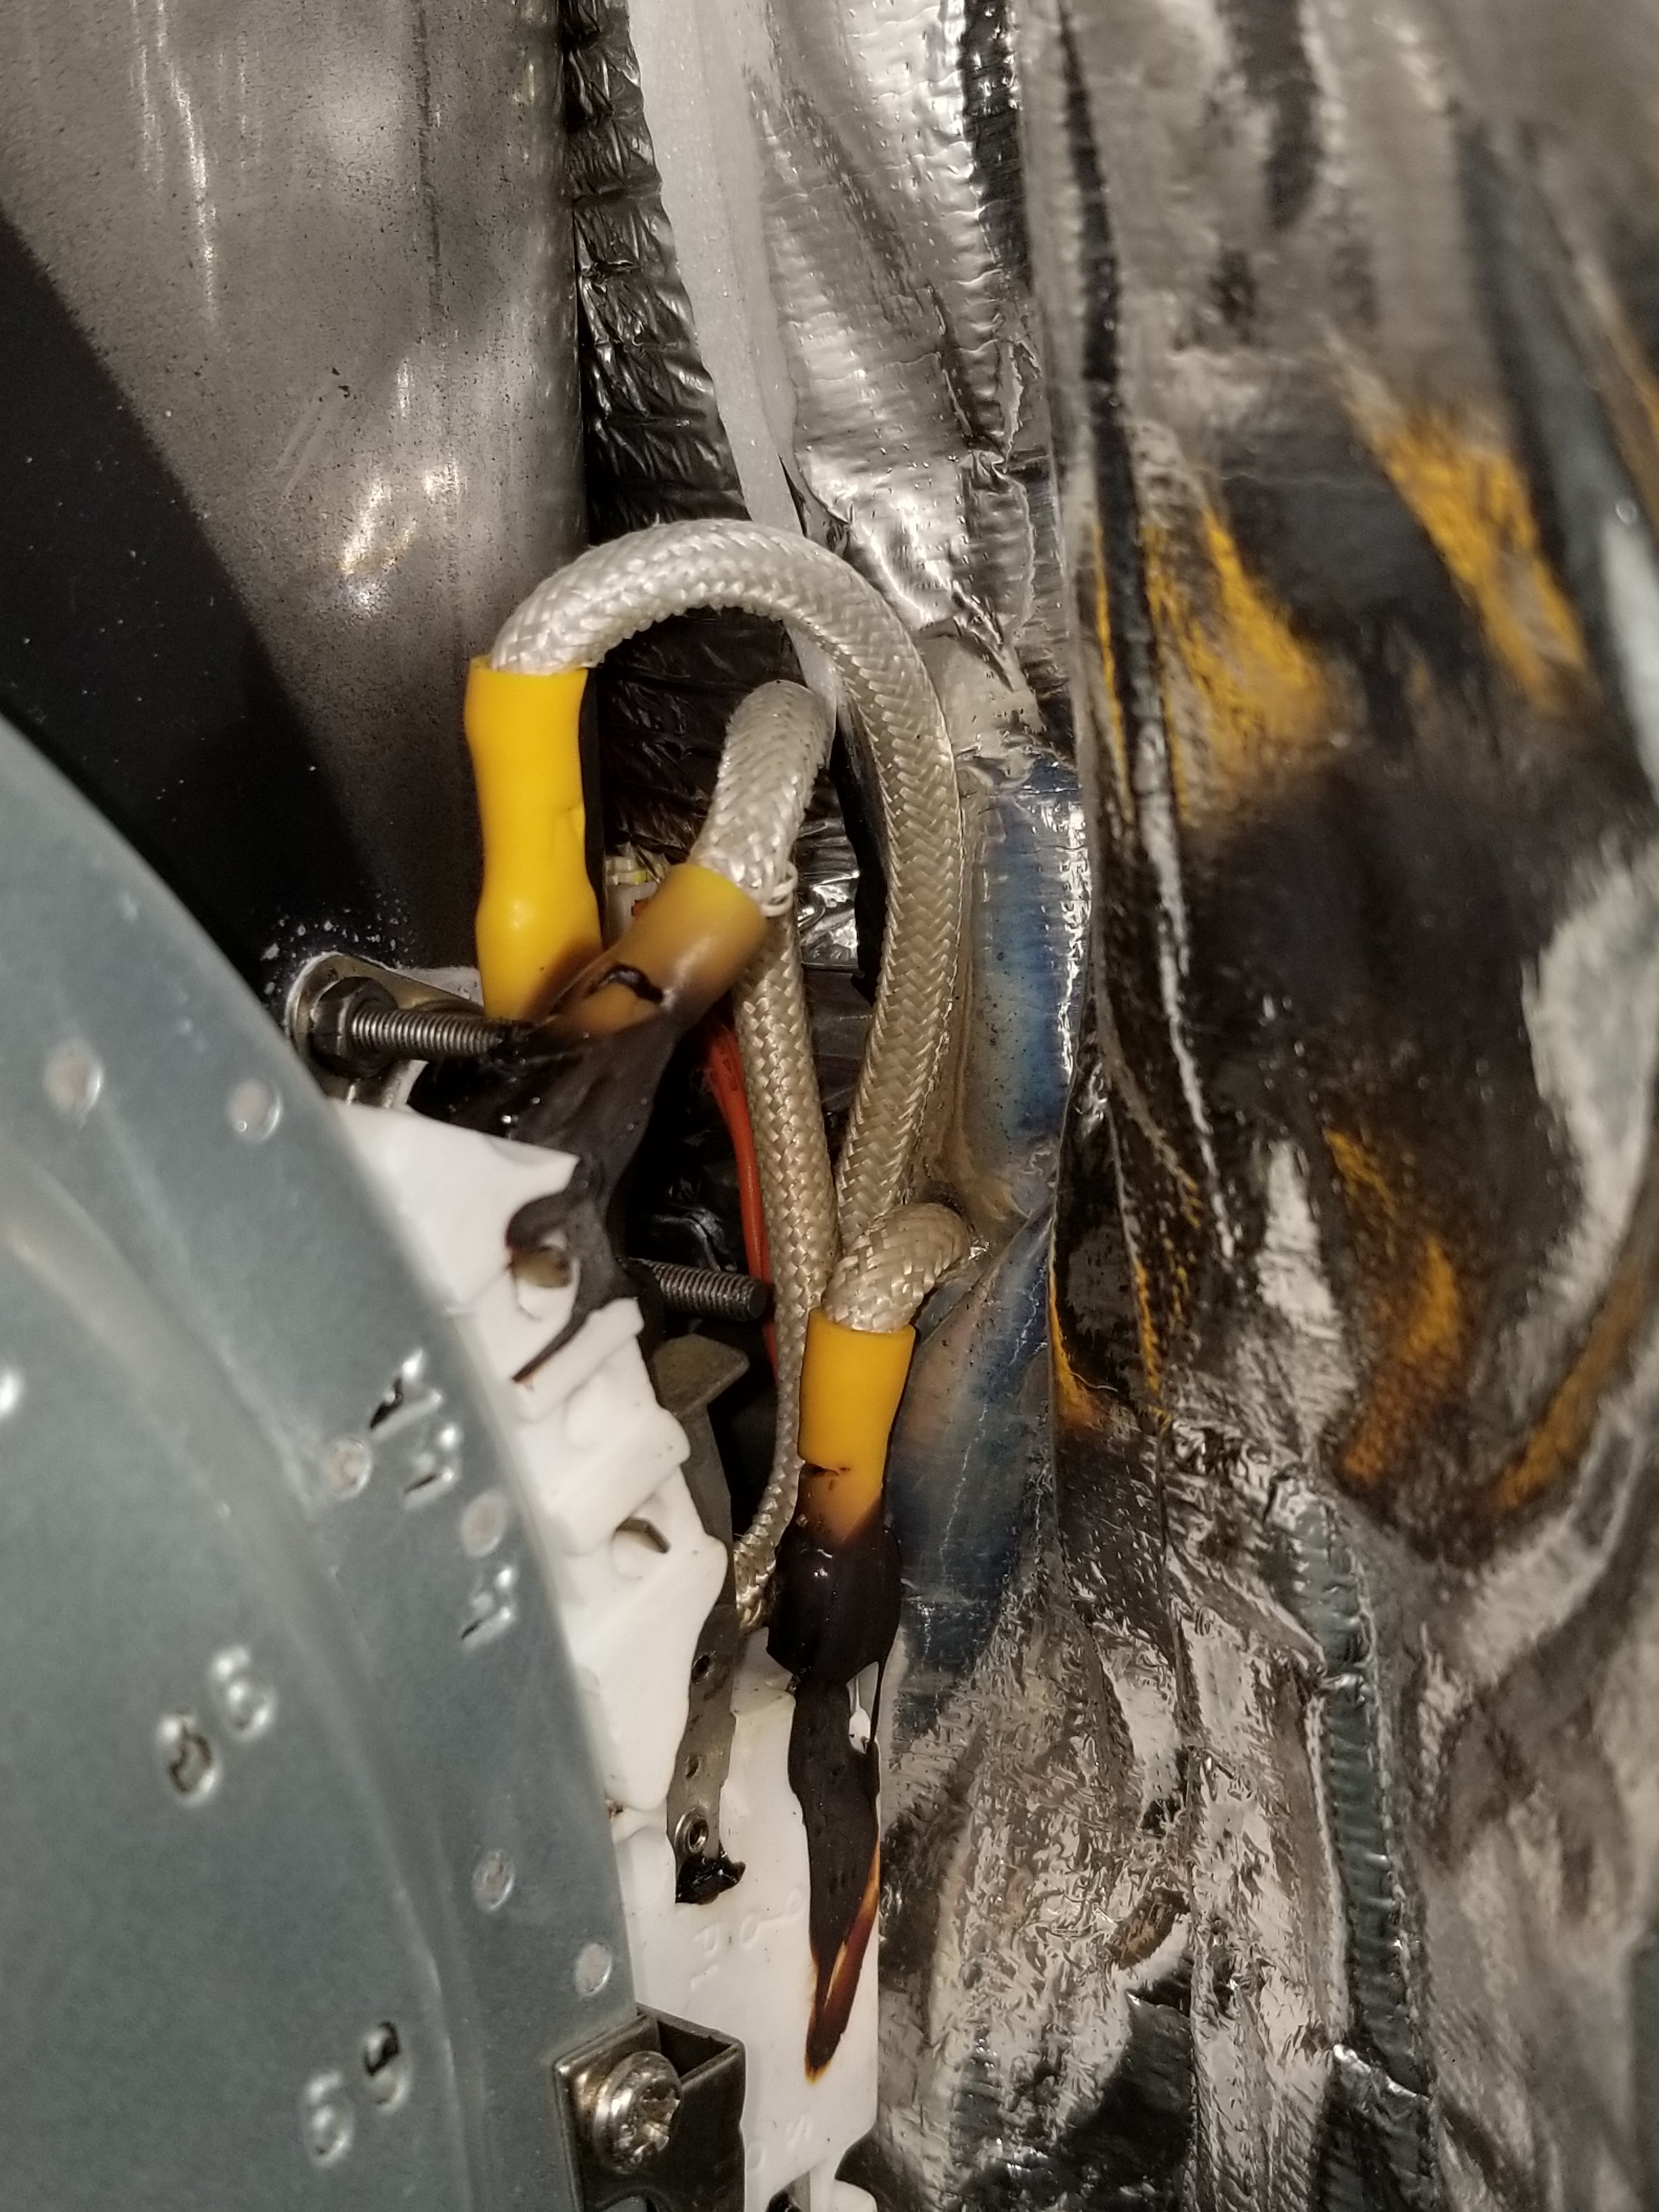
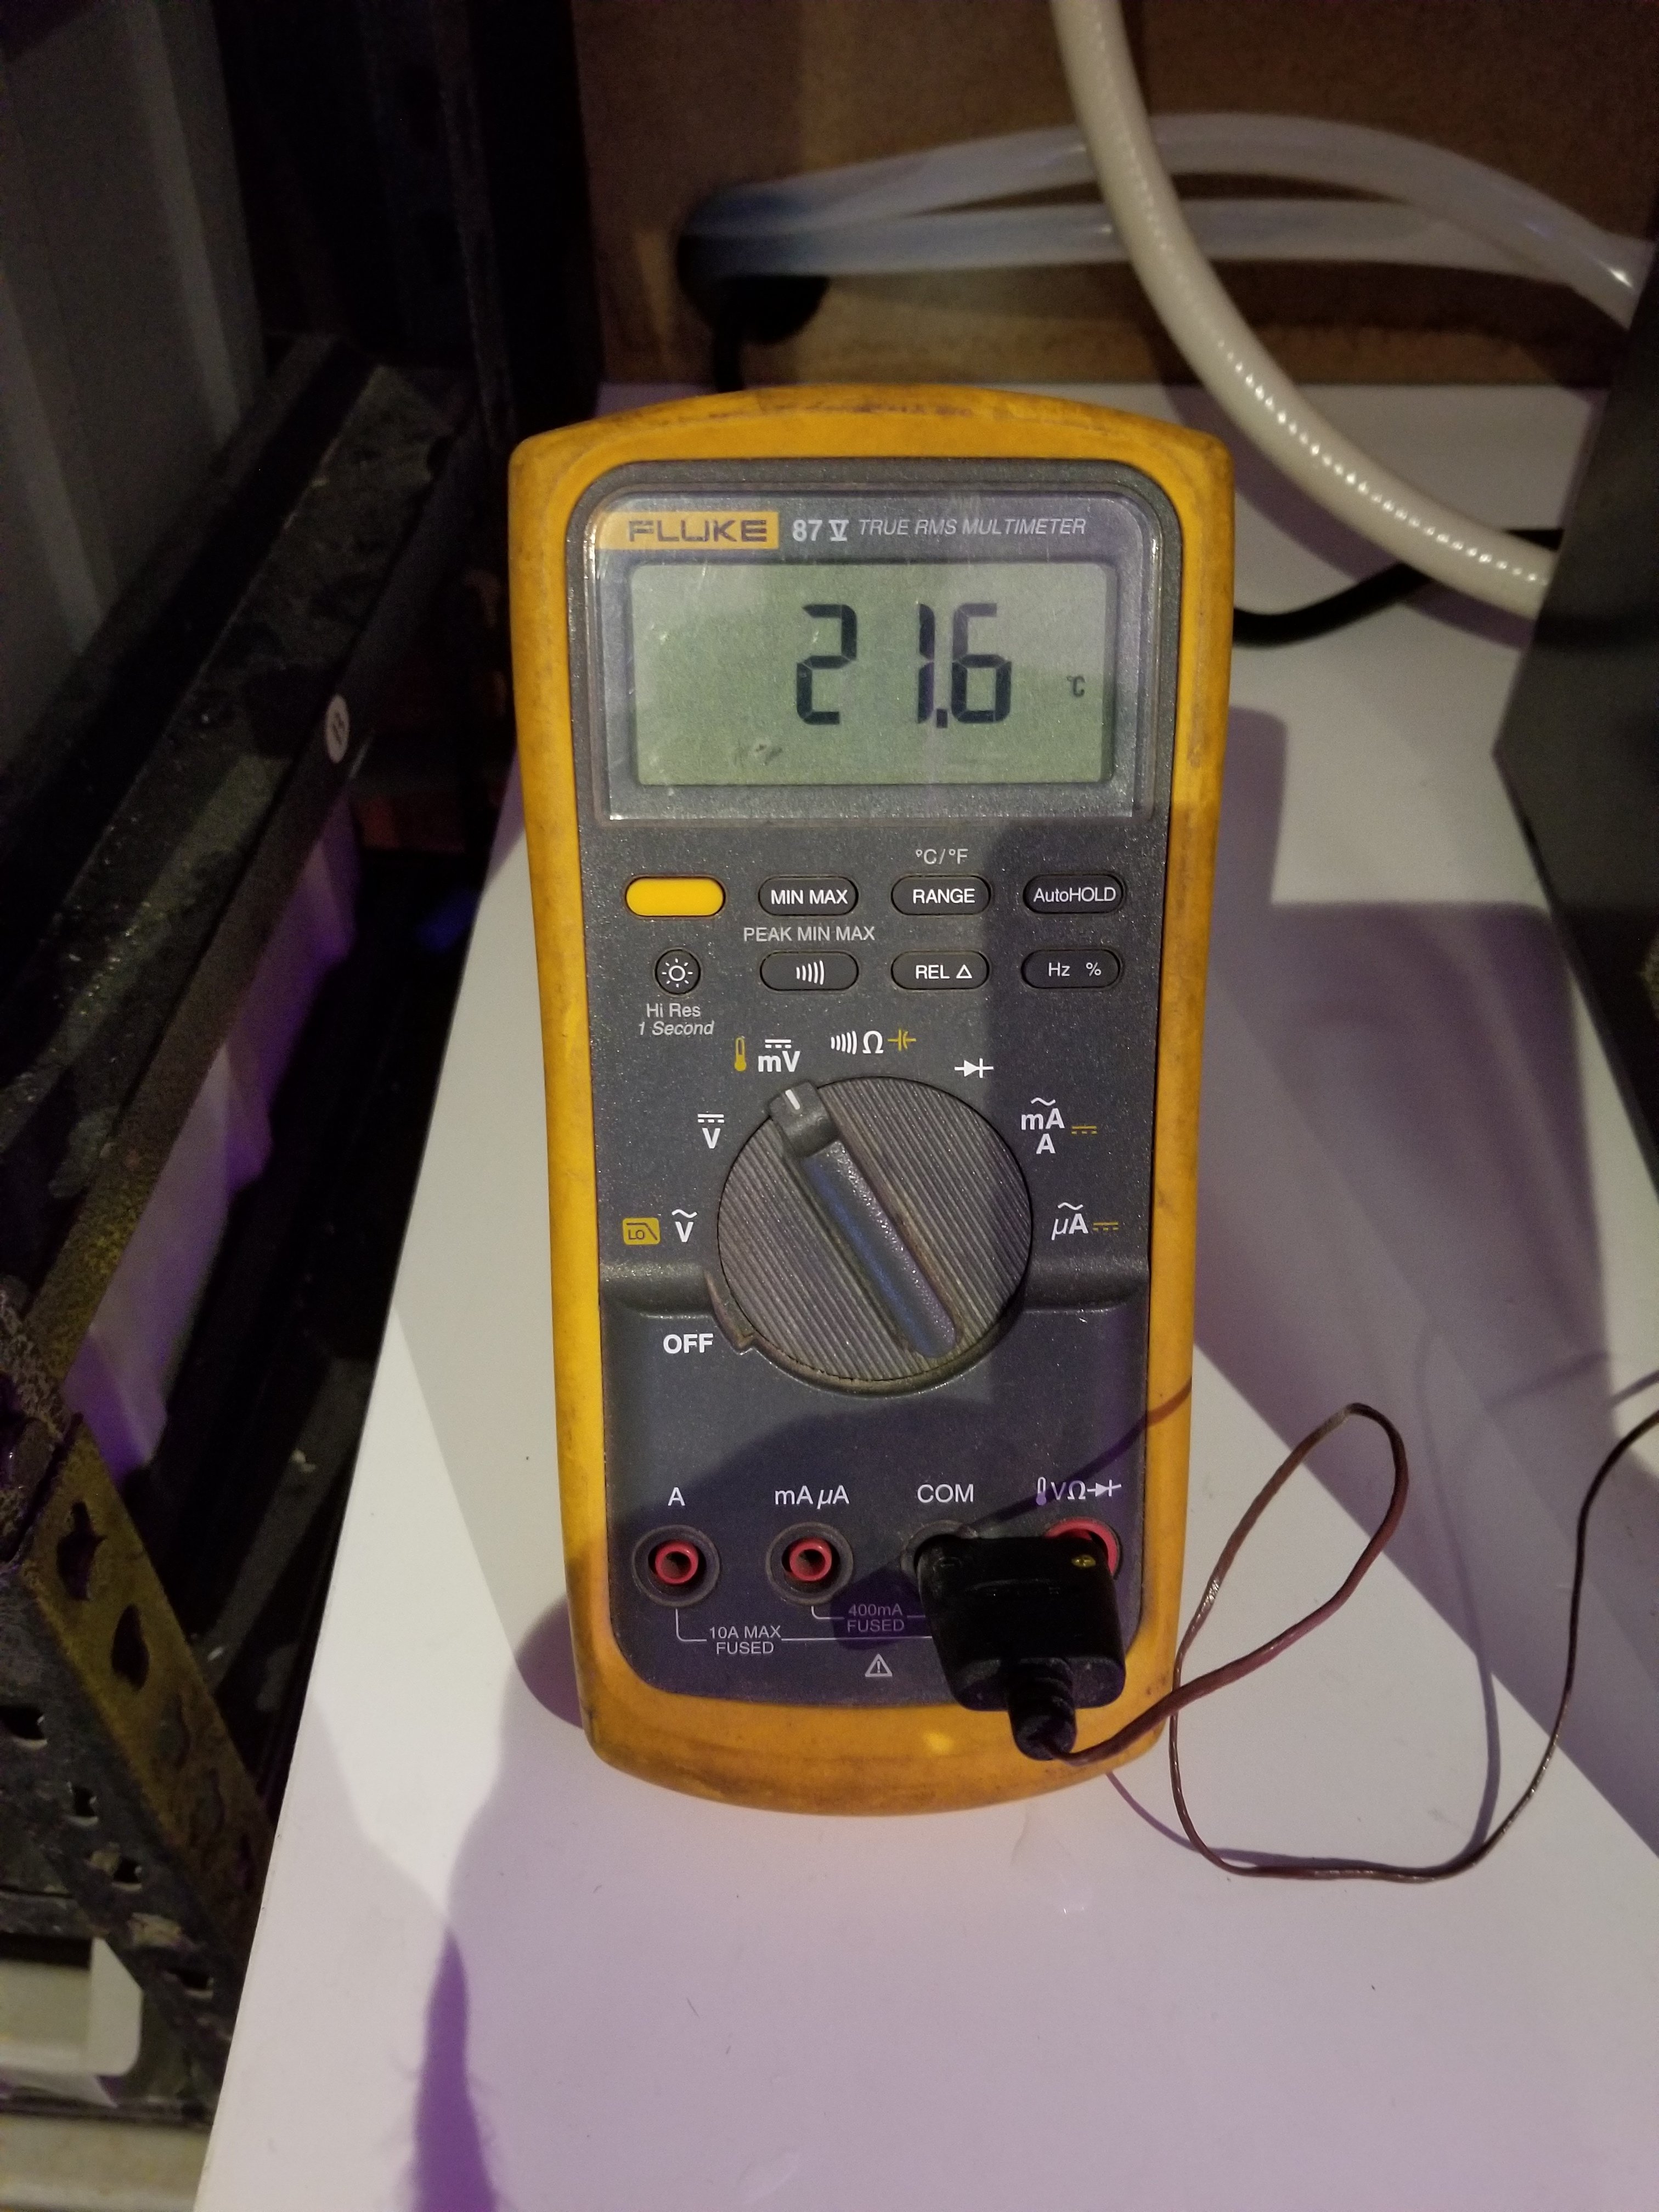
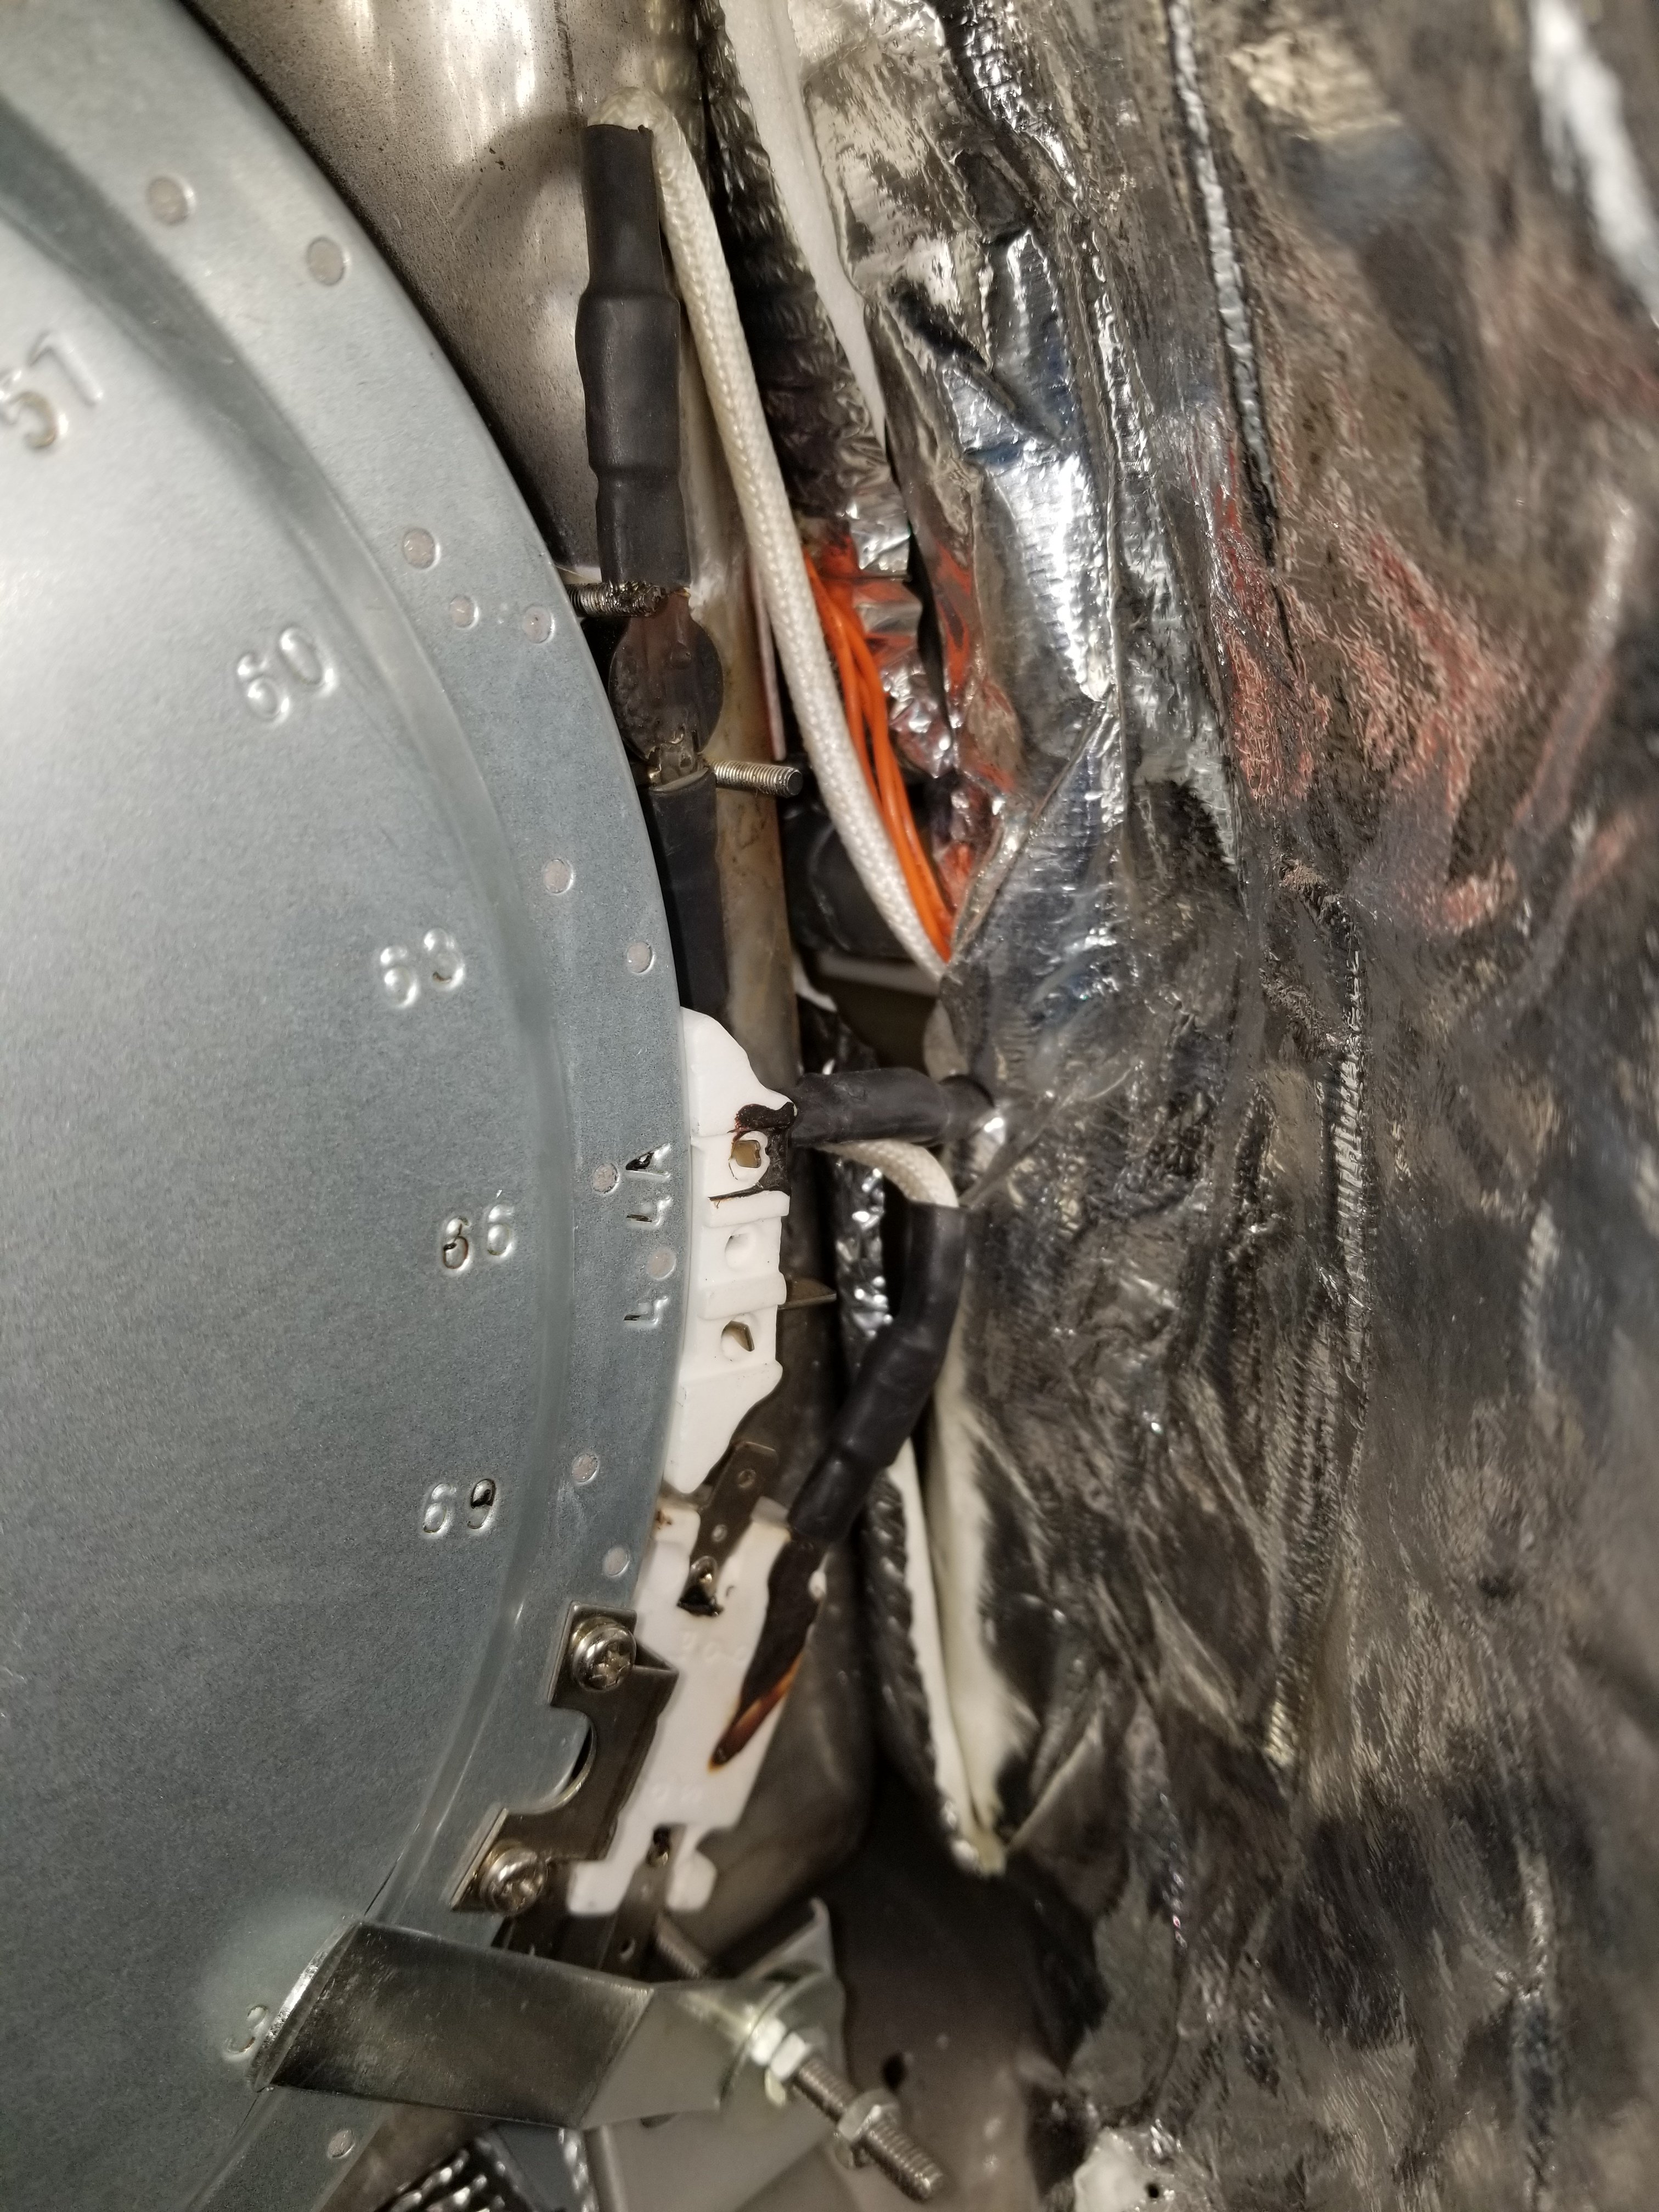
Ok, Here it is. First I installed a Thermocouple on the therminal that is in the warmer position, srtaight on the element, then hooked it to my Fluke multimeter. I get back all the poopy together, get a glass of beer (the last one brewed with this machine) then start a false batch heating for the mash 10L of water. On the Left Graph you can see the result of the tabs temperature (Orange) compared to the water temp (blue). The conclusion on this graph is that there is always a constant difference of around 40 deg between the tabs temp and the Water temp, so, if we extrapolate those result, Watertemp at 100 = terminal at 140+Celcius , so over the manufacturer tolérence. this 140 deg should not have caused the failure as we seen from many peoples, so there was connection resistivity added to this. So now is the solution I found.
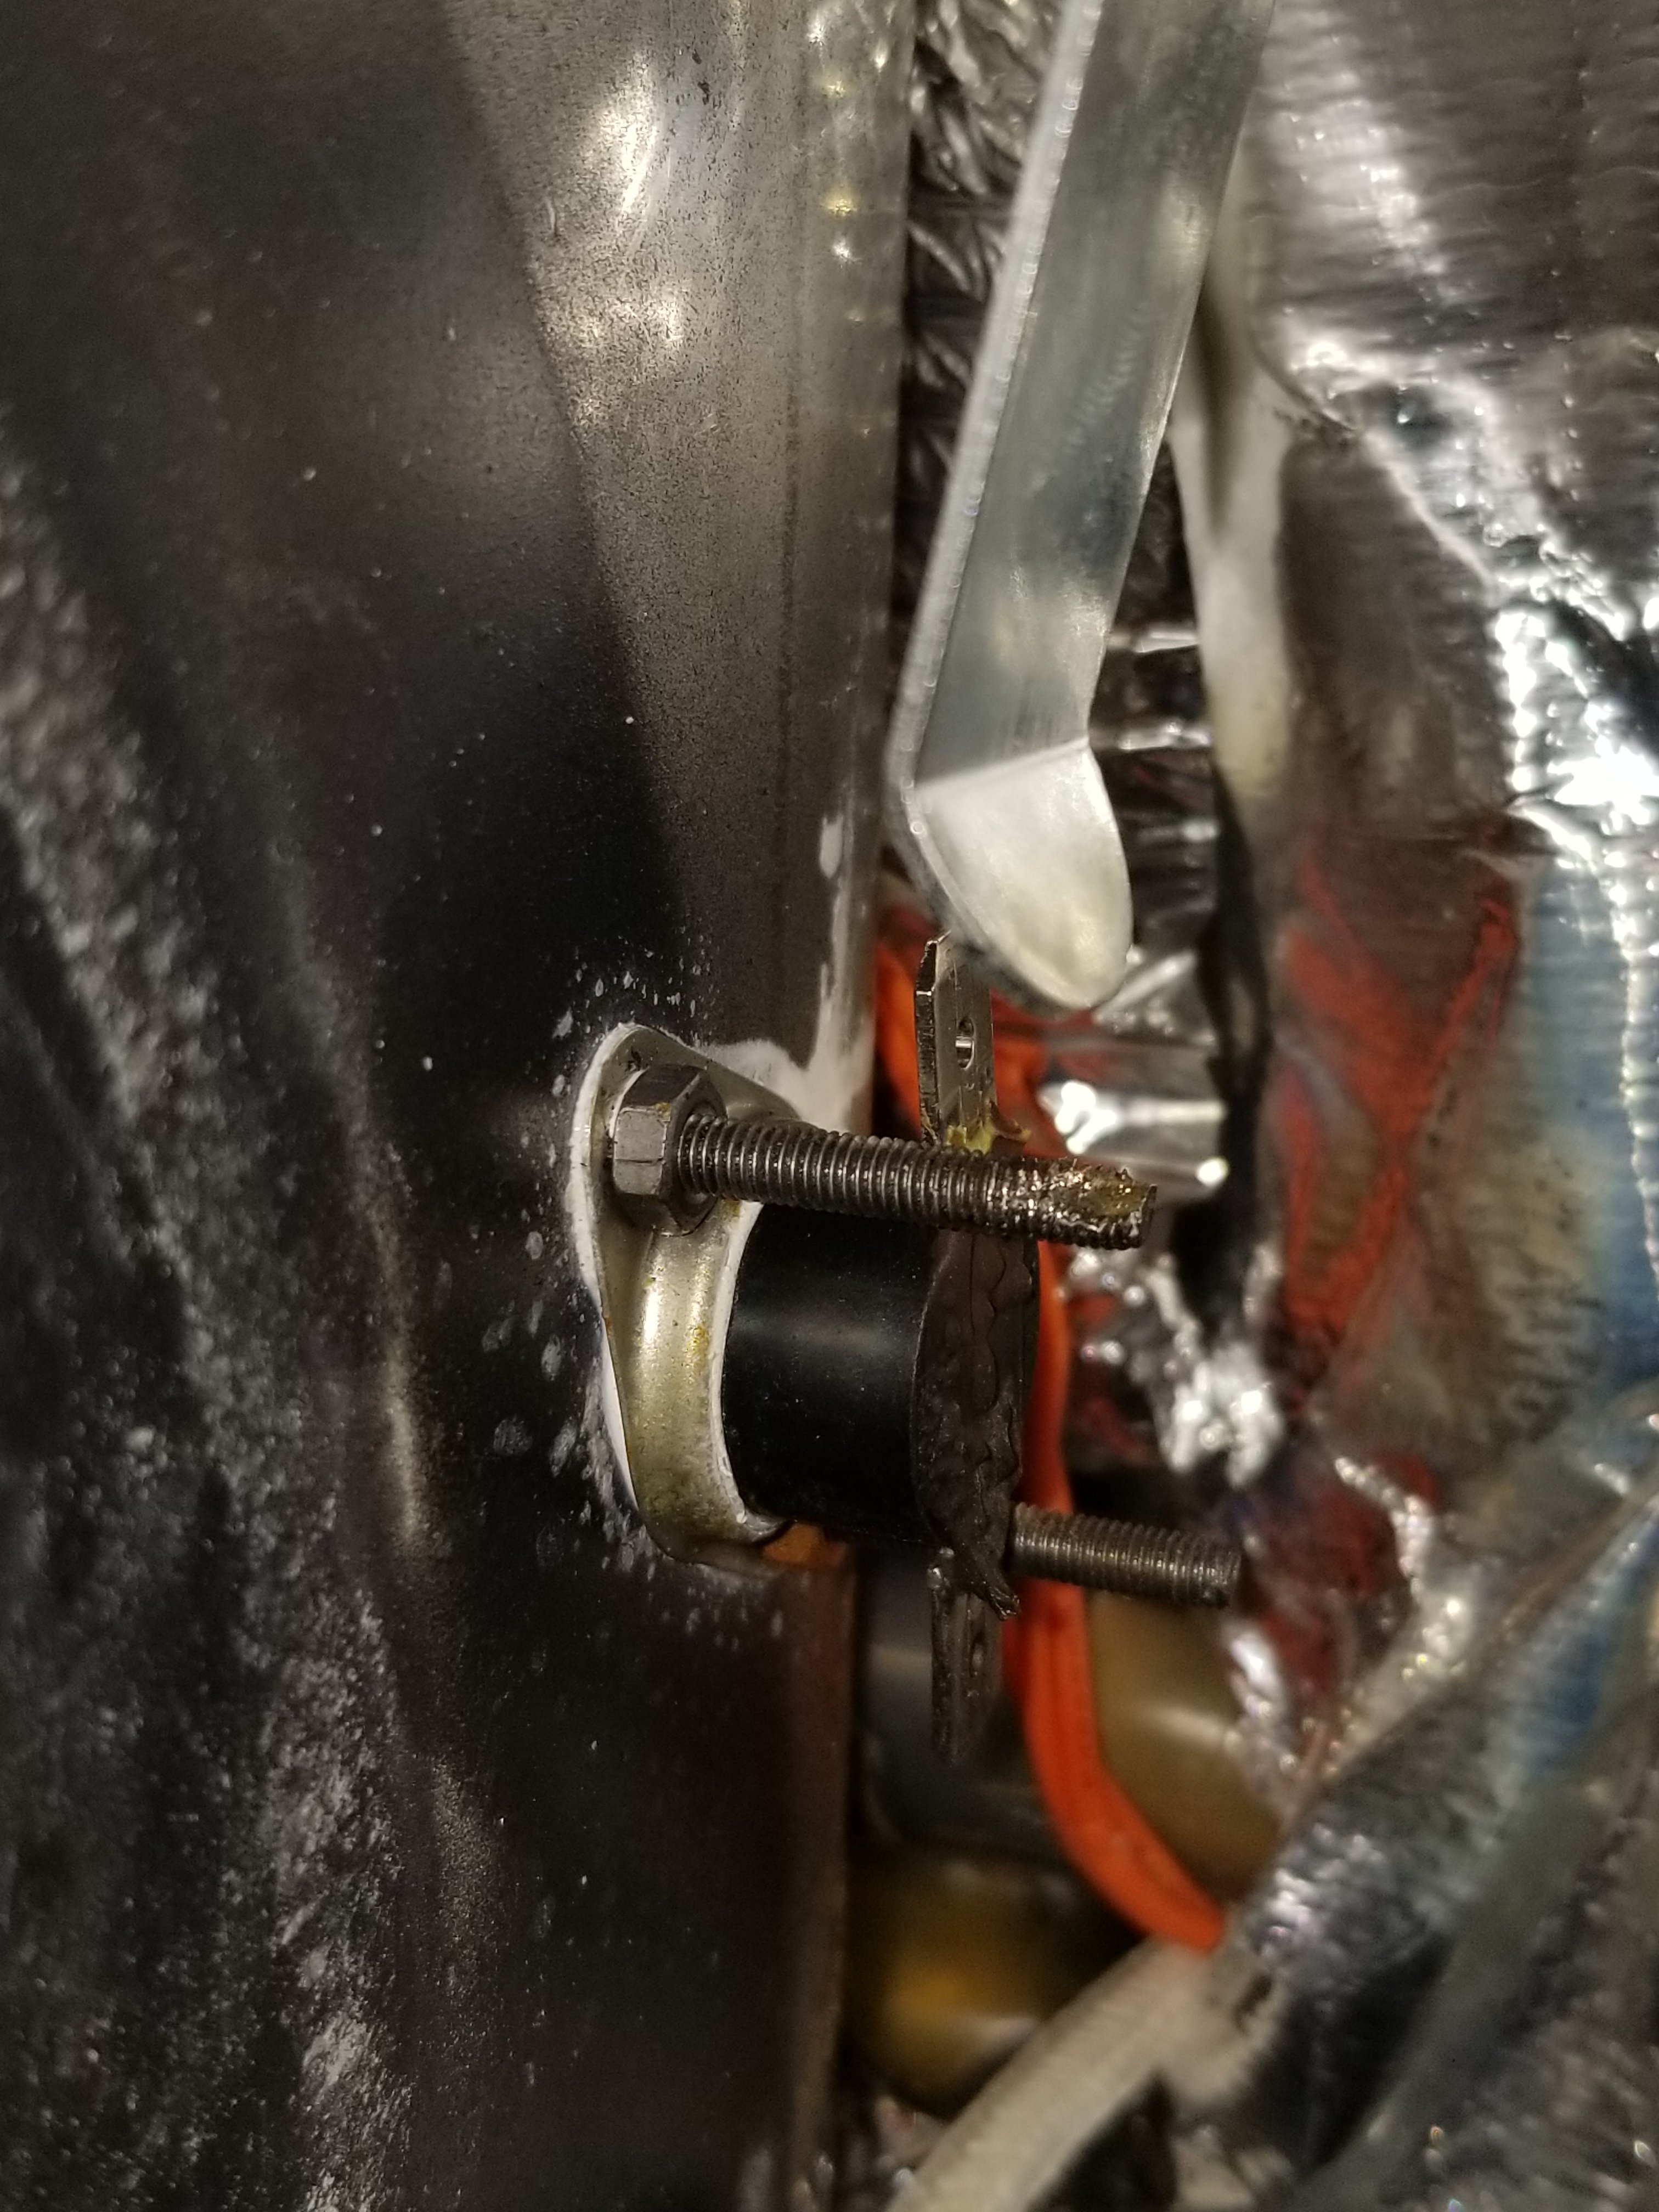
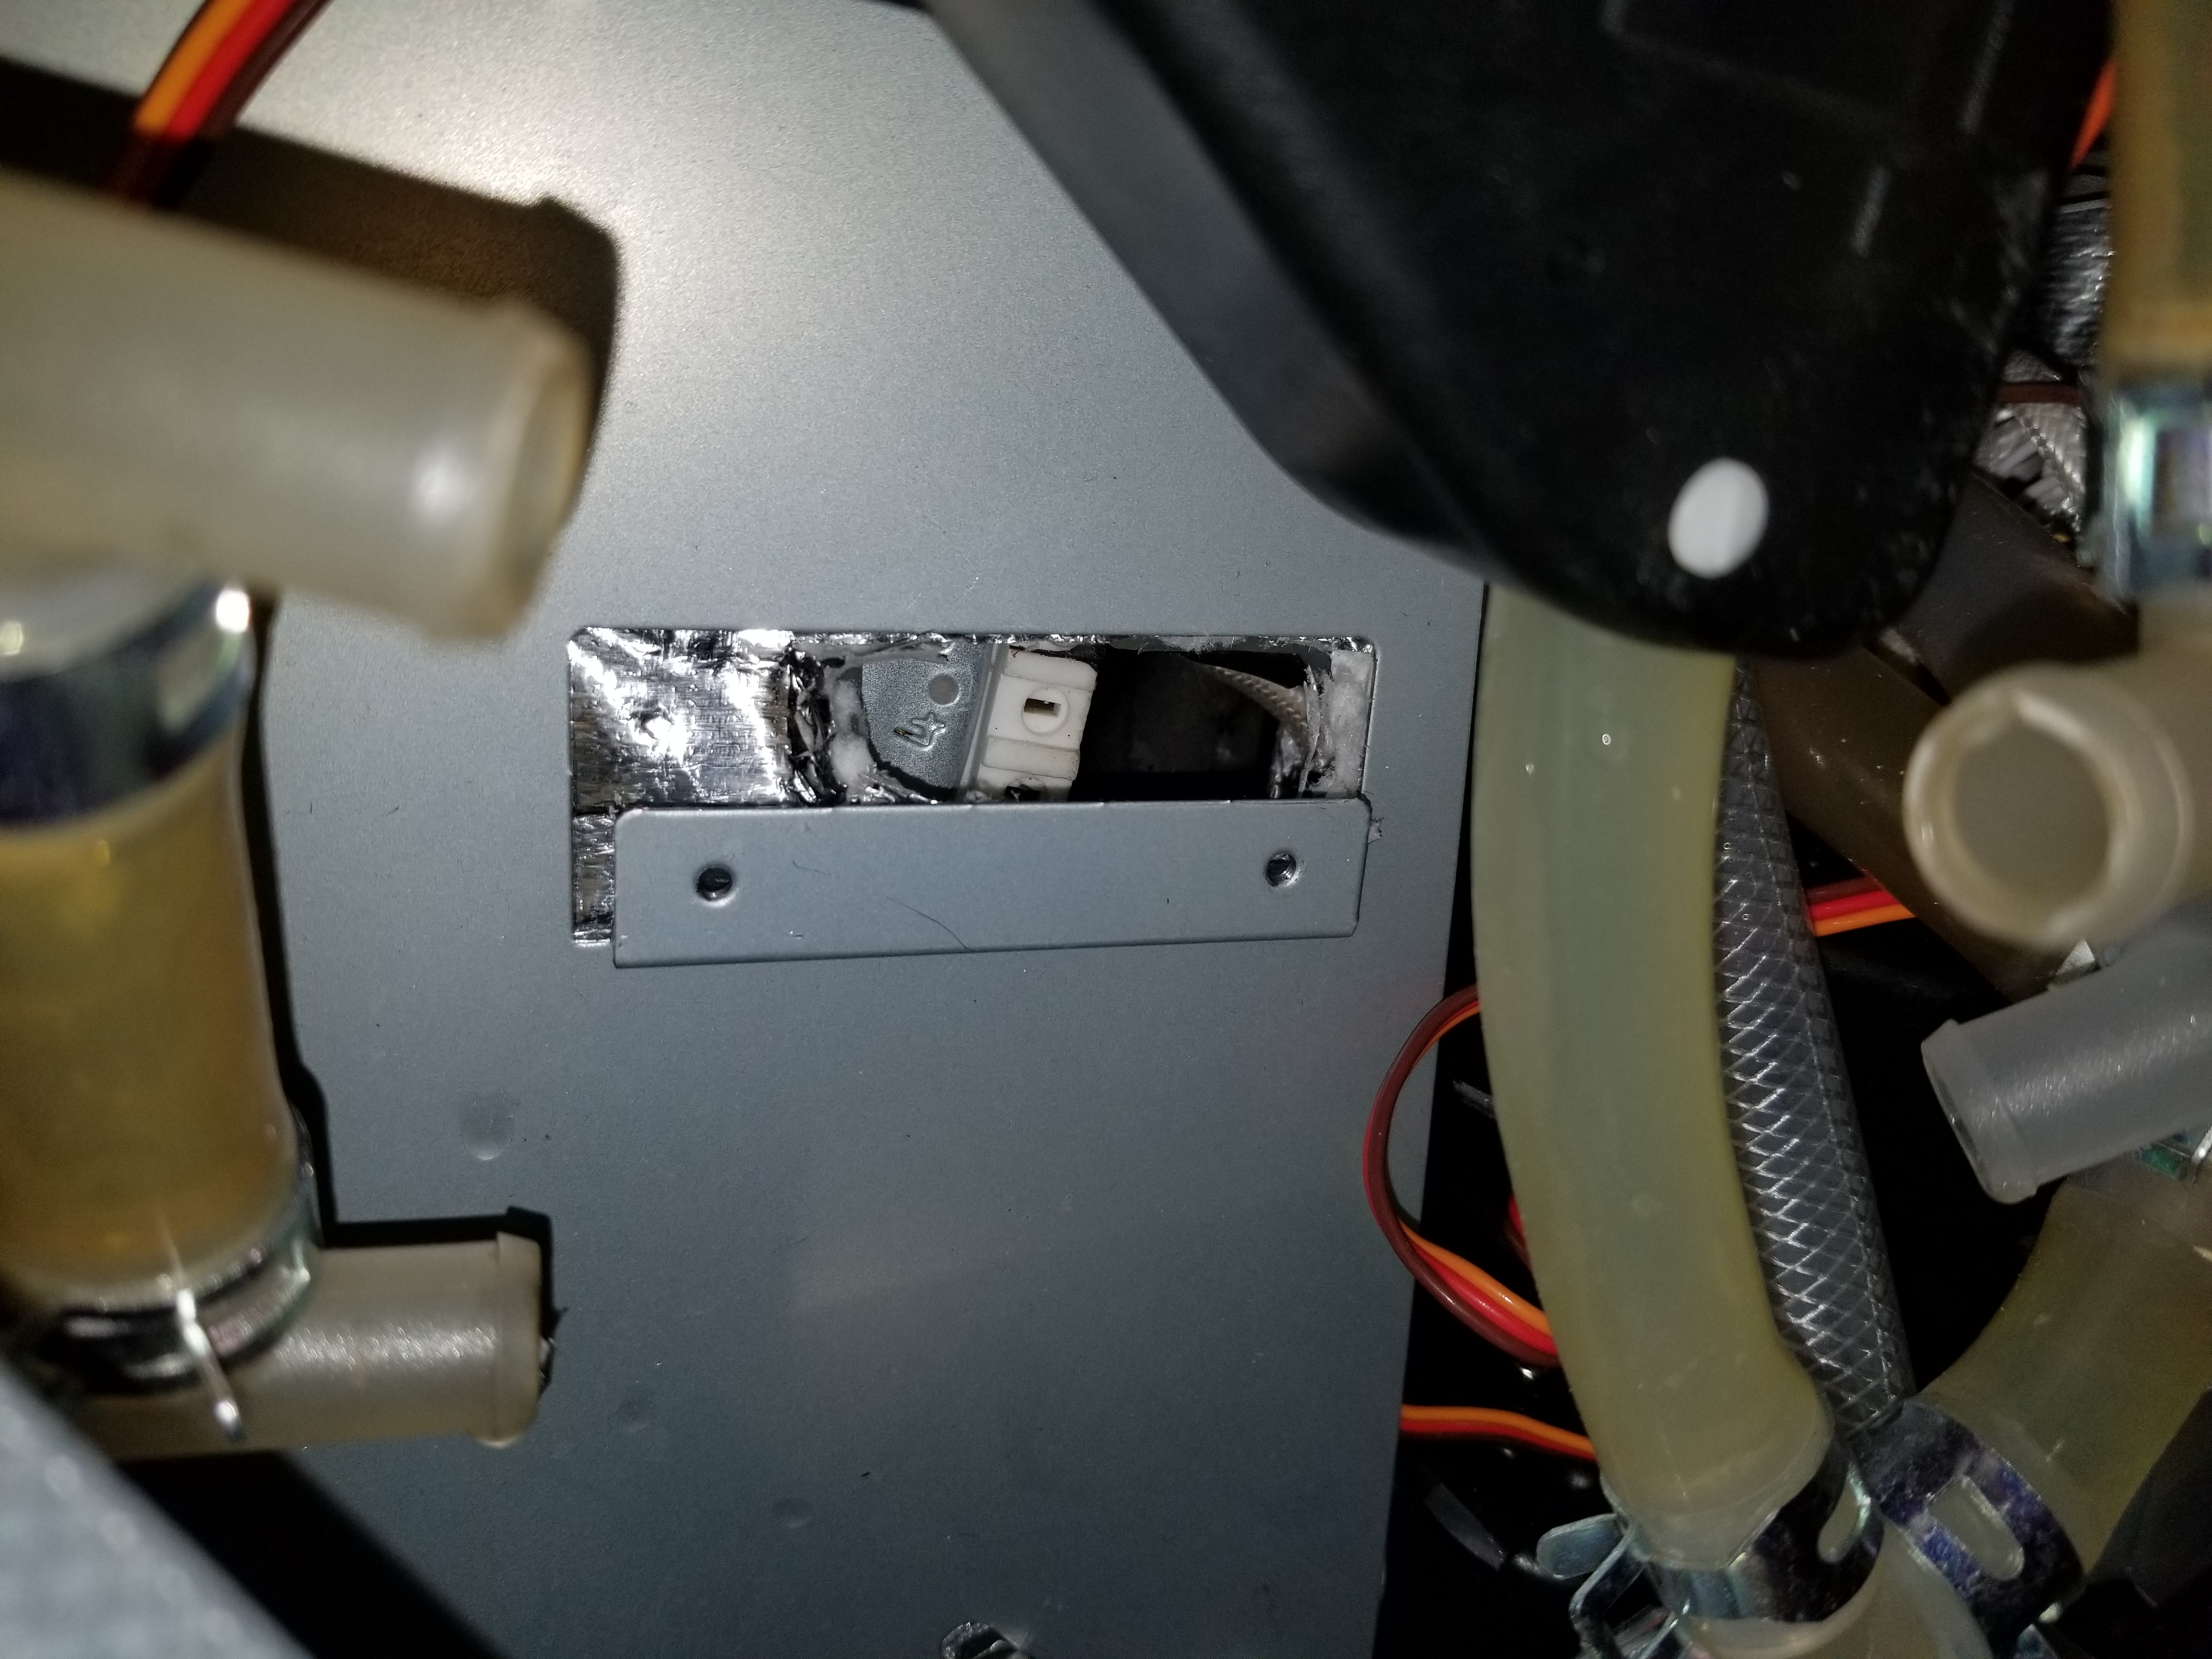
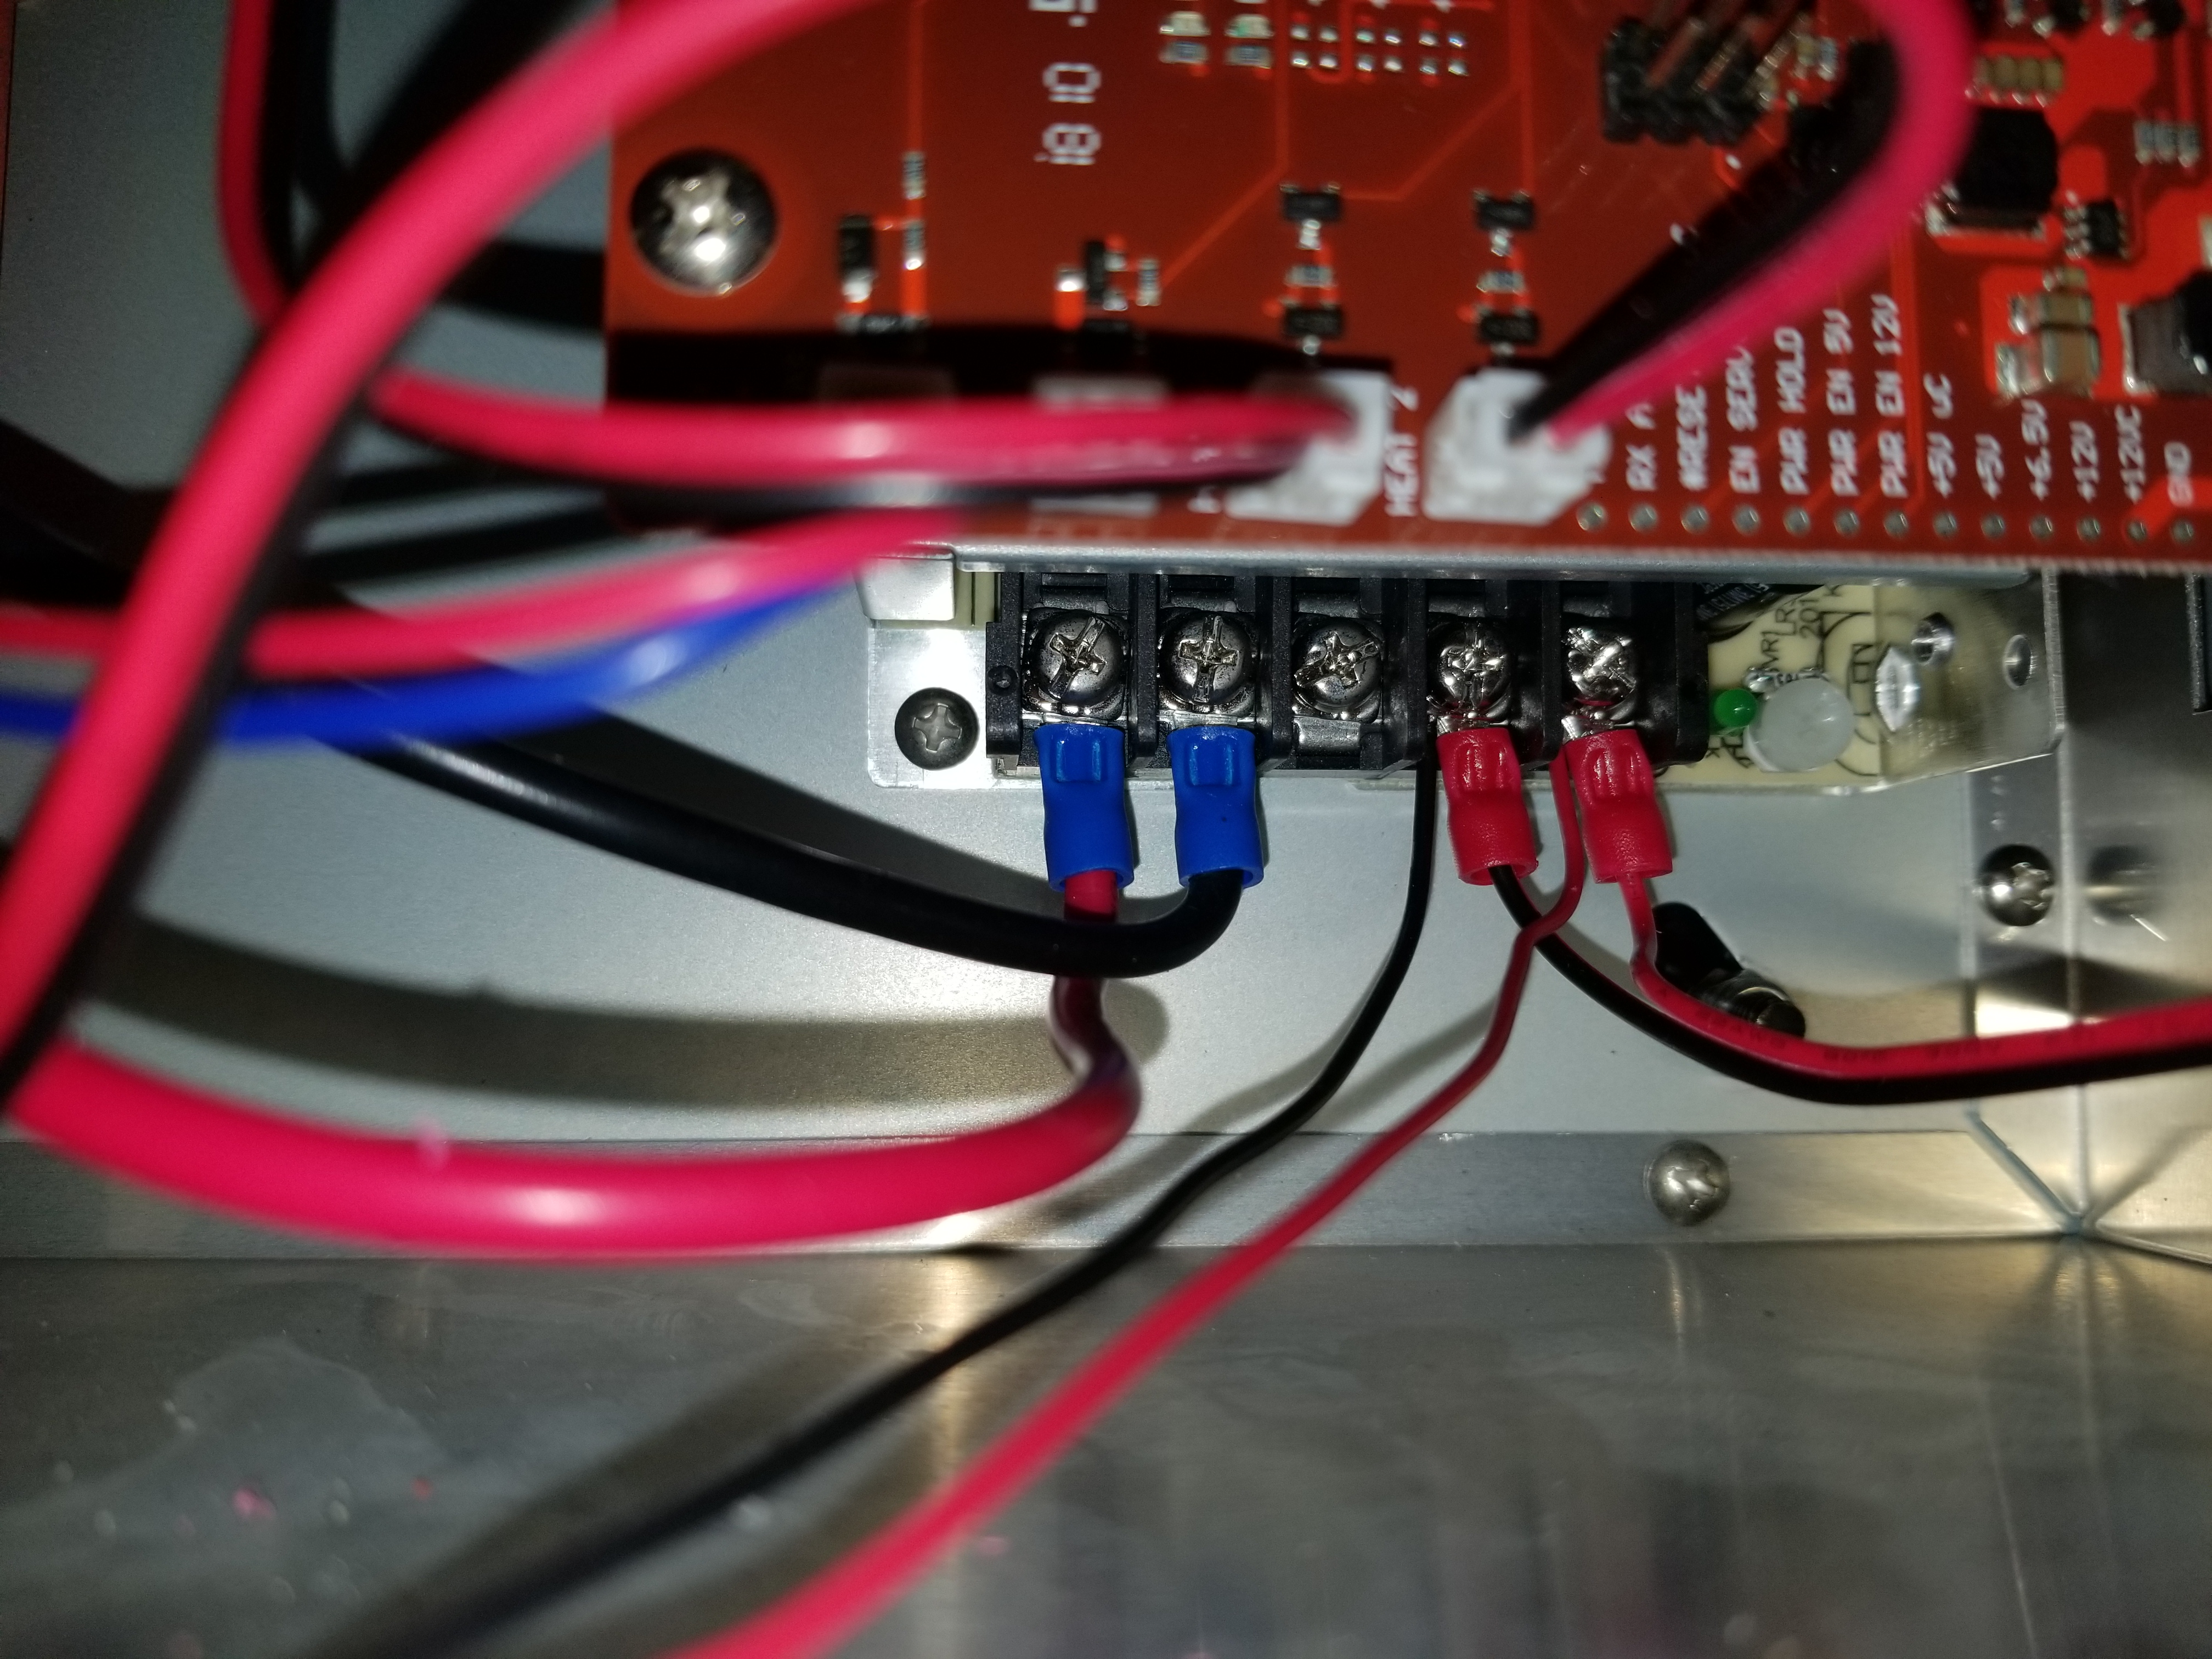
I decided to add a little ventilation to those tabs, for them to be in an enverment a little colder than the heat of the tank and the element. looking at the plate where all valves and stuff are fasten to, there is a crack made by the bracket of one valve. I used a small utility knife then cut the heat shield and silicone sheet so it make a hole that reach the connection aside the element. I then took a small 40mm 12Vdc fan, add about 2ft of cable and fasten the fan to the plate using a M3 screw (did some thread before). I then connect the fan directly to the 12V power supply, I plan to connect this fan to one of the other fans but I have to confirm the small transistor on the power board can handle 2 fans, so for now I will unplug the Brewie after use, as I did anyway before, in order for this fan to stop (the supply of the Brewie is always on even with the brewie off, so i suggest you unplug it anyway).
So on the Right Graph, you can see that the terminal temp is lower compared to water temp of the other graph, and then around 50deg, the water temp get higher that the therminal temp. When I stopped the test without the fan, water temp was 66deg and therminal was 104.4. With the fan, at the end of the test, water temp was 70.5 and therminal temp was 59. At my point of view this is a solution, I don't know what you think. the hot air (100deg) that will escape from around the insulation will mixt with the cold air blown by the fan at the bottom of the unit, so it should not cause any issue.
A friend of mine (Fred) ordered his brewie fiew weeks ago, before I got the issue. After I told him the problem he wrote to Brewie and asked if he is gona have the same issue, they reply fiew hours ago (but still didnt reply to my support claim from monday??):
Hi Fred,
We are aware of this and this issue is already solved all heating elements received a different cables, so you don't need to worry about this.
Best,
Marcel
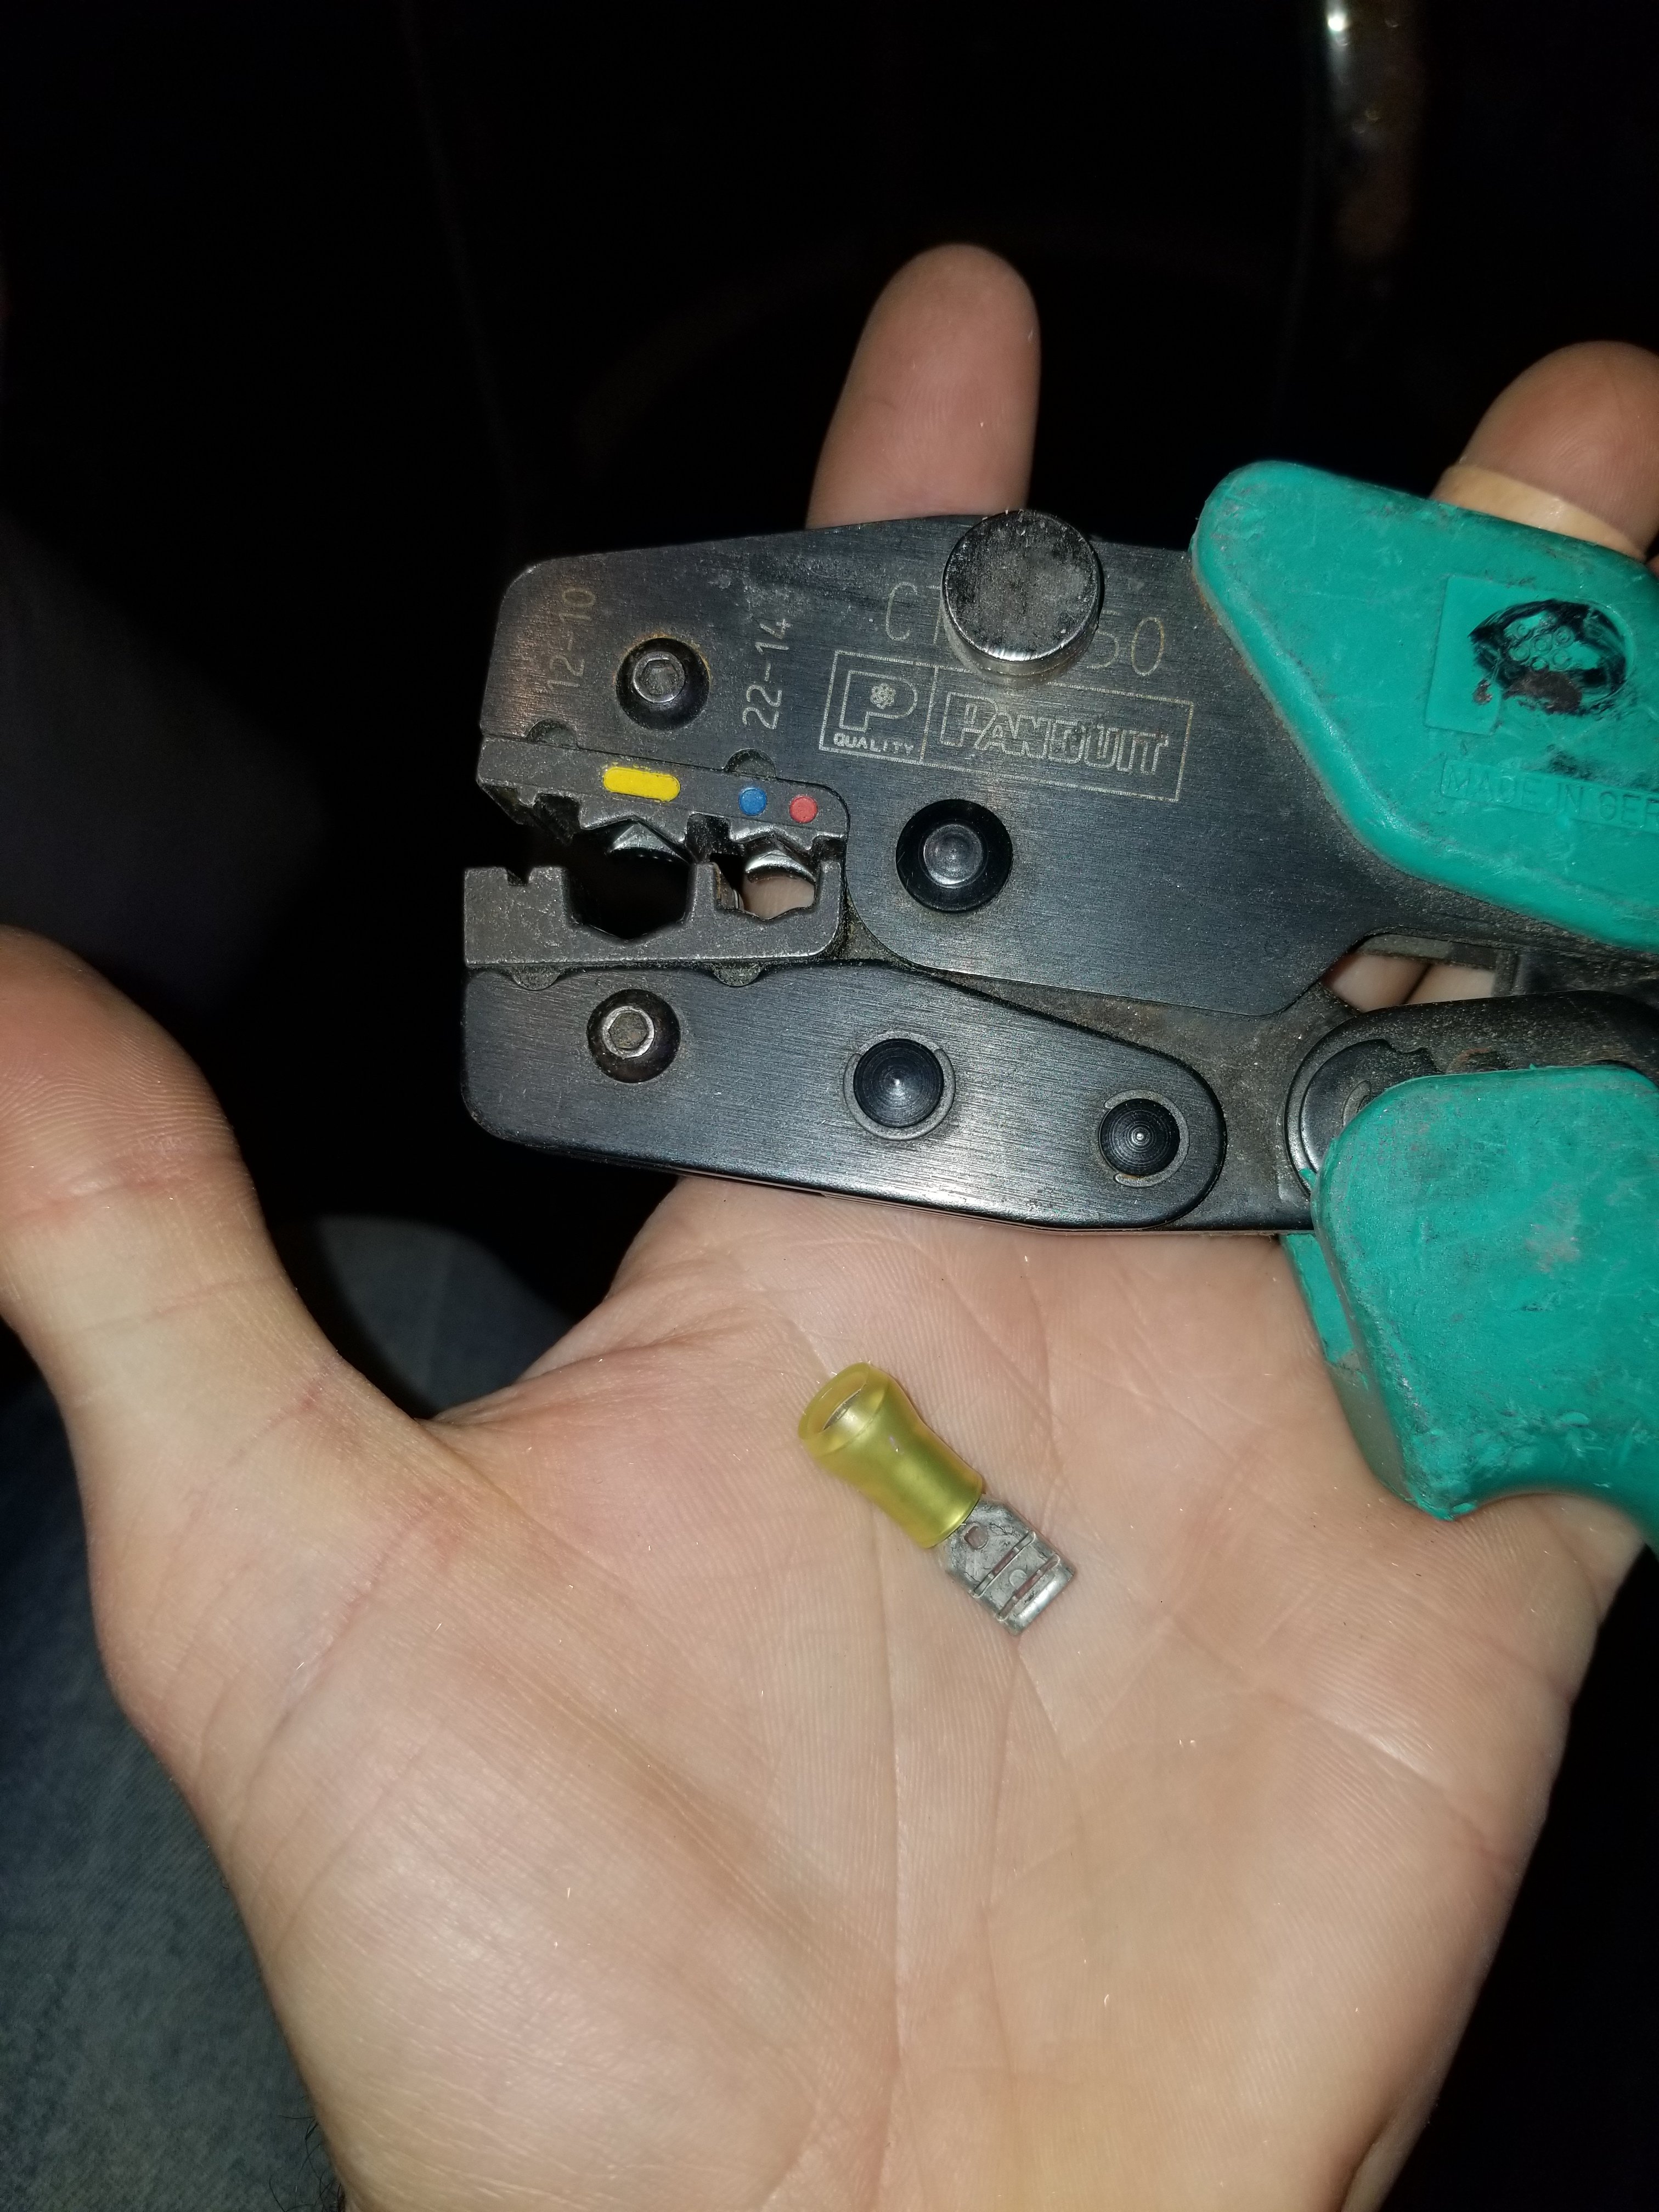
Ok, so lets see what Marcel solution is. At my point of view, Good terminal, Good crimping and a little of ventilation solve the issue. Future will tell about Brewie fixe, but for now, without ventilation, it's pretty hot in there.
it say I cant post anymore (5 post in 24h what is that, never seen this on any forum) so Harkinbanks here is my reply about the SSR
My SSR failed cause of the Short to the ground on the Thermal switch post. Those SSR are prety touhgt, but a short like this didnt offer good chance of redemption for them. Make sure with a Multimeter all your circuit didnt short anywere. I rotated the position of the tabs of the element a little on my brewie so the terminals are not going to short if the sleeve around em burn off. with the fan fixe it should be fine


![Craft A Brew - Safale S-04 Dry Yeast - Fermentis - English Ale Dry Yeast - For English and American Ales and Hard Apple Ciders - Ingredients for Home Brewing - Beer Making Supplies - [1 Pack]](https://m.media-amazon.com/images/I/41fVGNh6JfL._SL500_.jpg)


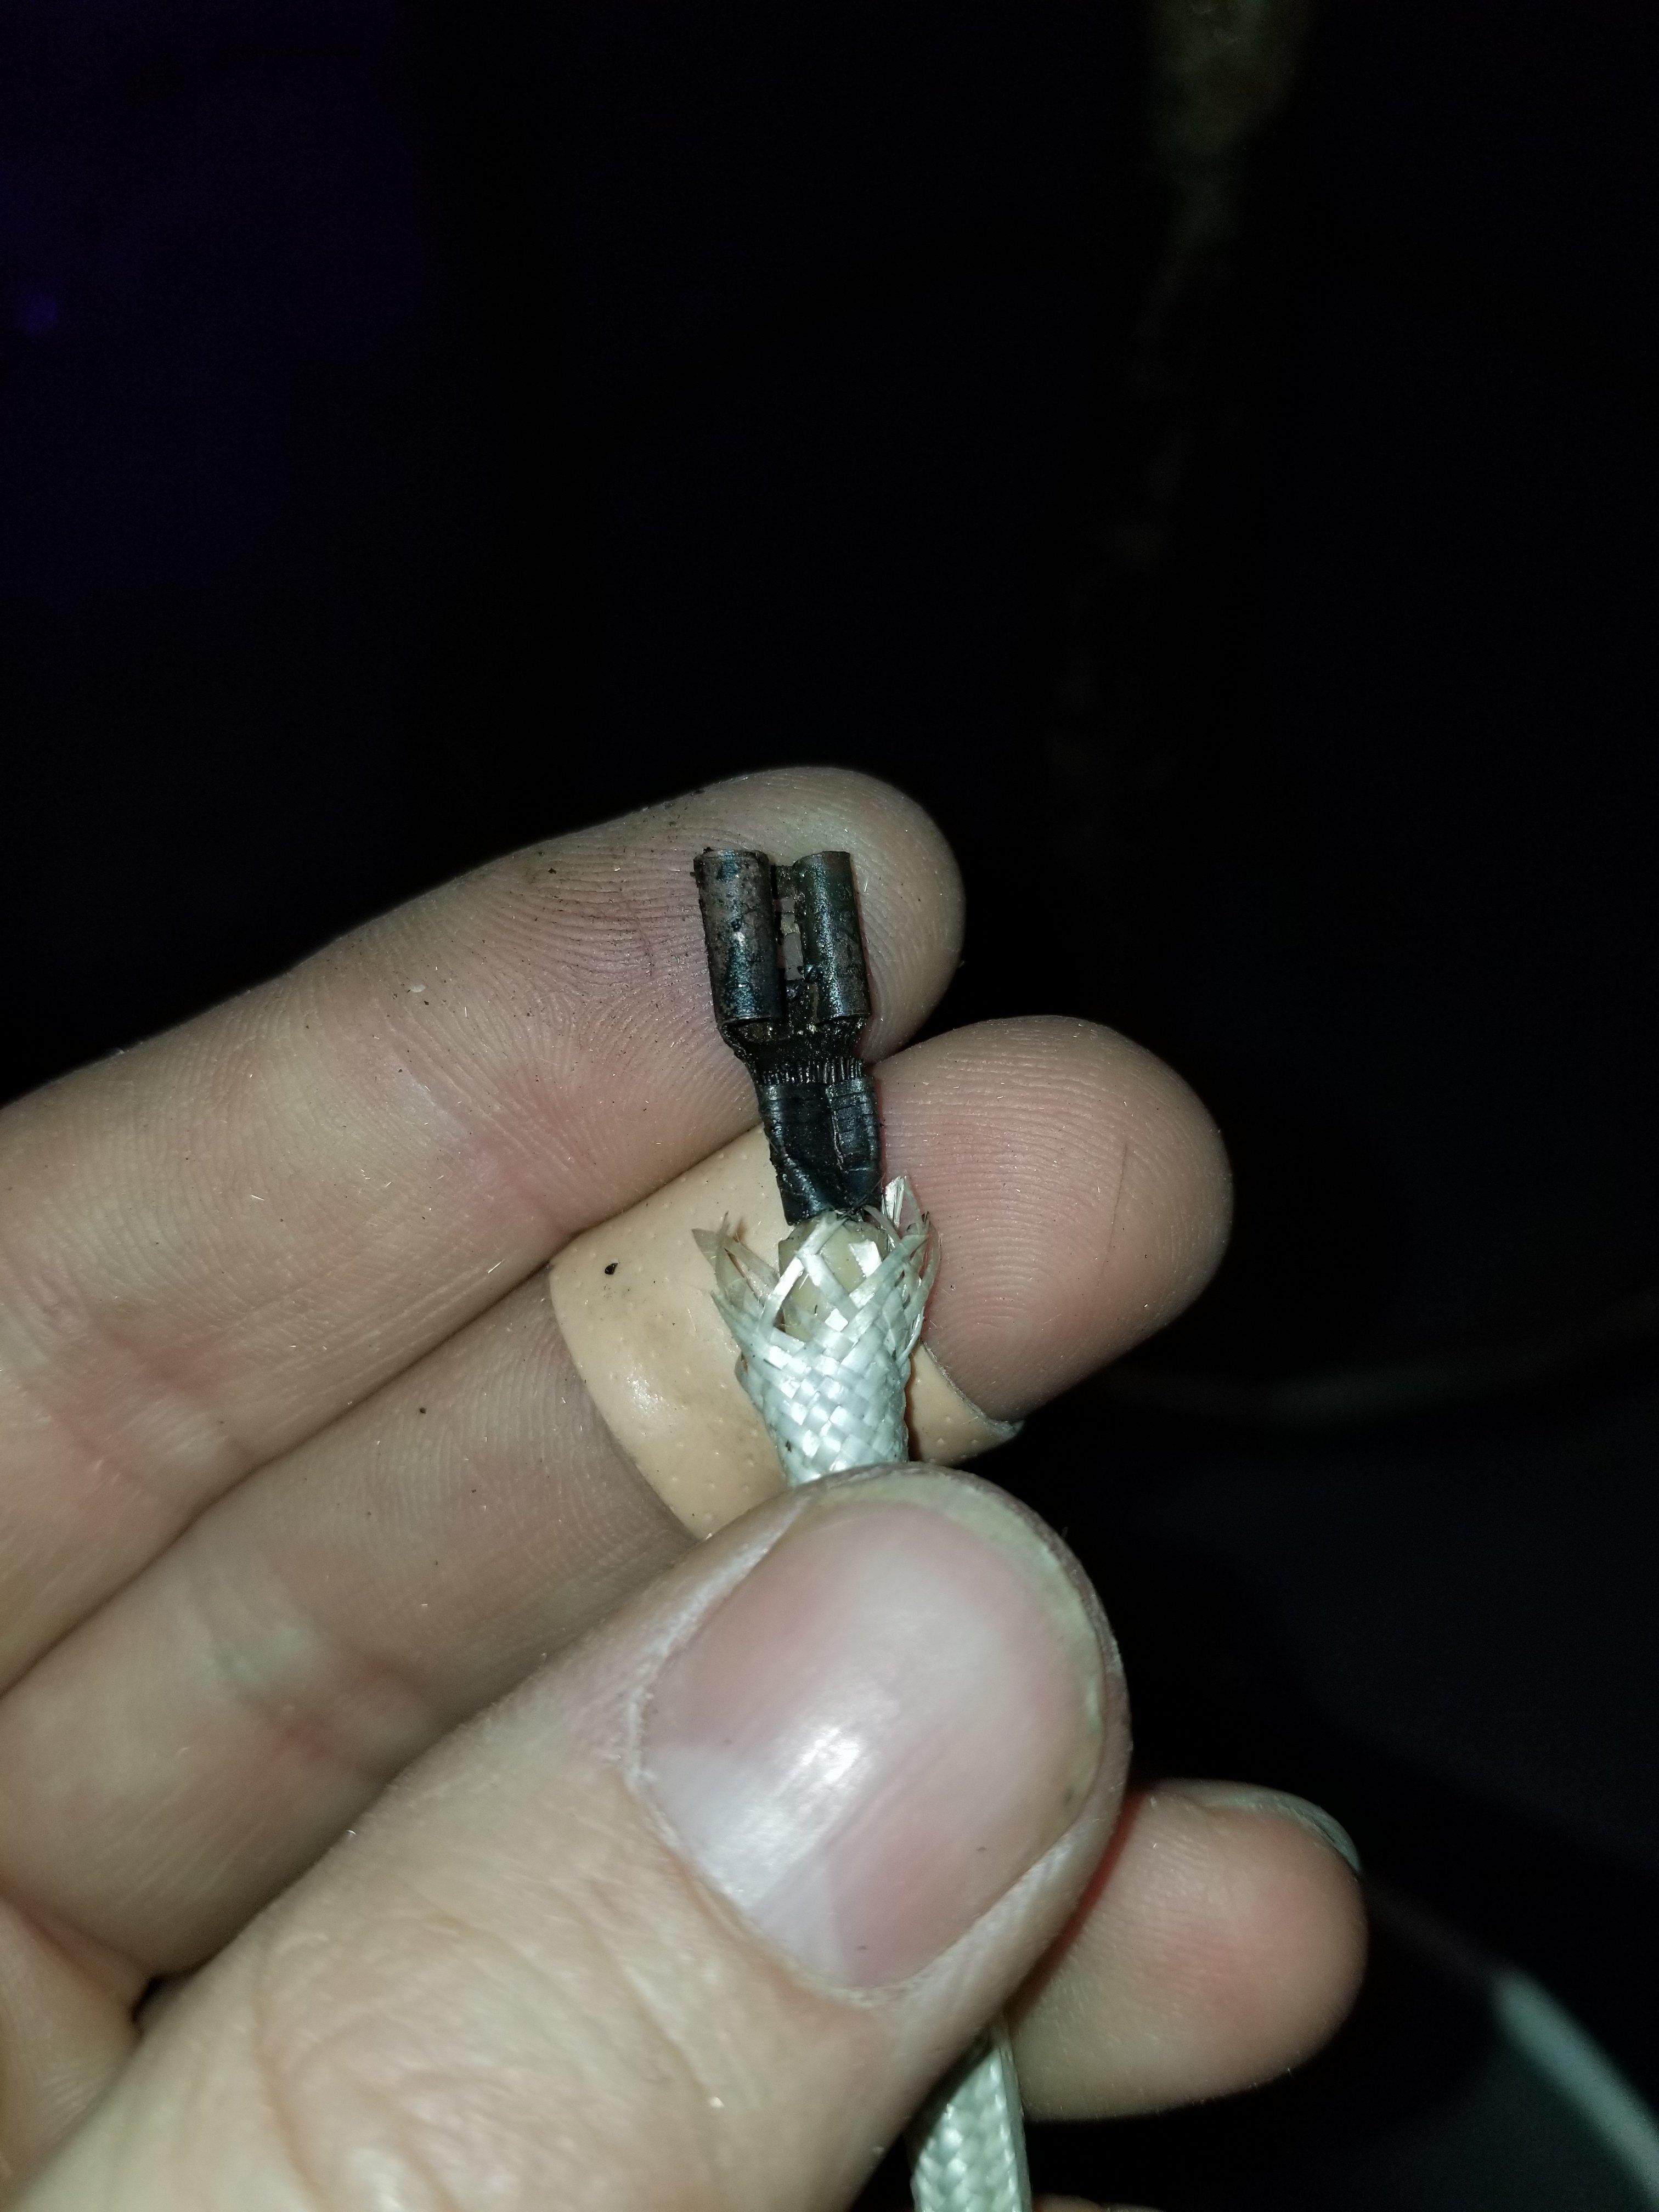
 Good thing the epoxy failed and the connection melted before anything more serious went down...