
OP
OP
mplutodh1
Well-Known Member
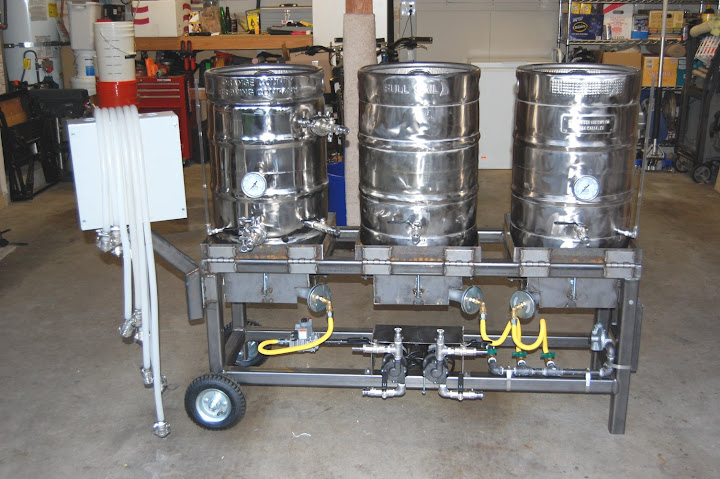
Update 2/22/10
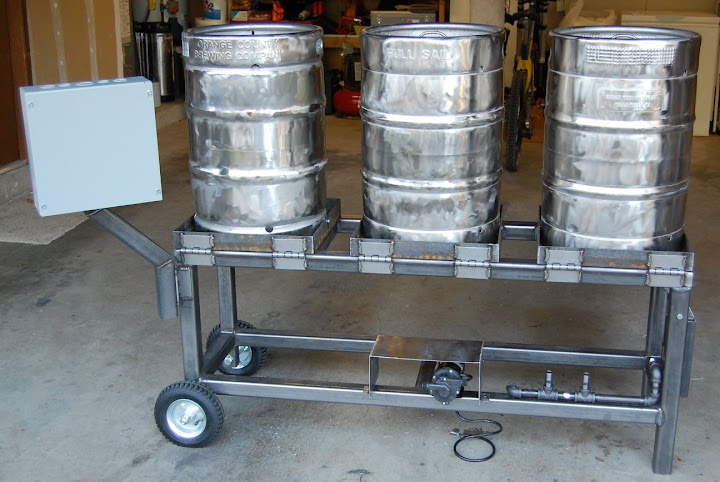
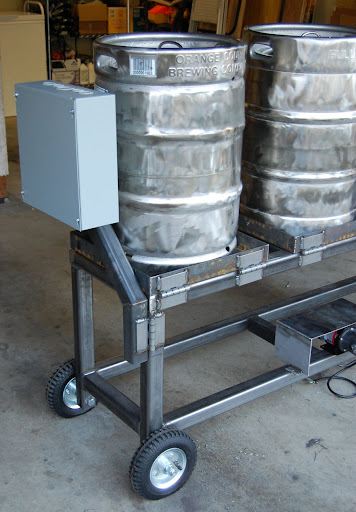
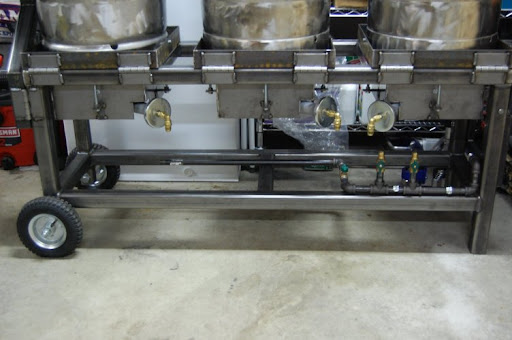
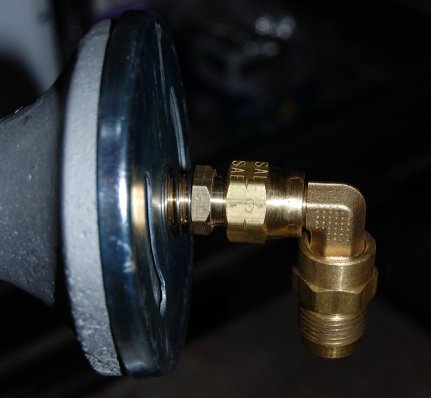
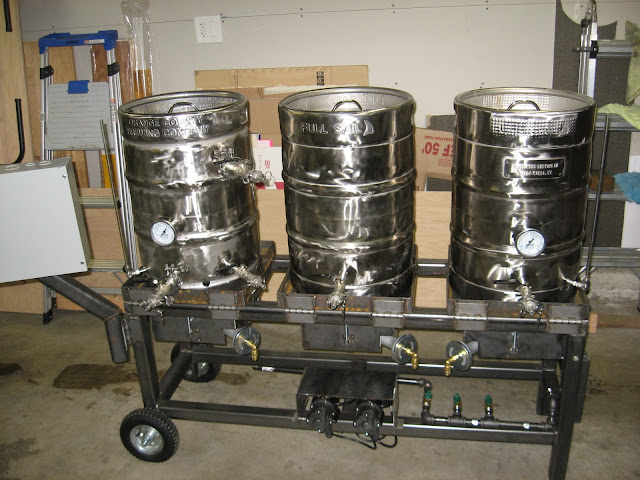
Got some work done over the last few weeks. Picked up more of the parts we were still looking for.
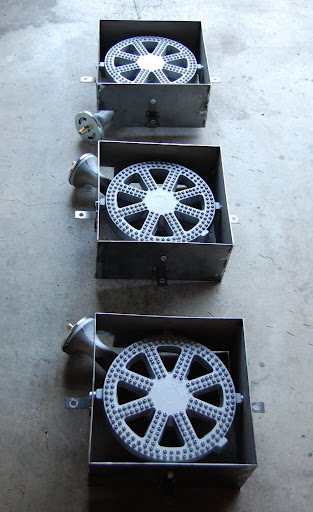
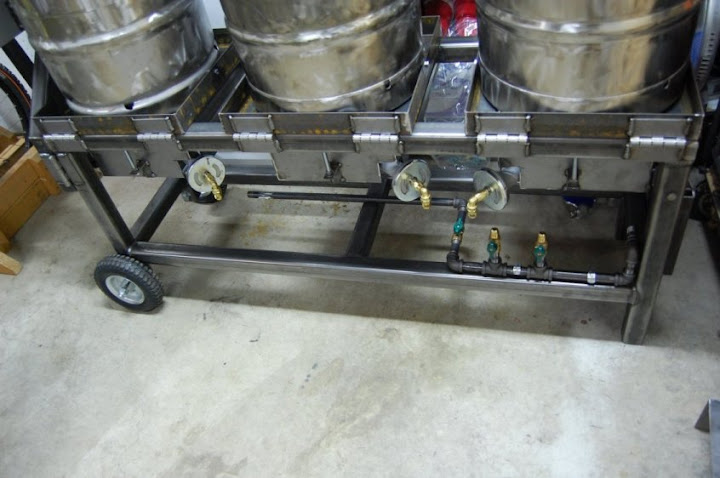
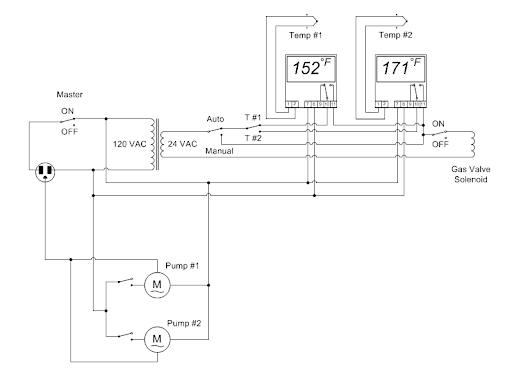
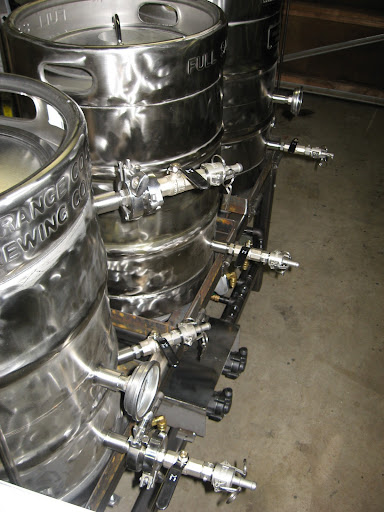
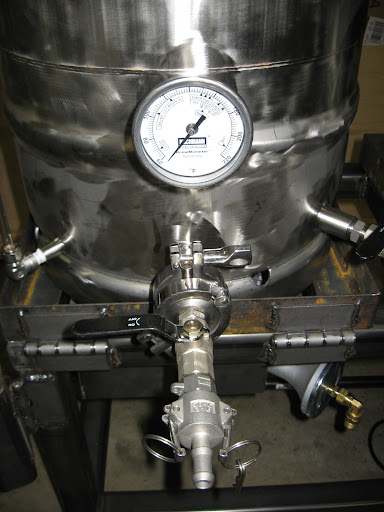
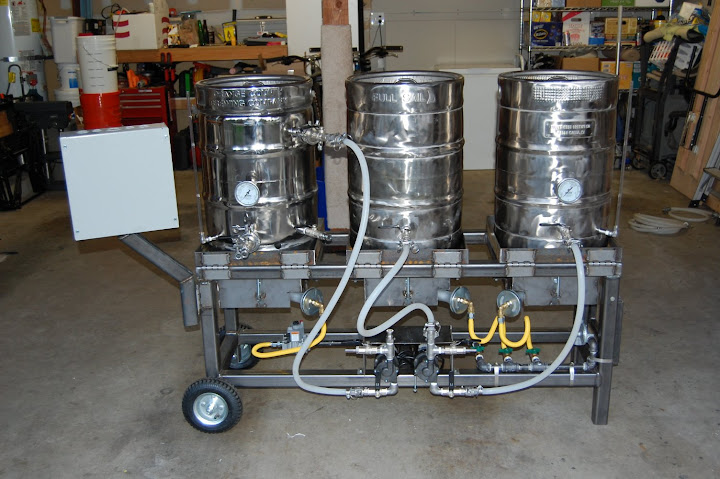
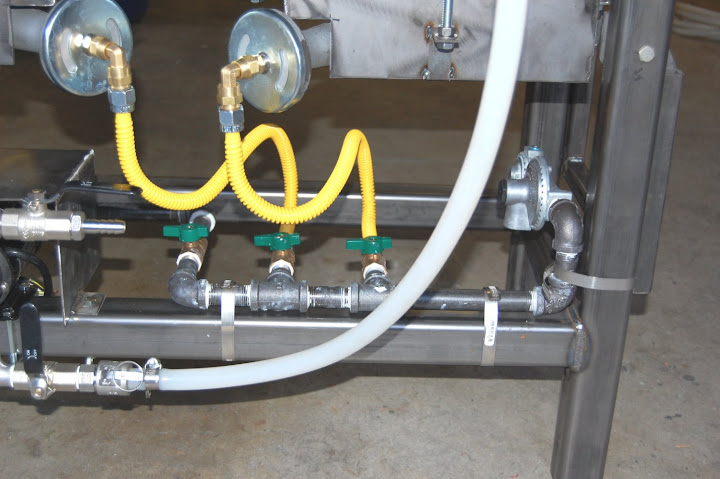
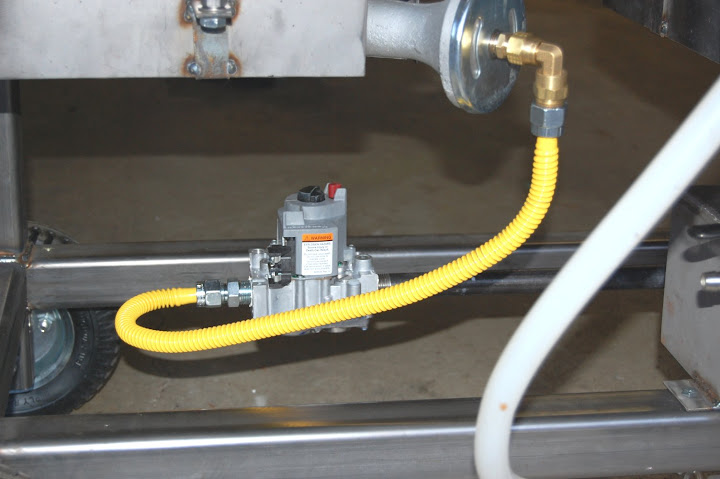
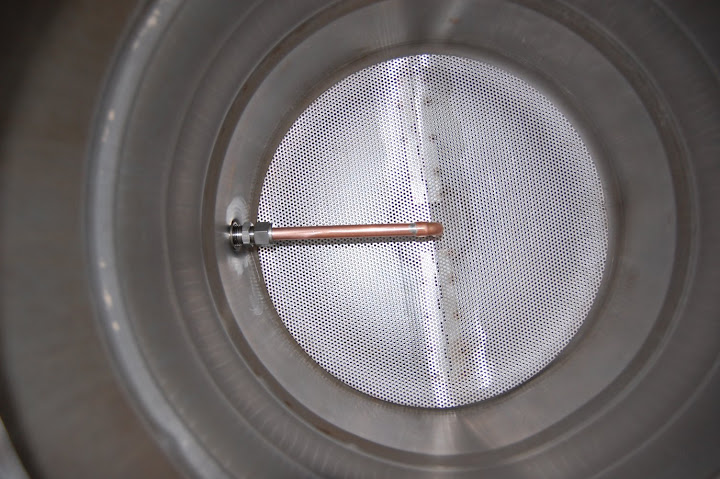
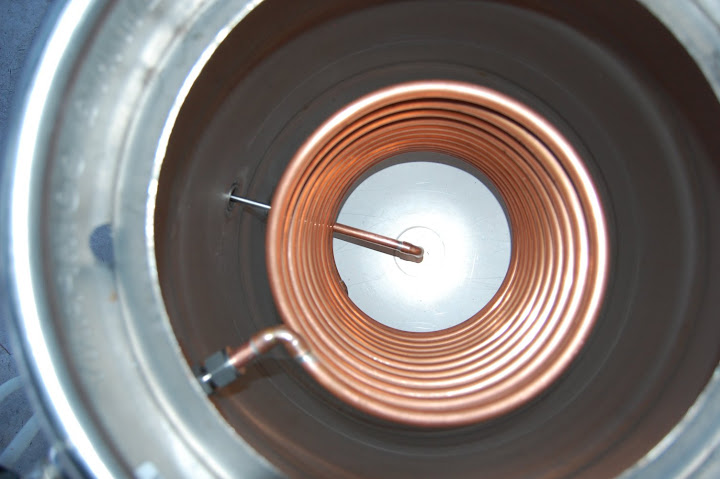
Saturday we mounted the control panel box, drilled and bolted the keg skirts to the tippy trays, bent the copper into the HERMs coil, mounted the burners to the burner boxes and then brain stormed several other parts.
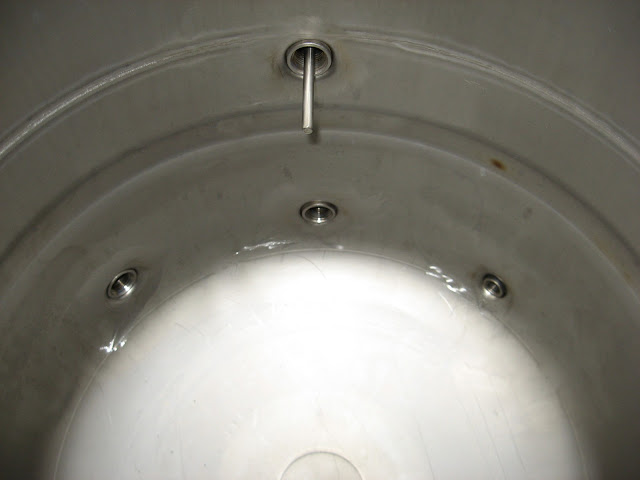
Have a few more packages on the way to finish up the gas plumbing and liquid plumbing. Have to drill the kegs this coming weekend hopefully and then they're off to Greenmonti to be welded.

Got some work done over the last few weeks. Picked up more of the parts we were still looking for.
Saturday we mounted the control panel box, drilled and bolted the keg skirts to the tippy trays, bent the copper into the HERMs coil, mounted the burners to the burner boxes and then brain stormed several other parts.
Have a few more packages on the way to finish up the gas plumbing and liquid plumbing. Have to drill the kegs this coming weekend hopefully and then they're off to Greenmonti to be welded.


![Craft A Brew - Safale BE-256 Yeast - Fermentis - Belgian Ale Dry Yeast - For Belgian & Strong Ales - Ingredients for Home Brewing - Beer Making Supplies - [3 Pack]](https://m.media-amazon.com/images/I/51bcKEwQmWL._SL500_.jpg)


") long day?
long day?