• Please visit and share your knowledge at our sister communities:
  • If you have not, please join our official Homebrewing Facebook Group!

    Homebrewing Facebook Group

Badger Dog Brewing

Homebrew Talk

Help Support Homebrew Talk:

This site may earn a commission from merchant affiliate links, including eBay, Amazon, and others.
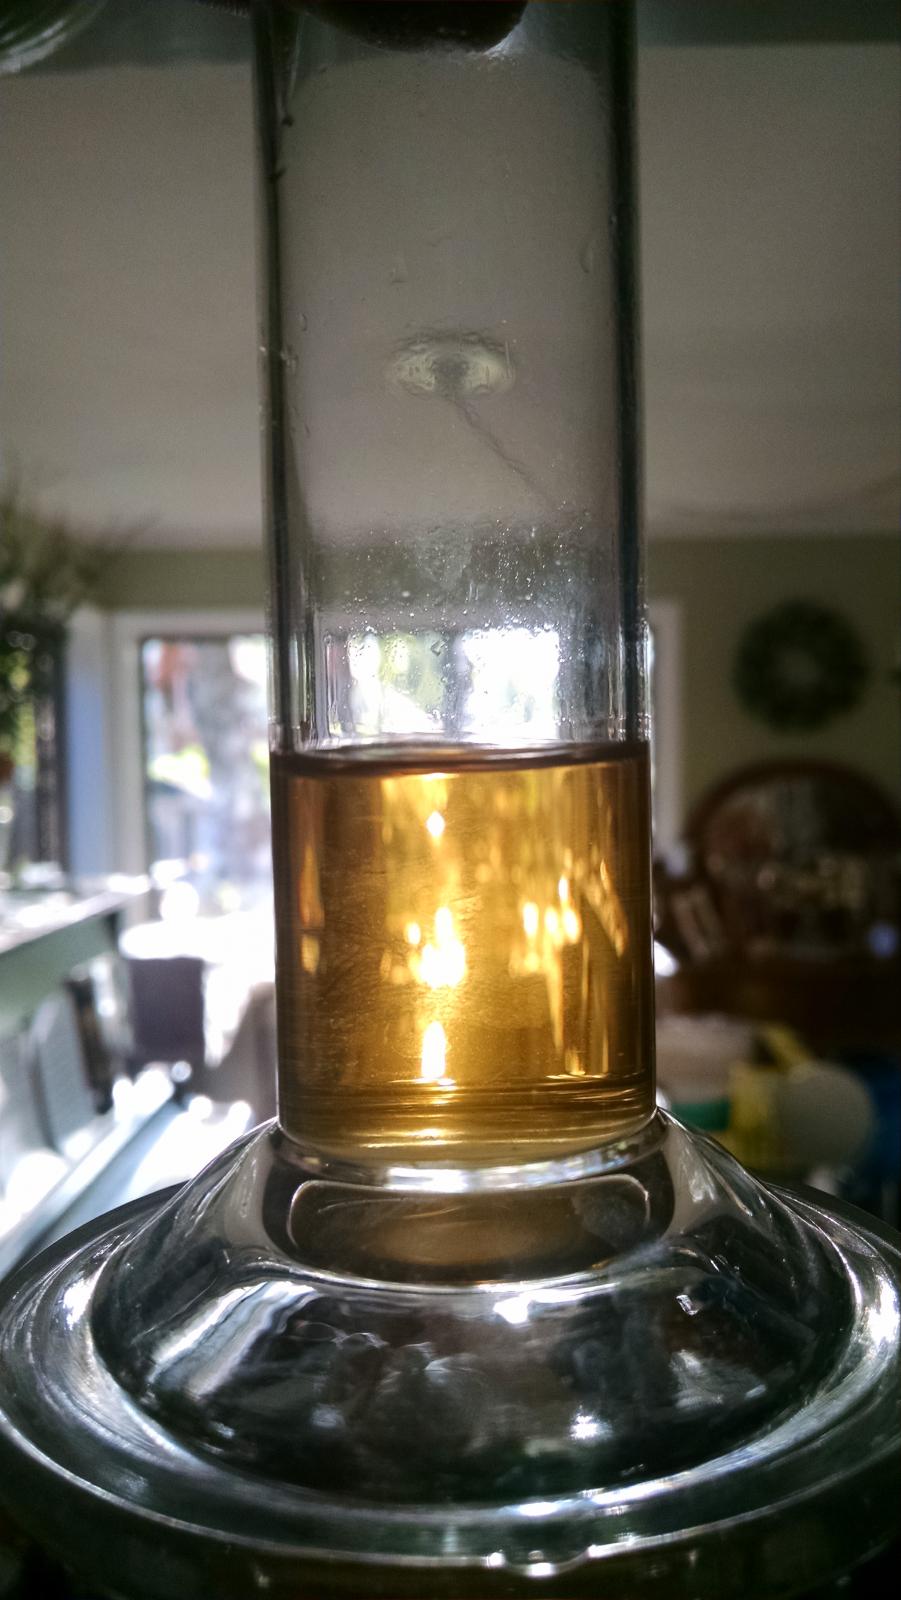
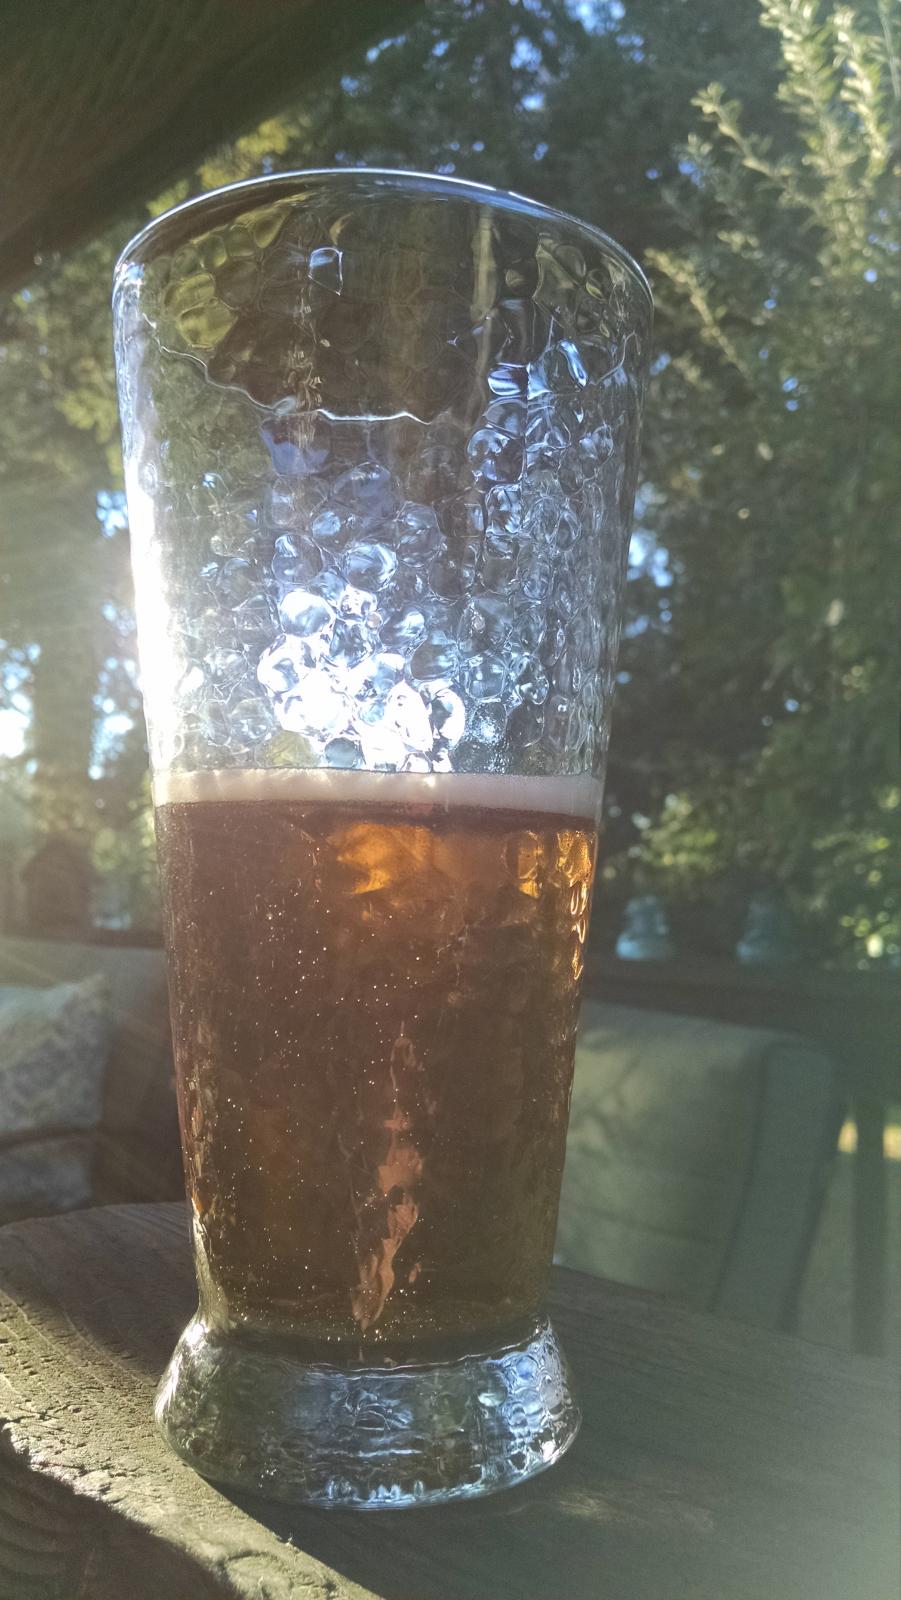
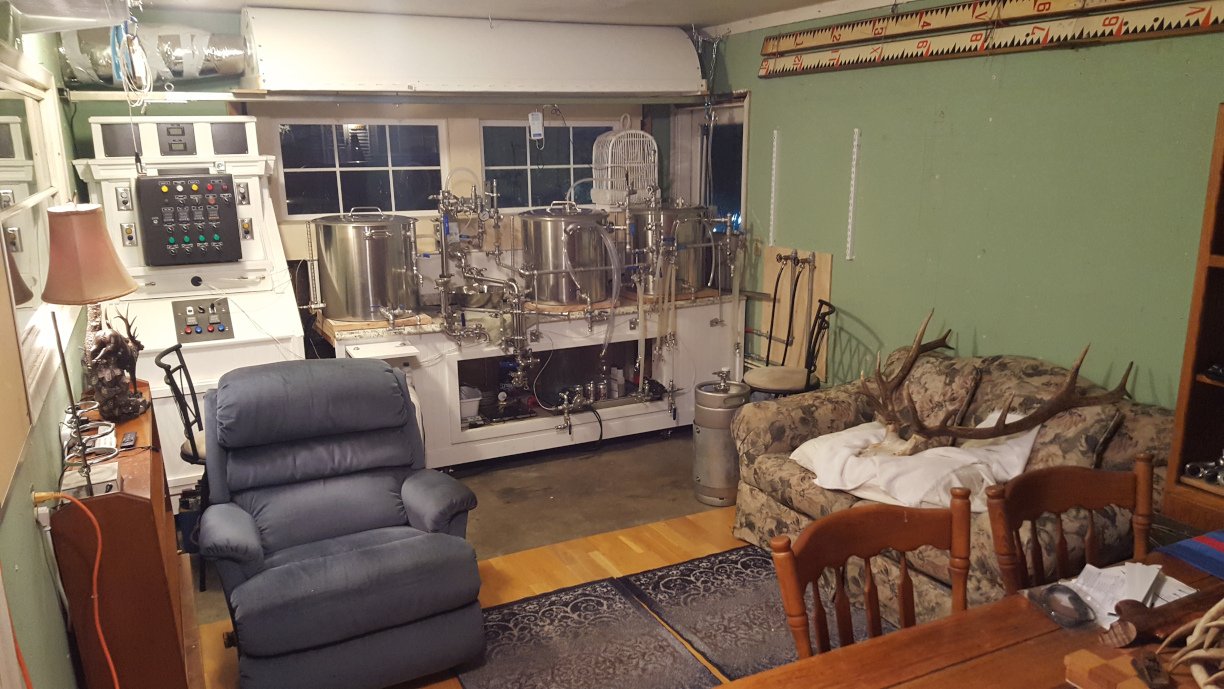
Some day I will finish the wall behind the brew stand and get rid of the duct tape and foam decor (as well as the "door that will not open" on the right). Now it is just a matter of waiting to find out if the beer is drinkable. Brewed a pale ale, plan on 5 days in primary or until SG is correct, dry hop for 10 days and rack to brite tank, crash chill for 3 days then bottle and age for another 2 weeks. Is 2 weeks in the bottle long enough or should I run longer? Thanks
 
Sample of first batch after 3 days of crash chilling. Will be bottling tomorrow.

IMG_20160825_183544181.jpg
 
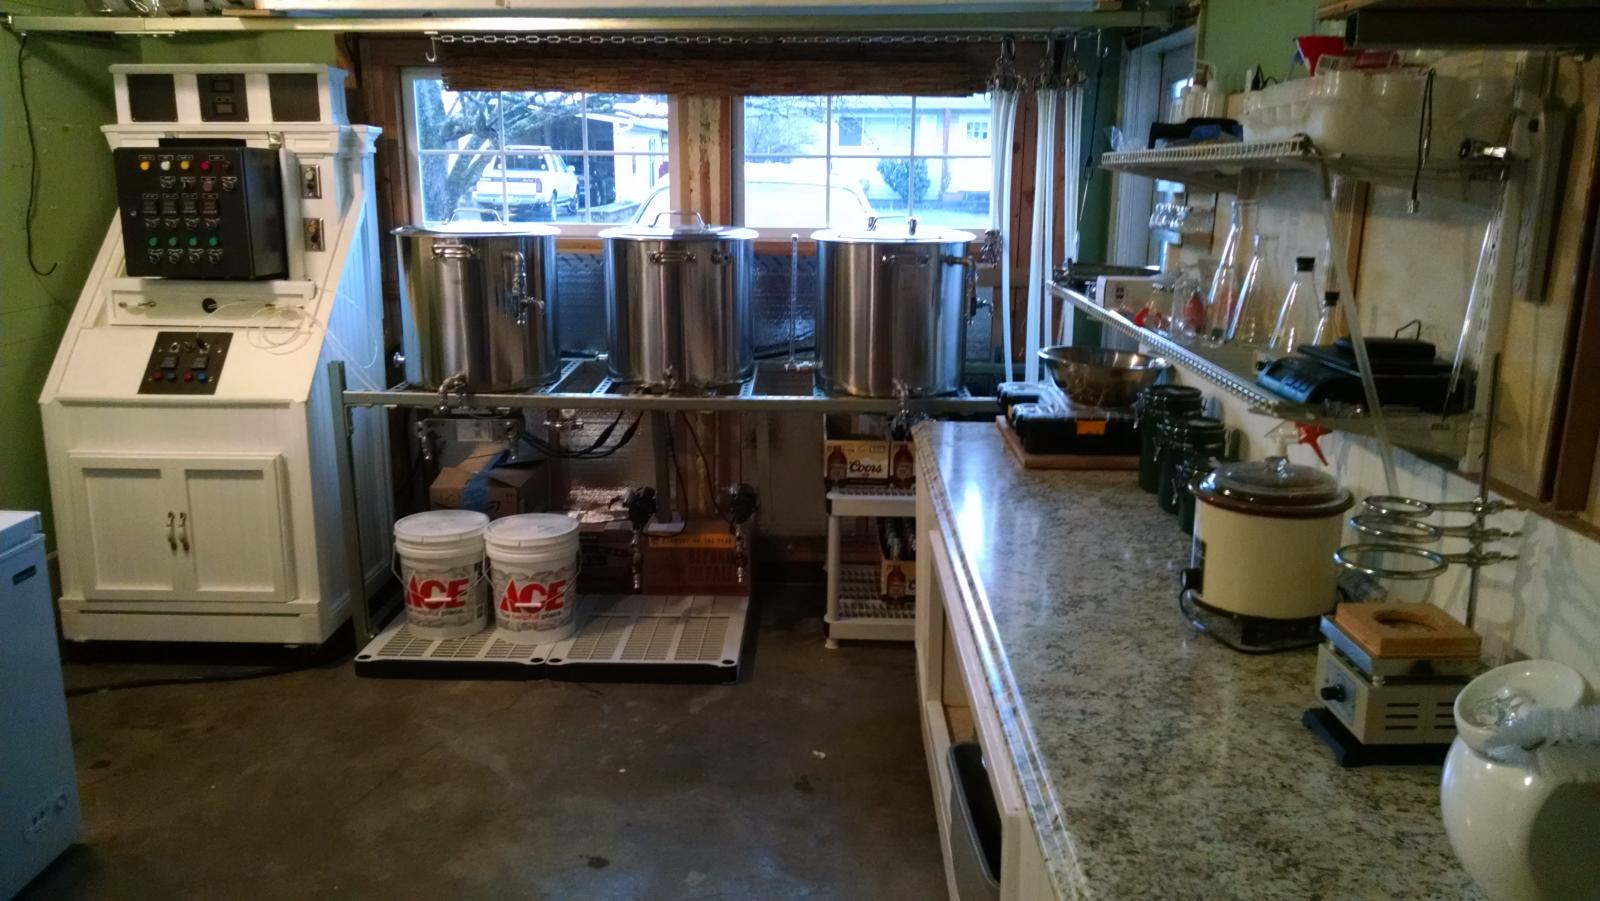
Been some time since last post. On my sixth batch now (Belgian Triple). Thought I would post a picture of the my brew room progress.

IMG_20170218_165933294.jpg
 
I have run three tests on my panel and have checked the wiring during and after each test. I have not noticed any apparent problems until after the third test. When I checked the wiring after the test was over I noticed a black line on some of the neutral and ground wires (these did not show up during the test as I had the panel open and did not see them). I have not noticed any problems with how the panel functioned during test three and none of the breakers (either inside the control panel enclosure or the house panel) tripped. There was no "smell" or any visual indication of the wiring overheating (no apparent damage to the insulation on the wires). None of the terminals show any sign of overheating or shorting out and the hot side does not appear to show these black lines (at least on the red wires, black is kind of hard to tell). I "was" pretty confident that I had wired the panel correctly but now I am not so sure. I have attached a picture of one of the neutral wires. Any one have an idea what may be causing this? I do not plan on powering up the panel again until this is figured out. This looks like the wiring is overheating somehow, or am I just being paranoid?

One more thing, it seems like these black lines are running along the text that is printed on the wire.

a lot of wire comes this way from the manufacturer to distinguish it from say another all brown wire..... it would not be a nice clean straight darker brown wire if it was an issue with insulation.
 
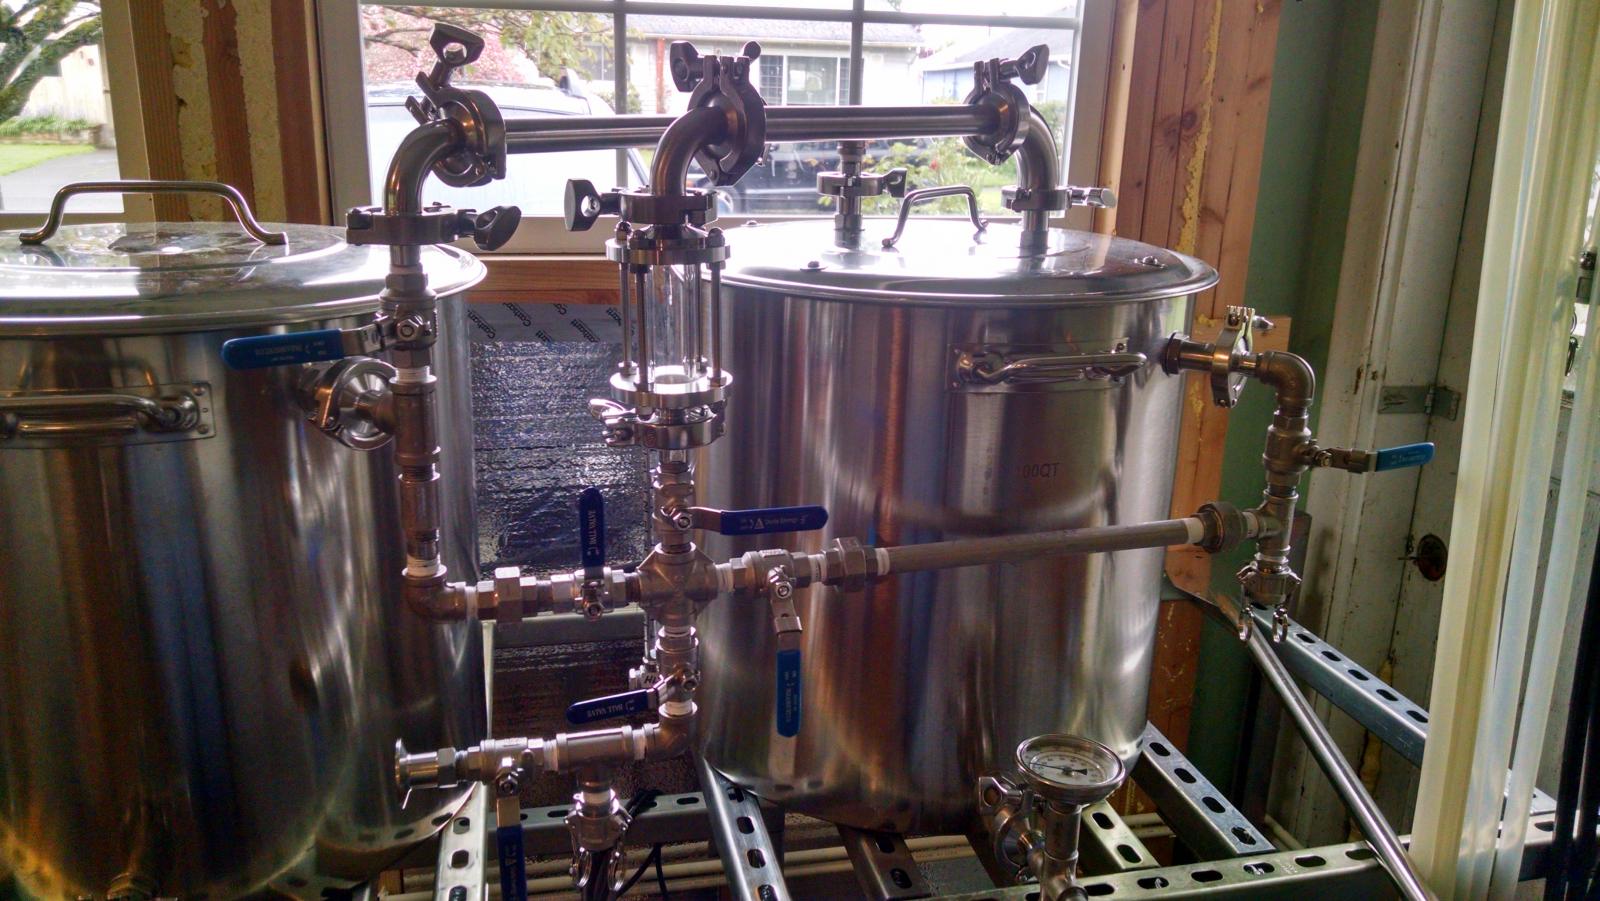
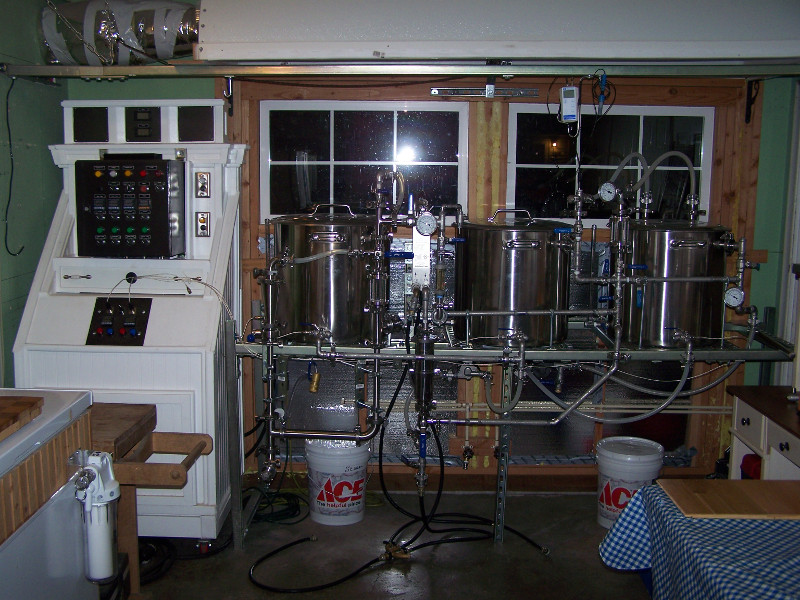
Latest incarnation of my brew setup. Switching over from hoses to hard piping. The water is pumped up through the inlet on the right and through the HLT. Opening the two horizontal valves transfers strike water to the mash tun. The Herms pump is routed through the inlet on the left. Opening the three vertical valves allows the mash to circulate into the herms coil. The valve on the bottom left is for moving the sparge over to the boil kettle. Not finished with the piping between the mash tun and the boil kettle yet. Planning on replacing the spools on the HLT with 1/2" piping and moving the spools onto the post boil side. Everything can be disconnected for cleaning if required.

Hard_Plumbed.jpg
 
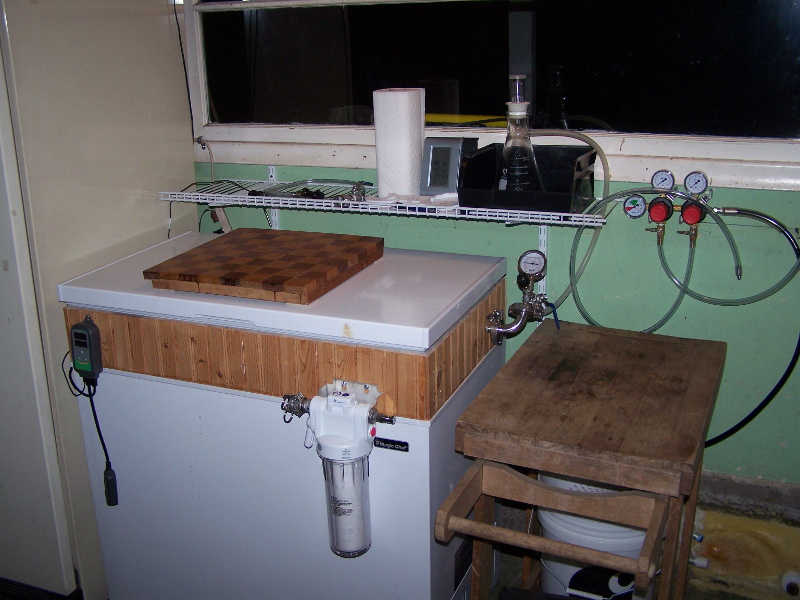
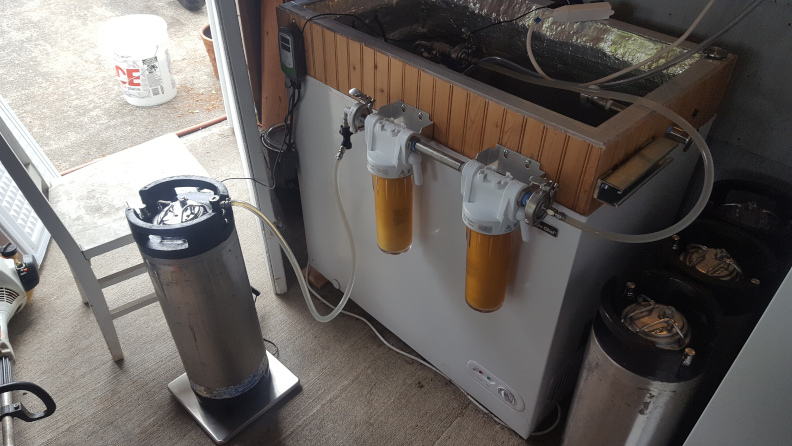
After about a dozen batches done and a continual revision / modification to the brewery here is the final configuration. All liquid can be directed between kettles with ball valves. Sparging is done through the flow meter. Inline oxygenation is placed under the sight glass after the chiller. Yeast is held in the cone and added into the wort by switching the flow direction of the three way valve. The second picture is of my modified chest freezer to allow the use of a modified keg as fermenter. CO2 vents out through the tri clover fitting into the Buckner funnel and out of the airlock. A valve on the tri clover fitting can be closed to do pressurized fermentation using the pressure gauge and PORV.

001.JPG


002.JPG
 
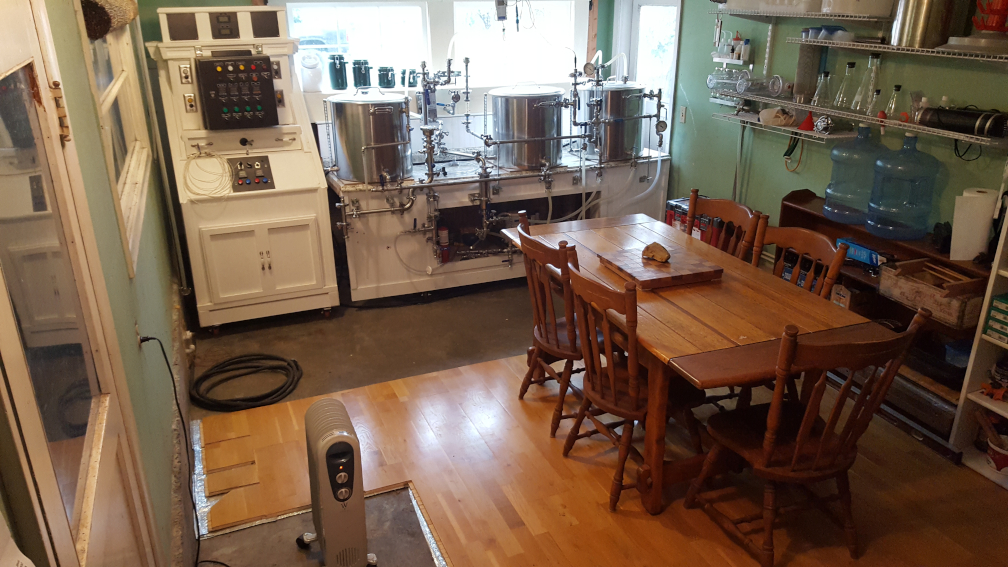
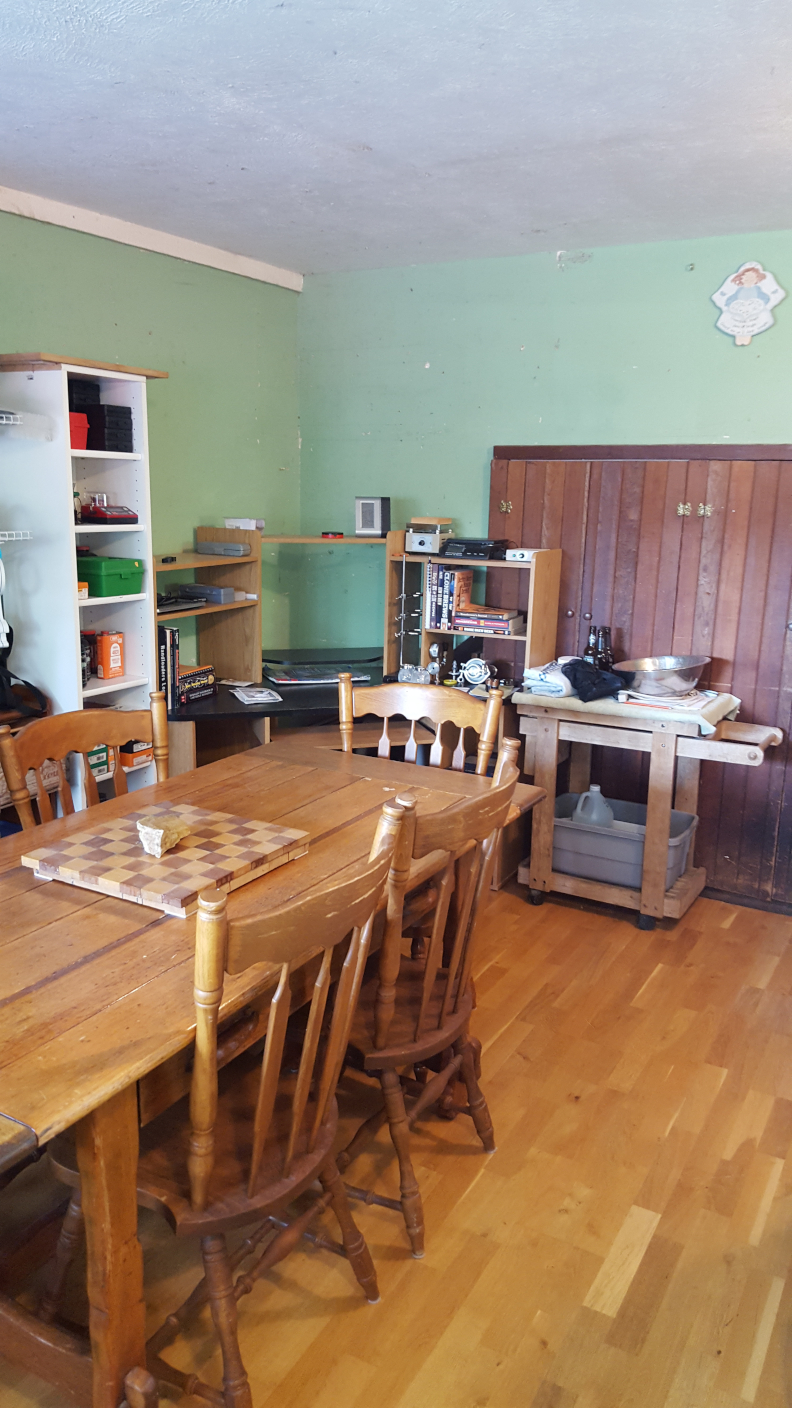
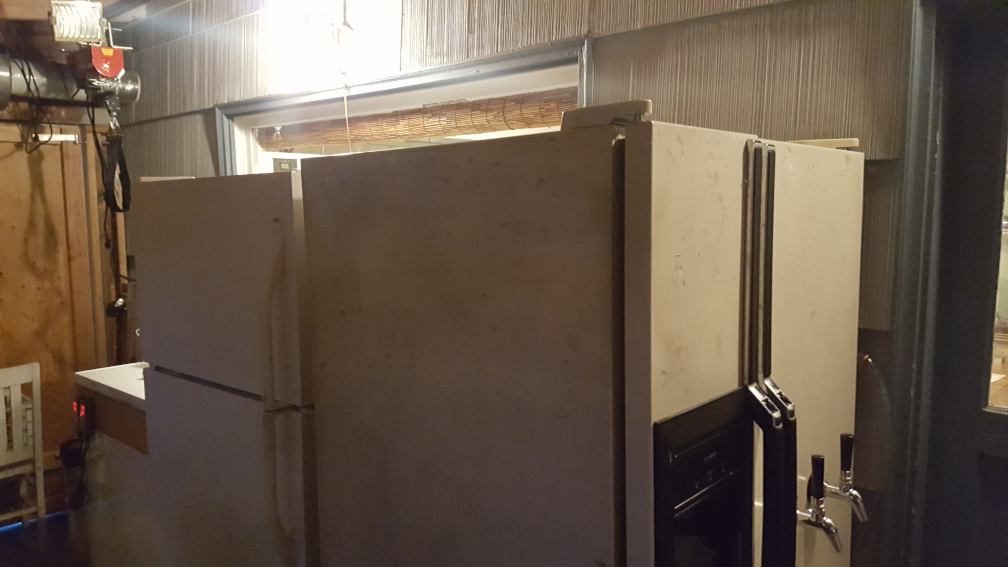
Brewery work keeps on going. Still need to do the tile work around the wood floor. The ragged pieces of flooring are only there temporarily. Still need to get the computer set up. Third picture from left to right is the fermentation chamber, conditioning fridge and serving fridge. The plan is to plumb the beer lines through the wall so that the taps are on the wall inside the brewery. Upper left in the third picture is an electric hoist on unistrut trolley for lifting fermenter into the chamber. Just as an FYI, the angel on the wall was my daughters when she was a kid.
NewBrew.jpg
NewBrew01.jpg
NewBrew02.jpg
 
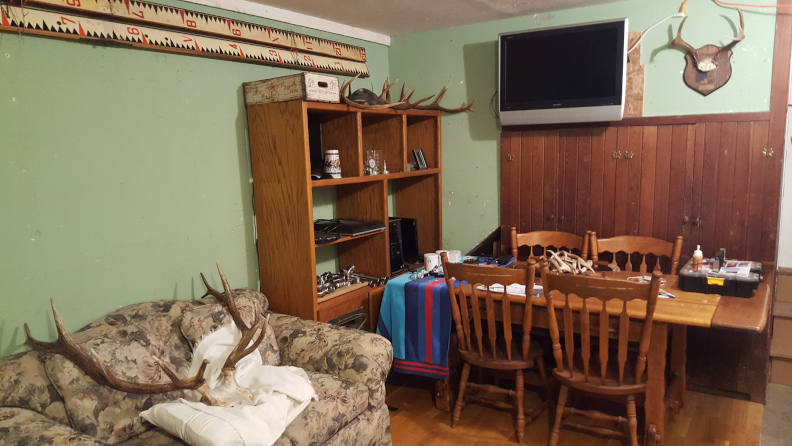
Been awhile since I last posted. Thought I would drop a couple of pictures of the brew room progress. Still need to redo the walls and add the wainscoting, build a hanging wall in front of the vent hood and put down rubber mats over the concrete. Also tossed in a picture of the Pale Ale that I kegged on the 22nd. Pushed out of the fermenter with CO2 through a 5 micron and 1 micron filter. Also need to add more outlets so I can quit running extension cords to everything.
Front.jpg
Back.jpg
Pale Ale.jpg
 
Question for others who are using a steam condenser. I installed one on my brew kettle through the lid and added another port to add hops. I have a hop spider hanging below the second port to catch the hops. I ran multiple water tests and the system worked flawless even at full boil ( I am lucky in that I have 110 psi water pressure at my house so the mist nozzle really puts out some volume). The problem that arose was during the first wort boil. The system was working fine until I added the pellet hops and then it was like someone dropped a firecracker in the kettle. The hops just about exploded out of the hop spider and coated the inside of the lid and even managed to get out through the steam condenser. Does anyone have an idea how to prevent this from happening? Thanks
 
Back
Top